Pro-Rig V2.0 - Home Built Compact Composite Pop-up

DzlToy

Explorer
I spoke with one VIP manufacturer, thinking that there was some kind of airy, space-age, lightweight foam in the middle of the panel. I was surprised to hear that the core material they chose was 10 - 13 pounds per cubic foot. We aren't talking concrete here, but XPS is 1.3 for reference.

Are you thinking of coating the VIPs in Raptor also?
 

java

Expedition Leader
Raptor can be thinned and sprayed like paint and gives a much nicer finish IMO. still a little texture (depending on gun and settings) but not big bedliner lumpy

Sent from my SM-G973U using Tapatalk
 

CoyoteThistle

Adventurer
Yeah, so the panel in the photos is 410mm X 960mm X 15mm and is just under 4 lbs. It has an effective R-value of 19. Three or four inches of XPS would get the same insulation and be lighter, but would make your rig several inches wider on the outside or narrower on the inside. Interesting tradeoffs for sure.

I don't think I'll use Raptor on the panels. The rough finish would make it harder to adhere them to the wall I think. If the goal is to not put too much load on any point on the panel (and risk tearing the material and losing vacuum), seems like I can accomplish that by an epoxy layer and minimal VHB tape or lots of VHB tape directly to the heavier-duty side of the panel. I'm leaning towards the latter. I'm also pondering using 4200 or 5200 (or similar) to stick them to the wall. Like the tape-only approach, it would need to cover a large area of the panel to spread the load. Tape seems less messy and frankly quite a bit cheaper and quicker. Still planning to not attach the VIP's to the new inner wall skin. For that I settled on 1/8" luan plywood. Lighter than any FRP I could find though a bit thicker. Found it locally so the price was right compared to all my other options.

Yeah, Java, I know spraying is preferred but I just don't have the facilities to pull it off, wish I did. I'll roll/brush it on and hope for the best. Lots of areas to practice on that are out of view where i can make a mess and learn. Current thinking on color is something like this:
Screen Shot 2022-01-05 at 9.23.14 AM.png

Maybe mix in some black on the corners or something.
 

java

Expedition Leader
Buy A harbor fright spray gun!! They are quite good really. As long as you have a compressor that will kind of run them. I buy them and modify as needed. You can simply drill out the cap for a larger size if you are spring a sticker material. They are easy to throw away as well, if you don't clean them

Sent from my SM-G973U using Tapatalk
 

CoyoteThistle

Adventurer
It's not a lack of equipment problem, it's a space problem. Turning my garage into a spray booth is I suppose doable, but just not appealing. I've only got a foot or so of clearance on one side of the camper so I don't think I could get far enough away to spray properly.
 

java

Expedition Leader
It's not a lack of equipment problem, it's a space problem. Turning my garage into a spray booth is I suppose doable, but just not appealing. I've only got a foot or so of clearance on one side of the camper so I don't think I could get far enough away to spray properly.
Yes, 12 in is not easy. My garage is the same. I just have plastic hung everywhere so that I'm not spraying directly onto my storage shelves

Sent from my SM-G973U using Tapatalk
 

CoyoteThistle

Adventurer
Rolled on my first batch of Raptor Liner. Based on that experience, I think I'm going to move a bunch of crap around and turn my garage into a spray booth as suggested. What have I gotten myself into this time? ?
 

CoyoteThistle

Adventurer
Well the Raptor Liner finally happened today.

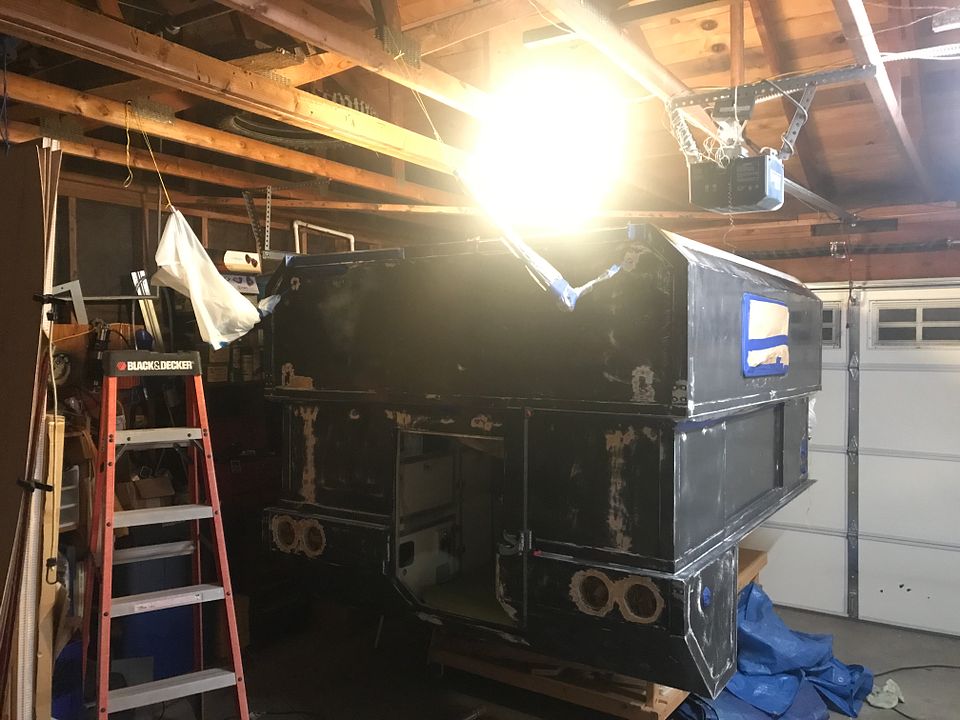
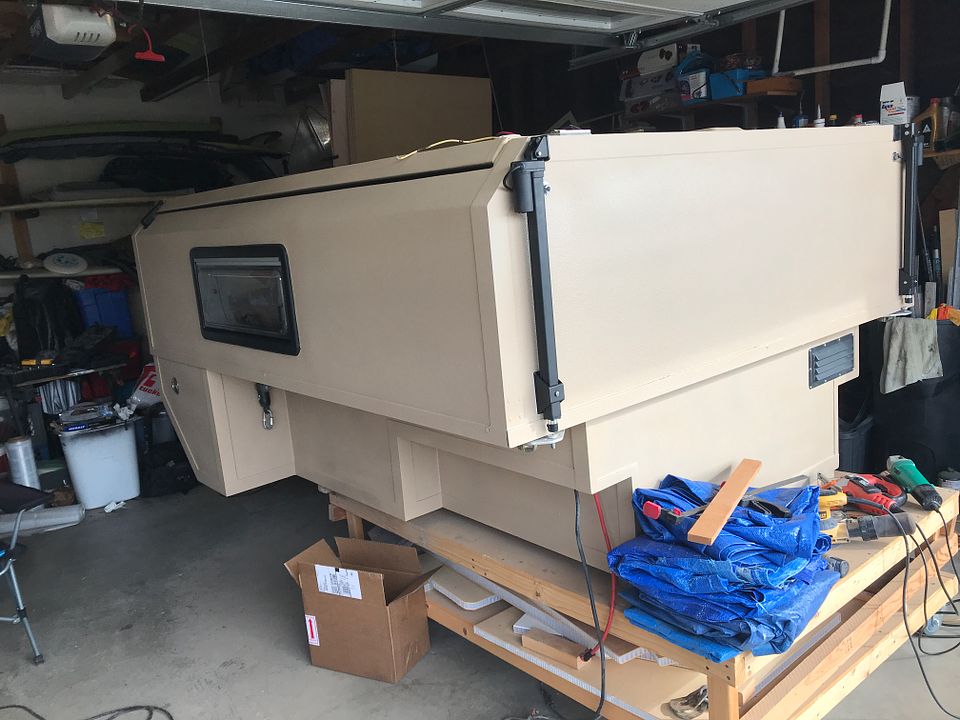
As everyone always says, it's lots of hours of prep. Lots. Here's about how things looked prior to spraying.


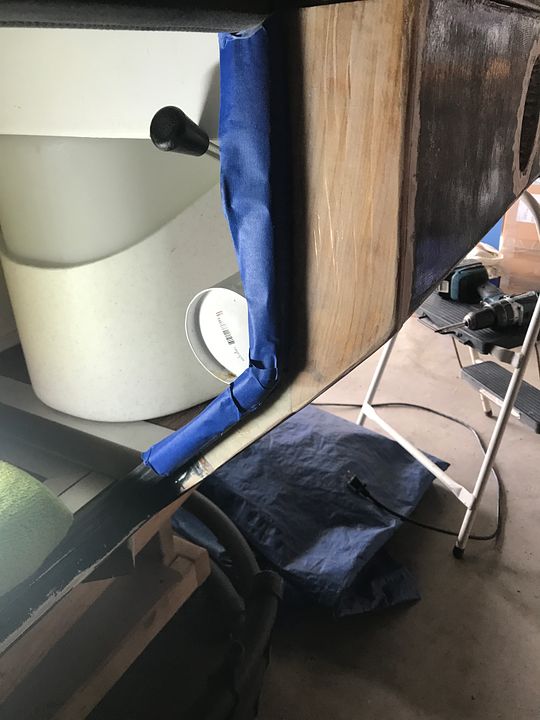
The last thing I masked was the door opening. I covered stuff inside in case my masking of the slide-up gap wasn't perfect (which was a bit of a PITA). I used the gun included with the Raptor Liner kit that screws directly to the bottles. Compressor is a cheap 5-gallon Craftsman unit. Got tint from my local Sherwin Williams Automotive store that was the closest match I could find to my new canvas material. Mixed the hardener, tint, and some urethane thinner directly in the bottle by shaking. It all worked pretty well and didn't make too much of a mess. Results?


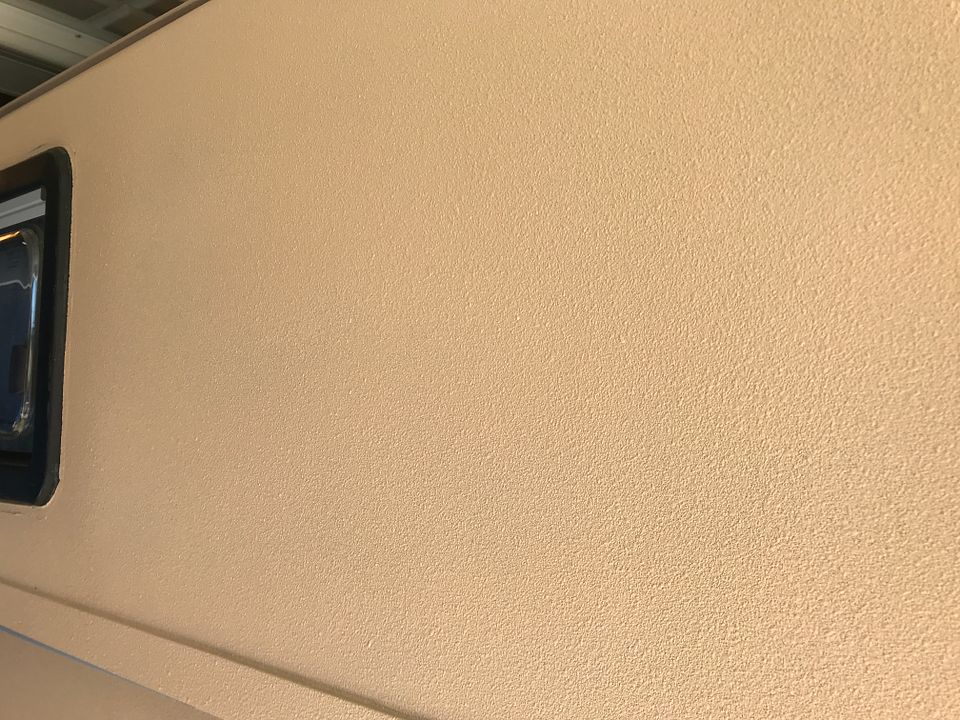
I think I'm pretty happy. Won't know for sure about coverage until I get it into the sunlight. You can see how tight the conditions are. I sprayed the roof with the garage door closed first and just did one full-coverage coat so I could open the door and get some air. For the rest of it I did a pretty light first coat then a second about 50min later (as recommended). Here's what the texture looks like:


I would have liked less texture but I think this would have required shooting with the gun further away than I could get it within the close confines on the one side. But, I think it looks pretty good. Yes, much, much better than the results I got rolling it on. Glad it worked, was nervous about this part of the project.

Next up is insulation, which I think I have a plan for now. Then re-install solar panel, lifters, etc. and then a sewing project. I think this will officially be Pro-Rig v2.1 when I'm done :)
 

rickgibbs

Member
Looks amazing. Curious about what pressure you were using and how many bottles of raptor were needed? I am getting ready to paint my camper in the next month.


Sent from my iPad using Tapatalk
 

CoyoteThistle

Adventurer
Looks amazing. Curious about what pressure you were using and how many bottles of raptor were needed? I am getting ready to paint my camper in the next month.

Thanks! I used 55psi and 7 bottles (1-3/4 gallons). Shooting the whole bottom would take another bottle.

I experimented a bit with spraying and texture but not much. I think shooting with the gun at maybe 18 inches from the surface at that psi and doing it in three pretty light coats would give a finer texture. I added about 3-5% urethane thinner (all that would fit in the bottle). Going to the full 10% might make a finer texture too. I wound up shooting from like 8-10 inches just due to the cramped quarters and with two coats, you can see the result. Also, I blew out the gun with acetone after each bottle until it was shooting clear liquid. The one time I got lazy and didn't blow it out completely, it was spitting out some bigger glops by the end of the next bottle. Another thing I did was set the bottles out in the sun for a couple hours before spraying to warm it up - this reduces the viscosity of the stuff and makes it easier to mix I think (lots of shaking). I didn't think how the temp might effect the texture.
 

CoyoteThistle

Adventurer
I've been pretty busy getting all the stuff that I removed in order to spray, back on. Lots of cleaning off old sealants of different types and then re-sealing and re-mounting. It was nice to check for water damage on the plywood skins in lots of different places. Part of the impetus for this project was that I knew there was water damage to the wood where some bolts went through the roof for the lifters - from condensation rather than actual leaks as far as I can tell. Then when I got back from the last trip, I found the cheap thin plywood I used to cover some honeycomb core "end grain" by the door was all wet and rotted. This had me worrying that my whole camper was rotting away - kind of in a panic. Well, the good news is that I found no other issues. Replaced that wood and coated it with epoxy this time.


Remounted everything with butyl tape and sealed around the edges of stuff with silicone. No more bolts through the outside walls or ceiling now except for the door hinges, which haven't had any condensation issues.

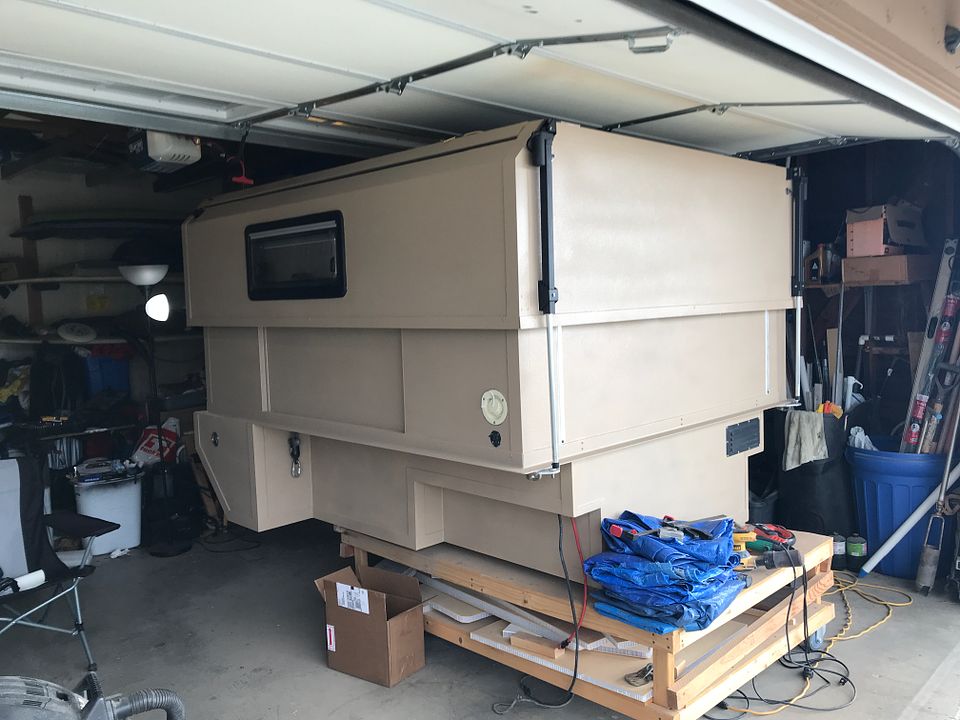
Anyway, I like the new look.


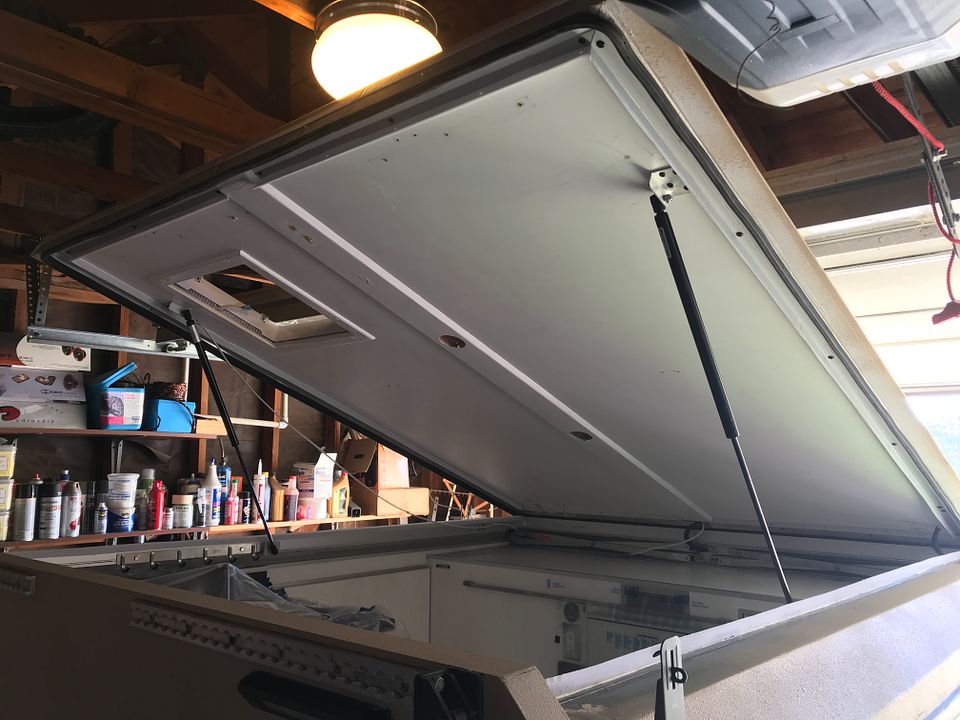
Next project is roof insulation. First job is to remove all the stuff mounted to the ceiling. Done.


The VIP's on the ceiling will get a protective covering as was suggested earlier. That's the next step. I'm waffling between just a layer of epoxy resin or epoxy with some glass mat. Will the texture of the mat affect the adhesion of the VHB significantly?
 

dstefan

Well-known member
Great design and build!

I’ve used VHB (5952) pretty extensively on weird surfaces including some woven, cordura type surfaces. It's conforming so holds well on flat, slightly irregular surfaces. I would think epoxy over glass fiber would work. It's all in the prep as you likely know. Slighly scuff, really clean with alcohol and use a roller or other pressure to really set it. If I really want to be sure, especially on non-metal or what 3M calls low energy surfaces, I use 3Ms VHB primer, which really improves the bond.

There’s lot’s of different flavors of VHB. You might want to talk with 3M for advice on which to use. They were very helpful to me in picking 5952 for my needs (standing up to Phoenix heat).
 

CoyoteThistle

Adventurer
Great design and build!

I’ve used VHB (5952) pretty extensively on weird surfaces including some woven, cordura type surfaces. It's conforming so holds well on flat, slightly irregular surfaces. I would think epoxy over glass fiber would work. It's all in the prep as you likely know. Slighly scuff, really clean with alcohol and use a roller or other pressure to really set it. If I really want to be sure, especially on non-metal or what 3M calls low energy surfaces, I use 3Ms VHB primer, which really improves the bond.

There’s lot’s of different flavors of VHB. You might want to talk with 3M for advice on which to use. They were very helpful to me in picking 5952 for my needs (standing up to Phoenix heat).
Ah, I didn't know about the primer. Thanks, I'll look into that. Yeah, I got the 5952 due to the better heat resistance, hope it's a good choice. So I'll be able to use a roller on one bond or the other but then I just have to stick the panels up there (painted plywood). Which bonding surface would you worry about more?
 

dstefan

Well-known member
Ah, I didn't know about the primer. Thanks, I'll look into that. Yeah, I got the 5952 due to the better heat resistance, hope it's a good choice. So I'll be able to use a roller on one bond or the other but then I just have to stick the panels up there (painted plywood). Which bonding surface would you worry about more?
Between epoxied glass and painted plywood I‘d be a little more concerned with the plywood, specifically the strength of the wood–paint bond. Depends on the weight load on them I suspect. The VHB itself probably wont let go of either surface, if well prepared. Definitely invest in a can of primer (the new version thats low VOC, not the one called Primer 94) and a roller.
 

Forum statistics

Threads
188,034
Messages
2,901,389
Members
229,411
Latest member
IvaBru
Top