You are using an out of date browser. It may not display this or other websites correctly.
You should upgrade or use an alternative browser.
You should upgrade or use an alternative browser.
Rango.....1942 Willys MB
- Thread starter Metcalf
- Start date
Metcalf
Expedition Leader
This thing is killer! I can't wait till its spinning tires!
Thank you. It should be pretty fun when its done I hope. It's not going to be the best at anything, but it should get around pretty well and turn some heads doing it. Even after building only this far I have a list, the length of my arm, of things that I would change or do different if I was going to do it over again. I used a lot of parts because that is what I had.....not because they where the best part. I will try and write some of that stuff up towards the end of the build for people to reference.
Metcalf
Expedition Leader
I guess this thing is getting kinda long!
I'm excited to get it driving around again! I have a shakedown run in Moab the weekend of the 24th of March! EEEKKKK! That doesn't seem to far away! Overall the project is coming together, but I still have a good amount of work to do. I am trying to get a feel for when the big tear down will be for final welding on the frame. Its getting close but I still need to do a few things. I am going to wait to do the exhaust and brake/fuel plumbing unit I have the body off, probably right after the frame is final welded. I think that should be the right time....
This morning I built a mock up steering column and got the clutch/brake pedal half way mounted. I have pics and will upload them this evening.
Thank you for the compliments!
Keep up with the questions people....it keeps me motivated and engaged in posting.
Metcalf
Expedition Leader
I got a bit done this morning....
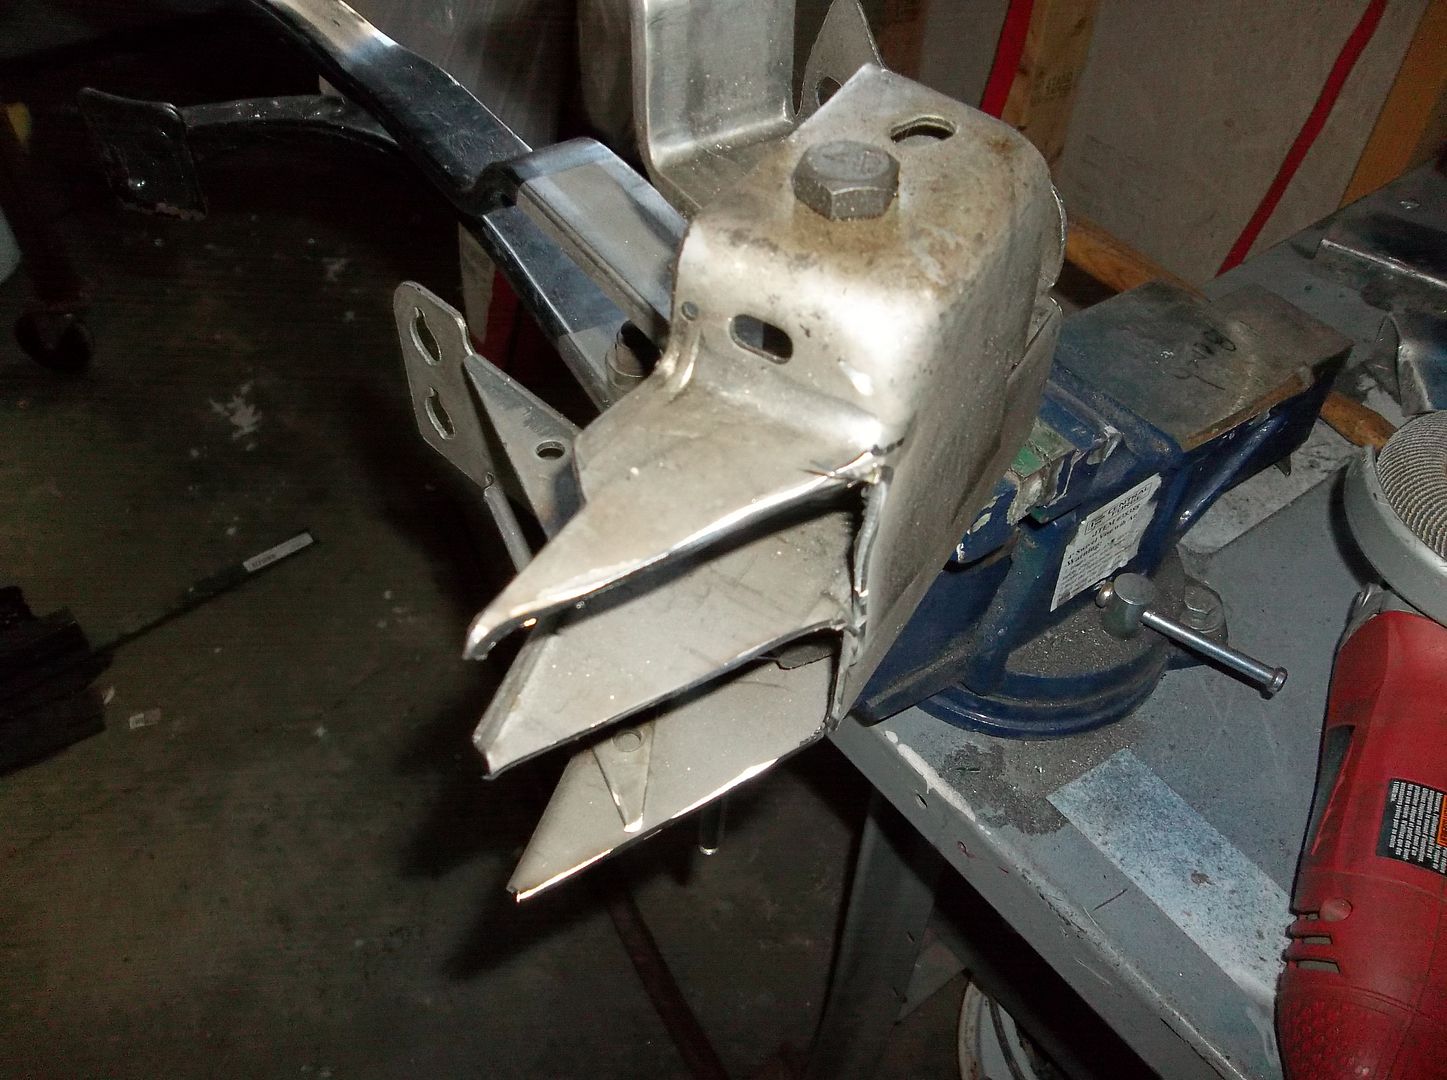
I modified the top of the XJ pedal assembly. I cut it off at 90 degrees to the mounting face right at the 'buldge' for the clutch pedal bracket. This seemed the best place to trim the pedals to get the assembly higher under the dash.
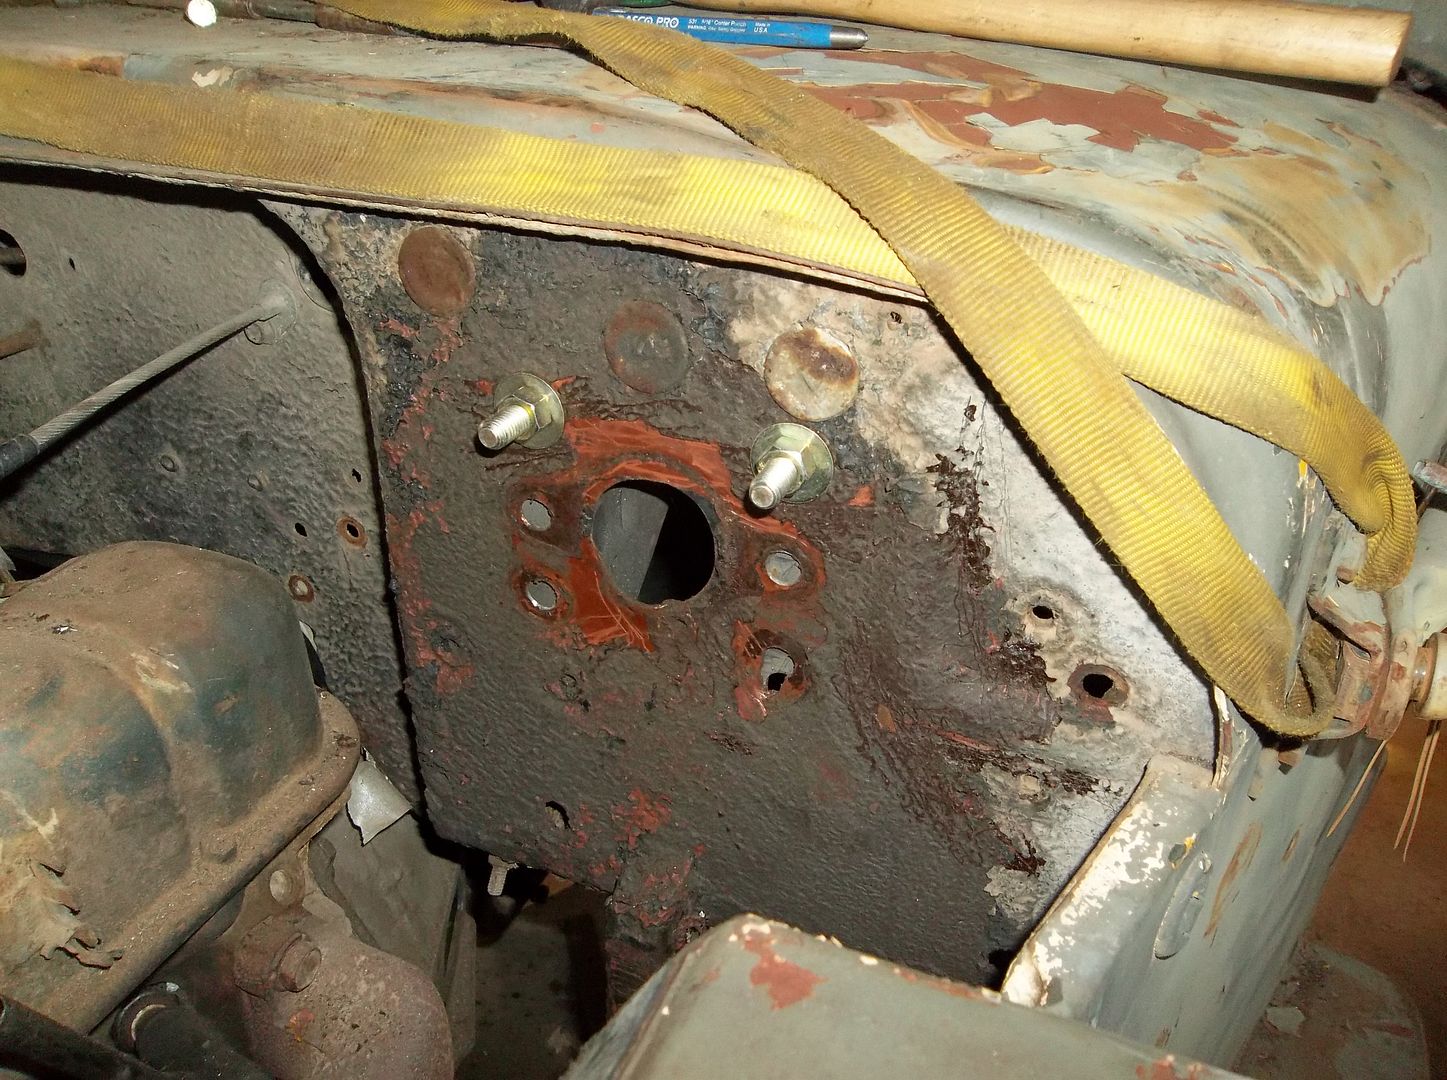
Here is where the top two mounting holes ended up. Ignore the previous holes from the previous hanging pedal conversion from who knows what....
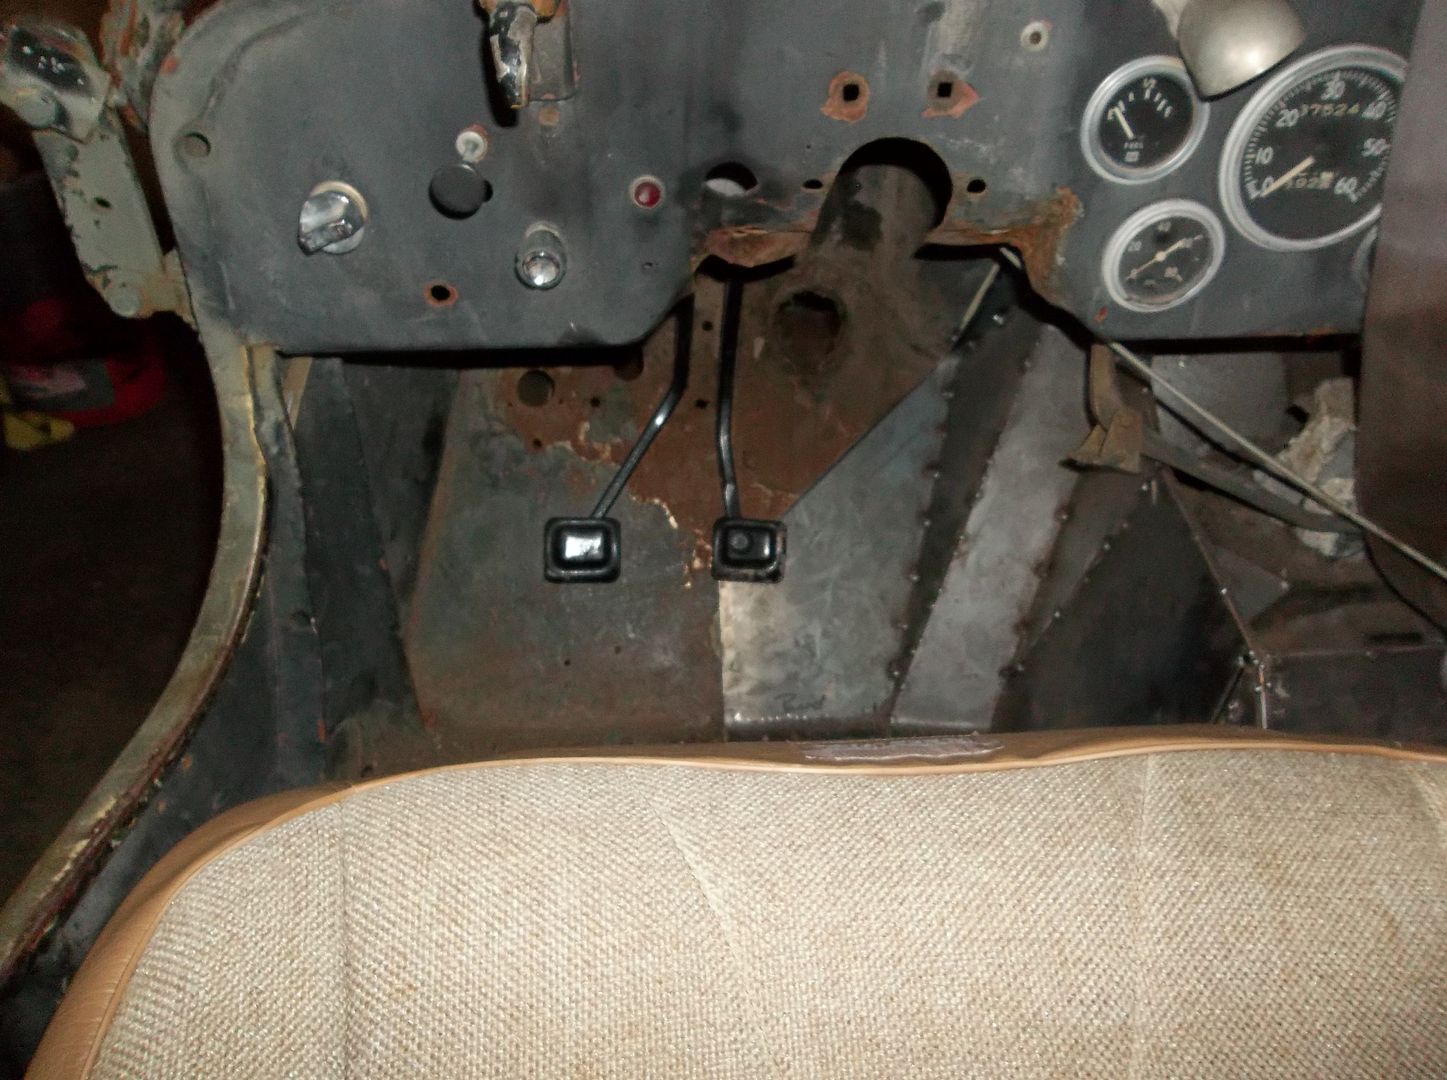
The pedals ended up to the left of the steering column hole. This was one of the biggest reasons to use the XJ pedal assembly. It sure gives you a lot more room in the TIGHT foot well!
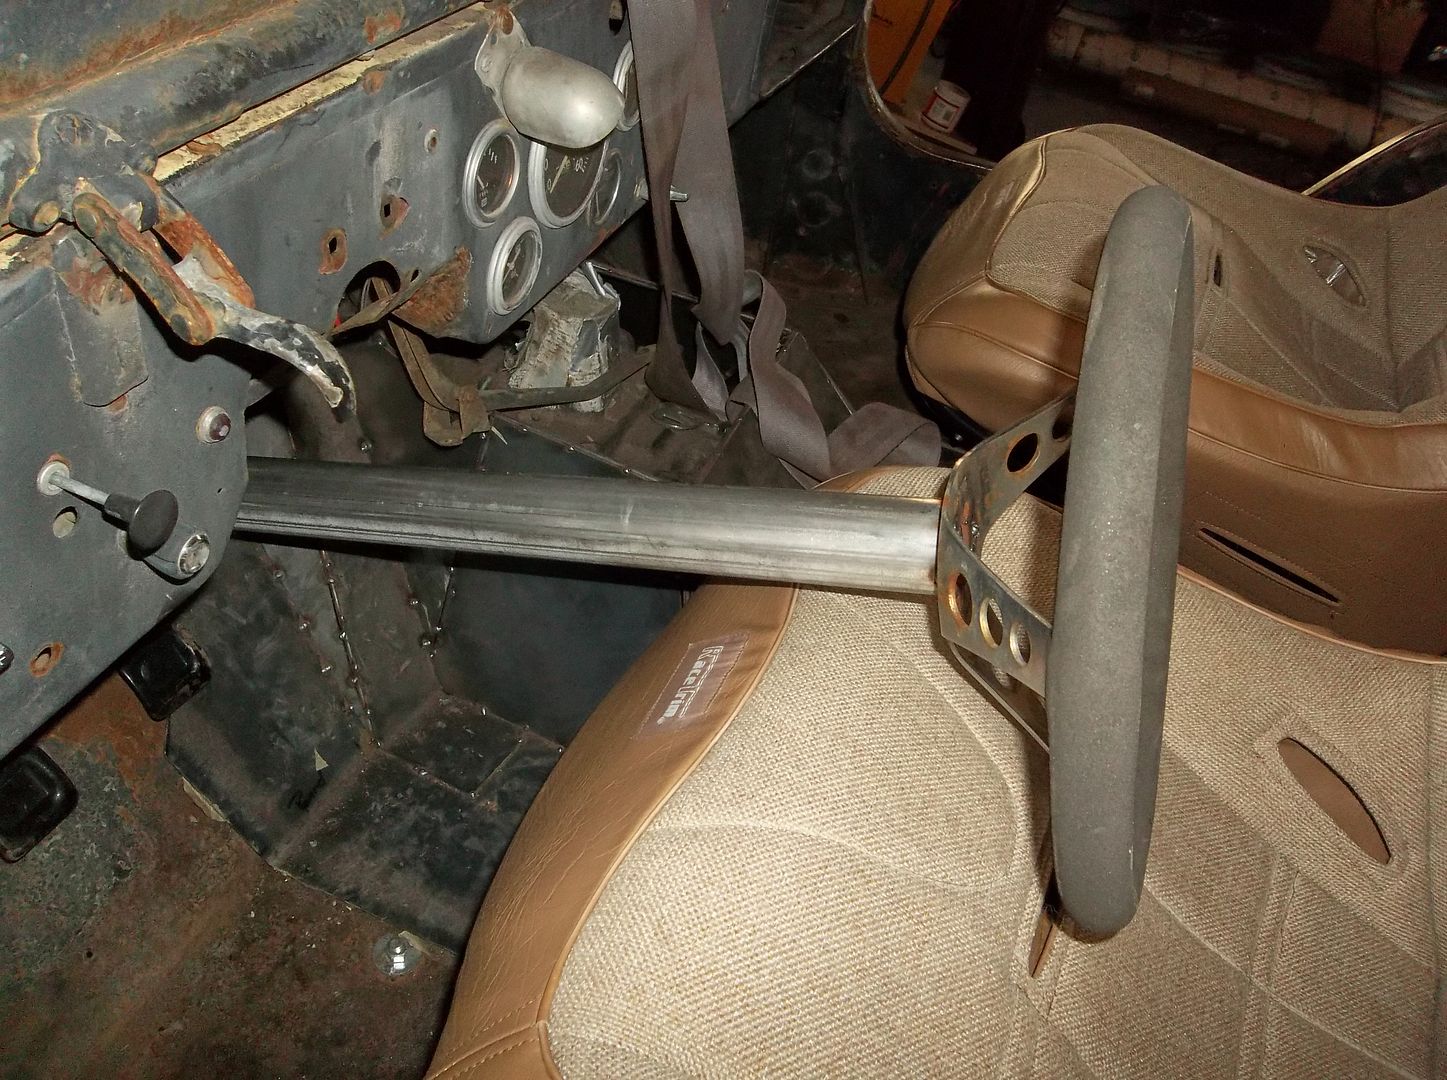
I needed to start mocking up the steering column so I could determine the length I need to order. I made this thing out of $5 of muffler tubing and the old steering wheel welded together.
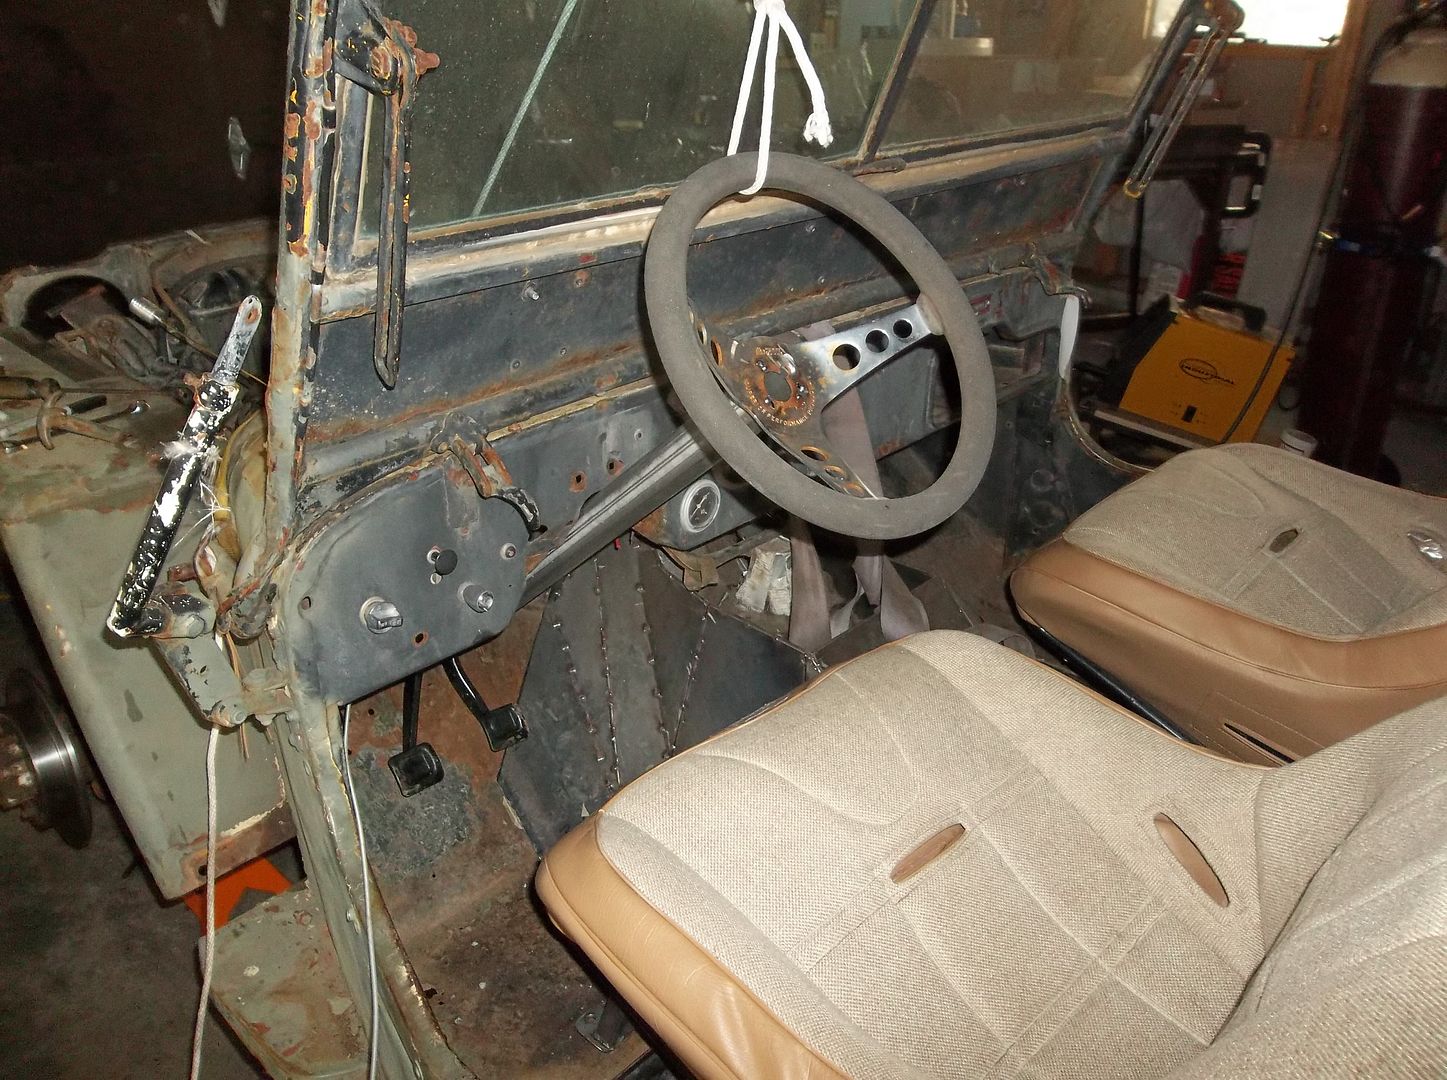
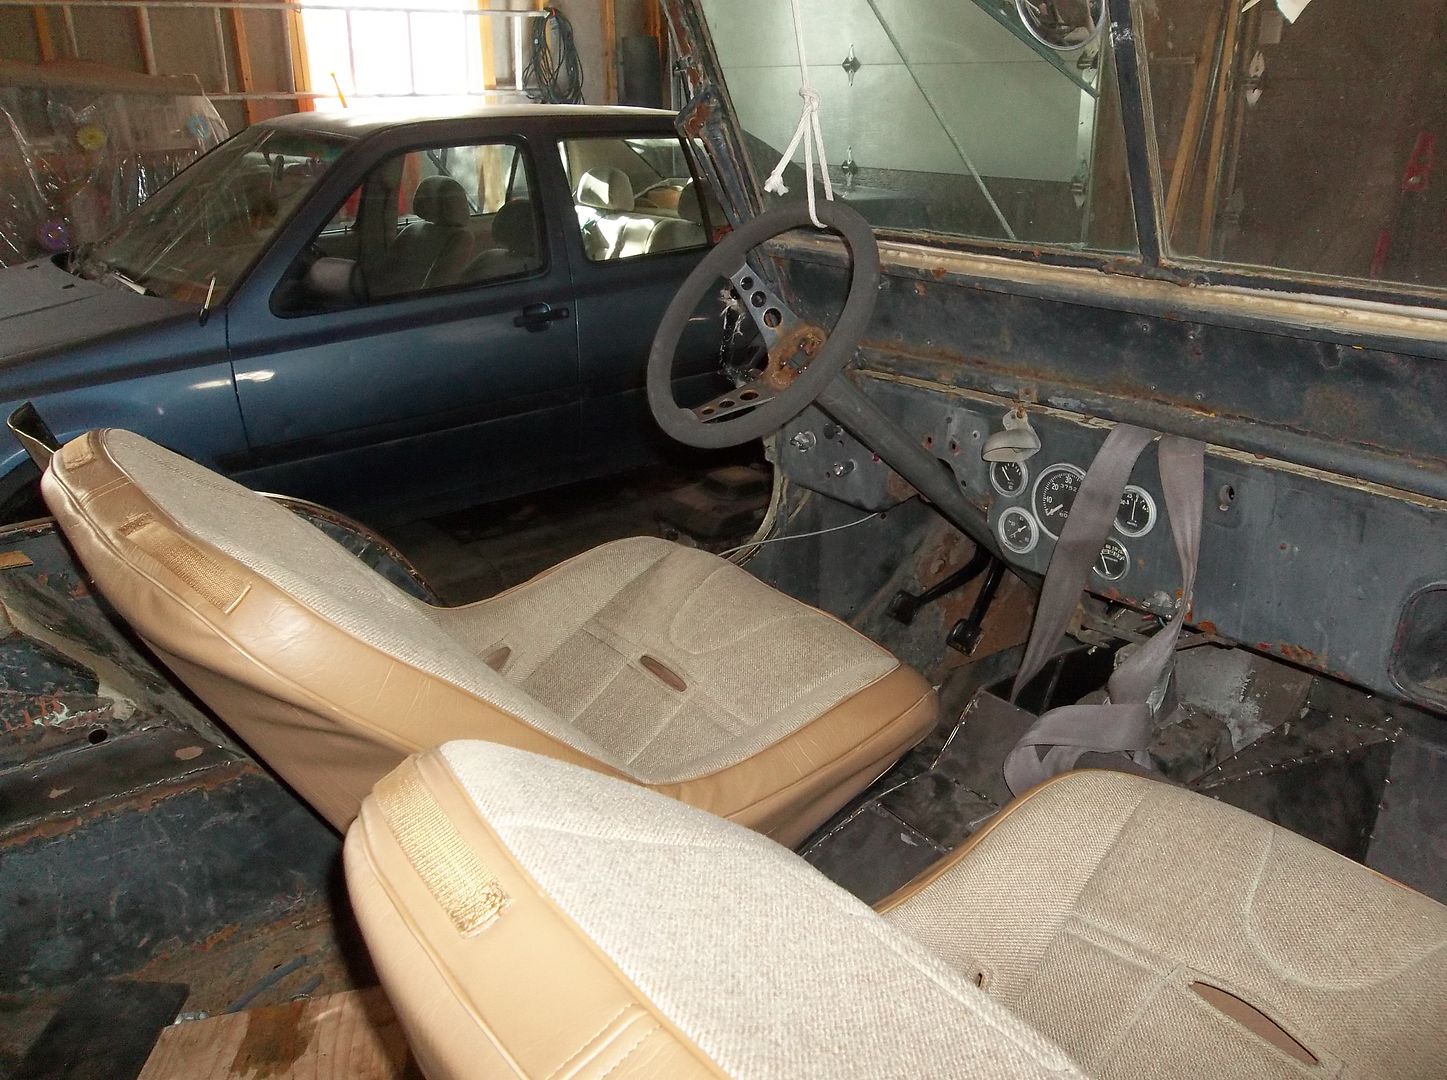
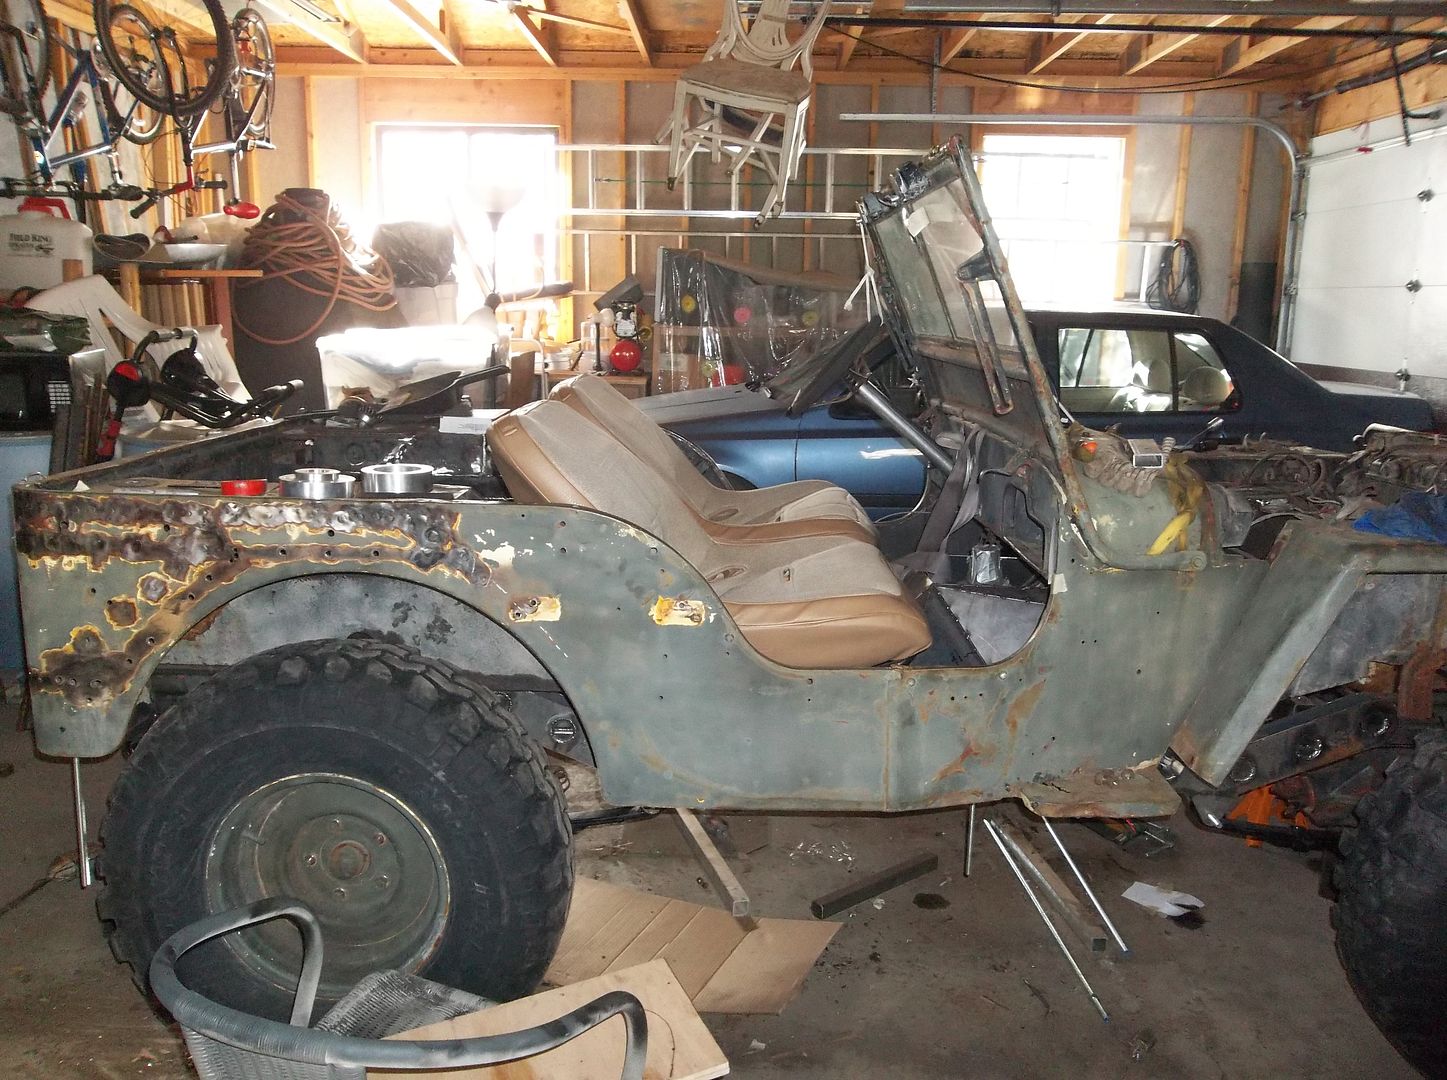
Here is where the steering column and wheel is going to end up. I need to order a column between 28-29" long to the joint centerline.
The steering column feels pretty good overall. It passes the 'wrist to the top of the wheel' test that I generally use for setting up my seating position. The angle of the steering wheel is a little more angled than I would like, but I can't really do much about that without going to a tilt wheel. With this steering wheel size and location I can get my leg out from under it when exiting the vehicle with NOT having to remove the wheel.....with a removable wheel it will be that much better.
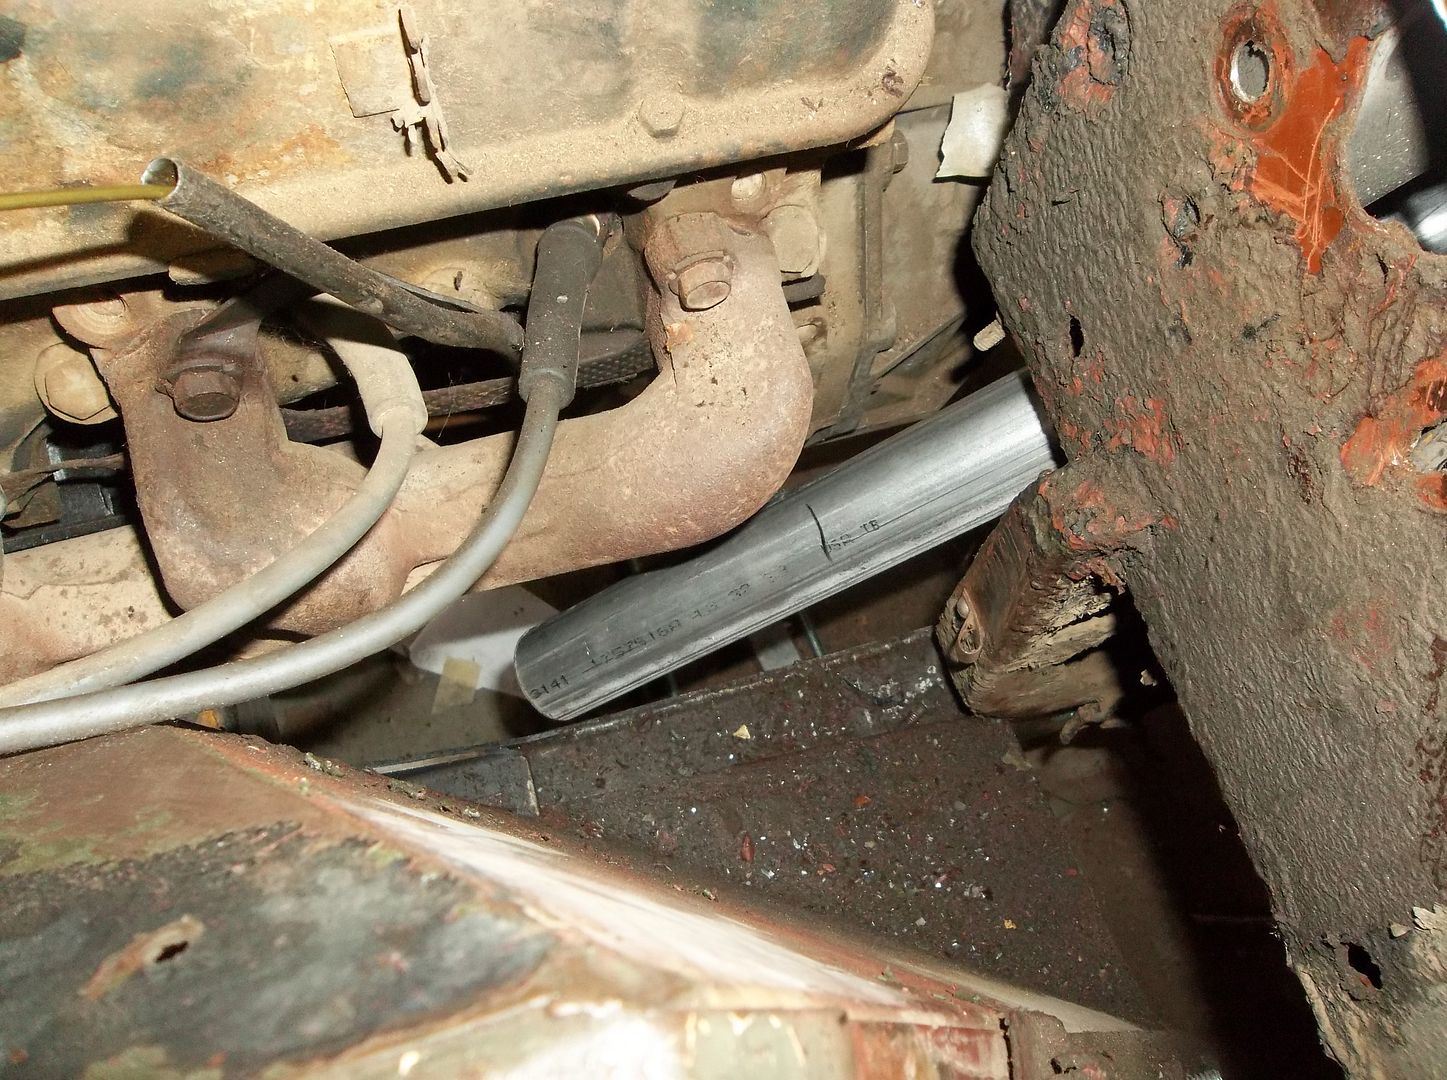
Here is where the column drops out of the firewall. The location isn't bad at all. It clears the engine no problem and with the 28-29" column I will be able to run a single joint at the bottom of the column and a single joint on the steering box with just a straight shaft between them.....
Now I need to start building the mounts for the steering column at the floor and dash while I wait for the steering column. I also need to make my adapter for the manual master cylinder and decide on a hydraulic clutch master and slave system.....

I modified the top of the XJ pedal assembly. I cut it off at 90 degrees to the mounting face right at the 'buldge' for the clutch pedal bracket. This seemed the best place to trim the pedals to get the assembly higher under the dash.

Here is where the top two mounting holes ended up. Ignore the previous holes from the previous hanging pedal conversion from who knows what....

The pedals ended up to the left of the steering column hole. This was one of the biggest reasons to use the XJ pedal assembly. It sure gives you a lot more room in the TIGHT foot well!

I needed to start mocking up the steering column so I could determine the length I need to order. I made this thing out of $5 of muffler tubing and the old steering wheel welded together.


Here is where the steering column and wheel is going to end up. I need to order a column between 28-29" long to the joint centerline.
The steering column feels pretty good overall. It passes the 'wrist to the top of the wheel' test that I generally use for setting up my seating position. The angle of the steering wheel is a little more angled than I would like, but I can't really do much about that without going to a tilt wheel. With this steering wheel size and location I can get my leg out from under it when exiting the vehicle with NOT having to remove the wheel.....with a removable wheel it will be that much better.

Here is where the column drops out of the firewall. The location isn't bad at all. It clears the engine no problem and with the 28-29" column I will be able to run a single joint at the bottom of the column and a single joint on the steering box with just a straight shaft between them.....
Now I need to start building the mounts for the steering column at the floor and dash while I wait for the steering column. I also need to make my adapter for the manual master cylinder and decide on a hydraulic clutch master and slave system.....
reece146
Automotive Artist
Also check your right hand at 9 o'clock and left hand at 3 o'clock position (fingers wrapped over and outside the wheel) - very important to be able to catch a vehicle at full lock - and a SWB Jeep with power can be as "fun" to control at the limit as a Honda S2000 so you need to be able to react fast and have arm placement correct.
That may still work with the wrist over the wheel test. I do that one too when strapping on a new vehicle but I make sure both tests work.
That may still work with the wrist over the wheel test. I do that one too when strapping on a new vehicle but I make sure both tests work.
jeepdreamer
Expedition Leader
Drive by wire...
Maybe you should DX the mechanical steering and try and rig up a drive by wire system? hahaha! Loving the progress and can't wait to see where this goes!
Maybe you should DX the mechanical steering and try and rig up a drive by wire system? hahaha! Loving the progress and can't wait to see where this goes!
Metcalf
Expedition Leader
love this build... but to me, it looks like your seat are way to reclined.
Its all a compromise for sure. There is only so much room between the dash and the wheel tub in the back. One of the main issues with the factory seating position was that it was WAY too upright. The seat back was 90 degree to the floor. This was torture to drive, especially sitting on the factory seat bottom right on top of the fuel tank.
The new seating position is WAY better for the small cockpit. Is it perfect...no. I think to make it 'perfect' the floor section of the tub would need to be stretched about 3-4". The reclined seating postion RELLY helps get you shoulder back, butt down, and still give you a little room for your knees.
One other goal was to get my head below the short MB windshield as much as possible. With the stock seating position height, basically just sitting on the fuel tank, my head was always above the windshield. This was pretty uncomfortable with the wind always trying to take your hat off. Most of the time you would end up driving all slumped over with my face up close to the windshield....no fun.
Just remember, there is only so much space to work with.....I think this is the best way to use that space. I think people forget how small these old jeeps really are!
Metcalf
Expedition Leader
Also check your right hand at 9 o'clock and left hand at 3 o'clock position (fingers wrapped over and outside the wheel) - very important to be able to catch a vehicle at full lock - and a SWB Jeep with power can be as "fun" to control at the limit as a Honda S2000 so you need to be able to react fast and have arm placement correct.
That may still work with the wrist over the wheel test. I do that one too when strapping on a new vehicle but I make sure both tests work.
The cockpit is pretty dang small. I can touch the windshield while seated!
The wheel is small enough I can get my hands in any position really easy. Remember....VERY small cockpit!
I do agree that you need to be able to pay attention and react when needed while driving these old things. It should be way better than it was before! Now it will have about 6" of extra wheelbase and 4-8" of extra width. The day I brought it home from Montana in November was some of the slickest roads I can remember! There I was in a new to me, never really driven a 80" wheelbase at highway speeds, with a rear powr-lok diff and highway tires. The powr-lok in the rear sure made it interesting! While I wouldn't give it up for an open diff, it sure makes the rear end MUCH more aggressive on icy and snowy roads! Its kinda fun though....drive by throttle!
Metcalf
Expedition Leader
Maybe you should DX the mechanical steering and try and rig up a drive by wire system? hahaha! Loving the progress and can't wait to see where this goes!
I just got done building the power steering box mount and figuring out the steering column!
There really isn't too many other places that would work out well for the steering column no matter how remote you could make it. If the steering column was any flatter you wouldn't be able to get out from under the steering wheel. If the wheel was any lower it would be in your lap. The steering column is actually in a location very sloe to stock but just with a smaller wheel.
Overall the project is coming together pretty quick. I need to do a bit more stuff before I can tear it down, but its not that far away really. It will be running for EJS, that is the big goal....and I have a shake down run with friends planned for the 22nd of March also!
Metcalf
Expedition Leader
Nothing much to report.....two steps forward...one step back....
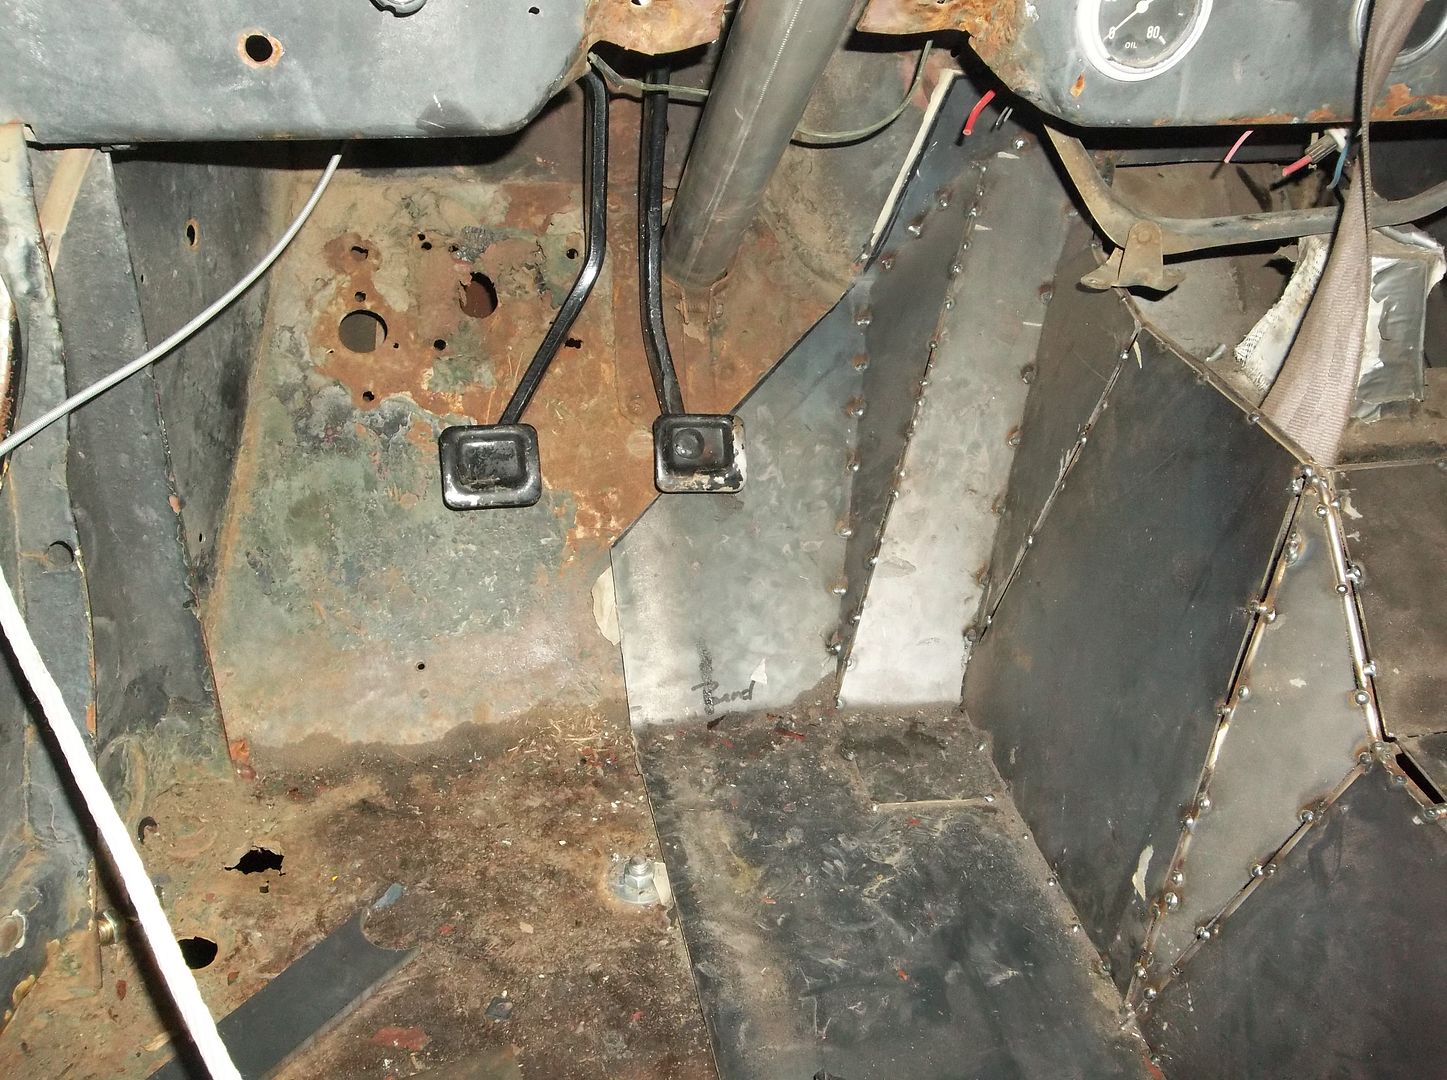
I decided to move the pedal assembly 1" closer to the column.
After sitting in the thing for a little bit and making lots and lots of vroom vroom noises I noticed that my left foot would get hung up on the clutch pedal while trying to go from foot on the floor to foot on the clutch. I attached a bungee cord to the pedals so I could better simulate a more realistic position and feel to the pedals. I could go from gas to brake with the right foot no problem, it might have even been a touch to far.
I can't move it any farther so this will have to work....
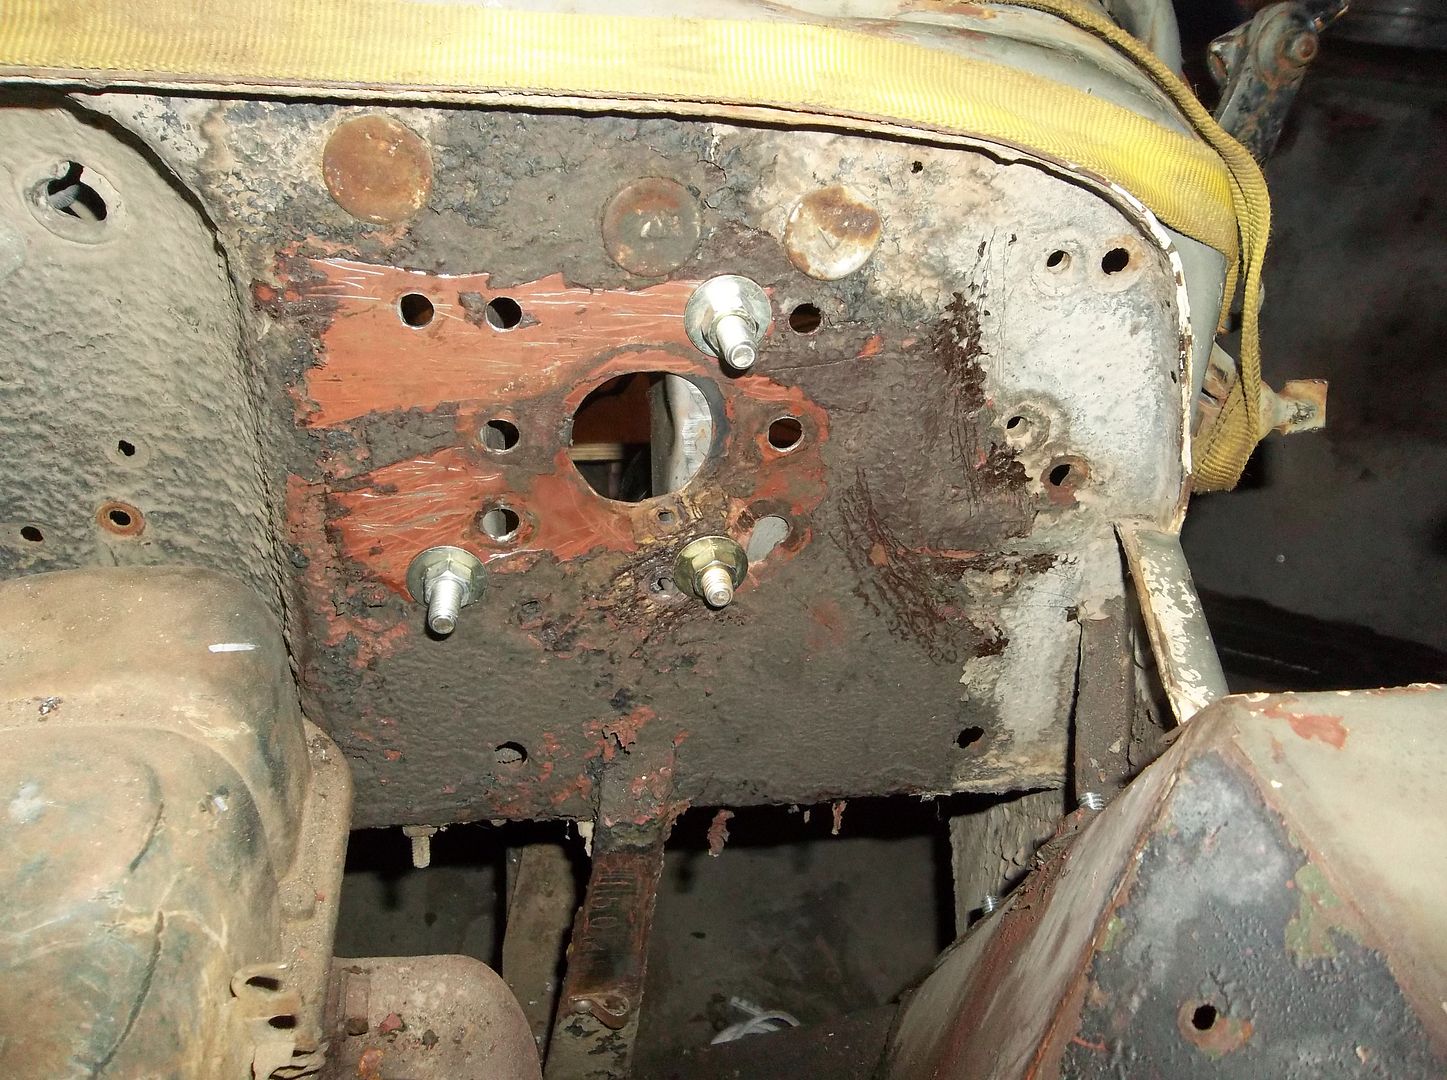
My firewall is starting to look like swiss cheese! I am going to need to make a patch panel to cover the entire area I think....that will have to wait till I pull the tub however.
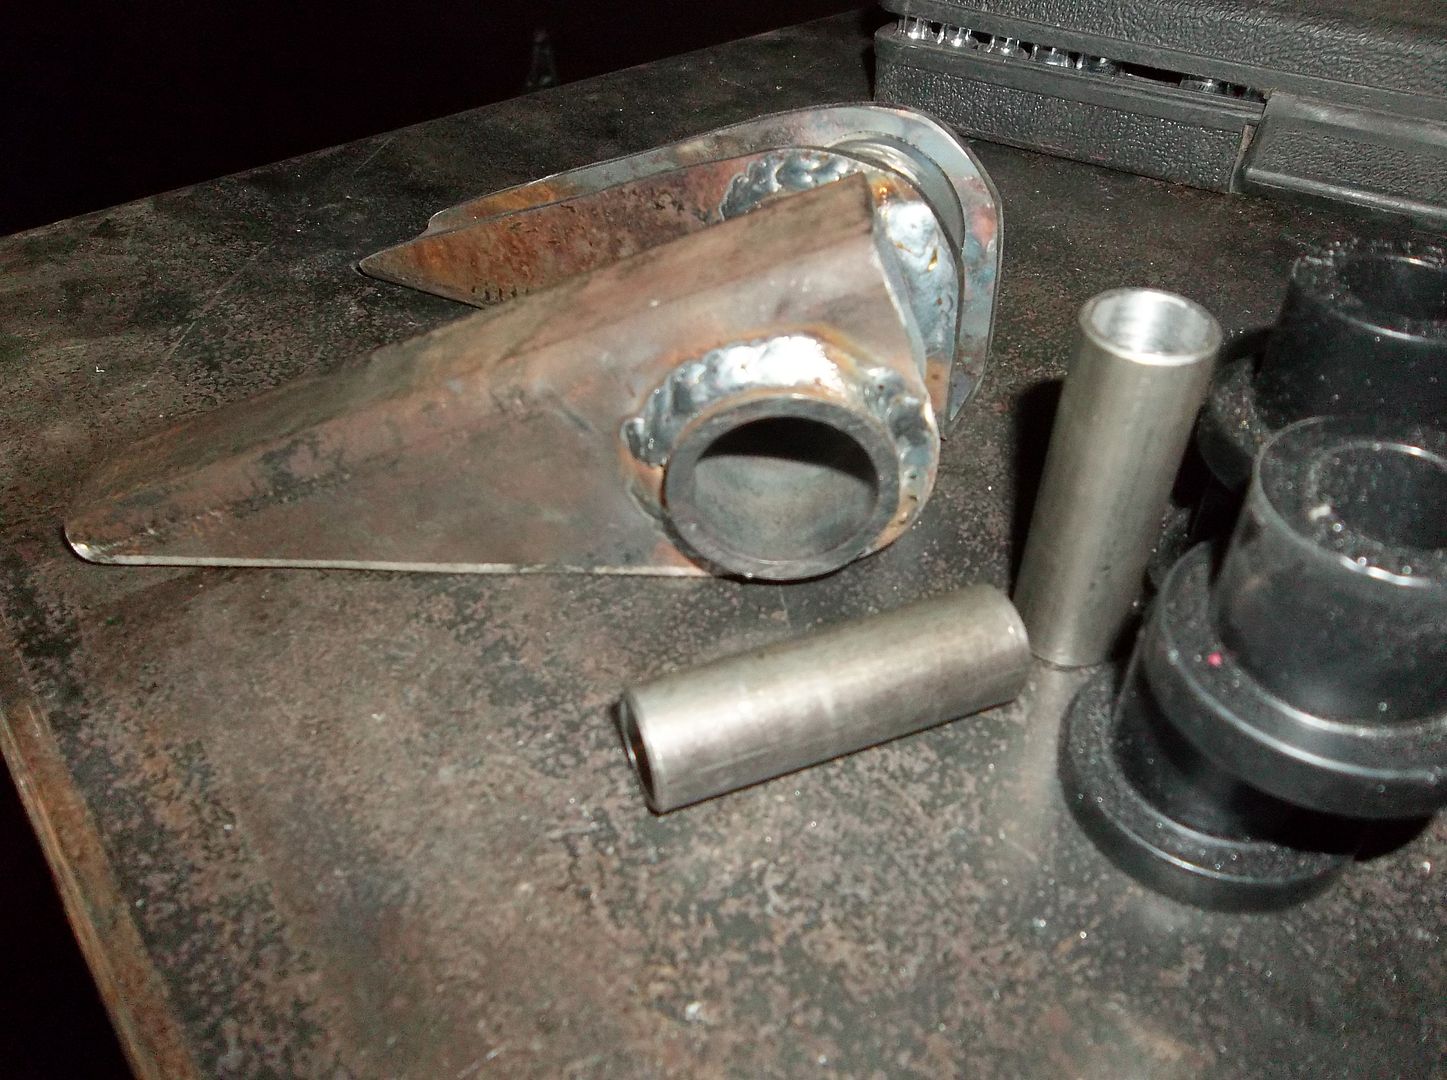
I also made the front shackle mounts. I used some 1x2 tubing and attacked it with a 1.25 hole saw. Then trimmed away some of the excess. This should be a good sized bracket to span from the frame rail to the bumper and help spread out the load from the shackle and the winch on the front bumper.
Anyone have any brillant idea's on a hydraulic clutch system? I most likely can't run a external slave since my transmission is so high in the chassis. The clutch fork would get too friendly with the gas pedal area.....

I decided to move the pedal assembly 1" closer to the column.
After sitting in the thing for a little bit and making lots and lots of vroom vroom noises I noticed that my left foot would get hung up on the clutch pedal while trying to go from foot on the floor to foot on the clutch. I attached a bungee cord to the pedals so I could better simulate a more realistic position and feel to the pedals. I could go from gas to brake with the right foot no problem, it might have even been a touch to far.
I can't move it any farther so this will have to work....

My firewall is starting to look like swiss cheese! I am going to need to make a patch panel to cover the entire area I think....that will have to wait till I pull the tub however.

I also made the front shackle mounts. I used some 1x2 tubing and attacked it with a 1.25 hole saw. Then trimmed away some of the excess. This should be a good sized bracket to span from the frame rail to the bumper and help spread out the load from the shackle and the winch on the front bumper.
Anyone have any brillant idea's on a hydraulic clutch system? I most likely can't run a external slave since my transmission is so high in the chassis. The clutch fork would get too friendly with the gas pedal area.....
postalWagon
Adventurer
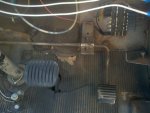
have you looked at how a mail jeep gas petal is set up, its a bent rod that you can adjust up to put the throttle cable in a better spot. 
also, have you looked into running "slider shackles"(www.jegs.com/i/AFCO/921/20236S/10002/-1?parentProductId=957633 best link I could find.) they are good for reducing ride height while keeping flexibility.
cheers!!


also, have you looked into running "slider shackles"(www.jegs.com/i/AFCO/921/20236S/10002/-1?parentProductId=957633 best link I could find.) they are good for reducing ride height while keeping flexibility.
cheers!!
Last edited:
jeepdreamer
Expedition Leader
Waaaaaaaaaaaaaaaa..............
Ok... stop teasing! Where's our updates!?!?!?!:elkgrin:
Ok... stop teasing! Where's our updates!?!?!?!:elkgrin:
Similar threads
- Replies
- 7
- Views
- 876
- Replies
- 8
- Views
- 420
- Replies
- 4
- Views
- 2K
- Replies
- 65
- Views
- 6K
