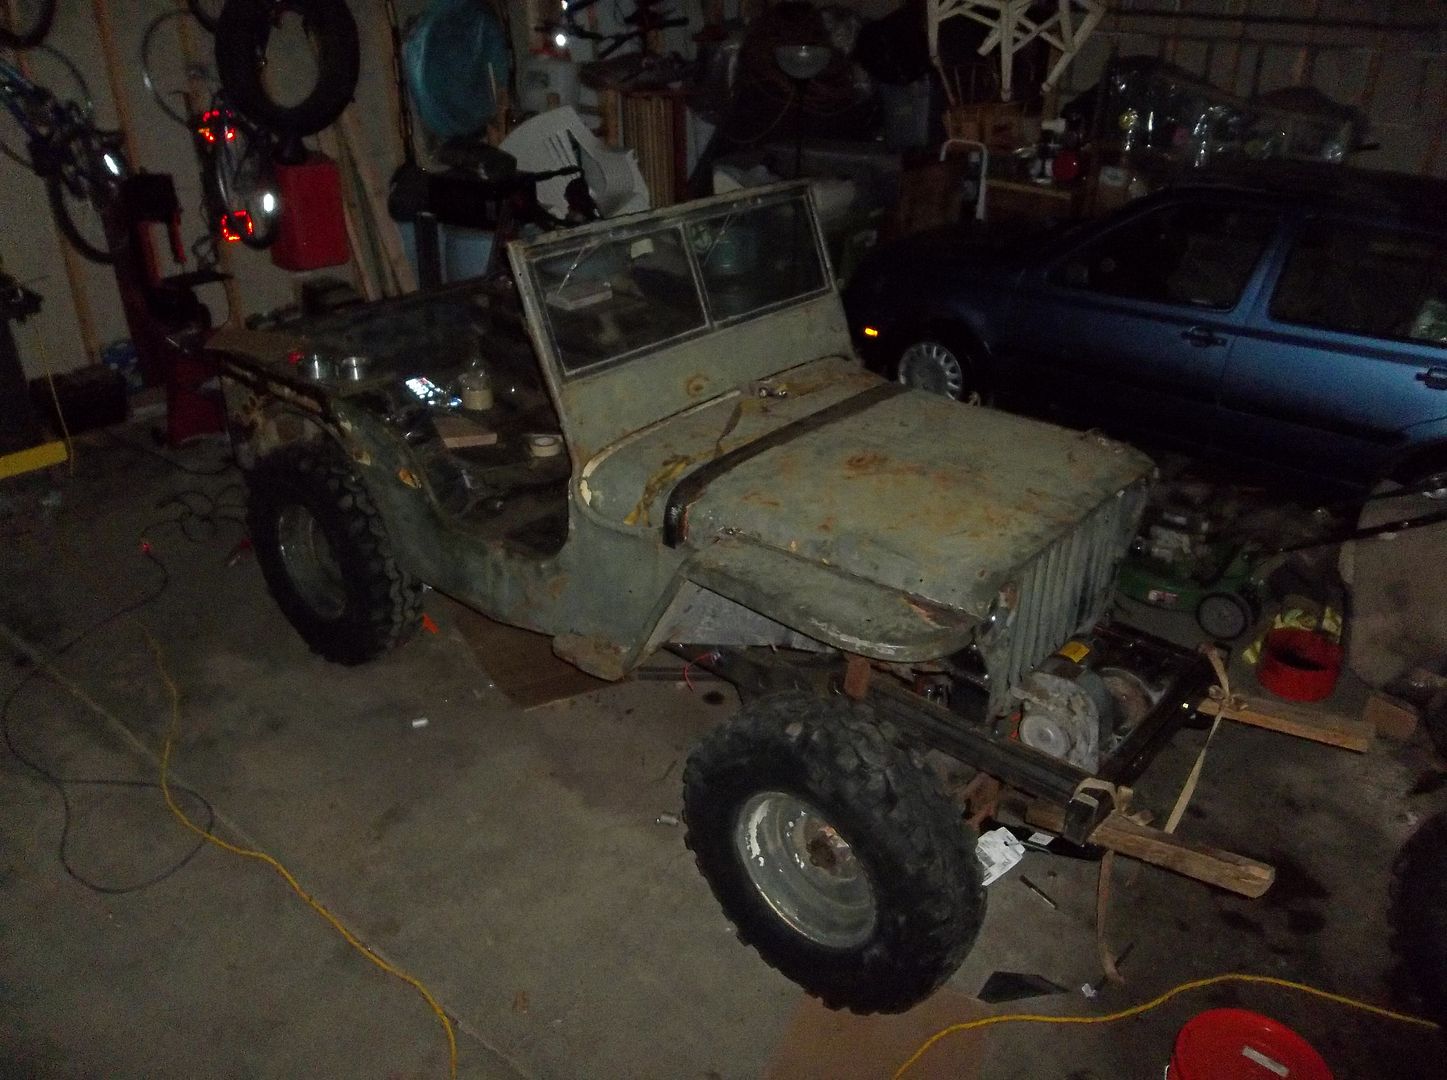
Rango.....1942 Willys MB

reece146

Automotive Artist
Looks very similar to what I did to mount vented Suzuki rotors and callipers (`93 ~ `98 Sidekick LWB) to the Scout II axle in the back of my Cherokee.

The only thing I did differently was I used ~1.5" round bar stock (forget the exact diameter) to create bosses for the holes for mounting the calliper carrier to the main mount. They were welded to the main mount and I had them milled to the correct thickness and plane to centre the calliper over the rotor.

The vented callipers with my full float kit are quite a bit offset to the rotor compared to yours. If I could have gotten away with a washer or two I probably would have done that (welding them permanently in place).
 

Metcalf

Expedition Leader
100_0665.jpg


It was nice enough outside on Saturday that I was able to rip the axles out of the old frame. Now I can tear into the D44 rear and steal some parts off the front axle for the rear floater conversion.....
 

Metcalf

Expedition Leader
100_0666.jpg


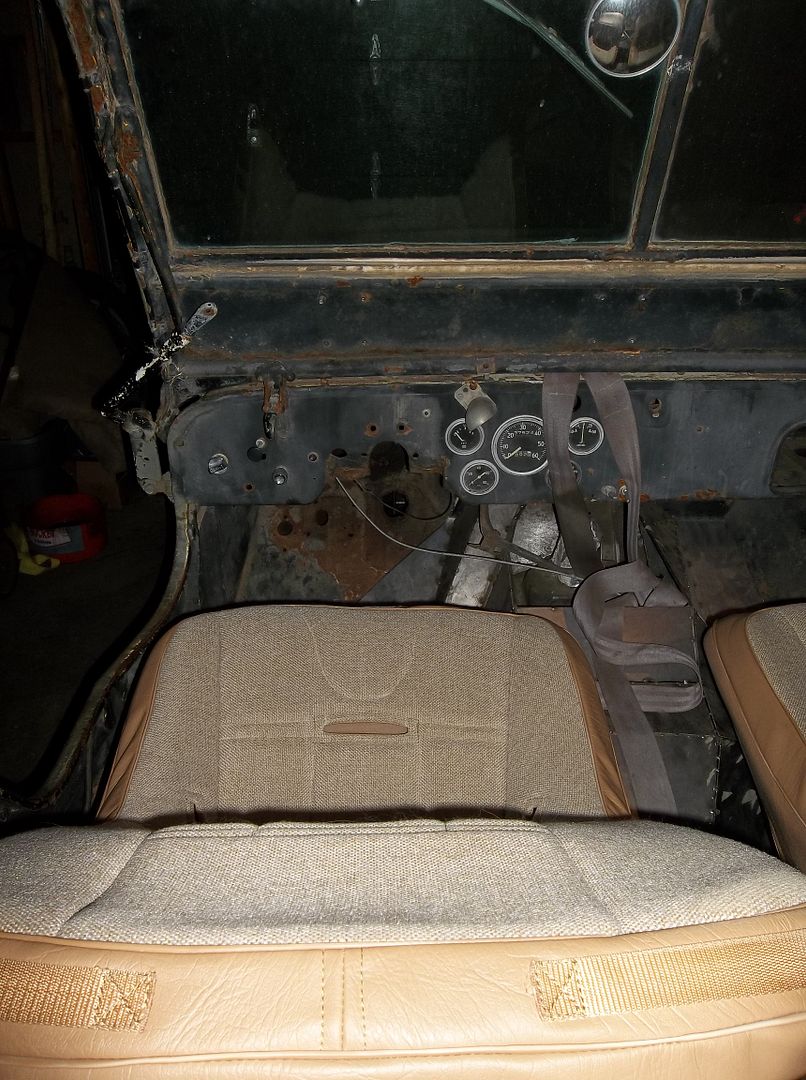
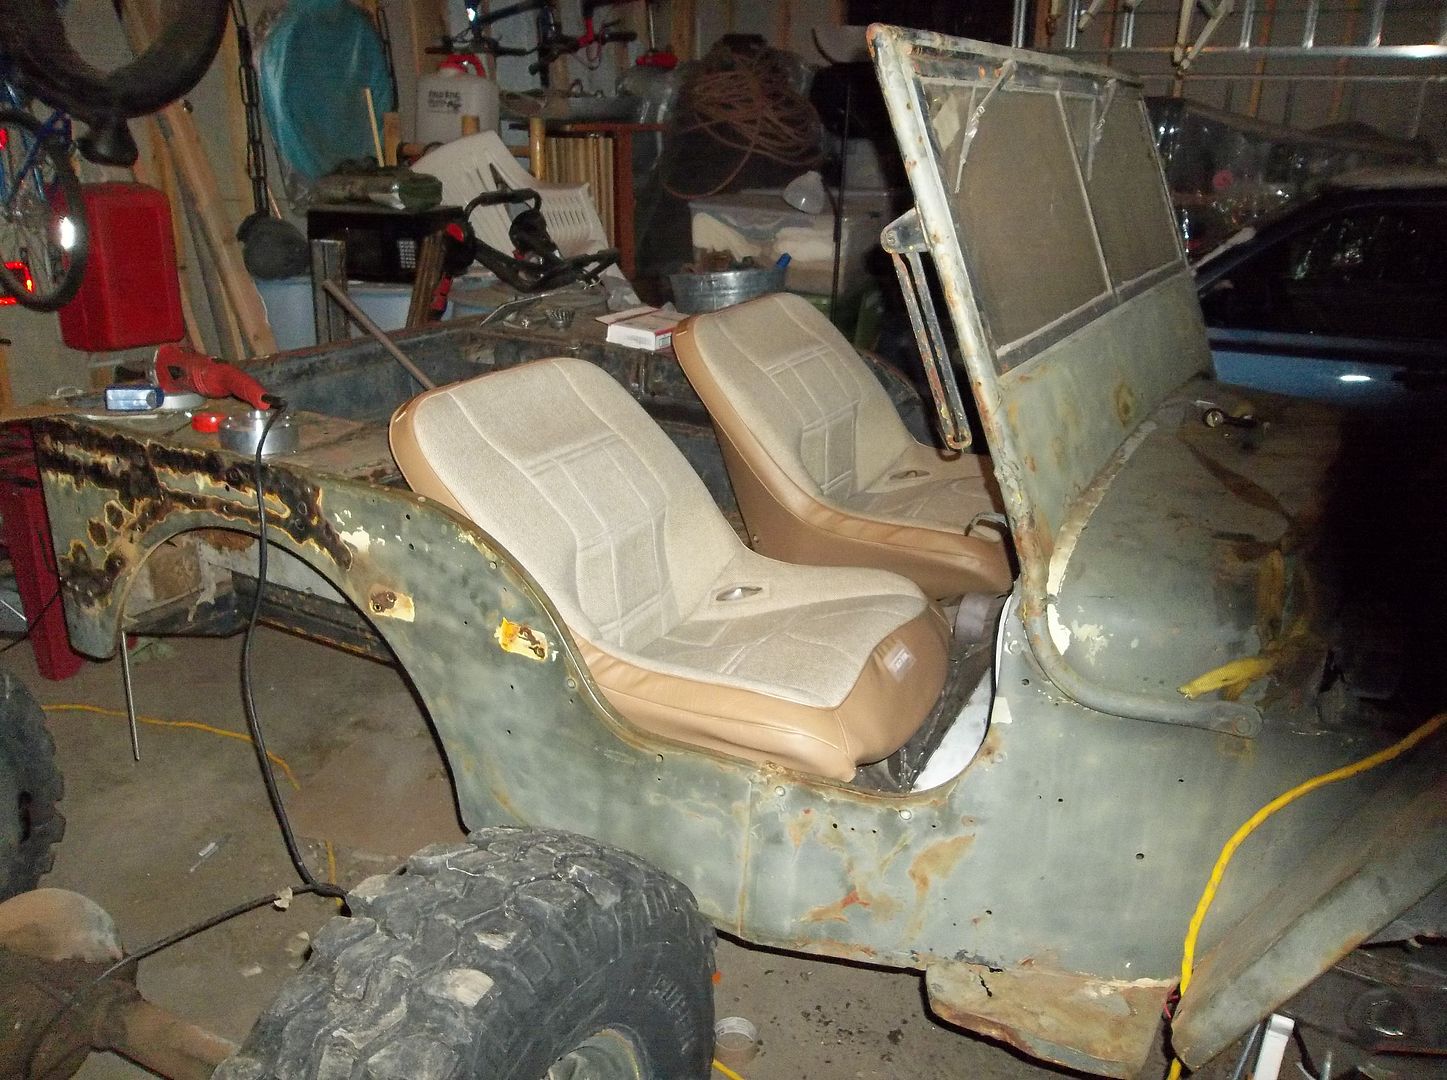
I got my seats in the mail! I ended up ordering a pair of the RaceTrim low back seats that where on sale through JeepSwag. I couldn't argue with $214 for a PAIR of seats delivered. Overall I am very happy. I will be even more happy when the 'pootch' of fabric goes away on the seat back! I think once they wear in a little bit they will look more normal. Overall they are very comfortable, especially compared to stock!

The rear of the seat frame is sitting on the floor and the front of the seat ( at the front end of the flat mounting strap on the bottom ) is approx 6.25" off the floor! The seats are leaned back to sway the least!

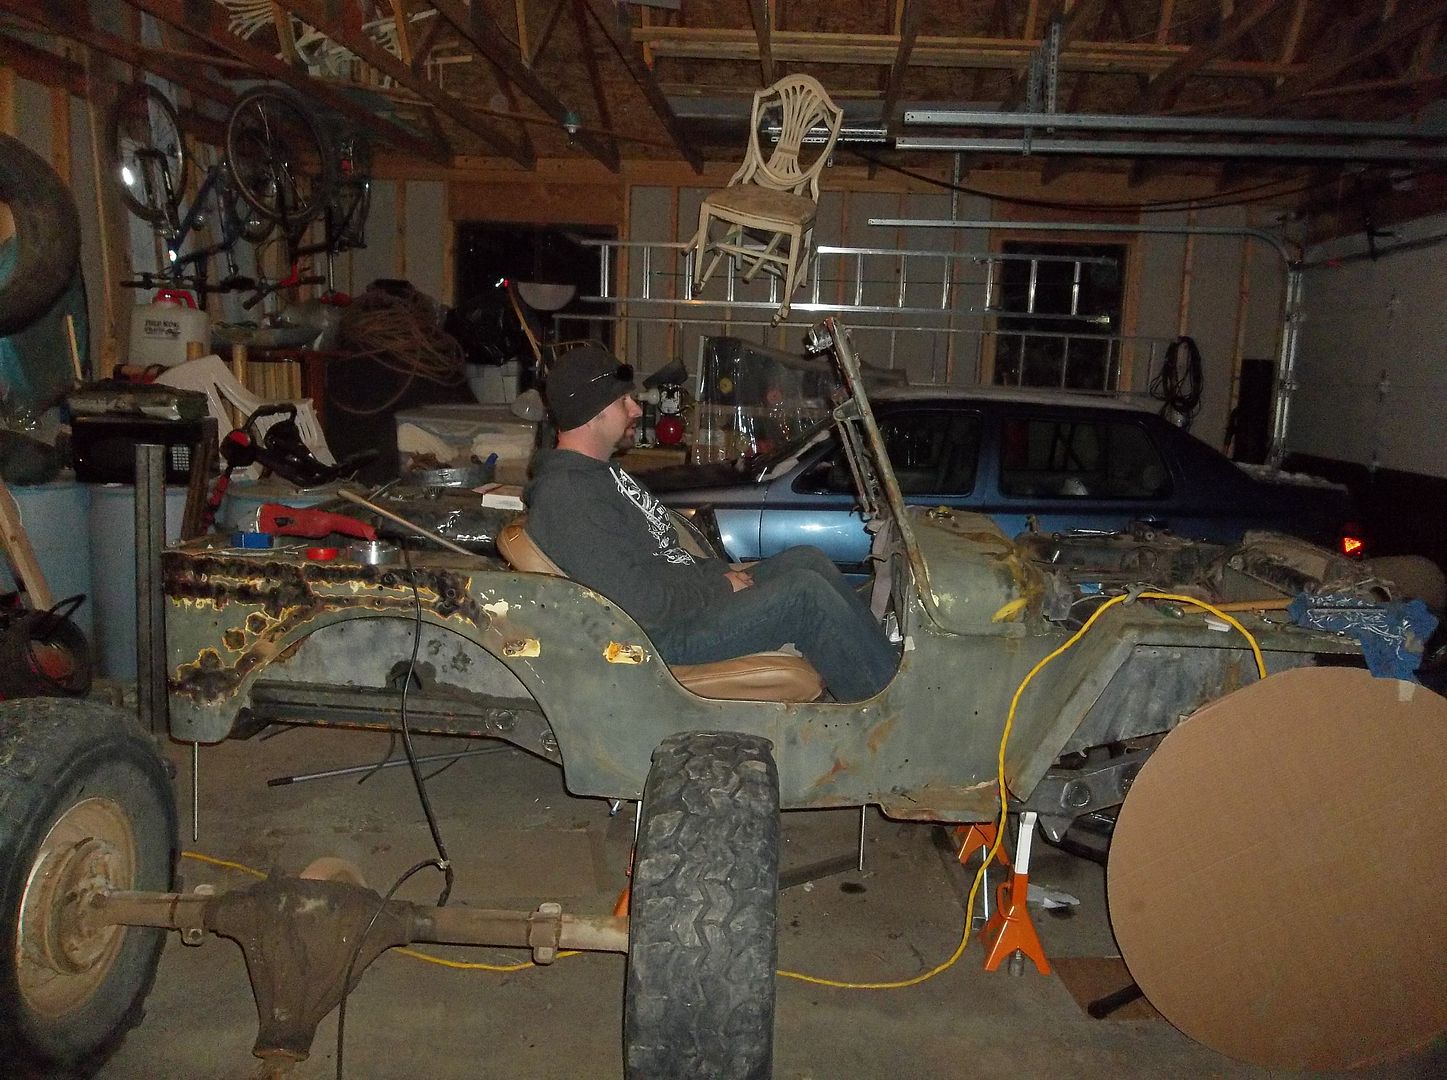
I'm still playing with the seating position, but so far I like it. Its kinda rat rod, hot rod, low rider, and rock buggy all mixed into one. I have a pretty long torso, but not super long legs. I'm not going to tell you the seating position couldn't use a little more foot room, but I think it will work. The way the seat in set low on the floor you can't just move the wheel tub back. To get things 'perfect' I think the tub would need to be stretched 3-4" in the floor area.

More to come. I am going to try to get some brackets mocked up. The fuel tank sump on the drivers side is going to be a little difficult to work around, but the other 3 brackets should be pretty easy. The battery in the fuel tank sump is going to be no problem, even sitting in a bracket/box to raise it off the floor of the sump. I should also have room for a tool bag under the front of the passenger seat....
 

Metcalf

Expedition Leader
100_0703.jpg


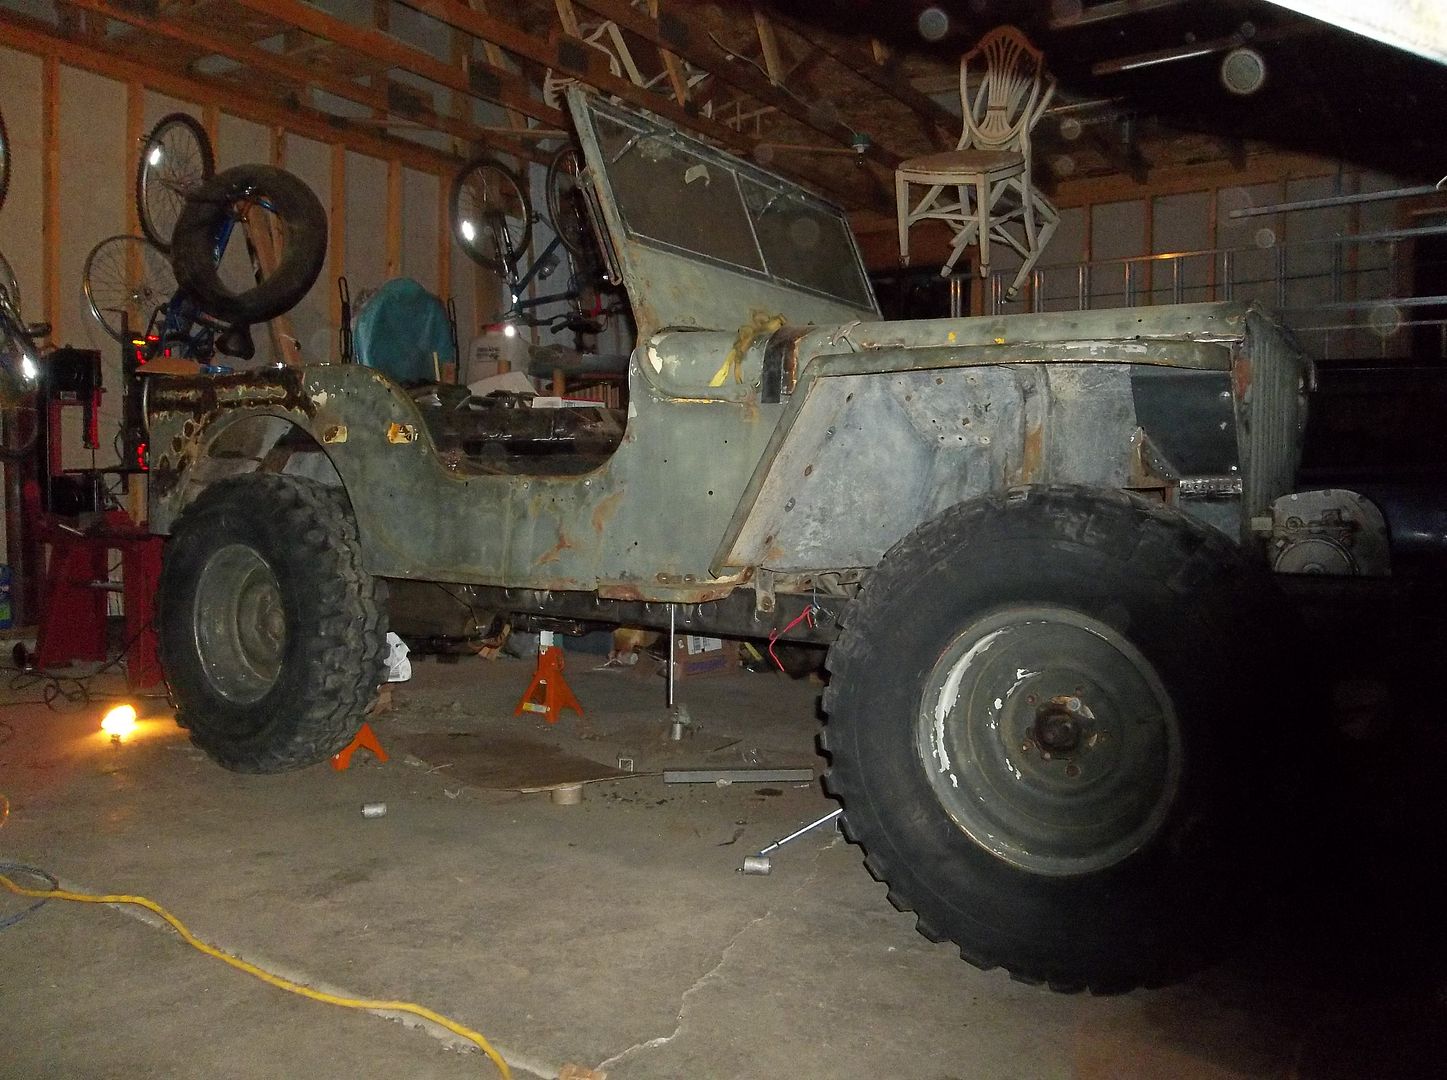
Its almost a roller!.......well......not really.

The weight is on the springs and axles now! The superlift 1" springs are new, but DANG I think they have a lot more than 1" of lift, I would probably say at least 3" over what I had before! I will be able to adjust that to a point with the shackle lengths....but only to a point....

100_0683.jpg


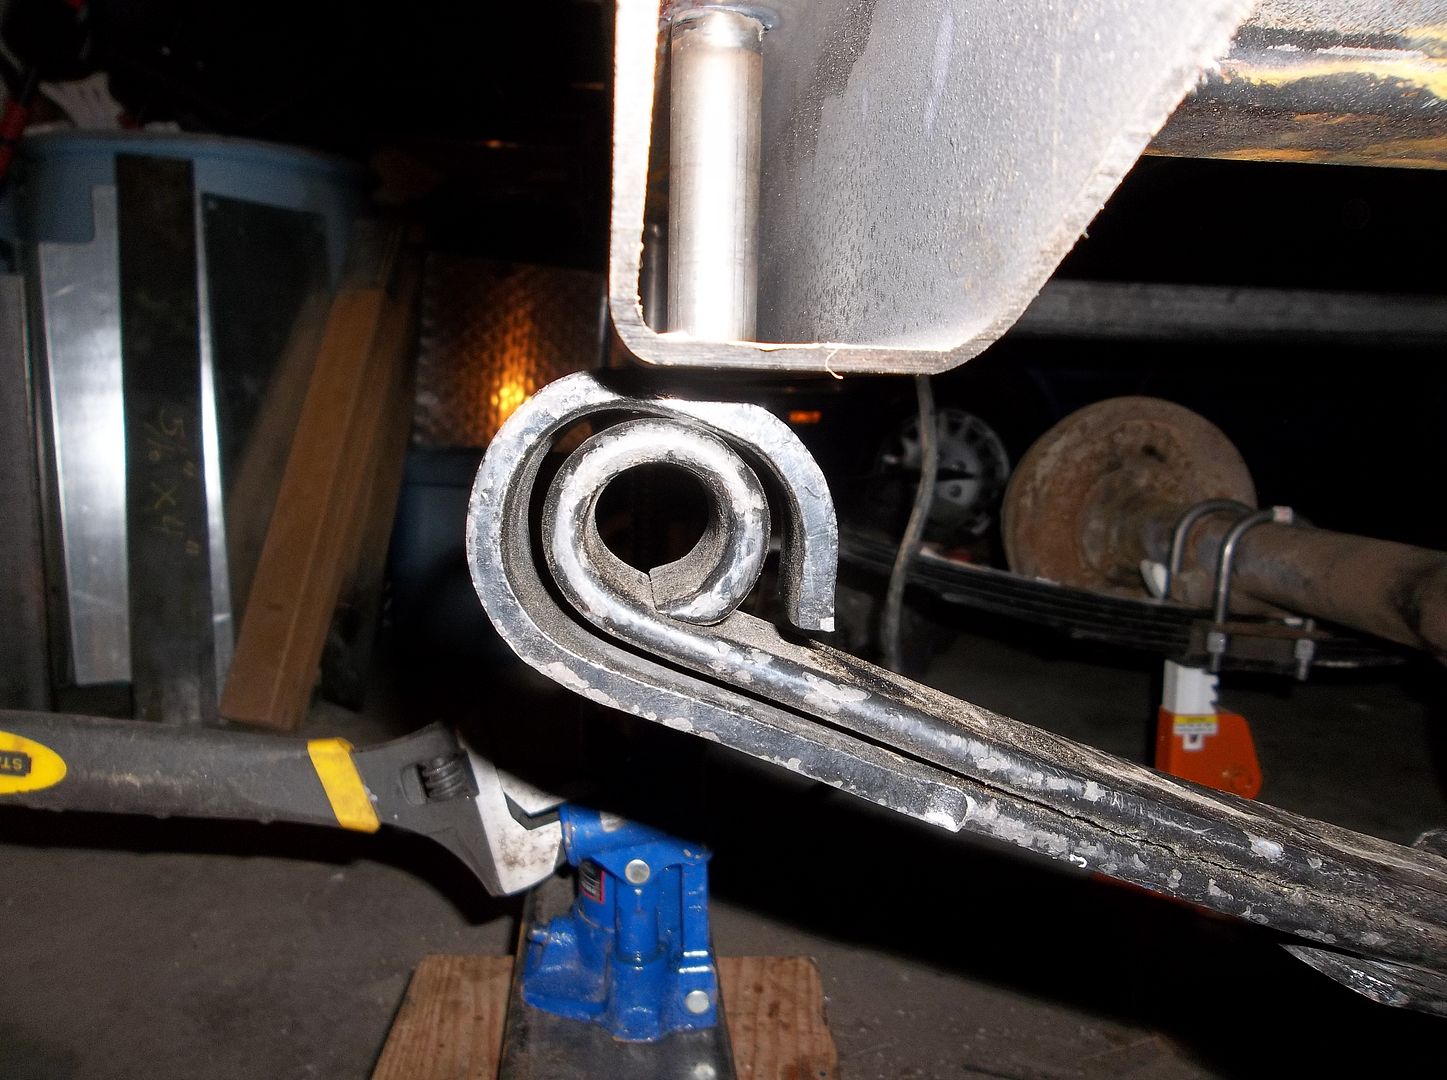
The rear spring is sitting right on the bumper! It is 1.75" lower than the front also. I need to do a shackle in the rear, but even at the current ride height ( spring on frame ) the ride height is a bit high I think? I may be able to have a high angle shackle with the bushing tucked into the pocket of the frame where the bumper drops down from the main rail.

100_0682.jpg


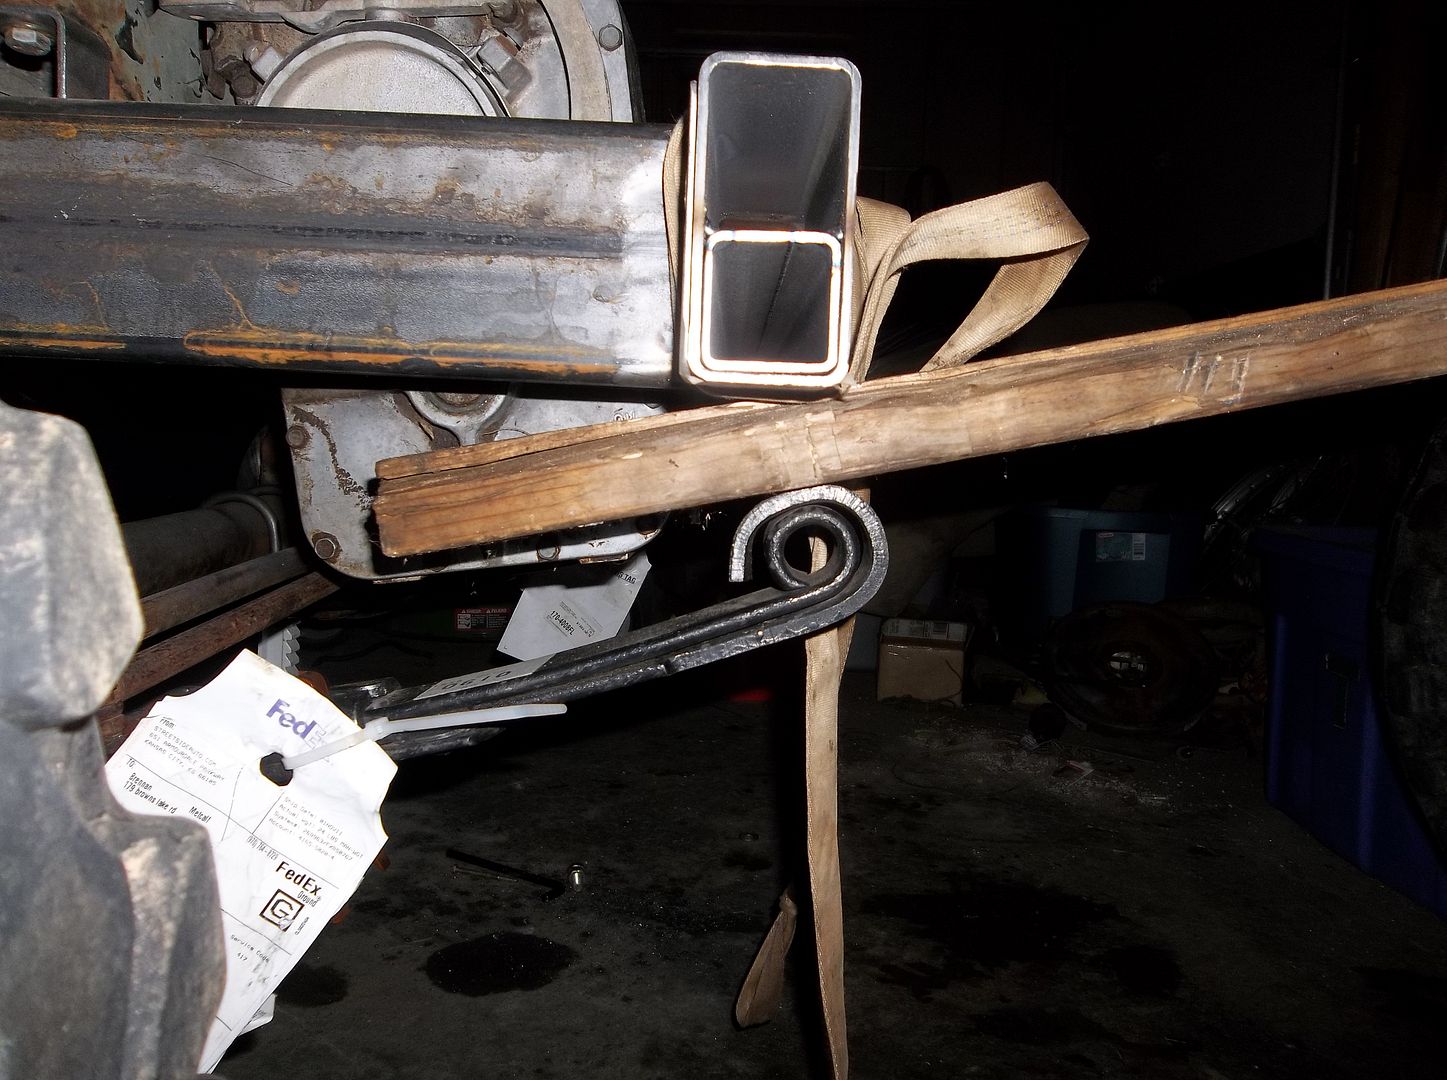
I spaced the front springs down with some scrap 2x4's to level the jeep mostly. I am going to need to do a short shackle and mount in front I think. I need to check the caster and pinion angle in front to see about where the front spring needs to end up.....anyone know what stock is? Even with a short shackle system the front is going to sit plenty high.

100_0680.jpg


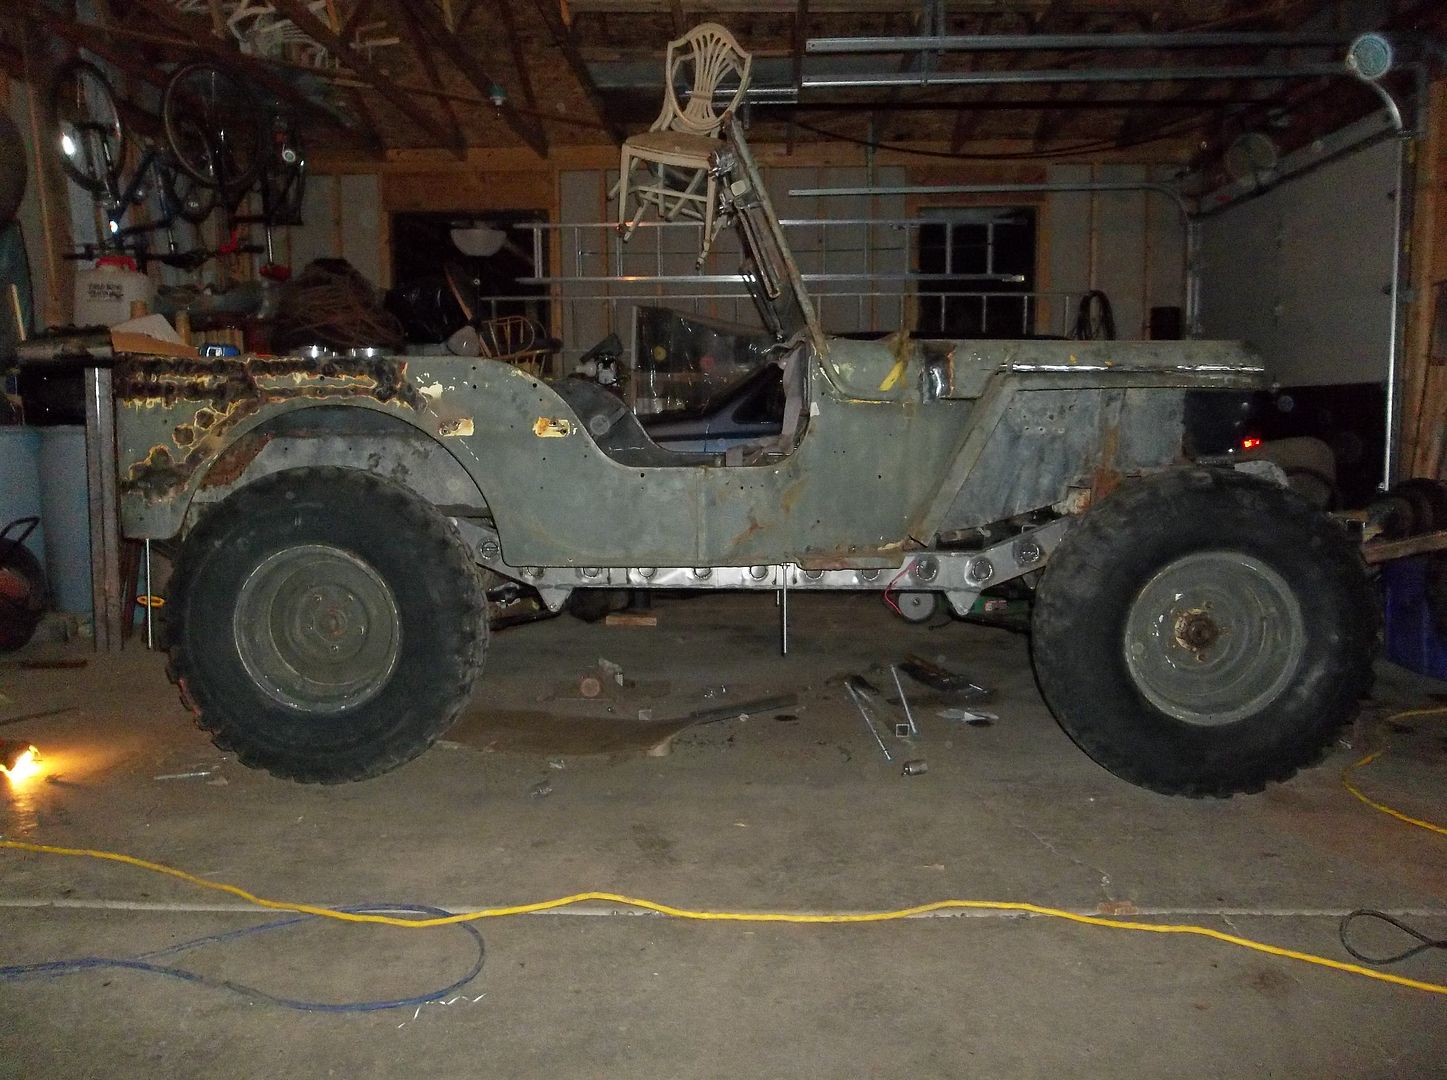
This is the current stance. The tires are just touching the ground but all the weight in on some jack stands. These are my old 32" swampers that measure 102" Cir...or 32.4" dia without any weight on them.

100_0681.jpg


100_0689.jpg


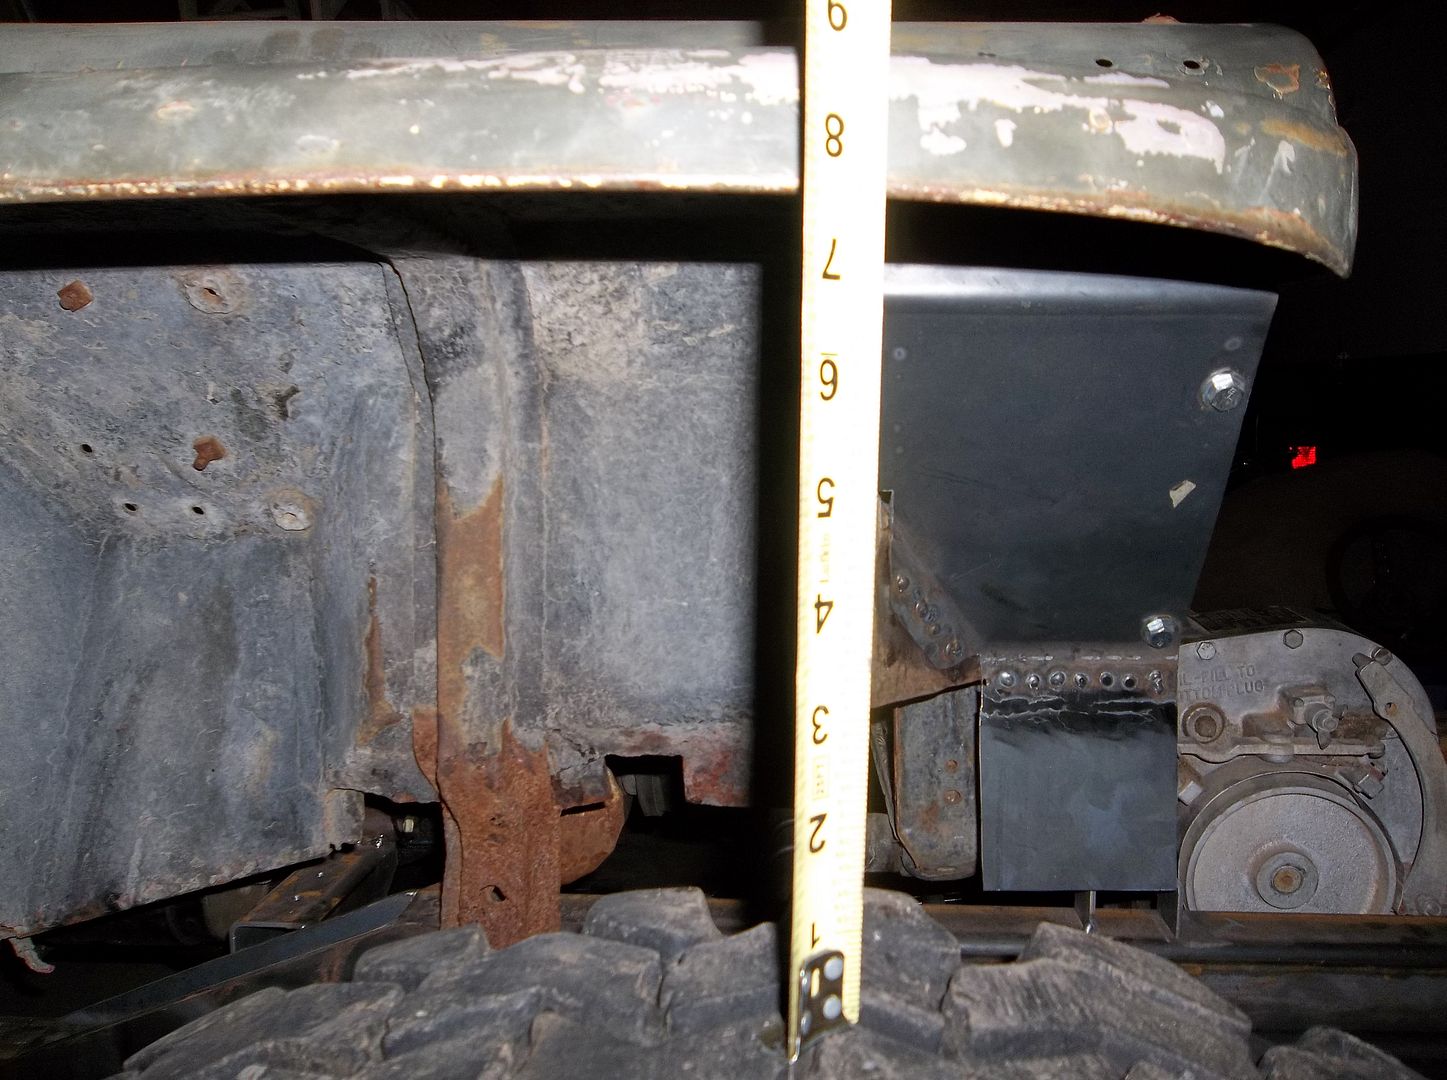
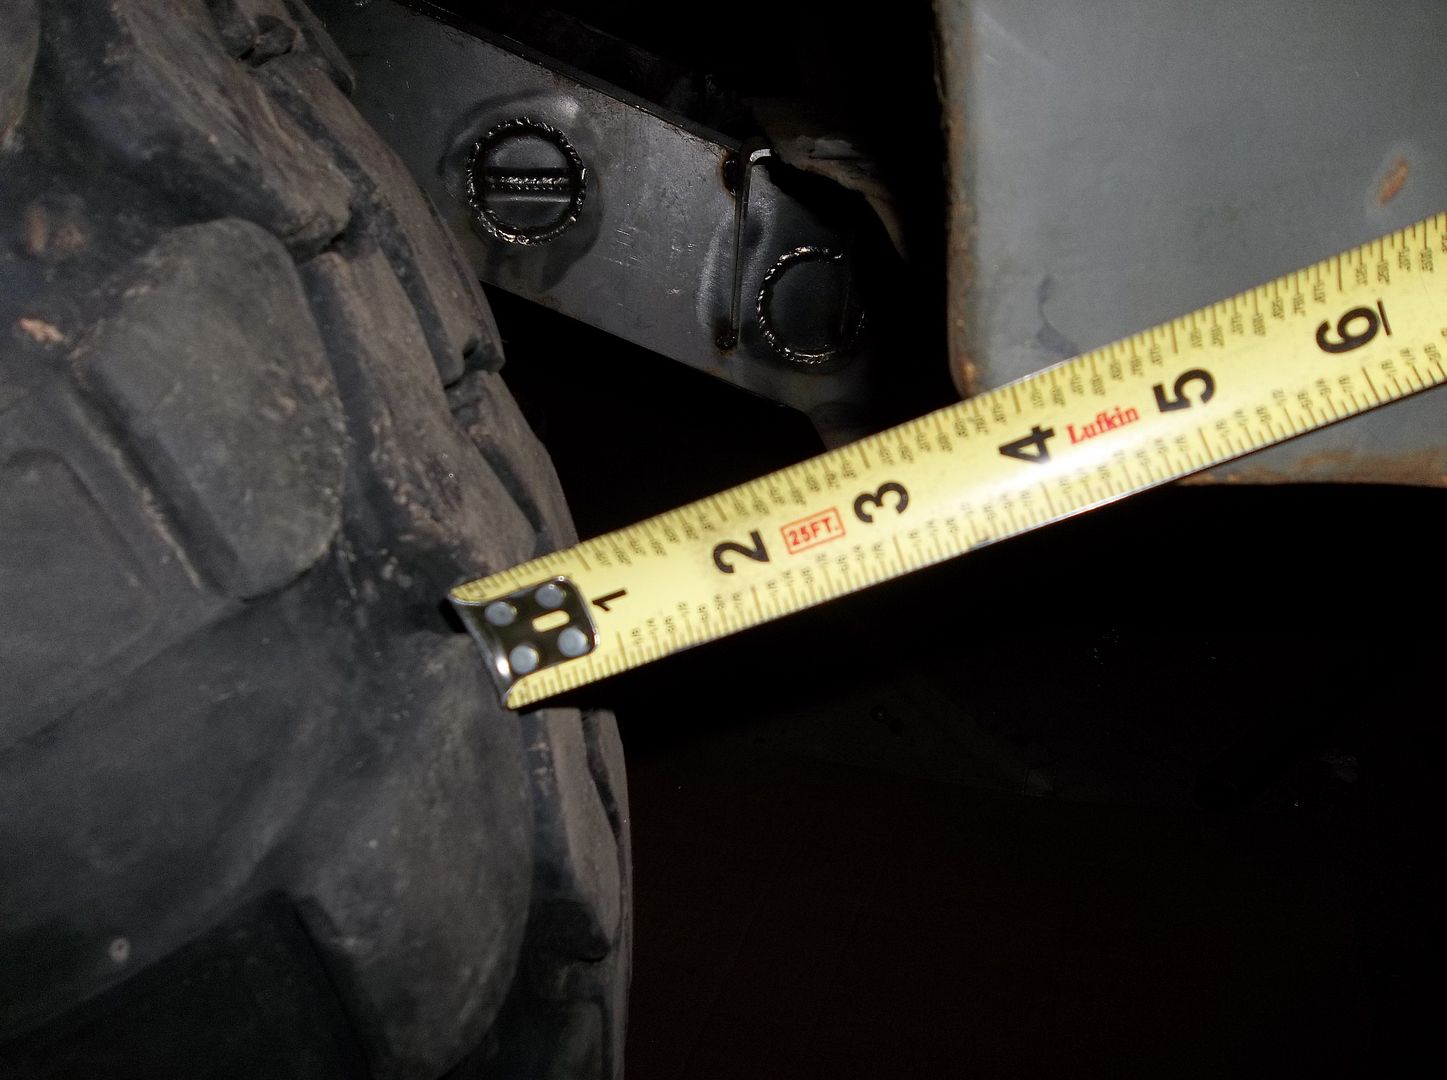
With the front fenders raised, as the jeep sits, I have 7.5" of clearance to the tire. The tire position looks pretty good, plenty of room for the tire to move around. It will be very interesting to see how the wheel opening looks with a 36 Irok in there!

100_0688.jpg


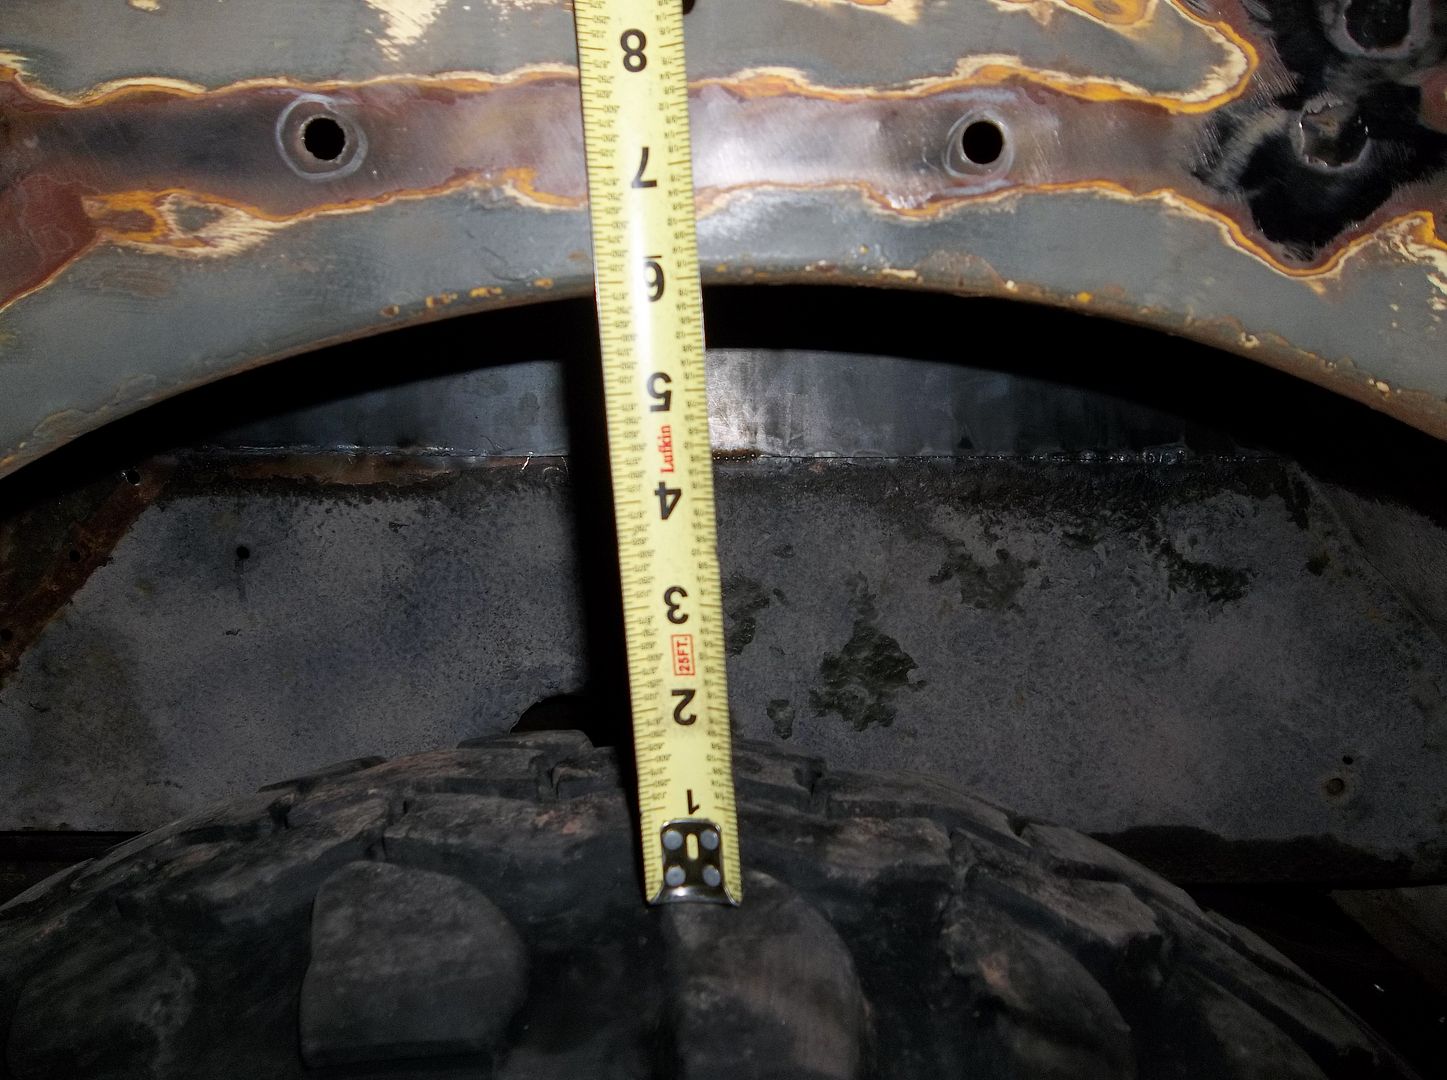
I have 6" of clearance on the rear wheel opening, which hasn't been raised yet. It needs to go up at least 2.75" to match the front. The rear wheel opening needs to be enlarged a LOT. I won't be comp cutting, but I will be going almost to the rear plane of the body.

100_0684.jpg


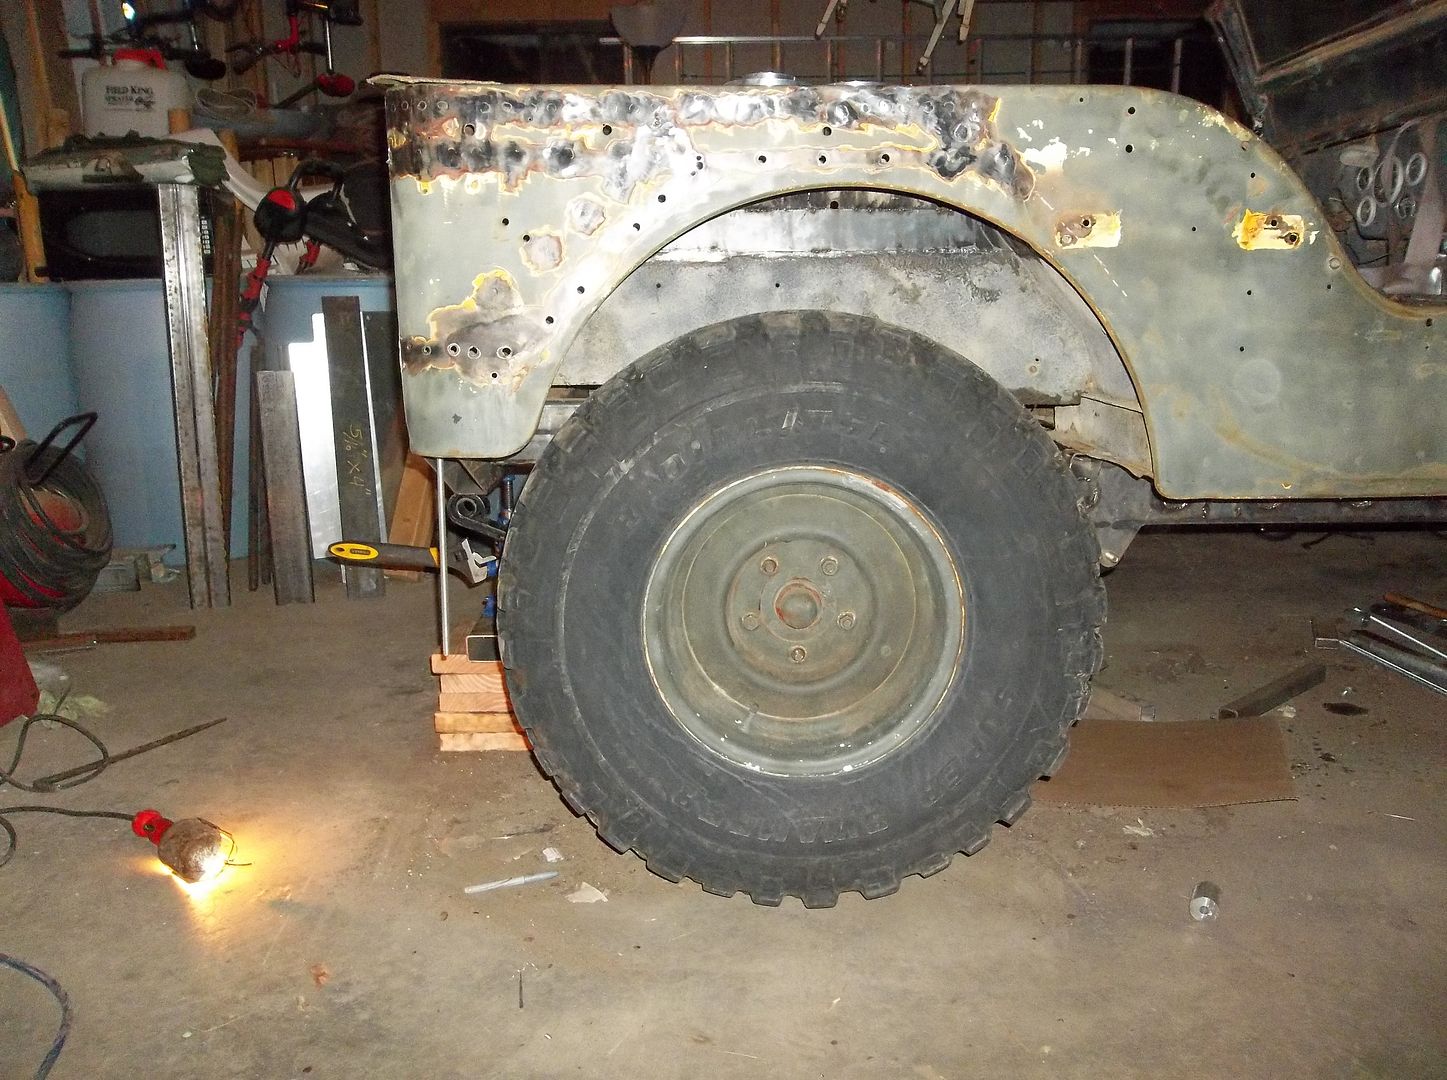
Here is the new tire position. The axle is moved back approx 2-3" from stock if my math was right. My tire was just about touching the front of the wheel opening before with the stock height springs. The tire just BARELY fit in the rear.

100_0687.jpg


Now I have about 3.5" from the tire to the wheel opening. I can also move the rear axle back up to another inch fairly easy but just drilling out the spring pad and u-bolt plate with another hole. I think it might work in this position, but I won't know till I get a bigger tire mounted on the correct wheel....and the rear axle is going to be about 3" wider when I get done.
 

Metcalf

Expedition Leader
I needed some new inspiration for my build. APU on Pirate was kind enough to post a more than 'chop worthy picture!

rangoirokchop.jpg


I think you get the idea! Doing a somewhat dimensional accurate 'chop like this really helps me put what I have in my head into metal....
 

VanIsle_Greg

I think I need a bigger truck!
^ So kool.

There is a 1948 CJ2a for sale locally....it is being sold as a rolling chassis project. I Soooooooo wish I could afford another project and had 1/10 the fab and design skills you have. Of course I want a KLR as well... WHAT IS THIS SITE DOING TO ME!!!!???

lol

Great work, cant wait to see it back on the trails!
 

Metcalf

Expedition Leader
^ So kool.

There is a 1948 CJ2a for sale locally....it is being sold as a rolling chassis project. I Soooooooo wish I could afford another project and had 1/10 the fab and design skills you have. Of course I want a KLR as well... WHAT IS THIS SITE DOING TO ME!!!!???

lol

Great work, cant wait to see it back on the trails!

Why thank you. I don't think this is rocket science or anything, but it does take a bit of thinking and head scratching!

If I was going to build another one, probably will someday, I would just start with a fresh tub.....and no base vehicle. Most everything is going to get changed anyways, so I don't think its a big deal as long as you have some 'hot rod' type laws at your DMV. At this point, I would probably do an aqualu aluminum tub and have them do some mods when they built it.....3" stretch in the belly section, larger rear tubs, custom tunnel, etc. I'm kinda burned out on sheet metal fab at the moment so buying a somewhat pre-modded body would be nice. I have the frame figured out, and it would be easy to stretch another few inches. Then you just have to fill it with whatever flavor engine, transmission, and t-case that might be around :) I would highly suggest doing a drivers drop front axle and transfer case with the engine/trans/t-case offset to the passenger side about 2+ inches. I just think this would work out 'better' for the most part. The best part is that building the 2nd one is always easier.....

Just think of it as a two seat KLR with 4 wheels......
 

Metcalf

Expedition Leader
100_0669.jpg


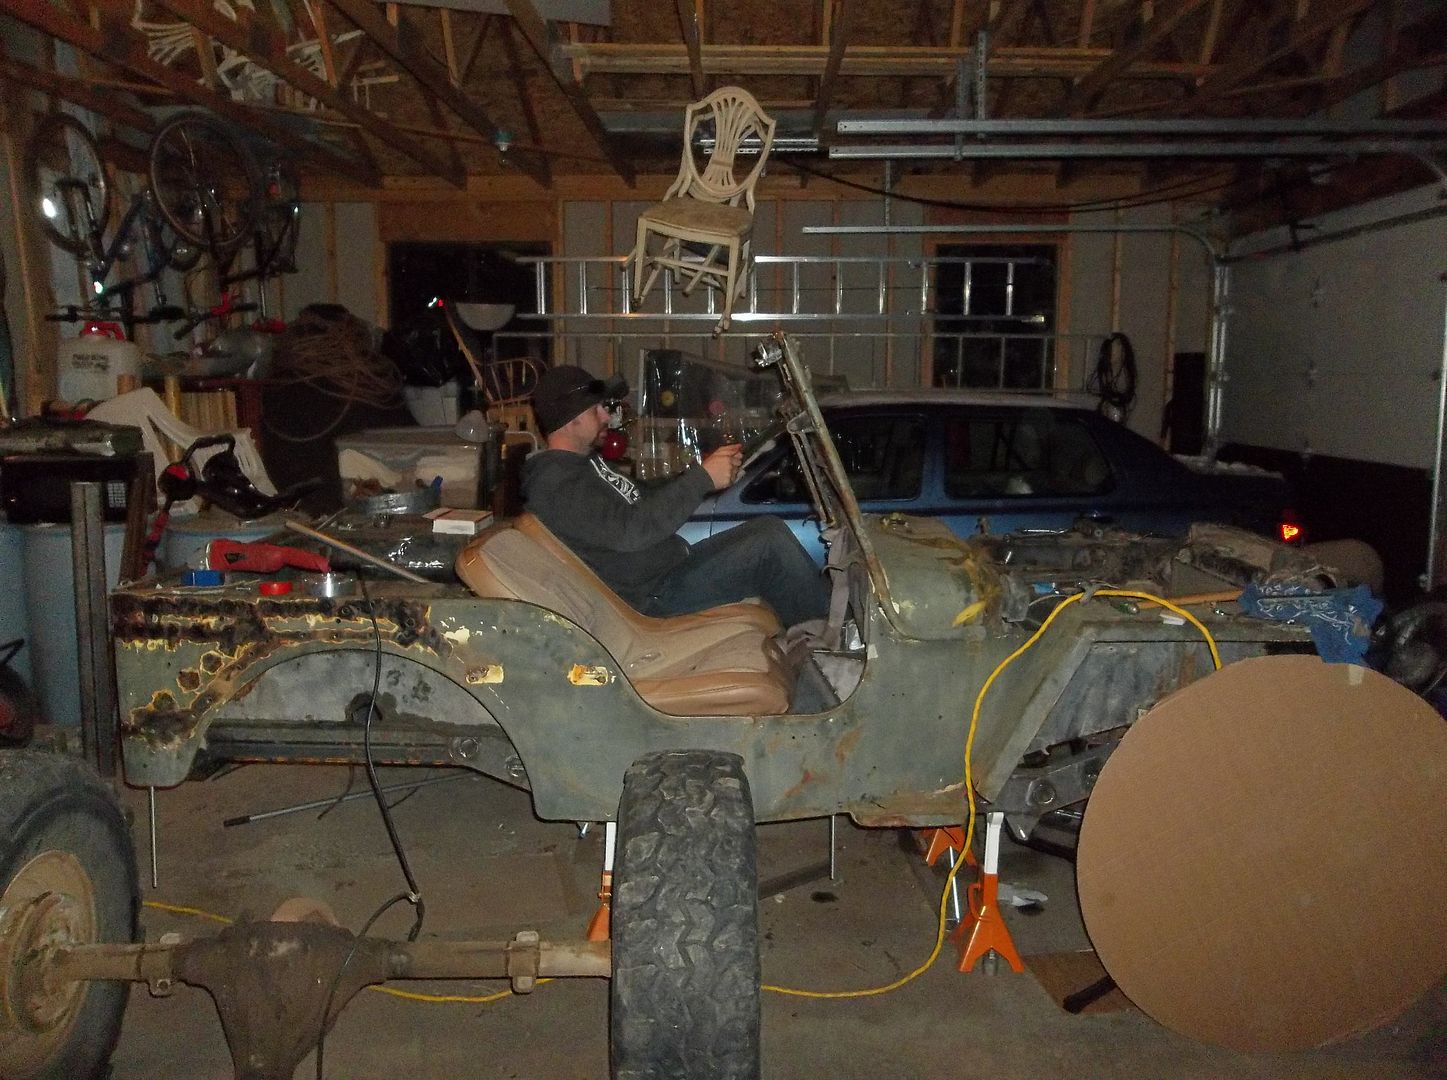
Here is the rough mock up of the seating position. Its tight but I think it will work. Its VERY comfortable compared to the old stock seating position. The rear of the seat frame is 3/4" off the floor and the front of the seat is approx 7" off the floor. The seat frames JUST clear the transmission tunnel.

I spent last night trying to come up with some simple seat mounts. That isn't going to happen. All 4 of the seat mounts are going to need to be different to work around the transmission tunnel and the old fuel tank sump. It will kinda be a pain in the rear.

I am slightly concerned about the clearance for my feet to work the pedals, but it HAS to be better than it was before......and that worked ok. I need to finalize the master cylinder and clutch master so I can install the pedal pack. I am pretty sure that I am going to have to make my own gas pedal that will be very low profile and take up minimum room.....yet still allow full travel for whatever carb(s) I end up with. I also need to make it look kinda stockish and add some dimpled 'pads' to the XJ pedal pack to make those look more factory.

I'm going to start making seat mounts tonight. I'm still scratching my head on the drivers side mount that is over the fuel tank sump. I need to have room for the battery in there too....
 

reece146

Automotive Artist
I think you need to work on steering column placement before burning any mounts in place. It looks like your arms are going to be mostly extended straight out in front of you holding the steering wheel at 9 and 3 o'clock?
 

Metcalf

Expedition Leader
I think you need to work on steering column placement before burning any mounts in place. It looks like your arms are going to be mostly extended straight out in front of you holding the steering wheel at 9 and 3 o'clock?

It should be kinda like this......

100_0670.jpg


This was the natural position that felt good to me. I am building an entirely new steering column mount. I can change the angle of the column a little bit but I can only change the plane of the steering wheel so much. I will be using a small steering wheel AND it will be removable for making getting in and out easier. Steering column length is pretty much a blank sheet of paper. I will NOT be using a steering column that has tilt, telescopic, blinkers, etc....to keep things cleaner and cheaper.
 

Metcalf

Expedition Leader
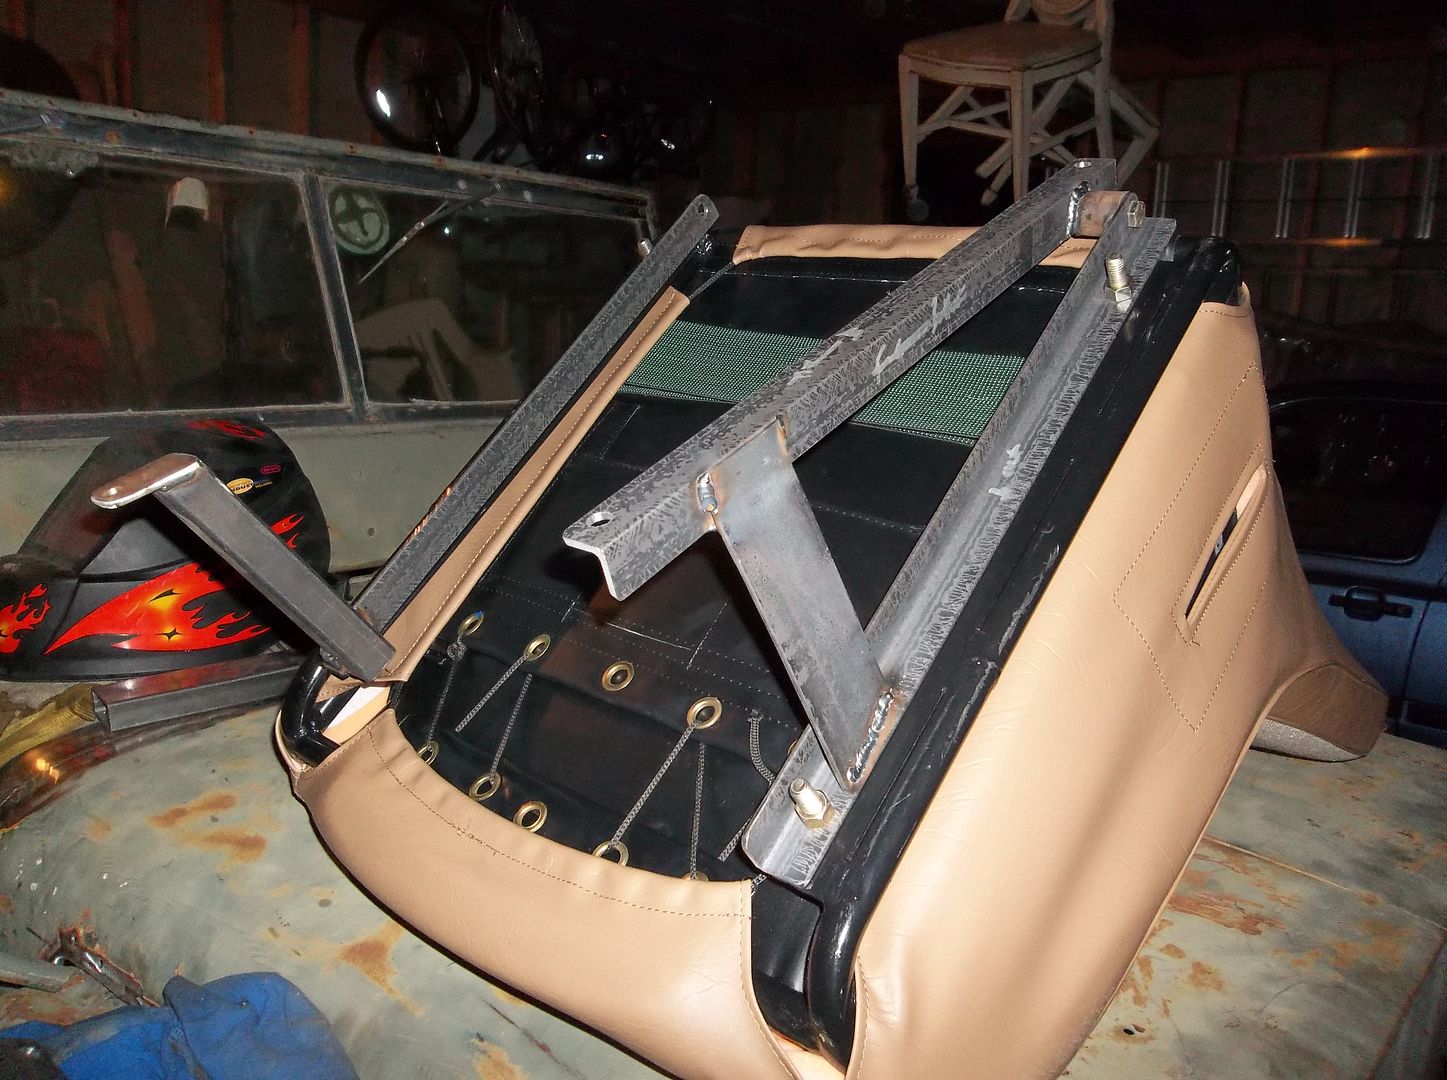
I finally got most of the seat mounting brackets done. Overall the brackets turned out pretty simple, but it took FOREVER to finally decide on a seat angle and mounting height!

100_0714.jpg


Here is the passenger side mount. You can see the super short leg on the inside of the mount to work around the super tunnel! With the transmission and transfer case pushed up so much there is only so much room for the seat mount. The front portion of the seat is over the top of the transfer case 'bulge' in the new tunnel.

100_0716.jpg


Here is the drivers side mount. It was a little bit more of a pain in the rear. I still need to make one more bracket to tie the rear of the outside rail into the back of the old fuel tank sump. That is going to be a pretty large pain in the rear since you can't really see much in that area!

100_0718.jpg


I was able to get the drivers side seat ALMOST in alignment with the stock steering column centerline. It is about 1" offset to the outside. I just couldn't move the seat over towards the center without causing many more headaches.

I did some more mock up stuff also....

A normal steering column is going to work. I stuffed the old column back in for a reference. I think I need a column about 1-2" longer overall than the old column to push the wheel up slightly. I will need to use a deep dish ( 3-4" or so ) steering wheel that is about 12" diameter to get enough room for my knees to have enough room to move up to get my foot over the brake and clutch pedal. I'm half sorry to say that I am building this vehicle for 99% of the time ME driving. The seat isn't going to move, there is only so much room for someone, etc. I think my misses will be able to drive since she is smaller than I am by a good amount, but someone much larger than me ( 5'10" with kinda short legs,180lbs or so, long torso, and ape arms ) just isn't going to fit.

There is only so much room in a flat fender tub if you want to keep the overall height down in the cage.....
 

Forum statistics

Threads
188,215
Messages
2,903,929
Members
229,665
Latest member
SANelson
Top