Rango.....1942 Willys MB

Metcalf

Expedition Leader
There is a giant sucking sound coming from my garage! Ordering LOTS of parts doesn't make for good posts....but they have to be ordered. I spent pretty much the entire weekend making a list and checking it twice! It ended up being about 6-10 different lists....but DANG that was a lot of work.

I don't care what kind of project your doing. Figure up all the big parts you can think of, put some numbers to those, then double your estimate for all the little stuff that add up. When doing a frame up rebuild the amount of money that goes into stuff like brake line fittings, exhaust, plumbing, and wiring is ASTOUNDING! This is also a SIMPLE vehicle overall! I can only imagine what some of these bling bling buggies I see end up costing in small parts!

I ended up ordering a custom fuel tank from Boyd Welding. It's a very nice triangle shaped tank that fits on the floor behind the front seats. It has the same profile as the cardboard mock-up I did above. It ended up being about 19 gallons give or take. It will have a 2" dia by 4" deep sump through the floor right next to the frame rail, roll over vent, sealed fill, sight tube for fuel level between the seats, etc.....

Axle shafts are on order from Dutchman....

30 spline capable Yukon spindles for the rear floater....

I also ordered the brake brackets from the Waterjet place. I ended up getting a few extra brackets to bring the price per unit down. I have 1-pr extra if anyone is interested....the brackets allow slip over Tracker/Sidekick rotors and calipers on just about any jeep axle with the 6-bolt flange ( at the knuckle ).

Fun Fun.
 

jeepdreamer

Expedition Leader
I feel your pain...Nothing like watching a pile of cash zip out the door and then sit around waiting for the Brown Santa...
 

Metcalf

Expedition Leader
I just keep trying to remind myself that everything that I am doing is going to lead to a GREAT little jeep that will last another few decades I hope!

I do think that if I was going to do it over again I would do it differently, but I used what I had. I would STRONGLY advise anyone that is going to do something like this to try and simplify everything as much as you can. Today, I don't know if I would recommend building something like this unless your really quite mental! I'm sure if I was going to make another one I could optimize the design even more....but dang, even a super simple vehicle like this is still very challenging to build from basically scratch! Its basically just a big go cart.....but still....DANG!

I do think that its going to need a super cool adventure. Mexico border to the Canadian border all dirt in a 70+ year old flat fender is starting to move up on my list. That would be pretty manly.....
 

reece146

Automotive Artist
The wicked part about small parts is that sometmes you don't even realize it is happening.... $10 here, $25 there, another $8.50... next thing you know you've spent a couple hundred dollars and don't know where it went.
 

Metcalf

Expedition Leader
SM420 short shifter kit....

100_0800.jpg


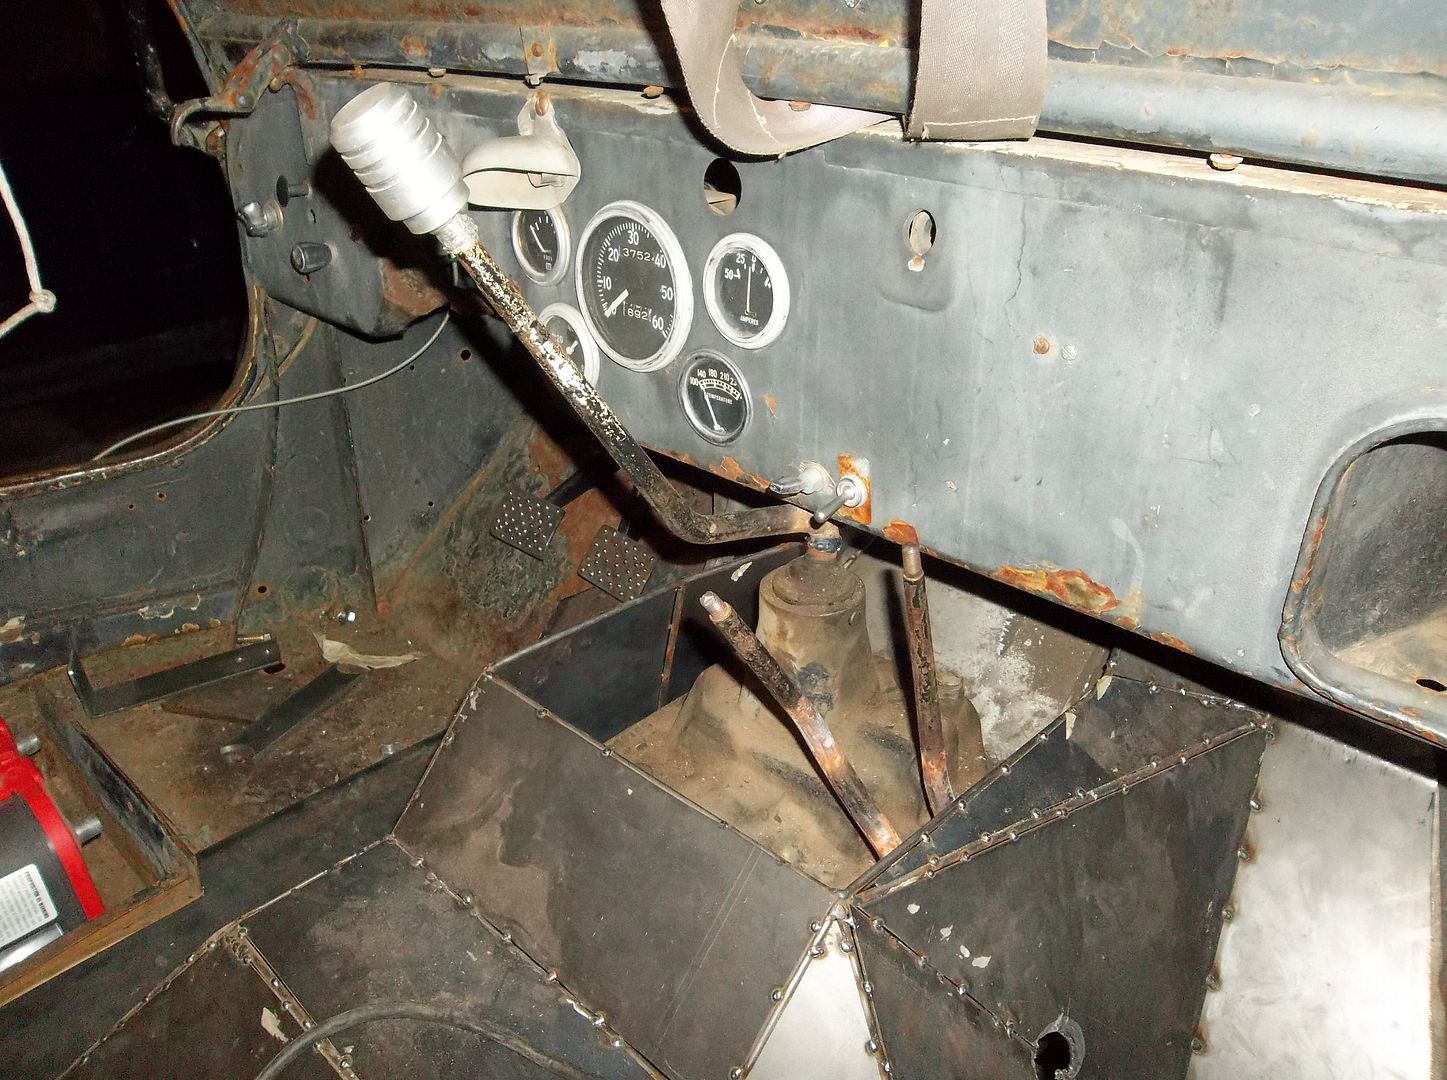
I had to cut down the shifter and rebend it to clear the dash. Its still TIGHT but I will be adding abut 1/8-1/4" of rubber in the body mounts. I will most likely have to re-bend the upper part of the shift stalk once I get the seats mounted......

Getting the tunnel is now much more fun. You have to put it in reverse, than slip the tunnel over, then neutral while you rotate the tunnel a bit to get the shifter stalk to pass through the top cover opening....fun! I am going to make a removable 'top' where the shifters come through the tunnel.

I also finally got the rear c-pillar cage feet tied into the frame. I think I am REALLY close to being able to tear this thing down! Yipee!
 

Metcalf

Expedition Leader
A bit more progress....

100_0804.jpg


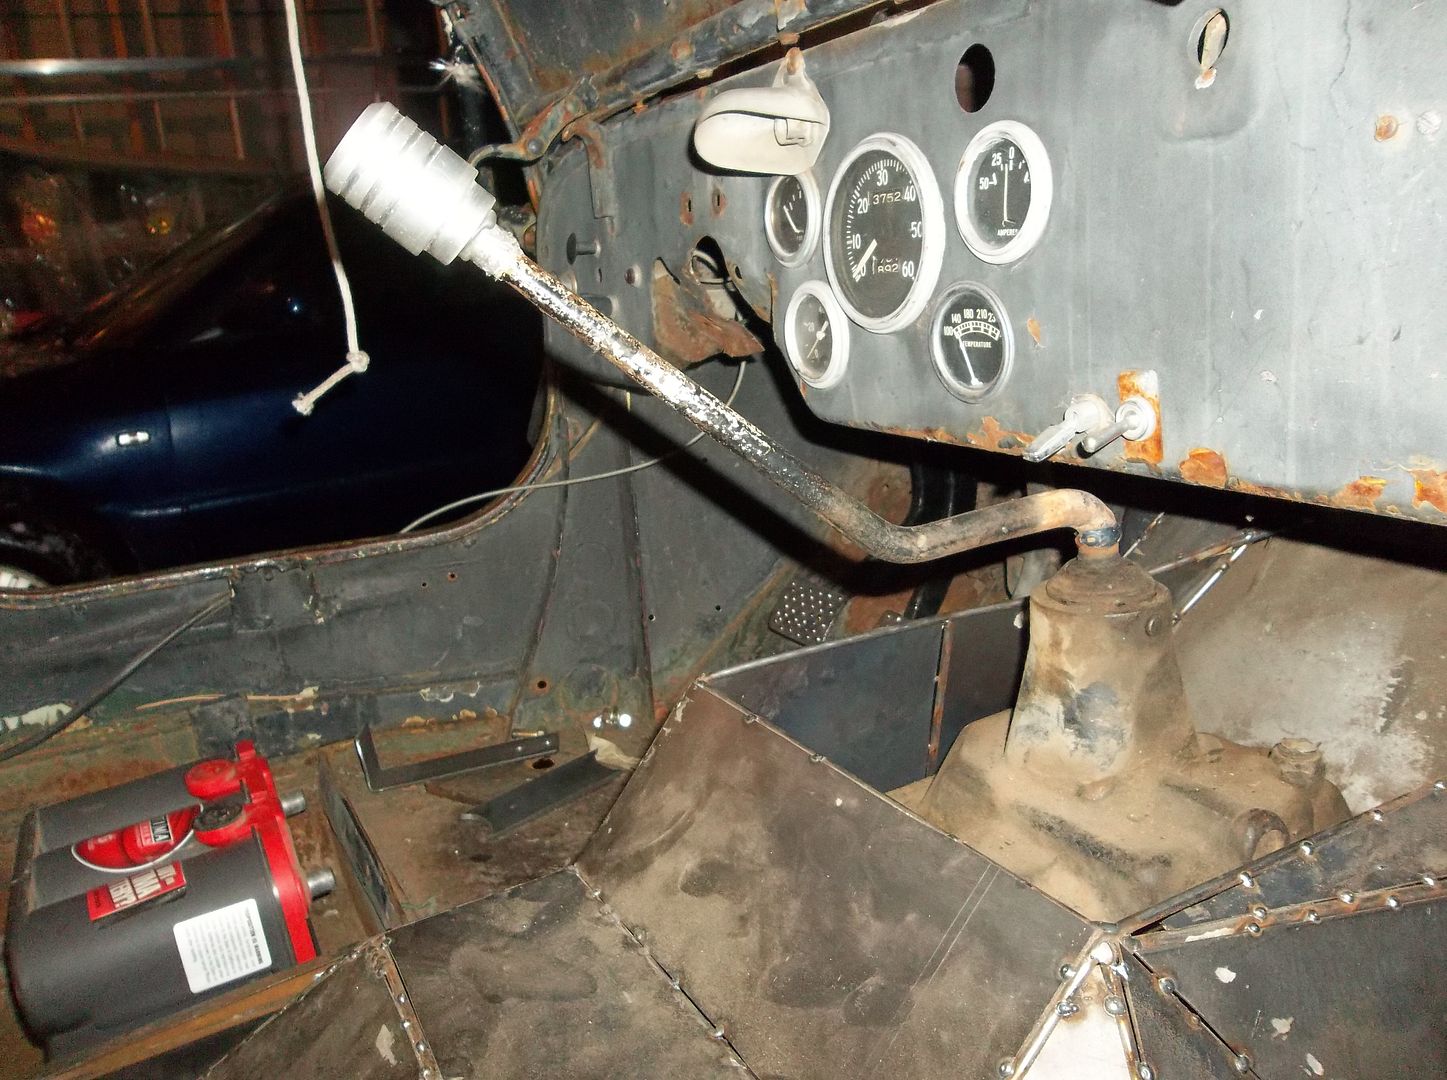
The t-case shifters are rebent for the new tunnel. What a pain. Things are pretty tight with the dash and new top panel area on the tunnel. The t-case shift levers have around 3/4" around them, but its still tight! I have no idea what I am going to do for a 'boot' around the shifters. Since the level of the tunnel is so tall the lever throw is a bit much for most stock boots? I think the lever travel is about 3-4" where the boot would go......

100_0803.jpg


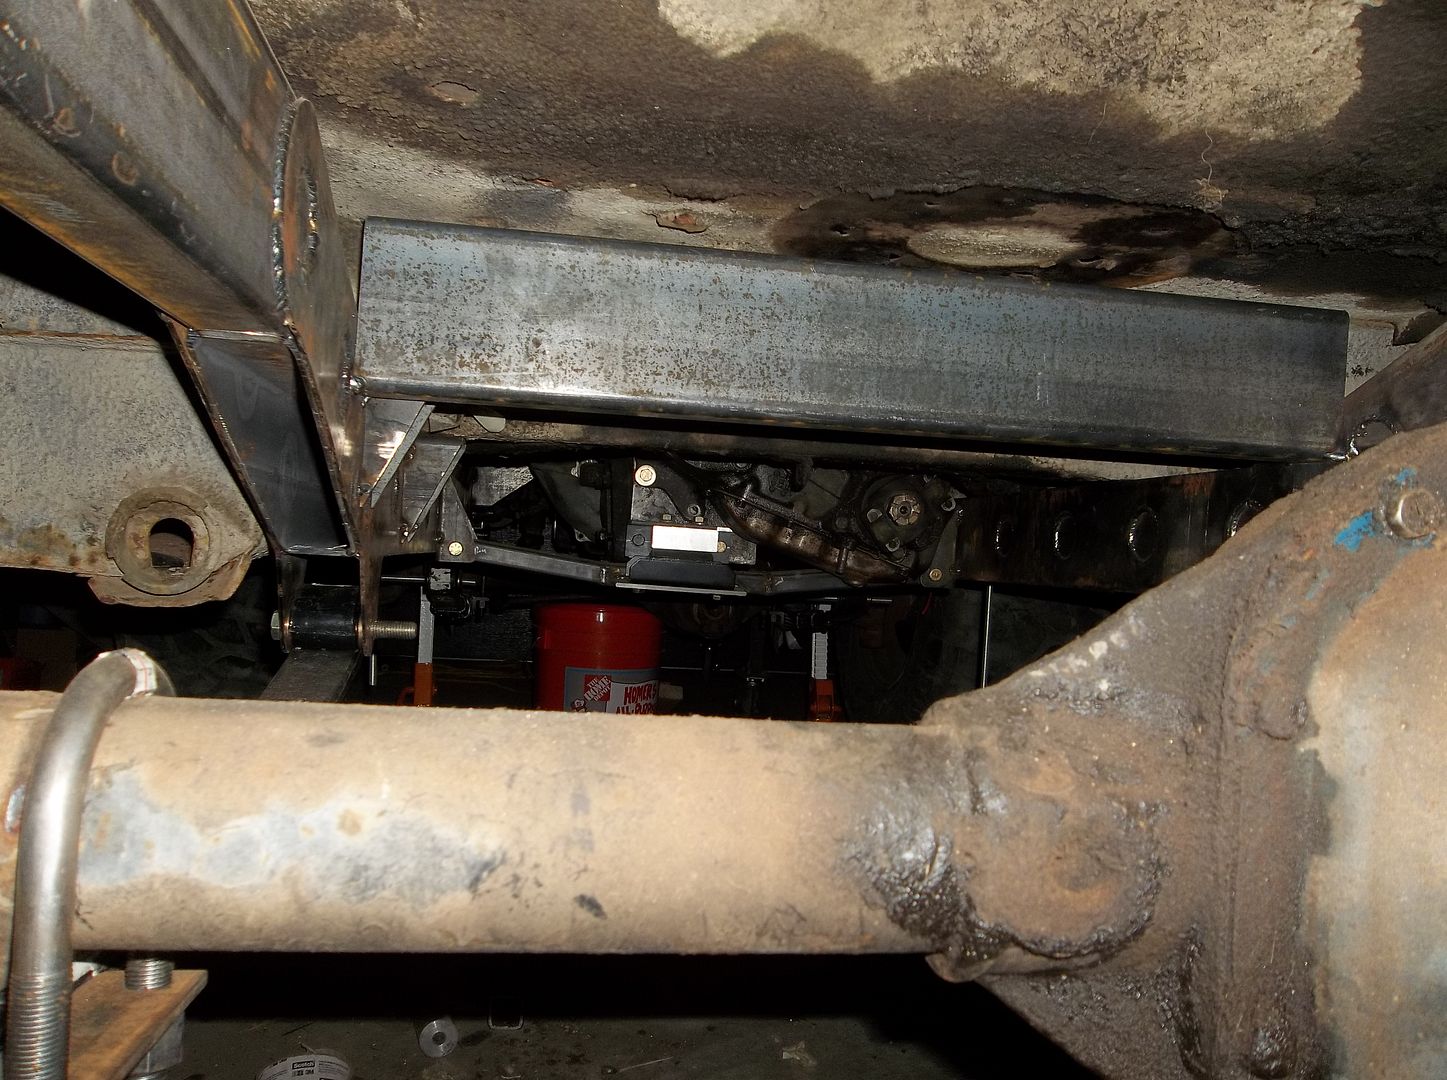
I also got the 'machine gun' crossmember roughed in. I will finish the ends and gusset it when I final weld the frame.....

100_0802.jpg


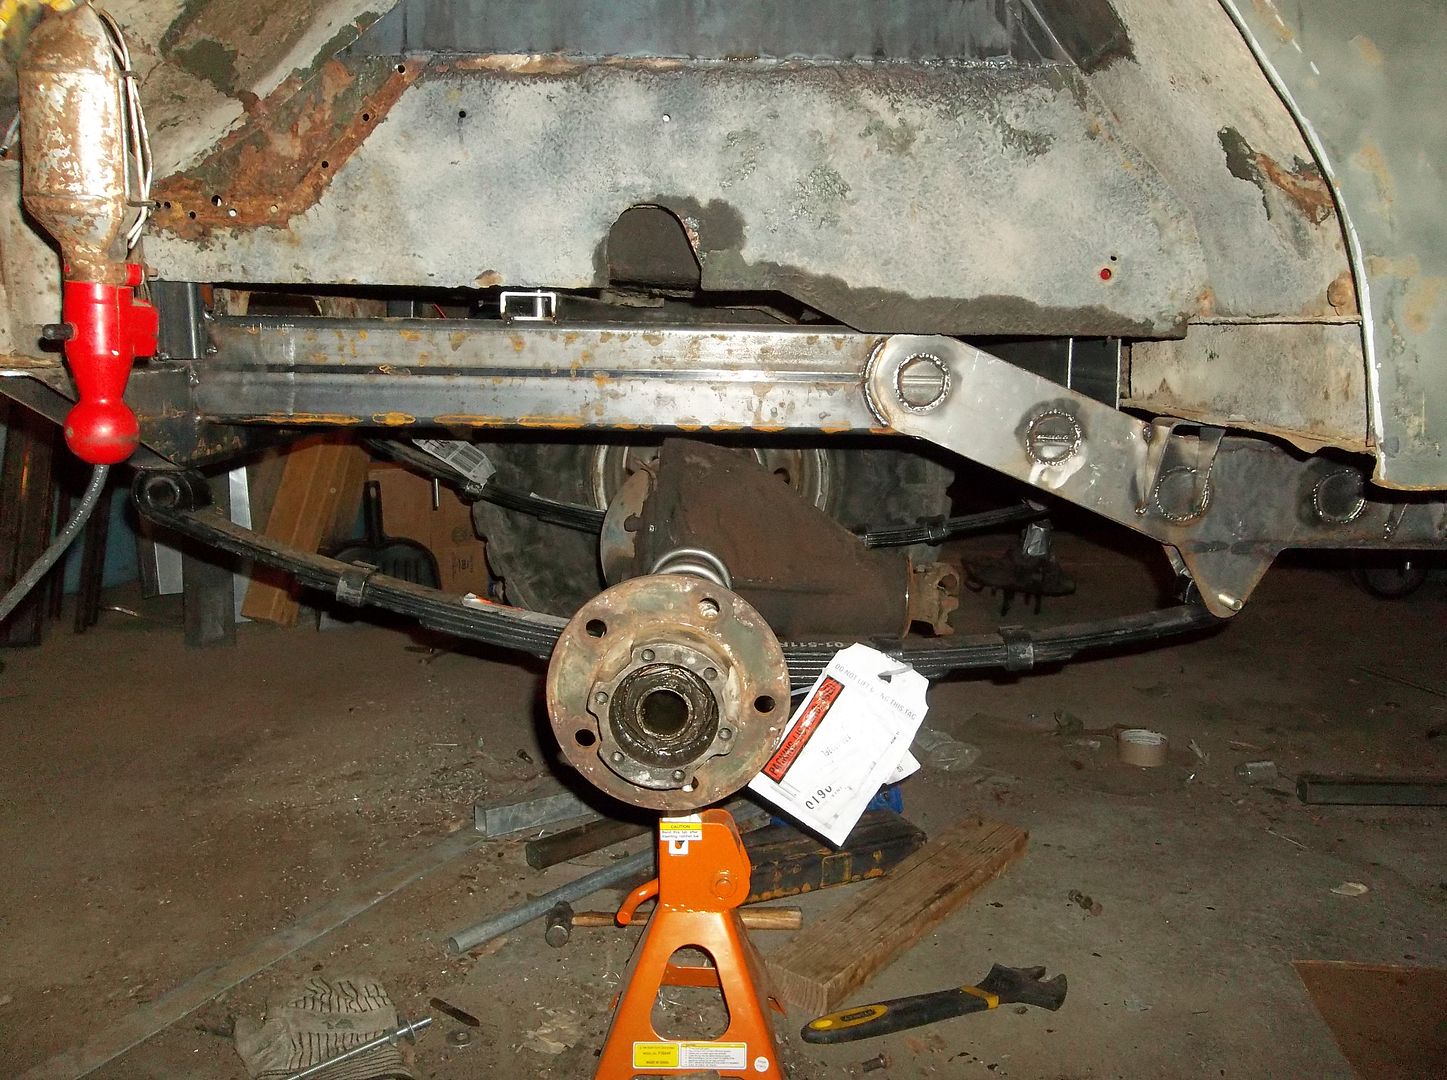
Where the heck should I put the rear shocks? I don't want to cut the body anymore. I would like to eventually install a bumpstop in the stock shock pocket. I think I am going to have to tilt the shocks forward of back a decent amount.......
 

Metcalf

Expedition Leader
I think the levers move to far at the level where the boot would need to sit.....somthing like 3"+ at the base of the boot and 6+ " at the lever knob. I would have to add a lot to the tunnel to get the flange to fit.....

Still thinking.....
 

Metcalf

Expedition Leader
I'm not too worried about it being sealed perfectly....It has a few hundred extra 'lighting' holes as is.....

Something like that might work. I wonder how it would be effected with the lever rocking side to side?

Currently I am thinking a piece of leather with punched holes for the lever positions....and slits connecting the holes. That would look about right for this old thing......
 

Metcalf

Expedition Leader
horse hair, now that's thinking......

Currently with only 5-weeks left, detail stuff like this is going to have to take a back seat. I am going to try get all the 'big' stuff done so I can at least have it mobile again......go, stop, and steer under its own power. I can fill in the little stuff later I think.

I am only freaking out a little bit......

I basically have to tear it down, final weld the misc stuff on the frame, and then put it all back together again. 5-10 hours tops right :sombrero: I'm going to wait to do the cage until last.....and I need to wire it.......AHAHAHAHAHAHAHHAAHA
 

67390FE

New member
Leather would be cool, you could also use some brush seal, the horsehair would go well with the old jeep theme.
McMaster-Carr

I know a guy who had an old PowerWagon that did pretty much the same thing. He took two of what we called in the navy as foxtails. They are 8 - 12 inch long, 1/2 in thick brushes with 2-3 inch long bristles. He used the heads from two of the brushes, bristle tip to bristle tip.
 

Forum statistics

Threads
188,206
Messages
2,903,780
Members
229,665
Latest member
SANelson

Members online

Top