You are using an out of date browser. It may not display this or other websites correctly.
You should upgrade or use an alternative browser.
You should upgrade or use an alternative browser.
Rango.....1942 Willys MB
- Thread starter Metcalf
- Start date
Metcalf
Expedition Leader
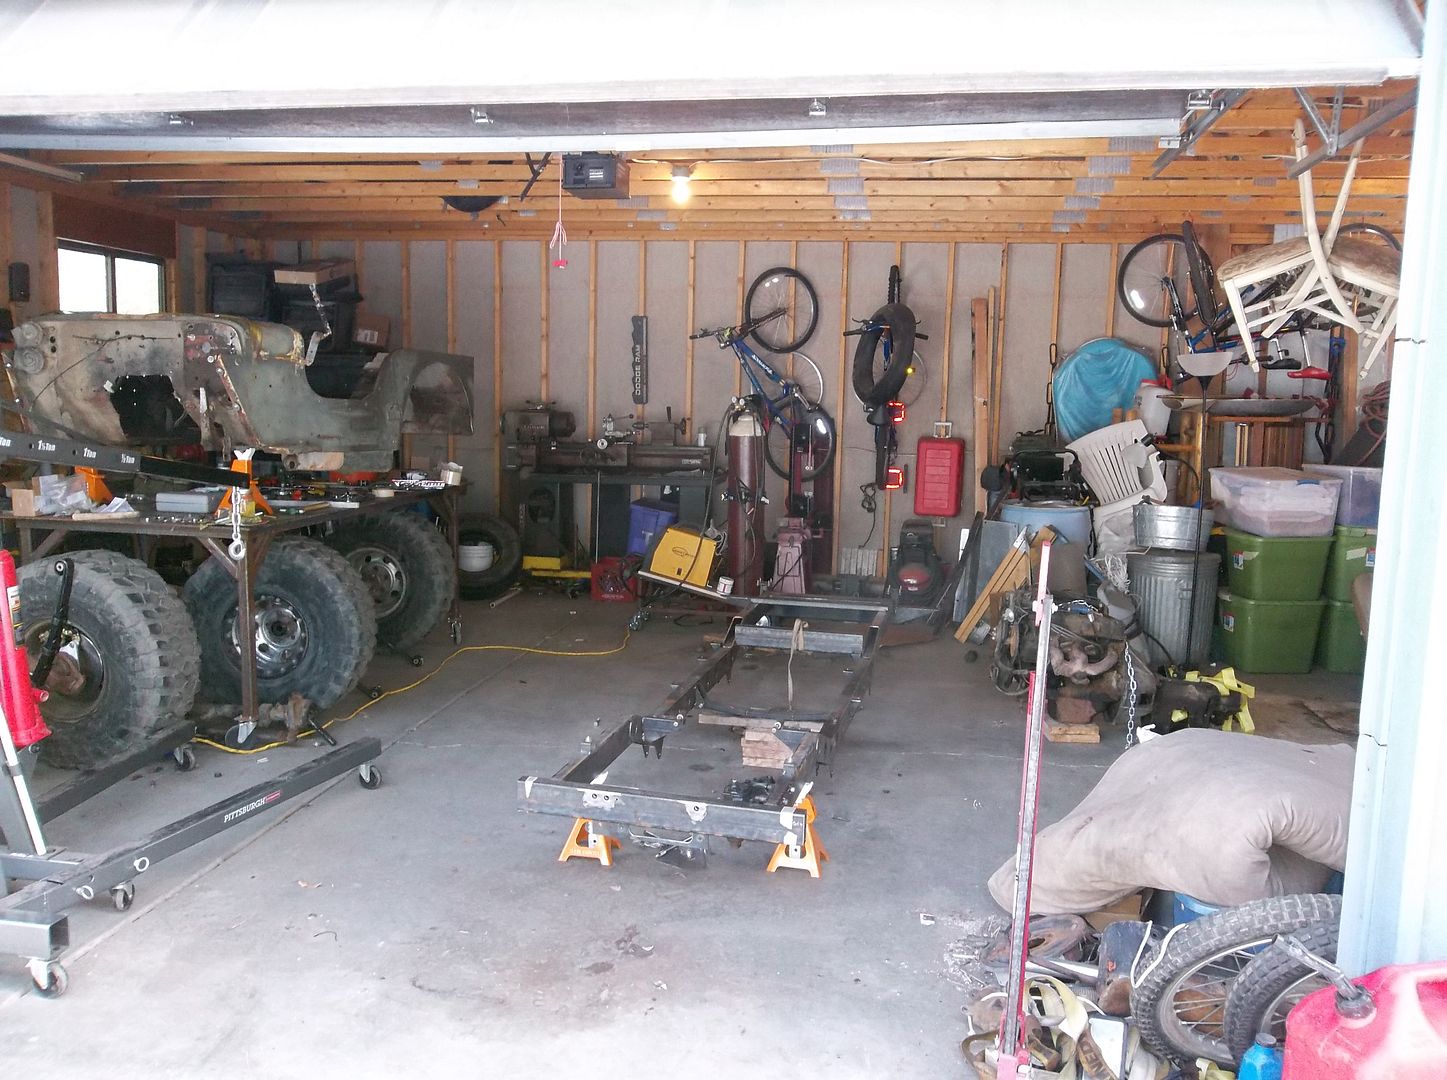
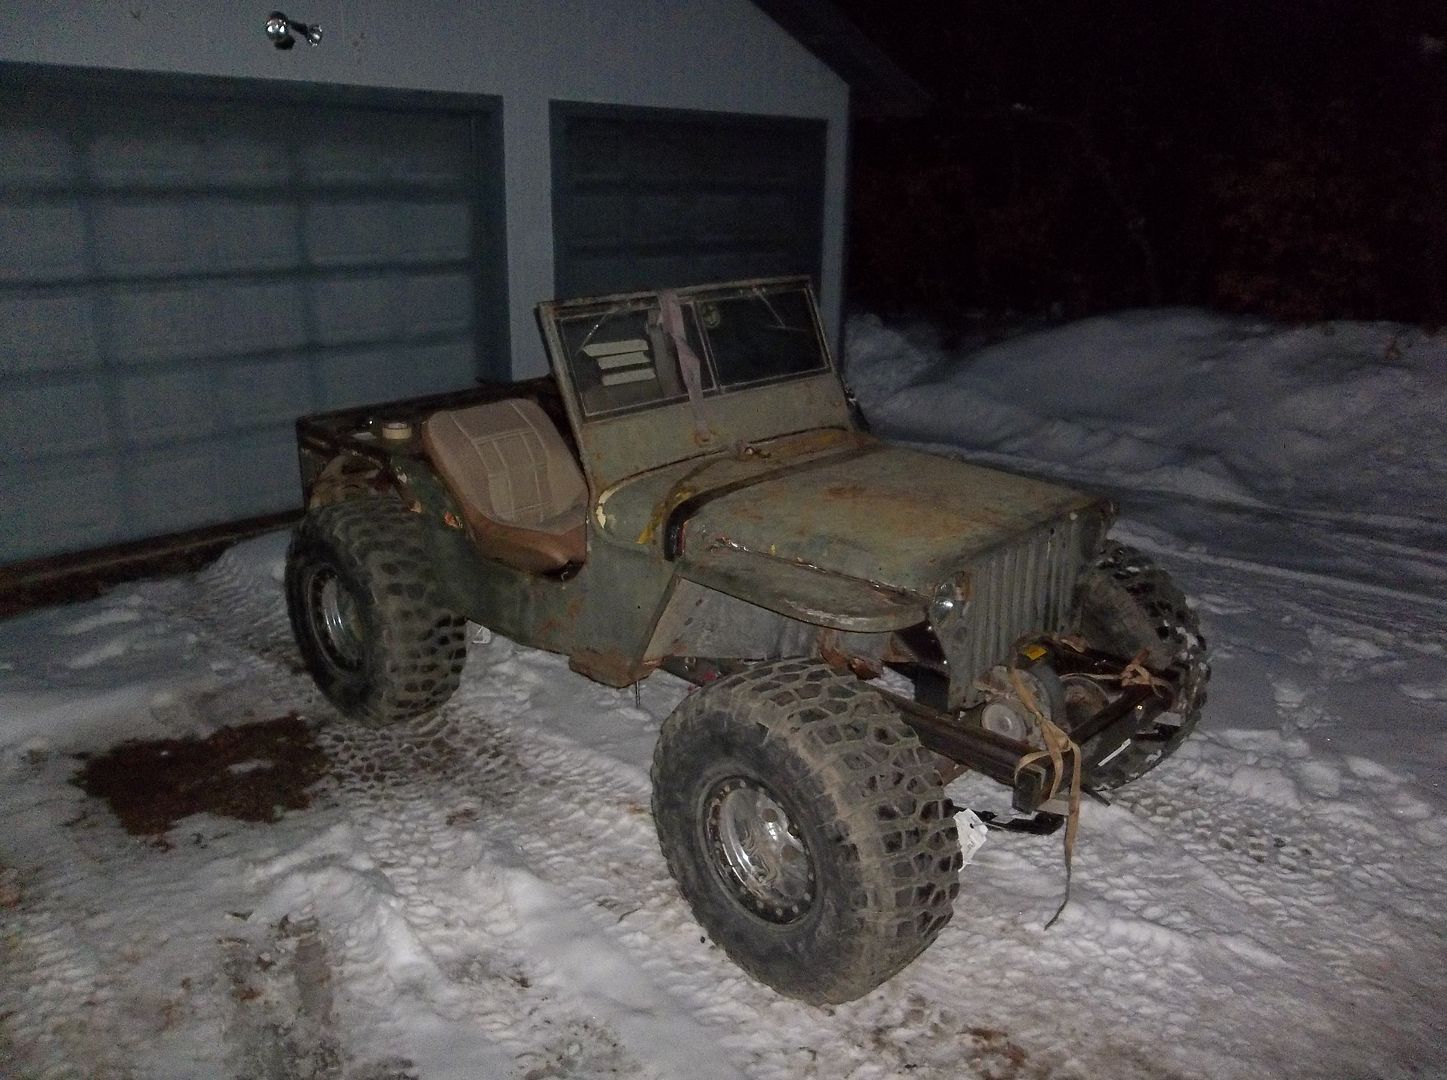
Mock-up is done and I started moving things around in the shop for tear down....so the jeep went OUTSIDE for the first time in MONTHS!
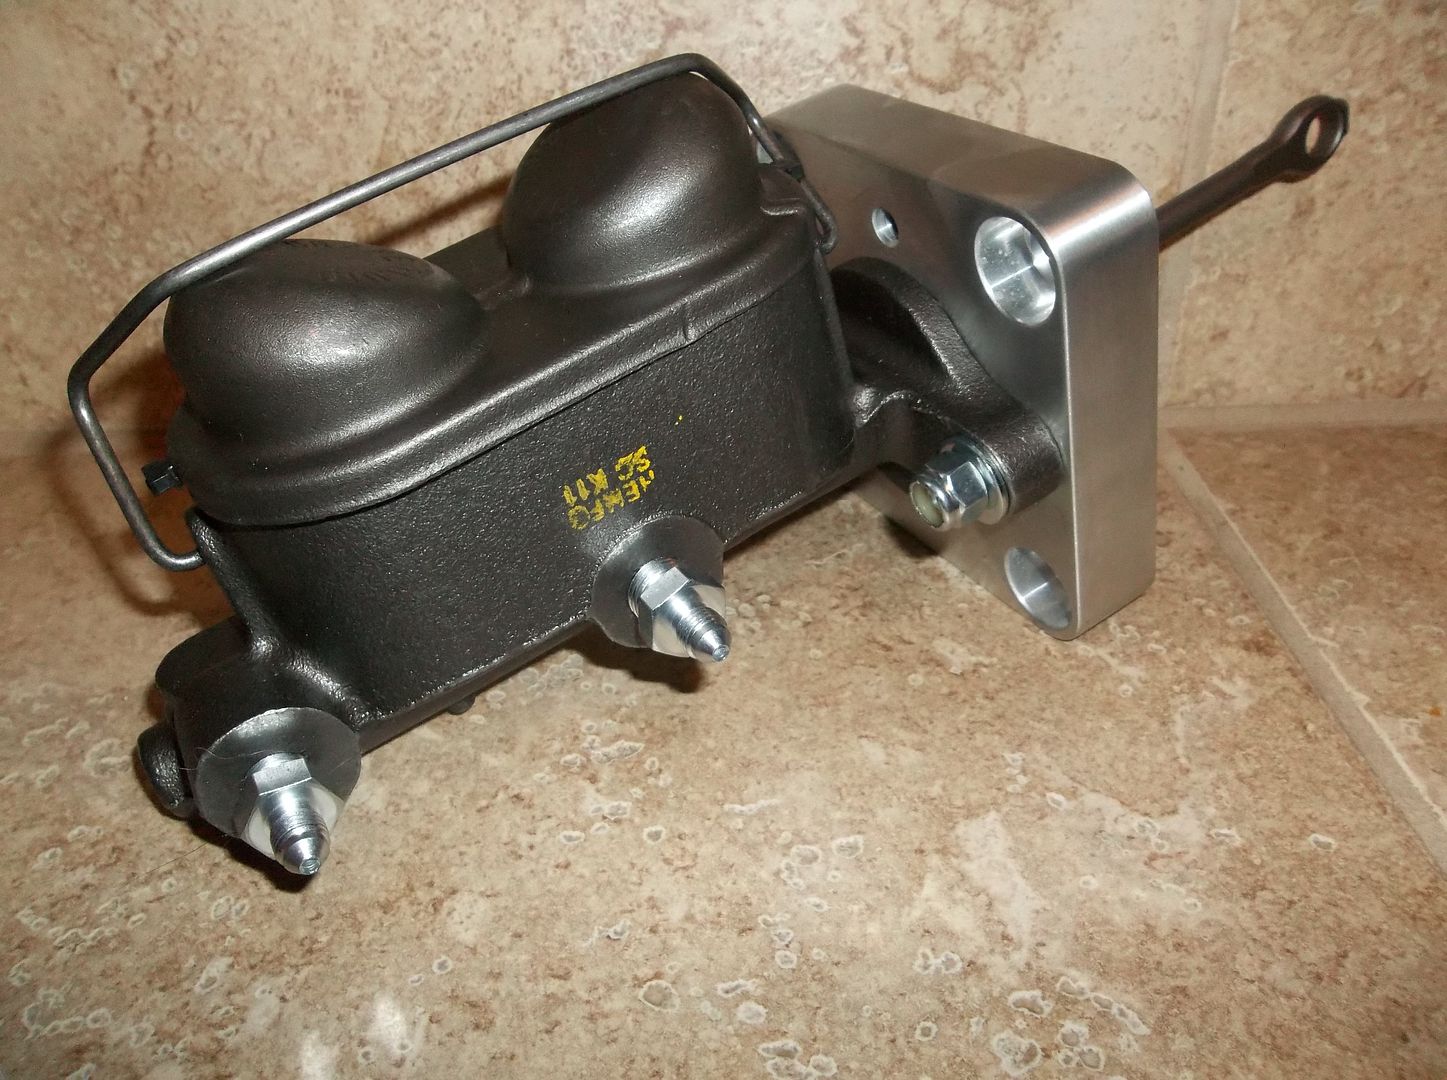
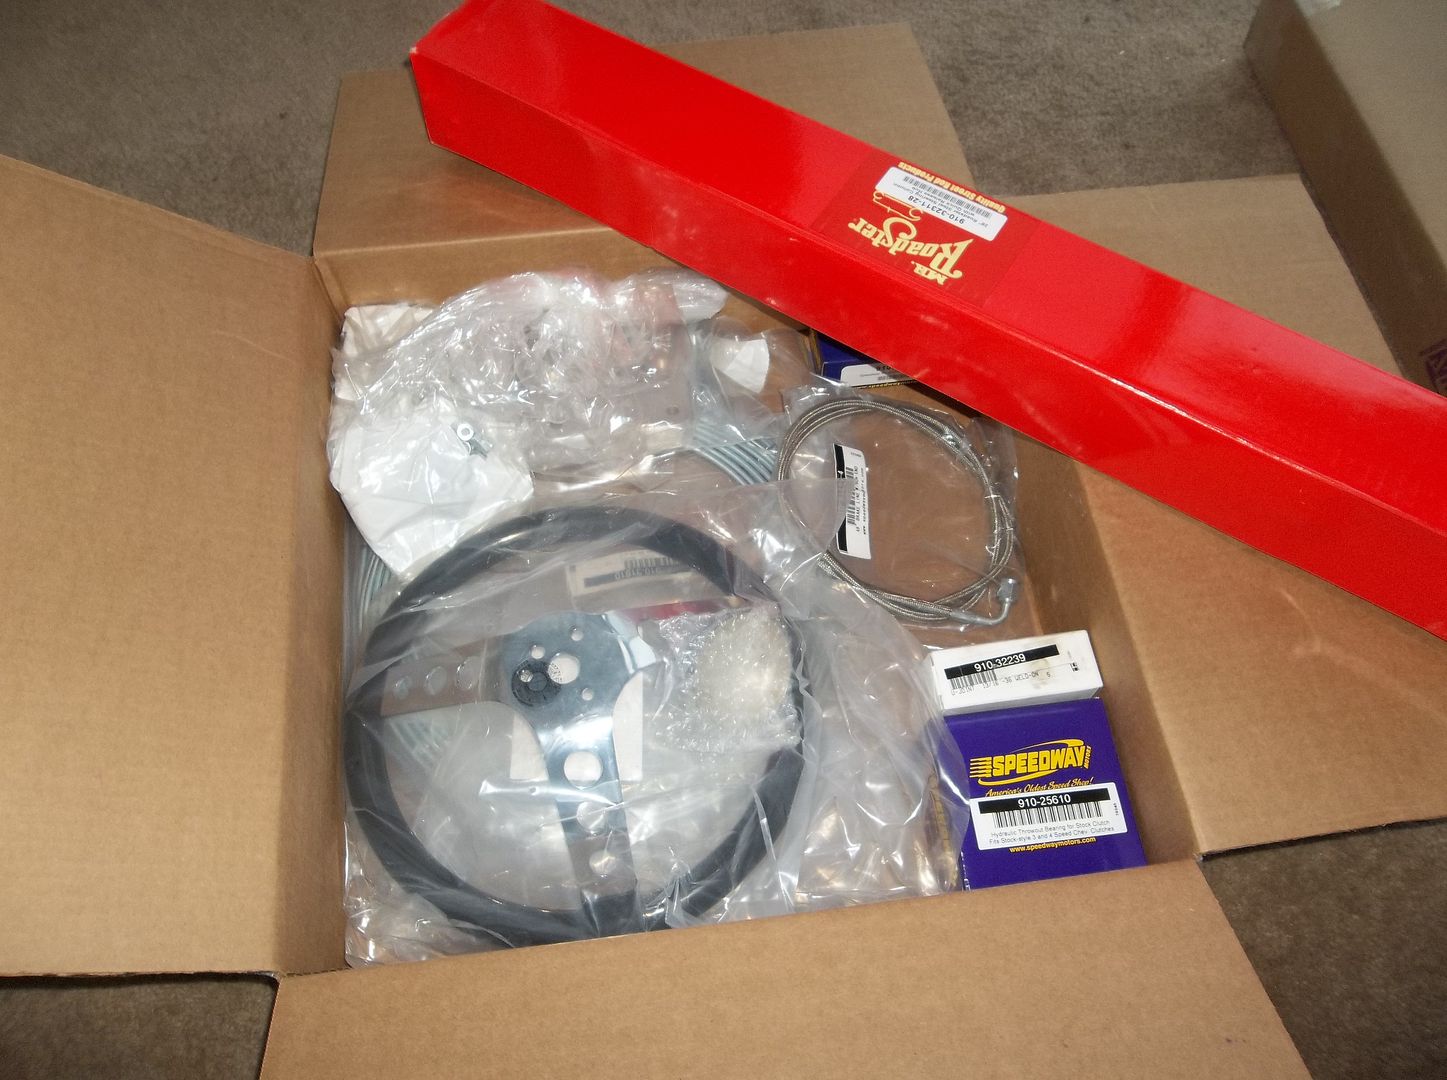
I started getting goodies in the mail.....
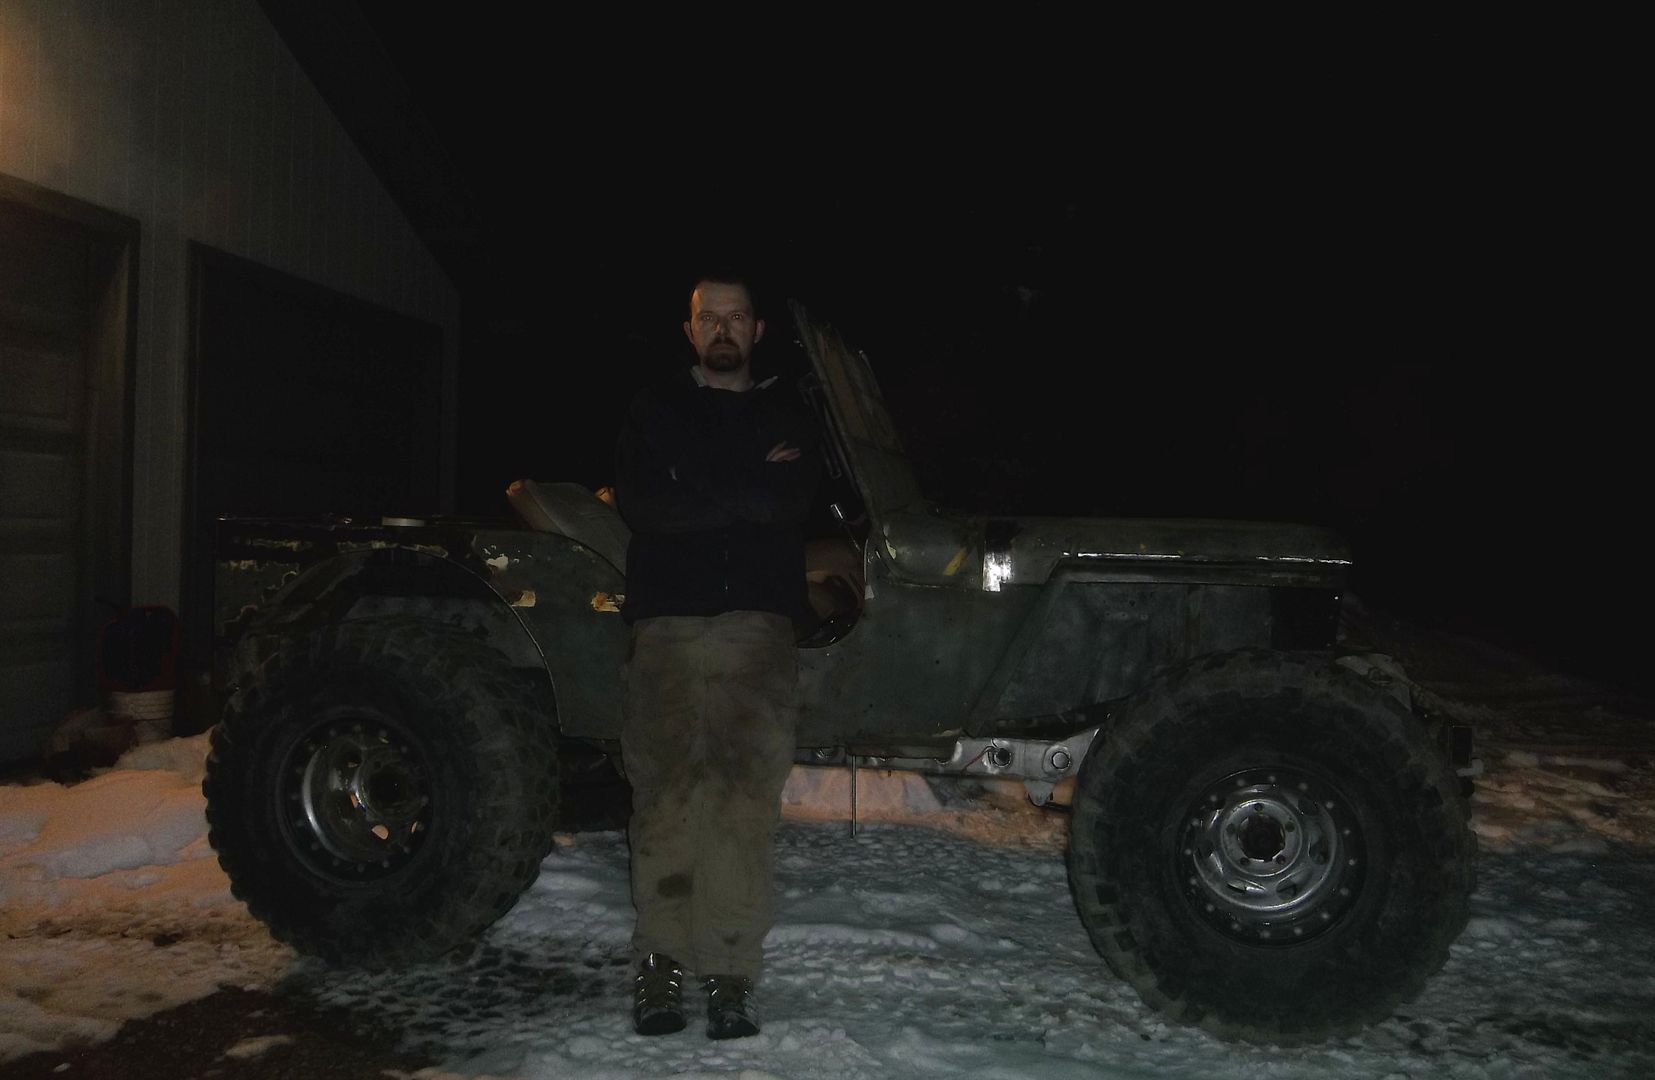
And one last bad picture for scale.
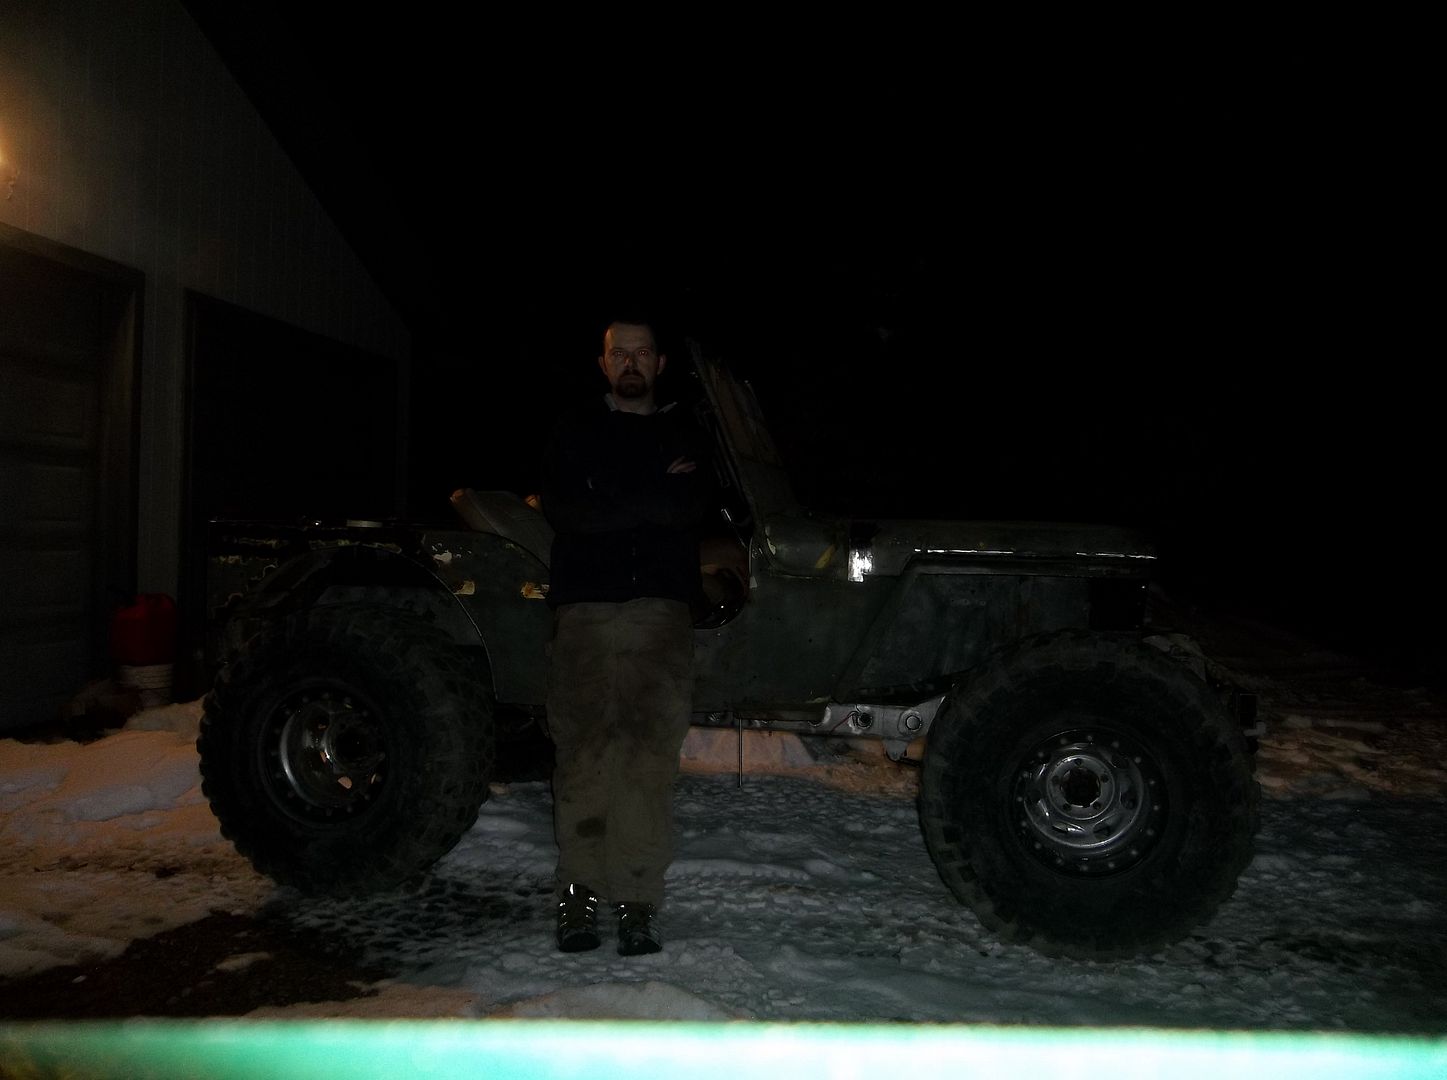
I'm 5'10" and the jeep is still MUCH shorter than me. It dropped maybe 1" off the jack stands and with weight on the tires at street pressure. I will be adding about 1/2-3/4" when the shackles get bolted on.....and I am going to try and compensate for the fuel tank weight, people, etc. The cage will most likely be about 1" above the top of the MB windshield when it is done.
Sorry for the bad pic. I had to use the timer and a trash can!
I do think it shows the scale of the vehicle a lot better though. I don't think many people realize how compact this thing really is. Bring on the mutant clown go-cart......
It felt SOOOOOOO good to roll it outside. It rolls nice and easy too, I think its still pretty light. I really hope I met my sub 3000lb goal. I will get some corner weights once I can drive it to work and use the scales.
This weekend the tear down begins!

I started getting goodies in the mail.....

And one last bad picture for scale.

I'm 5'10" and the jeep is still MUCH shorter than me. It dropped maybe 1" off the jack stands and with weight on the tires at street pressure. I will be adding about 1/2-3/4" when the shackles get bolted on.....and I am going to try and compensate for the fuel tank weight, people, etc. The cage will most likely be about 1" above the top of the MB windshield when it is done.
Sorry for the bad pic. I had to use the timer and a trash can!
I do think it shows the scale of the vehicle a lot better though. I don't think many people realize how compact this thing really is. Bring on the mutant clown go-cart......
It felt SOOOOOOO good to roll it outside. It rolls nice and easy too, I think its still pretty light. I really hope I met my sub 3000lb goal. I will get some corner weights once I can drive it to work and use the scales.
This weekend the tear down begins!
VanIsle_Greg
I think I need a bigger truck!
Looks great with the wheelbase stretch and the BIG tires on there. They are wee little things aren't they?
Metcalf
Expedition Leader
AAAAAARRRRRRRGGGGGG......must keep motivation flowing.......
More frame welding tonight. I might be able to wrap the frame welding up tomorrow. I need to bend a piece of material in the press brake at work for the pintle hitch mount tomorrow anyways.
So much to do....so little time......EEEEEEKKKKKKKK!
More frame welding tonight. I might be able to wrap the frame welding up tomorrow. I need to bend a piece of material in the press brake at work for the pintle hitch mount tomorrow anyways.
So much to do....so little time......EEEEEEKKKKKKKK!
Metcalf
Expedition Leader
Well, all ready to weld, ran two beads and then no more welding wire....crap......
So then I decided to pull the carrier out of the rear axle and swap the side gears. Out was pretty easy, but the side gears that i have are not the same thing. I think they where from a 2 side gear track-lock perhaps. So....at least I know I need to get side gears. The carrier is out, and the swap is pretty easy once I get parts.....
So then I decided to make the pintle hitch mount so I could bent it in the press tomorrow at work. That went pretty well and all the parts will be ready to weld on once the frame is flipped.
I also made some parts I needed for the tow hook mounts in front.....that will be fairly ready to go....
I re-made the rear shackle mounts....and those are ready to weld....
Productive, but I could have done without having to buy more parts like side gears.....and running out of welding wire sucked.
Metcalf
Expedition Leader
And another evening of fun filled frame fabrication......
I am going to need one more evening I think to finish up the frame before spraying some primer and paint on it. Its right side up again, but I still need to finish the tow hook mounts, then seal the front frame section, and then weld on the rear pintle hitch mount.....
Hopefully I will get my 30 spline side gears for the rear power-lok before I need to roll the rear axle under the frame. I can keep myself busy doing the other 100 things I need to do!
Metcalf
Expedition Leader
Its something like that for sure......
I think the bigger changes that you can see take less time.....at least to get mocked up. The small stuff, like finish welding the frame takes a fairly long time, and it basically looks the same as the mock up!
I can only imagine how much time it would take if I was trying to make the body perfectly straight and doing a total restoration at the same time.....
I just keep chugging away!
trailrunner
Observer
Can't wait to see it rolling
Metcalf
Expedition Leader
I'm still chugging away on the frame final welding.....
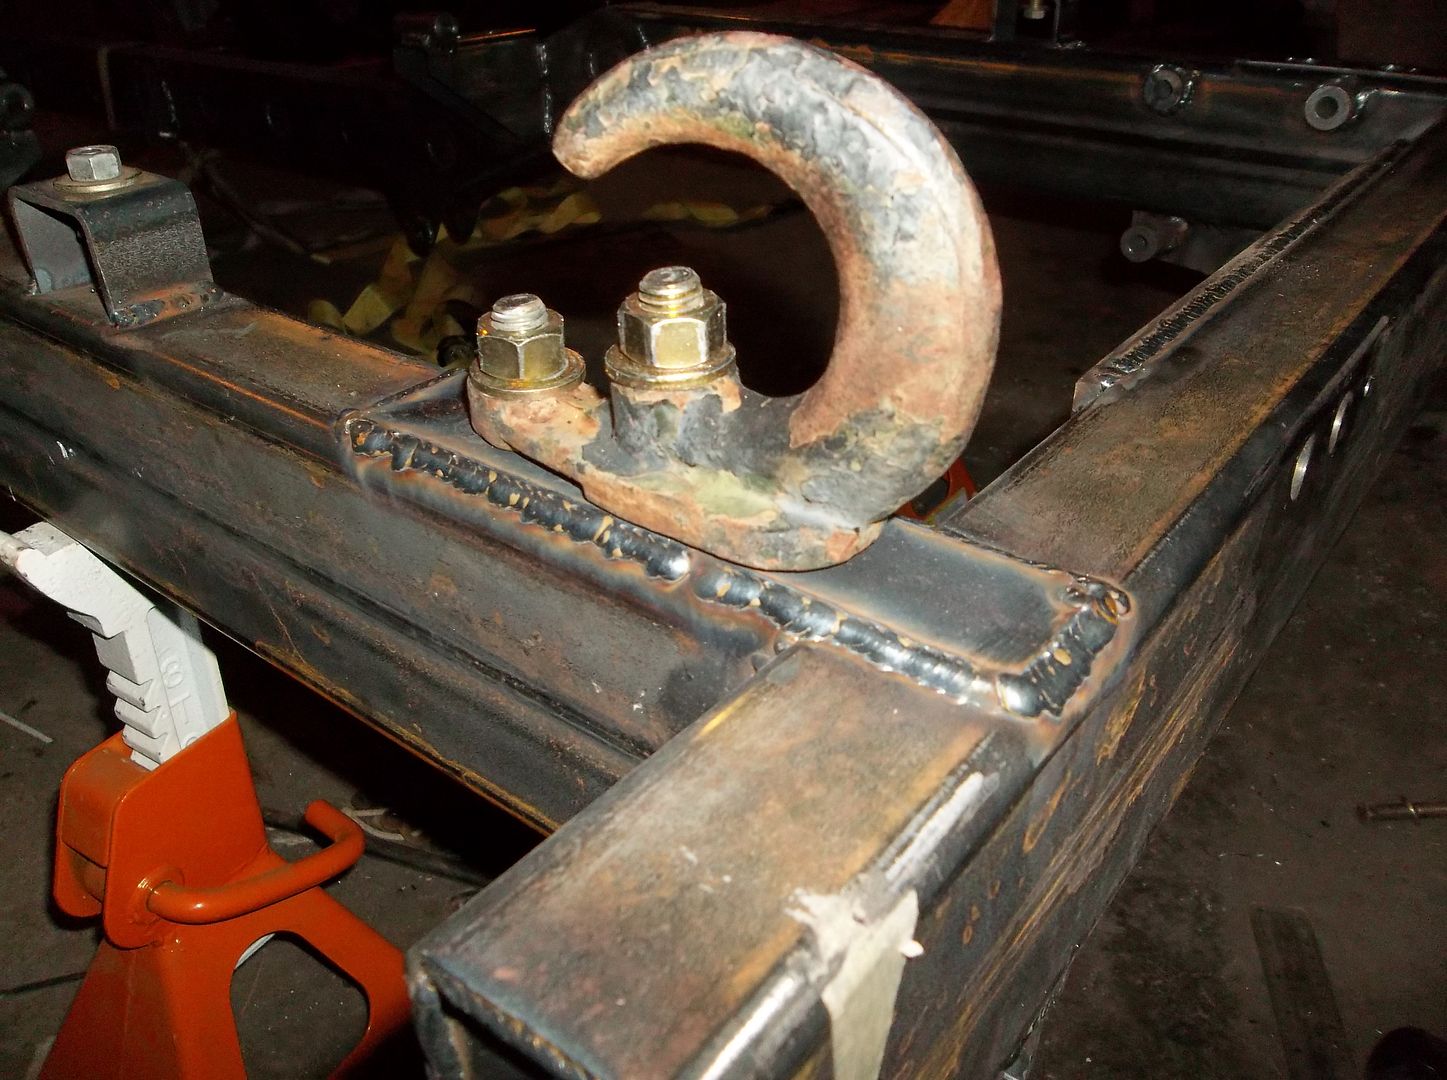
Here is how I made them.....kinda fun.....
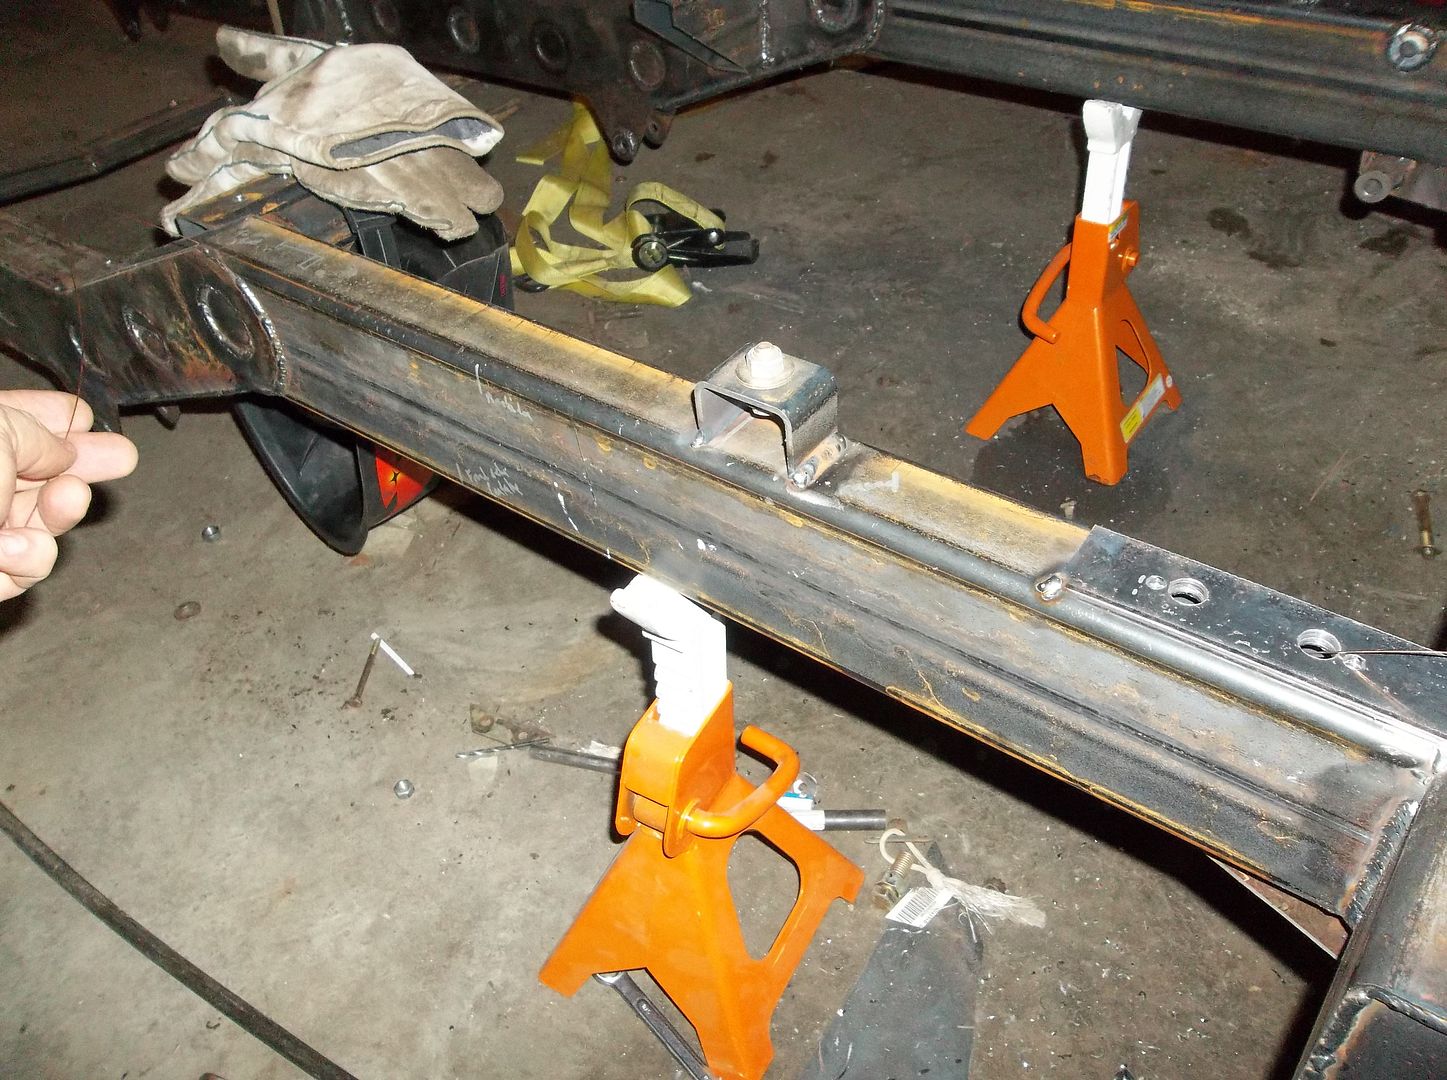
I was able to fish some welding wire through the frame after I drilled a few holes.....
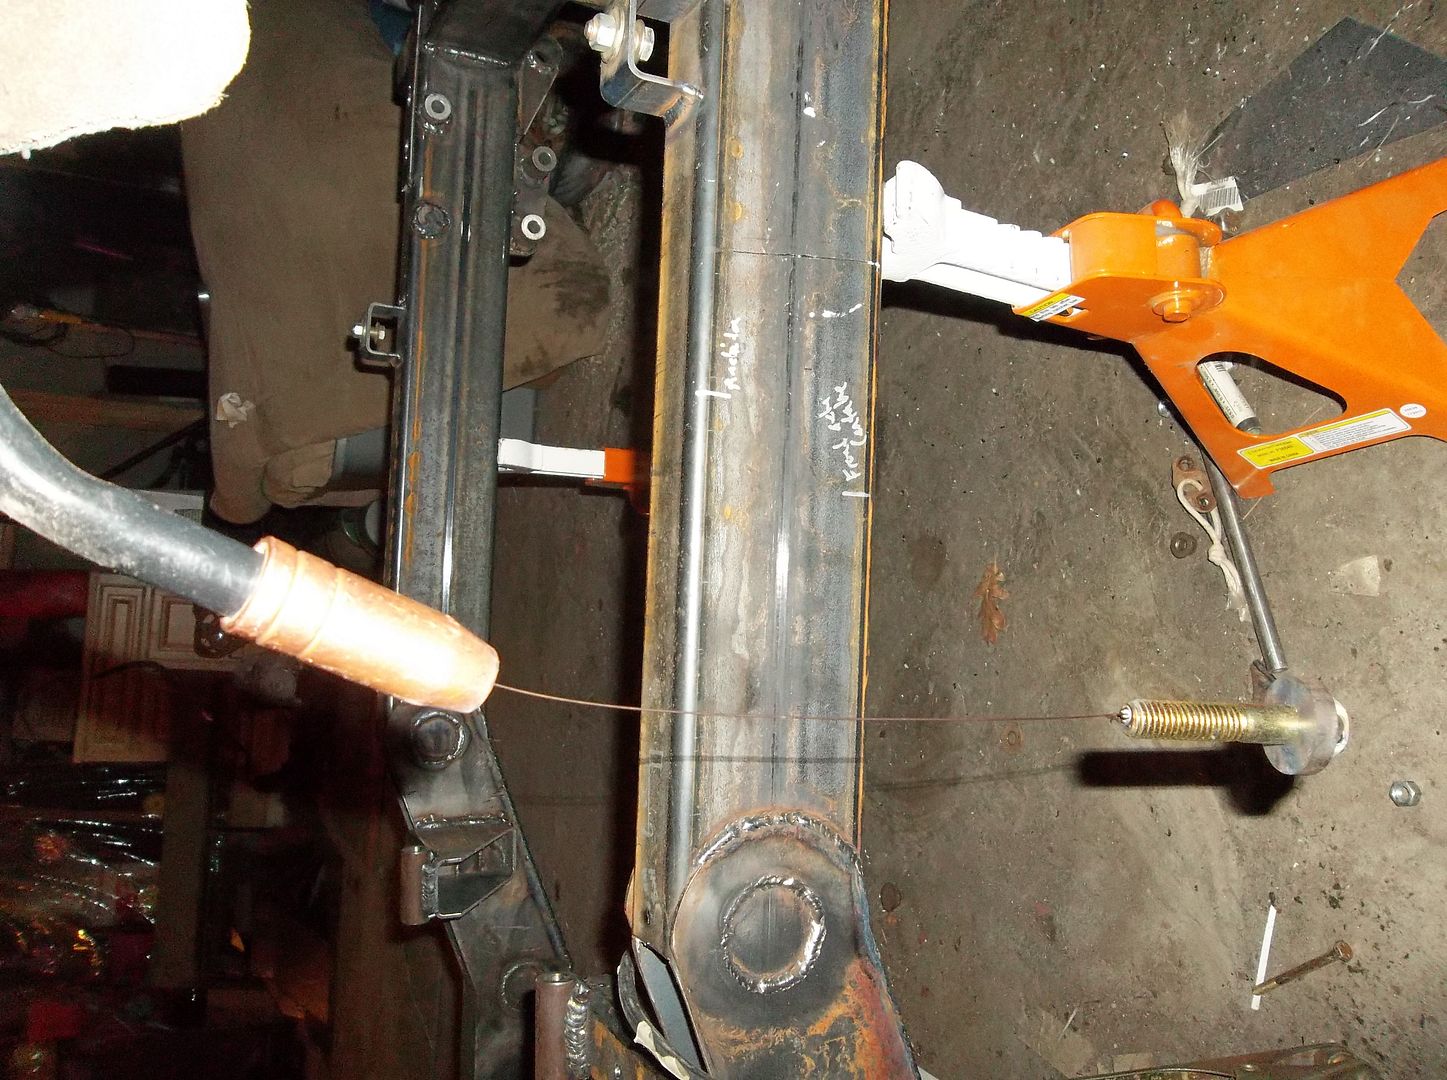
I made a bolt on a wire. Weld to the head, pull the ground, hit the trigger to get yourself some extra wire, and them trim it off.
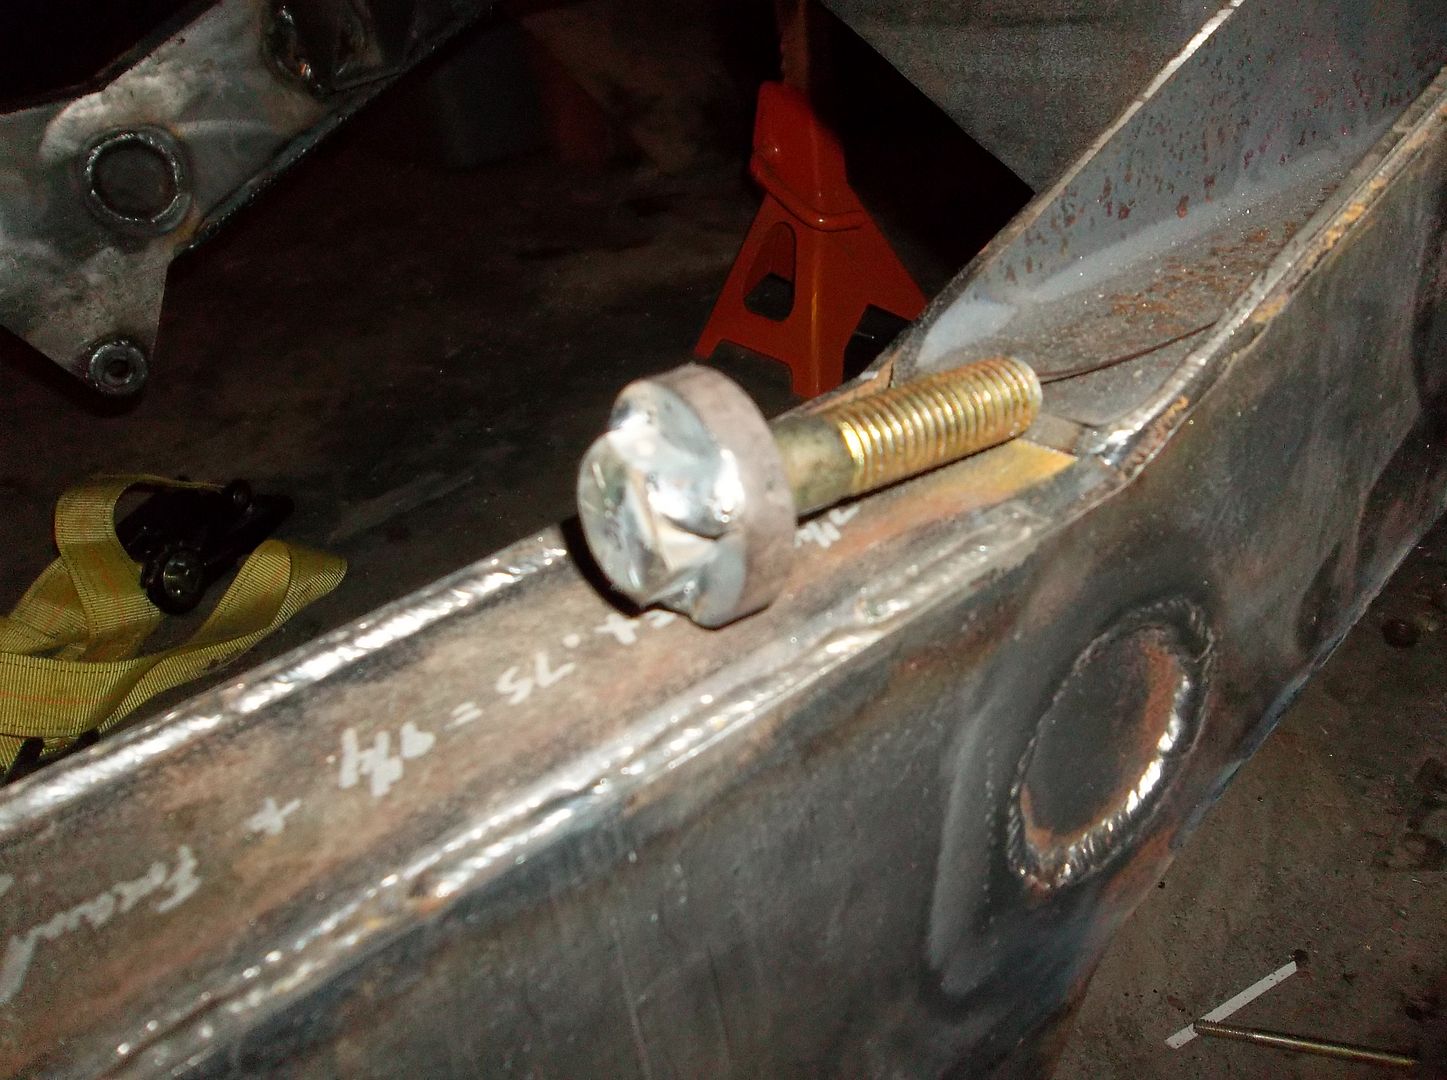
Here is the bolt ready to go in the frame with a heavy washer I made on the lathe and saw.....
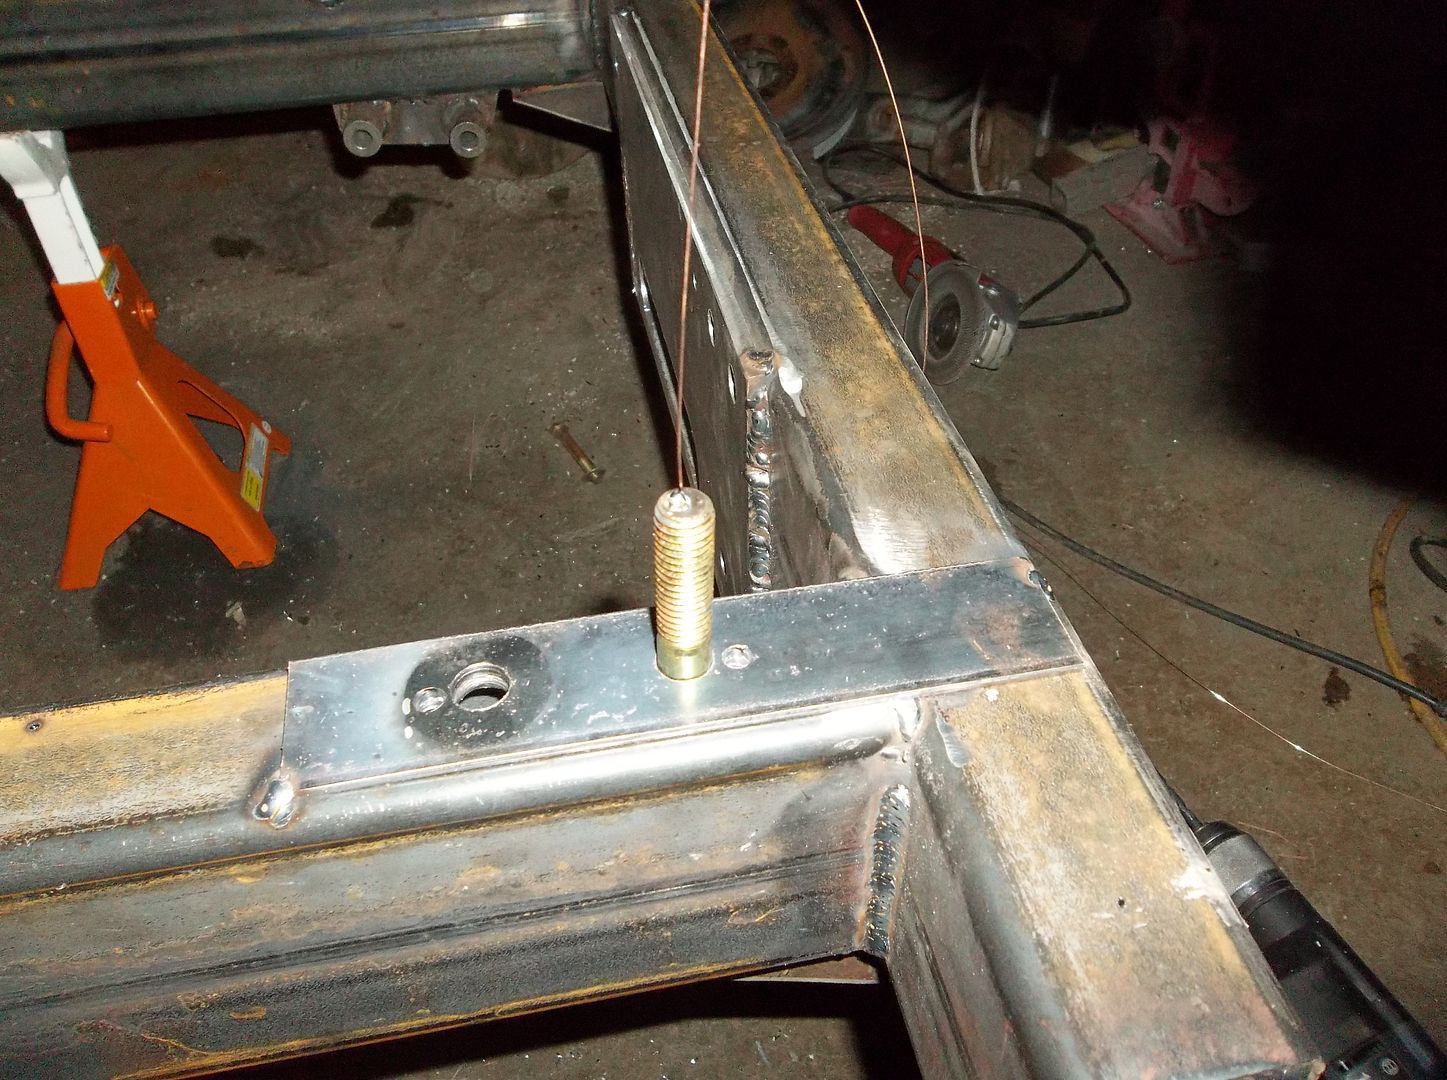
Then pull the bolt up the frame rail and up into the hole...
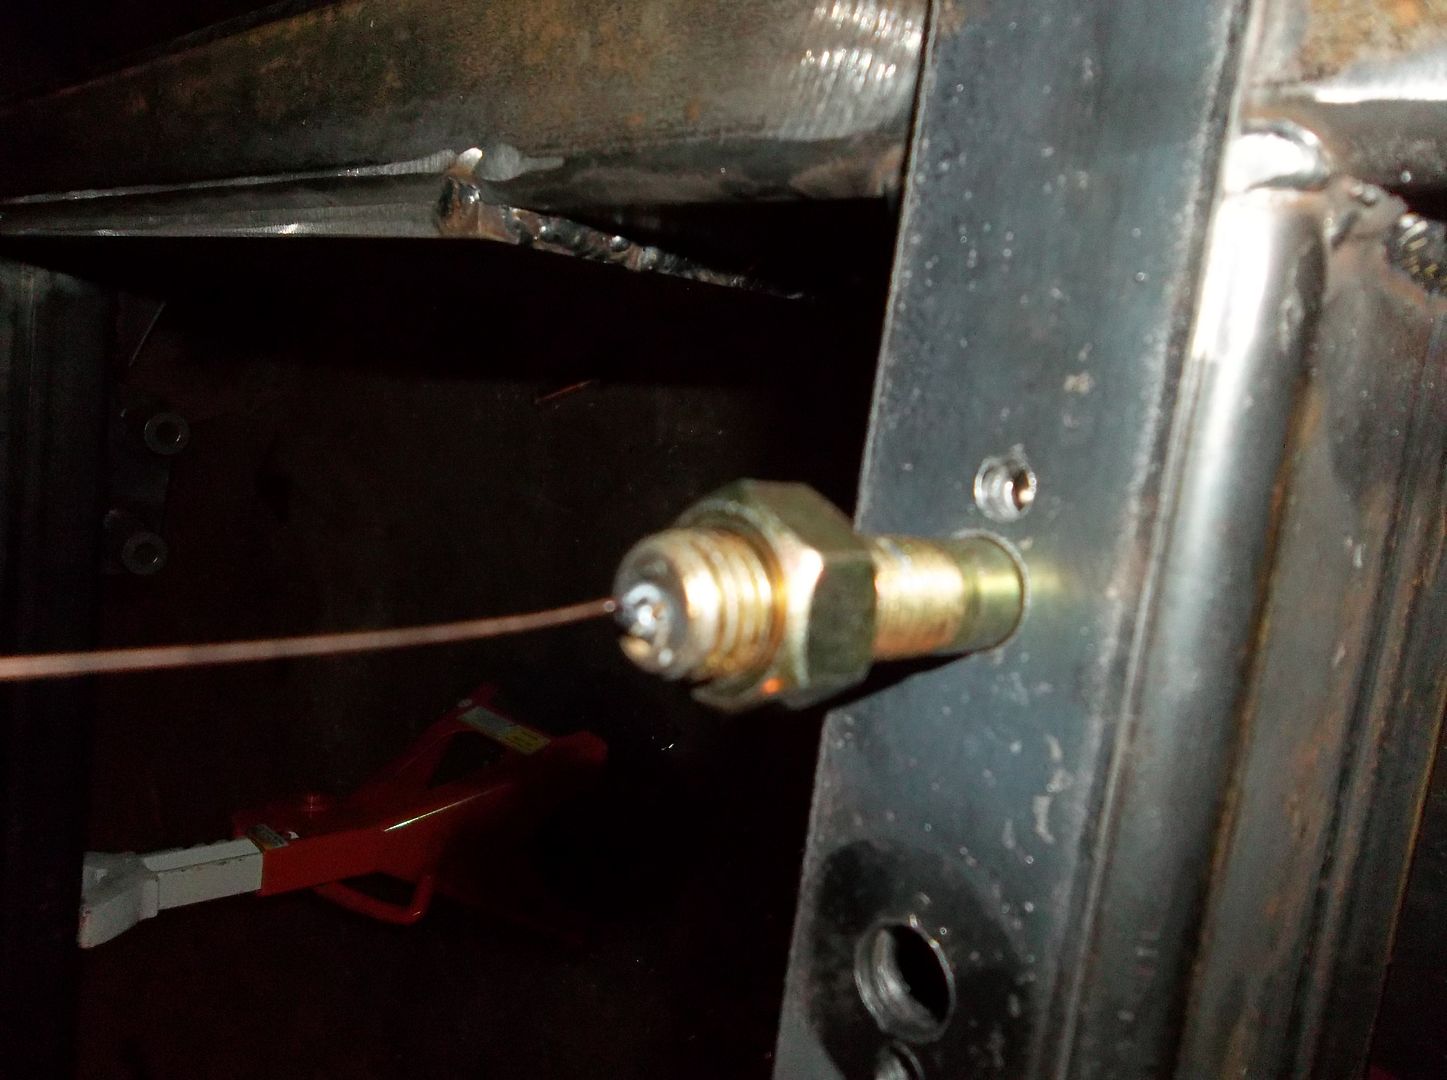
Disconnect the welding wire and thread on a nut.....
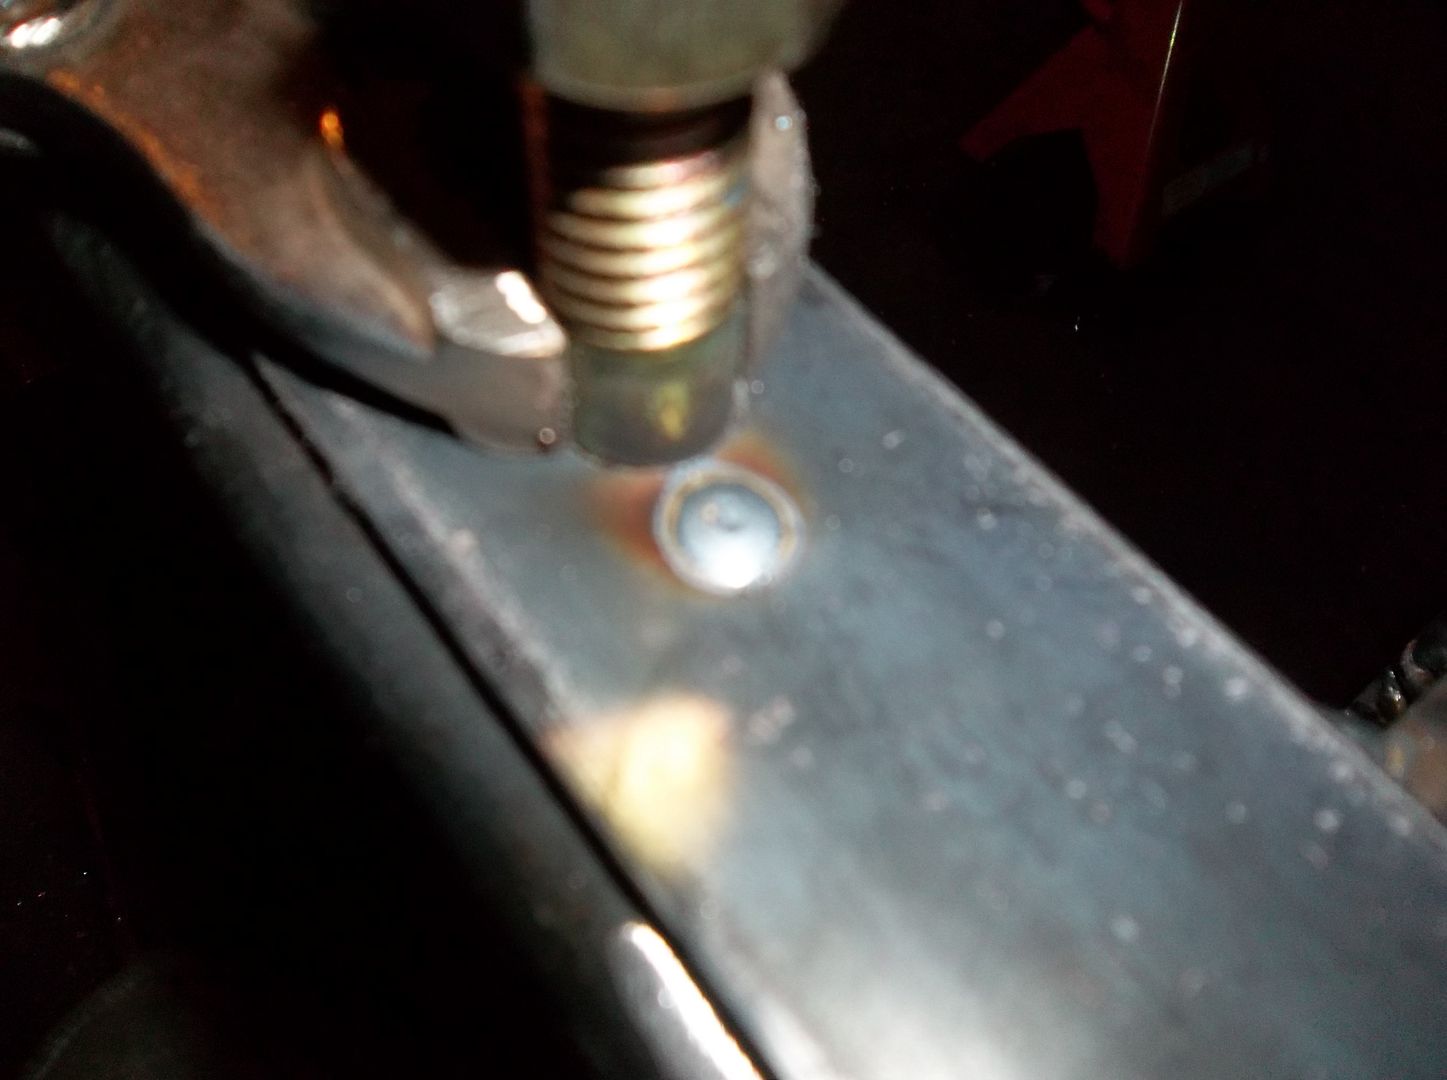
Use some vise grips to hold it tight up in the frame and then plug weld the washer in place to keep it from spinning when you tighten the nut.
I thought the mounts turned out pretty neat. I wish I would have thought about building the mounts before I did the front bumper, but it worked out well. It was tighter on drivers frame rail with the steering box mounts.
I still have another evening or two till the frame is wrapped up.....

Here is how I made them.....kinda fun.....

I was able to fish some welding wire through the frame after I drilled a few holes.....

I made a bolt on a wire. Weld to the head, pull the ground, hit the trigger to get yourself some extra wire, and them trim it off.

Here is the bolt ready to go in the frame with a heavy washer I made on the lathe and saw.....

Then pull the bolt up the frame rail and up into the hole...

Disconnect the welding wire and thread on a nut.....

Use some vise grips to hold it tight up in the frame and then plug weld the washer in place to keep it from spinning when you tighten the nut.
I thought the mounts turned out pretty neat. I wish I would have thought about building the mounts before I did the front bumper, but it worked out well. It was tighter on drivers frame rail with the steering box mounts.
I still have another evening or two till the frame is wrapped up.....
Metcalf
Expedition Leader
The frame is done for now! I still need to add a few things like shock mounts, but I will just do that during the final assembly. I got two cans of primer on the bottom. Tomorrow I will flip it over and lay on some more primer, I should probably get up early in the morning and do that so it can dry while I am at work. Then I can lay some paint on it tomorrow evening....
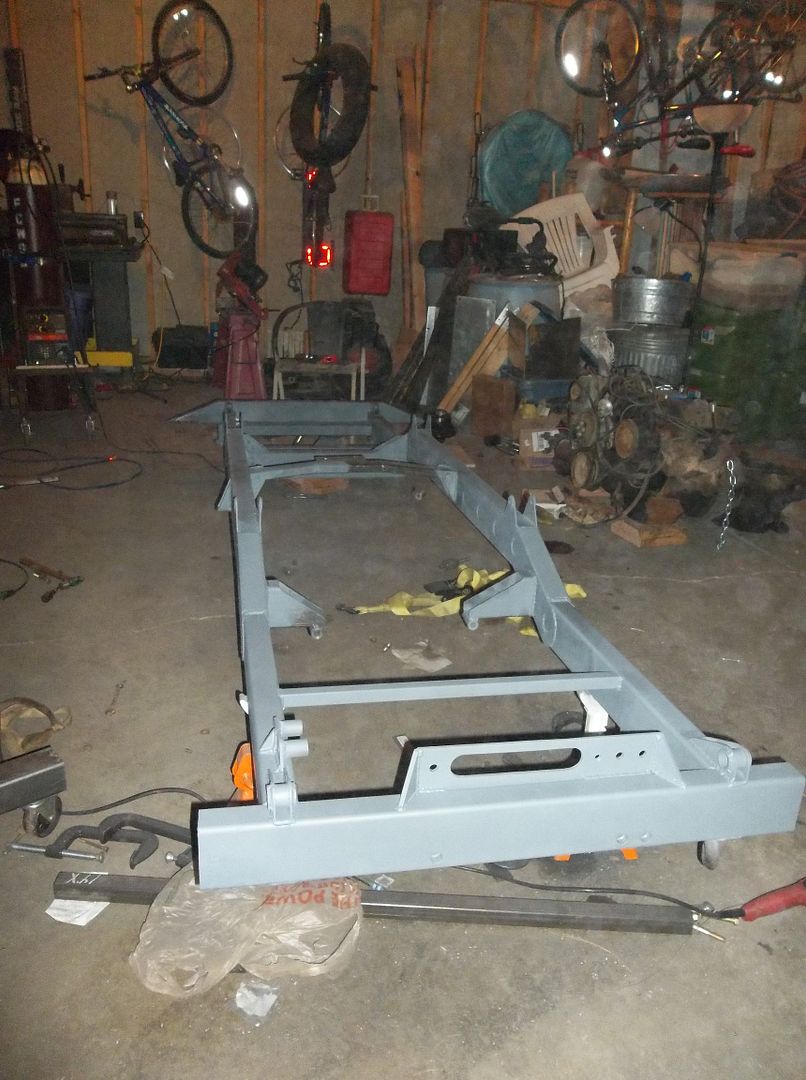
I think I need to clean my camera!
Here is a pic of the rear pintle mount I built to replicate the original....
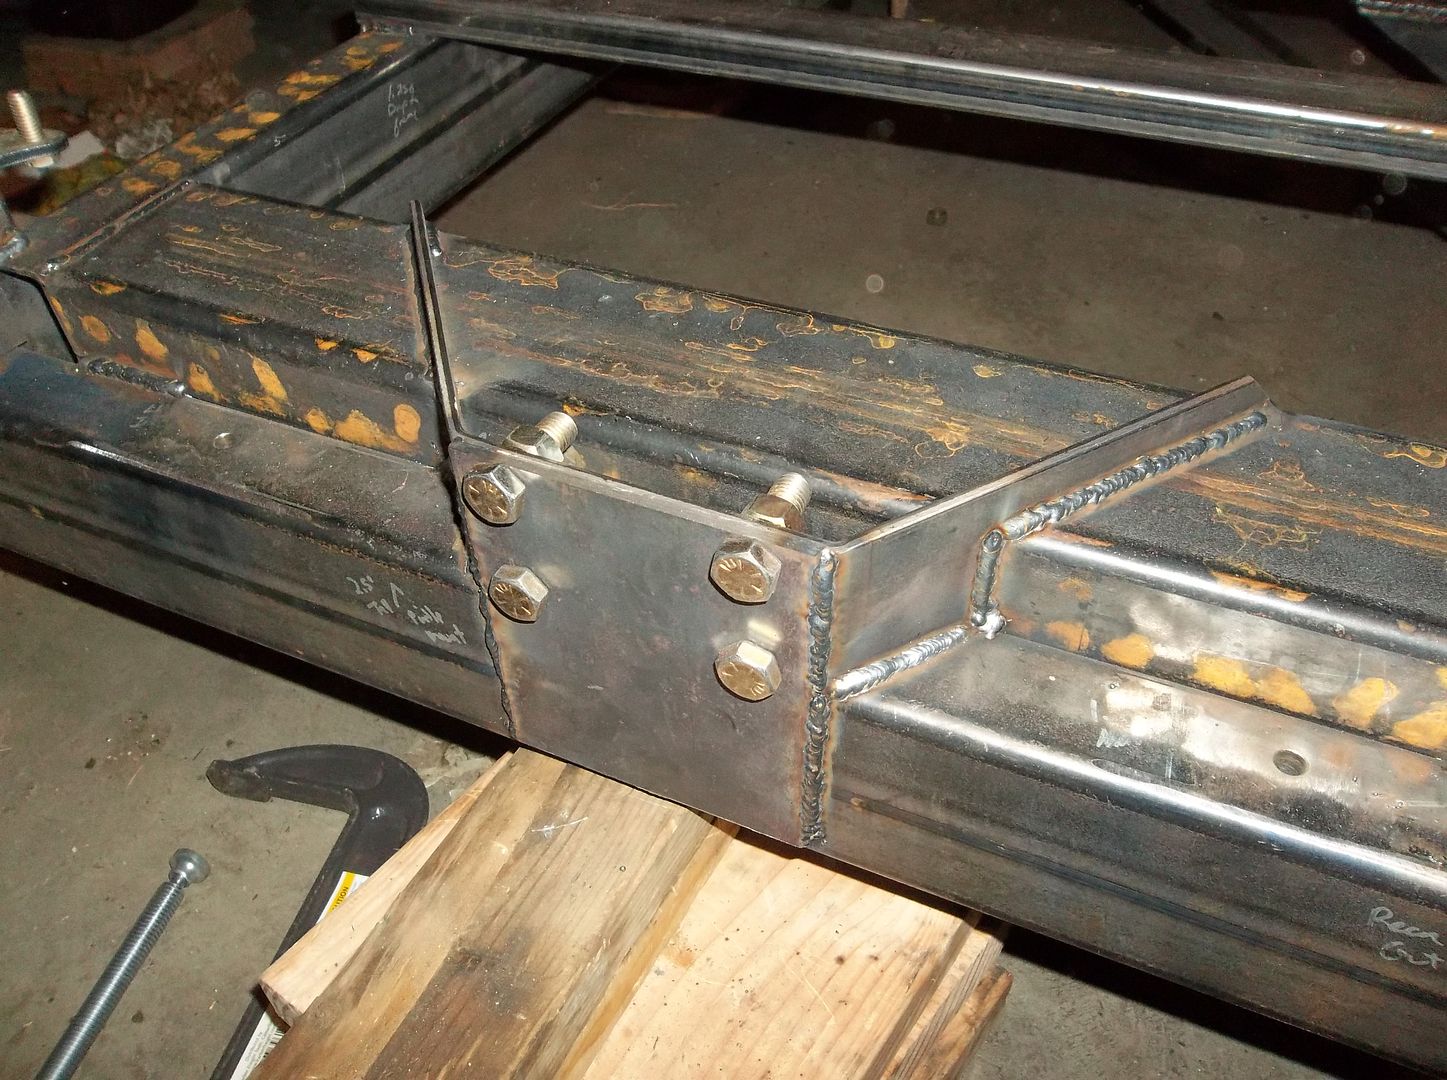
I think it turned out nice and simple. With the body on it should look like the stock K-member I hope trough the raised section in the frame.
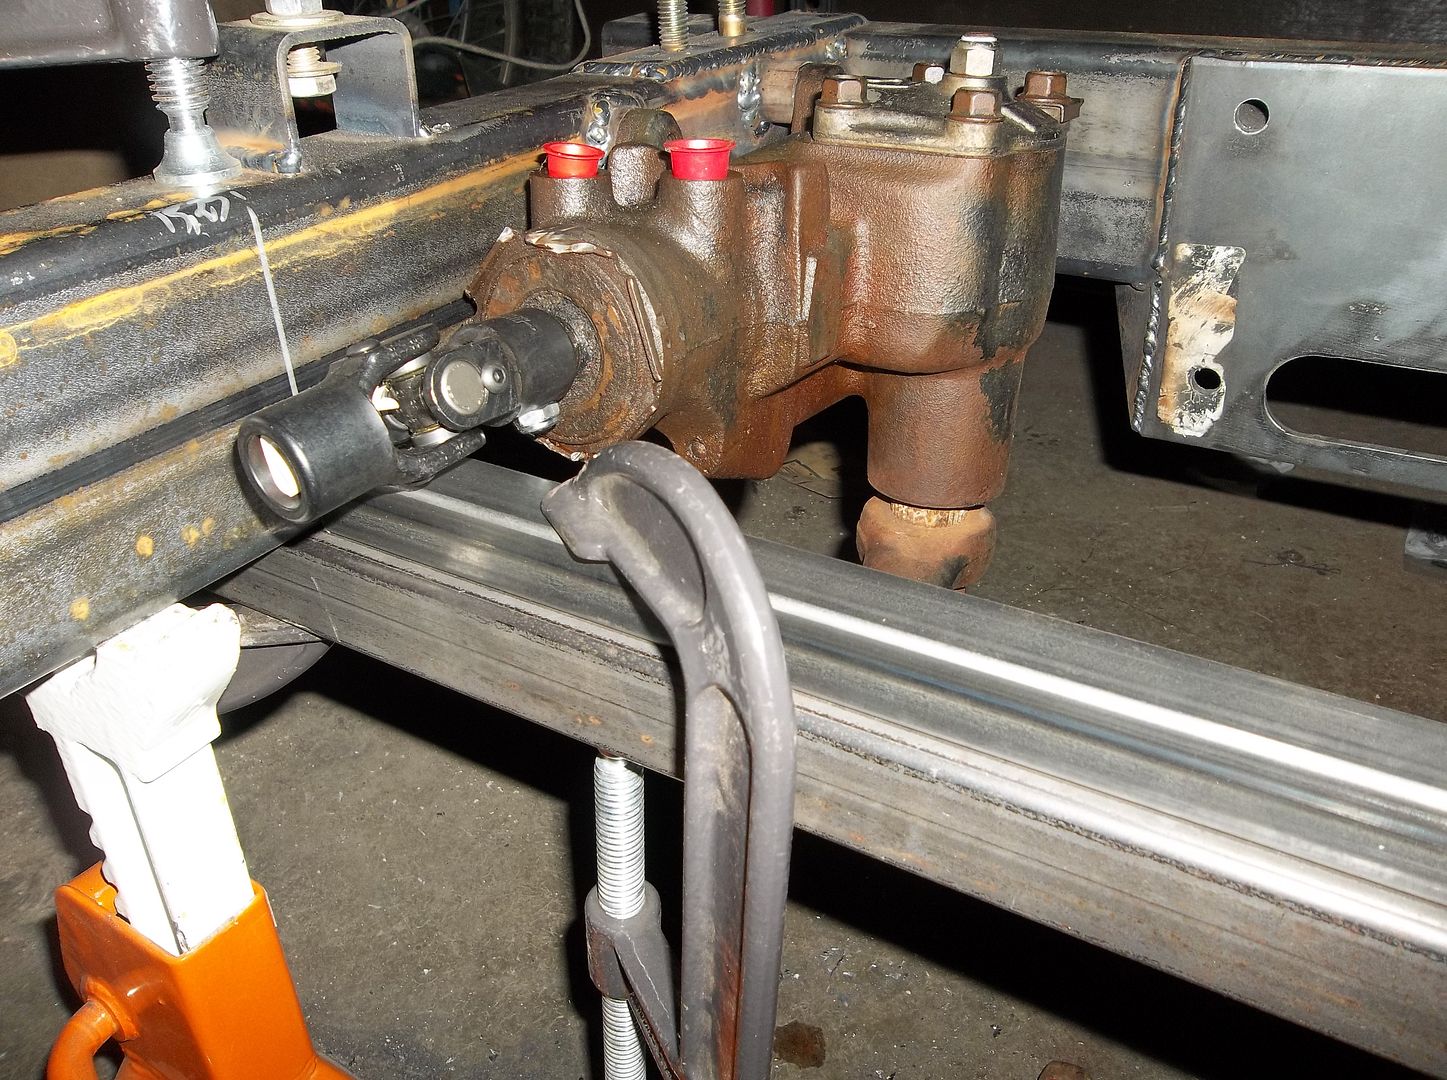
I also added a small 1x1 crossmember at the bottom of the frame under the steering box joint. Yes, the joint has plenty of room to rotate, its just a bad camera angle. This crossmember adds little support, but will allow me to run the passenger front hard brake line from one frame rail to the other....
Once the paint is dry....or almost dry....I can start putting it all back together again!

I think I need to clean my camera!
Here is a pic of the rear pintle mount I built to replicate the original....

I think it turned out nice and simple. With the body on it should look like the stock K-member I hope trough the raised section in the frame.

I also added a small 1x1 crossmember at the bottom of the frame under the steering box joint. Yes, the joint has plenty of room to rotate, its just a bad camera angle. This crossmember adds little support, but will allow me to run the passenger front hard brake line from one frame rail to the other....
Once the paint is dry....or almost dry....I can start putting it all back together again!
VanIsle_Greg
I think I need a bigger truck!
As usual, looking great. Cant wait to see this thing on its wheels for the final build up!
Similar threads
- Replies
- 7
- Views
- 842
- Replies
- 4
- Views
- 2K
- Replies
- 65
- Views
- 6K

