Rango.....1942 Willys MB

Metcalf

Expedition Leader
they do make smaller sized caps conversions for that dist, just have to keep after the maint on it. I believe the size was to head off cross fire and as they wear a bit it can be an issue

I have never seen a small cap odd-fire hei distributor? Got any more info?
 

Metcalf

Expedition Leader
Well, onto version 2.0 of the slosh-proofer ultra 2000....

When I was making the 1st version RIGHT as I was punching the hole for the vent I had another idea. Dang it. I hate that. So, I started over on the top cover gasket.

P1010133.jpg


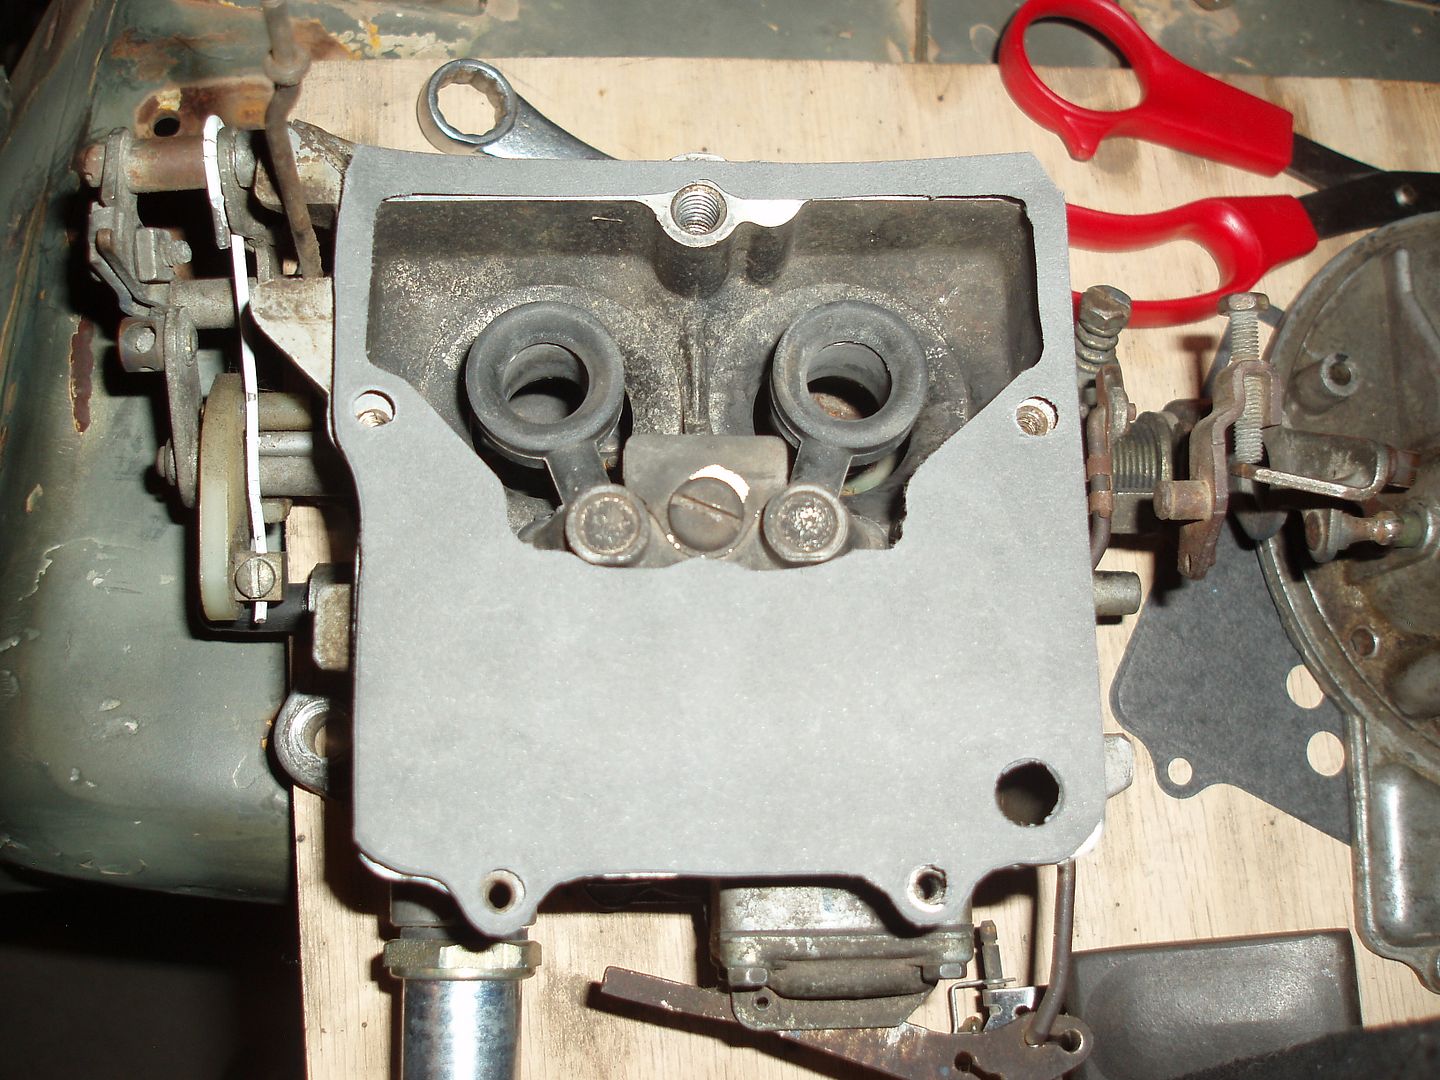
Here is the current version and how it installs. The new improved idea is that with the vent in this location it will maximize the ability of the top cover gasket to prevent the fuel from washing out the vent in the most situations possible. The hole is now in the furthest location possible from both the vent and the float needle. This should hopefully slow the fuel slosh down as much as possible. The high pressure fuel ( all 5-10psi or so ) has to go out of the needle, into the bowl, travel to the other side of the bowl, though a single 9mm sized hole and back across the top of the gasket out the vent tube.

P1010138.jpg


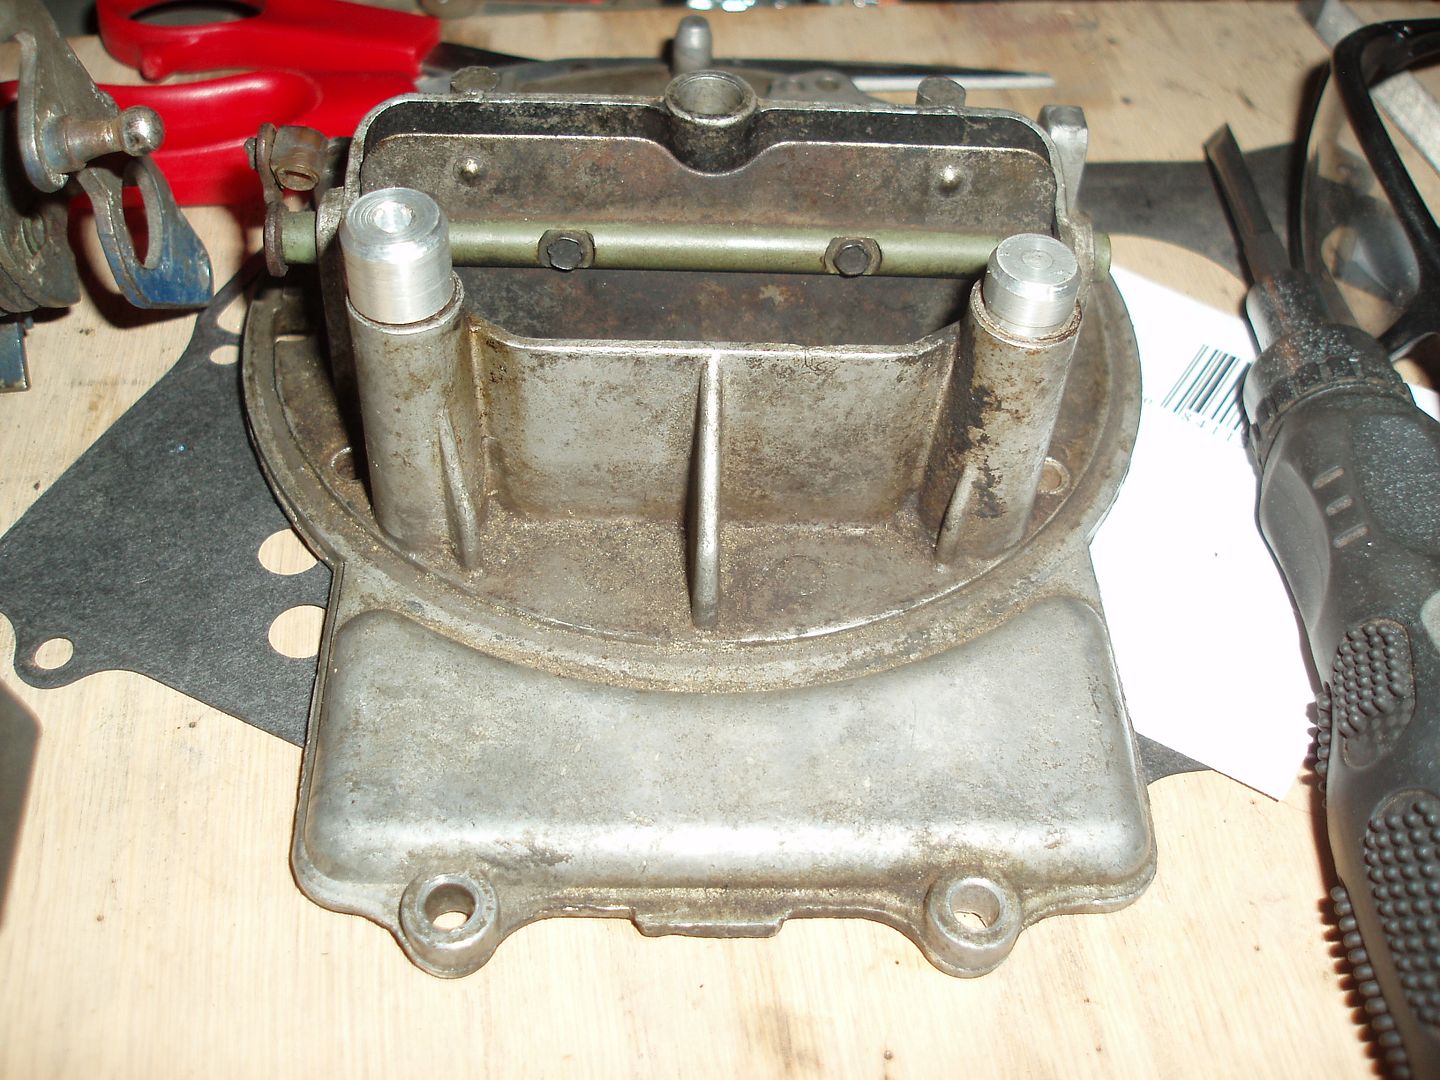
Here is the bottom of the top cover. Good thing I didn't use my original version 1.0 gasket since the hole would have been up against that square flat section at the front of the bowl. You can see that the fuel will kinda have to worm its way from one side of the bowl to the other.

P1010135.jpg


Here are some new vent tube attachments I turned on the lathe tonight. The one of the right is just a short plug with a light press fit. The one of the left is both an extension to a restriction. The factory vents are approximately 0.390" in diameter. The new version has a 0.125" or 1/8" hole. It is also extended up as high as possible for my low profile carb plenum.

The top cover should now act as a baffle for not only nose up situations, it should also function as a baffle for side to side situations. With the hole in the gasket on one side and the vent on the other it should work equally well in both the right and left direction.

When tilting to the drivers side down the vent tube will be high and the baffle low which should prevent raw fuel from sloshing out into the primary. The bowl would have to fill to the point that the bowl level was above the vent tube which I think would almost be impossible.

When tilting to the passenger side down the vent tube will be low BUT the hole in the baffle will be high. The fuel bowl hill have to fill to the point that fuel comes out the gasket hole ( VERY full ) and then the fuel has to run across the top of the gasket and out the extended and reduced diameter vent tube.

P1010130.jpg


P1010131.jpg


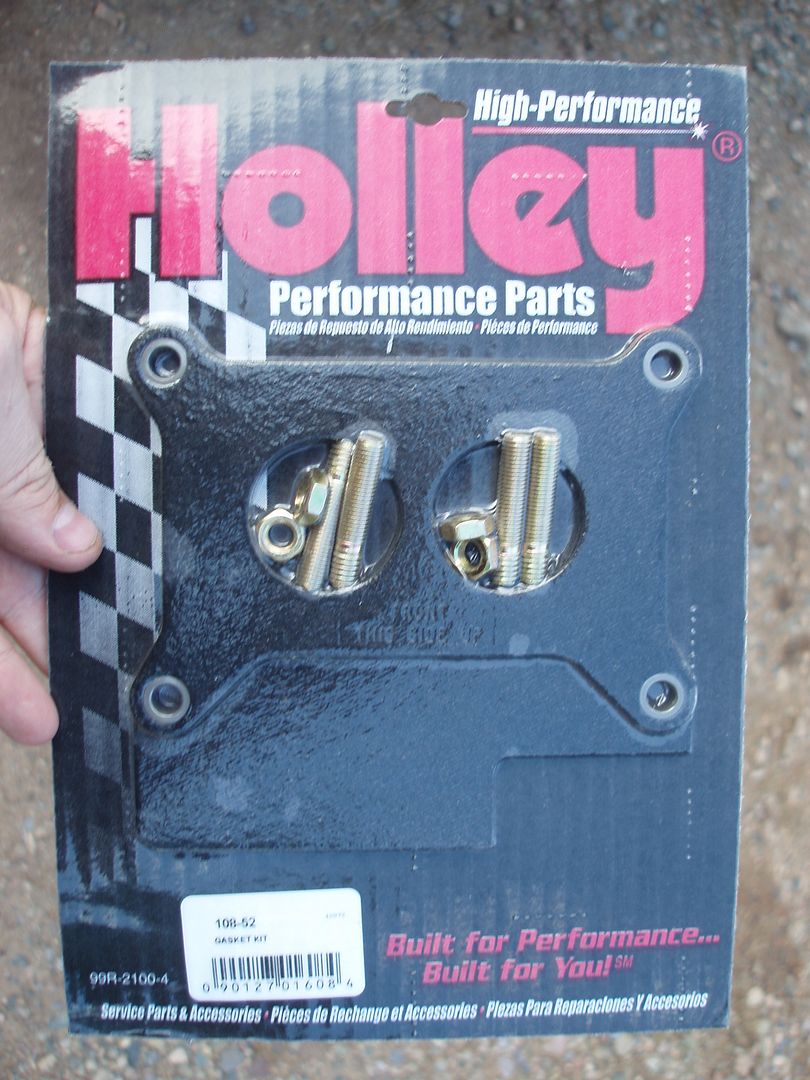
I used one of these thick heat isolating gaskets to mount the carb this time. I hope this will help keep the fuel in the bowl cooler and keep it from evaporating at high engine temp in hot weather when I shut off the engine. There is a small amount of fuel pressurized in the feel line from the fuel pump to the carb, but I have seen this all used up ( refilling the bowl with the engine off ) and the fuel bowl almost depleted of fuel. This is one fairly common cause of hard starts in hot weather....

P1010132.jpg


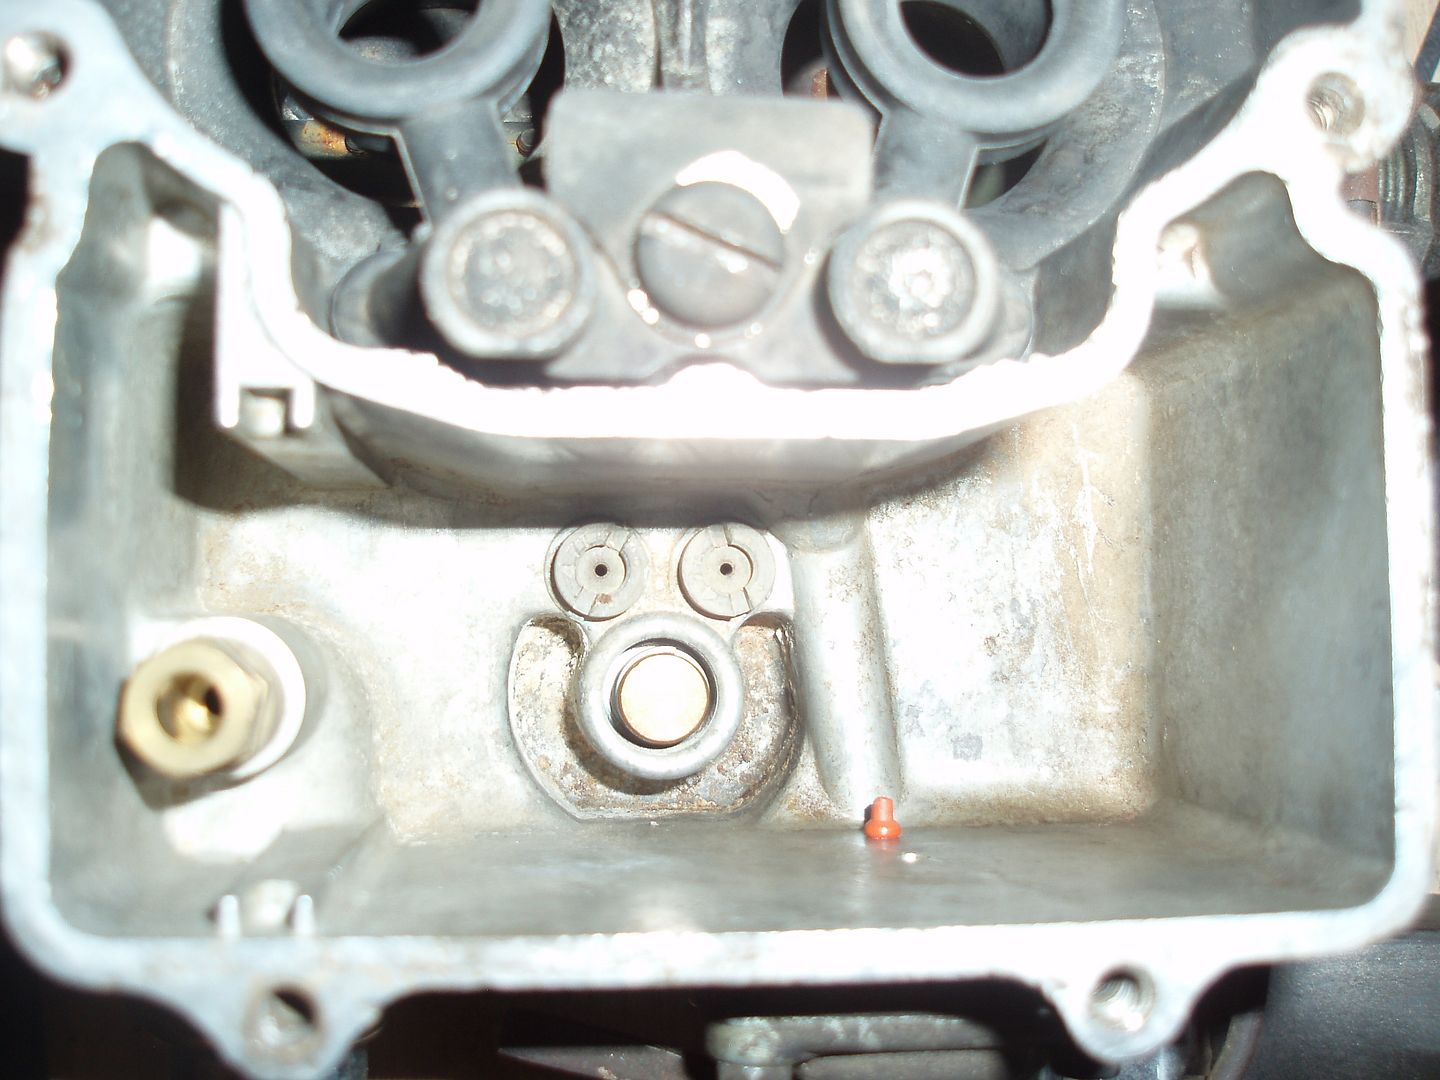
A picture of a autolite/motorcraft 2100 fuel bowl with the float removed. Fuel needle seat on the left. The two main jets in the bottom. The power valve feed just slightly ahead of the jets. The jets are recessed in the bottom of the fuel bowl along with the power valve. I think this is one of the main reasons that the autolites tend to work so well.

I lost one of the screws for the top cover. :homer: Now I have an excuse to get some nice new ones....
 

jeepdreamer

Expedition Leader
If this works out well and you prove its effects, maybe you can market it to Holley as an actual Off Road friendly kit! Could pay for some Jeep parts?? heehee!
 

Metcalf

Expedition Leader
Maybe, but it would be for a Motorcraft/Autolite 2100 or 2150, not a holley 2bbl :) I ran a holley before, it went in the trashcan.
 

oldkid

New member
fuel tank

I like your fuel tank. I'm planning on something similar for my MB. Anything that you'd do different? If you don't mind, what did it cost?
 

Metcalf

Expedition Leader
I try not to get into prices too much.....its going to be different for everyone. I have the print I sent to Boyd Welding if you would like it. They would be more than happy to quote it for you I am sure.

All in all the tank is probably one of my favorite parts. It almost disappears into somewhat 'wasted' space behind the seats, especially with the new bucket seats leaned back. For 19 gallons of so it takes up VERY little space really. The sight tube is handy. I think it wins over a gauge in my book for bone simple-ness.

Things I would change.....

I would probably spend the extra few dollars to have a fuel return for possible fuel injection in the future. I planed a way around this but having a dedicated fitting would be nice.
A splash guard on the front part of the fuel fill area would be a little cleaner.

Everything else is working great.

I drove the vehicle around on the 1st 5-gallon gas can fill of the tank for a LONG tank. I never had issues with fuel delivery. The sump seems to work very well. I think I could probably use every drop of fuel in the tank. The location worked out pretty well and allowed for no fuel feed lines in the drivers compartment. The fuel line is a short single 6' run to the engine along the frame.

The baffle in the middle keeps the slosh down. I can't feel the fuel moving at all or hear it. ( boyd added that, not on the print )

You could probably reduce the fitting size slightly. I went with 1/2" npt fittings. You could probably go down to 3/8" for easier to find fittings.

All in all probably one of my favorite parts of the build, having 19 gallons in a flat fender with very little wasted space is great.
 

bishopdunn

Observer
Does the tank sit over the machine gun mount or is it further forward? What did you mean about a splash guard? Are you concerned with spillage when filling? I, too would appreciate a copy of the plans. I'm rebuilding my 42 now but don't want to place the tank under the seat.
 

Metcalf

Expedition Leader
Does the tank sit over the machine gun mount or is it further forward? What did you mean about a splash guard? Are you concerned with spillage when filling? I, too would appreciate a copy of the plans. I'm rebuilding my 42 now but don't want to place the tank under the seat.

The tank basically follows the wheel tub and the floor with a slight recess on the from bottom edge to give enough room for the front mounting feet.

The splash guard would just be to keep fuel from running down the front of the tank when filling from a fuel can. The seats are very close to the tank. A half circle of material on the front part of the fuel fill cap neck would be enough ( or maybe a u-shape ).

I don't spill a drop of fuel unless I am trying to fill it with a fuel can. Then its a bit of a pain. I always leave a few inches of expansion space at the top of the tank when filling at the pump.

I will post a PDF of the plan for the tank tomorrow.
 

Metcalf

Expedition Leader
Sure, no problem.

Just remember though. Most of the things I designed for this vehicle are basically one off parts that where all conceived to work together. It's easy to look at a project like this and say you can use this or that, but be aware that a LOT of thought went into this thing. I'm not saying that every part I designed is going to work the same on every vehicle....

A good example is the fuel tank. The tank was built to fit my tub. I would imagine that most MB/GPW tubs are similar, but you also have to remember that I did things like modified the seating position and raised the rear wheel tubs. All these little things need to be taken into consideration when trying to build parts. I just want to make dang sure people are not using what I have designed for a universal solution. If you have questions please let me know. I am more than happy to help people with there specific questions and specific needs.

Best wishes to everyone with their projects...
 

Metcalf

Expedition Leader
PDF print of the fuel tank I designed and had built at Boyd Welding...
 

Attachments

  • Metcalf_rango_1942 willys fuel tank.pdf
    16.8 KB · Views: 29

Metcalf

Expedition Leader
Mini test drive this weekend....

I got the carb put back together with the new top cover slosh-o-matic 2000 gasket. The vent plug and vent extender thing-a-magigs are installed. I also have the new thick carb base gasket installed. I also loctite'd the carb adapter bolts in place.

All in all everything runs like it did before on level ground. I can't see any difference after blocking off one of the vent tubes, restricting the other, and running the single 9mm hole in the top cover gasket way over in the corner.

I took the carb top off again to check the bowl level. You can see where fuel will splash up through the hole but doesn't really make it over to the vent on the opposite side of the fuel bowl above the gasket.

It seemed to run as good or better than before. I can't think of any reason it would run better other than the carb body is now more heat isolated from the engine with the thick holley base gasket.

I didn't get it super hot, but at full operating temperature I didn't have any restart issues withe the fuel bowl being low from heat evaporation.

More testing to come....
 

Metcalf

Expedition Leader
Low end stall proofing.....

This evening I decided to check out the low end grunt of the good old Buick 225 odd fire engine with its 50+lb flywheel.

http://www.youtube.com/watch?v=A6RsYE60Ndg

I wasn't disappointed. The carb tuning and mods seems to be paying off pretty well. I think the 1.08 size primary autolite 2100 is a great choice for this engine so far.

The video was shot up the driveway to the house. I wanted to JUST test low end grunt, not angle capability, at this point. The grade to the house isn't too steep but can lug the motor down in the right gear. I used high range 2nd gear. This was with the 35" tires and 4.30 gears in the axles.

The video will totally trip you out since I tried some shake elimination on it. Dang that is trippy!

You can see the rpm's pull down on the tach. The static idle is about 550-600rpm with 15" of vacuum at 7000' elevation. Using this technique I was able to pull the engine down to JUST about stalling but it didn't. The rpm's dropped under load down to the 200rpm range....EEKKKK! The engine just kept chugging along. That 50lb flywheel really helps! Even at 200rpm under load the engine was pulling 9-10" of vacuum. At the very low end you can feel each engine pulse.

I did notice how much the engine and transmission torques around. I might need to look for some poly engine mount replacements or something?

Question. Does anyone know if the power valve starts dumping fuel even at an idle under low vacuum? Any way to test that? I think mine is rated at like 6-8" so it shouldn't be an issue yet, but it was another thing to think about I guess.

All in all very happy.

I ordered a bunch of jets. I have like 7 sets coming.
40-41-42-43-44-45-46 ( in addition to my existing 47 set )
yeah, it was overkill, but I was able to get them for $6 a set so I figured why not. If my math is right that should cover me from sea level to 13000ft with probably a set of each end in wiggle room depending on temperature.

Once I get the jets in the mail I am going to start some more tuning!

I will try to document the process as much as I can.

Also, getting close on a Jeep T18 for the transmission swap......bye bye sm420.
 

Forum statistics

Threads
188,337
Messages
2,905,752
Members
229,959
Latest member
bdpkauai
Top