Rango.....1942 Willys MB

locrwln

Expedition Leader
Congrats on the write up in JP magazine. It was fun to read about a rig in a magazine that I got to watch the long version of the build here.

Great job.

Jack
 

bishopdunn

Observer
Ditto! I lost all but the frame and body of my '42 in a house fire last May. This has inspired me to restart the build following your example. Thanks for the boost.


Sent from my iPad using Tapatalk
 

Metcalf

Expedition Leader
Ditto! I lost all but the frame and body of my '42 in a house fire last May. This has inspired me to restart the build following your example. Thanks for the boost.


Sent from my iPad using Tapatalk

My best suggestions. Make a new frame. Use a 4.3 GM engine instead of something old and exotic. Use a center drive transfer case like a D300 and a centered rear axle ( quieter, stronger, more durable, and you can do front digs ).
 

bishopdunn

Observer
The frame is new, similar to yours. Thanks for the advice, I'm thinking 4.3 GM, NV4500, D300 or Atlas to Currie axles.


Sent from my iPad using Tapatalk
 

Metcalf

Expedition Leader
The frame is new, similar to yours. Thanks for the advice, I'm thinking 4.3 GM, NV4500, D300 or Atlas to Currie axles.


Sent from my iPad using Tapatalk

Unless you are stretching the tub/rear wheelbase 6" or so, an NV4500 probably won't fit. An atlas would probably require the engine to be offset about 2" if your frame rails are stock width.

It would be nice to have an indestructible tank, but flat fenders are pretty small and you have to be careful in my opinion not to end up with something that isn't a flat fender. If you want more than a 90" wheelbase, big power, big axles, and larger than a 37" tire just build something else. These old jeeps are neat because they are pretty small and simple. At some point they just aren't small or simple anymore and they loose the character that makes them so unique.
 

Metcalf

Expedition Leader
I've been totally slacking on updating this thread. My thread on pirate got a lot more questions and traffic but it seems like this one is still getting some views....I am going to try and get it caught back up...

Just a little fun in the mountains....


Metcalf

Expedition Leader
Mini-update....

I have been having some more cooling issues. I engine has decided to eat a little coolant lately. I have had two low coolant instances. The 1st was just after some normal daily driving. I can't say the last time I had checked the coolant, but I noticed some 230-25pegged readings on the gauge just as I got home. When it cooled down enough I checked the radiator and found it very low. I added some coolant and took it for a drive the next day.

I drove for probably 4+ hours up into the mountains before I had the same issue. High erratic temps. Pulled over. Low radiator. I filled it up and drive home without much of an issue.

I noticed a touch of water drops in the dipstick tube and found some water in the oil.

There is no noticeable white smoke or anything coming out the pipe so I thought it is maybe a small internal leak into the oil. I couldn't remember how well I sealed the water pump bolts that go into and though the front cover. I changed the oil and resealed all the long bolts in the water pump and timing cover.

I also added a coolant recovery bottle.

The 1st trial went bad. It overheated basically throwing coolant out the overflow bottle and all over the place. My only thought was an air pocket behind the thermostat or bad thermostat.

I drained the coolant again and replaced the thermostat with a new unit that I added some steam holes too. My hope is that this would help with an air pocket behind the thermostat.


I made sure to get all the air out and bled the system as well as I could. It is working much better now but I think it is still eating a little coolant. No white smoke in the exhaust that I can tell. It still runs very well. Oil pressure is still normal.

My last thought was to pull the plugs. All looked good except cylinder #2. I swapped it out and ran it again. Only that plug continues to foul with what looks like maybe oil and/or coolant. It is black. A few times recently starting the engine I get a miss until it burns off the oily residue.

So what to do now? It runs well enough I am tempted to just patch it up best I can. My guess is maybe a bad valve guide and/or a small head gasket leak on that side. I am tempted to just give my spare engine a once over, I think it needs a timing chain, and swap it in. I would like to build that engine, but honestly at this point I don't want to throw $1000s of dollars at this project......
 

Metcalf

Expedition Leader
I'm back from my Moab trip this fall.....some pics to keep you happy, trip report to follow.


Fins and Things warm up and tuning run. We where working some bugs out of the other rigs and making sure everything was good to go. The 1st half of the trail is quick and easy with just enough optional stuff to keep you entertained.


The motley crew at the overlook on Hells Revenge.


Taking an short wheelbase up Tip over Challenge is always fun....


50/50 on the Pickle trail.


Just before I had to drive around the CJ5 on the weird line to the right for some recovery duties. He got a little pickled in the pickle and had to be winched out.


Then it was onto Mashed Potatoes. Here I am playing in Gravy Boat. Ewww. I have some funny video I will try to get up later. That was was a little deep! I didn't make it out the optional right side crazy line. I got a little tug....


Misc pics from Mashed Potatoes and the exit along part of 3D I think?


Z-turn on Moab Rim going up.

I should have some more pics later as I collect them from the other guys....
 

Metcalf

Expedition Leader
I get a kick of pictures like this....


In this installment of how short is it......Jeep XJ Cherokee. I think it might have had a spacer in the front maybe.
 

Metcalf

Expedition Leader
Something new....


My springs have broken in a bit so the tire is moving around really nice. So nice that it has started to kiss the back of the wheel opening when articulated. I'm using an 18" radius for the wheel opening and it is just a little small for a 35" tire.


The body was cutting up the tires a little bit. It wasn't that bad, but tires are freaking expensive! I figured I better do something about it....


I trimmed the wheel opening back about as far as I could. Then I welded in a 1/4" cold roll steel rod to the edge. Getting it square to the corner was pretty challenging but I got it pretty close....


Then I welded the edge up by slowly tack-tack-tacking the sheetmetal to the rod. I had a few areas that where a pain where I couldn't clean the undercoating off the back edge enough. I will NEVER build something again and undercoat it. It makes modifications in the future near impossible.


Out came the flap-wheel on the grinder to bring the weld back down. This took a little while. I tried not to heat up any area too much by keeping the wheel moving all over the panel.

Overall it turned out pretty nice. The edge also make the panel a lot more stiff.

When I make an improved flat fender body I am going to plan the wheel opening and a factory bent/pressed edge in the proper radius from the beginning. I think to run a larger 37" tire on a flat fender with the low rider theme the rear section of the body needs to be about 2-3" longer to allow the wheel opening to be able to end on the plane of the side panel instead of having to go around the rear corner.....

Anyways, a little something. I need to fill a few more holes, fix a shock mount, and then move onto the other side.....
 

Metcalf

Expedition Leader
Lots o' fun today! I went out to the shop about 10am and the next time I looked up it was 4pm....


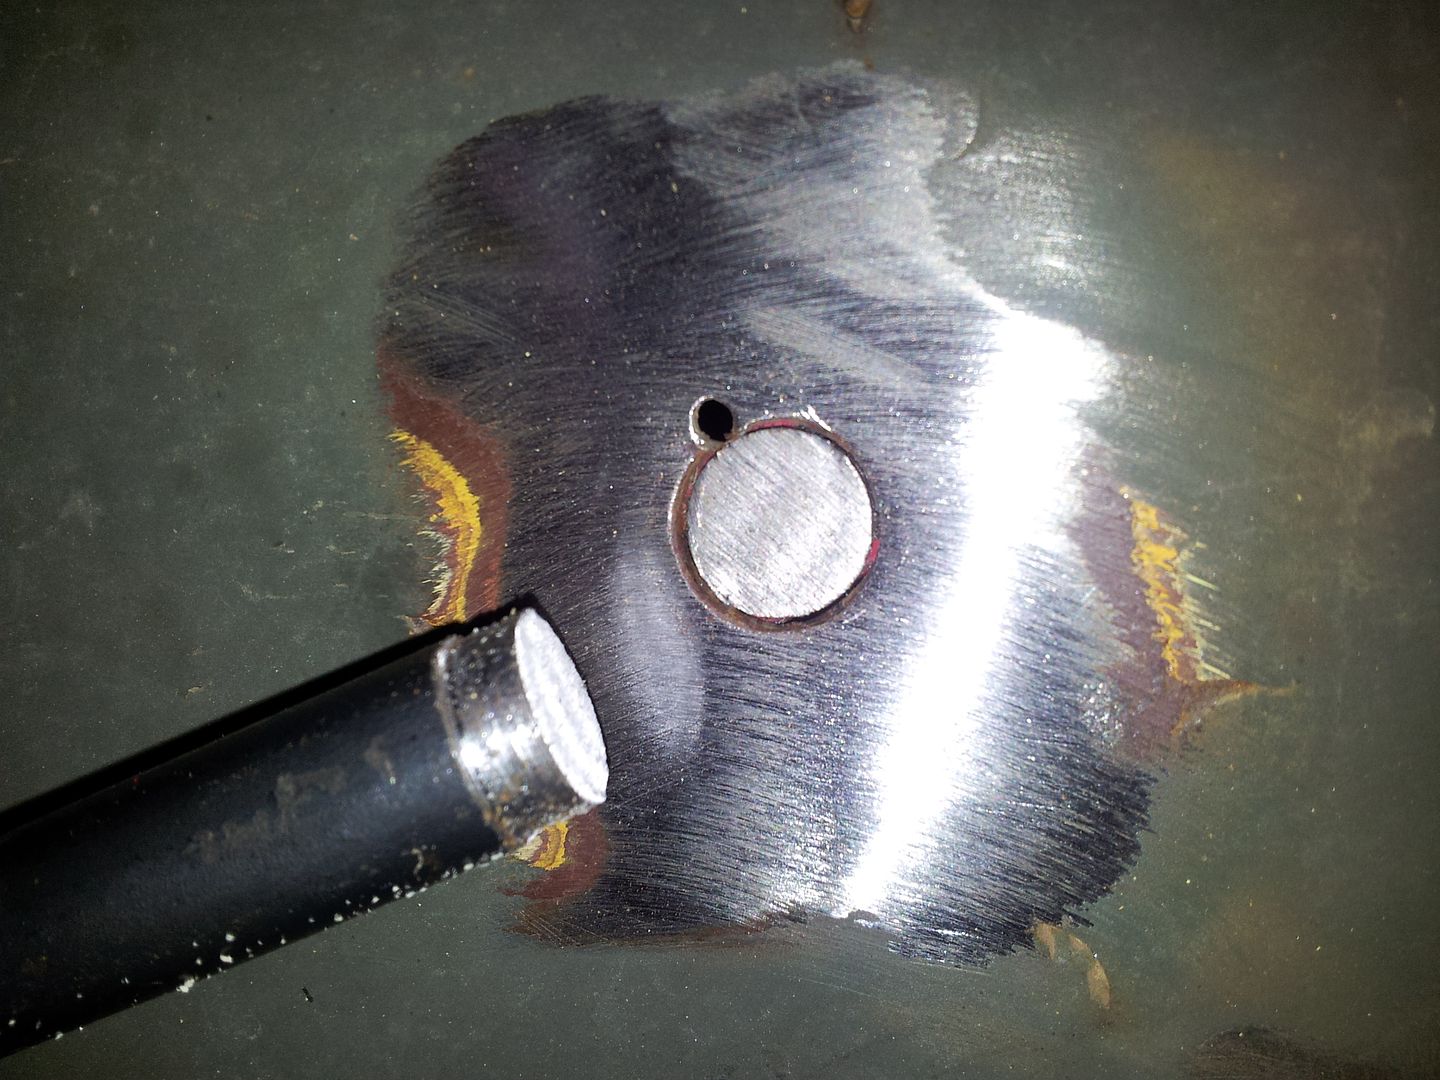
I had some annoyingly large holes I needed to weld up. I made some plugs buy turning down some small round stock in the lathe and then cutting them to thickness on the bandsaw. This seems to work really well. If you make them a touch thicker than the base metal they clean up a little nicer.


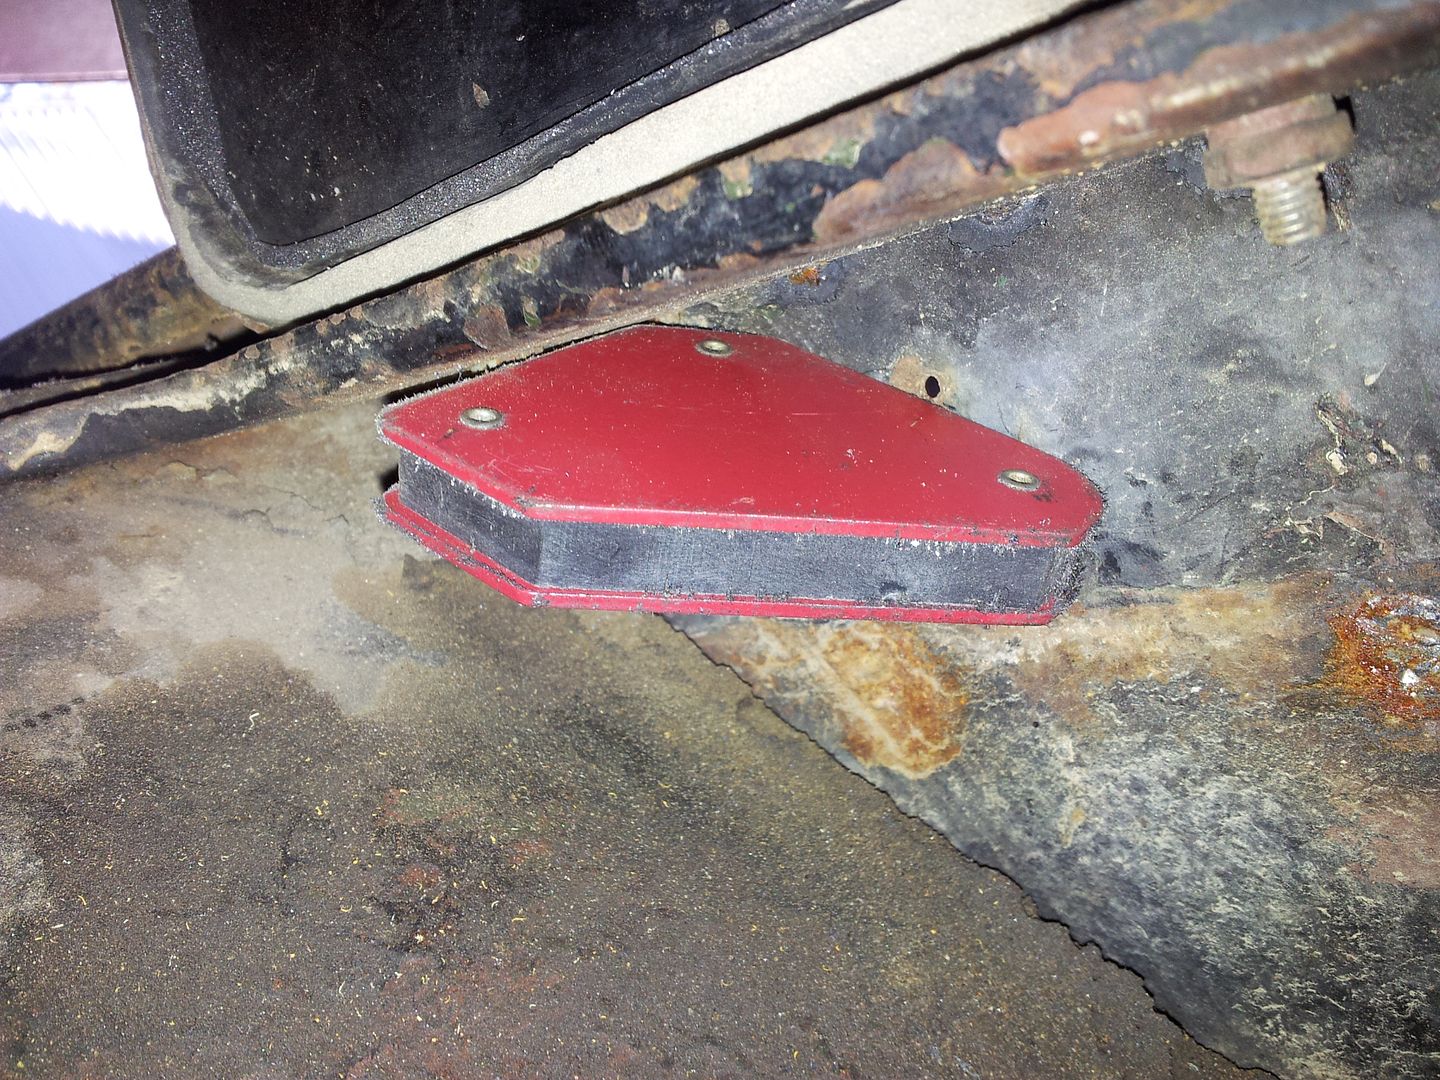
If I can I hole them in place with a magnet on the back of the panel. You can also use a corner of the magnet of you have to hold from the front of the panel. Remove the magnet after you get it tacked in place.


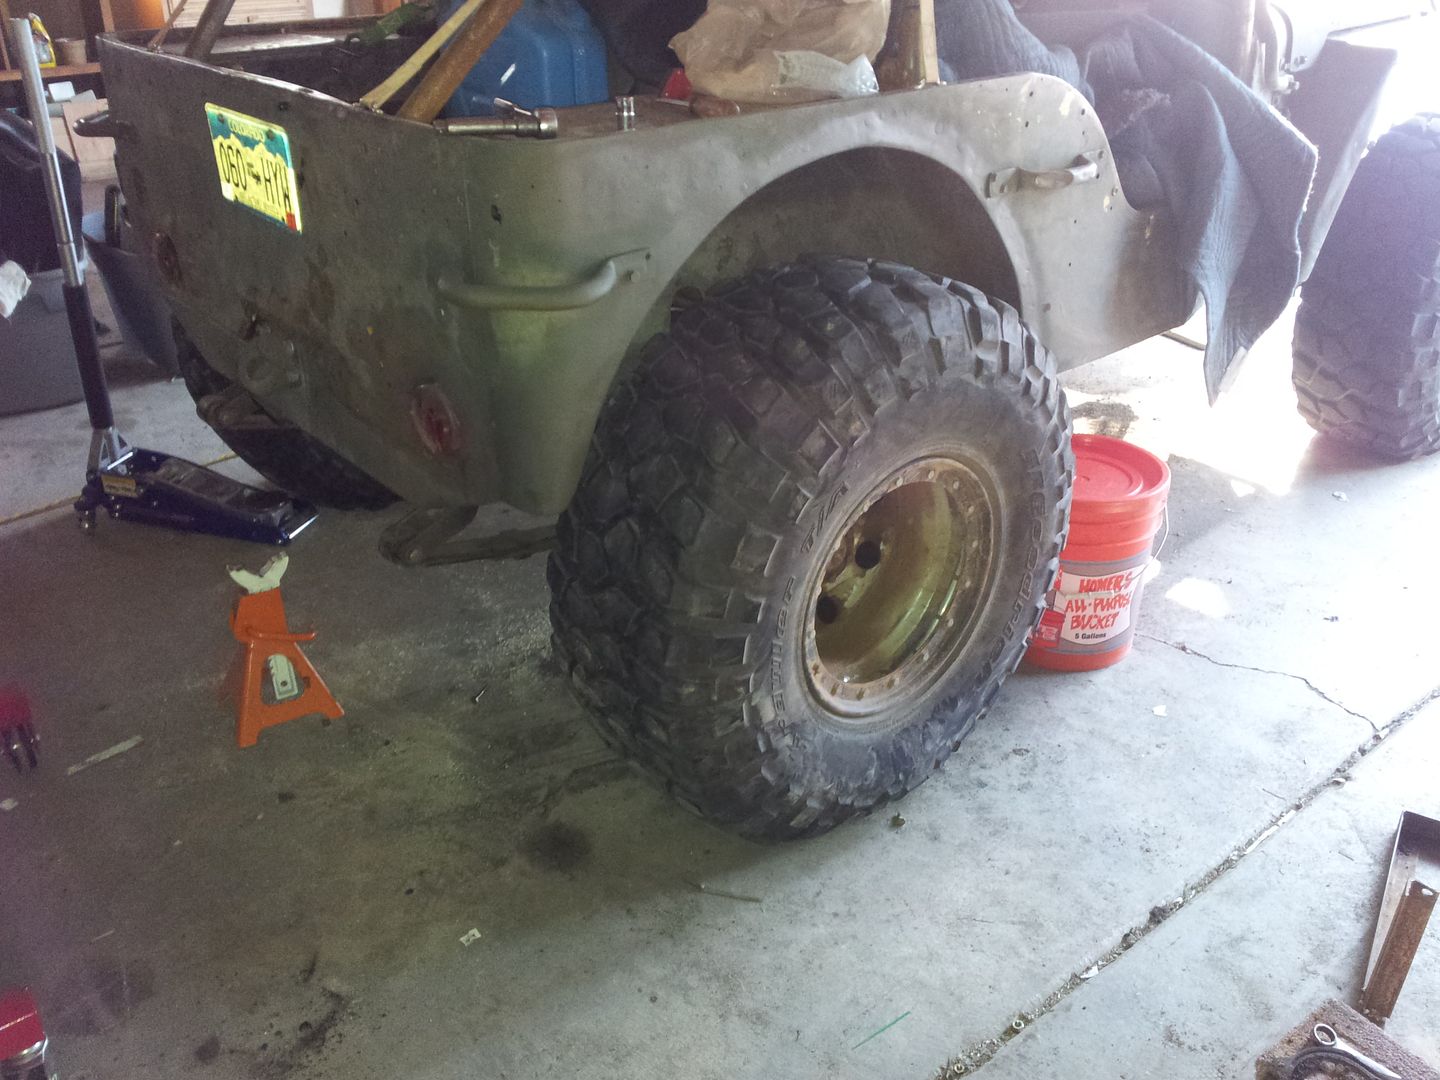
A little primer and paint and things looked a little bit better than before. One of these days I would love have a straight new tub to work from....


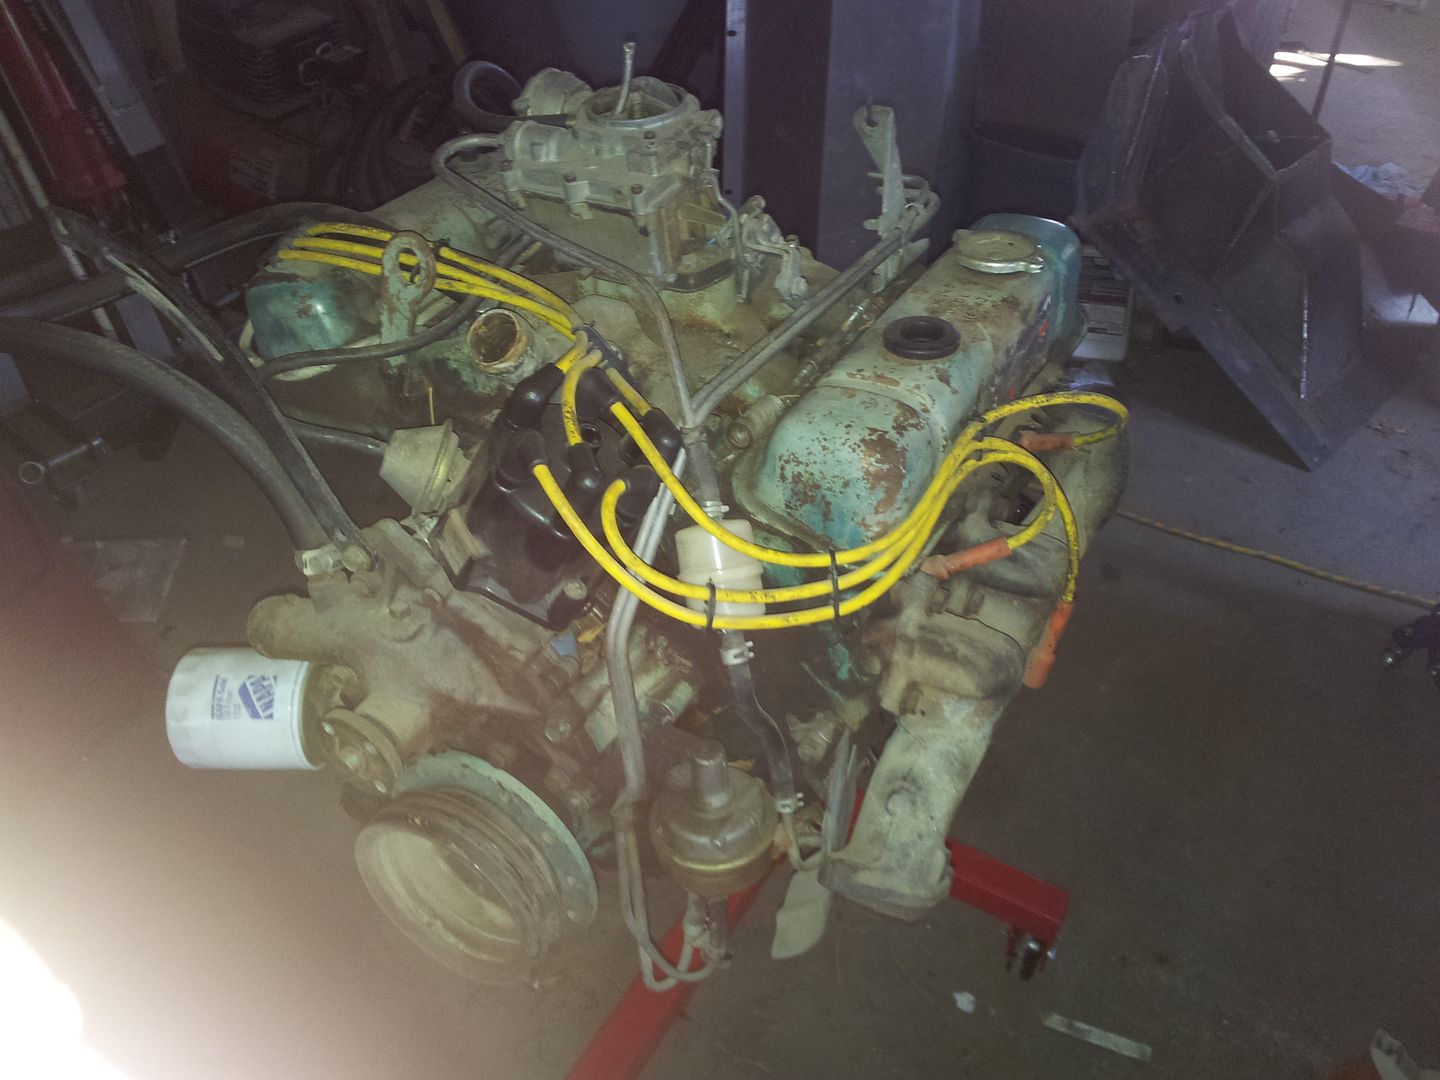
I threw the spare engine up on my new engine stand. Anyone need any misc stock parts? This had a lot of the little OE stuff.....fuel lines, brackets, a stock carb, points distributor, etc.

After a few hours I had this....


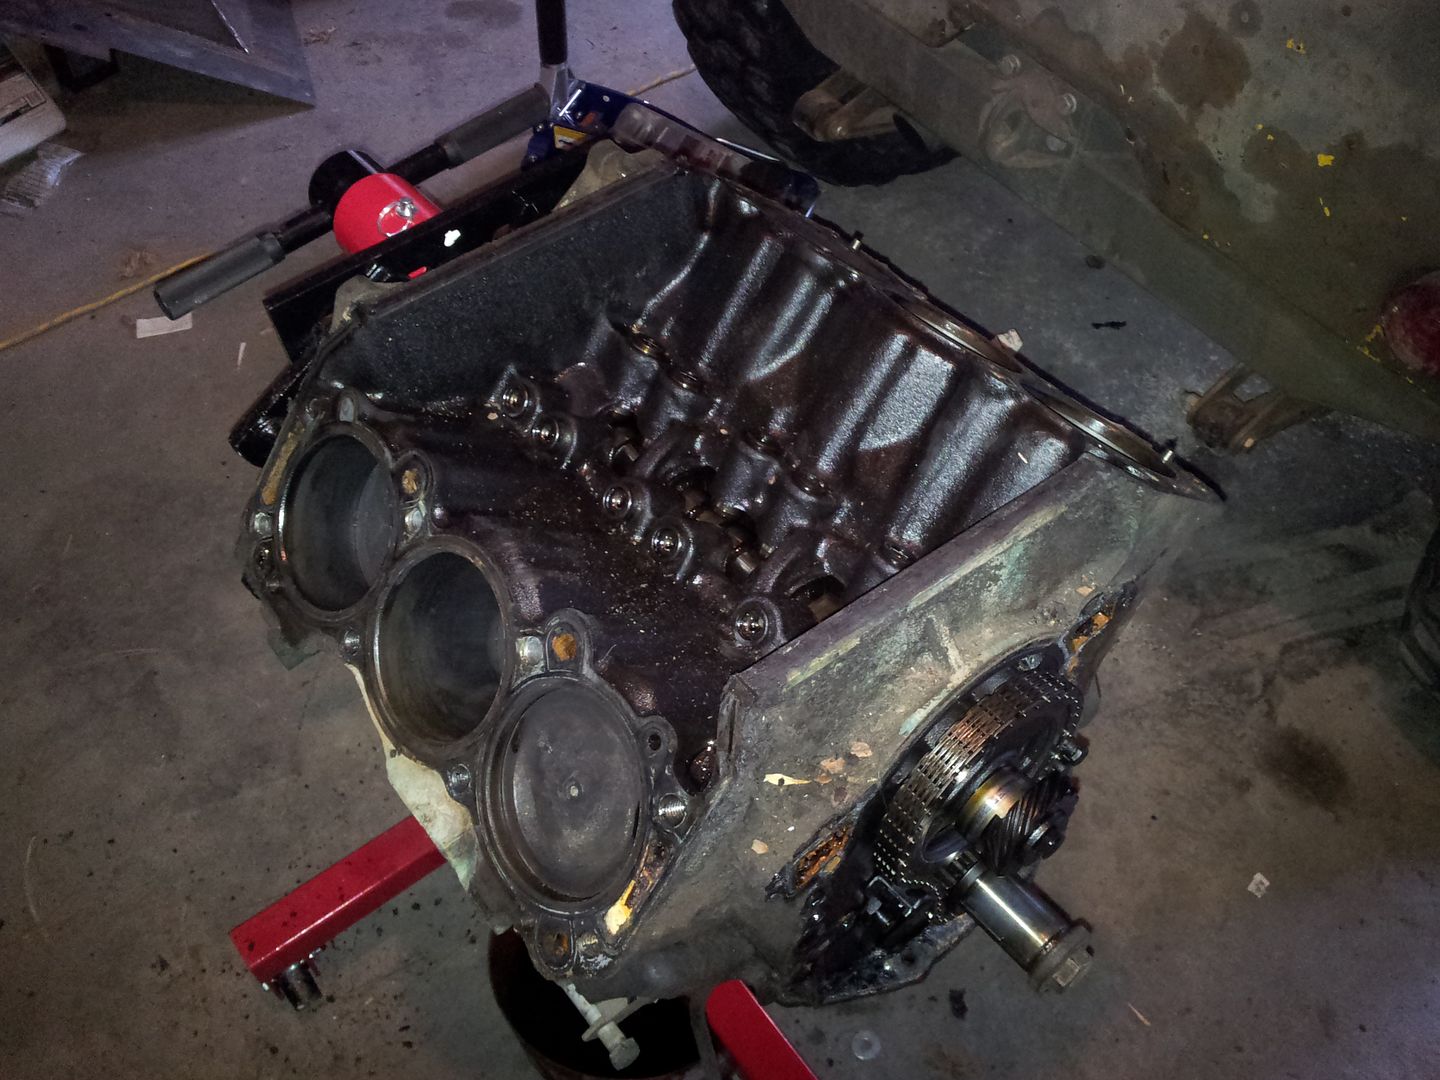
It seems pretty clean. It is still 3.750" bore. The cylinders are smooth with no nicks or gouges. Cylinder #4 had a water mark in it and a touch of rust. I don't know if this was from a leaky head gasket. The pistons are stock units with the nipple in the middle. There was some light carbon flakes on the top of a few pistons. The plugs looked like it was running rich.

The story I got on this engine was that it perhaps skipped on the timing at some point. I ran the timing chain around and both dots lined up. The timing chain looked newer with metal sprockets. The heads had modern multi-layer gaskets, so did the intake manifold.

The only thing I found that looked 'wrong' is that a few pushrods looked bent? They are suppose to be arrow straight right? I need to measure all of them and see what I come up with.

The heads looked pretty good. I need to get something to help take valve spring keepers out so I can inspect the valve seats. Everything looked ok on the heads...maybe a little gunked up but not that bad.

Here are a few more pics....


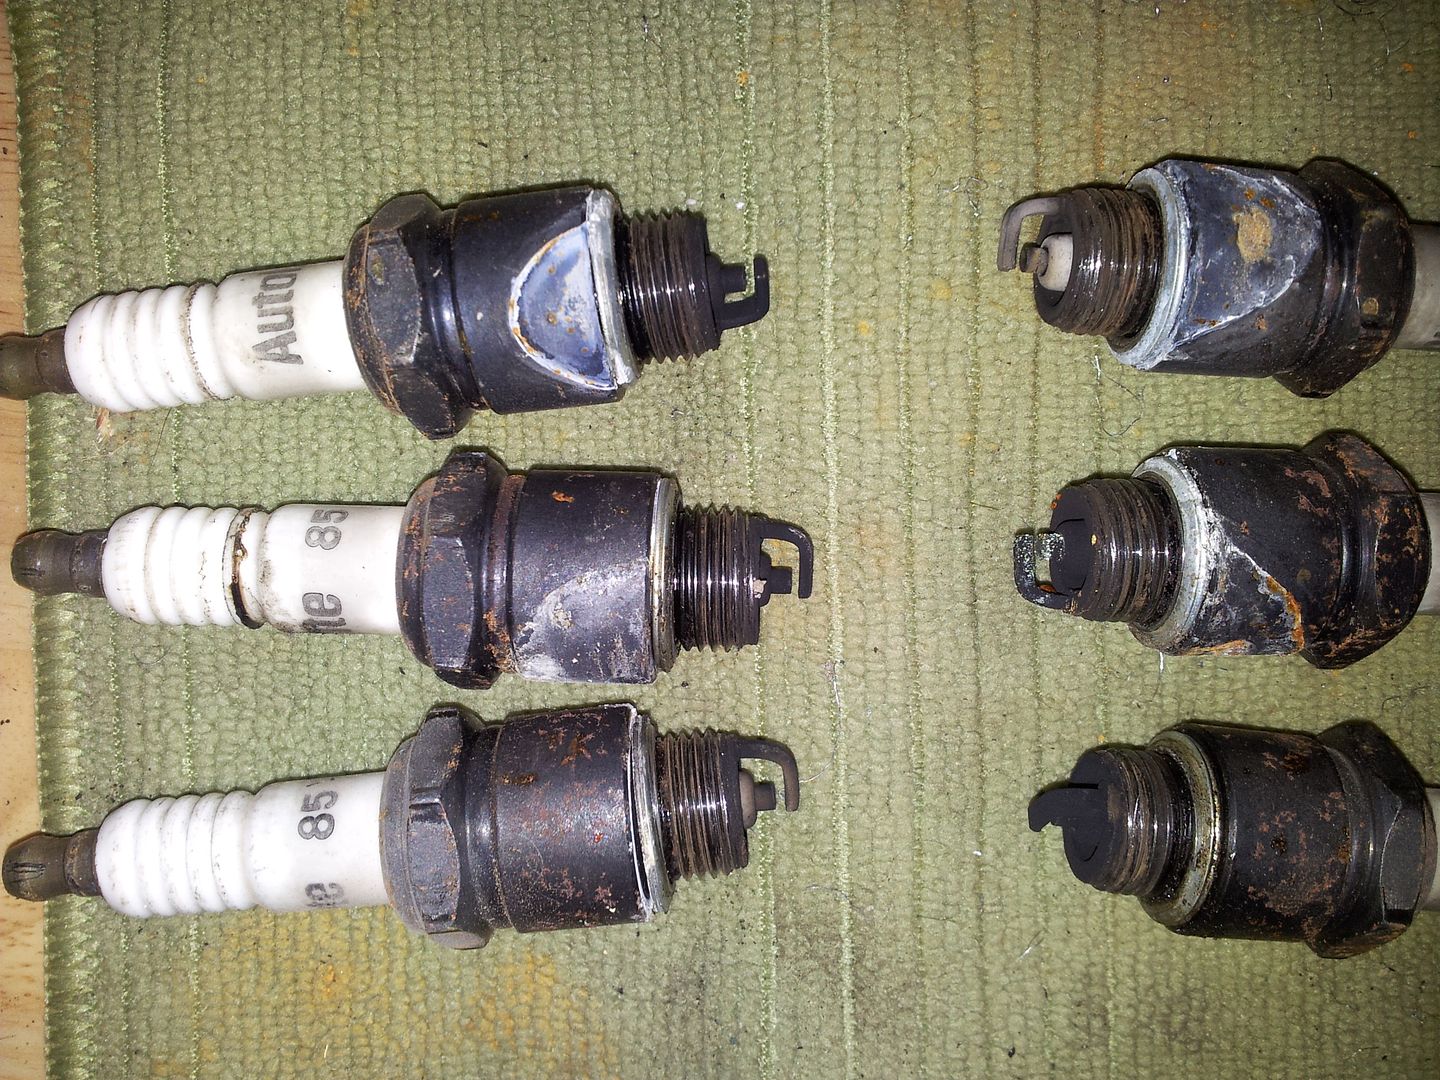
Plugs. Engine forward to the top.


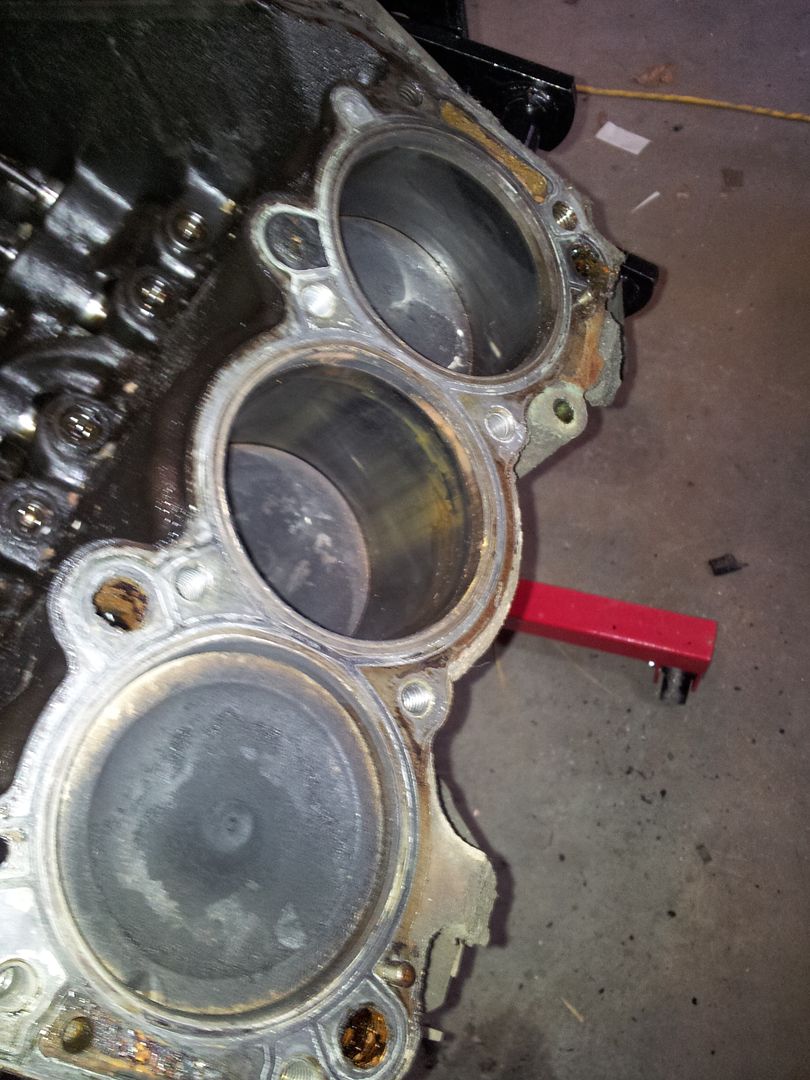
Water stain on cylinder #4. You can feel just a little something with your finger in that area.


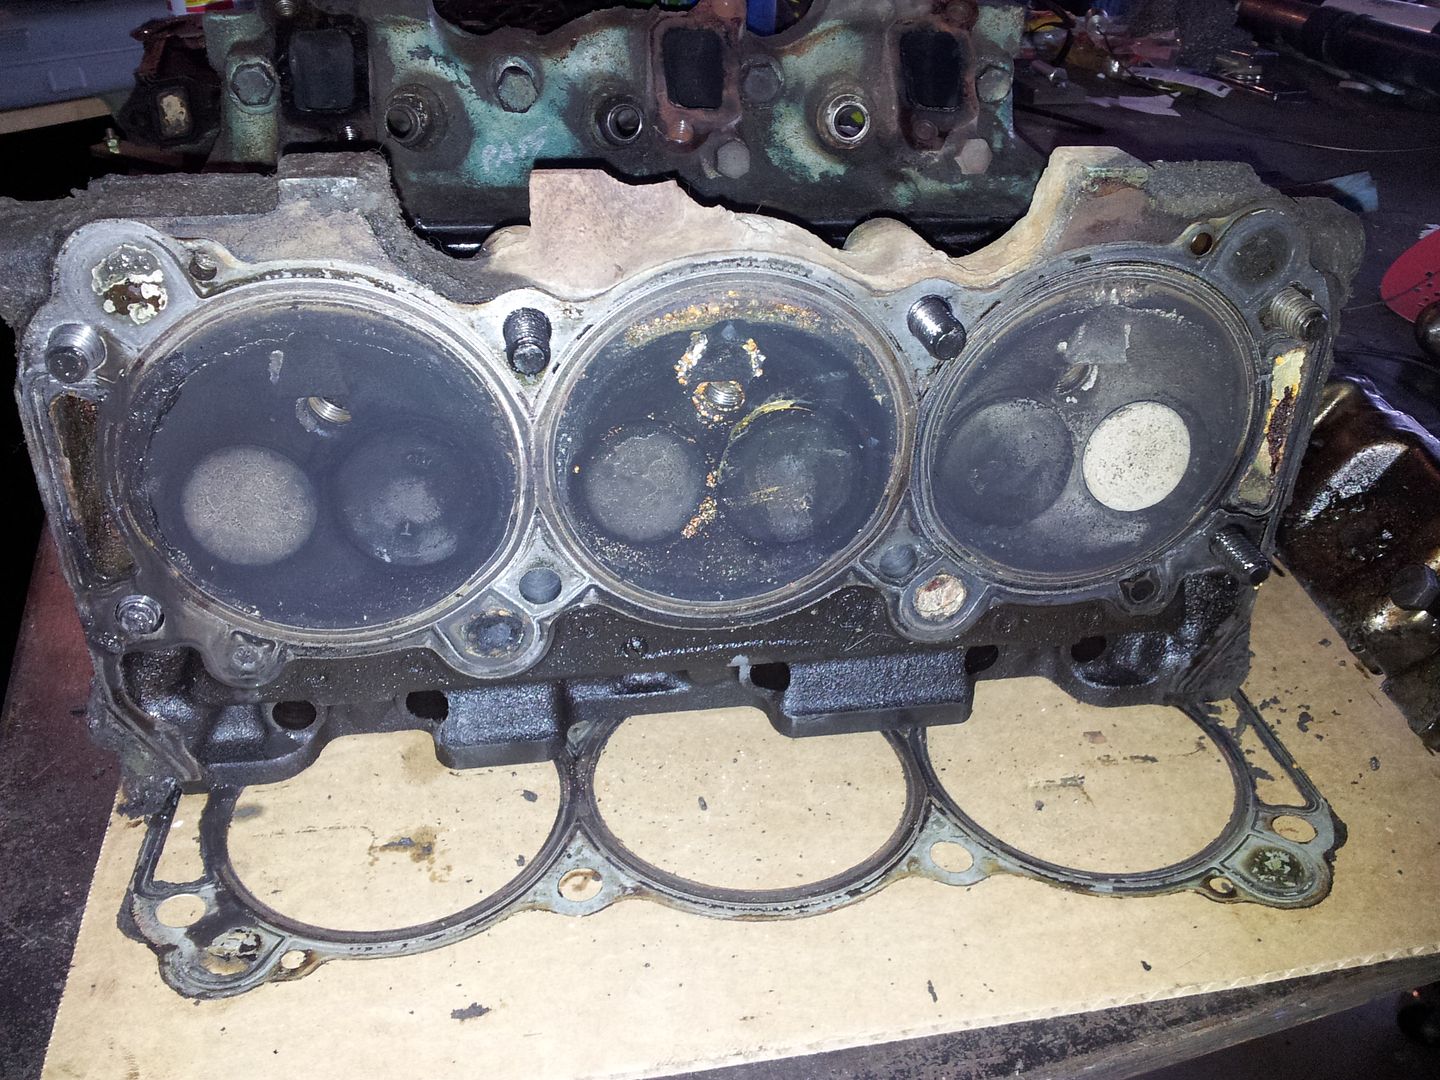
Matching head with #4 in the middle. Maybe a slight head gasket leak?

I drained the rest of the oil out of the pan. I will flip the engine over and pull the pan tomorrow night.

So what to do with this engine? The bores look pretty good, maybe run a ball hone down it and stick new rings in it? There is no ridge on the top of the bore so everything should come apart easy. Plastigauge the all the bearings on the bottom end and slip stick in some new bearings? What about the wrist pins? What wears out in there....wrist pin? It looks like the crank needs new seals on each end too? There are modern versions now instead of the rope seals.

Fun stuff.
 

Metcalf

Expedition Leader
Some more stuff this afternoon....


Pulled the pan off the spare engine....ewwwwwww! There was some pretty good sludge in the bottom. The pickup looked pretty good. I didn't feel anything in the sludge that shouldn't be in the bottom of the pan. I think the pickup was the old small one, I will have to replace that with the larger one from the later engine.

The bottom end of the engine looked good. Nothing was out of place or worn. I am going to plastigage the bearings and see what I have to work with.


I didn't feel like digging into the bottom end today so I moved on....


I decided to look into the heads a little bit more. I made a valve spring compressor out of a large C-clamp and some 1" tubing I sliced up. It worked GREAT to get the valve spring retainer off!


Here is what the intake valve seat looked like! Looks pretty good to me. The grind looked good and there is no pitting that I would see. To me it looks like the heads had been gone through at some point to me? Maybe hardened valve seats? The valves felt pretty tight in the guide, but not AS snug as I would have imagined. What is the best way to measure slop in the guide?
Does anyone know how hard it is to replace the guides?

Then I decided to flip the Flattie around in the shop so I could work on the other side of the wheel tub opening....


And then....


And then....


And then I ran out of welding wire....shoot!

I will pick some up tomorrow and finish up the wheel opening. Of course this side turned out a lot better because I had done it all before on the other side. I found out that running the welder much hotter with a little different wire speed let me really flush in the weld between the parts. I will have a lot less cleanup on this side. This was all tack-tack-tack style welding to join these parts. The old metal just isn't thick enough to run a bead on. Don't be afraid to try a little more heat and wire speed JUST for tack-tack sheetmetal welding.....
 

Metcalf

Expedition Leader
I finished side B. Much welding, much holes, much grinding, paint still wet...


Does anyone have any suggestions for a way to sand/grind sheet metal seems where you have weld beads. I have always used a flapper wheel on the grinder with good luck. I don't know if I am just getting picky in my old age, but I need something different. I see a lot of the sheet metal guys using something like an air powered right angle 2" grinder kinda thing. Maybe the tighter radius on the edge would help work weld beads, the edge might flatten out more, more controllable?
 

Forum statistics

Threads
186,657
Messages
2,888,536
Members
226,767
Latest member
Alexk
Top