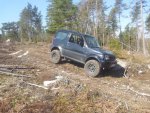
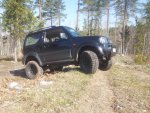
Suzuki Jimny "Expedition" Build

krl81

Adventurer
Swb-- Yes I know its kind of a waste of space but as I said its my daily driver, so I think that sacrifice is a good one.

DetroitDarin-- Off road Smart! Bahahaha!! :-D :-D
 

krl81

Adventurer
Back again! :)

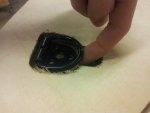
Had a little accident at work

We had a trailer loaded with 1,1 tonne of MDF boards standing in the workshop and when we moved it the front wheel/support collapsed/slided so the trailer dipped in the front and the boards slided forward. Of course I was clumpsy enough to have my hand one inch too far to the left and my index finger got caught between the MDF and the front gate of the trailer. :smilies27 Luckily all I got was a swollen and sore finger. Nothing broken and I'm happy that the finger wasn't cut off.

But I've gotten some things done since.
I fixed the passenger sub, routed the hole a bit to sink the sub into the box a little. It works great but I forgot to take pictures.
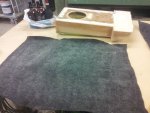
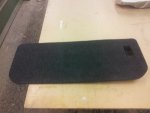
I have bought more carpet so I managed to finish the second subwoofer.

20140410_183514.jpg

And that days work ended with me and my boss drinking some JD instead of building the interior. :friday:

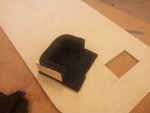
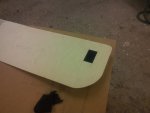
I made a new inside to the rear door, the old one was kind of thick and sticking out and therefore in the way for the slide out.
Made it out of 4mm plywood and covered it in carpet.

20140408_201944.jpg

20140408_202122.jpg

20140408_202155.jpg

20140410_181420.jpg

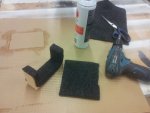
How to hide screws, make a V shaped cut in the carpet, screw in the screw, spray adhesive into the cut and press the carpet back. Voila!

20140410_181537.jpg

I have not put it into the car yet because I haven't found any good looking screws. They will be visible so I want them kind of good looking.

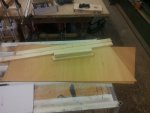
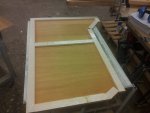
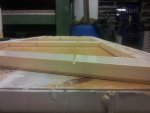
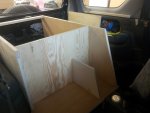
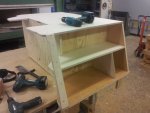
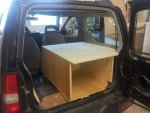
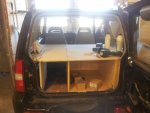
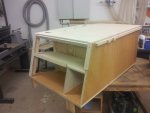
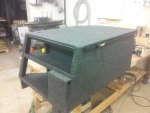
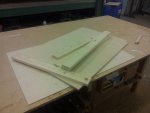
I have started with the platform/slide cabinet and have made the floor and the middle wall. I used Lauan plywood and spruce strips to make it lightweight and still strong.

20140408_192816.jpg

Glue and some nails to hold everything in place.

20140408_194518.jpg

20140408_200322.jpg

And of course I forgot to make cuts for letting air and moisture out preventing the board from warping while drying completely. Ah well, it was easily solved.

20140408_194858.jpg
 
Last edited:

krl81

Adventurer
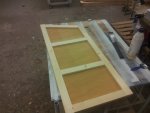
The other side on and into the press :)

20140408_200413.jpg

20140408_200459.jpg

This is how it looks for now

20140410_192423.jpg

One sleepless night I figured out how to wire the lock for the hidden compartment. :)

20140408_233926.jpg

Questions? Just ask.

//K-Robin
 

krl81

Adventurer
Oh, I forgot.

One of the switches for the heated seats was broken.

View attachment 220850

So I took contact with a Suzuki workshop to order a new one... 625 SEK almost 90 USD... Yeah, so no thanks and I got two other switches, no print and a green LED instead of yellow light but to the cost of 7 USD instead :wings:
 

krl81

Adventurer
Thanks! :)

Got some more hours in over the last days.

20140417_171802.jpg

20140418_122742.jpg

20140418_125501.jpg

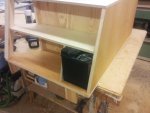
Made a space for the battery

20140418_125947.jpg

And a cover for it

20140418_173006.jpg

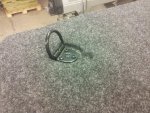
Since I will be attaching one of theese in the four corners of the platform

20140418_133515.jpg

And I'm going to sink them into the platform so I glued reinforcments on the underside.

20140418_133442.jpg


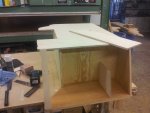
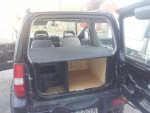
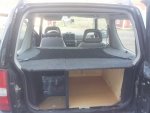
And this is where we are right now. :)

20140418_175533.jpg

20140418_175546.jpg

I decided to ditch the idea with the hidden compartment in favor of more useble storage space.
I will go back tomorrow to continue and hopefully finish the driver side of the platform, after that it's time for wiring.

//K-Robin
 

krl81

Adventurer
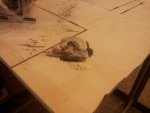
I took a little detour on the way going to work on the Jimny. :D

20140420_110426.jpg

20140420_110106.jpg

20140420_110529.jpg

20140420_110710.jpg

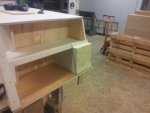
I finished the driver side

20140420_152831.jpg

Well more or less, I noticed the plywood was pretty warped

20140420_152849.jpg

So I took the hatch/lid (not sure what the correct word is) out again and told it how it was supposed to look. :p

20140420_153149.jpg

20140420_153252.jpg

Left it in the press over the night

20140421_150830.jpg

I could have left it for another night with some more preassure on it but I think it's good enough. :p

//K-Robin
 

krl81

Adventurer
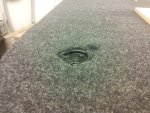
I've sunk the tie-downs into the platform to have as little as possible that can puncture the self inflatable matress that will be used. :)

20140421_160846.jpg

20140421_160905.jpg

I think the router bit was a little tired. :p

20140421_162516.jpg

Al finished and all I could think about was: What a ********** this will be to cover in carpet!!

20140422_174239.jpg

I made a get-the-carpet-into-the-corners-easier tool. :)

20140422_181051.jpg

And got to work

20140422_185222.jpg

It took me almost 3 hours but I'm really happy with it. :)

20140422_212302.jpg

Especially with these details :D

20140422_190527.jpg

20140422_190542.jpg

20140422_212332.jpg

So, next thing to do is cover the driver side, build the slide out and the front part of the platform and of course do the wireing.

Just ask if you have any questions. :)

/K-Robin
 

godfather82

New member
nicely done.

i use to have a samurai which i also prepped for expeditions and used aluminum racks for storage. found it a bit more stronger and thinner material compared to wood, which allowed me more space.

i wonder how the kitchen part will go on your truck. is it a pre-ordered unit or something you came up with ?

the upper console idea is very innovative, though i would recommend attaching it to a hinge going out from the upper seat belt socket instead of drilling the body of the truck. think of this also in future plans. if you still insist on drilling, consider adding metal sealant in order to prevent the metal from getting oxadized and then rust will appear. also consider using Rivets instead of simple bolts, it will hold stronger.

i had also a separating net that was segregating the driver/passenger from the rear and had detachable bags hung on it for extra storage on both sides.

suggest also to think of a console like they have for JKs where you can put a CB or other stuff.

can you share the details of the fridge ?
 

krl81

Adventurer
Thanks for the kind words!

Yeah, aluminum would be nice and more space efficient but since I'm a cabinet maker/furniture builder/joiner (I've seen like a million translations for what in Sweden is one word so I'm not sure which one to use) I went with what I know. Wood :) And made it as lightweight as possible using spruce and thin plywood.

Will try to answer the questions as good as possible. :)

The kitchen will be more of a slide out counter-top with built in storage. The counter will be about 500x700 mm (20x27") so there will be some space for preparing food and I can put the burner in one corner. I will probably fit an aluminum peice for heat protection. Since I'm not planning any longer trips, more like long weekends, I will use my Trangia alkohol burner. It works well to cook when out hiking, doesn't take up much space or weight and I have one so I will go with it to begin.

About the upper console. I have only fixed it through the roof lining, which is pretty sturdy, and re-glued it to the roof. No drilling into the body involved and as I said earlier, time will tell if that was a bad idea :) If it is I will go with Godfather82's advise and fix it to the seatbelt bolts instead.

The idea with the separating net and bags is a good one for more storage. Not possible in this build but... Hmm, maybe if put just behind the driver seat... Will have to think about that. :) Expo is a dangerous place, you get more and more ideas about your build when other people comment on it :D

Not planning on getting a CB but if I do I will have a good look at a solution like that.

The fridge, I think you would call it a cooler, is 27 liters big and cools down to about 20 degrees C, 32 degrees F, colder than the surrounding temperature. It is a cheepo one but I've spoken to the phonesupport about having it running for longer times and it should not be any problems having it running for weeks. And as I said it will probably not be longer trips than long weekends so I will be good. :)
 

krl81

Adventurer
I finished the driver side of the rear platform as well

20140424_190146.jpg

20140424_190201.jpg

20140424_190442.jpg

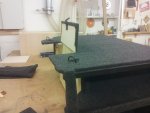
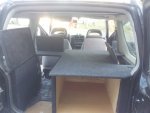
And started on the removable front piece of the platform

20140427_175739.jpg

20140427_175802.jpg

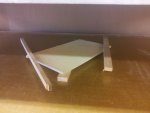
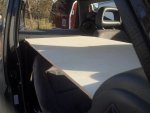
I'm building it in the same way as the platform walls but a little thicker to be able to climb on top of it. I have to make two support legs for it as well.

20140427_183922.jpg

So it's 12 mm ply on top, spruce in the middle and a 4 mm in the bottom.
This will also double as a hanging table when in camp not sleeping. The top will be covered in carpet. I think I will just stain the underside black and cover it with a couple of layers of clear coat. At first I was thinking of using the wood Panga Panga for the underside/tabletop, we had some veneer in the shop, but I came to think about the Kind of cheap approach so I went with plywood instead :)

K-Robin
 

Forum statistics

Threads
188,206
Messages
2,903,786
Members
229,665
Latest member
SANelson
Top