ColoDisco
Explorer
Already checked rockers. Was hoping one of those was the problem so it would be a easy fix.
Midday update:
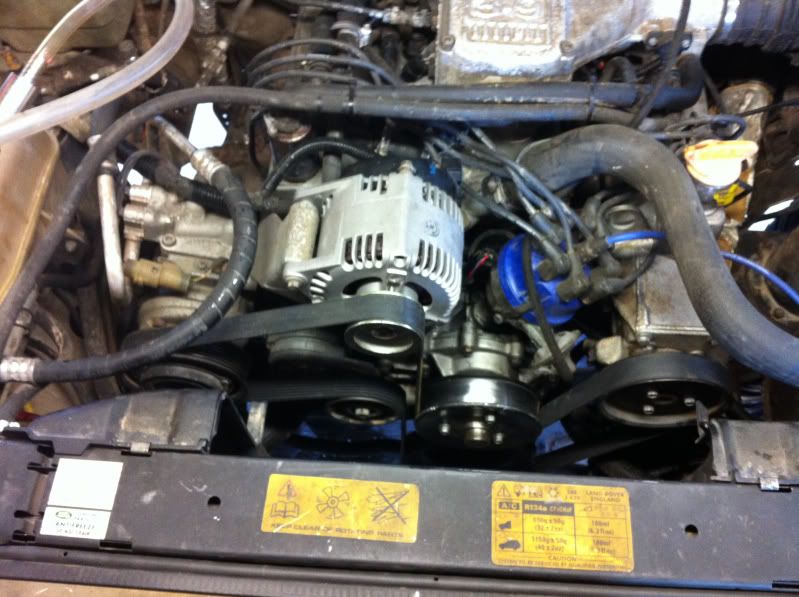
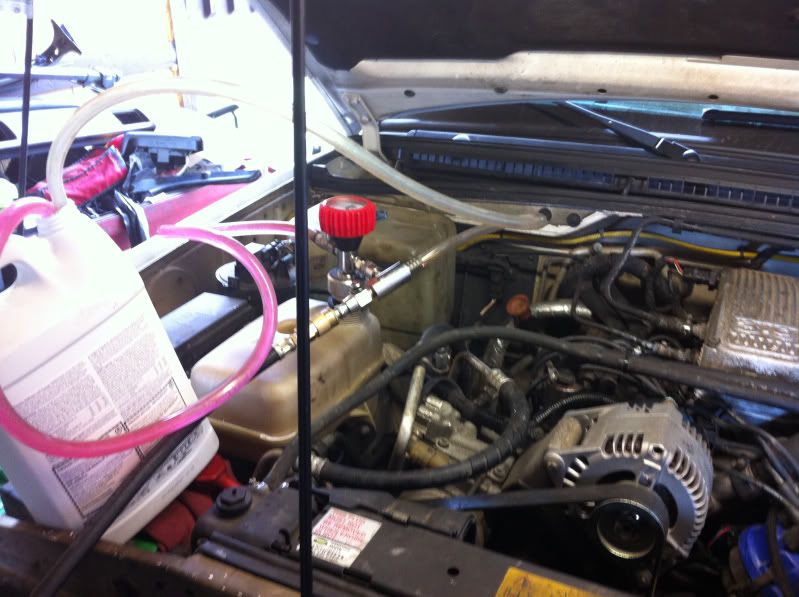
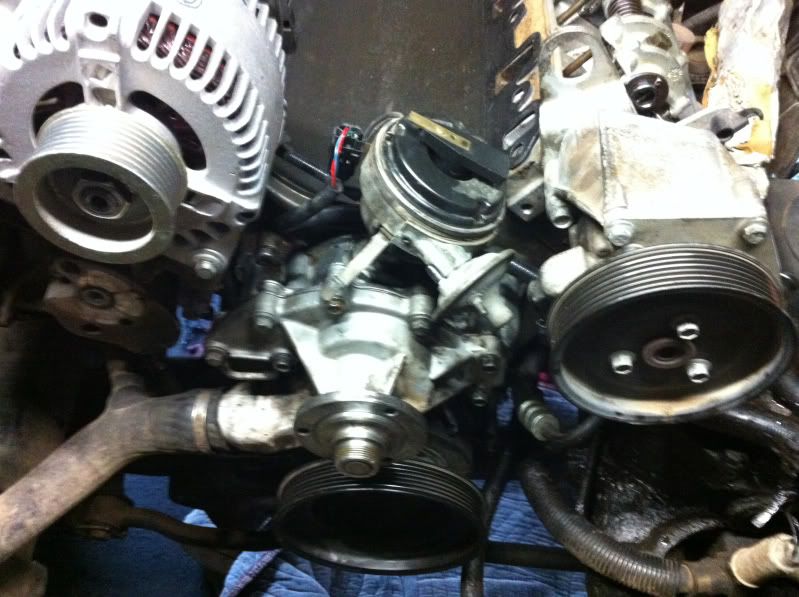
Secured the AC condenser to the hood with a bungee. You do not need to evacuate the system as you only need to move it up about 6 inches.
Cam removed:
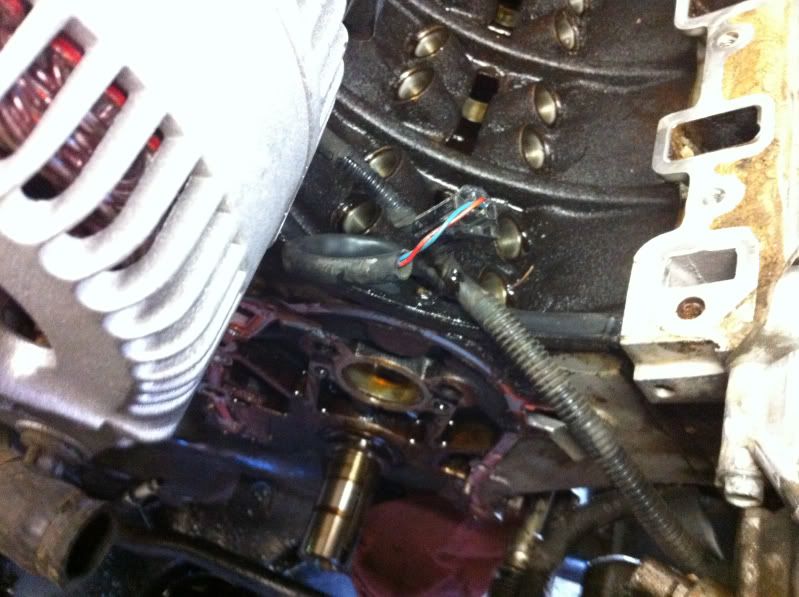
Cam lobe worn down. This is the same lobe as the bad lifter.
Cleaned up the gasket surface for the timing cover and lubed and installed new cam. Used the break in lube that came with the cam and lifters. The new cam is not machined to allow the retaining plate but per the tech blog it is not necessary. My cover has the stop built into it.
Used the same break in lube on the contact surfaces of the lifters/tappets. installed accordingly.
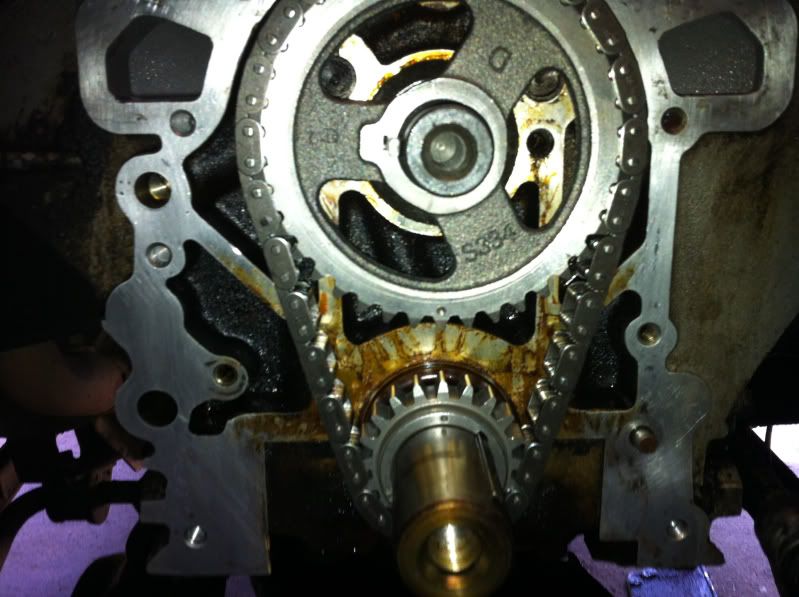
Attached gears one at a time and set timing marks. Removed them and set them in the chain so the matching marks aligned. Slid gears and chain on.
For this afternoon continue assembly.
Midday update:
Secured the AC condenser to the hood with a bungee. You do not need to evacuate the system as you only need to move it up about 6 inches.
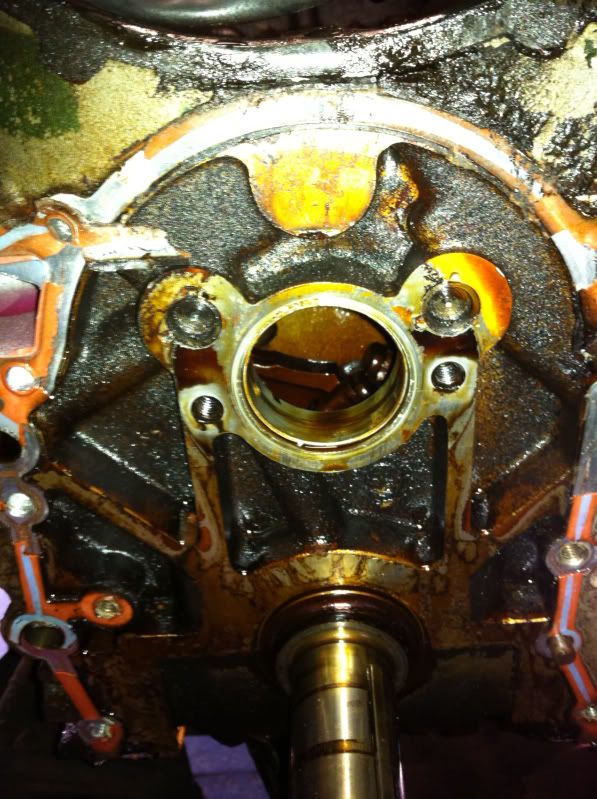
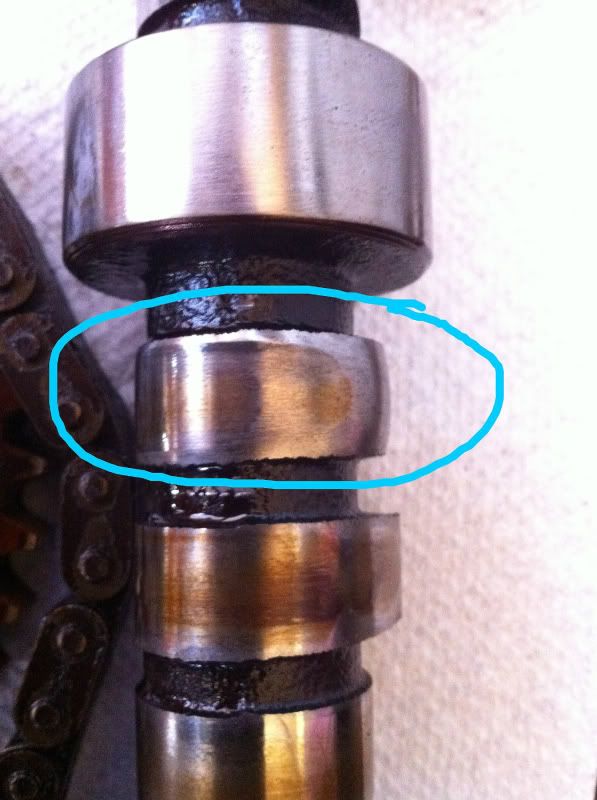
Cam removed:
Cam lobe worn down. This is the same lobe as the bad lifter.
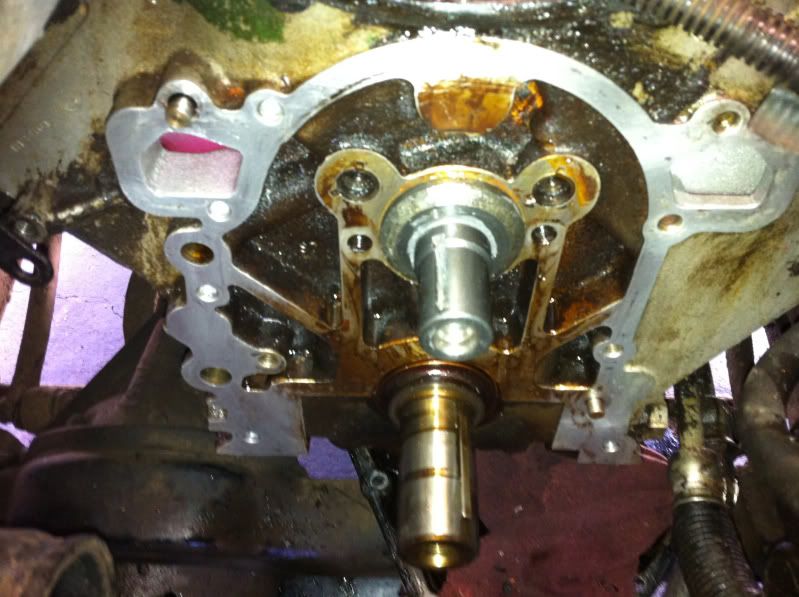
Cleaned up the gasket surface for the timing cover and lubed and installed new cam. Used the break in lube that came with the cam and lifters. The new cam is not machined to allow the retaining plate but per the tech blog it is not necessary. My cover has the stop built into it.
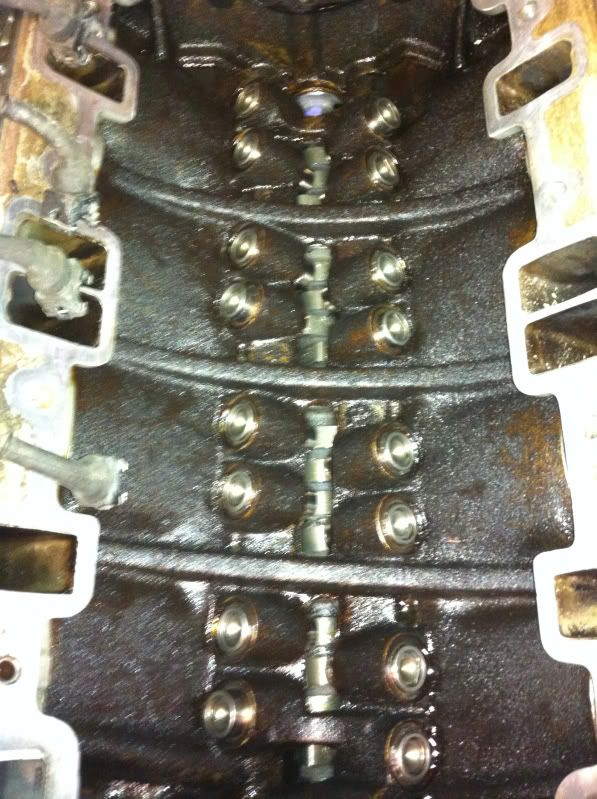
Used the same break in lube on the contact surfaces of the lifters/tappets. installed accordingly.
Attached gears one at a time and set timing marks. Removed them and set them in the chain so the matching marks aligned. Slid gears and chain on.
For this afternoon continue assembly.
")
")