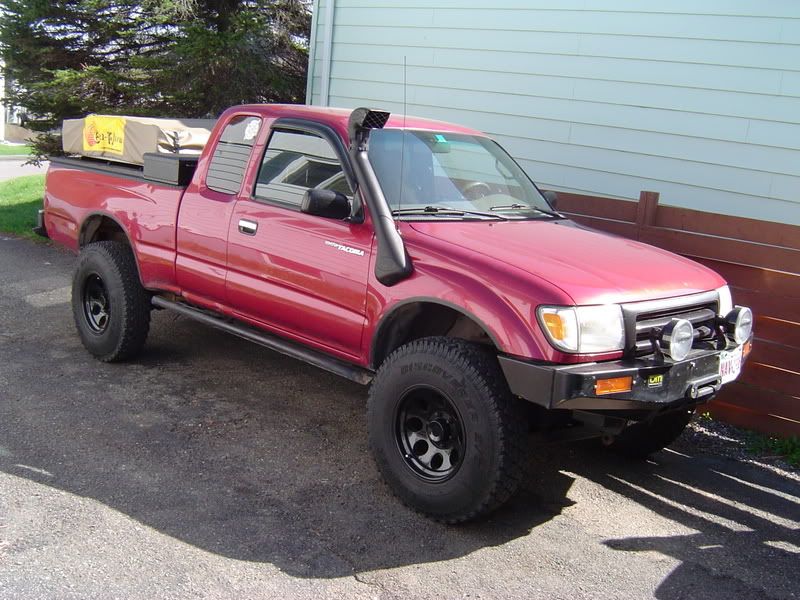
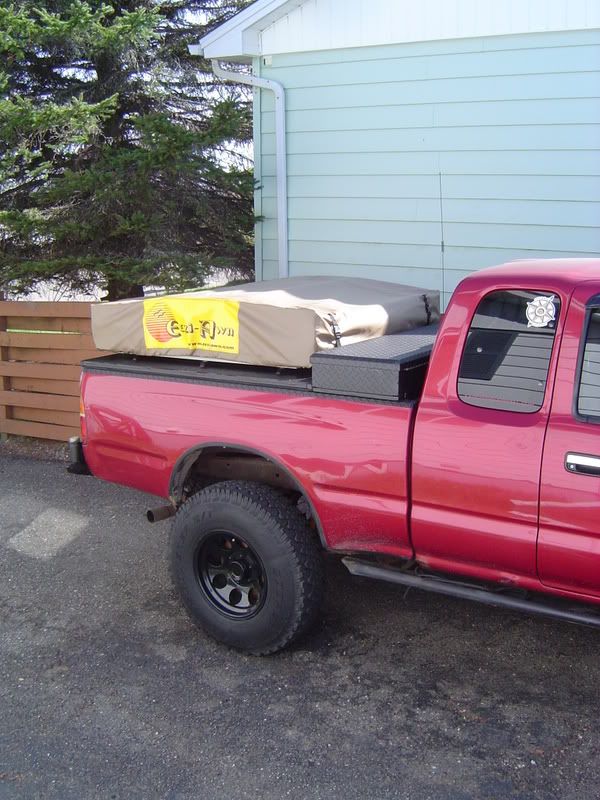
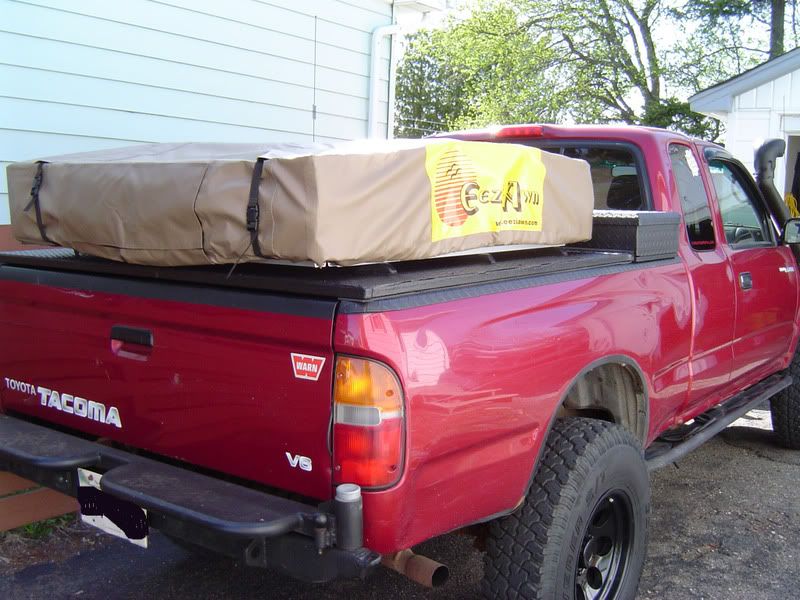
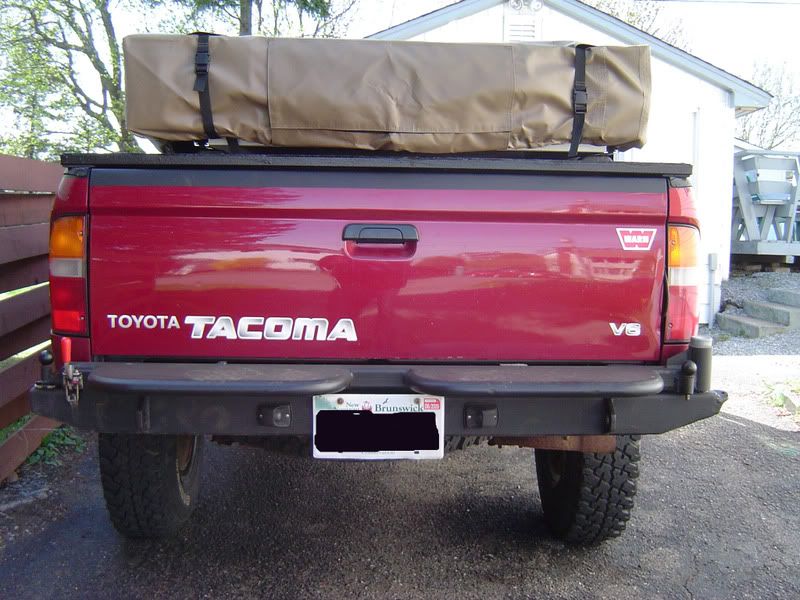
The Canuck Truck buildup!

heeltoe989

Explorer
Looks great!! great job doing it your-sel too!

I love Line-x. I got my sliders coated in it and there bomb proof.
 

JJackson

Explorer
Looks great, chromophobia, does that include polished aluminum? I would have thought you would have installed a snorkel by now. I was up there last week and the water was a tad high.
 

p1michaud

Expedition Leader
Too bright!

JJackson said:
Looks great, chromophobia, does that include polished aluminum?

In my books, yes!

JJackson said:
I would have thought you would have installed a snorkel by now. I was up there last week and the water was a tad high.

I do have the "breathe easy and safely" mod also known as the Snorkel (see second picture down). You were up in Eastern Canada, cool. Yes the water from the spring run off has been at some of the highest levels in over 30 years. Lots of flooding along the Saint John river, but most of the folks are well prepared.
Cheers,
P
 

JJackson

Explorer
Forgot you had a snorkel, yeah the SJ river valley was flooded, some prepared some houses and cars under water just out side of Saint John in Grand Bay. I grew up and still have family outside of Saint John. Your truck looks great. Not to many tacomas in that neck of the woods, well at least compared to AZ
 

p1michaud

Expedition Leader
Platform progess

After working ridiculus hours over the last few weeks, I had a day and half to get the rig ready for our annual "May run".

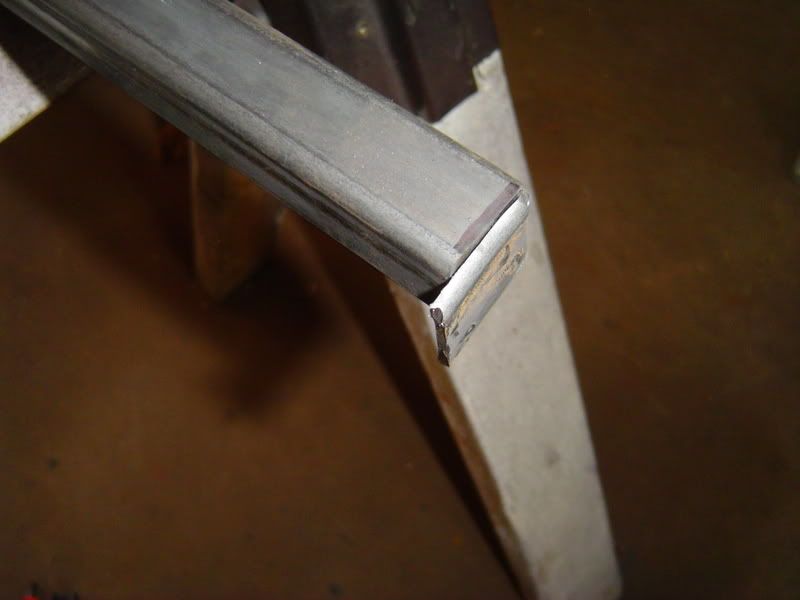
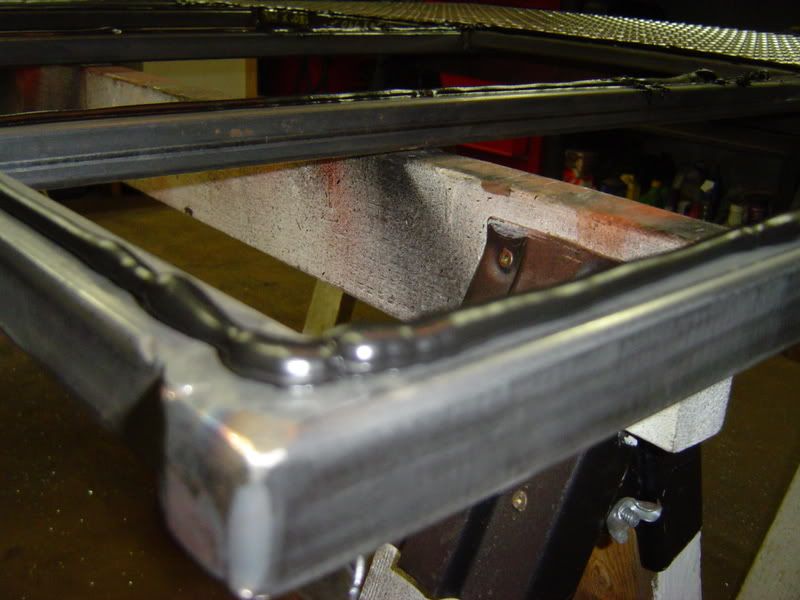
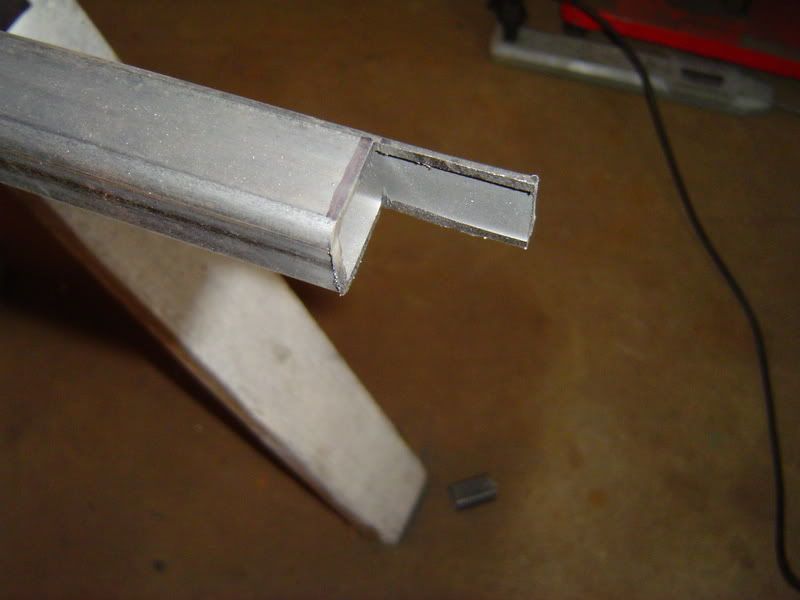
Started chopping some steel and welding things together for the sub-frame. As one member on this board said:" Tthe devil is in the details" so I started by closing the ends of the two cross tubes.

DSC04826.jpg


DSC04827.jpg


I did not take a picture of the final thing, but I trimmed the excess and welded it up.

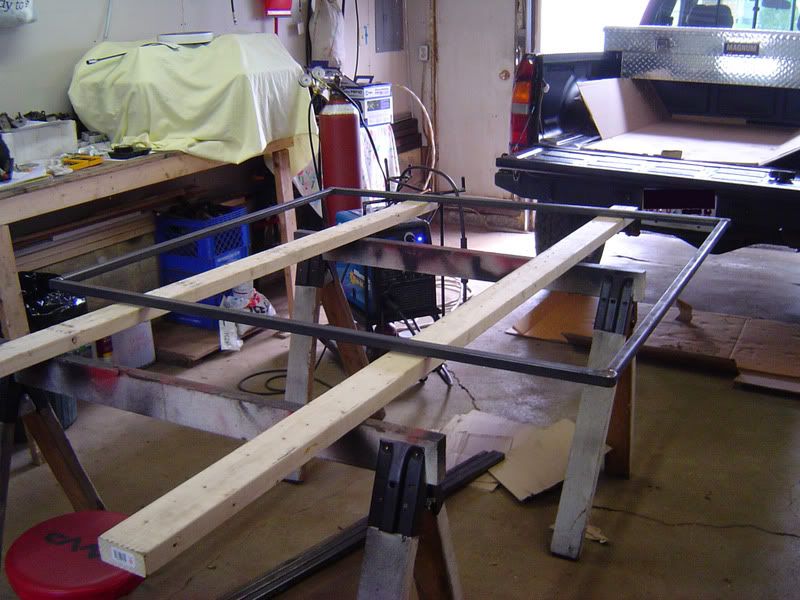
After some lay out on the rig and careful measuring, tacking, re-measuring and welding I had a basic frame that was squarre.

DSC04828fixed.jpg


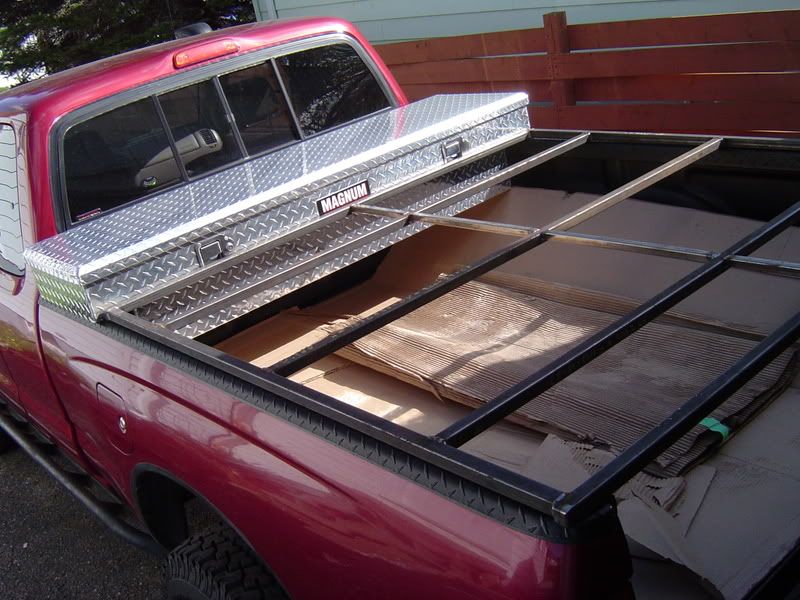
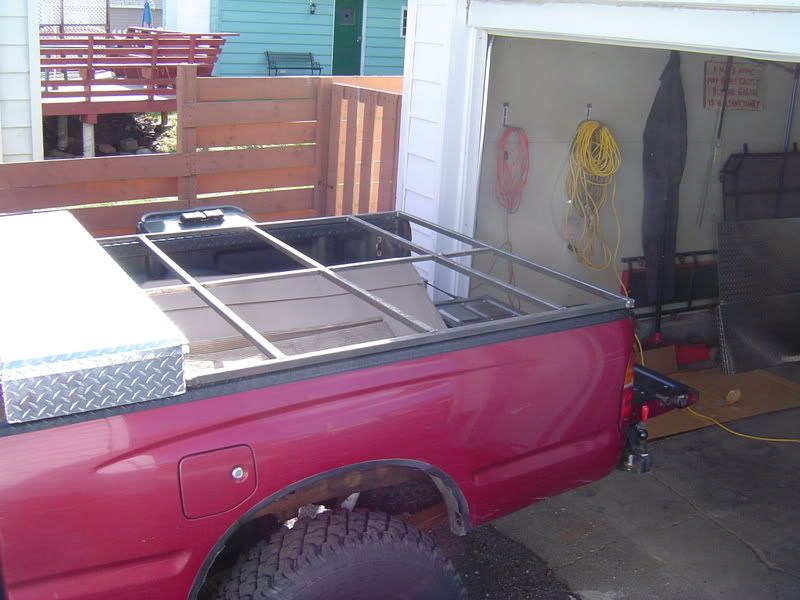
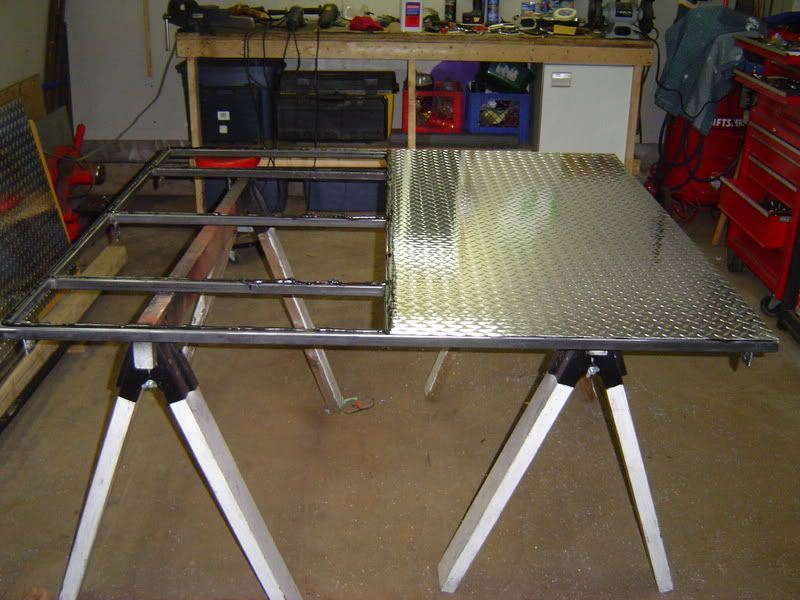
Then I put in on the truck and started fitting the other pieces in and tacked them all in place.

DSC04829.jpg


DSC04830.jpg


Once I was happy with the frame, it was removed and welded up.

To be continued...
 

p1michaud

Expedition Leader
Platform progess continued...

Once I had the frame put together my friend was nice enough to swing by and help me cut up the aluminum diamond plate. We used a 2" x 4" clamped to the sheet at the correct location and a skill saw with a 60 tooth carbide tipped blade. Cut it very easily. No pictures of this part because all four of our hands were busy with the cutting process.

Next I laid some seam sealer on the frame after cleaning up the surface with a wire wheel and some acetone to ensure proper adhesion.

DSC04831.jpg


One piece in place, this one was the most difficult to do because I was by myself at this point. Anyhow after a bit of patience I managed to get it in place. In the process I got that seam sealer all over the garage, platform and myself. That stuff is crazy, gets everywhere!

DSC04832.jpg


Once the first piece was in place it was used to slide the second piece on.

DSC04833.jpg


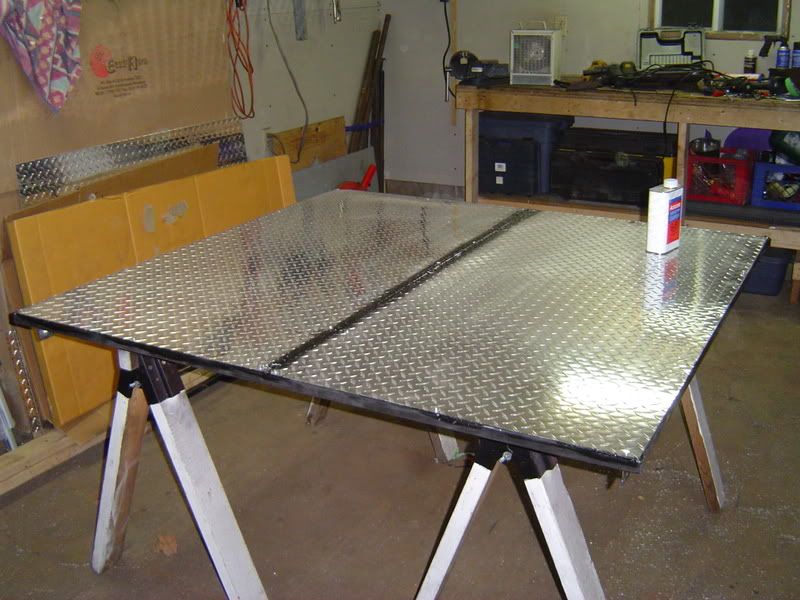
I used some self tapping screws to secure the aluminium to the steel frame. Worked like a charm.

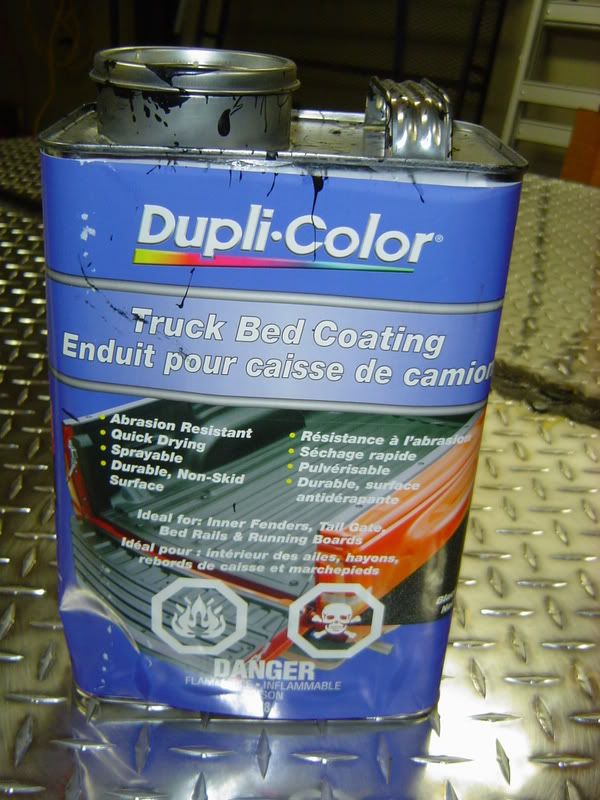
Because I could not stand the glare, I used some of this stuff to paint the whole platform.

DSC04835.jpg


Came out looking nice.

To be continued...
 

p1michaud

Expedition Leader
Platform progess continued...

Tent mounted!

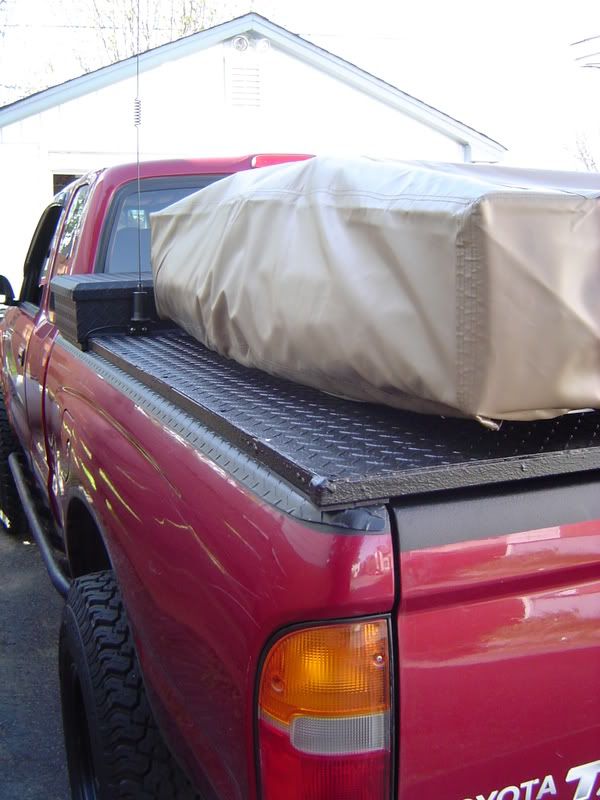
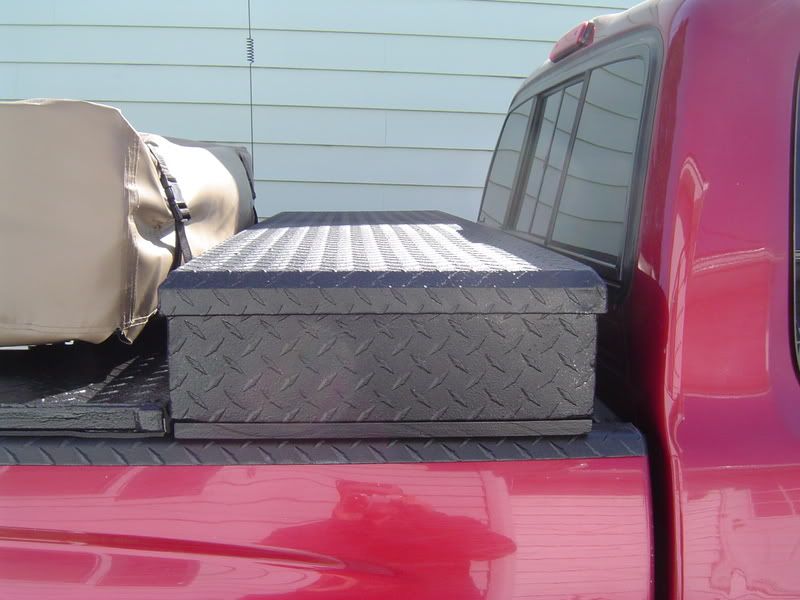
Ok, for some silly reason I did not get a picture of just the platform on the Tacoma. I was too production focused! I did manage to take care of the glaring tool box while I had the DIY truck bed liner out.

DSC04848.jpg


DSC04849.jpg


DSC04853fixed.jpg


DSC04854fixed.jpg


DSC04855.jpg


To Be Continued...
 

p1michaud

Expedition Leader
Platform progress continued...

Some details...

After installing the paltform I noticed that you could just barely slide your finger in to open the tool box. I resolved that issue by spacing the box up by 1/2" using some plywood that I cut to lenght then coated with.. you guessed it more DIY truck bed liner. This stuff is great. Don't let me near your rig with it otherwise you may get a paint job! :sombrero:

DSC04850.jpg


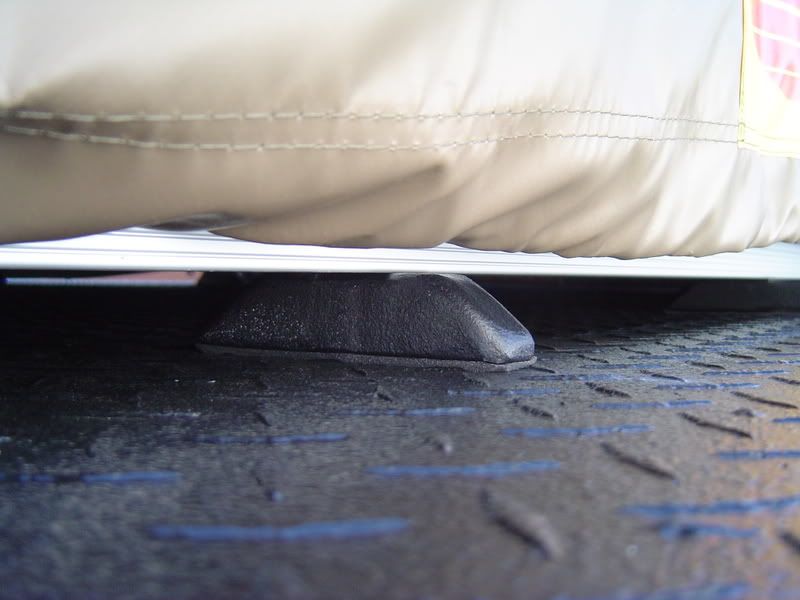
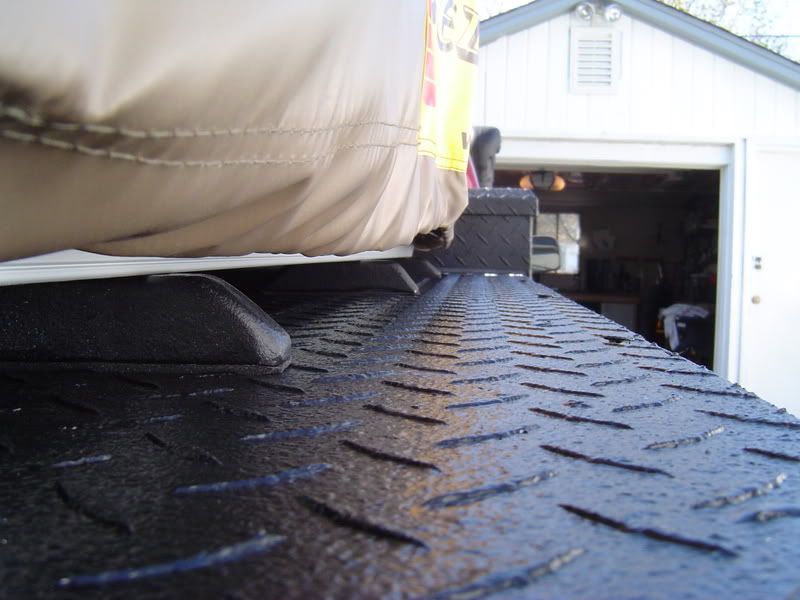
I also made some small 1" spacers to lift the tent off the platform to make it easier to install and remove the cover.

DSC04851.jpg


DSC04852.jpg


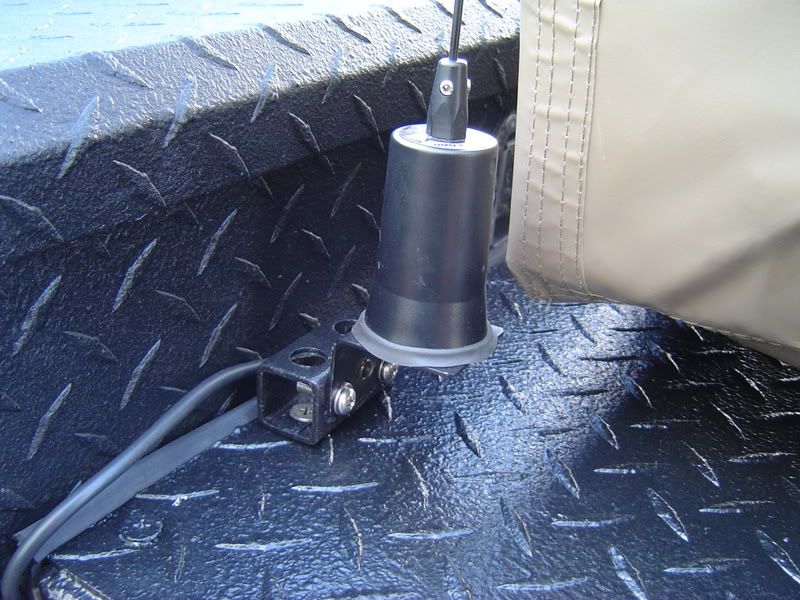
The other concern I had was the mounting location of the antenna for the newly installed 2m radio. This location was mainly driven by protecting the antenna. I belive here, the tool box will prevent it from being snagged by a branch.

DSC04856.jpg


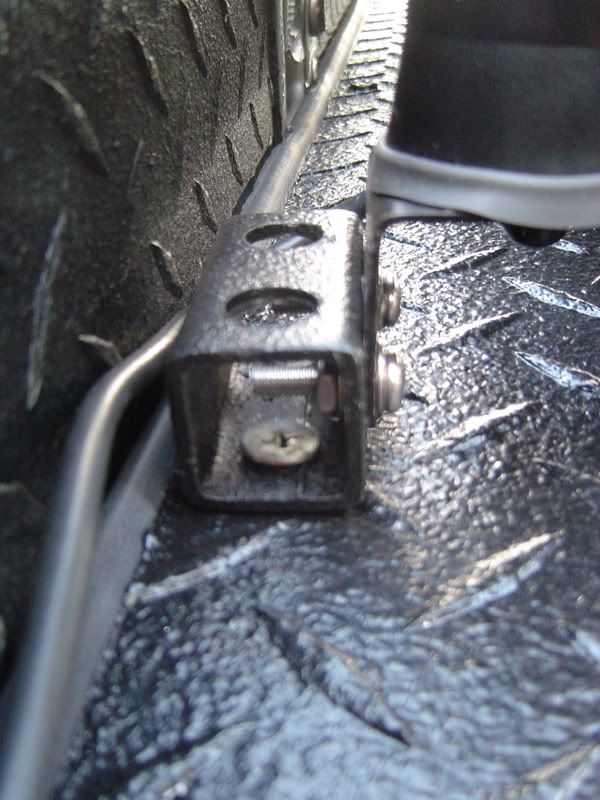
The bracket up close.

DSC04857.jpg


The truck box is a shallow model and allows me to slide longer stuff below it allowing me to use the full lenght of the bed for some items.

The platform is mounted through the bed rails in 6 locations (3 on each side). I have sealed the front portion against the tool box by using some tail gate seal/gasket. I have also placed some truck cap foam along the other sides to help with weather proofing the space. There is a 2" gab between the front of the box and the tool box currently but I have a plan...

:peepwall:

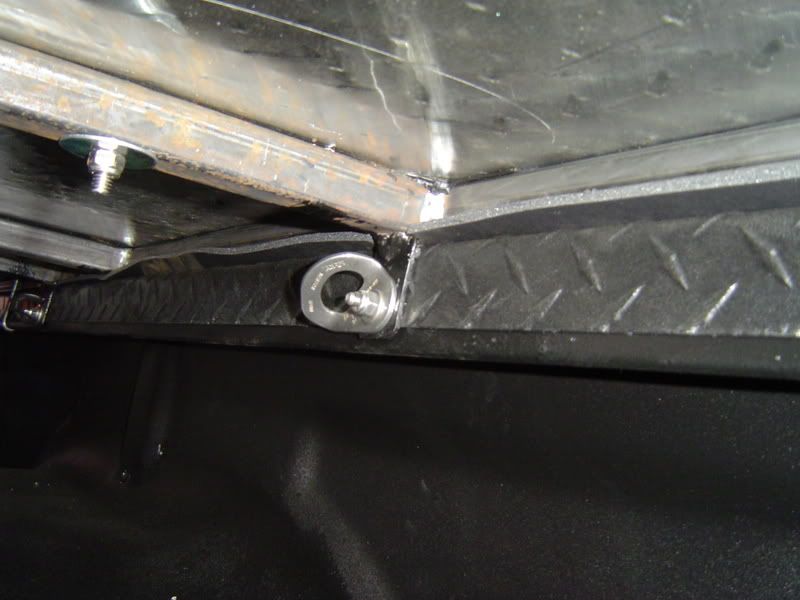
I decided to use up some neat left over pieces from my old climbing gear days.

DSC04860.jpg


A nice place to tie things off if need be.

That's it for now. I'm working the next four days so no "action" shots yet!

Cheers,
P
 

p1michaud

Expedition Leader
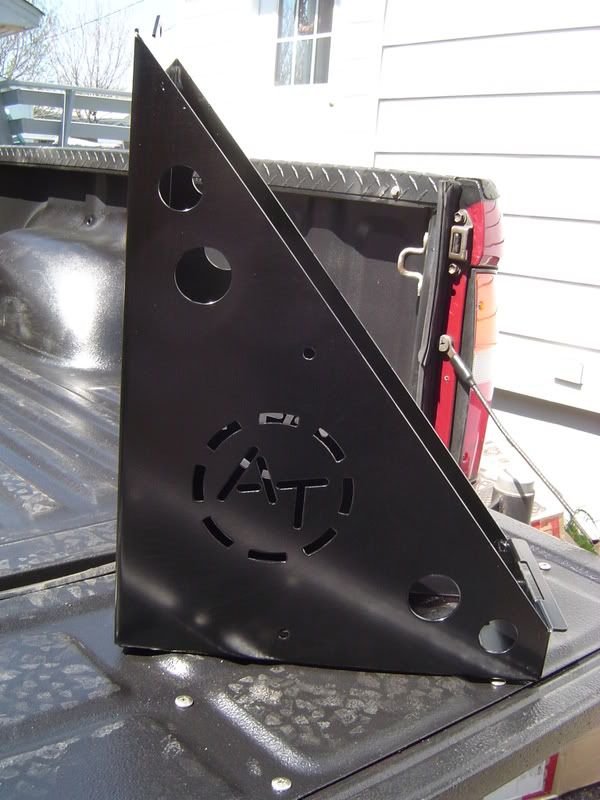
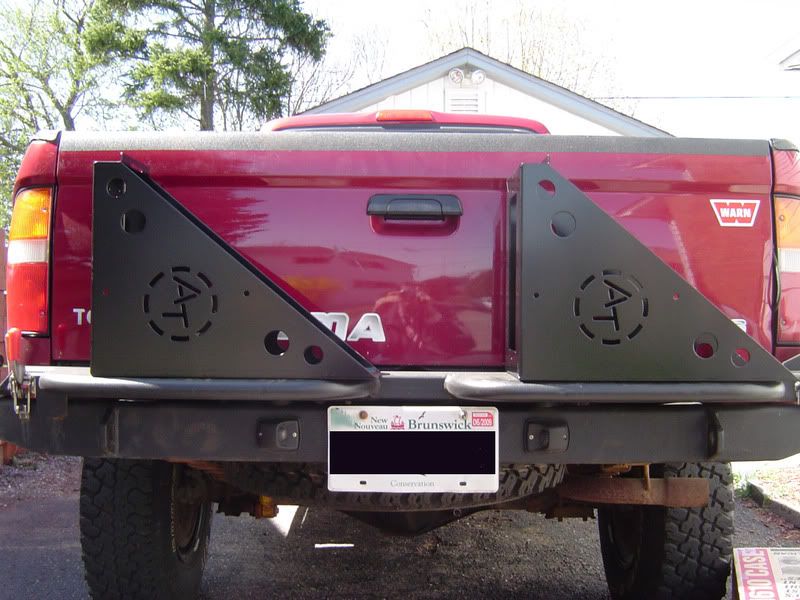
Final fixins for the rear bumper.

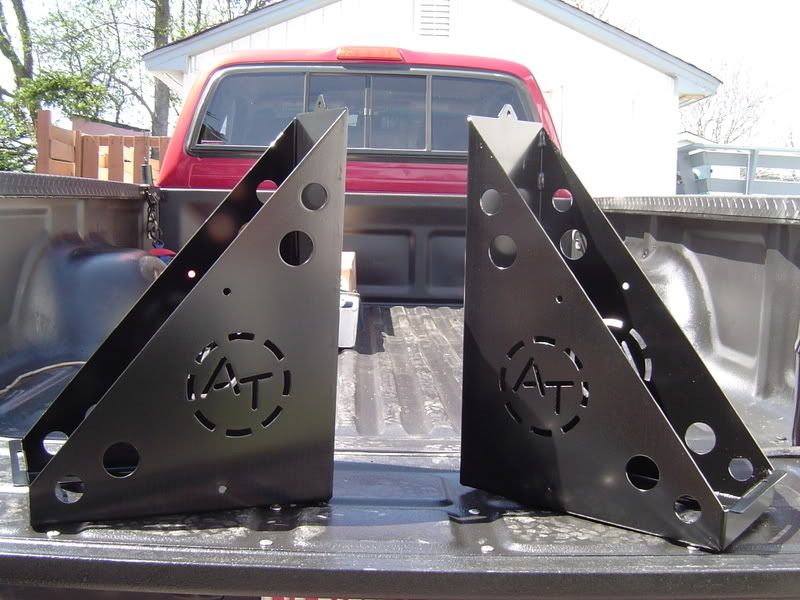
After a long wait, they are finally in my hands!

DSC04840.jpg


DSC04841.jpg


DSC04842fixed.jpg


I believe that it was Wil that said these could be used as skid plates in a pinch. Well he is right! These things will outlast me. Super burley, me likes. Job well done to the Adventure Trailer boys for this design.

Cheers,
P
 

Forum statistics

Threads
188,026
Messages
2,901,330
Members
229,411
Latest member
IvaBru
Top