Time for more! We've got two more weekends to catch up on, and a lot has been done!
.
Beth started off routing out the doors and frames for insetting the hinges
.....
.
and we got the doors all fitted precisely to their matching frame
.
all the doors had to be stained....
.
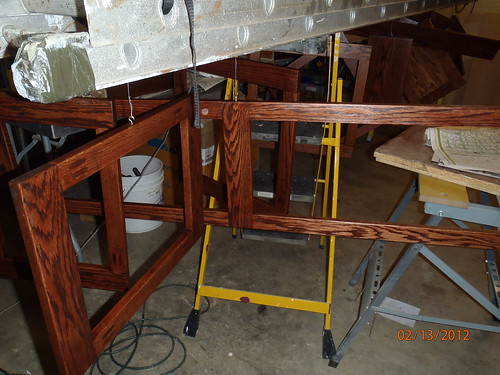
After all the staing dried sufficiently, all the doors and frames got hung up (note the high tech ladder system) and received a couple of coats of polyurethane.
.
Poly is one of those fun to do projects, that combines horrible smells with long waits in between coats.....at least your lungs can revive in between
.
After the poly, everything got another couple of coats of
Epifanes marine varnish, this deepened the color and smoothed the finish to an incredible level. You'll get to see the results in the next couple of posts, but pictures really don't do it justice.
..
Just an FYI, Epifanes is extremely bad for your lungs and head, and a good respirator is a must. Do not think you can apply this without one or with a dust mask!
.
In the meantime.....it was awning time! Originally we were going to just purchase a Fiamma or ARB or similar awning and hang it off the side. The more we thought about it the more we didn't like the looks of the when closed (it would ruin the lines - and look out of place on the traditional style of our trailer).
What to do, what to do?
Build our own of course!
A little
Sunbrella fabric, some Sunbrella awning thread, a little Keder welt, a few tent pole repair kits,and some awning rail and voila! Awnings! Well, not quite that easy, but it all came together quite well. Did I mention that my wife is a genius, superb designer, and she sews too?
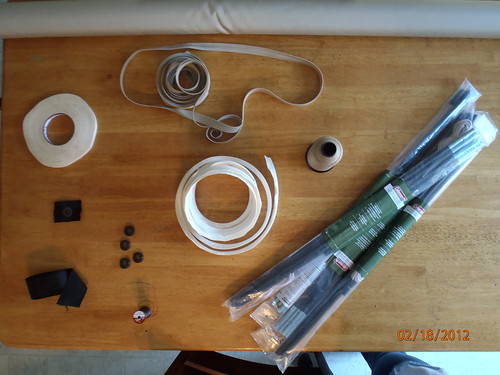
This shows the roll of Sunbrella fabric, thread, Keder welt, grommets, nylon strapping and tent pole kit
.
Closeup (sample)of the awning rail.
.
and this is an example of the Keder welt. Sewn to your fabric of choice this allows you to slide the awning into the rail with ease.
.
While I won't say it was simple, I was amazed at how simple Beth made it look. The awning was sized to fit squarely over each door to provide us with some sort of shelter as we ingress and egress (um, that's enter and exit - or climb in and out as the case may be). The tent poles were cut so they were slightly long and formed a nice arched rainfly, exactly like the ones on our Cabelas tents we've camped in for years. A tie was sewn in the center to hold the poles in place, and the nylon webbing was used to make the pockets for the pole ends to catch into - otherwise they'd bust through the awning doncha know!
.
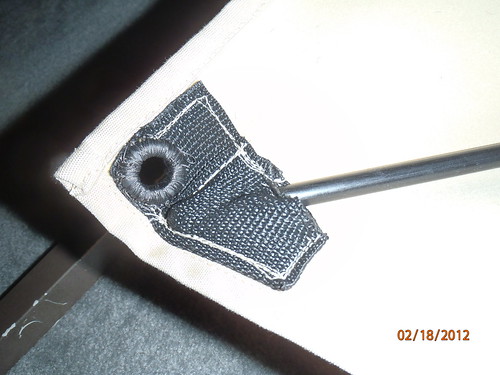
Closeup of the nylon pocket, and the rubber grommet - which captures the upright pole, without which the awning is just an interesting door hanging on the side of the trailer
.
The end of the upright is a nice fancy hook, which hooks through the grommet. This should keep the wind from blowing the awning off the upright.
.
This shot is a nice example of how it slides together. You can see the awning, with attached Keder welt, and how the welt slides into the awning rail.
.
This is the finished product. You'll have to imagine that the uprights are actually connected to the running boards on the trailer with some Bimini hardware.
When not attached the awning and poles will live in a duffel bag in the basement
(EDIT! This proved to be a bad idea - the tubing held water from rain and it was enough to make anything fabric in the basement wet. We have since installed pvc tubing to store all the poles in keeping everything else in the basement dry), and all you will see on the trailer is the awning rail above the doors. The clamps will be replaced with screws, so you won't see those either!


