The Heap. A Gen 2 Tracker/Vitara Build

IdaSHO

IDACAMPER
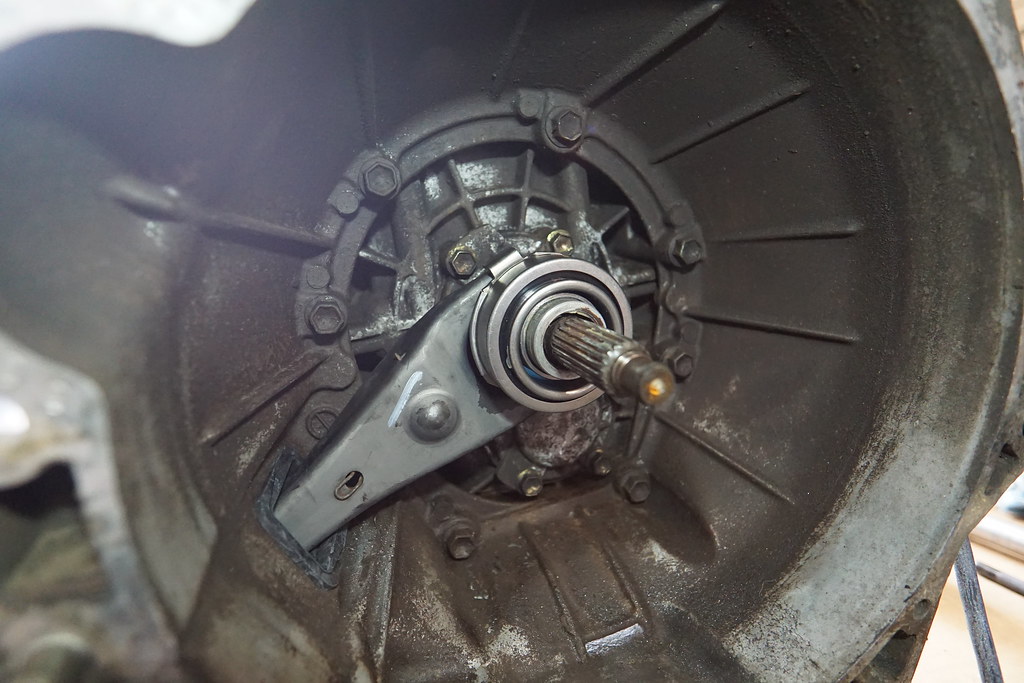
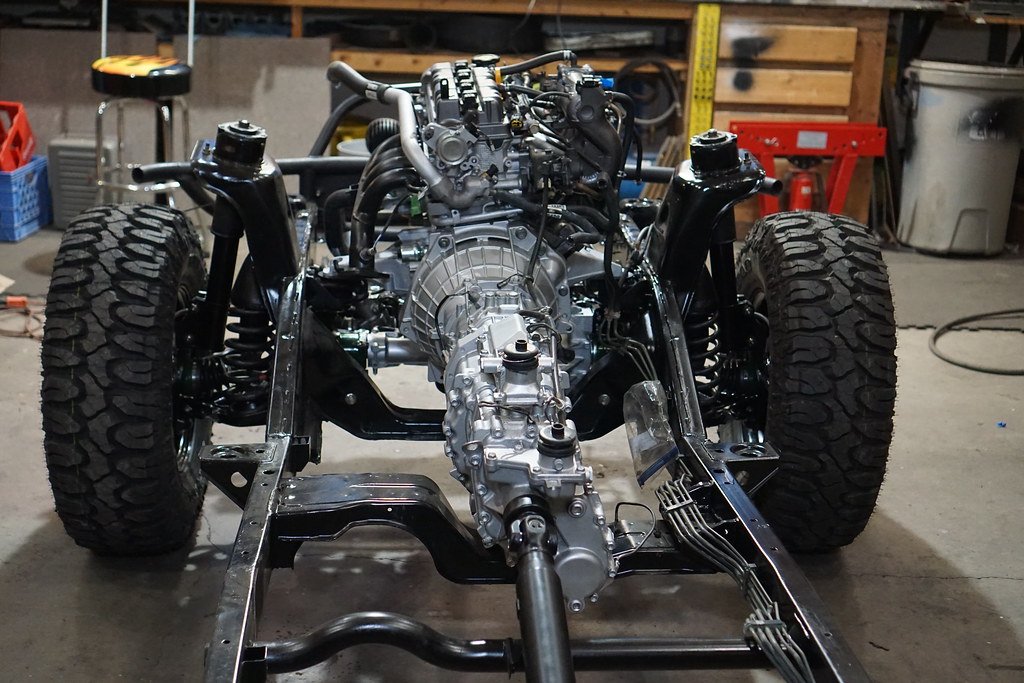
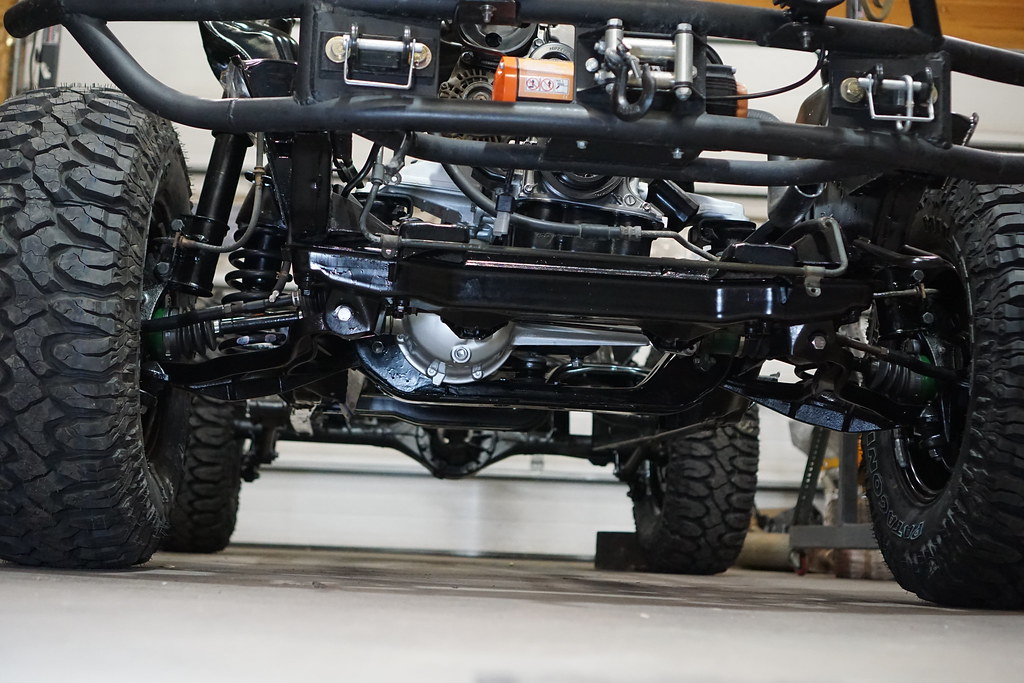
Then its time to get the motor and trans sorted and mated.

Fresh rear main seal, freshly surfaced flywheel, proper Japanese pilot bearing and Exedy clutch kit including throw-out bearing.
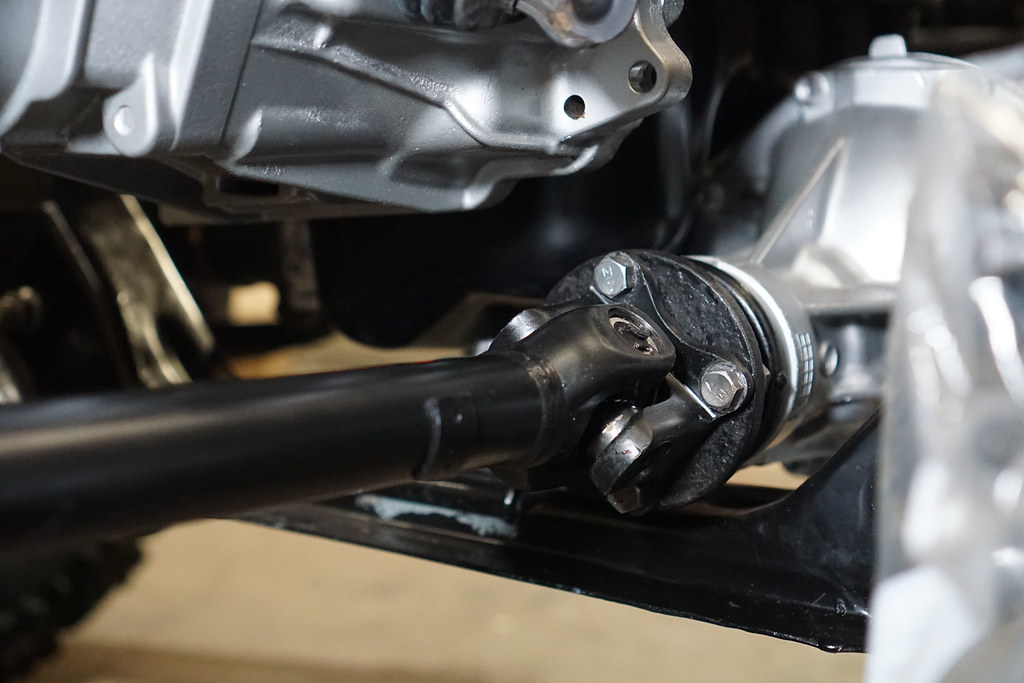
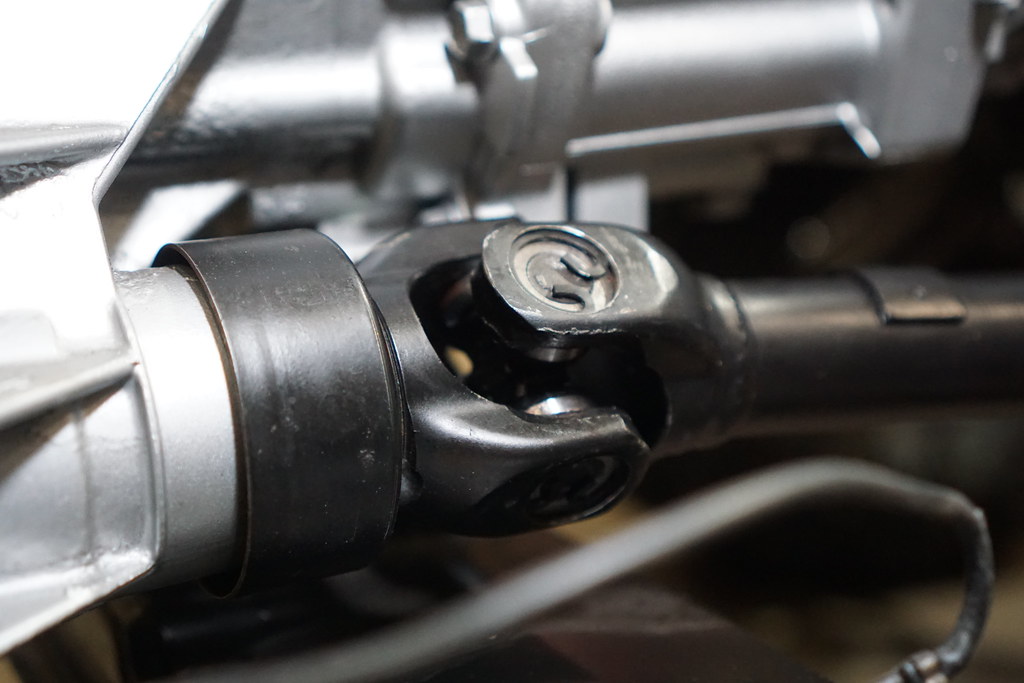
And after the typical nonsense getting things lined back up, engine and trans were mated and in the chassis. (y)

53461901696_52364791a2_b.jpg


53462314245_953388bbdc_b.jpg


53462033248_49c928d992_b.jpg


53462214614_f1cdc44300_b.jpg


53462214784_45c7d0f884_b.jpg


53462214794_73c6c04904_b.jpg


53462214804_2732489f50_h.jpg
 

IdaSHO

IDACAMPER
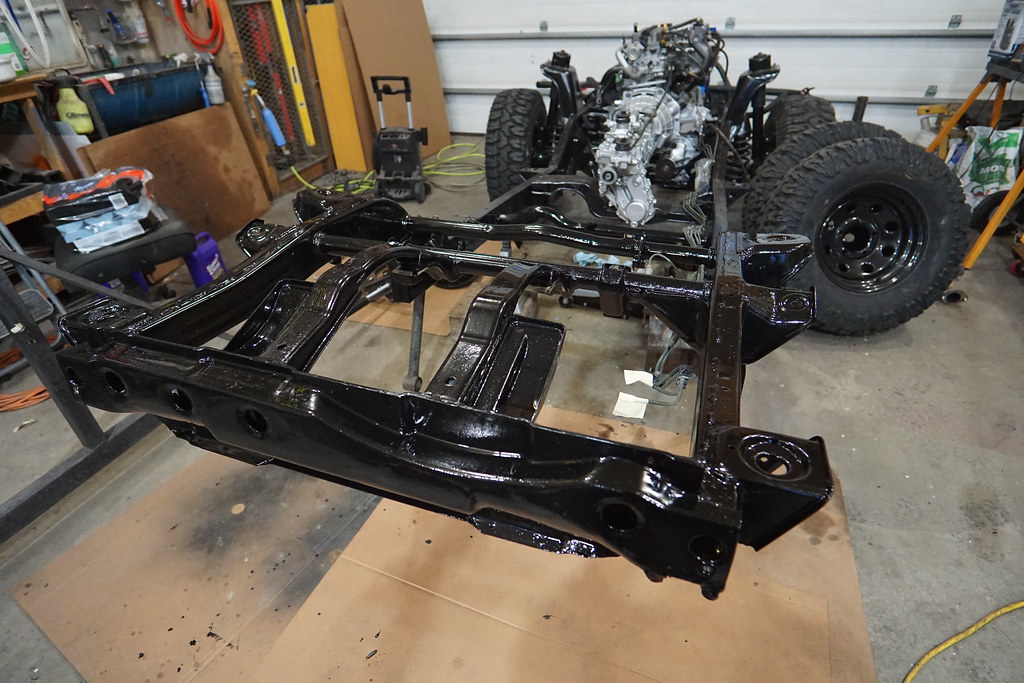
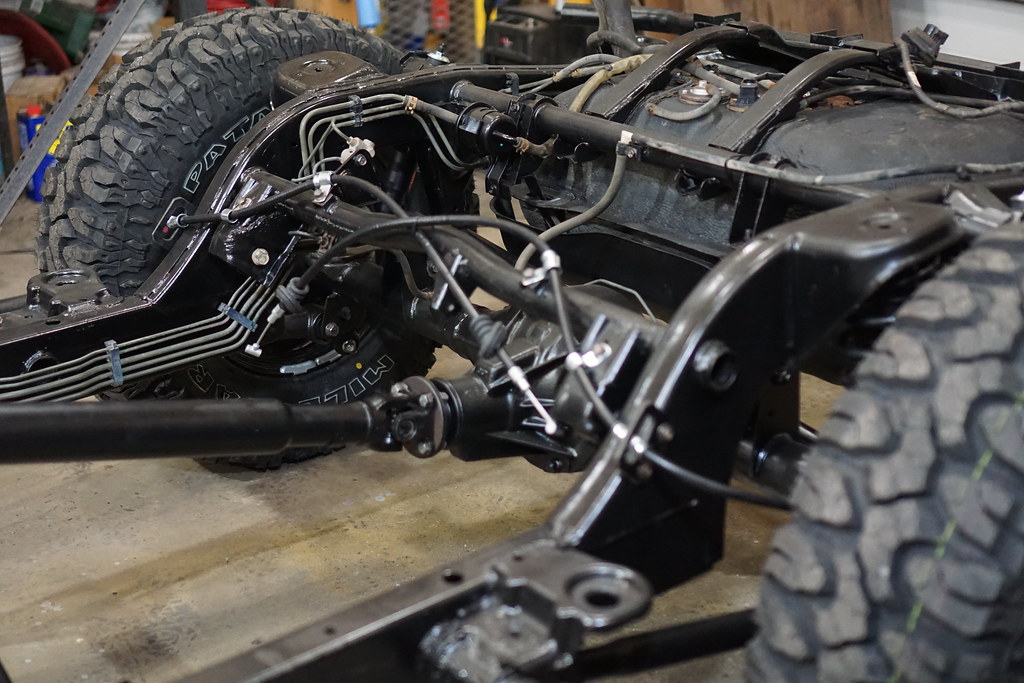
Flipped end for end in my small shop, and working on the rear of the chassis.
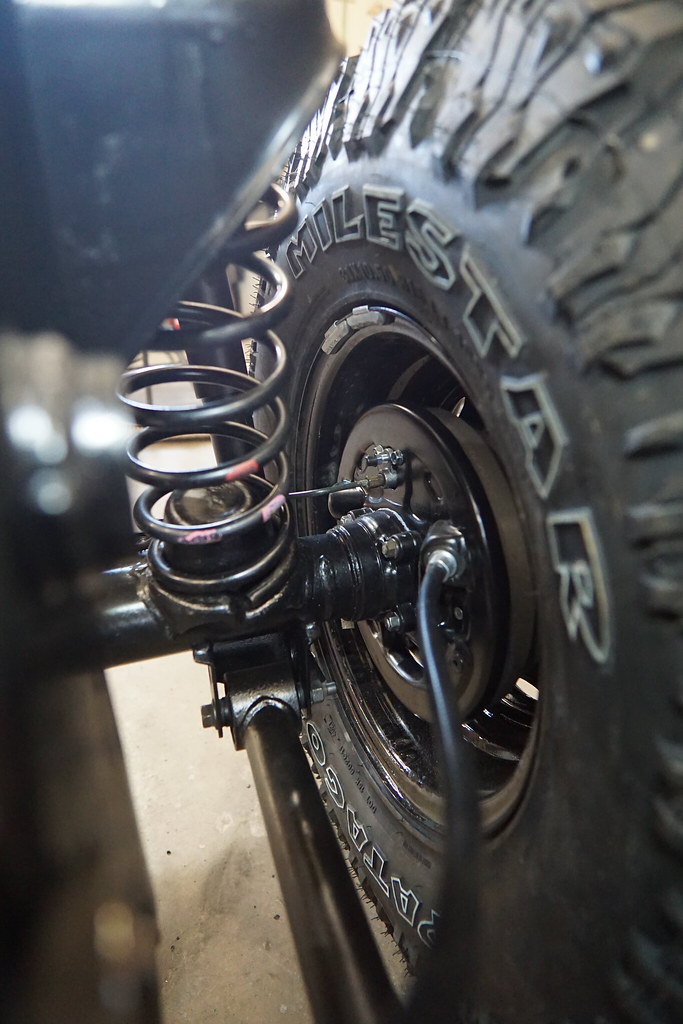
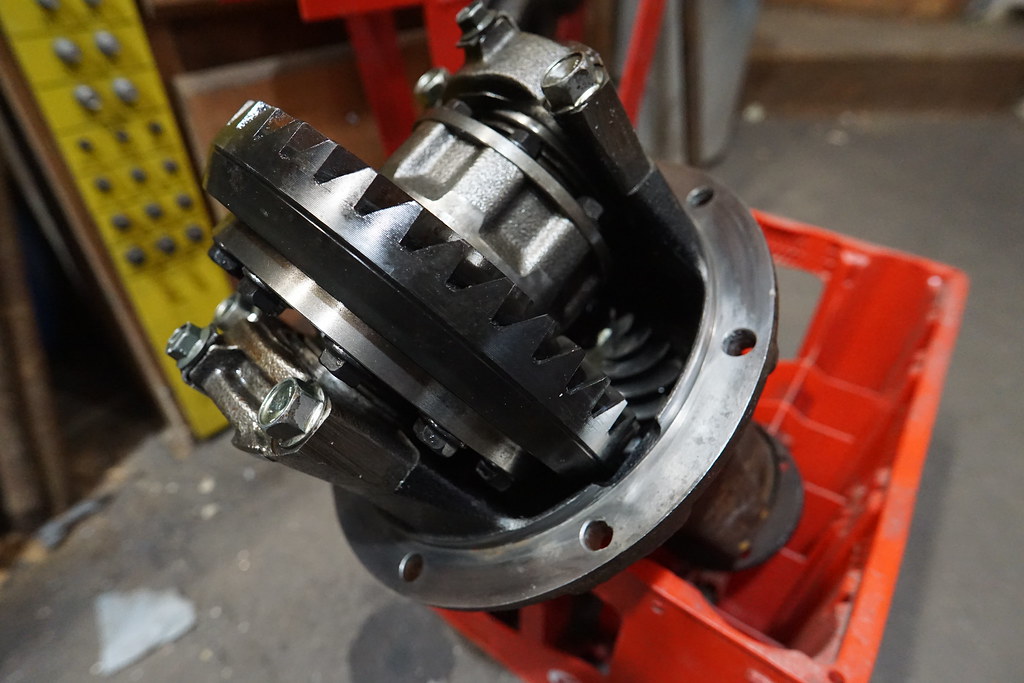
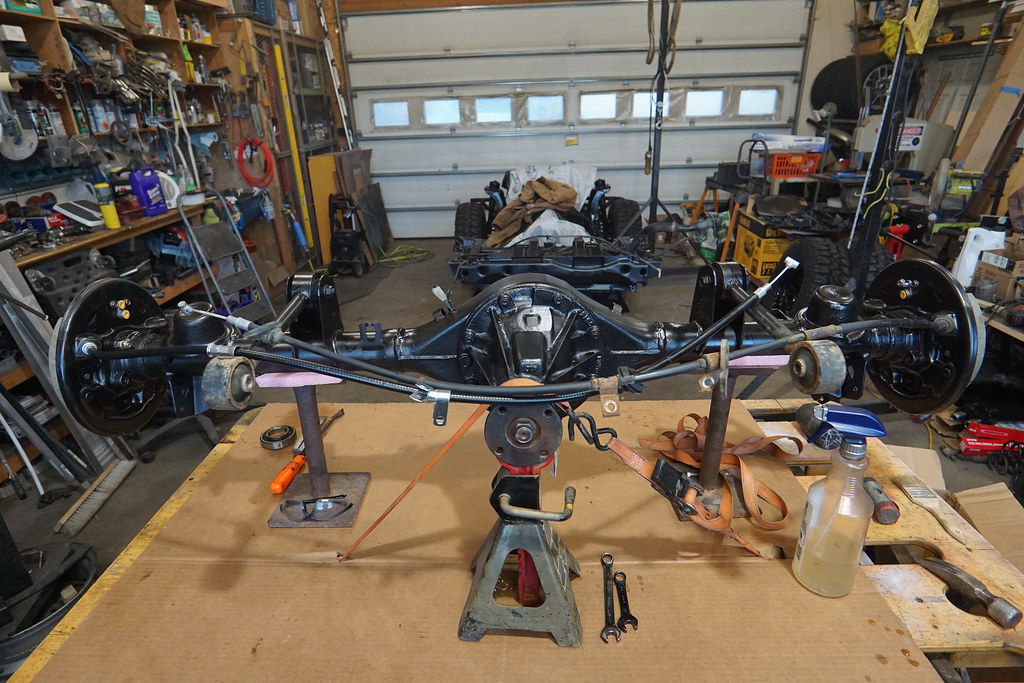
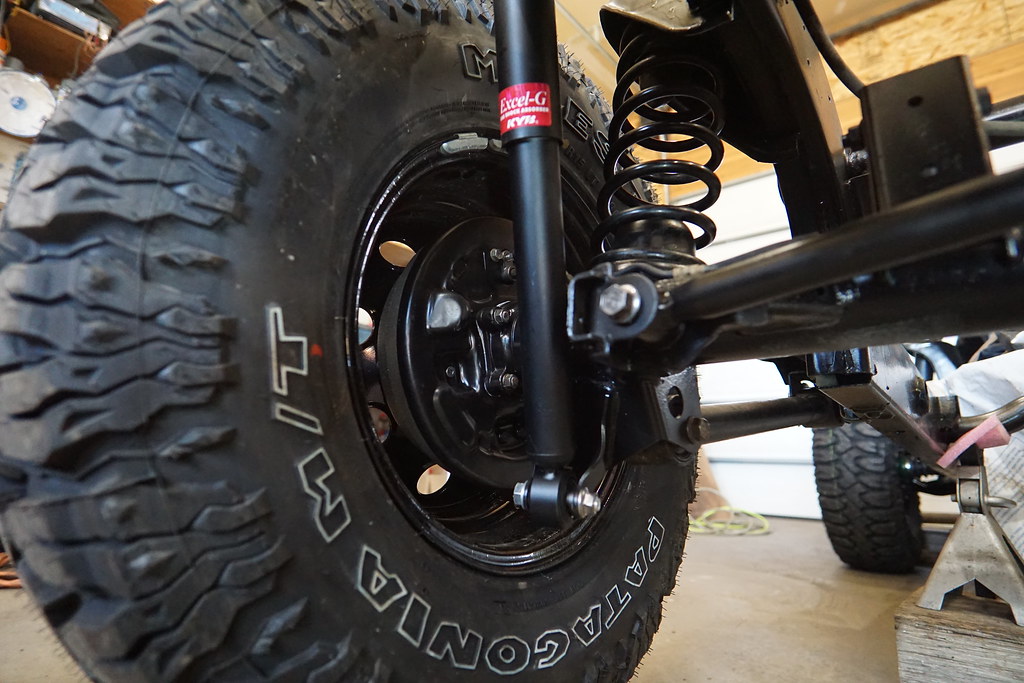
Axle out, suspension blown apart, fuel tank out, lower geared (5.12) rear third member installed, chassis painted, and looking good. :cool:

Axle is now waiting on parts from Japan, both wheel seals, seal protectors, etc.
Rear wheel bearings are in good shape, so they will be reused.

53492006943_1e359d9bd8_b.jpg


53492006938_51516c63dd_b.jpg


53492153464_66016eeecc_b.jpg


53492153459_6aefa8d4fa_b.jpg


53492153514_45bf69c1ba_b.jpg


53492153529_970cb645b9_b.jpg


53490954657_78474eef04_b.jpg
 

IdaSHO

IDACAMPER
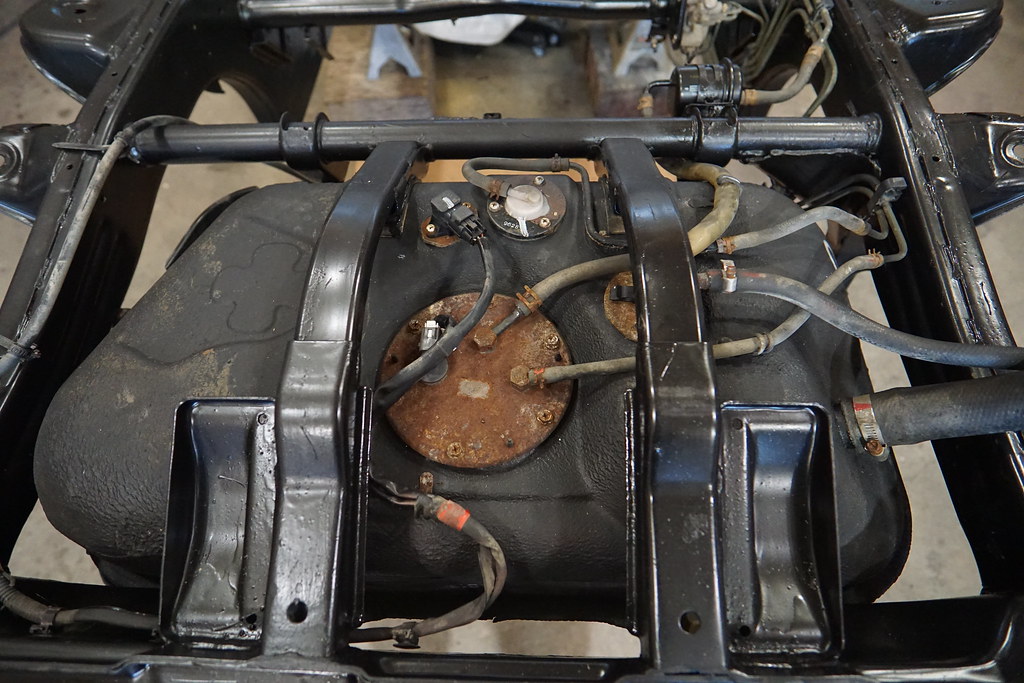
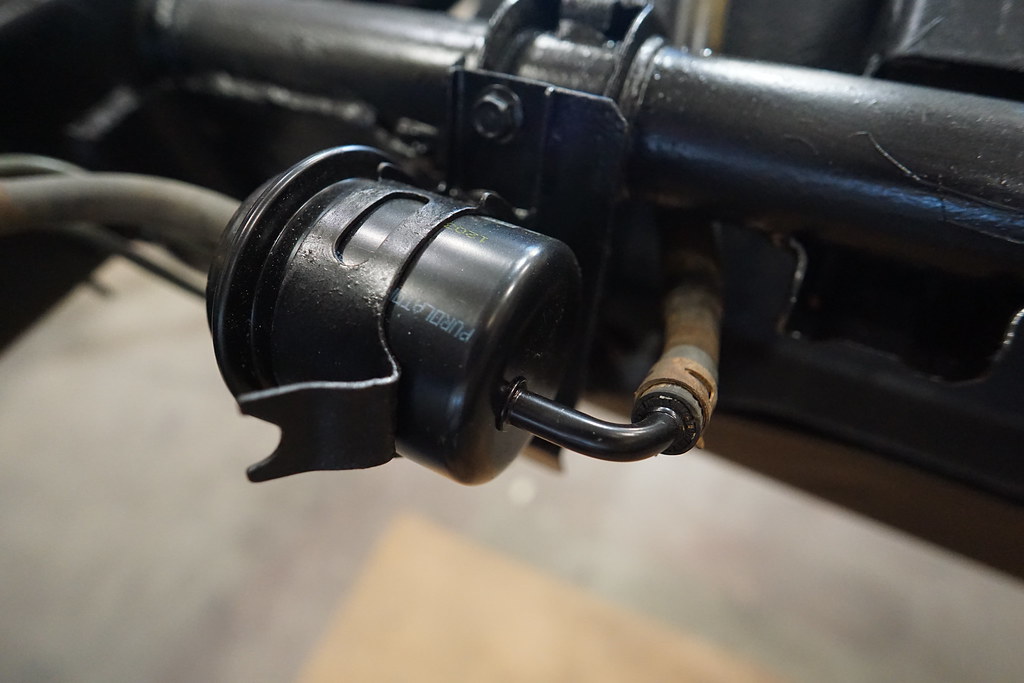
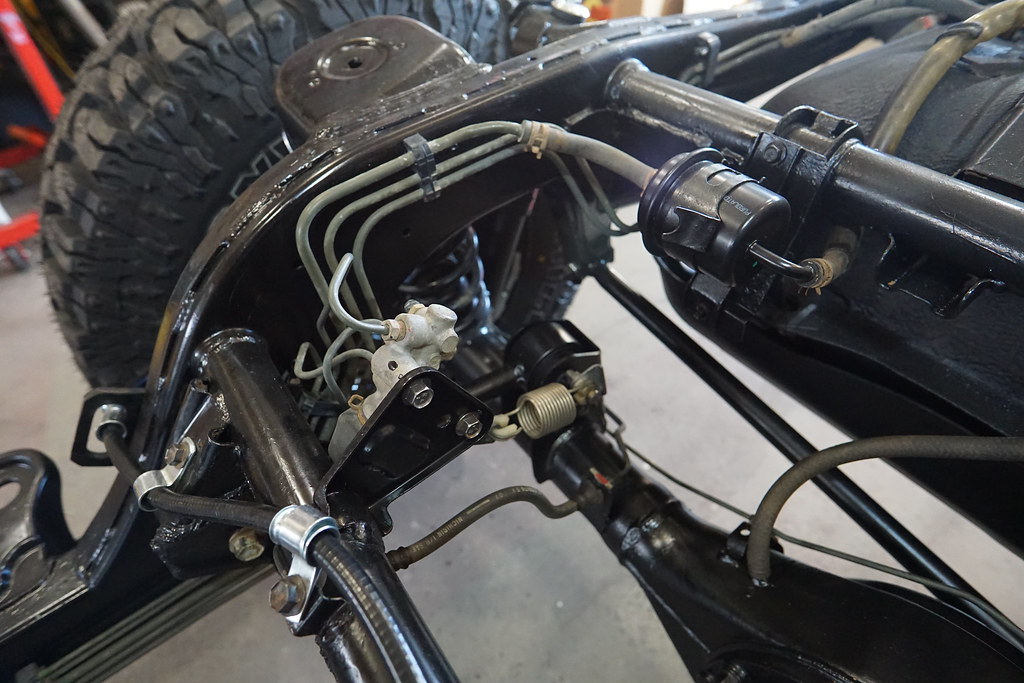
Fuel tank back in, fresh fuel filter...
Axle on the bench waiting for axle seals and such, but it still allowed me to sort out the fresh rear brakes.

Axle prep... when repacking the (seemingly) useable rear wheel bearings, I noticed the inner race spinning on the axle shaft.
So the retainer was cut, and the bearing, that SHOULD be press fit, slipped right off the axle shaft.
We shall see how a new bearing fits. But I expect the need for bearing loctite compound.

53509674398_a85e244db3_b.jpg


53509827834_b9872d5166_b.jpg


53509938015_cebb5305e3_b.jpg


53509827734_a789ec0b1c_b.jpg


53509506471_28df60799b_b.jpg


53509937920_0d497a5277_b.jpg


53509506811_626ab5330d_b.jpg


53509827934_b39044105a_b.jpg
 

IdaSHO

IDACAMPER
Some final fabrication done.

The slightly "boat-sided" rocker/sliders fabbed up and in place.
These will be bolted on, so just drill/tap needed.

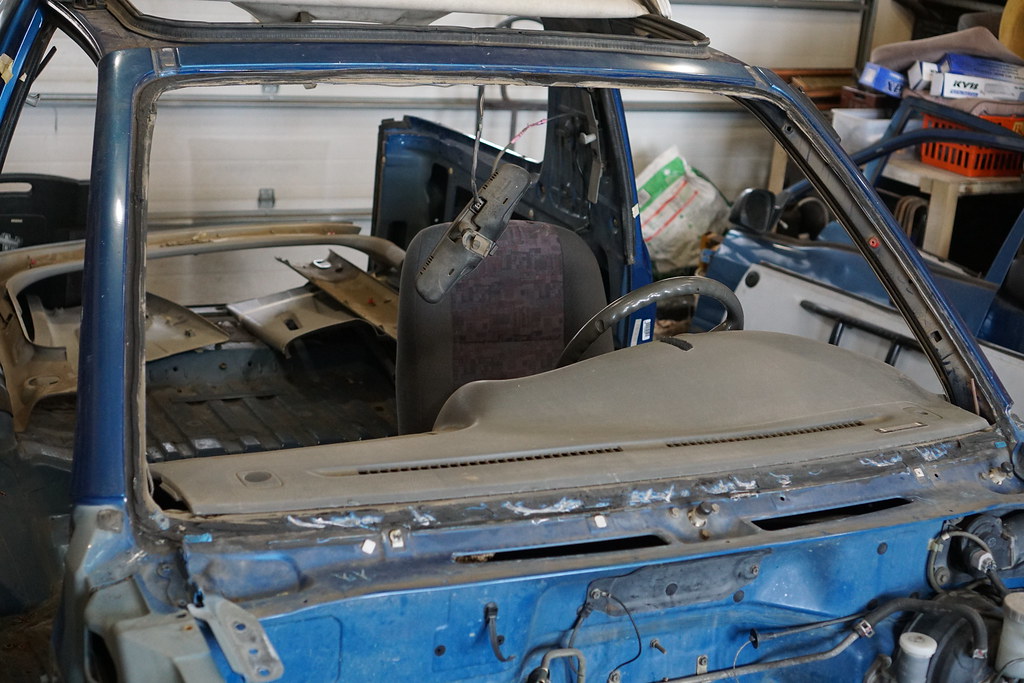
Windshield frame cleaning.... happy to see no corrosion to worry about.

And final work to the custom rear quarters/corners.

Nearly ready enough for paint prep..... :cool:

53700855901_2d91940ea9_b.jpg


53701294590_cbc4ddcbac_b.jpg


53700855921_1729a22c71_b.jpg


53701294470_b9c2093399_b.jpg


53701196334_0224babe96_b.jpg
 

IdaSHO

IDACAMPER
nearing completion of all metal fabrication, I realize that these silly clips are obsolete, and essentially none available in the country.
These clips accept trim screws that hold the soft top trims in place. They are required, unless you ditch the trims and pony up for a hard top. I prefer the soft top.
So I check options, including modifying the body to accept a simple off the shelf clip.... but realize the best thing to do is (finally) pick up a 3d printer and just make the darn things myself.

So I picked up a 3d printer and made it happen...
These are printed using ASA, so they are perfect for auto use. Chemical, heat, and UV resistent.

53745448332_e974b2fc0c_b.jpg


53746787740_301ca5fcd0_b.jpg


53746694079_f62a6aa370_b.jpg


53746373586_9aa267e893_b.jpg


53746373581_f17ccdbfa4_b.jpg
 

IdaSHO

IDACAMPER
And about the dolly.

Doing the math, after finishing up fabrication work on the body I realized I didnt have ANY way to get the body into the temporary shed that I use for sand blasting.
So with some scraps I had, and a couple of large casters, I built a dolly.

Then body was tossed into the blasting booth, all new bits blasted. Then back into the shop for final sanding and paint prep.
The main body gets epoxy primed in the morning. :cool:

53746694224_3792dc0452_b.jpg


53746787670_5e7b03d4b2_b.jpg


53746787650_5a695da41c_b.jpg
 

SVTRIT

New member
At first I thought this was going to be a beater build. You are doing this rig right!!! I wish I had your talents.

Nice work!
 

Forum statistics

Threads
188,334
Messages
2,905,621
Members
229,959
Latest member
bdpkauai
Top