digitalferg
Adventurer
And I never will, but that's just because I want the Ferg out on one of our big trips, you own me a couple by my count.
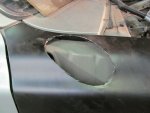
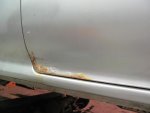
hehe. Think this might actually constitute pwnage...
-Ferg-
And I never will, but that's just because I want the Ferg out on one of our big trips, you own me a couple by my count.
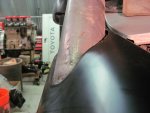
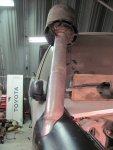
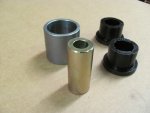
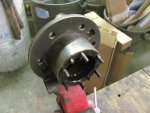
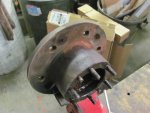
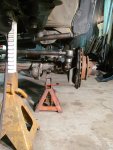
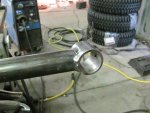
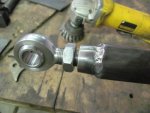
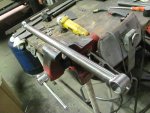
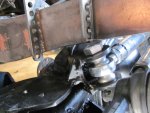
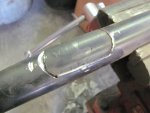
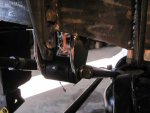
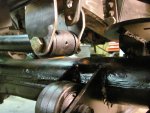
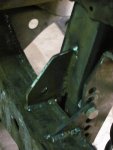
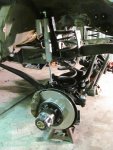
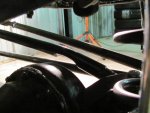
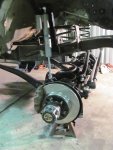
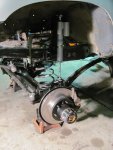
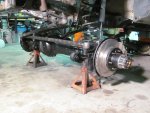
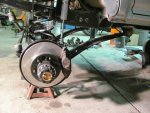
OR, if you used an 80 series front axle and rotated the radius arm mounts on the axle upwards a hair (they are designed for a pretty low frame) or used Old Man Emu caster bushings bare minimum, then I think you might be OK or I might recommend it. It would then only take the couple days this conversion deserves rather than the 40-50 hours it took me because I had to figure everything out from scratch...