You are using an out of date browser. It may not display this or other websites correctly.
You should upgrade or use an alternative browser.
You should upgrade or use an alternative browser.
The Rolling Restoration & Customization Of My 88' Range Rover Classic
- Thread starter rrclassicbt550
- Start date
rrclassicbt550
Farmer Jon
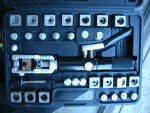
The flaring tool
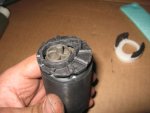
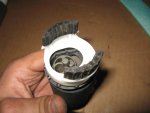
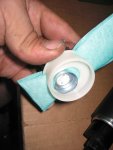
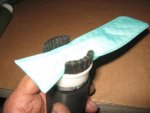
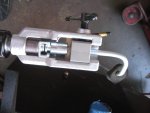
I would like to recommend a flaring tool to anyone who has to do hard lines; fuel lines, brakes, a/c lines, etc. It makes flaring extremely easy to do, they are always straight, and it can be used while the line is actually on, or in the vehicle, even if it is in a tight location. It is not just limited to vehicles either, I work in the H.V.A.C. industry and it can be used in a building or on machines as well. All in all it is a high quality, easy to use, well thought out, and very versatile tool to have around. I would also like to say, I have no affiliation with the makers of this tool in any way, shape, or form. I just really like using the tool. It is called a Mastercool Universal Hydraulic Flaring Tool.
It is pretty expensive but after weighing both sides of the decision, I chose to buy the tool and tubing because when buying pre-made or custom made lines, it does not take very long at all to rack up the price of this tool. Not to mention, doing the lines myself meant I gained another skill and acquired more knowledge, which I would not have gained otherwise. As I said before, I tried to have custom lines made initially, but they ended up not being able to be used, meaning I spent about $150 that I would have saved if I had just done them in the first place. I learned my lesson and I am glad I had this tool to save my behind.
Here is a link to where I got mine. If your going to do hard lines, do some research to see if it will help you out.
http://www.amazon.com/Mastercool-MA...26813&sr=8-1&keywords=mastercool+flaring+tool
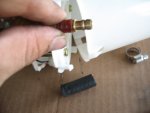
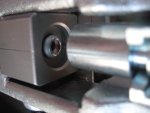
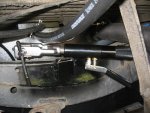
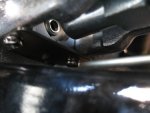
Here are some pictures I took when I was using it to make my fuel lines...


Burn_e,
I always appreciate your compliments, thank you very much! How are things with your Rover?
Your are welcome. Praise, what deserve praise.
For my classic it is pretty calm these days. Before the summer I removed a lot of things I didn't like during the last trips with the plan to make things better. Remember, our season here in the Middle East is your wintertime.
Removed for example the air compressor which was mounted under the driver seat since it got to hot there. The result: melted air line or thermal cut out. both not great.
A second project is a second battery with lots of new wiring along. Here again the observations from last season will give me the ideas for the changes on fuse boxes and 12v outlets.
Also took the roof rack off to get the feet painted and planning on a better wind deflector.
Currently it is just boiling hot and humid outside so I pick up some smaller projects which I can do inside to prepare everything
I am also hunting a ticking noise coming from the front axle I have issues to locate. I think I will start with a drive shaft rebuild.
Beside the usual nitty gritties due to the age of the car.
So, looking back, would you do the long range tank again? Or would you go for a sill tank or even just jerry cans (hehehe)
Looking forward for the update from your end!
rrclassicbt550
Farmer Jon
Your are welcome. Praise, what deserve praise.
For my classic it is pretty calm these days. Before the summer I removed a lot of things I didn't like during the last trips with the plan to make things better. Remember, our season here in the Middle East is your wintertime.
Removed for example the air compressor which was mounted under the driver seat since it got to hot there. The result: melted air line or thermal cut out. both not great.
A second project is a second battery with lots of new wiring along. Here again the observations from last season will give me the ideas for the changes on fuse boxes and 12v outlets.
Also took the roof rack off to get the feet painted and planning on a better wind deflector.
Currently it is just boiling hot and humid outside so I pick up some smaller projects which I can do inside to prepare everything
I am also hunting a ticking noise coming from the front axle I have issues to locate. I think I will start with a drive shaft rebuild.
Beside the usual nitty gritties due to the age of the car.
So, looking back, would you do the long range tank again? Or would you go for a sill tank or even just jerry cans (hehehe)
Looking forward for the update from your end!
Burn_e,
I am glad things are fairly calm for you and that you are able to take some of the work inside and get out of the weather.
Thats an interesting problem with the air compressor. I would be interested to find out where you finally do mount your air compressor so it stays cool in the kind of heat you get out there.
I just put some 12v outlets into my Rover today, hopefully some of the info I post will might help with some ideas for your Rover.
As for the ticking noise, does it tick once for every one rotation of the wheels?
Would I do the long range fuel tank again...hmm...now that a bit of time has passed between me and all that labor it took to finish the install. Even though I didn't really enjoy the install, it was due more to the short time frame I put myself into then it was the actual labor involved. I know what I would be getting myself into now, and I know the things to do, and things not to do. Not to mention, I really hated having to fill up every 220 miles. It is really nice to have just passed 400 mile and still be going on only one tank of gas. I can honestly say, I would probably do it again (just not anytime soon).
Sill tanks are not a bad option as long as they don't hang low enough to get punctured by rocks. My first choice would be the type of tank I just installed, the second choice if (I couldn't do the style tank I have now) would be sill tanks.
I really don't like the idea of carrying too many jerry cans, because there are jerry cans for both fuel and water. Every extra can of fuel is one less can of water I cannot carry. With the 32 gallon LRFT I have now and one jerry can of fuel, I will have a pretty good range (470-500 miles) between fill ups. That means I will be able to carry 2 or even 3 jerry cans of water.
The stock tank I had could at most, only fit 19 gallons of usable fuel, meaning I would need to find a place to store another 2 or 3 cans of fuel to equal what I have now. That is a lot of jerry cans to be carrying around and store, especially when the water cans are added in too.
Plus, if someone is not careful when they fill up with a jerry can, they can accidentally start a fire if they don't ground the can on a lug nut first. Jerry cans can build up static electricity from the moving around that happens while driving.
Current favorite place for the compressor is in the boot on the right hand side wheel arch next to the onboard tools and jack. might create a lillte platform or brace to fix it. Lets see.
Well the vicious tick. it appears always when releasing the throttle and imagining the wheel spinning i can see this tick happening every rotation. Trouble is, it only happens above speeds of 50 kmh (around 30 mph) - any ideas?
I see you had the deep thought after the tank installation. Had once the idea of getting this kind of long range tank but scrapped the idea due to "only needed twice a year" along with the drawer system for the boot (need the the full boot way more often).
rrclassicbt550
Farmer Jon
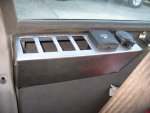
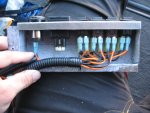
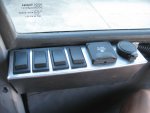
Rear power seat switch box
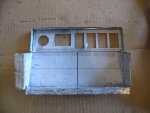
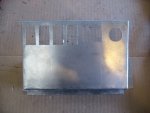
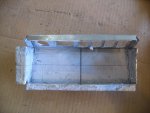
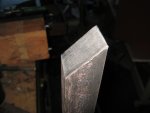
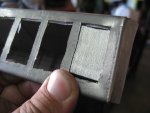
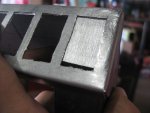
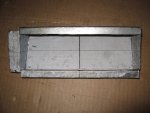
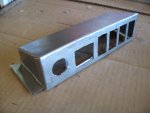
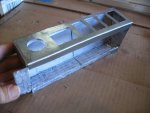
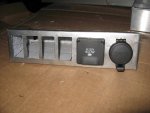
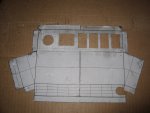
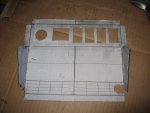
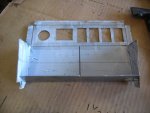
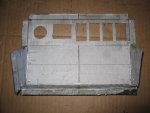
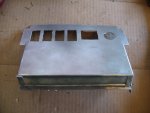
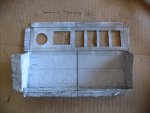
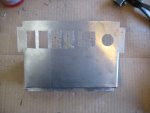
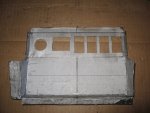
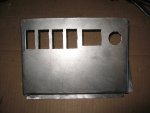
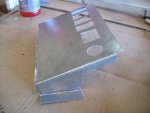
I finally got around to making the other rear switch box. I printed out the layout of the switch box, making sure to put bold lines in every spot that needed to be folded, then I glued it down to flat sheet metal. I know the two switch boxes are not upholstered. I will be upholstering them later on when I can find something that matches the interior a little better than the material I have now.
Here are the pictures to show the bending order to make the box...


Last edited:
rrclassicbt550
Farmer Jon
rrclassicbt550
Farmer Jon
rrclassicbt550
Farmer Jon
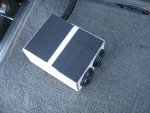
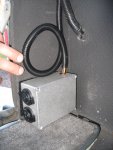
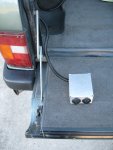
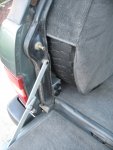
Cargo area 12V power outlets
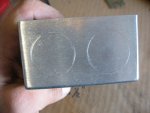
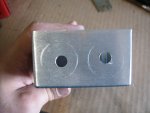
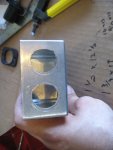
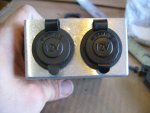
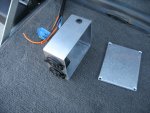
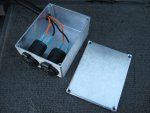
I had a bit of extra time today so I used it to wire in the rear 12V outlets. I had already pre-run the wires, bought the outlets, and an aluminum project box to house them. Just needed to assemble everything and install them.
Since they are going to be so close to the tailgate and possibly be exposed to rain and other water, I chose to buy the marine 12V outlets. I am not sure if the location I put them in will be there permanent location I attached them to the body using industrial strength Velcro. Since it is attached by Velcro I also left some extra length in the wires to the allow me to move the box around if I need to.


rrclassicbt550
Farmer Jon
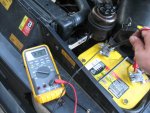
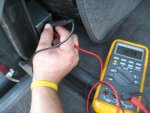
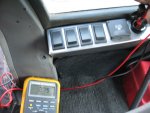
Double checking....
I wanted to be sure there was no voltage drop to the outlets so I double check with a digital volt ohm meter just to be safe. The four outlets I installed are wired up to the auxiliary battery and have constant power (i.e. they are not wired into the ignition). If I have to charge something using these outlets, I do not want to have my turning the car on and off, effect those things being charged. It does mean I have to pay more attention and try to not let the battery get drained, but since they are all hooked up to the auxiliary battery, even if it aux battery does get drained, the main battery will be fine and will still be able to start the car and get home.
I was very pleased to see no voltage drop at all for any of the power outlets I installed.


rrclassicbt550
Farmer Jon
Current favorite place for the compressor is in the boot on the right hand side wheel arch next to the onboard tools and jack. might create a lillte platform or brace to fix it. Lets see.
Well the vicious tick. it appears always when releasing the throttle and imagining the wheel spinning i can see this tick happening every rotation. Trouble is, it only happens above speeds of 50 kmh (around 30 mph) - any ideas?
I see you had the deep thought after the tank installation. Had once the idea of getting this kind of long range tank but scrapped the idea due to "only needed twice a year" along with the drawer system for the boot (need the the full boot way more often).
Hmm, I am not sure. I had a ticking noise before I did my brakes that turned out to be a slightly warped rotor coming into contact with the loose dust cover behind it. It was a one to one tick with the wheel and it could heard more clearly after letting off the throttle. However, since you mentioned it only happens at speeds of 50kmh...I don't think that will be it.
It could be a driveshaft, but it could also be one part coming into contact with another part. It could be a bit of a long shot, but you could always check for signs of fresh or shiny metal, which would be a definite sign that parts are contacting each other. Could be a pinion bearing going, causing the driveshaft to wobble and contact another part when you left off the throttle. Other than those things, I am not really sure what it could be.
rrclassicbt550
Farmer Jon
Worked on my brothers RRC instead of mine this weekend.
Those of you have been fallowing my thread for awhile will know that I got so frustrated with the original LR seat switches in my Rover that I made my own (Post #110). The reason I did it was because I wanted a simple maintenance free set of switches where one switch controlled one function rather than the LR version which uses one switch to control multiple functions.
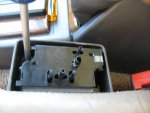
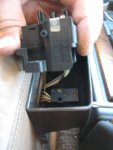
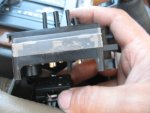
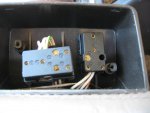
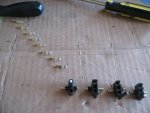
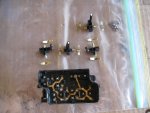
The original LR switches in my brothers 92' RRC quit working the other day and since I have some experience with these, I said I would take a look at them for him. I removed them from his Rover, cleaned them, put them back in, and voila they worked perfectly. They are immensely fiddly though, so make sure to have some tweezers, small blade screw driver, phillips screw driver, (clean) wire brush, a piece of Scotch Brite, and clean work surface. The rest is shown in the pictures.
TIP: If it is your first time taking one of these switches apart, when you are just about to separate the housing, PUT THE WHOLE THING IN A 1 GALLON ZIP LOCK BAG and then separate the two sides. There are around 16-17 ball bearing, 8 springs, and 4-5 plastic parts; some of these will fall out before you can actually get the two sides fully separated. If you have it all in a bag, you won't lose a spring or ball bearing. These switches are frustrating enough to clean and reassemble without having to spend 20 minutes on your hands and knees looking for a tiny spring or ball bearing.
Once you do a few of these switches, you will probably figure out how to take them apart without the need for a bag, but it sure helps in the beginning.
Here are the pictures....
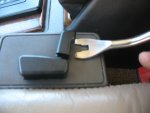
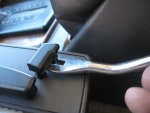
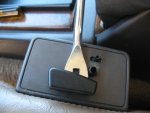
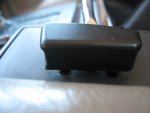
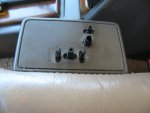

Firmly but gently pull back and then lift up, the face plate should come off very easily...do not force it.
Those of you have been fallowing my thread for awhile will know that I got so frustrated with the original LR seat switches in my Rover that I made my own (Post #110). The reason I did it was because I wanted a simple maintenance free set of switches where one switch controlled one function rather than the LR version which uses one switch to control multiple functions.
The original LR switches in my brothers 92' RRC quit working the other day and since I have some experience with these, I said I would take a look at them for him. I removed them from his Rover, cleaned them, put them back in, and voila they worked perfectly. They are immensely fiddly though, so make sure to have some tweezers, small blade screw driver, phillips screw driver, (clean) wire brush, a piece of Scotch Brite, and clean work surface. The rest is shown in the pictures.
TIP: If it is your first time taking one of these switches apart, when you are just about to separate the housing, PUT THE WHOLE THING IN A 1 GALLON ZIP LOCK BAG and then separate the two sides. There are around 16-17 ball bearing, 8 springs, and 4-5 plastic parts; some of these will fall out before you can actually get the two sides fully separated. If you have it all in a bag, you won't lose a spring or ball bearing. These switches are frustrating enough to clean and reassemble without having to spend 20 minutes on your hands and knees looking for a tiny spring or ball bearing.
Once you do a few of these switches, you will probably figure out how to take them apart without the need for a bag, but it sure helps in the beginning.
Here are the pictures....


Firmly but gently pull back and then lift up, the face plate should come off very easily...do not force it.


Last edited:
rrclassicbt550
Farmer Jon
My brothers seat switches cont'd....
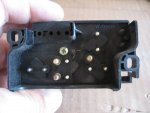
Take the one screw out of the bottom
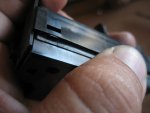
Release the little catches on the sides BUT DO NOT PULL THEM APART YET!
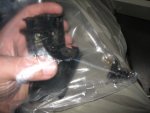
PUT THE SWITCH THE BAG!
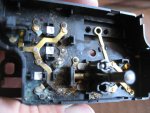
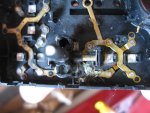
Ladies and gentlemen, here is why the seat switches stop working. A lot of dust and grime gets in there throughout the years, then clogs up the switch and it cannot function properly anymore.
TIP:You don't have to pull this plastic part out, it is possible to slide it from one side to the other and clean around it. However, as it is the forward and back function andit was fairly dirty, I decided to take it out to give it a good cleaning.
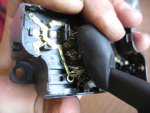
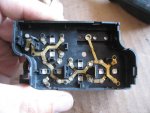
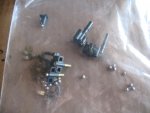
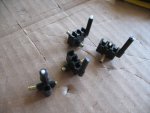
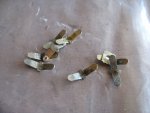
These need to be cleaned too. The Scotch Brite works beautifully for this. Hold one with the tweezers and then lightly scrub with the Scotch Brite.

Take the one screw out of the bottom

Release the little catches on the sides BUT DO NOT PULL THEM APART YET!

PUT THE SWITCH THE BAG!


Ladies and gentlemen, here is why the seat switches stop working. A lot of dust and grime gets in there throughout the years, then clogs up the switch and it cannot function properly anymore.
TIP:You don't have to pull this plastic part out, it is possible to slide it from one side to the other and clean around it. However, as it is the forward and back function andit was fairly dirty, I decided to take it out to give it a good cleaning.


These need to be cleaned too. The Scotch Brite works beautifully for this. Hold one with the tweezers and then lightly scrub with the Scotch Brite.
rrclassicbt550
Farmer Jon
My brothers seat switches cont'd....
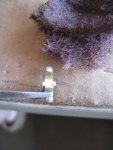
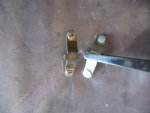
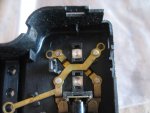
Here is how the pieces go back in, fallow the order of these pictures and reassembly will be fairly easy (but still fiddly).
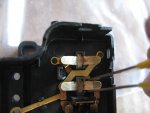
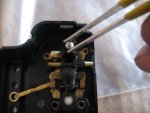
Drop the first ball bearing down the hole, then hold the plastic piece and push the ball bearing to the bottom with the tweezers if it didn't already drop to the bottom.
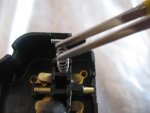
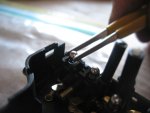
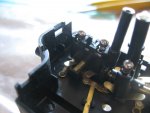


Here is how the pieces go back in, fallow the order of these pictures and reassembly will be fairly easy (but still fiddly).


Drop the first ball bearing down the hole, then hold the plastic piece and push the ball bearing to the bottom with the tweezers if it didn't already drop to the bottom.


rrclassicbt550
Farmer Jon
My brothers seat switches Finished
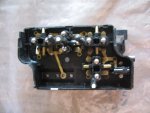
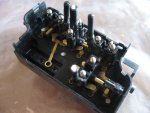
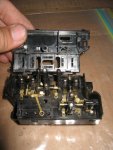
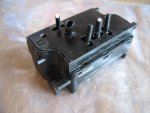
Now just reinstall them and they should work perfectly.
I did both drivers side and passenger side seat switches and it took about an hour maybe an hour and a half. However, when I did my first one ever, it took me about 2 hours to do one because I had to figure out where it all went, and I had to spend 20 minutes on my hands and knees looking for a spring that had fallen on my garage floor. I hope by posting this information it will help you guys who still have the LR switches save some time, energy, lost parts, and some frustration.
After doing both these switches and taking a trip down memory lane, I can honestly say, I am so much happier with the switches I made haha. Easy to make, cheap, zero maintenance, and have worked flawlessly.
Similar threads
- Replies
- 4
- Views
- 668
- Replies
- 4
- Views
- 2K
- Replies
- 2
- Views
- 1K
- Replies
- 0
- Views
- 159

