The Rolling Restoration & Customization Of My 88' Range Rover Classic

rrclassicbt550

Farmer Jon
Rear mount for the long range fuel tank

Alright, I will start with the rear mount.
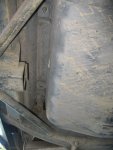
IMG_0379.jpg
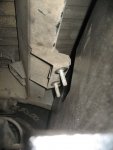
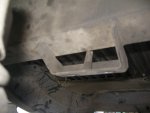
Here is the stock tank and stock mounts.
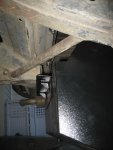
IMG_0635.jpg
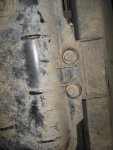
And here is the LRFT. You might notice the difference between the LRFTs mounting holes and the stock RRC mounting studs. The LRFT mounts are narrower and much further back.
IMG_1421.JPG
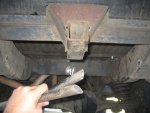
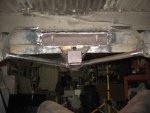
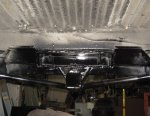
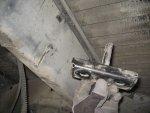
You might not have been able to see it in the previous picture, but the bars for the trailer hitch are in the way of the tank fitting properly.
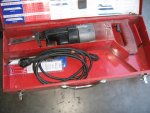
IMG_1422.JPG
So....time to bring out the sawzall.
IMG_1423.JPG
I really REALLY did not want to cut these out, because at the time I was not sure if I would be able to put them back in.
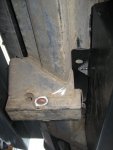
IMG_1425.jpg
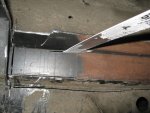
Have a lot more cutting to do with the sawzall to get it to fit.
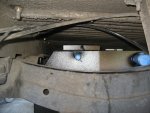
IMG_1428.JPG
Going to have to earn that last few inches...
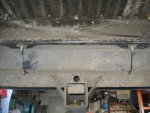
IMG_1432.JPG
I ended up adding an inch to the outsides of of the two sharpie marks just to be make sure I would have enough room.
IMG_1437.jpg
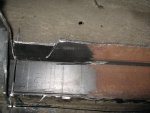
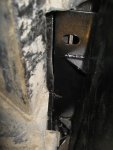
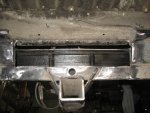
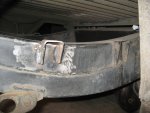
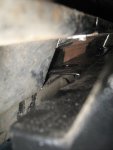
Turns out the rear crossmember is double walled and I had to cut through the second wall too to create enough room.
IMG_1438.JPG
 

rrclassicbt550

Farmer Jon
Rear mount cont'd...

IMG_1455.JPG
Like I said earlier, half the battle is getting access to cut and weld.
IMG_1456.JPG
HOWEVER, a tip to save some time and trouble...instead of spending a ton of time using a cut off wheel to cut the 1/8" thick metal, just use the cut off wheel to cut a hole, then it is very easy to slide sawzall blade in and then quickly finish the cut. Another tip, DO NOT CHEAP OUT ON BLADES, you will be there all day if you buy cheap blades! If you get good blades, the sawzall will cut through the metal like a jigsaw cuts through 1/4" plywood...i.e. fast and smooth.
IMG_1457.JPG
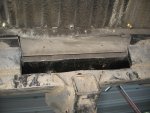
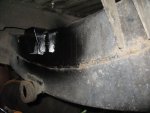
The access issue translates into the crooked cuts due to having to change grip positions frequently. It also means extra grinding will have to be done.
IMG_1459.JPG
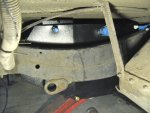
If you look closely there is a seam on the body that needs to be cut slightly and then bend out of the way. Don't cut off, just bend it out of the way; it is a spot welded seam, if you cut it, it is going to weaken the body in that area. The reason for bending it is because the seem comes down directly over the top of the LRFT mounting bolts (another access issue).
IMG_1461.jpg
Finally cleared enough room, now its time to start making the mount.
IMG_1470.JPGIMG_1472.JPG
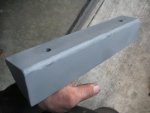
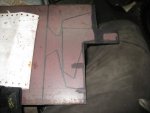
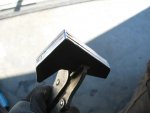
Somebody gave me a piece of 1/4" high carbon armor plating a little over 10 years ago and I have never really had a purpose for it...until now...I figured I would make some "bulletproof" fuel tank mounts. People always say the mounts or brackets they make are "bulletproof", well these actually are...well, bullet resistant. I know nothing is really bulletproof. Thats really the point anyway, I wanted them to be overbuilt and I also wanted to do it for a smile and laugh.
IMG_1473.JPG
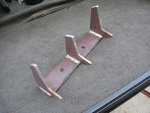
here is the primed mount. I used a weld through primer. I am not a huge fan of weld through primers, but as I was dealing with serious access issues and the fact that I would not be able to paint the portion that would become the inside of the crossmember, using the weld through primer was a necessary evil.
Also, I don't have a picture of it, but I had to weld the bolts to this mount before welding it into position because the fitment is so tight there would be no way of putting the bolts in or getting a wrench on them for tightening them down sufficiently.
IMG_1476.JPG
Ground down as best as I could.
IMG_1483.JPG
Test fitting to make sure everything seats in properly.
 

rrclassicbt550

Farmer Jon
Rear mount cont'd...

IMG_1490.JPG
It took a lot of work but I earned that few inches to get the tank up close to the body.
IMG_1515.JPG
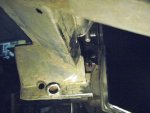
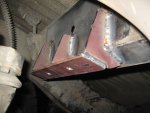
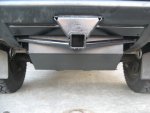
The mount all welded in. Not the prettiest welds I have ever done, but they are solid and functional. I was thankfully able to reposition the bars for the hitch and weld them back in at a different angle. I also welded a section of the plate onto the back of the trailer hitch to hopefully stop the receiver hitch from going straight into my tank if I should ever get rearended while driving my rover.
IMG_1528.JPG
All painted and looking nice. I didn't do a detail paint because there wasn't time. I am planning on repainting my frame when I do the 6.2 swap and I will have to have the tank out during that time anyway, so I will paint everything in more detail then.
 
Last edited:

rrclassicbt550

Farmer Jon
Front mount

The front mount was easier than the rear mount for sure, but was still a bit of a pain.

IMG_0380.jpg
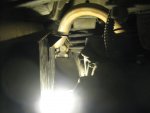
Stock tank and stock front mount.
IMG_0636.jpg
LRFT and as you could probably tell, yet again there is another issue. Solvable, just gonna take some time.
IMG_1416.JPGIMG_1419.JPG
Time for the old front mount to go.
IMG_1488.JPG
The tank was bolted in at the rear so I could figure out the measurements for the new front mount which will keep it up as close to the body and frame as possible.
IMG_1494.JPG
Layout...
IMG_1496.JPG
Making sure they are all very close to the same.
IMG_1502.jpg
Welded up and ready for installation.
IMG_1519.JPG
I gotta say, its easy to take a picture but it is much harder to weld that bracket in. With a welding helmet on and the driveline/axle still in position, the welding positions and visibility can get pretty interesting. :)
 

rrclassicbt550

Farmer Jon
Fuel lines & fuel filter relocation

I needed to make custom fuel lines for this later style tank to work with my early style Rover. I initially started out by trying to get everything made ahead of time so that I could then have less fabrication work to do; however, it turned out that I was going to be taught the "don't get ahead of yourself" or "don't count your chickens before they are hatched" life lessons again. In the end, darn near every piece I had fabricated ahead of time didn't work and I ended up spending twice the amount of time either re-engineering or making from scratch the parts that I needed than I would have, if I had just waited and made the parts when I actually needed them. Oh well, sometimes life lessons need to be learned more than once.
IMG_0373.JPG
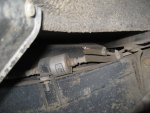
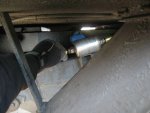
Here is the old fuel filter location and the way the old fuel lines were run. I decided after looking at those rubber hoses that they needed to be replaced.
IMG_1374.JPG
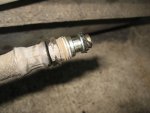
I am not entirely sure what the heck could do this to the O-ring, but my best guess is maybe Ethanol damage from the 10% Ethanol that is being used in fuel these days. I could be wrong, but I was sure surprised when I took the fuel filter off and saw this. If you have any info on what could cause this kind of damage, please let me know.
IMG_1544.JPGIMG_1548.JPGIMG_1551.JPG
Making the custom fuel lines. I think they came out pretty well. I used some scraps of neoprene that were left over from doing the neoprene insulation in the car.
IMG_1500.JPG
Notice the fuel filter is now directly in the line of the fuel filler. Another issue, solvable, just took time.
IMG_1521.JPG
I quickly made another bracket and welded it into position. I left the old mount in position because its not really hurting anything and I may use it for mounting something else some day. IMG_1535.JPG
Quick paint job.
IMG_3192.JPG
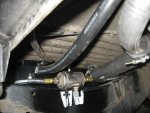
Fuel filter in its final position.
IMG_3197.JPG
Made an extension to the fuel filter that fit very nicely under the fuel filler hose. Then hooked up the return line.

All in all, I think it all came out nicely.
 

rrclassicbt550

Farmer Jon
Fuel hoses...

IMG_0594.JPG
Taking off the rear quarter panel is pretty easy, but not all that straight forward. The tail light needs to come out, the fuel filler neck needs to be detached, there are screws on the inside all along the bottom of the right rear window that need to be taken out, there are two bolts at the front of the quarter panel accessed from the inside rear wheel well at the top, there is a small bolt attaching the mud flap support to the quarter panel as well, there are pop rivets on the inside jam area by the tailgate also need to be drilled out, and last but not least there is the bumperette which needs to be removed; then the quarter panel will lift off.
IMG_1363.JPG
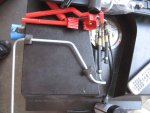
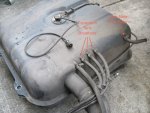
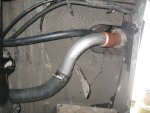
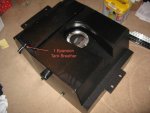
Here is whats under the quarter panel. The big tank is the expansion tank for the fuel tank. Highlighted in red are the breather lines that run from the fuel tank to the expansion tank. Now, lets play a little game. There is a 3 into 1 manifold the single line leads to the expansion tank. Where do the the 3 other lines lead?
IMG_1373.JPG
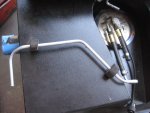
Times up, the three lines lead into the fuel tank. How about another question, what do you do when the old tank has 3 expansion outlets....
IMG_6258.JPG
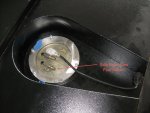
and the new tank has 1 outlet? Well, initially when I first bought the tank I was a bit stumped....that is...I was stumped before I did a bit of research and ended up finding out about that 3 into 1 manifold.
IMG_1361.JPG
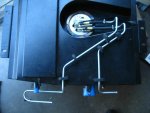
Another interesting thing to spot between the two tanks is the fact that the fuel return was in the side of the stock tank and the fuel return for the new tank was in the fuel pump itself.
IMG_0375.JPG
Before picture (sorry, its the best I'be got)
IMG_3191.JPG
After All the hoses were installed.
 

rrclassicbt550

Farmer Jon
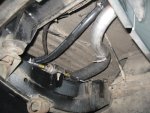
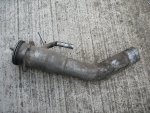
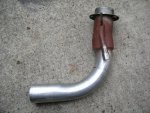
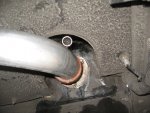
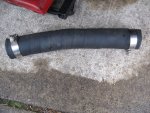
Here are some picture of the modified fuel filler neck and fuel filler hose. They are fairly self explanatory, but if you have any questions feel free to ask.
IMG_1366.JPGIMG_1367.jpgIMG_3156.JPGIMG_3157.JPGIMG_3158.JPGIMG_3159.jpgIMG_3160.JPGIMG_3164.JPG
The mud flap support interferes with the filler so I am going to have to fabricate a new one.
 

rrclassicbt550

Farmer Jon
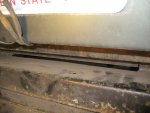
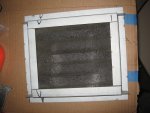
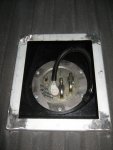
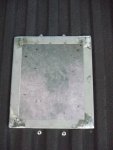
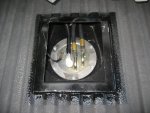
Fuel pump access panel

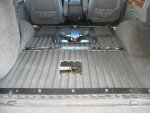
With the newer model tank fitted, I would not have access to the fuel pump or have the ability to hook the fuel lines or electrical up to it. So I had to cut a large hole in the floor, right through the LizardSkin. I knew I was going to have to do this even when I was spraying the LizardSkin, but it still didn't lessen the pain...haha. Oh well.
IMG_1576.JPG
The deed was done and there was no turning back.
IMG_3227.jpg
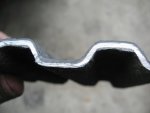
One nice and unexpected benefit was being able to see how thick the LizardSkin was laid down.
IMG_1577.JPG
I had some electro-galvinized 16ga around the garage So I decided to use it. I used the piece I cut out as a template for getting my measurement close.
IMG_1578.JPG
Test fit with everything in place...
IMG_1579.jpg
Pop riveted into place...
IMG_3214.jpg
All seam sealed and painted
IMG_3217.JPG
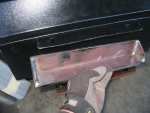
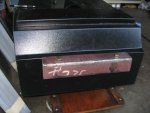
I cut out a piece of aluminum to use for the actual panel, but I have not figure out what screws or bolts i want to use yet so for now it is sitting in position.
 

rrclassicbt550

Farmer Jon
I will post the write up for the fuel pump tomorrow but for now I will post the shot of the tank all nicely installed in its final position. I hope you guys like it.

IMG_3200.jpg

Have a good one,

Jon
 

rrclassicbt550

Farmer Jon
Fuel pump

When I bought the fuel pump, I bought a used one. I know I could have bought a new one but I chose the used pump for two reasons. The first reason is because the price of an LR genuine fuel pump is….ridiculous. The second reason is because I wanted to learn how to rebuild it. If I ever have to an issue with the pump in an inconvenient location, I want to have a fairly good shot at fixing it.

IMG_1552.JPG
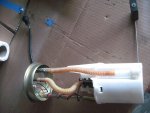
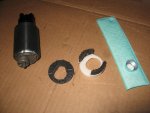
Here is the pump before the rebuild
IMG_1558.JPGIMG_1559.JPG
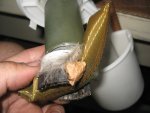
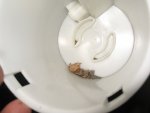
And here is a Whiskey Tango Foxtrot or ****** moment. I can sort of understand the dirt and sand, but the feather!? How in the heck did that get in there? It is not as if it just fell in there, it was sucked into the actual filter screen!
IMG_1562.JPGIMG_1569.JPG
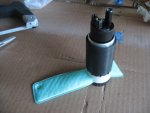
Here is the new fuel pump and screen in I bought at Napa
IMG_1570.JPG
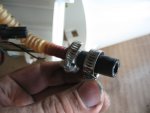
This is the hose that hooks up to the fuel pump, when I pulled the hose out of the old pump, the brass fitting came with it. I could not get the brass fitting out of the hose so...I used a bit of rubber fuel like to connect the fitting to the male fitting on the new Napa pump. It may not be perfect but it works perfectly and it would be good to know this trick if there is ever an issue in the future.

I couldn't find all of the pictures I took during this rebuild. I will have to look for the others tomorrow. The plugs are a bit different so I had to do a bit of soldering to swap the internal plug out.
IMG_1583.jpgIMG_1584.JPG
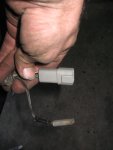
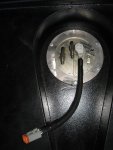
The wiring was easy, I was told which wires do what...but they wires actually matched in color so, it was very straight forward process of matching the same colored wires together and then connecting the plug. Oh there is a grounding tab on top of the fuel pump, that is where the smaller plug hooks up. I decided to go with the waterproof, dustproof, and vibration proof Deutsch connecter because it is easy, quick, and very secure.
IMG_3190.jpg
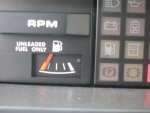
With a new tank, new pump, and new sender...I would have no clue how many gallons of gas I had left until empty, when the needle was in this position. So I took advantage of the fact that my brand new LRFT was empty, and filled it a gallon at a time until I got to this position.
Here is what I found, with only one gallon in the tank the Rover won't start, meaning I really can't use that last gallon because it is spread so thinly across the bottom of the tank that the pump has trouble picking it up. I also found out that when the needle is in this position I have right around 4 gallons of fuel left, but with that last gallon not being able to be used...I really only have three that can be used. I get around 13.5 mpg most of the time (sometimes better, but I will go with the low number to be safe) so that gives me 40.5 miles until the Rover will stop.
The LRFT is a 32 gallon tank, which means from this position on the fuel gauge I should be putting in another 28 gallons to be completely full. I have only filled the tank fully once so far and it does hold true, 28 gallons from this point is full and then there is a little extra in the fuel filler hose, which gives me a bit over 32 gallons.
All in all, I am very happy with the size and range capabilities (especially when I swap to diesel), I just wish the tank wasn't such a pain to install.
 

Forum statistics

Threads
188,531
Messages
2,906,332
Members
230,547
Latest member
FiscAnd
Top