You are using an out of date browser. It may not display this or other websites correctly.
You should upgrade or use an alternative browser.
You should upgrade or use an alternative browser.
The Rolling Restoration & Customization Of My 88' Range Rover Classic
- Thread starter rrclassicbt550
- Start date
rrclassicbt550
Farmer Jon
Thank you very much for this information!
Clearest version I have seen on how to clean them and the baggie tip is most appreciated.
BR
Your very welcome. I am glad I could help. Thank you for the kind words, I am very happy it came out clear. It is good to know you will put the baggie tip to use. Another bit of advice, make sure you keep the tiny bits either in a tray or at least keep them away from the edge of the table while working. It is really easy to knock something off and very hard to find it again.
rrclassicbt550
Farmer Jon
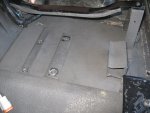
Adding and upgrading the insulation...
A while back a gave a bit of a teaser about neoprene insulation and promised a write up later on. Here is that write up.
Let me start by saying, I absolutely love the LizardSkin Ceramic Insulation & LizardSkin Sound Deadening I put in (Post #106). As with anything though, after a little while I think we all get used to the benefits of the things we install. Well, I got used to the level of quiet inside my Rover and now want it to be even quieter.
The LizardSkin has performed above and beyond even my highest hopes; however, the carpet padding I installed, it does preform beautifully at being carpet padding, it is soft and feels very nice but at the end of the day it is still just carpet padding and is not so great at sound insulation. Given the fact that it is a top of the line memory foam, antibacterial, and mildew/mold resistant carpet padding; I didn't think I would find anything better in that area.
So, I began researching for a product that was very soft, fire resistant, mold resistant, germ resistant, very flexible, lightweight, resilient, inexpensive, and not only extremely effective at sound deadening but also extremely effective at heat insulation.
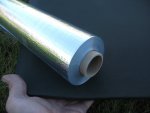
In my research, I came across this build Project Dino Evo. He used 1/2" thick high quality neoprene. Neoprene fit my specifications perfectly. I bought two sheets immediately. I should have bought 4 sheets to do my whole interior though, because as it stands now, I have done a bit over half of the interior (I will have the other two sheets on their way soon enough).
Those paying close attention will notice that he also laid down a vapor barrier underneath the neoprene. I hadn't thought about this, but it really got me thinking. I did quite a bit more research and found Radiant Barrier made by EcoFoil. I was less worried about moisture given the fact that both the LizardSkin and the Neoprene are waterproof so I purchased the perforated version, but if I had it to do over again I would have purchased the Solid or Non-Perforated Radiant Barrier. By the time everything is all glued up the perforations are pretty much not functional anyway in a vehicular application so the Solid would be a better way to go. The Solid Radiant Barrier reflects 96% of the heat back and away, while being a vapor barrier at the same time. The perforated is the same in every way, EXCEPT it lets condensation/moisture pass through so the moisture content on both sides is the same.
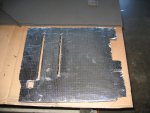
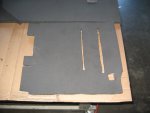
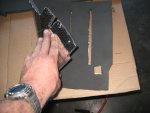
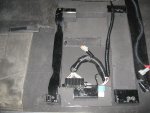
Anyway, I bought both the Neoprene and the Radiant Barrier, glued them together and then either placed them over the top of...or glued them to..the LizardSkin. All I have to say is, WOW what a difference! I still have some more insulating to do, but the difference is night and day! Plus the Neoprene and Radiant Barrier are both fairly inexpensive, very flexible, extremely effective, and very light in weight. To do the entire interior is probably around $300 and it all weighs about 10lbs (probably even less than that).
All in all I am very happy with how the new insulation is doing and would highly recommend trying this.
If you have any questions, feel free to ask.
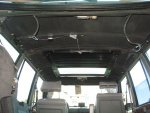
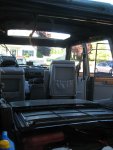
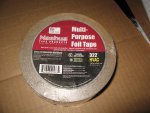
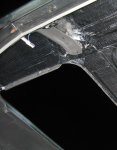
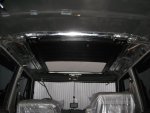
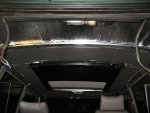
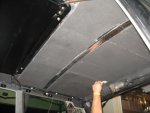
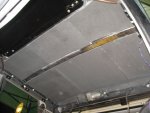
Here are the install pictures:


rrclassicbt550
Farmer Jon
rrclassicbt550
Farmer Jon
Status Update...
Hello again everyone,
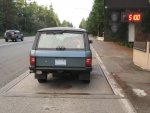
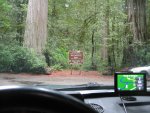
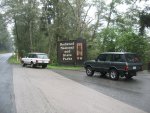
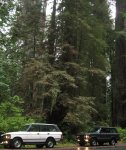
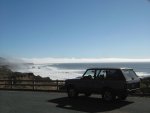
I am back down in Southern California for two months, this time I finally got my Rover ready and dove it down. I took the 101 and then the 1 all the way from Lincoln City, OR to just outside of Los Angeles. There was a bit of a change in plans when my brother offered to take his Rover and go along with me as far as Eureka, CA and then turn around. It wasn't overlanding trip but it was definitely a great road trip!
Here are some pictures of the trip...
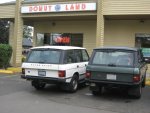
1st stop, priorities...
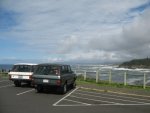




All loaded with gear for this particular trip the Rover came in at 5100lbs.
Hello again everyone,
I am back down in Southern California for two months, this time I finally got my Rover ready and dove it down. I took the 101 and then the 1 all the way from Lincoln City, OR to just outside of Los Angeles. There was a bit of a change in plans when my brother offered to take his Rover and go along with me as far as Eureka, CA and then turn around. It wasn't overlanding trip but it was definitely a great road trip!
Here are some pictures of the trip...

1st stop, priorities...


All loaded with gear for this particular trip the Rover came in at 5100lbs.


rrclassicbt550
Farmer Jon
More trip pictures...
I did some more modifications before I left but I will have to post those write ups in the next couple of days because my laptop battery is about to die and I need some sleep. I hope some more trip pictures will suffice for now.
I hope you all have a good one! Thanks for hanging in there and looking at my build!
Jon
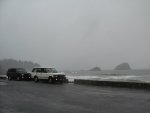
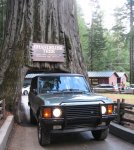
It did fit...barely.



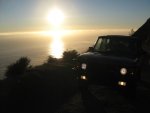

And back to "civilization" (just outside L.A. at 8PM)
I did some more modifications before I left but I will have to post those write ups in the next couple of days because my laptop battery is about to die and I need some sleep. I hope some more trip pictures will suffice for now.
I hope you all have a good one! Thanks for hanging in there and looking at my build!
Jon


It did fit...barely.


And back to "civilization" (just outside L.A. at 8PM)
rrclassicbt550
Farmer Jon
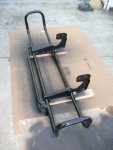
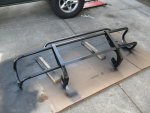
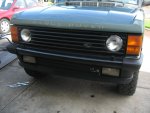
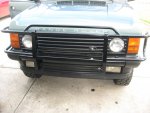
Brush bar clean up and paint
When I bought my Rover, it had a brush bar and the light protection grilles on the headlights and brake lights. They were all rusted and the black paint was faded and peeling off. So I took them off immediately with the intention of installing a different set up later on.
While planning for this trip, I was a bit worried about a potential animal strike, because of the places and the roads being traveled on. Since I have yet to make a definite decision on whether I am going to buy (then modify) or just make a front bumper from scratch, I decided in the mean time to just clean up, paint, and remount the brush bar that was originally installed.
This turned out to be a good decision because seeing cows right next with to the roadway with no fencing between me and them was a fairly common thing on HWY 1; all it would have taken was one cow to decide the grass is greener on the other side and I would not have been driving the Rover back home. We shall see how the rest of my travels go on this trip. Hopefully the Rover comes home just as straight and undamaged as when it left.
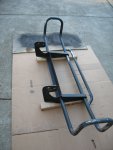
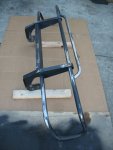
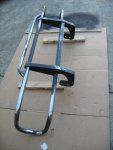
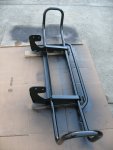


rrclassicbt550
Farmer Jon
Quick construction of a storage unit
I knew I was going to be taking a fair bit of gear on this trip because the range of activities as well as the temperature range will be from 100 degrees down into the 30's (maybe lower). So to keep everything from being jam-packed and disorganized, I decided to whip up a quick storage unit. I got two 4x8 sheets of some 3/4" Mahogany plywood off of the discount pile $45 at my favorite lumberyard and got my Kreg jig out for a bit of light construction.
I needed to store a bunch of tools, including a MIG welder I was delivering to my girlfriends parents, my more expensive camping gear, and some electronics from prying eyes when I had to leave my vehicle unattended. So the unit had to have a nice wide and deep cubby hole to put that stuff in.
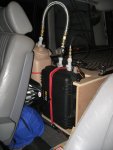
I also finished my water system..as far as it being functional...I just haven't figured out how I am going to mount it in the rear cargo area just yet, but not having the mounting figured out ended up working out in my favor this time because not having in the vehicle yet meant I could mount it in the front of the storage unit for the time being.
I also had some aircraft cargo track I am going to use for the drawer system but could temporarily use for this project to help keep the stuff on top in place.
This all took me about three hours to put together from start to finish. All in all it has been pretty handy for this trip.
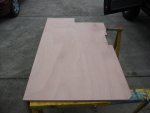
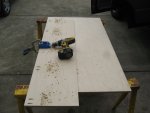
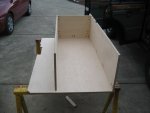
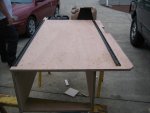
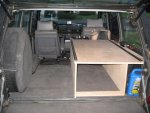
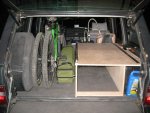
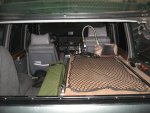
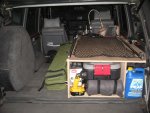


Last edited:
rrclassicbt550
Farmer Jon
Water System....Finally
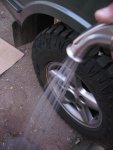
So...the long awaited water system. Well, it still has some minor annoyances that I would like to sort out. Example: I am looking for a shorter hose to go between the jerry can and the water system, it is just a bit too long, I would like something about half that length. There wasn't enough time to finish the Jerry can holder so it is in a rough finished form right now and jerry can hold down hasn't been addressed yet, I just put a bungee cord around it as a temporary solution. In the future i will be using a tie down vertically instead of the bungee. The other annoyance is that it tastes like rubber if water is left in the line over night. Every fitting and piece I used is food grade, which is important because it "should not" leach anything into the water. HOWEVER, something seems to be leaving a rubberish taste behind. I am not sure what exactly it is. If I run it for a bit it tastes fine, but the first litre or two tastes like I am licking a bicycle tire inner-tube and it only happens when left overnight. I have run about 7 gallons through it now and the only things I can think it might be is the sprayer hose or maybe the plunger in the pump or accumulator. There are two vinyl lines supplied by Shurflo that are hooked up to the pump and there is a regular kitchen sprayer handle attached on the outgoing side of the Peli case. My suspicion is that it is the sprayer line that is leaving the rubber taste. If any of you have any advice I would greatly appreciate it.
I used a PEX tubing, PEX fittings, a "Purest One" water filter, a 1 gpm Shurflo water pump, and an accumulator. All of it did fit in the Pelican case but I have got to say, it took A LOT of tweaking and head scratching to get it all to fit and still function properly.
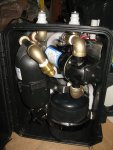
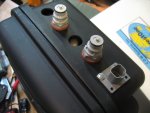
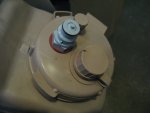
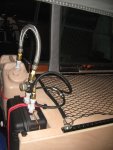


Last edited:
LuckyHenriksen
New member
This has been a great thread to read through, thanks so much for taking the time to document all of your projects in detail. This is going to be very handy for me as I undertake some similar projects with my RRC
rrclassicbt550
Farmer Jon
This has been a great thread to read through, thanks so much for taking the time to document all of your projects in detail. This is going to be very handy for me as I undertake some similar projects with my RRC
LuckyHenriksen,
Welcome to Expedition Portal, I am glad you find this thread helpful and I really appreciate the feedback. Mind if I ask what mods you are going to do to your Rover?
rrclassicbt550
Farmer Jon
Update on the rubber taste in the water system
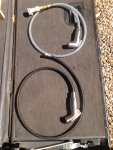
So...the rubber taste in the water from the water system. Well, it seems to have come from the sprayer hose. I think there is a rubber hose inside the black braided nylon webbing of the original sprayer hose. The new line I think is vinyl with nylon reinforcement which is very similar to the larger 1/2" lines supplied by Shurflo. After installing the new line and new sprayer, I left it in the heat of the day for about 5 hours and the water tasted good. I then left it overnight and again the water tasted clean and wonderful. Time will tell but it seems to be fixed and I couldn't be happier!
So...the rubber taste in the water from the water system. Well, it seems to have come from the sprayer hose. I think there is a rubber hose inside the black braided nylon webbing of the original sprayer hose. The new line I think is vinyl with nylon reinforcement which is very similar to the larger 1/2" lines supplied by Shurflo. After installing the new line and new sprayer, I left it in the heat of the day for about 5 hours and the water tasted good. I then left it overnight and again the water tasted clean and wonderful. Time will tell but it seems to be fixed and I couldn't be happier!

LuckyHenriksen
New member
LuckyHenriksen,
Welcome to Expedition Portal, I am glad you find this thread helpful and I really appreciate the feedback. Mind if I ask what mods you are going to do to your Rover?
Thanks for the welcome. As far as my Rover goes, I want to totally rebuild the brake system (including parking brake), along with the steering components and bushings. I just want this truck to feel solid on the road. I also need to do some rust repair in the front footwells, along with a few layers of insulation like you did.
The biggest project will be the diesel conversion I am planning in my head haha. The whole reason I bought the Rover last year (other than for its good looks and capabilities) was to convert it to diesel. After reading tons of info on TDI, Isuzu, etc engines, I have come to the conclusion the the most cost effective option is the GM 6.2. I scour CL daily for old CUCV's with the mil spec diesel to use as a parts truck. At this time I would most likely swap to an LT230 case. And of course I would really like some nice bumpers and a roof rack, if money allows
Diesel Conversion
Hey Jon and guys,
I too bought mine with intention of diesel conversion. Having had a Merc OM617 based diesel car I thought that would be a great candidate, but there are some issues with it fitting. I also have an OM606 based Merc which is an awesome diesel engine, but haven't seen much about that and it's rather limited in availability. So unfortunately those aren't looking too good at the moment.
Which brings me to the 6.2l diesel that you bought and have been successfully put into Range Rovers (like RedRover).
Jon when do you think you'll be tackling the installation of the 6.2l you bought? I'm especially curious what/if you're thinking about a turbo, and the big one is A/C is a must.
I'll be putting in an entry at some point will all the stuff I've done to my '93 RRC LWB, some of which are the same areas that you have tackled although my capabilities are more of the "bolt-on" variety than doing any fabrication. Nonetheless I've learned a few details on how to do things that don't seem to be mentioned much that at least I found I had no answers to until I dug into things myself.
Thanks a ton for all your posts, learned a lot of stuff - you're leading the charge!
-Ken
Similar threads
- Replies
- 4
- Views
- 699
- Replies
- 4
- Views
- 2K
- Replies
- 2
- Views
- 1K
- Replies
- 0
- Views
- 181

