UAV-TD (Urban Assualt Vehicle - tear drop) build

silvrzuki77

explorer
D91809AB-AEC9-4153-BA78-8B69C803184D-6223-000003772CB18E87_zpscf256a53.jpg

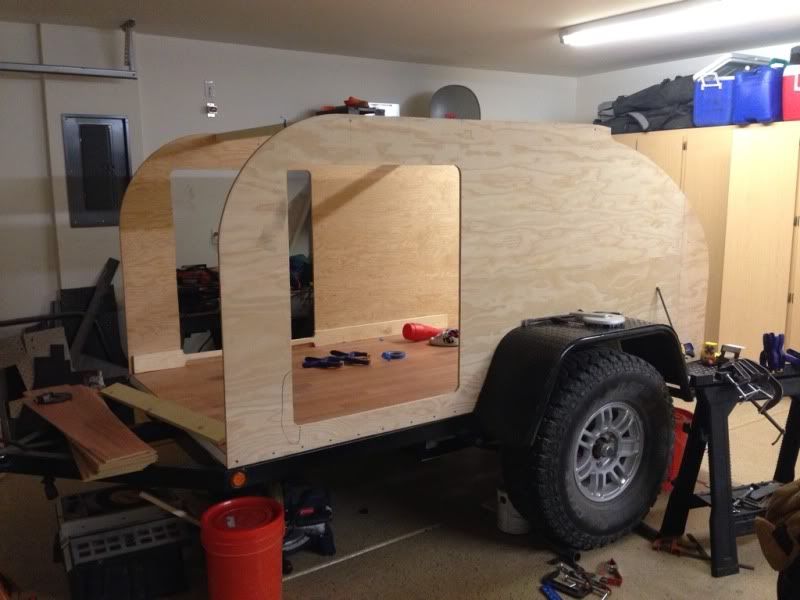
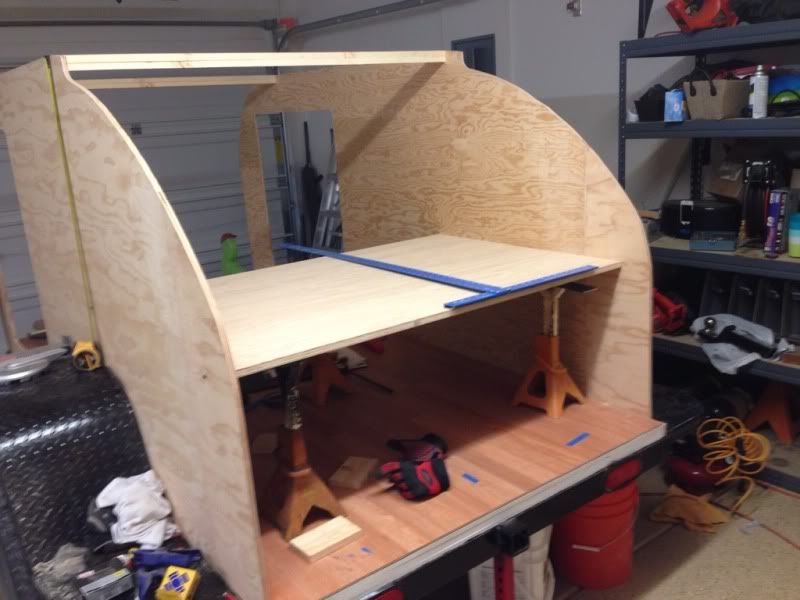
There we go! Started planning with the framing around the door for the inside to seal and started at 1/4" not enough, specially since most door seals are 3/8th lol soo ill try again tomorrow. Hopefully I will be able to pick up my wood also.
 
Last edited:

silvrzuki77

explorer
Decided to go with red oak it matches my flooring better and it wasnt trwally that heavy compared to the other choices. Im going to do a real light stain later on. I got the ruff stuff cut that really wont be seen.
4BE6CE33-B03F-4A9E-882B-32B606FB0DC0-6223-000003D801104F98_zps43da9061.jpg

Added in the center brace which is offset a little to the driver side.
C48C845C-95EF-4C82-B2EE-042FC8012F07-6223-000003D80358663E_zps98402605.jpg

Soo i should have drawers around 20-22" wide. On the passenger side I have room for my fridge and then my ammo can swamp cooler im going to build! Behind the drawers will be the water pump.
 

CCFD170

Adventurer
How are you going to do the wall insulation? No need for insulation in the galley walls I'm assuming?
 

silvrzuki77

explorer
I am going to frame the walls and add insulation. Im goin to insulate the hatch. I dont want to leave it open incase a mouse wants to come in and live in it. (Hehe richie). My little helper looks like wheres waldo in that pic lol
 

jim65wagon

Well-known member
I think that's real close to what I paid. I used 062 on my side walls and roof and 040 on the curves, I liked the way the 040 looked 062 didn't want to conform as well as I had hoped.

We used the .040 on the walls, roof and hatch. Conformed wonderfully to the curves of the roof and hatch.

The teardrop is looking good there silvr. You'll be camping in no time!
 

silvrzuki77

explorer
Well got the main galley area finished. Ill need to buy another sheet of oak:( 
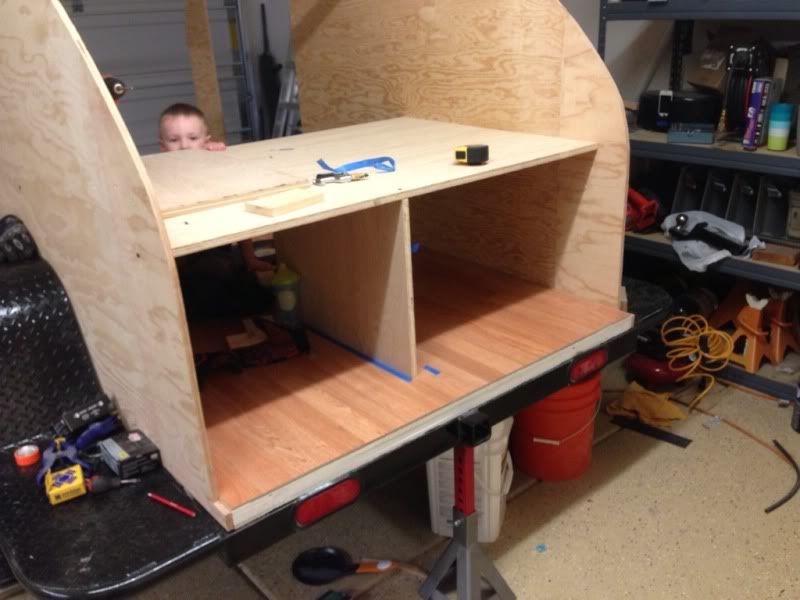
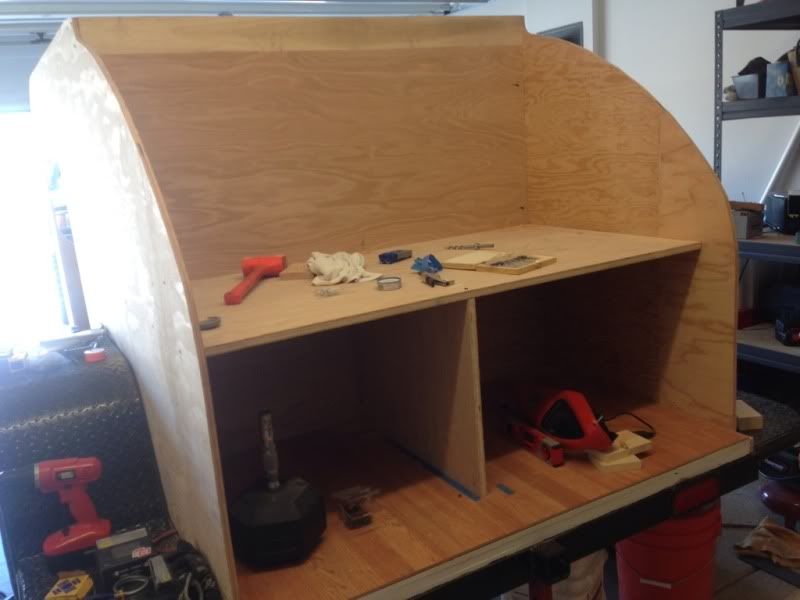
being 52" wide sucks for all the wide cabinets.
4B72A21A-6370-420B-ABAA-7EA7EF1098EC-8752-000004E4B388C7F1_zpsdb836a31.jpg

Everything is pocket hole drilled where you wont be able to see them.
177FB11C-5114-4DC4-A044-C6D5FA314AAF-8752-000004E4B5E35AF4_zps279fef52.jpg

Also built and installed my poplar hatch spar. Need to start runnin my water lines behind the cabinets to figure out how deep to make the drawers.
 

silvrzuki77

explorer
Not much progress lately work has been busy. Trying to get the wall framing in around the door with 3/8th edge for a seal. Hopefully sunday I will get some work done.
I will have a build up on the ammo can swamp cooler once i collect the parts.
 

rocrunr

Adventurer
Would like to see the detail of how you finish the door opening.We see alot of rain so getting a good seal on the door and hatch is a challenge.Nothing worse than being wet.lol
 

silvrzuki77

explorer
Lol we have the exactly opposite problem here in vegas lol. Ill post some pics soon of the general plan for the door. I am planning on doing a drip rail above the door after i skin it.
 

silvrzuki77

explorer
Well got one door way framed in and half way fijished on the other. I left 3/8th gap from the outer ply soo the door when installed should sit nice against the seal. Also put a few more roof spars in have one more to go. I bought the wall insulation and 3m adhesive for it. Movin along slowly. Also the stock samurai leaf springs arnt going to work i think probally will have to buy some OME or trailgear 3" springs.
69DCDEF8-D75D-4DAB-AA75-796E8185BC71-3152-0000017AC55AAAAF_zps1a5c4726.jpg

A2C95CB6-B146-45A0-9301-DF4D9D24C0F0-3152-0000017AC8F8A929_zpsf845b44c.jpg
 
Last edited:

Forum statistics

Threads
186,793
Messages
2,888,103
Members
227,280
Latest member
Smithmds77
Top