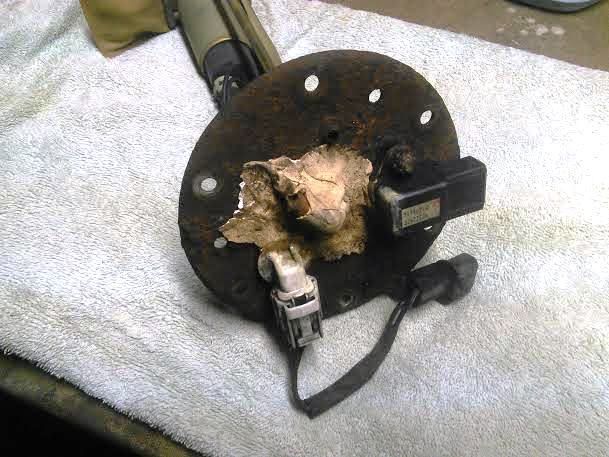
Finally fixed my leaking, rusted fuel pump hanger assembly. The PO had patched the supply elbow with epoxy and it was a leaky mess. The tip of the supply and the entire return elbow snapped clean off when trying to remove the assembly from the tank:
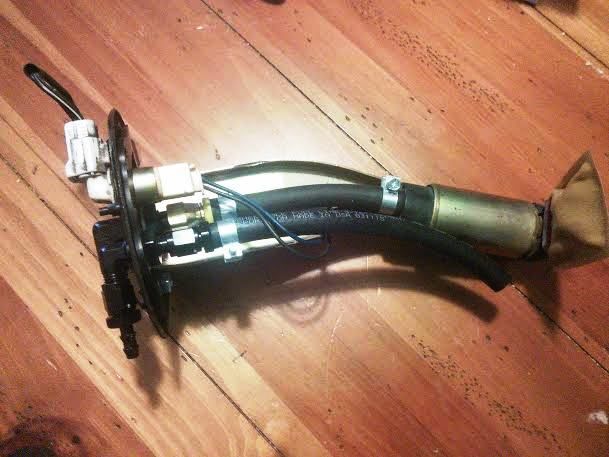
I cleaned up the rust with phosphoric acid, drilled the hanger top for -6AN supply and -4AN return bulkhead fittings and added new submersible in-tank supply and return hoses:
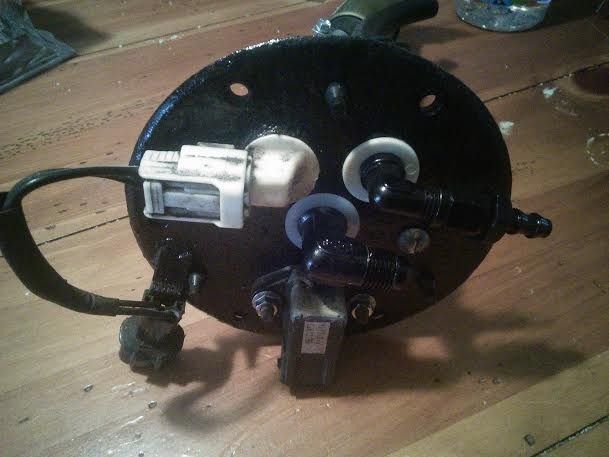
I painted the top with rust-resistant enamel, cleaned and lubed the electrical connectors, added stainless mounting hardware and used pushlock hose barbs for the connections:
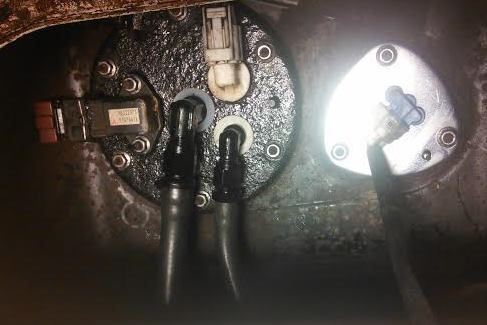
Here it is installed (sorry about the glare from the new gauge sender). Not the prettiest, but better than $600 for a new OEM hanger:
The rubber supply line bypasses the hard line and goes right to the fuel filter. I added a M14x1.5 to -6AN adapter at the filter inlet and used another -6AN pushlock hose barb to connect it. No leaks
")


