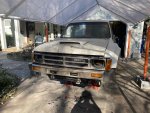
1st Gen 4runner Project: My COVID-19 Build

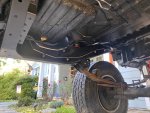
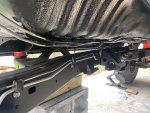
Body mounts: With the new hardlines and fuel harness installed, I replaced the body mounts and put the body back on the frame! Energy suspension’s kit (from Marlin Crawler) recommended using original manufacturers torque values. I couldn’t find the torque specifications in my factory manual or online. I went with 25 ftf lb. as that seems to be the point the washers that sandwich the bushings make contact with the bolt sleeve that is inside the bushings.
IMG_3029.jpgIMG_3050.jpg

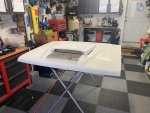
Hood: With a 5VZ swap, you can either run a body lift or cut the hood and add a hood scoop. I am not a fan of body lifts, so cutting the hood it is. I ordered a hood scoop from toyotafiberglass.com. It’s nice, but pricey for something that didn’t come with instructions or a template given that’s its designed for this vehicle. Not sure where the hood will need to be cut for the 5VZ so I looked at swaps online and made educated guesses by generously marking the hood with sharpies for both a supercharger and naturally aspirated 5VZ. Haven’t cut the hood yet, but I mounted the scoop using the 4 studs and nuts it came with. I’d like to make a grill for the scoop to help keep debris out of the engine bay. I’ll fiberglass the scoop onto the hood permanently once I make a grill and cut the hood for the engine.
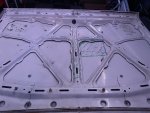
IMG_3071.jpgIMG_3061.jpg

Next: I scored another gear driven (R1FA) transfer case! I guess I am doing dual transfer cases now.
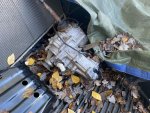
IMG_3047.jpg

I am nearly done installing the “new” front clip. I will wrap that up and start fitting the new fiberglass fenders tomorrow. Paint will follow but I still need to pick a color and more importantly learn how to paint a vehicle. Woohoo!
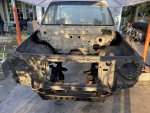
IMG_3074.jpgIMG_3078.jpg
 

toastyjosh

Adventurer
Saw this the other day, pretty cool!


Summit Cruisers Jr

Well-known member
Awesome progress! You may want to get the doors and more of the front end and hood on before fitting the glass if you haven’t already. I used those parts to like up the fenders as they aren’t exactly OEM quality/fit and take a little massaging to fit right
 
Thanks for sharing @toastyjosh ! I went with TC as well. Won’t be running secondary shocks (yet). I ordered King shocks from Ben at Filthy Motorsports based off @Summit Cruisers Jr recommendation, so those should be here in the next few weeks.

Thanks @Summit Cruisers Jr ! I welded in the clip then mounted the doors, hood and cowl before fitting the fenders. I almost have the fenders to the point I am happy enough with the fitment and can move on (next is sanding and primer!) How did you mount the corner lights? I drilled the brackets off the original fenders and am thinking I’ll fiberglass the brackets to the to the fenders. Should finish the fenders tomorrow.
 
Last edited:
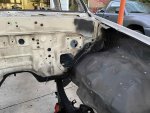
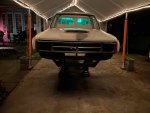
Front clip: I finished installing the front clip. I took my time to make sure it was square and lined up like it came from the factory. Once it was welded to the body, I used an aggressive amount of sealant on the edges.IMG_3195 (1).jpeg

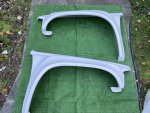
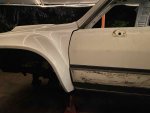
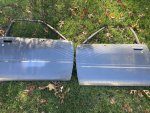
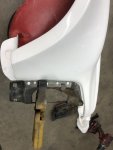
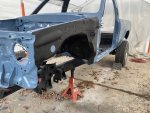
Front fenders: I reinstalled the hood, doors, cowl and grill before fitting the fenders. The new fenders didn’t come corner light mounts, so I used the brackets from the old fenders by drilling out the spot welds. My driver bracket was damaged from the previous owner. I found a deal on a fender (replacement bracket) and 4Runner doors that I can make into a half doors. I clamped the fenders to the body and played with fender placement before sanding or drilling them. I also reused the front bumper/fender bracket after cutting them and drilling a new hole in the body. For the lower mounting points by the doors, I used some longer bolts and ½” spacers.

IMG_3088.jpeg
IMG_3132.jpeg
IMG_3133.jpeg
IMG_3180.jpegIMG_3185.jpegIMG_3194.jpeg

Paint: I started sanding today! I’ve never painted a vehicle but have a good idea of what I am supposed to do after some research online. Excited to get this painted, wooo!

With black Friday and cyber Monday near, I am keeping my eyes open for deals on rims, tires, gears and selectable lockers. Getting the 4Runner off jack stands and on its own weight again is the next priority. This means regearing the diffs and getting the front-end back together. I’d like to regear the diffs and install the lockers myself. Not sure exactly what is involved yet, but if its more than I bargain for I have Iron Pig Off-road nearby.
 

Summit Cruisers Jr

Well-known member
Thanks @Summit Cruisers Jr ! I welded in the clip then mounted the doors, hood and cowl before fitting the fenders. I almost have the fenders to the point I am happy enough with the fitment and can move on (next is sanding and primer!) How did you mount the corner lights? I drilled the brackets off the original fenders and am thinking I’ll fiberglass the brackets to the to the fenders. Should finish the fenders tomorrow.

Yeah exactly. I drilled the spot welds on the corner light bracket and then used some ultra low profile stainless Allen head bolts that I may have even shaved down a smidge with washers and nyloc nuts.

Here’s the only pic I could find of how I set it up.
9D9F1E93-E379-495F-9B83-AB835B07200D.jpeg
 
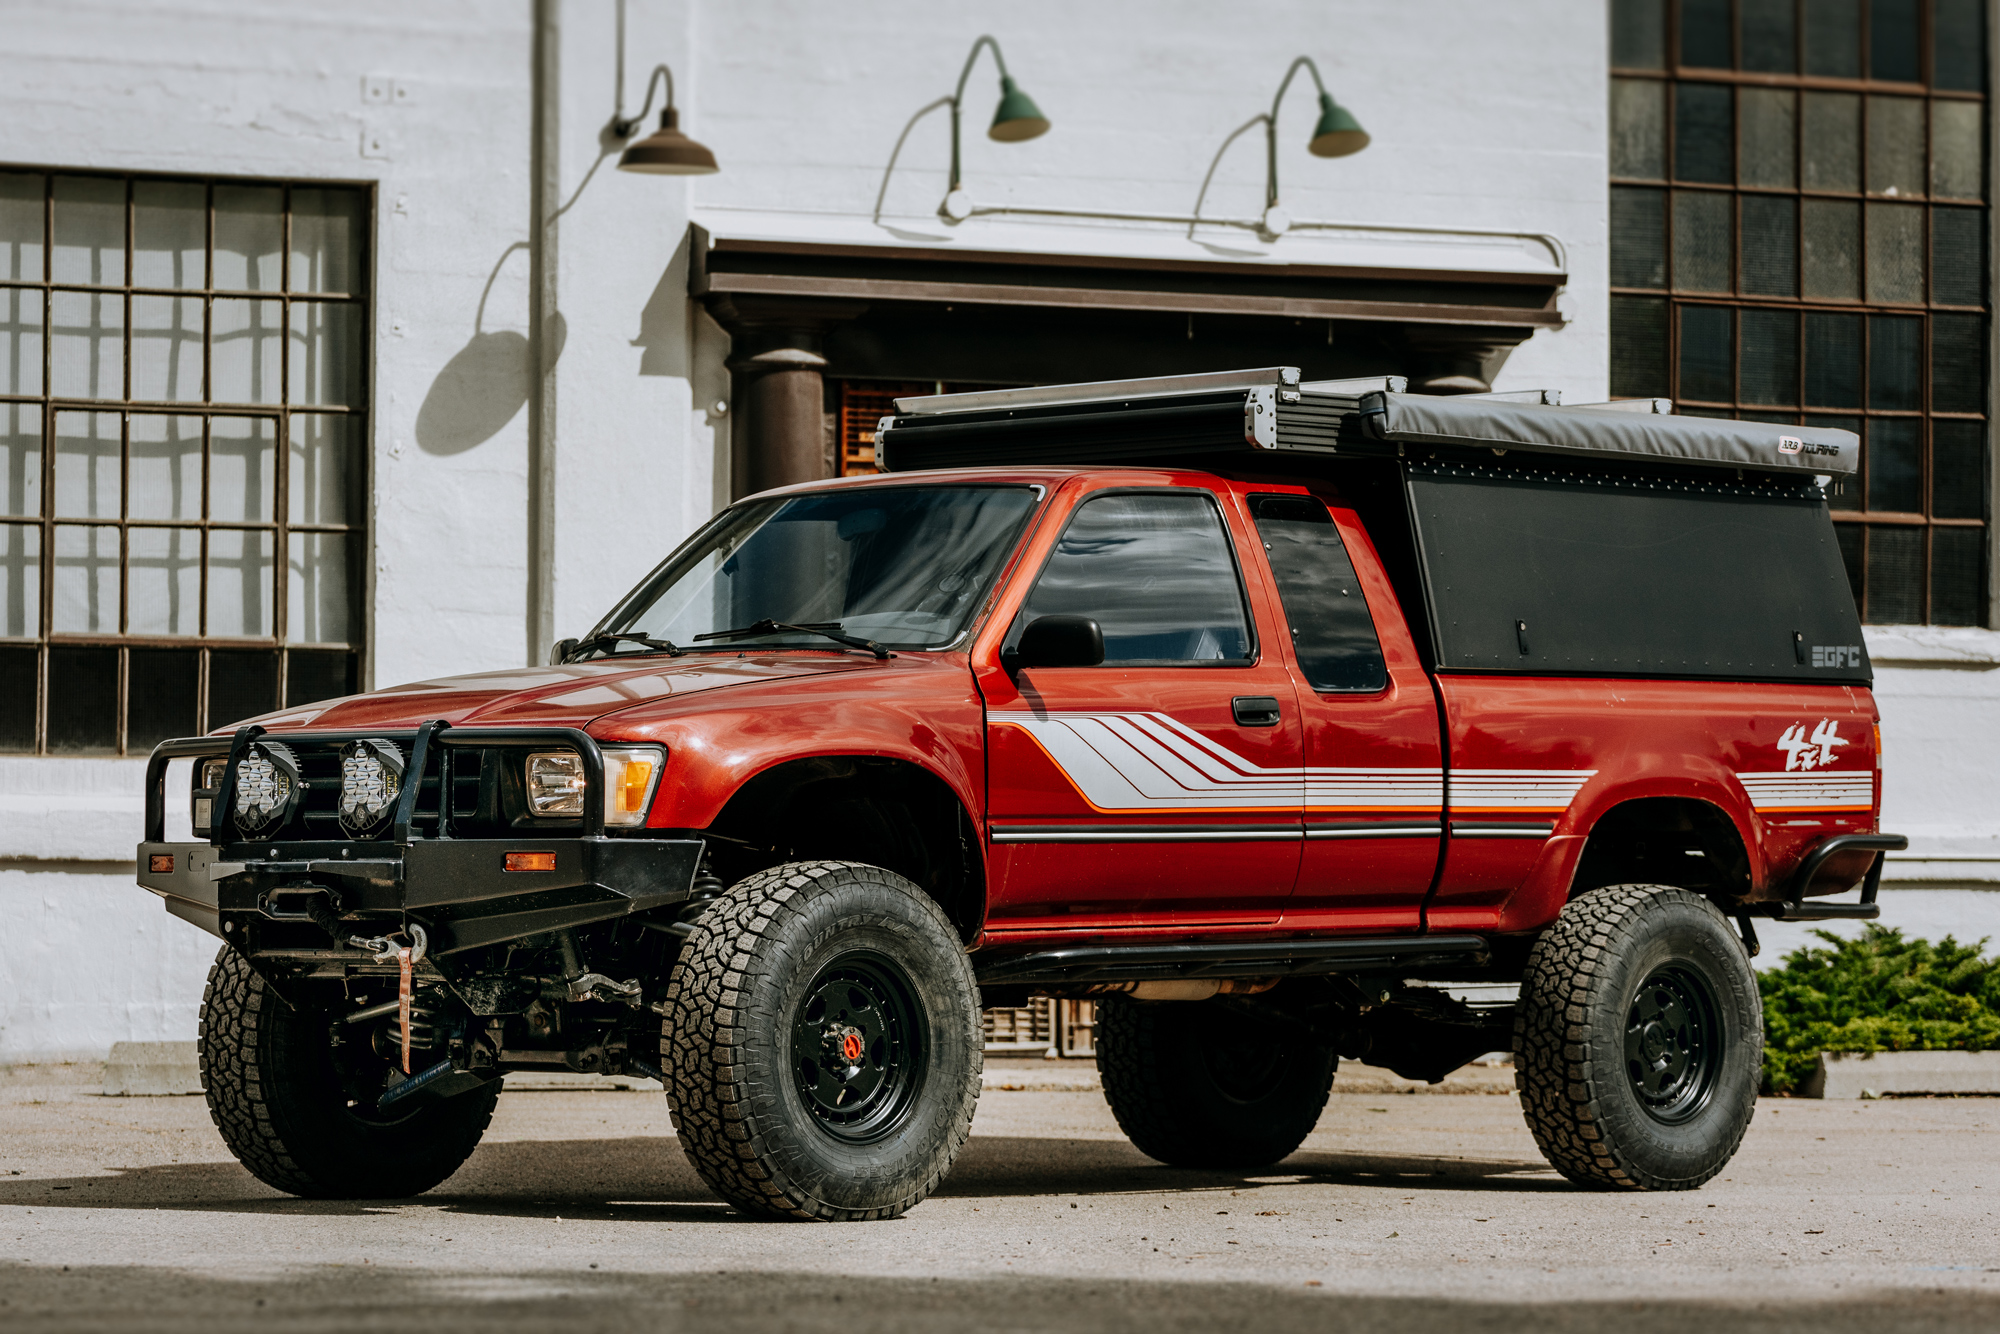
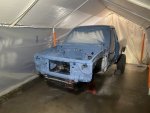
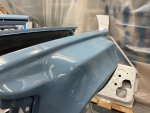
4Runner is painted! It is now Toyota’s “Heritage Blue” (8X0) from the ‘13/’14 FJ Cruiser. It is not perfect but I’m happy with it. I’d say I did a good job; you can certainly find imperfections if you look for them.

IMG_3459 (1).jpeg

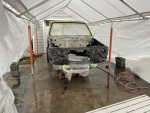
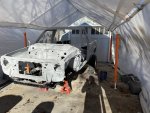
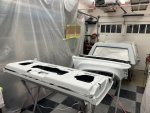
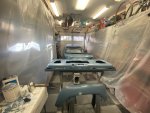
Paint: I initially considered having the vehicle painted professionally, but I decided to do it myself. Having someone else paint it felt like it would take away from the spirt of the project. I wanted to rent a paint booth but couldn’t find one available locally. On Thanksgiving weekend, I taped some clear tarps to the side of the carport canopy and primed, painted and clear coated the body. I did the hardtop, doors, tailgate, flares, and fenders in the garage in several stages. It was annoying to paint everything in stages, constantly shuffling things around.

IMG_3218.jpeg62837045125__98A3AC94-473D-449E-8CDE-56F0A8FD7AD1.jpeg
IMG_3250.jpegIMG_3253.jpegIMG_3304.jpegIMG_3315.jpeg

There is still plenty to do before I can cross bodywork off. Trim needs to be painted black, the clear coat should be wet sanded then buffed and some kind of paint protection applied. Ceramic coatings? I also need to cut, repair, fiberglass the hood scoop and paint the hood.
 
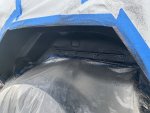
Wheel wells: Before I disassembled my tarp fort, I sprayed the rear wheel wells and the front inner fender wheel wells with bedliner. I used Upol’s tintable Raptor Liner and tinted it black. I followed the directions and did two coats after masking my fresh paint. Once that dried enough, I sprayed the remaining rubberized undercoating I had left over from working on the underside of the body.

IMG_3365.jpegIMG_3376.jpeg

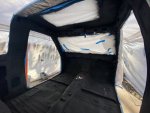
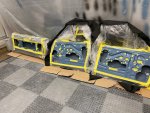
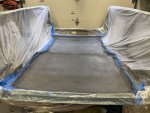
Insulation: I masked off the new paint again and any threaded mounting points. I used Lizard Skin sound and heat insulation just as I did for the underside of the transmission tunnel. I also insulated the inside of the tailgate and doors once I finished painting them.

IMG_3346.jpegIMG_3418.jpeg

Hardtop: I decided to insulate the hardtop too since I had plenty of insulation remaining. I considered spraying insulation everywhere but thought the texture would attract dirt and dust in its low spots. I chose to only insulate underneath the headliner. Unfortunately, this meant removing the headliner. There was no way it would be saved in its removal, but I was able to save the vinyl cloth as a template to make a new headliner.

IMG_3474.jpeg

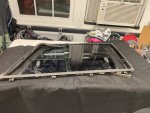
I also disassembled the sliding windows with the help of the repair manual. Going to remove rust then paint the frame and outside trim.

IMG_3488.jpegIMG_3490.jpeg

I ordered some cans of SEM 17223 “Very Dark Pewter” vinyl spray paint to refresh the interior of the hardtop. Supposedly it is very close to the original grey interior and I plan to use it for all the interior plastic trim.

Weatherstripping: I ordered new weatherstripping gaskets and window runs when I could. I gave a good cleaning to the rubber I was able to save by washing the dirt off with water and dish soap, soaking the rubber in warm water, drying them, then applying “Gummi Pflege Stift” to the weatherstripping and wiping the inside of window runs using a cloth sprayed with silicon grease. Not sure any of this is going to help functionally, but it did soften the rubber.

IMG_3498.jpeg

The only weather stripping I was unable to reuse or replace with OEM was the front door weatherstripping attached to the body for the front doors and front hardtop gasket that attaches to the body at the b-pillar arch. I purchased some generic gasket off Amazon but I am unsure it will be effective.

IMG_3492.jpeg

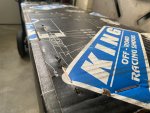
Next steps: My goal is the get the vehicle water/weatherproof, then off its jack stands and able to roll on its own wheels. First getting all the door hardware, windows, etc cleaned up and reinstalled. I ordered a black oxide kit to coat the hardware before reinstalling. That kit should be here next week so I aiming to wrap up painting the trim and window frames. Today I finally received my shocks! Woohoo! The packaging is rad.

IMG_3495.jpeg

Still need to find rear leaf springs, perches, shackles and hardware. I really want to get this vehicle as a roller ASAP so I can move it and get the Tundra out of the driveway. Hopefully I can sell the Tundra as a whole, but I suspect I’ll end up parting it out. Moving the Tundra and having the 4Runner rolling will feel like a huge accomplishment.
 

tennesseewj

Observer
Man when you do a project you really do a freaking project! Nice work, can't wait to see some more shots of the new color.

Sent from my Pixel 4 using Tapatalk
 

smokeysevin

Re-redoing things the third time
If you have not already, consider doing the inside surface of the fiberglass fenders with the bedliner. Supposedly it helps prevent spider cracks from popping up through the paint due to rock impacts on the inside of the fender.

Sean
 

GTI-88

Active member
You are making awesome progress! Seems like you are being very thorough and all the prep and work up front is going to pay off in the long run!
 

moderndaynorseman

Active member
Insulation: I masked off the new paint again and any threaded mounting points. I used Lizard Skin sound and heat insulation just as I did for the underside of the transmission tunnel. I also insulated the inside of the tailgate and doors once I finished painting them.

View attachment 634233View attachment 634234

Hardtop: I decided to insulate the hardtop too since I had plenty of insulation remaining. I considered spraying insulation everywhere but thought the texture would attract dirt and dust in its low spots. I chose to only insulate underneath the headliner. Unfortunately, this meant removing the headliner. There was no way it would be saved in its removal, but I was able to save the vinyl cloth as a template to make a new headliner.

View attachment 634235

I'm very interested to hear what kind of results you get from the Lizard Skin as I'm looking into doing the same on the interior of my vehicle.
 

Summit Cruisers Jr

Well-known member
Awesome! Can’t wait to see it together but I’m sure that’s not just me being impatient haha.

If you have not already, consider doing the inside surface of the fiberglass fenders with the bedliner. Supposedly it helps prevent spider cracks from popping up through the paint due to rock impacts on the inside of the fender.

Sean


Yeah I did this with mine. Kind of a moot point on the front after I made fender liners, but definitely good piece of mind for the Hannemann flares as mine felt much weaker than the ADVs. Then again, the odds of a rock hitting up in one of them is a lot less than in the front. I do get quite a few rocks stuck between the bottom front of the rear flares and body though.
 
Thanks for the positive feedback folks! Overall, I am happy the body work for my first time. There are certainly things I’d do differently and flaws if you look for them. But this is supposed to be a driver, not a show vehicle. Very eager to wrap up the cosmetics and move on to the fun/important stuff that makes this run!

If you have not already, consider doing the inside surface of the fiberglass fenders with the bedliner. Supposedly it helps prevent spider cracks from popping up through the paint due to rock impacts on the inside of the fender.

@smokeysevin Good to know! I plan to spray the underside of the flares and fenders before they get installed, but that’ll probably be after it’s a roller. I’ll also make rubber liners and mud flaps. My Hannemann fiberglass is definitely weaker than the ADV, like @Summit Cruisers Jr

I'm very interested to hear what kind of results you get from the Lizard Skin as I'm looking into doing the same on the interior of my vehicle.

@moderndaynorseman Unfortunately, I don’t have and prior knowledge with the vehicle running and driving to gauge how well the Lizard Skin insulated. However, it is noticeable that it deadens sound of the tub and doors when they get touched.

Awesome! Can’t wait to see it together but I’m sure that’s not just me being impatient haha.

@Summit Cruisers Jr I can wait either! Its tempting to start cutting corners haha
 

Forum statistics

Threads
188,343
Messages
2,905,827
Members
229,959
Latest member
bdpkauai
Top