Slee Slider Steps, and KDSS – Part 2
Slee Slider Steps, and KDSS – Part 2
Driver Step Fitment
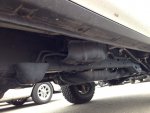
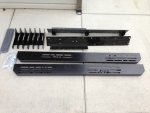
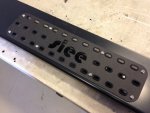
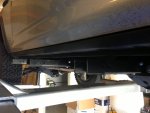
OK, here is where the fun starts. First, moving the KDSS system was not an option. It would be a major project to relocate and plumb this, and I was not comfortable with this at all. After looking at all the options for some time, it was concluded that we should leave the step itself alone at all costs as well. Modifying it would mean plasma cutting the step apart, welding it back together and re-powder coating. No good. So all the modifications would be to the frame bracket and outriggers. All the expected holes for the provided bracket were there, except for the hard tubing lines and manifold for the KDSS being directly in the way of the center and rear outriggers and mounting. We started by cutting the front of the bracket that included the front outrigger mount off. We did so at a spot that retained 4 mounting holes to the frame.
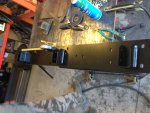
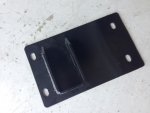
The remainder of the frame bracket was shortened on the front end, and the center outrigger mount was moved back about 2-1/2”. We were able to leave the rear outrigger mount in it’s original location. This adjustment let us clear the hydraulic manifold, but we still had to deal with the hydraulic lines that run parallel to the frame clear back to the rear wheel well.
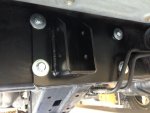
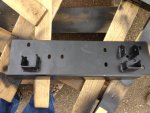
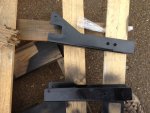
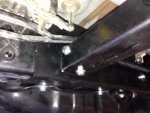

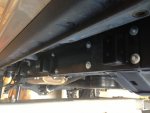
The hydraulic line ran high on the frame in the center section, the lowered on the frame at they made their way back. The front outrigger mount and outrigger were cut to allow the lines to pass above them. The rear outrigger mount and outrigger were notched to accommodate the lines passing through them. Each of the mounts retained 3 of the 5 original mounting locations per mount, 2 vertical and 1 in the bottom. The center outrigger, being shifter back a bit, now has spacers and 8” grade 8 bolts attaching it to the center mounting points inside the step. All the outriggers slide into the back of the step roughly 3”, and are a very tight tolerance. I am comfortable that this will be plenty of support for this vehicle.
Results
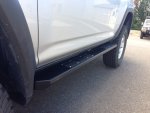
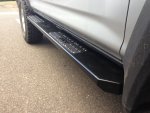
The driver side frame bracket is a long ways from where it started. But with a little modification we were able to retain the front and rear outrigger mounting locations, work around the KDSS and support the center quite well. This modification took a long time to complete, but I am very happy with the outcome. You can see all the parts of the Slee Slider Steps in more detail on the Slee Offroad site here.
http://www.sleeoffroad.com/products/4runner_sliders.htm
Cheers,
