Rear Hatch 1.0
4Runner Rear Hatch 1.0
OEM Slide Removal
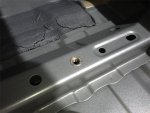
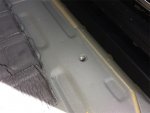
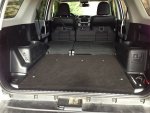
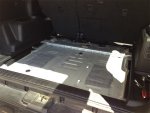
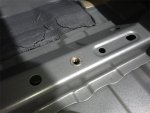
The next project on the 4Runner was the rear hatch area. In my opinion, it needed some work. The Trail Edition comes with a OEM slide out tray in the back. It has a significant load capacity of around 400 lbs, and a 3 position locking pull out capacity: closed, 1', 2'. I would imagine this is quite useful for most owners, and it looks quite nice. But is wasn't what I wanted to have back there. So out it went. When I pulled out the slide, I found that the back area had plenty of options for mounting locations that I could use for my own design. There were several threaded inserts for the OEM stuff, and a few openings that I could use for my own inserts.
 Design Concept
My intent for the 4Runner was much more minimal at this stage than my 100 Series build. In that one, I had 2 huge drawers, a Tembo Tusk Load Spotter drop down slide built into a aluminum/wood enclosure. We had clamshell storage in the side doors that had onboard shower and compressor, as well as a huge bed for our lab Dezi. A full build out, and it performed great! I call this rear hatch 1.0 because I have no doubt that I will be building 2.0 soon enough, but I want to have some time with the truck and understand it's size and capability before I run headlong into a full blown system. So, here is what I wanted to try for a while. I wanted to have a fridge in the back, mounted lower for center of gravity. I wanted storage for my ever present Snow Peak IGT set, and room to carry my extra gear. We are also leaving in the back seat for now. I also wanted the option of sleeping inside the truck if need be, so a low profile build to match the seats folded up was needed.
Construction
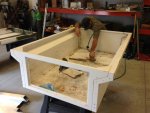
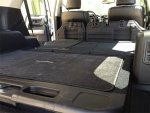
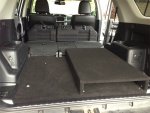
I started the with a term my friend John Lange uses called CAD (cardboard aided design). I templated a base to fit snugly into the rear area, enough to meet the rear seats and rear entry with enough room for a surface treatment of some type. I was amazed at how simple this went together. I was able to use several of the existing mounting points and added a couple nutzerts and spacers to existing holes. No new holes were needed for mounting of this system at all. On top of the main panel we designed a small shelf on the right hand side of the area to store 3 sections of a Snow Peak IGT system. The main Iron Grill Table 3 unit piece, the IGT table extension, and a IGT corner piece. These 3 sections were the same kitchen I took with me to Central America, and are the basis of our camp kitchen. They are excellent kit, except for storing them. This solution works well for us. I covered the base and shelf with custom ordered automotive carpet in black, sourced locally. It will hold up much better than the speaker felt that we used in the 100 Series, and matches the material used on the floors up front. Attached to the far right side of the shelf is our Halon fire extinguisher for easy access.

 Fridge Slide
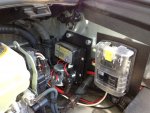
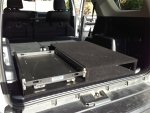
On the left hand side we sourced a Tembo Tusk standard fridge slide with cutting board. It has a 100% pull out, uses bombproof Accuglide slides and the cutting board pullout is infinitely useful. I designed the Snow Peak shelf to be the same height as the slide. The fridge of choice is the National Luna Weekender 50L Split in Stainless Steel. In my opinion, it is the best fridge they offer. World class quality and construction, incredibly efficient, very quiet, and dual zone. A 40L fridge area and a 10L freezer area. Perfect for 2 people on a round the world adventure. Someday. The stainless exterior not only looks great, it will withstand just about any punishment you can throw at it. I had one of these in the 100 Series for years, and knew I would have one here without a doubt. I installed a dedicated electrical circuit to the driver's rear wheel panel. It runs from the Blue Sea fuse block under the hood, through the firewall and back through the door chases to the rear panel. There is a Hella style socket for the fridge and a secondary cigar lighter style socket for accessories. These are live full time. There is also room in front of the slide for my tool box, giving me quick access to my tools from the driver's rear door.
End Result
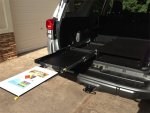
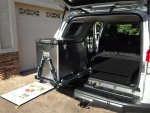
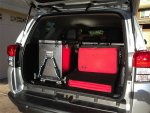
The end result is a minimalistic rear hatch build that gives us a very clean design, and will last for a long time. Longer than I am sure I will leave it alone. It is a starting point, and with time I am sure we will think of a 2.0 version right for this vehicle. We've had this design in place for a while now and it is working out great so far.
Cheers,
