ARB Front Bumper
ARB Front Bumper
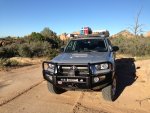
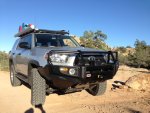
I have been debating what front bumper to put on the 4Runner since the day I bought it. Actually, since before I bought it. I really like ARB bumpers, but I was also considering Shrokworks and a couple others. Several folks have commented here on each design, pros and cons. I was on the fence. Well, I got pushed off the fence. An opportunity for an ARB bumper presented itself, and I took it. I was still a little apprehensive about how it would end up, but once it was on, all my concerns faded. Here's what is involved.
A little bit of cutting
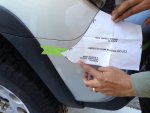
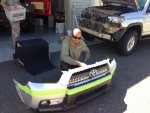
The instruction set for this bumper is 22 pages long, with 3 action items per page, and several activities per action item. Literally half of the instructions involve what and how to remove stuff from the front end of the truck. You remove the everything in front of and below the headlights. The next step is to inscribe a line from wheel well to wheel well, 25mm below the body panel edge on the side of the truck. The ARB template included for the cross panel cut on the sides of the bumper has no place in reality, so after a couple external consultations we made an educated guess on this one. We then removed the entire front end of the truck. Carlo from AT was tasked with cutting the bumper in half with a jig saw and cleaning up the edges. I continued with the dismantling of the front end.
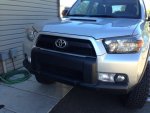
 Bumper install
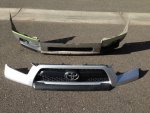
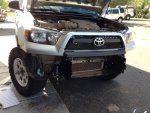
ARB does a pretty good job with their installation instructions. Everything went together as notes. We reinstalled the top half of the OEM bumper, and then installed the mounting brackets and crumple zone brackets to the frame. Next was the bumper itself. 2 guys stabilizing the bumper, 2 floor jacks lifting it in place, and 1 guy (me) under the bumper attaching the hardware. The goal is to leave a parallel gap on the side of the bumper 3/4" to 1" wide along the side body panel. The bumper has plenty of adjustment in it, and moving the bumper all the way up and out was the answer for a good fit. A few holes drilled for pinning the bumper in place and it was ready.
 Electrical
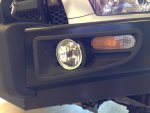
The ARB bumpers come with a plastic light bracket that works universally across their bumper line. It holds an indicator light and has a spot for an optional fog light set. The OEM bumper had amber driving lights and fog lights incorporated into the lower half of the bumper. I wired the ARB indicator light to the Toyota driving light circuit. This will most closely resemble the original lighting and the turn signal in the headlight assembly is sufficient for that task. I wired the OEM fog light circuit to the fog lamps, and made it all water tight with heat shrink tubing. No interior electrical modification was necessary.
 Winch
Winch
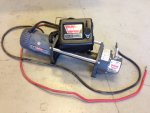
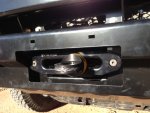
Which winch do I choose? It has been some time since I chose a winch. The last one was for my 100 Series some years ago. It was a heavy truck, getting heavier by the day. So I chose a Warn M12000, and it worked flawlessly. My FJ40 has a 30+ year old 8274 that has worked flawlessly as well. I looked at the Viking winch too. Thor makes a terrific product. But I chose to go with a Warn 9.5-XP. I looked at the Zeon models too. But the 9.5 is lighter and has a faster line speed. The controls would mount up easily in this bumper as well. A friend was letting a lightly used one go, so I picked that up and added a Viking 80' synthetic line and Hawse Fairlead to it. I actually used 2 stacked Hawse Fairleads on the install. The reversed interior one keeps the line clear of interior bumper metal, and the exterior one extends the line out far enough to clear the bumper's exterior metal edges. A couple more high level consultations cleared this concept as well.
 Final touches and thoughts
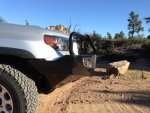
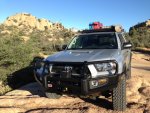
The final items were to install the center and 2 side skid plates, and trim the wheel well liners to match. The plates were an easy hardware assembly and the liners trimmed up and attached easily as well. At first I was very skeptical of the ARB bumper. I thought it set up too high, set out too far, the side angled up awkwardly, and the skid plates resembled a duck boat in the Boston harbor. Now that it is on the truck, I can honestly say I was wrong. It looks great. The height is appropriate, and it doesn't stick out any more than other ARB bumpers I have had. The angle of the sides is aesthetically appealing, and the skid plates are actually at less of an angle than the other bumpers on the market. The photos that I had been looking at online did not do this bumper justice. I am really happy with the way it has turned out.
Cheers,


