Vance Vanz
Well-known member
Structural Items - Exterior
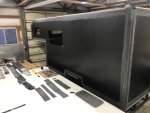
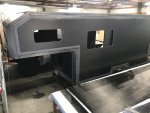
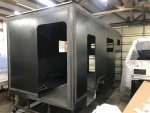
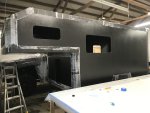
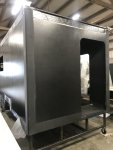
Time to pick back up on the build progress since the last post (interior tabbing). After the internal tabbing, I moved to the outside of the camper so I could complete the tabbing for all of the external joints.
The first step was completing some of the minor structural items that still needed to be addressed,
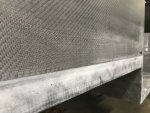
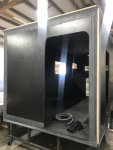
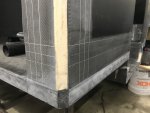
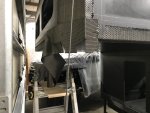
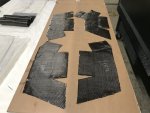
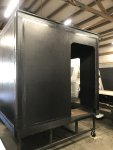
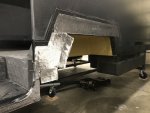
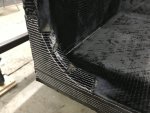
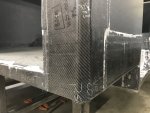
Laying up CF cloth over the exposed corners of the main floor that were cut off to match the angles on the corners of the walls-front and back bottom corners of the camper
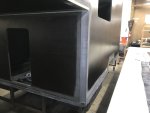
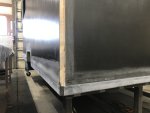
Radius-ing all remaining squared edges so the CF cloth could wrap without causing any bridging
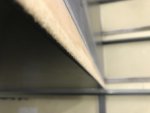
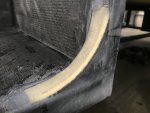
Finalizing the design/structural layup of the roof overhang on the back of the camper.

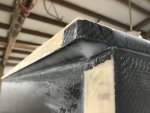
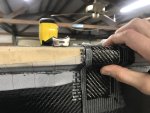
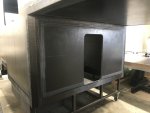
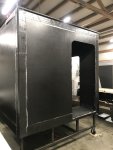
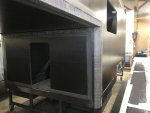
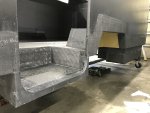
There where also a few areas where I added some additional CF cloth, adjacent to existing tabbing, to build up the surface so it was level and/or square. No pictures of this, but the side of the step box is an example-where my custom fairings will butt up against, therefore needing a level/squared surface
Time to pick back up on the build progress since the last post (interior tabbing). After the internal tabbing, I moved to the outside of the camper so I could complete the tabbing for all of the external joints.
The first step was completing some of the minor structural items that still needed to be addressed,
Laying up CF cloth over the exposed corners of the main floor that were cut off to match the angles on the corners of the walls-front and back bottom corners of the camper


Radius-ing all remaining squared edges so the CF cloth could wrap without causing any bridging


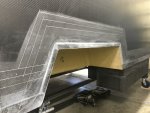
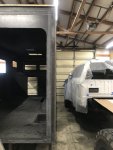
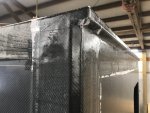
Finalizing the design/structural layup of the roof overhang on the back of the camper.


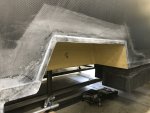
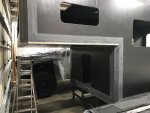
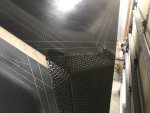
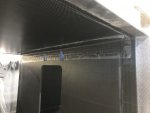
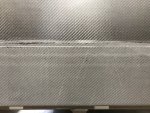
- The angle I wanted to put on the bottom side of the roof overhang (similar to other angles on the exterior of the camper) created an area that wasn't quite large/thick enough to use core foam. I could have tried to use Divinycell foam, but it would have been a very small/thin piece and a pain to match the angel I needed on one side and have a rounded off edge on the other side that would have matched the existing radius/fillet already laid up in the corner of the back wall and roof over hang. I was also worried the foam may not protect the radiused structural fillet from cracking, as well as CF cloth would.
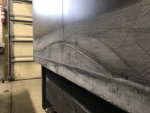
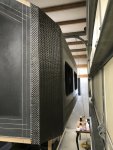
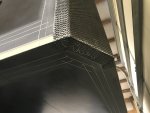
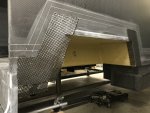
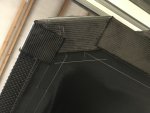
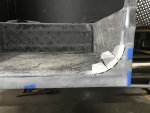
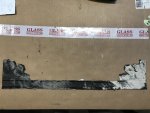
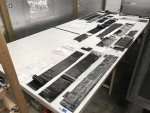
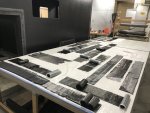
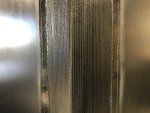
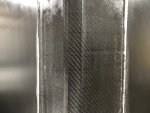
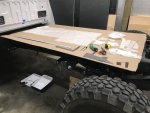
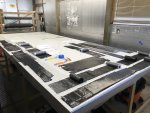
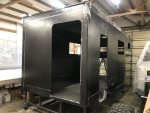
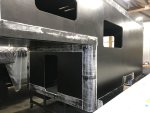
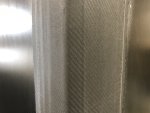
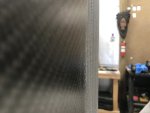
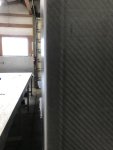
- I decided to lay up a thin layer (5.7oz) of CF cloth over the first radiuses structural fillet, to protect the fillet from cracking, and also added an additional thinner width of 24oz CF cloth to build up to the needed thickness-first picture. I then added a very small/thin structural fillet on top of this to get my desired angle-second picture. Next is the three layers of tabbing that will be applied to all of the external joints on the camper-third picture. I was also checking that no bridging of the tabbing cloth would occur over the roof angles I created-third picture.
There where also a few areas where I added some additional CF cloth, adjacent to existing tabbing, to build up the surface so it was level and/or square. No pictures of this, but the side of the step box is an example-where my custom fairings will butt up against, therefore needing a level/squared surface
Last edited:

