2022 RAM 5500 Composite "Super Camper"

Inline6

Adventurer
not that I am building an awesome camper like you all, so jealous...

But I went with fiberworx fenders on my dodge and skipped the whole add on fender that looks goofy. The carbon fiber on the black truck looks great with a semi transparent paint job as well.
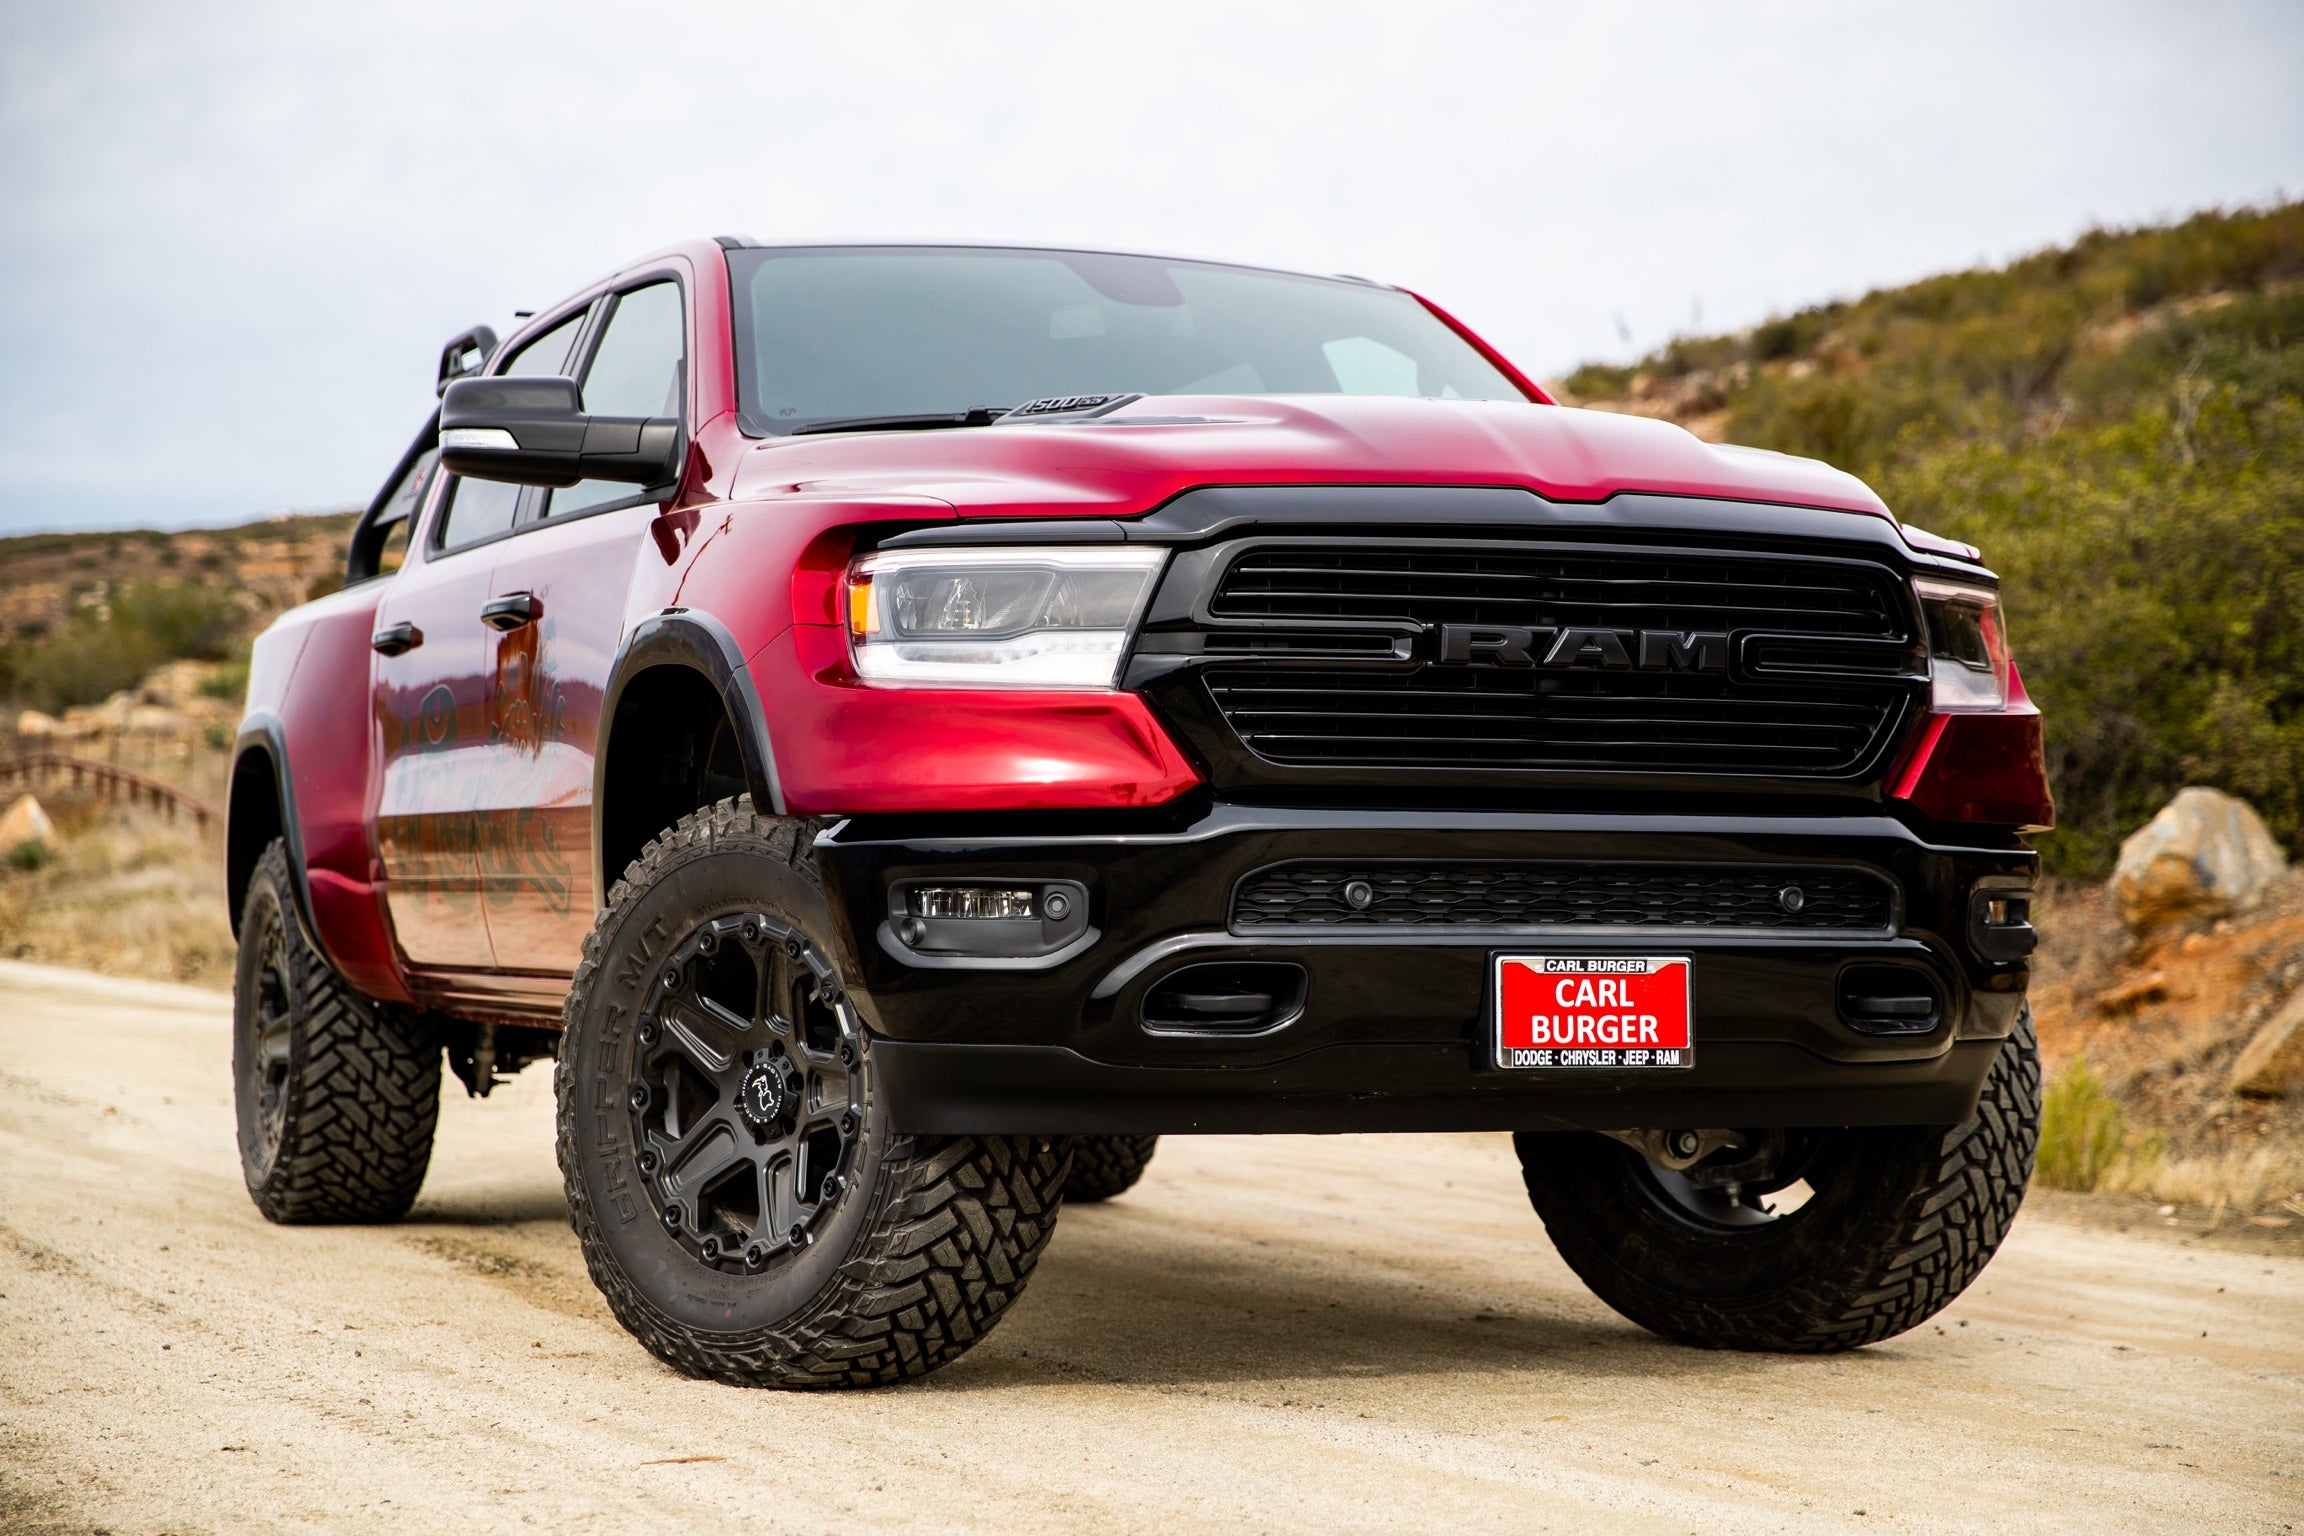
thinking all the fenders are the same for the heavy duty trucks, but I could be mistaken.
 

RAM5500 CAMPERTHING

OG Portal Member #183
not that I am building an awesome camper like you all, so jealous...

But I went with fiberworx fenders on my dodge and skipped the whole add on fender that looks goofy. The carbon fiber on the black truck looks great with a semi transparent paint job as well.

thinking all the fenders are the same for the heavy duty trucks, but I could be mistaken.

Those have larger openings for bigger tires but don’t extend further out much to add coverage

The stock 4500/5500 flares are quite a bit wider than the 2500/3500s from the factory
 

StenchRV

Well-known member
We had a vacation break :)

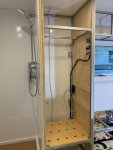
Finishing up the bathroom plumbing. Next is the kitchen side. Hope to be done this week. Check the shower plumbing for leaks and the refrigerator goes in! Finish up some minor electrical and move on to building the cabinets and finishing the L couch wood work.


IMG_6381.jpeg
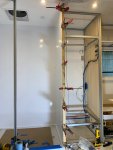
Finishing the door jamb and sealing up 3 of the 4 walls. The last wall will be installed when I do the cabinet work on the wardrobe to the left.
IMG_6384.jpeg
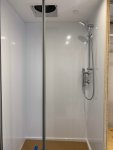
Came out nice :) A little Odies oil work and good to go.


IMG_6380.jpeg
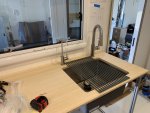
Acuva smart faucet installation and the main kitchen faucet. My wife will epoxy the counter top in the next few weeks. Stone Coat system with a matte finish.

IMG_6386.jpeg
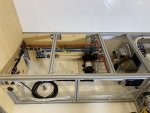
Main plumbing. A few more adel clamps and will be good to go. The Espar diesel heater will be installed near the coiled black control wires. It will come out under the truck inside of the drivers rear tire and forward just a little.

Under mount truck storage boxes are moving along and hope for a test fit and fuel filler plumbing in the next week or so.

CHEERS!!
 

StenchRV

Well-known member
Awesome Progress Sir!! Well done!

I may be picking your brain soon about the indoor shower and pan setup and how youre mounting the potty to it.

Pictures........you know the drill.
IMG_6001.jpeg
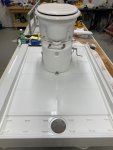
Test fit. 1/4" aluminum tapped for the mounting bolts and then Korapop just in case.
I will seal the toilet mounts on the final installation.
IMG_6002.jpeg
IMG_5999.jpeg

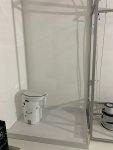
Fun part will be installing and plumbing the grey tank hidden inside of the rear box. Insulated and a heat pad (maybe). Should not be that hard just tight working area.

CHEERS!!
 

RAM5500 CAMPERTHING

OG Portal Member #183
Pictures........you know the drill.
View attachment 750791
Test fit. 1/4" aluminum tapped for the mounting bolts and then Korapop just in case.
I will seal the toilet mounts on the final installation.
View attachment 750792
View attachment 750793

Fun part will be installing and plumbing the grey tank hidden inside of the rear box. Insulated and a heat pad (maybe). Should not be that hard just tight working area.

CHEERS!!

Thank you sir!

That showerpan looks CONSIDERABLY more durable than the one i got. Mine will be basically unusable at this point with the potty (no way to support it).

Have a link to yours?

Thanks
 

StenchRV

Well-known member
That showerpan looks CONSIDERABLY more durable than the one i got. Mine will be basically unusable at this point with the potty (no way to support it).

Have a link to yours?

Thanks

I have purchased a bunch of these over the years, house remodels, this thing is so well built. I will buy this again if I redo another shower that needs it. EASY to work with and cut.


Vance Vanz

Well-known member
It's looking awesome and thank you for all the bathroom pics. The bathroom is coming together nicely, clean and sharp.

CAMPERTHING, thanks for asking how the potty would be mounted to the shower pan. I was just wondering the same thing. I will be in a similar boat, deciding if I want to mount my composting toilet directly in/to a shower pan, or to build up a raised ledge for the toilet to sit on.
 

StenchRV

Well-known member
It's looking awesome and thank you for all the bathroom pics. The bathroom is coming together nicely, clean and sharp.

CAMPERTHING, thanks for asking how the potty would be mounted to the shower pan. I was just wondering the same thing. I will be in a similar boat, deciding if I want to mount my composting toilet directly in/to a shower pan, or to build up a raised ledge for the toilet to sit on.

Thank you and you're welcome.

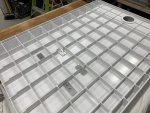
We almost did a raised ledge but decided against it after a few sit...I said sit :) ...tests. We were a little concerned about backing into the raised ledge also when we showered. There is not much of an angle to the toilet due to the fact our shower pan is 44" long end to end, about 40" interior.
The aluminum mounts are sealed from the bottom but we will seal the toilet mounts when we install them permanently.

The build of the shower pan really sold us on the mount to the pan idea. It is a BEAST.

CHEERS!!
 

StenchRV

Well-known member
BUSY week!

This close to getting the fridge in! Leak checked the plumbing and 2 leaks in about 100 fittings :) .
One was an easy fix, threaded fitting, but was the back of the shower wall in the fridge cabinet so fridge install had to wait a bit. The second one is a bit more time consuming to fix, right off the main manifold in the feed line to the kitchen. I know what I am doing tomorrow.

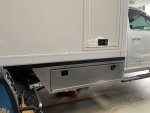
Interior wood work and BOXES! Fitted the first two boxes! Welded and bolted mounts to the subframe for easy box removal later when needed. Remove 6 3/8" SS lock nuts and the boxes drop away from the subframe. I reinforced the mount points inside the boxes with full depth 2" X 1/4" steel strap. The drivers side boxes should be welded up this week or next. Drivers side will need fuel filler modifications on both boxes. The small triangle area will be used to mount the fuel fill. The shower 30 gallon grey tank will be "hidden" in the rear storage box so a little work will be needed to make that happen, then we can send everything off to powder coat.

Some CNC router work is next for a few storage doors behind the couch. The large panels you see in the photos. There will be shelves and system access behind the couch under the bed.


IMG_6405.jpeg
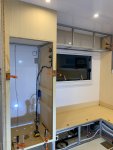
So close to getting the fridge in. The fridge surround is screwed, from behind, and glue to the 8020.
Upper cabinet above the fridge and a large pantry drawer below.
IMG_6409.jpeg
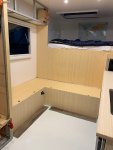
Still need to cut the diesel heater air vents in the lower left couch front.
IMG_6444.jpeg
Strong enough and large enough to hold me :) I blame getting in it on a welding need :)
IMG_6445.jpeg
THANK YOU @CAMPERTHING for the work on the box measurements. PERFECT FIT!
The box looked REALLY BIG in the back of my Chevy Colorado but fit the BIG truck like a glove!
IMG_6447.jpeg
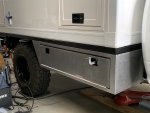
Just finished.....recovery gear box mounting. Has more usable space than we expected....BONUS!


CHEERS!!
 

Forum statistics

Threads
188,068
Messages
2,901,846
Members
229,415
Latest member
Gatofoamball
Top