You are using an out of date browser. It may not display this or other websites correctly.
You should upgrade or use an alternative browser.
You should upgrade or use an alternative browser.
2022 RAM 5500 Composite "Super Camper"
- Thread starter StenchRV
- Start date
StenchRV
Well-known member
Looks awesome! I wish I had the payload to use Bamboo
THANK YOU! You are correct.....a 3/4" sheet of Bamboo is not light! We used as much 1/2" as we could.
CHEERS!!
RAM5500 CAMPERTHING
OG Portal Member #183
Dang this is coming along awesome sir!
StenchRV
Well-known member
A few friends help and......A place to keep my beer cold! OH and food too
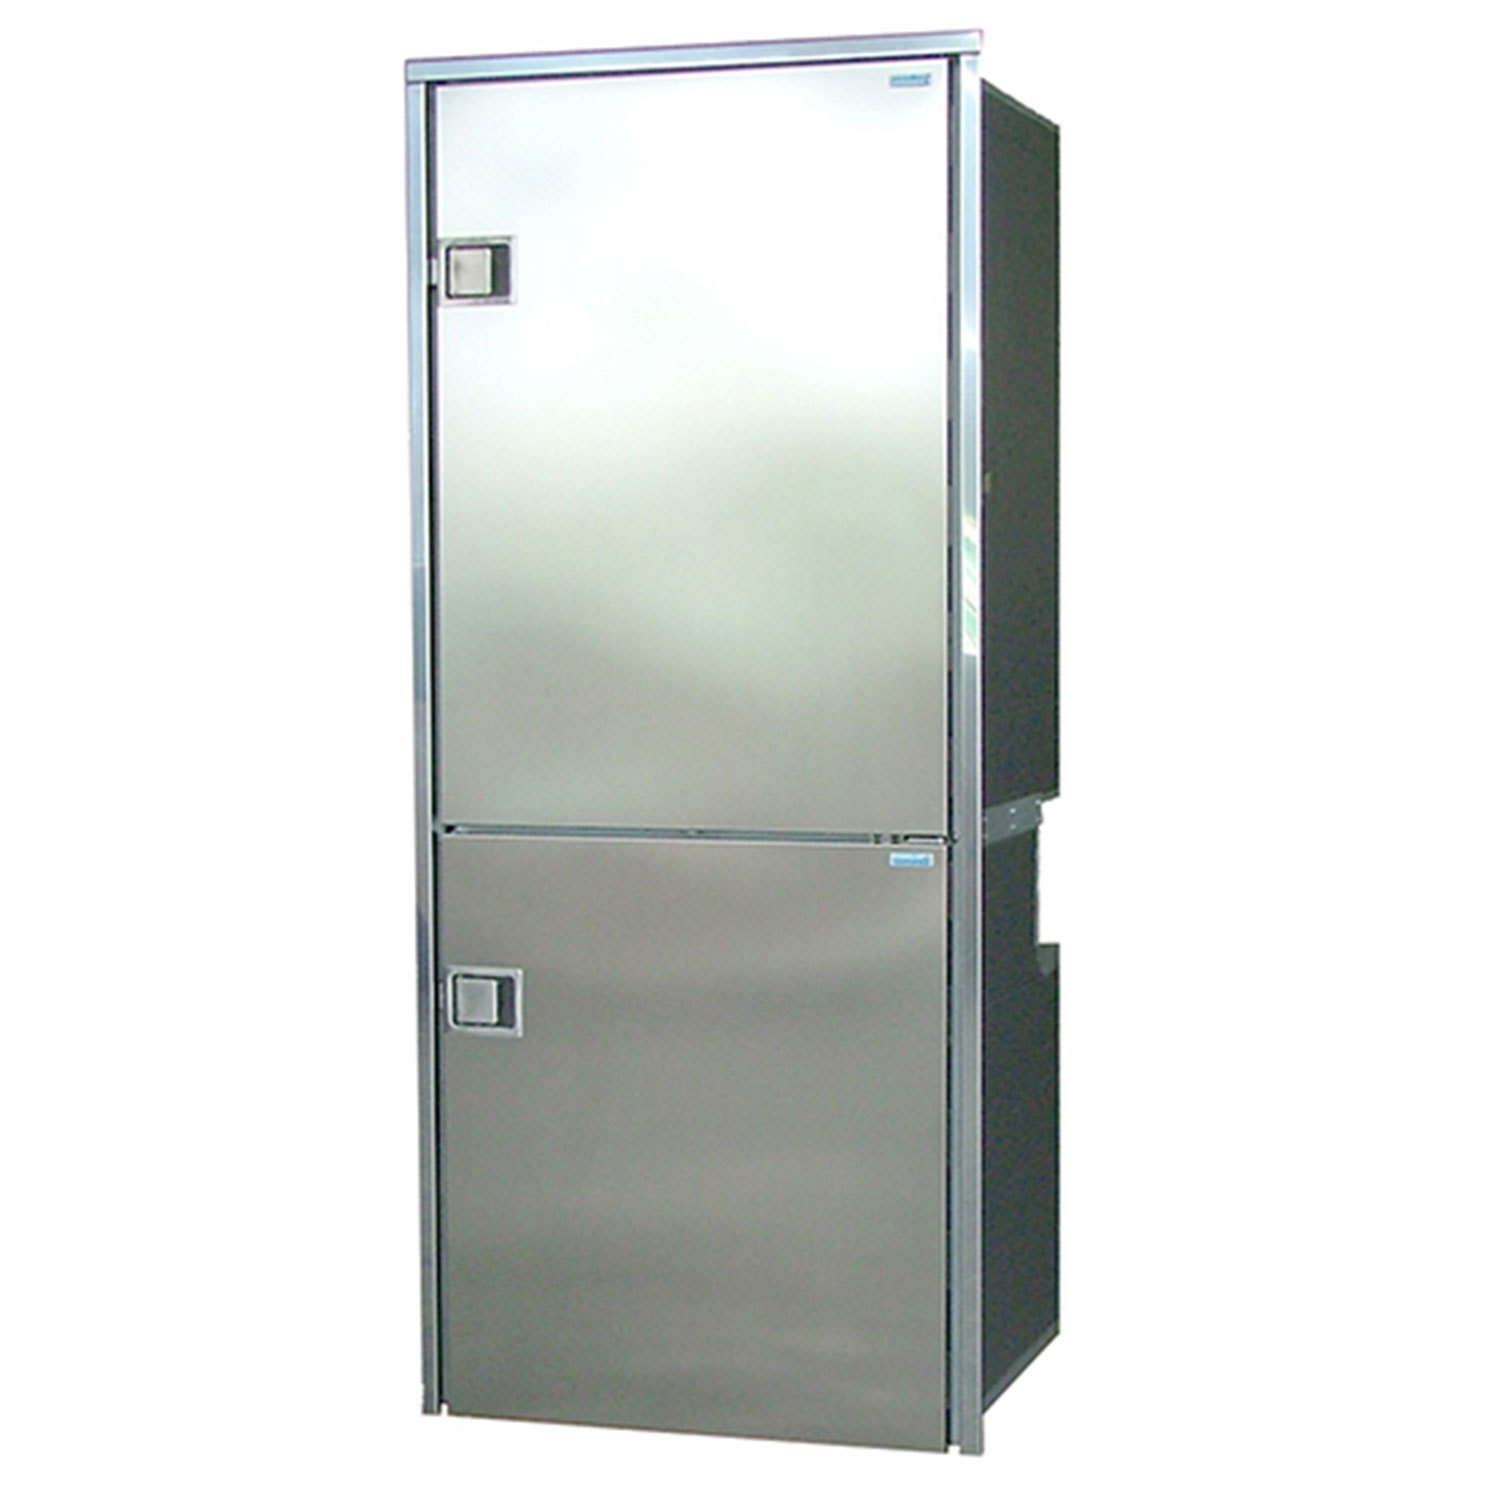
 www.westmarine.com
SIDE NOTE..WE paid MUCH LESS. KUDOS to West Marine for honoring their super sale price after almost 7 months on back order and 3 price increases.
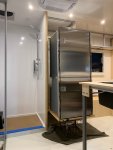
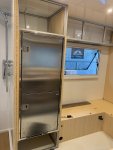
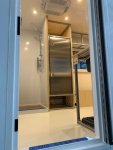
Weboost for long range cellular. We used one on our motorhome in AK and worked great. We were the only one who had a cell booster and were the only ones able to make a phone call. Head Smashed in Buffalo Jump is remote
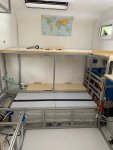
Taking the couch panels to the CNC router cabinet shop in the AM to have the doors cut out of the panels. I could have tried it at home but for $75....SOLD! Fingers crossed! Build out the inside storage area under the side of the bed. 13" Deep, 6' wide and 28" tall. VALUABLE SPACE!
OLD PHOTO just to show area involved.
CHEERS!!

Isotherm Cruise 195 Stainless Fridge/Freezer | West Marine
Upgrade your boat galley with the Isotherm Cruise 195 Stainless Steel Fridge/Freezer. AC/DC powered with right swing door and 4-sided stainless flange.
SIDE NOTE..WE paid MUCH LESS. KUDOS to West Marine for honoring their super sale price after almost 7 months on back order and 3 price increases.


Weboost for long range cellular. We used one on our motorhome in AK and worked great. We were the only one who had a cell booster and were the only ones able to make a phone call. Head Smashed in Buffalo Jump is remote

Taking the couch panels to the CNC router cabinet shop in the AM to have the doors cut out of the panels. I could have tried it at home but for $75....SOLD! Fingers crossed! Build out the inside storage area under the side of the bed. 13" Deep, 6' wide and 28" tall. VALUABLE SPACE!
OLD PHOTO just to show area involved.

CHEERS!!
RAM5500 CAMPERTHING
OG Portal Member #183
Looking awesome sir!! Coming along beautifully!
Tip I Learned The Hard Way:
Add a secondary latch setup to the fridge!
I had the same fridge in my FWC (smaller, but same latch system) and it popped open offroad a few times, making quite the mess, i added a secondary latch system to keep the doors secure when offroad.
Tip I Learned The Hard Way:
Add a secondary latch setup to the fridge!
I had the same fridge in my FWC (smaller, but same latch system) and it popped open offroad a few times, making quite the mess, i added a secondary latch system to keep the doors secure when offroad.
StenchRV
Well-known member
Looking awesome sir!! Coming along beautifully!
Tip I Learned The Hard Way:
Add a secondary latch setup to the fridge!
I had the same fridge in my FWC (smaller, but same latch system) and it popped open offroad a few times, making quite the mess, i added a secondary latch system to keep the doors secure when offroad.
Thanks for the kind words Sir!
I was hoping since it was a marine fridge it could handle a little rough housing!
Guess not!
Pro tip taken!
ONWARD!!!
CHEERS!!
mk216v
Der Chef der Fahrzeuge
Curious, as a friend had this issue with his Isotherm; where is the fridge temp sensor located? His in his fridge was located up near the freezer, and the freezer was cold enough to create ice there, ice surrounded the fridge's temp sensor, so his veggies froze. He relocated the sensor but still isn't happy with it.
Also, did you find that the WeBoost only gave you 1 more bar than without it (this is the feedback I've heard from users)?
Also, did you find that the WeBoost only gave you 1 more bar than without it (this is the feedback I've heard from users)?
StenchRV
Well-known member
Curious, as a friend had this issue with his Isotherm; where is the fridge temp sensor located? His in his fridge was located up near the freezer, and the freezer was cold enough to create ice there, ice surrounded the fridge's temp sensor, so his veggies froze. He relocated the sensor but still isn't happy with it.
Also, did you find that the WeBoost only gave you 1 more bar than without it (this is the feedback I've heard from users)?
The people we know the have the exact same fridge have had zero issues with it in over a year. They have not even had to defrost it. This fridge is actually 2 separate compressors and units bolted together.
When we used our previous Weboost, about 10 different times, we averaged about a 1 to 2 bar increase. In the middle of nowhere AK, we went from ZERO bars to 1 bar to make a clear phone call.
Wa TOTALLY worth it then!
CHEERS!!
Vance Vanz
Well-known member
I'm excited that you are in the final finishing stage; you have been working hard.
Everything is looking great.
Keep up the progress and keep those pictures coming. I look forward to seeing what's next.
You are a beacon of hope that I will get to the finish line some day ?.
Everything is looking great.
Keep up the progress and keep those pictures coming. I look forward to seeing what's next.
You are a beacon of hope that I will get to the finish line some day ?.
RAM5500 CAMPERTHING
OG Portal Member #183
Curious, as a friend had this issue with his Isotherm; where is the fridge temp sensor located? His in his fridge was located up near the freezer, and the freezer was cold enough to create ice there, ice surrounded the fridge's temp sensor, so his veggies froze. He relocated the sensor but still isn't happy with it.
Also, did you find that the WeBoost only gave you 1 more bar than without it (this is the feedback I've heard from users)?
@mk216v if this is in a FWC circa 2018-2020 don’t bother. I went through THREE of the fridges in mine in less than a year.
Did exactly as your friend did, moved temp sensor, etc, tried everything.
They either froze everything, or didn’t get cold enough to make the mountains blue on my silver bullets. Obviously unacceptable
It’s a known issue with the models FWC used from 2018-2020 (maybe even still current, not sure).
I know multiple folks that have had the same issue with their FWC fridges and yanked them out for ARBs. It’s a lost cause trying to fix them.
I have 2 friends with the same model @StenchRV has with zero issues. Those are an entirely different level of quality
??
Last edited:
StenchRV
Well-known member
I'm excited that you are in the final finishing stage; you have been working hard.
Everything is looking great.
Keep up the progress and keep those pictures coming. I look forward to seeing what's next.
You are a beacon of hope that I will get to the finish line some day ?.
THANKS!
You know how those long build days feel! We all love pictures of the builds!
Keep up the great work on your build. The finish line is out there.......well we are never really "finished".
CHEERS!!
RAM5500 CAMPERTHING
OG Portal Member #183
The finish line is out there.......
LIES!!! ?
mk216v
Der Chef der Fahrzeuge
@mk216v if this is in a FWC circa 2018-2020 don’t bother. I went through THREE of the fridges in mine in less than a year.
Did exactly as your friend did, moved temp sensor, etc, tried everything.
They either froze everything, or didn’t get cold enough to make the mountains blue on my silver bullets. Obviously unacceptable
It’s a known issue with the models FWC used from 2018-2020 (maybe even still current, not sure).
I know multiple folks that have had the same issue with their FWC fridges and yanked them out for ARBs. It’s a lost cause trying to fix them.
I have 2 friends with the same model @StenchRV has with zero issues. Those are an entirely different level of quality
??
Nope, custom E350.
FWC used Isotherm? That'd be surprising; would expect them to use a styrofoam cooler.
Back to this awesome RAM!
StenchRV
Well-known member
It is in the details 
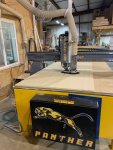
Bathroom door getting cut out. I had some doors cut out of the middle of a few panels. The doors are for the storage area behind the couch back and a systems door on the drivers side, also behind the couch back. It is nice when the mill works shop likes the quality of the bamboo.
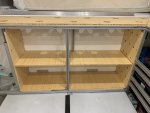
Storage cabinet complete. Adjustable shelves and totally removable if needed for system access.
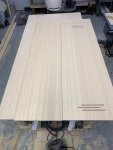
After the CNC shop cut out the door and I had it home we changed our mind on ventilation layout so I used a plunge router to make some bathroom ventilation openings. That was fun! No room for error as that was the only panel we have for the bathroom wall and door.
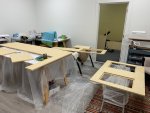
My wife turned her sewing and craft room into the wood finishing shop. She is doing all of the sanding and finishing for the entire rig! Tedious work but it is coming out great!
You can see the back of the couch panels mentioned above.
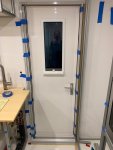
Screen door and door threshold installation. We had to shim the screen door out a little to match perfectly to the door. Now we have a screen door for winter camping
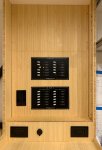
Charging station and water heater switch on the right. This will get a door above the little shelf to hide the 12V/120V panels and will be a nice place for art or a TV in the future.
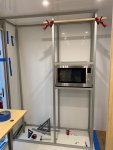
Time to start on the rear wardrobe! We just ran out of our original LARGE shipment of 8020. Ordered more to finish the wardrobe and kitchen cabinet. AMAZINGLY it arrived yesterday, only 4 days! WOW!
CHEERS!!

Bathroom door getting cut out. I had some doors cut out of the middle of a few panels. The doors are for the storage area behind the couch back and a systems door on the drivers side, also behind the couch back. It is nice when the mill works shop likes the quality of the bamboo.

Storage cabinet complete. Adjustable shelves and totally removable if needed for system access.

After the CNC shop cut out the door and I had it home we changed our mind on ventilation layout so I used a plunge router to make some bathroom ventilation openings. That was fun! No room for error as that was the only panel we have for the bathroom wall and door.

My wife turned her sewing and craft room into the wood finishing shop. She is doing all of the sanding and finishing for the entire rig! Tedious work but it is coming out great!
You can see the back of the couch panels mentioned above.

Screen door and door threshold installation. We had to shim the screen door out a little to match perfectly to the door. Now we have a screen door for winter camping

Charging station and water heater switch on the right. This will get a door above the little shelf to hide the 12V/120V panels and will be a nice place for art or a TV in the future.

Time to start on the rear wardrobe! We just ran out of our original LARGE shipment of 8020. Ordered more to finish the wardrobe and kitchen cabinet. AMAZINGLY it arrived yesterday, only 4 days! WOW!
CHEERS!!
RAM5500 CAMPERTHING
OG Portal Member #183
It is in the details
View attachment 756593
Bathroom door getting cut out. I had some doors cut out of the middle of a few panels. The doors are for the storage area behind the couch back and a systems door on the drivers side, also behind the couch back. It is nice when the mill works shop likes the quality of the bamboo.
View attachment 756594
Storage cabinet complete. Adjustable shelves and totally removable if needed for system access.
View attachment 756595
After the CNC shop cut out the door and I had it home we changed our mind on ventilation layout so I used a plunge router to make some bathroom ventilation openings. That was fun! No room for error as that was the only panel we have for the bathroom wall and door.
View attachment 756596
My wife turned her sewing and craft room into the wood finishing shop. She is doing all of the sanding and finishing for the entire rig! Tedious work but it is coming out great!
You can see the back of the couch panels mentioned above.
View attachment 756610
Screen door and door threshold installation. We had to shim the screen door out a little to match perfectly to the door. Now we have a screen door for winter camping
View attachment 756623
Charging station and water heater switch on the right. This will get a door above the little shelf to hide the 12V/120V panels and will be a nice place for art or a TV in the future.
View attachment 756624
Time to start on the rear wardrobe! We just ran out of our original LARGE shipment of 8020. Ordered more to finish the wardrobe and kitchen cabinet. AMAZINGLY it arrived yesterday, only 4 days! WOW!
CHEERS!!
Damn you do good work man! Congrats
Similar threads
- Replies
- 1
- Views
- 1K
- Replies
- 18
- Views
- 3K
- Replies
- 8
- Views
- 3K
