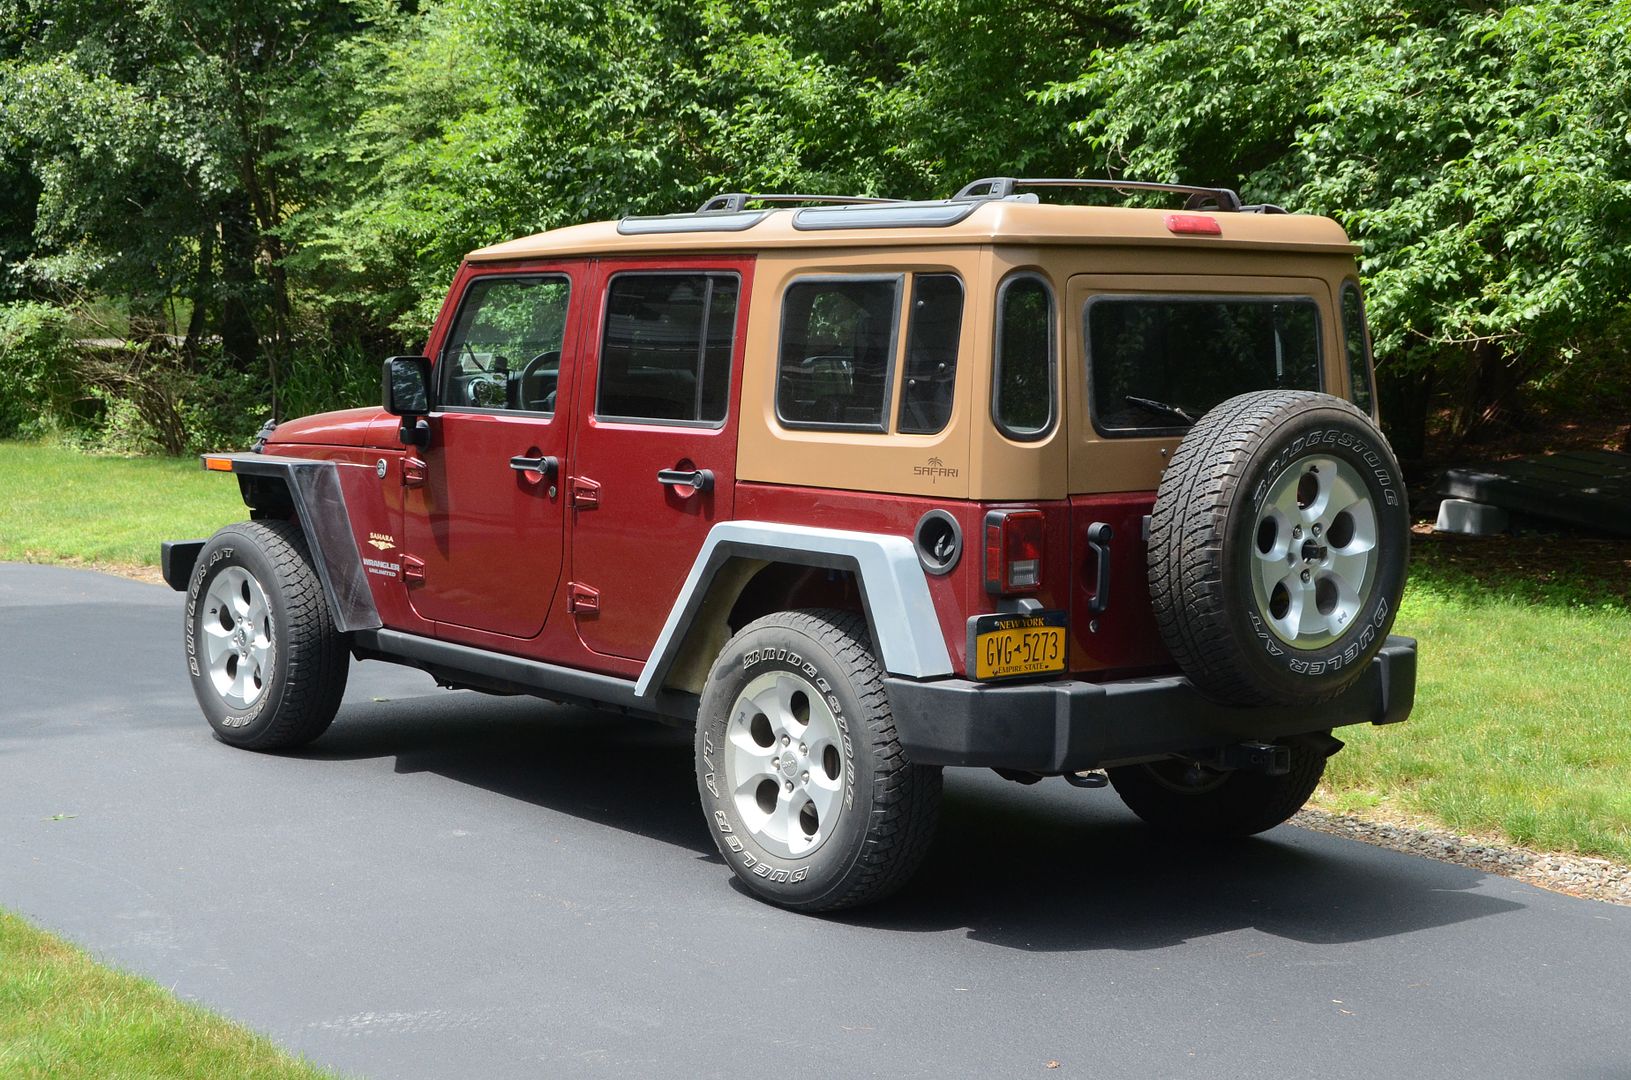
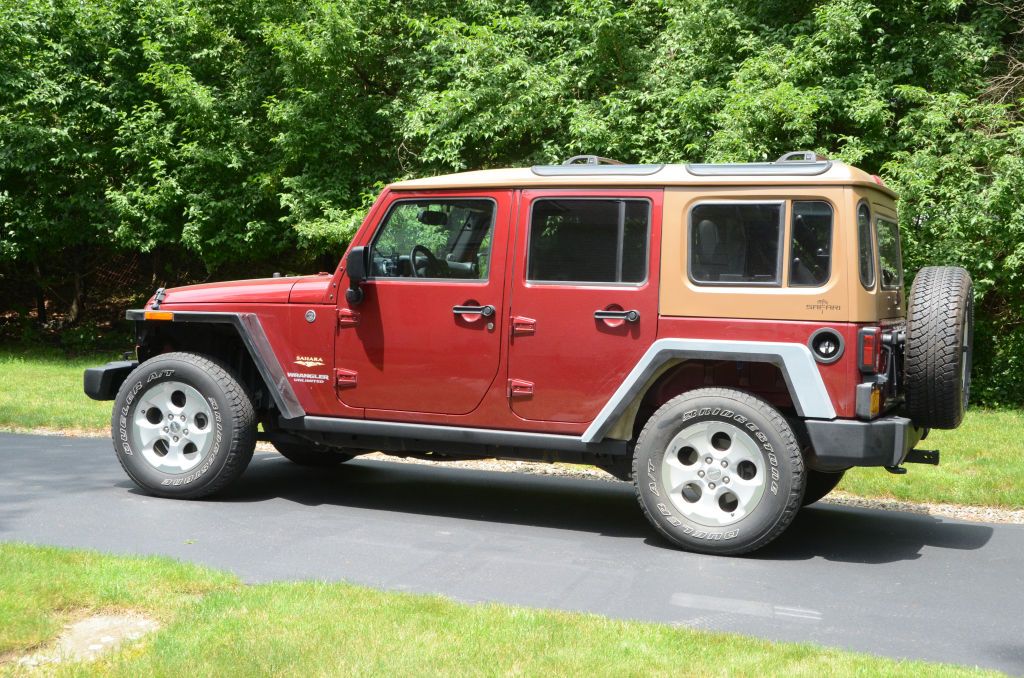
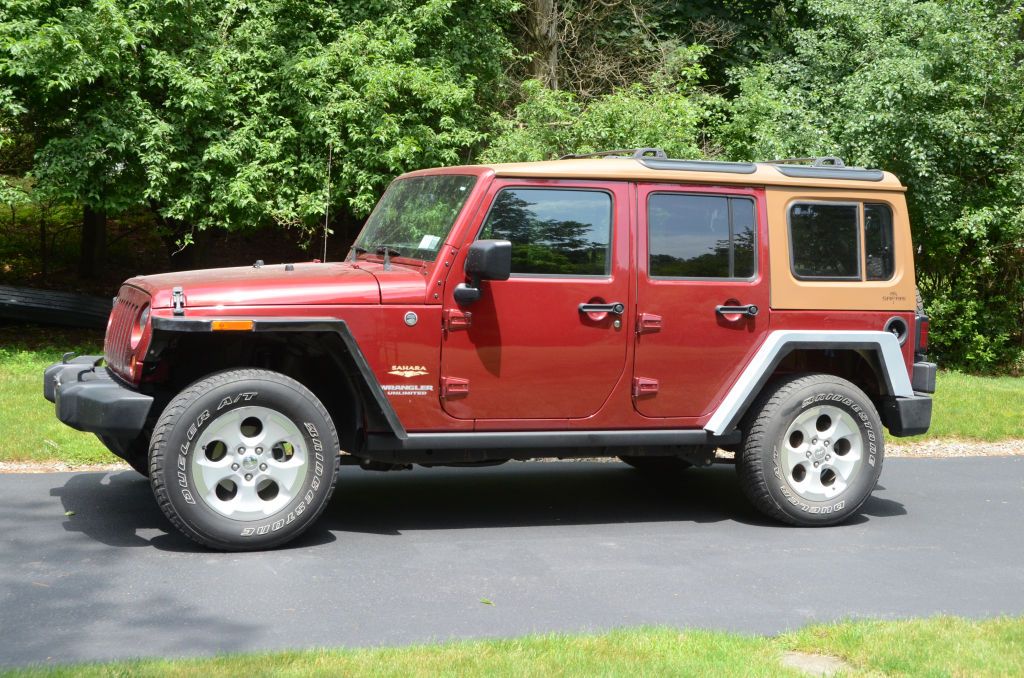
Barn Door for JK factory hardtops

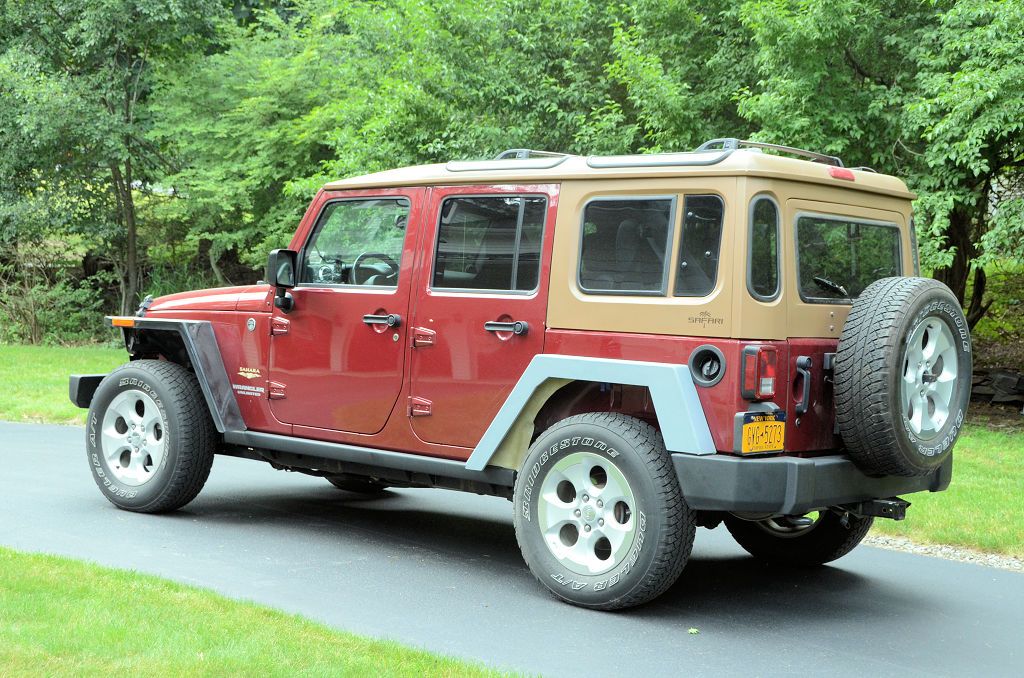
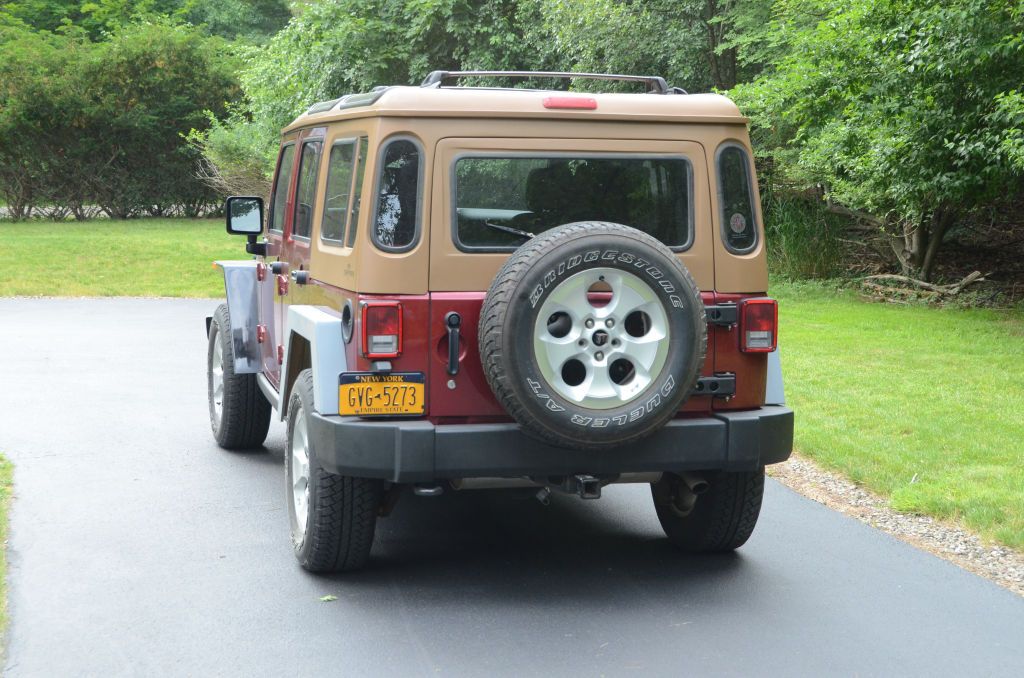
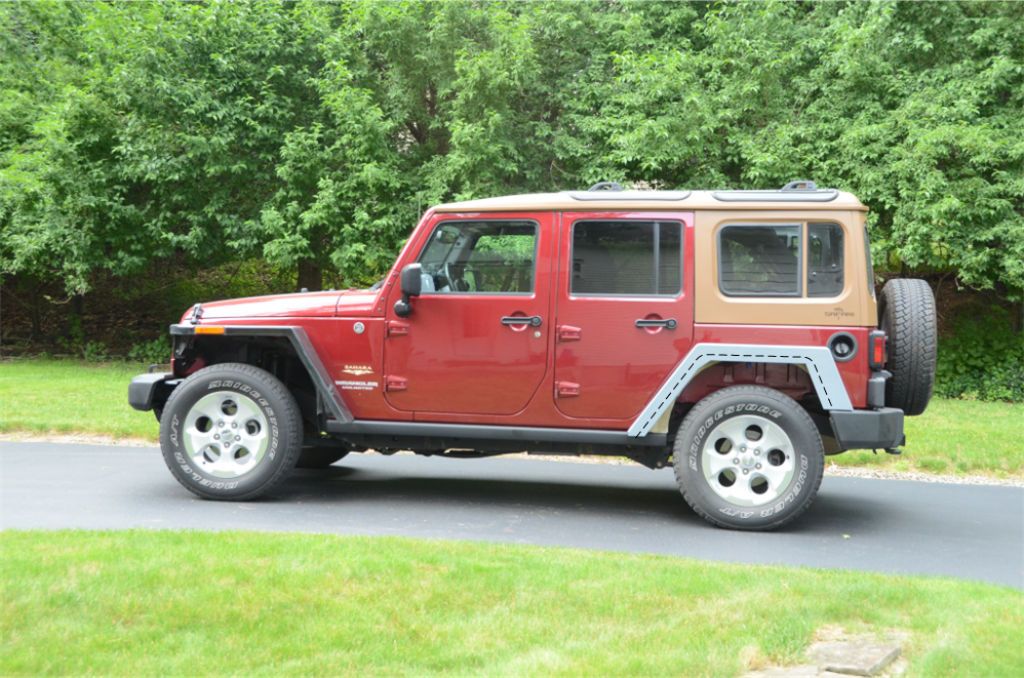
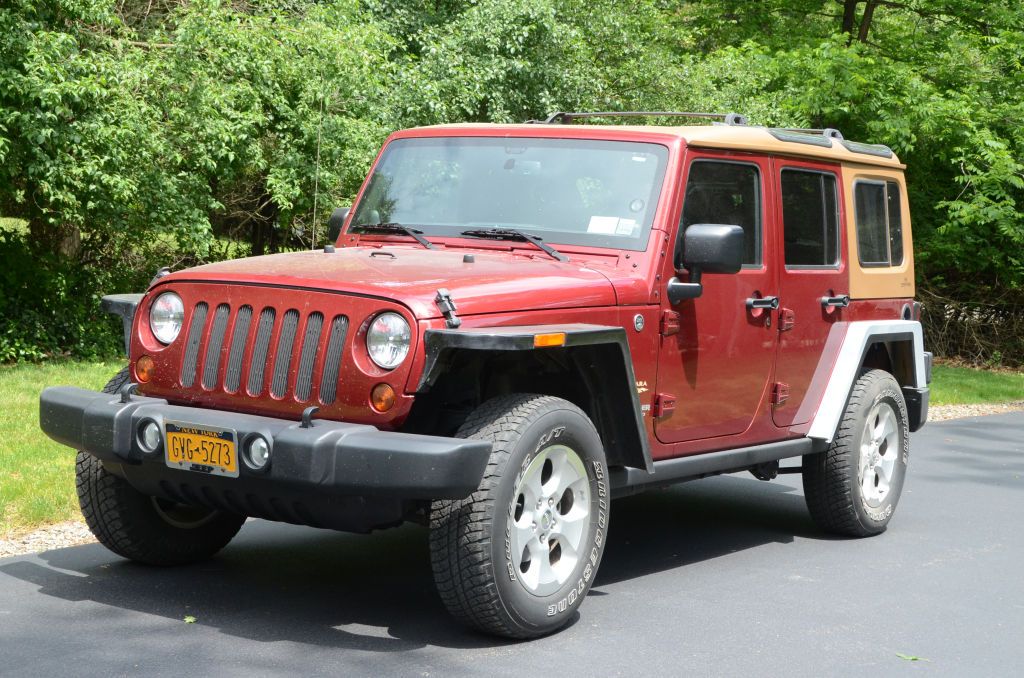
Scherb, The point is the tread title is misleading.. (Barn Door for JK factory hardtops) because I was expecting to see something relevant to the barn doors. yet all I'm seeing is flat fenders.. Why not create a new thread based on the fenders thus I can avoid it and not get any updates I do not care to see.. You're all over the board.. as with your hobby. You tend to not focus on one project till it's completion then leave those of us who might be interested in one particular topic hanging..
 

Comanche Scott

Expedition Leader
Couldn't find a picture, so here goes my best attempt to explain.

The body line recess is larger than the back of the fender, so radius back in from the edge of the body recess line into the fender.

Looking at the round fender well cut out, you could graft in a round M416 trailer fender (or make your own to size) using the same process. Providing a more original MB look.
Although that may be a bit too much.
 

jscherb

Expedition Leader
Couldn't find a picture, so here goes my best attempt to explain.

The body line recess is larger than the back of the fender, so radius back in from the edge of the body recess line into the fender.

Looking at the round fender well cut out, you could graft in a round M416 trailer fender (or make your own to size) using the same process. Providing a more original MB look.
Although that may be a bit too much.

Scott,
Thanks for the explanation. When I was in the design phase of the fender project I tried a number of different ways to get a rounded rear fender wheelarch and fender, but couldn't come up with anything that both fit the fender mounting recess and looked right. In the end I decided that what I liked best was something that matched the styling of the front flat fenders, which is what I'm currently building. The original Willys didn't have rear fenders anyway, so there's really nothing to match the styling to., and every attempt I made to match the curved wheel arch of the original Willys tub just didn't look right to me.

I'm just finishing priming the mold masters for the rear fenders, later today I'll install them and post some photos, stay tuned.
jeff
 

jscherb

Expedition Leader
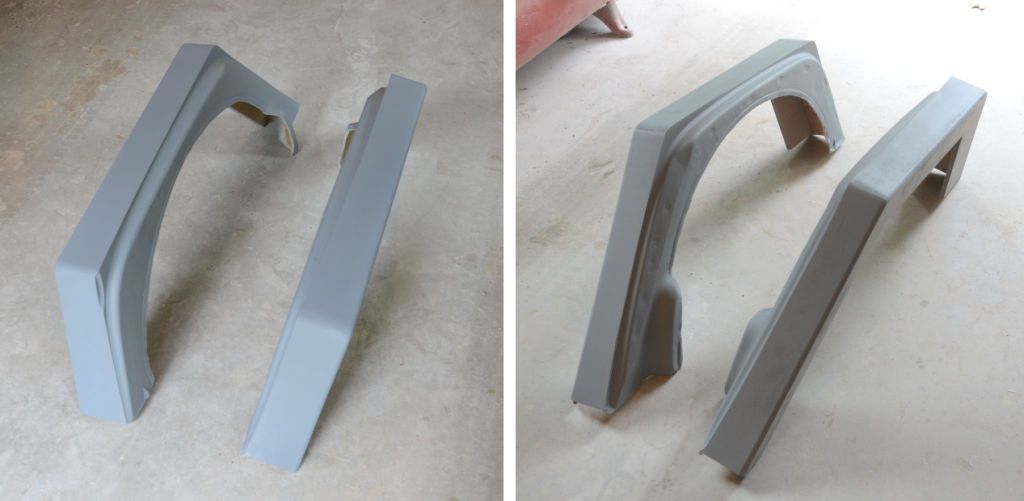
I'm making progress on the mold masters for the rear flat fenders, here are a few photos.

MoldMasters0_zpsihupdvsq.jpg


Because these are mold masters, the dimensions are a bit different than the actual fenders will be once they're out of the mold and trimmed, for example the vertical face is wider than its final trim width. The masters are in preliminary primer in the photos below, they'll be bodyworked and a nice finish applied before the molds are made from them.

MoldMasters1_zpsazhtpya4.jpg


MoldMasters2_zpsal5hdadi.jpg


MoldMasters3_zpssz8217sd.jpg


MoldMasters4_zpse3nwkrnc.jpg


MoldMasters5_zpsqv4hl2oo.jpg


In this photo I've drawn a trim line for trim option G that I posted earlier today. All of the trimming options in today's earlier post will be possible with the molds that will be made from these masters.

MoldMasters3TrimmedG_zpsdnemv1ei.jpg
 

jscherb

Expedition Leader
I may be repeating myself but good progress.

Thanks. I've got a few days work to do to finalize them, and I expect to be making the molds next week sometime. I think I'll round the upper corners a little bit more than they are now to soften the look a little bit.
 

jscherb

Expedition Leader
I made a change to the radius of the top corners of the rear fenders - I had made the radius the same as on the front fenders, but it looked to severe to me, so I softened the radius a bit. Even though the rear fenders now have a larger radius than the front fenders I think the look better this way. Also because the mold master has deeper sides than the final fenders will have, I painted the part that will be trimmed off black to better be able to see what the final look will be. I did trim option "G" but any of the other trim options could also be done.

MoldMastersP1_zpsa9ftrrme.jpg


MoldMastersP4_zpslpmr9vmu.jpg


MoldMastersP2_zps5yw2gvs2.jpg


MoldMastersP3_zpskxqrf1em.jpg
 

jscherb

Expedition Leader
Looks awesome! Really like the slide table as well. Could you put a link to the hinges?

Thanks!

Found the hinges on eBay, a search on "flush mount table hinge" will turn up lots of them. To install them you'll need to use a router to cut a recess in the table top so they can mount flush. The recess could also be made the old-fashioned way with a sharp chisel and a bit of work.

Speaking of the table, I didn't feel like working on the fenders today so I did a little work on the mechanism for the fold-down side table, here's a video showing progress so far. The side table is hinged to the side of the slide, and designed to slide forward. The last piece of the table will hinge to the fold-down part I installed today and everything will fold up so both parts of the side table stow on the side of the fridge between the fridge and the inner fender. I plan to use an inexpensive monopod intended for photography as an adjustable leg to support the table, it's not attached yet but I stuck it under the table in this video to show where it might go.

The side table is 16 x 32, and the drawer-top table is 16 x 24, and with both in position the width table is 32" across the back and 24" deep up to the fridge.

Next I'll make the final piece out of the Walmart folding table I'm holding in position in the video.


jscherb

Expedition Leader
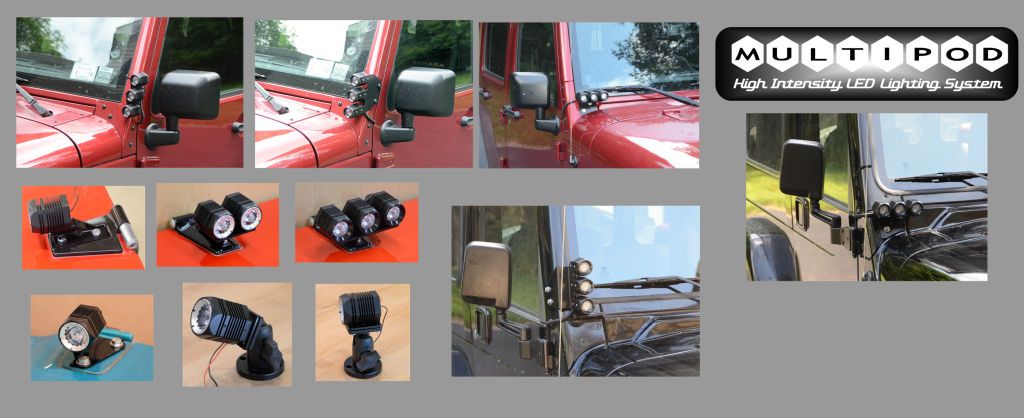
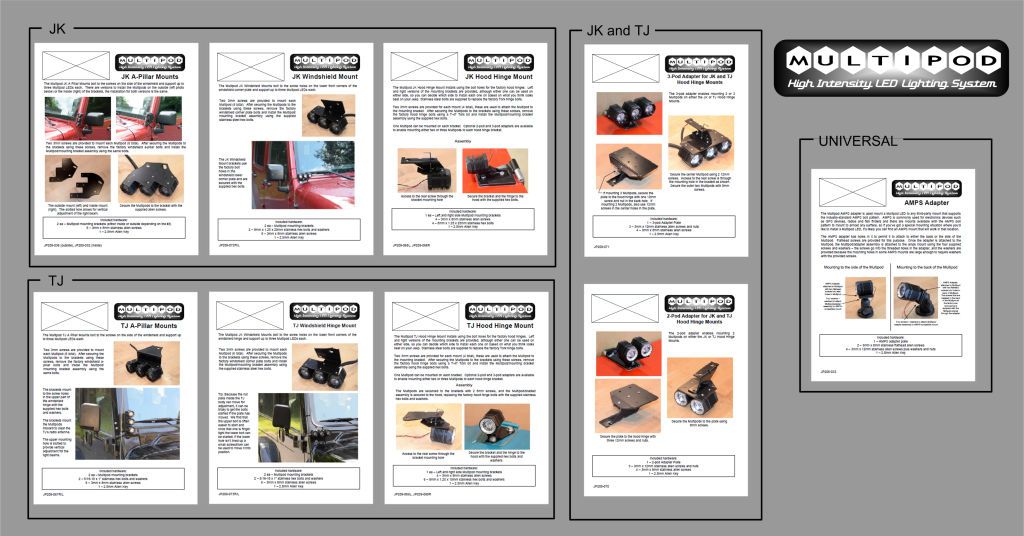
This weekend I got a chance to install/test-fit all of the "production candidate" versions of the mounting brackets I designed for the Multipod LED system. With one exception, they check out, so I'm signing off on all but that one and turning over the installation instructions to the company that's going to bring them to market. I've blanked out the company name in these images...

MultiPodSystemB_zps9oteo4u3.jpg


MultiPodInstructionsB_zpsvfniz4we.jpg


Background for those who may not have been following since I started the LED project - at SEMA last November I discovered a new component supplier and one of their products is these LED pods (they're a component supplier, they don't sell retail themselves). These pods compare very favorably with the KC Flex LEDs on a spec basis, but at the price the supplier charges for them they should be able to retail for a fraction of the KC lights. I arranged to get some samples and tried to design unique mounts for them for the JK and TJ. I've posted photos of the mount ideas several times in this thread, and what I was testing this weekend were the "production candidate" versions of the mounts I've gotten from the hardware company I arranged to manufacture them. A Jeep accessories company has signed up to bring these to market, so now that I've signed off on the production candidates, they should be available very soon from that company.

I'm also thinking about additional places LEDs could mount and designs of brackets for those locations but I think the list above is plenty for the company to get these launched. If any of you have ideas for additional mounting locations, let me know, maybe I'll build a prototype and see if the company is interested.
 

akpostal

Adventurer
Just so its here as well.

How about a roof rack mount for the lights on the XJ/ZJ/WJ or any of the other Js, or even a mount to a roof basket. Pretty sure I could mount those LEDs to my Rhino Rack with little issue.
 

jscherb

Expedition Leader
Just so its here as well.

How about a roof rack mount for the lights on the XJ/ZJ/WJ or any of the other Js, or even a mount to a roof basket. Pretty sure I could mount those LEDs to my Rhino Rack with little issue.

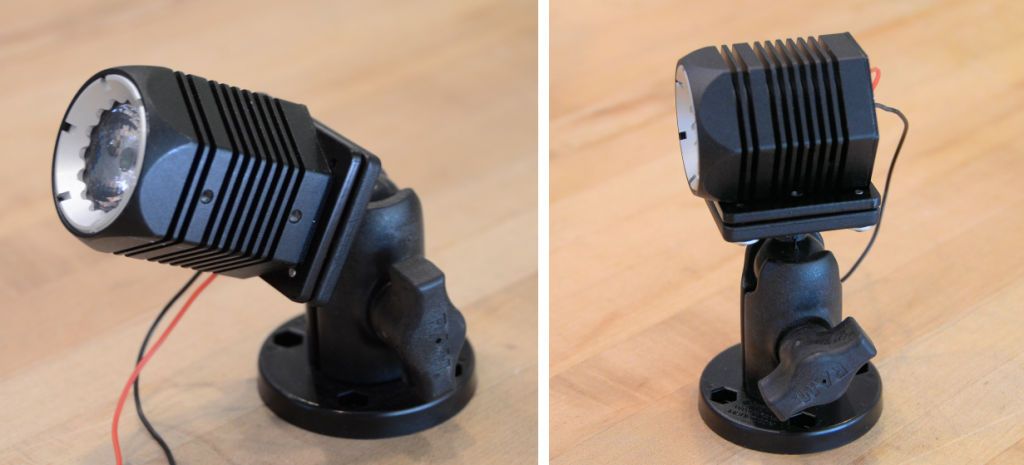
Because there are many different roof racks and many different ways to mount to them whether they've got square, rectangular or round tubing, or perhaps built-in mounting points for accessories, what I've come up with is an AMPS adapter. AMPS is an industry-standard bolt pattern commonly used for electronics devices such as GPS devices, radios and fish finders and there are mounts available with the AMPS bolt pattern to mount to almost any surface. The photos below show a Multipod mounted to an AMPS mount using the adapter; this one has a bolt-down base. The adapter allows mounting the Multipod either on the side or the end, and the standard bolt pattern ensures it will attach to any mount supporting AMPS. For mounting to round bars, for example, a Google search on "AMPS handlebar mount" will turn up lots of options. Ram Mounts has the widest range of mounting solutions anywhere, many of which support AMPS - a search at RAM Mounts - Mobile Mounting Solutions on the term AMPS returns 316 results. Using the Multipod AMPS adapter, an Multipod LED can be mounted pretty much anywhere.

AMPSAdapter_zpsqjgqswup.jpg


I haven't planned anything specific for the XJ/ZJ/WJ models at this point, I'll have to ask the company if they have any interest in that market.
 

jscherb

Expedition Leader
How about a roof rack mount for the lights on the XJ/ZJ/WJ or any of the other Js, or even a mount to a roof basket. Pretty sure I could mount those LEDs to my Rhino Rack with little issue.

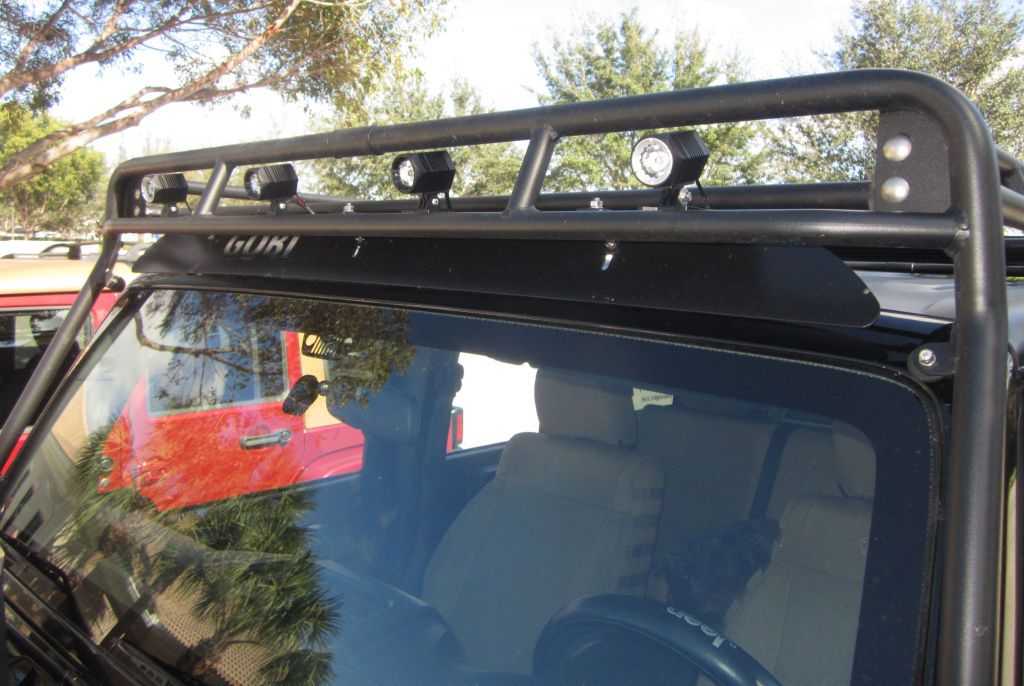
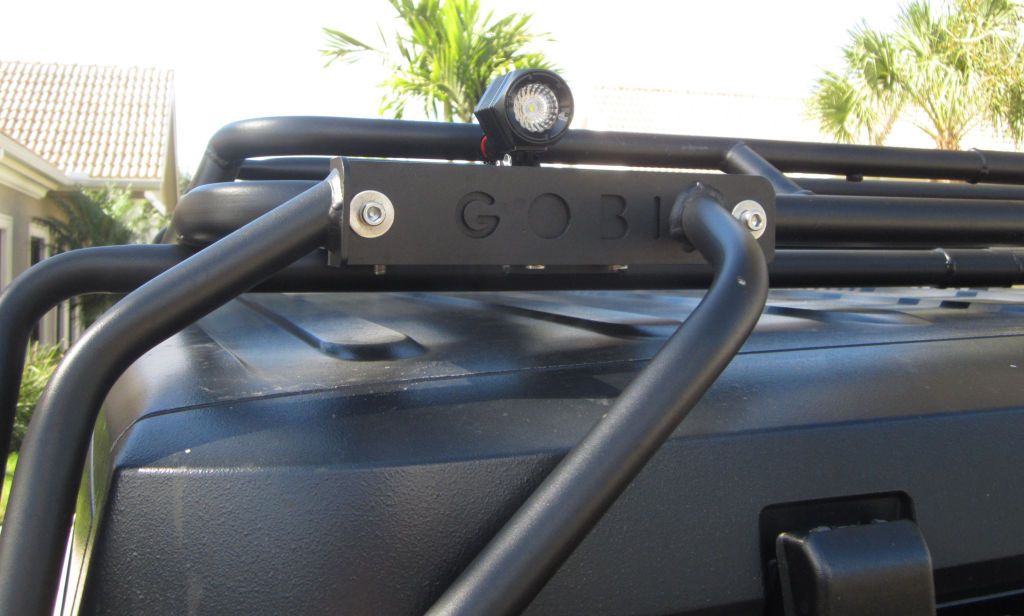
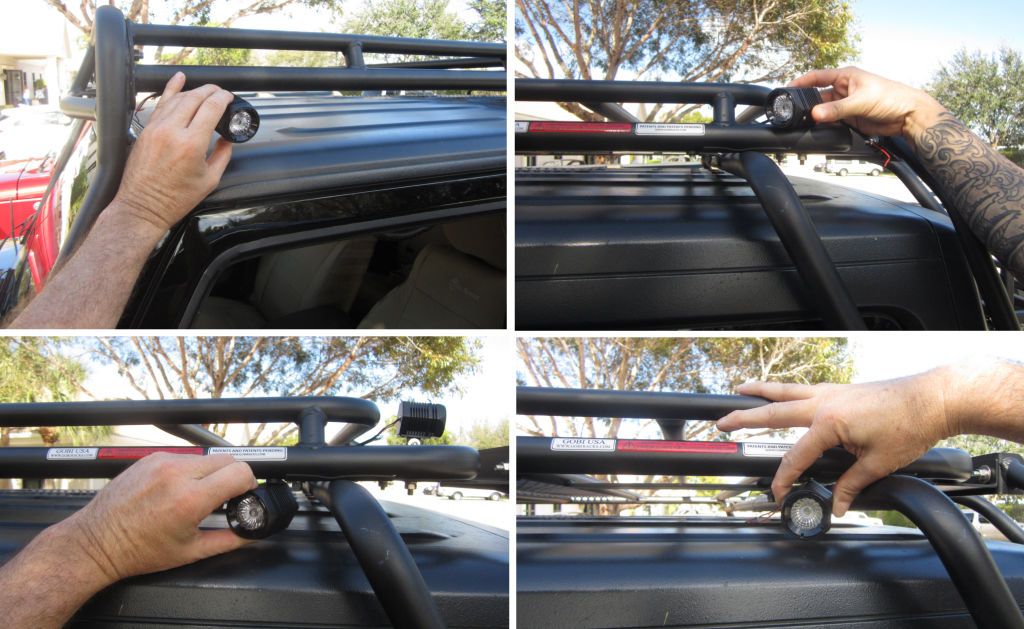
Speaking of mounting Multipods to racks, a while back Donny and I tried out some mounting locations on his well-equipped Jeep.

The Gobi rack as mounting pads in the front that are perfect:

GobiFront1_zpsvy9llxgh.jpg


The Gobi also has mounting pads in the back:

GobiRear1_zpswdc1ybff.jpg


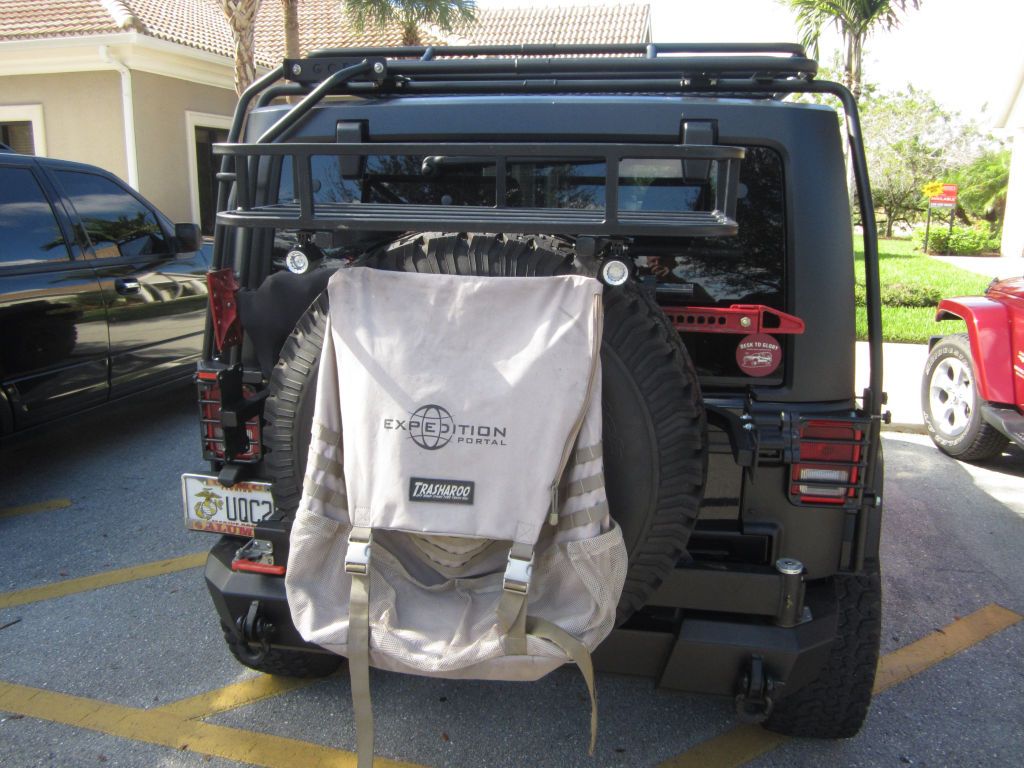
The also bolted right up to his over-the-spare rack:

SpareRack1_zps44m0mcwx.jpg


They could also serve as campsite lights. Using a swivel mount attached to the Gobi they could be positioned optimally for each camp location.

GobiCamp_zpslvu29hof.jpg
 

Forum statistics

Threads
188,293
Messages
2,904,988
Members
229,961
Latest member
bdpkauai
Top