Bolt-together fiberglass Jeep-tub trailer kit

jscherb

Expedition Leader
Here's the tub assembled (still just clamped together) with the floor panel. Things are falling into place according to plan...

TubFloor1.jpg


TubFloor2.jpg


TubFloor3.jpg


TubFloor4.jpg


TubFloor5.jpg


The next step is to cut the wheel openings out of the fiberglass side panels and then it can go on the trailer frame.

WheelArchTemplate.jpg
 

jscherb

Expedition Leader
With most frames people would likely put this tub kit on, the corners of the tub hang out beyond the frame rails. That's no problem on the road, but if the trailer is offroad and being dragged over the rocks, the tub might come in contact with rocks or obstructions. A solution to that could be nerf bars that could bolt directly to the frame (shown in green):

NerfBars.jpg


Since the frame under the tub would be the choice of the user, it could be a little difficult to come up with a design for nerf bars that were universal and would fit every possible frame, but something like I've drawn here with bolt plates with multiple sets of holes that allow for different frame widths and lengths might fit many or most frames these tubs might go on.
 

jscherb

Expedition Leader
I got the wheel arches cut out, the flares installed and the floor rought trimmed, so here are some photos of the assembled trailer. There's still a little fitting, trimming and positioning to do to get everything to line up perfectly, but it's very close as it is.

Assembled1-1.jpg


Assembled1-2.jpg


Assembled1-3.jpg


After a little more trimming and fitting there are only a few details plus paint/finishing.
 

jscherb

Expedition Leader
Here are a few photos with an HF receiver rack on the tongue; it's a very good size for this application:

AssembledWithRack-1.jpg


AssembledWithRack-2.jpg
 

jscherb

Expedition Leader
Here's a few more photos, this time posed with the yellow trailer as a comparison. The yellow tub is about 89" long; the white one is about 51".

TwoTrailers1.jpg


TwoTrailers2.jpg


TwoTrailers3.jpg


TwoTrailers4.jpg


TwoTrailers5.jpg
 

jscherb

Expedition Leader
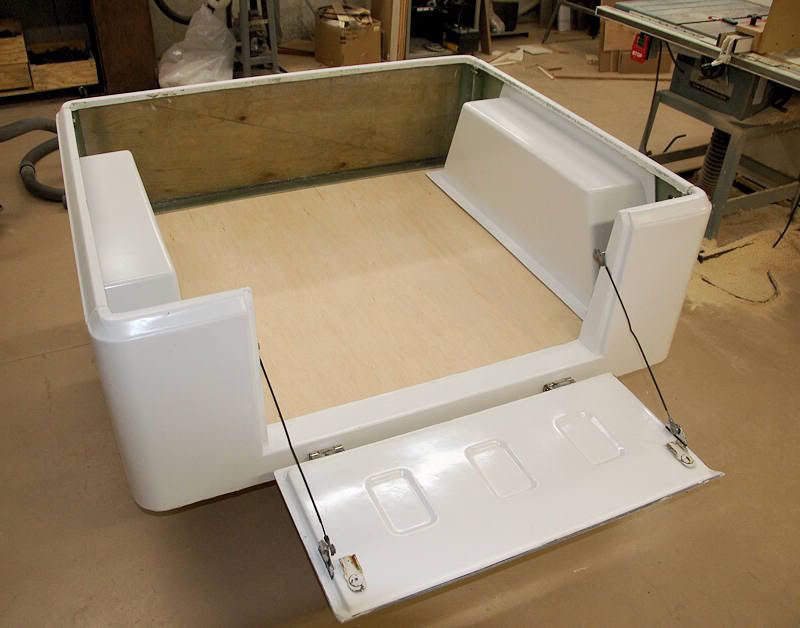
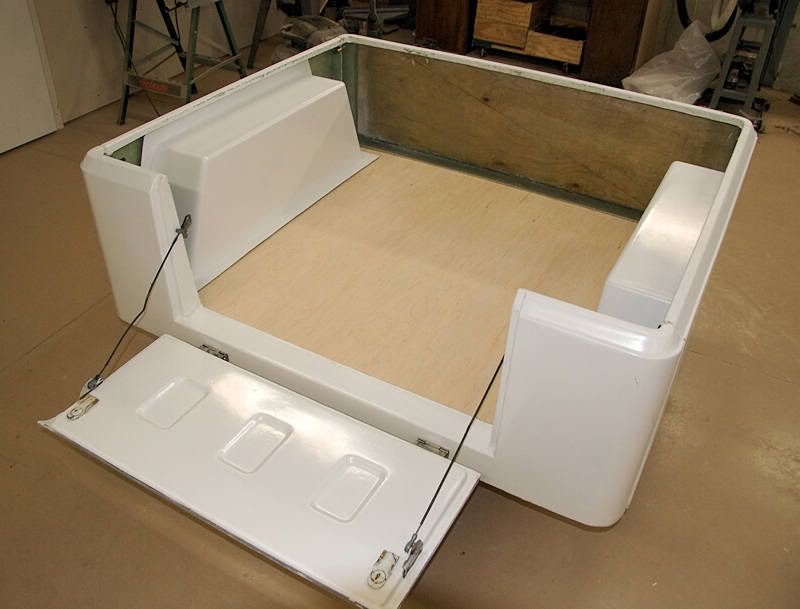
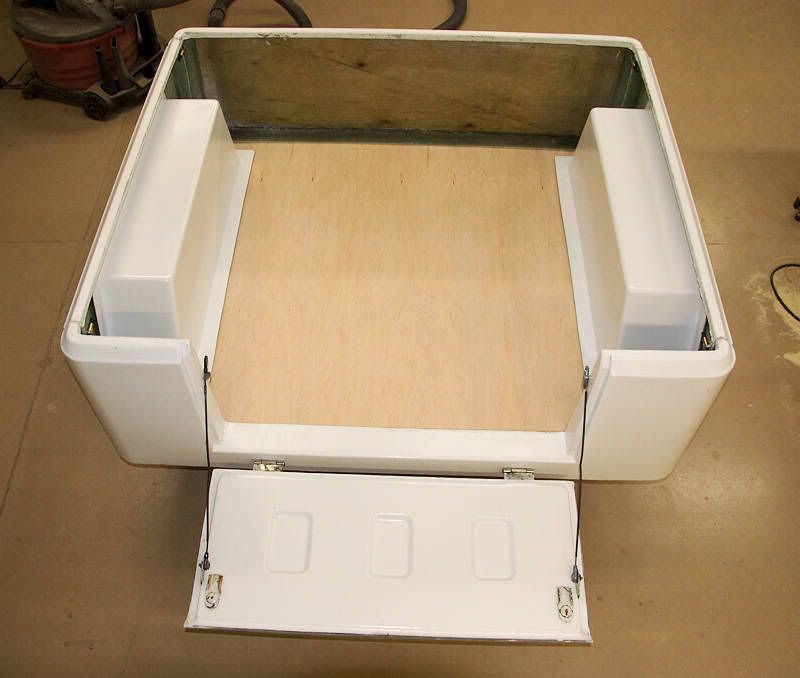
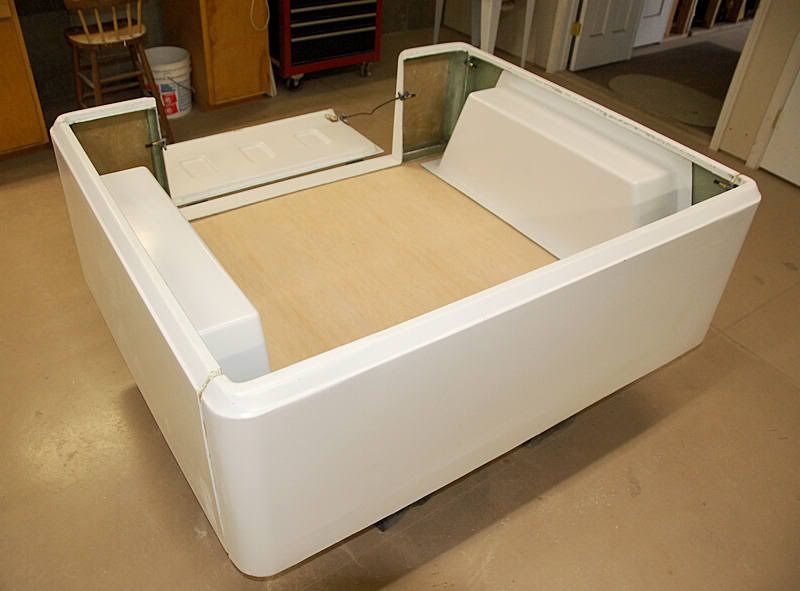
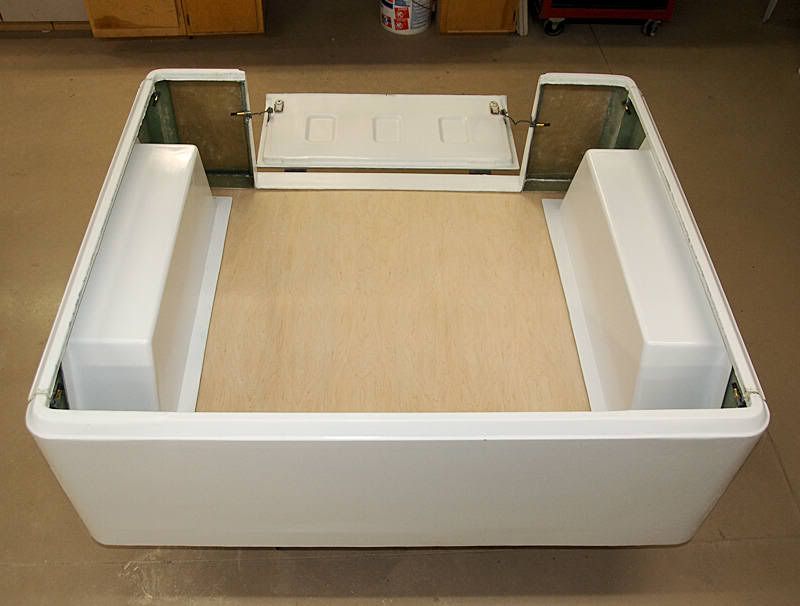
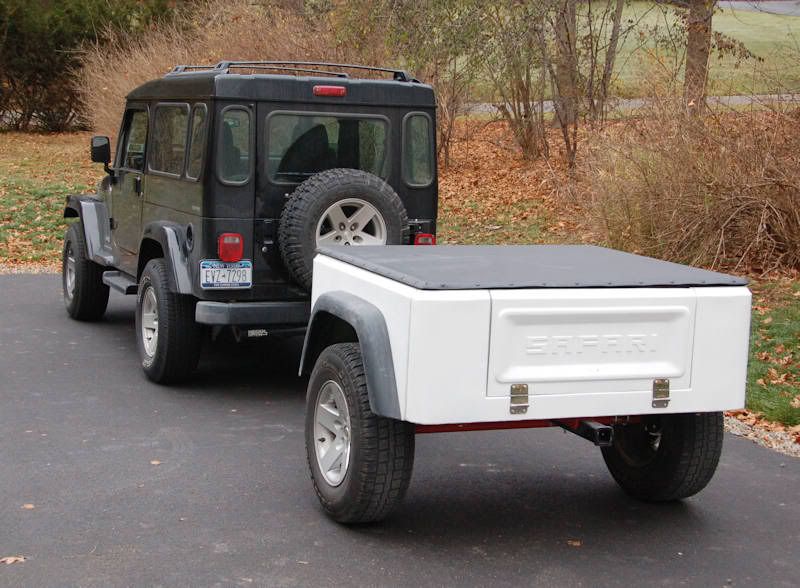
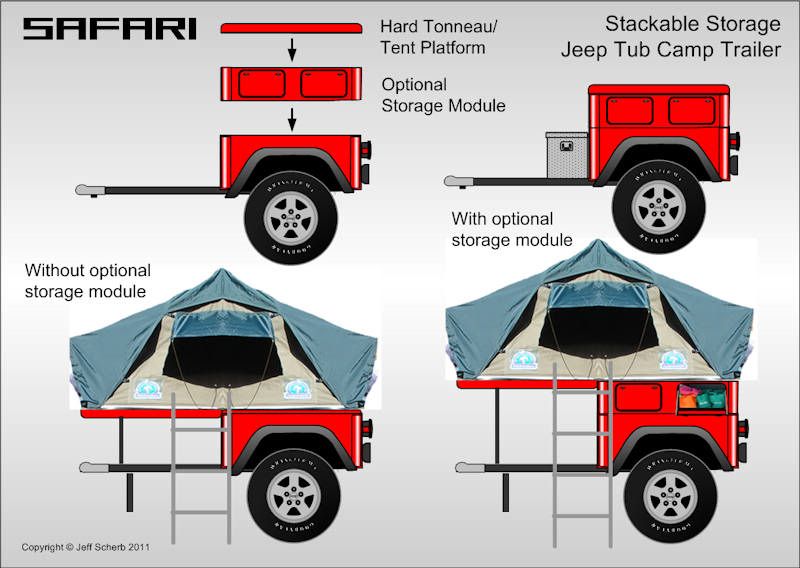
Here's a "Lego brick" idea for increasing the storage of the trailer when configured as a camper. Using the current side/solid end panel molds, it would be easy to mold a second set of side panels, perhaps only 16" tall instead of the full height, and assemble those panels with a floor and side access hatches to form a "stackable" storage module. Since the top of the storage module would be identical to the top of the tub, anything that could mount on the top of the tub would also mount on the top of the storage module, like the flip-open tent platform.

StorageBrick1.jpg


The storage module could be added at any time, if you had already added the tent top to your basic trailer, no problem, the tent top would just go on top of the new storage module.

The storage module would be easily removable, so if you needed to use the trailer as a cargo trailer between camping trips, you could remove it.

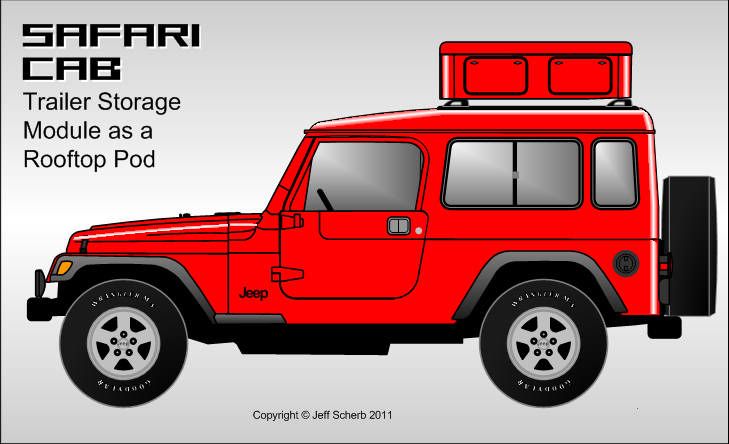
The storage module could also be configured as a rooftop pod, so it could be used on top of the Jeep when you needed some additional storage but didn't need the entire trailer:

StorageBrick2.jpg


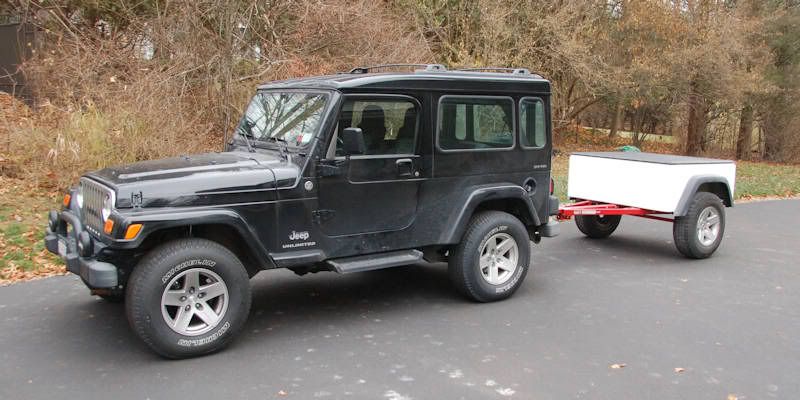
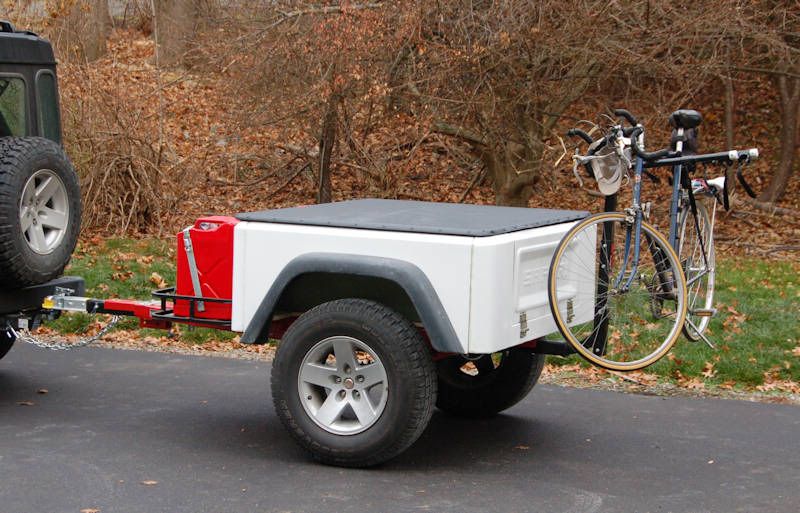
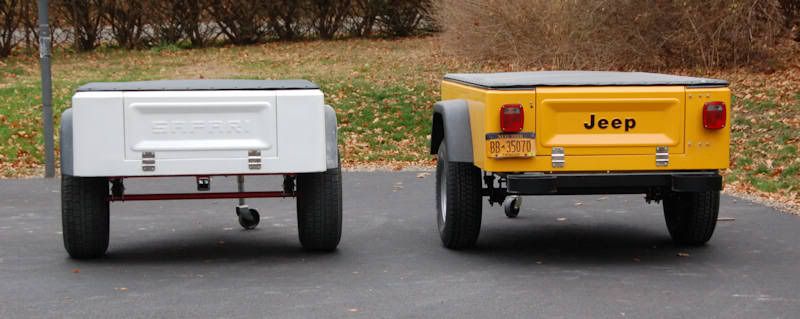
I've shown this for the short trailer, but they could be made in any length the basic tubs would be made.
 

monele

Adventurer
JHC you are brilliant!! I wish I had half the fiberglass skills you have. Have you ever thought about teaching seminars? I know this isn't a business venture, but I bet a number of folks on here would love some lessons. I've done a little lay-up, but not with any real success in finish. I do lots of molding and casting (plaster to iron and everything in between) but just don't quite get fiberglass. I want a trailer kit if someone buys into this and I really want the storage pod!! Nice!
 

Black Dog

Makin' Beer.
What would make this even cooler would be if the harbor freight trailer were aluminum and instead of fiber glass you use carbon fiber. It would cost more and might be light enough to blow away in a strong breeze, but it would be cool.
 

jscherb

Expedition Leader
JHC you are brilliant!! I wish I had half the fiberglass skills you have. Have you ever thought about teaching seminars? I know this isn't a business venture, but I bet a number of folks on here would love some lessons. I've done a little lay-up, but not with any real success in finish. I do lots of molding and casting (plaster to iron and everything in between) but just don't quite get fiberglass. I want a trailer kit if someone buys into this and I really want the storage pod!! Nice!

Thanks! Fiberglass isn't that hard really, but there are a few techniques and some tricks to be learned.

It's been suggested before that I do a weekend fiberglass seminar or something like that; I'd be happy to do it if someone wanted to organize it. I'm in Elmira, NY though, which is 4 hours from NYC, and isn't really conveniently located for anyone except perhaps someone from Rochester, Syracuse or maybe Scranton.
 
Last edited:

jscherb

Expedition Leader
What would make this even cooler would be if the harbor freight trailer were aluminum and instead of fiber glass you use carbon fiber. It would cost more and might be light enough to blow away in a strong breeze, but it would be cool.
Cool maybe, but remember, I'm trying to design something that can be a kit most people could afford!

Carbon fiber is maybe $35 per yard vs. $5 per yard for fiberglass, and for best results you want to use epoxy resin instead of polyester resin, and that's about twice as much per gallon. And I don't even know how to estimate the cost differential for aluminum vs. an inexpensive HF frame.
 

Heifer Boy

Adventurer
Fantastic result. I love the look of the stubby trailer. Very Tonka Toy!!! LOL!!!

Like the others, I've been watching and admiring your fibreglass skills. I like your philosophy behind your builds too. Good stuff and very inspiring.
 

Forum statistics

Threads
186,802
Messages
2,888,197
Members
227,280
Latest member
Smithmds77
Top