Jeep 50
Jeep 50
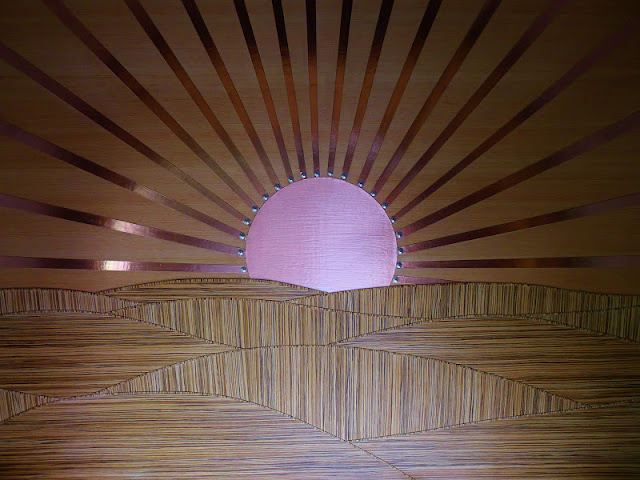
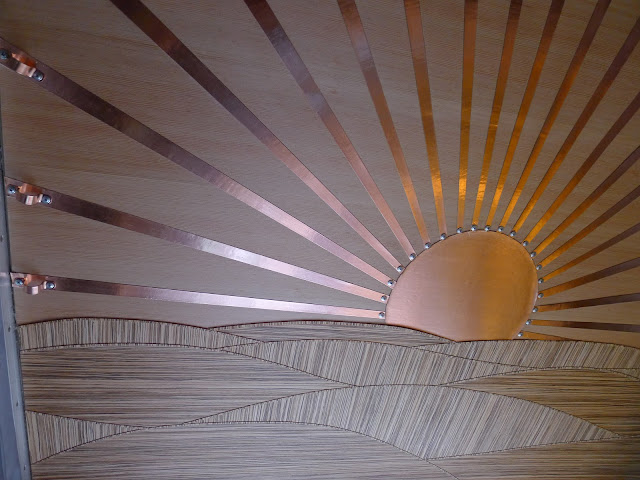
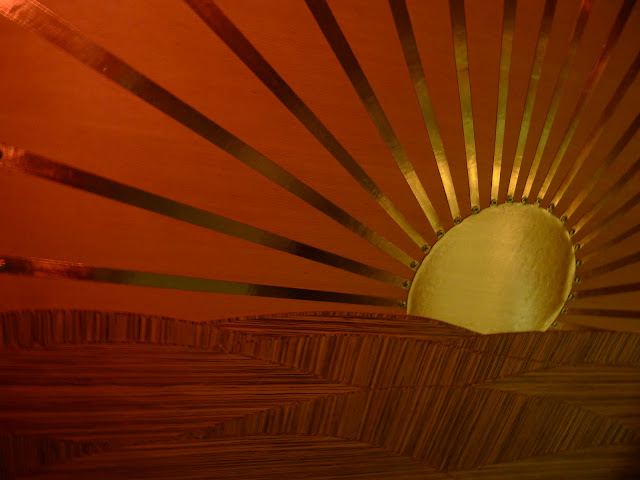
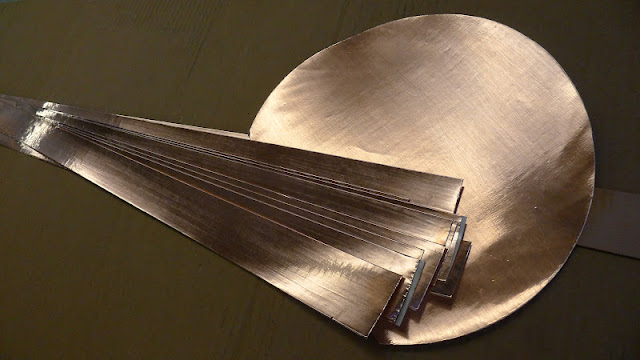
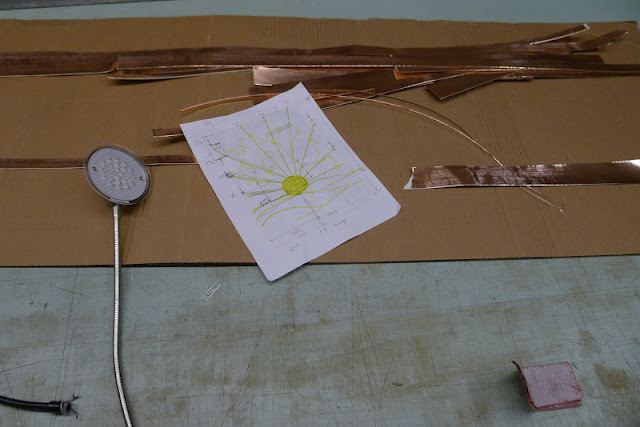
(above) I posted this before but without an explanation...The zebrawood at the bottom was cut with a knife, by hand...two pieces of veneer were overlaid, then the pattern was drawn lightly with pencil, then cut...Next, half the pieces were set aside and the remaining ones were patterned as you see...The margins between the pieces were slight and non-descript...i wanted them enhanced so i put some 1/8" wide strips of ZW that was cut, short grain...
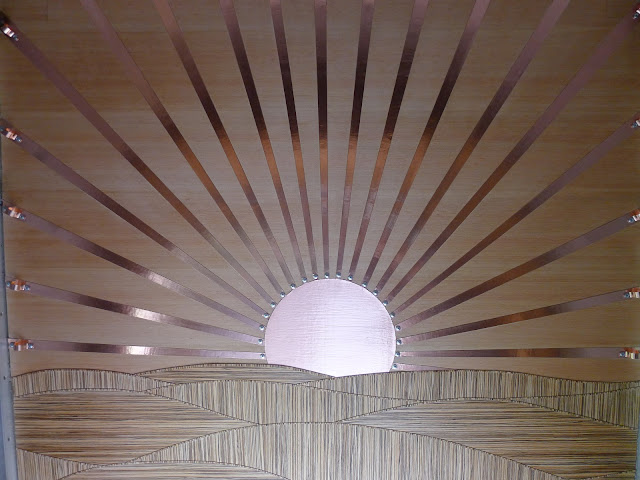
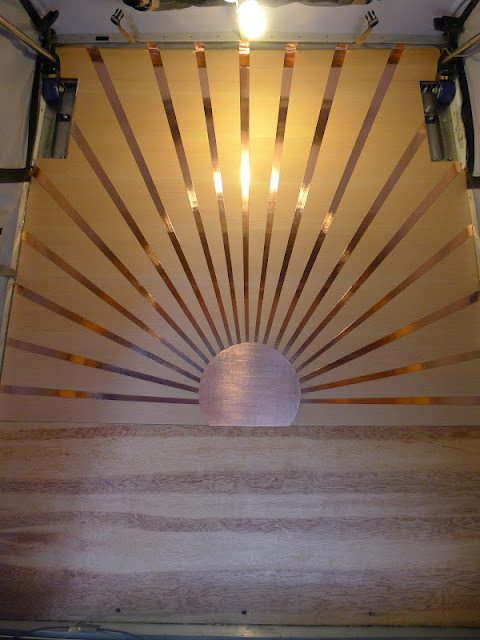
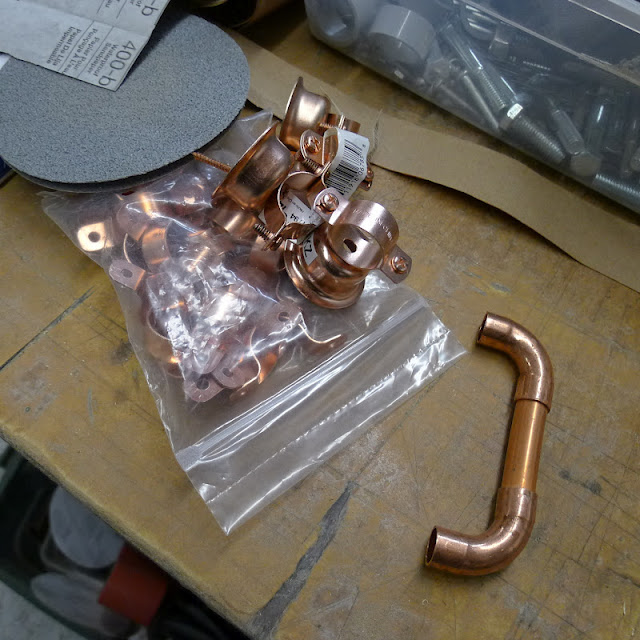
It was all installed with pressure sensitive adhesive...The copper sun rays near the center started to peel off overnight...The problem is the copper has a PSA paper backing and that PSA was less than stong enough...i could have supplemented adhesives, but saw the rabbit hole that would become, so the stategy was to move to mechanical attachment...thus the truss head screws at the ends...On the outer ends of the rays are copper pipe straps, screwed into the veneer covered 1/8" plywood and the underlying 1/2" structural plywood...The loops can be used as attachment points if you want to tie something up there...
The veneers got a thin coat of tung oil...One coat should be fine...It sealed the wood and richened up the color...The fir veneers should mellow and darken over time...
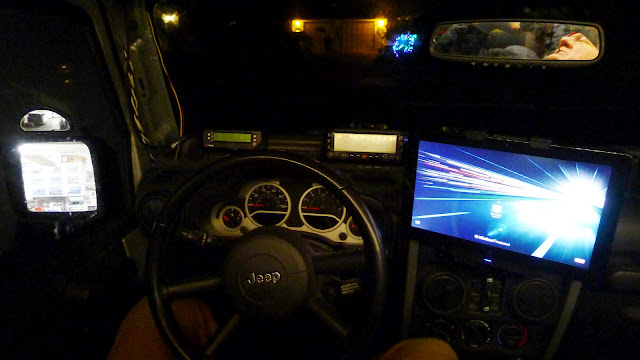
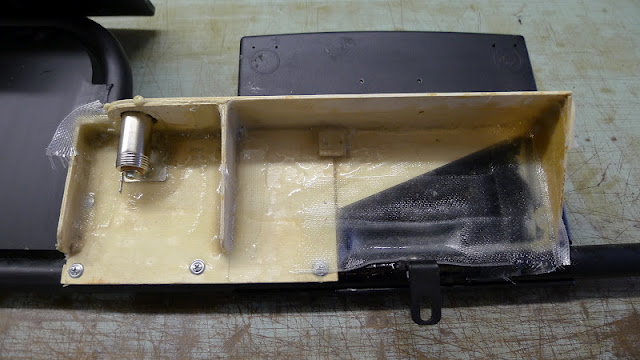
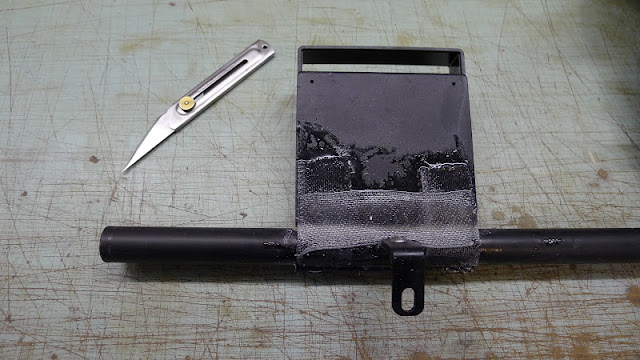
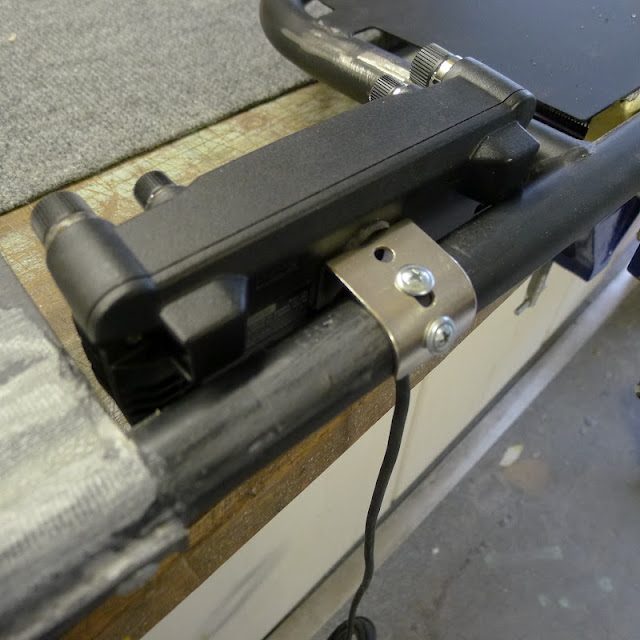
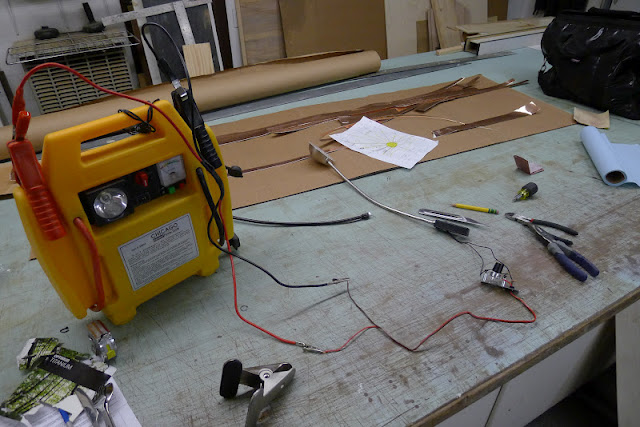
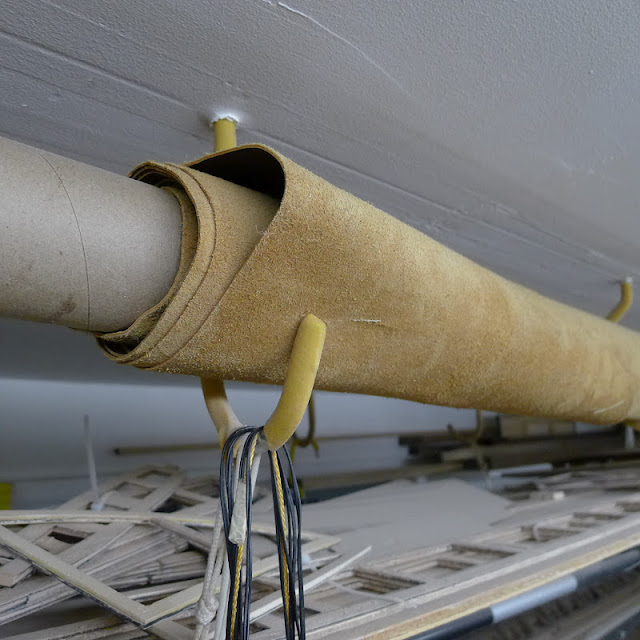
(above) The ham radio has a GPS component, so I ran the sensor to somewhere where it could best receive signals...PSA attachment...
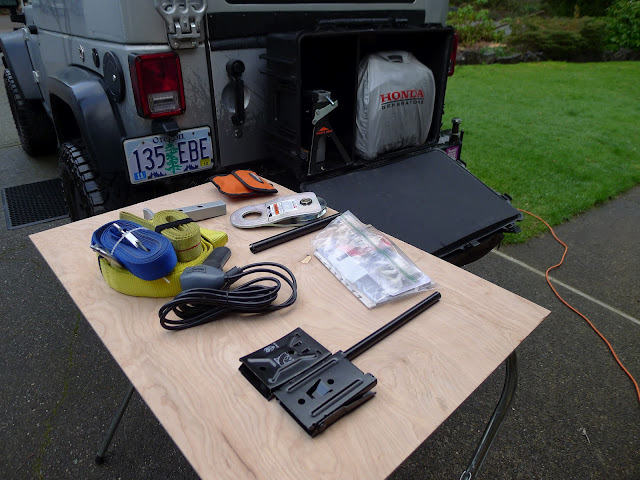
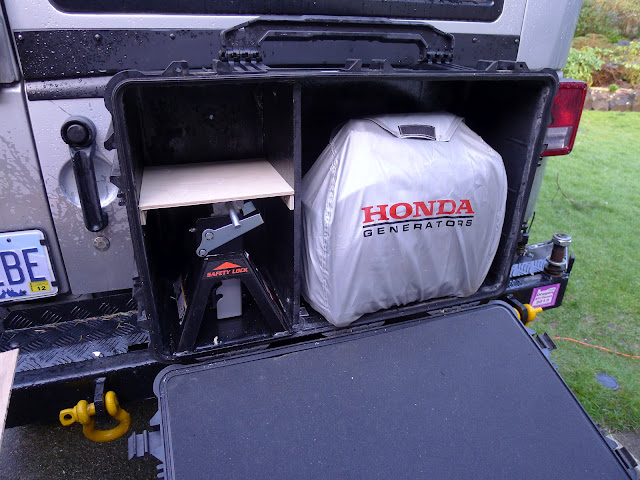
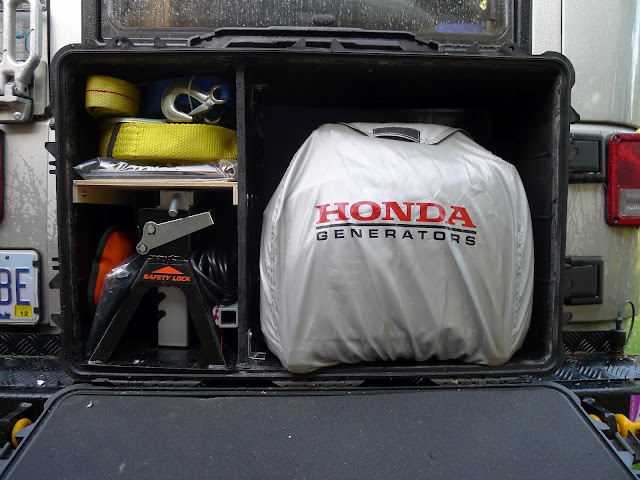
(above) Mike brought by some vehicle recovery gear...
(above) ...and I found a home for it all...
(above) Easy access for when it counts...
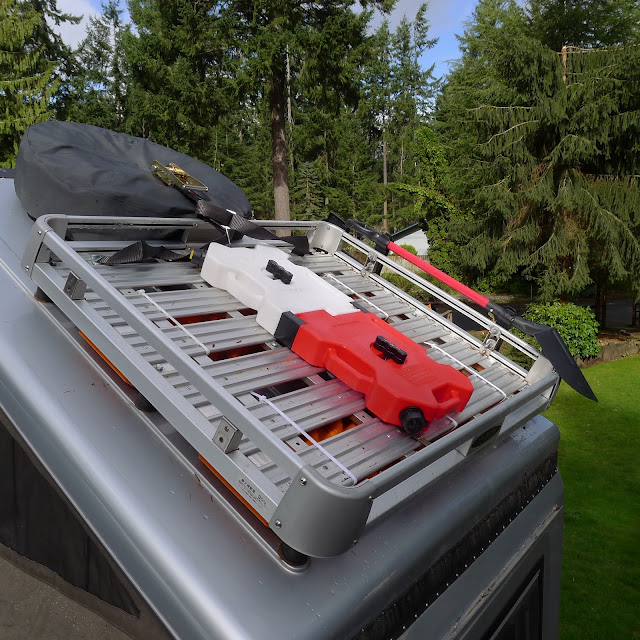
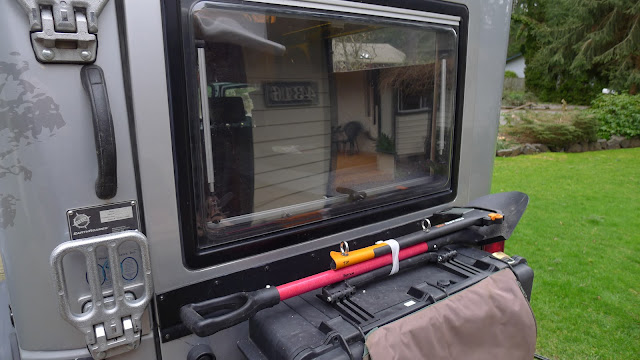
(above) The emergency water and gas cans were mounted up here, behind the tire for better aerodynamics...The mounting hardware is bolted to the rack and released easily...
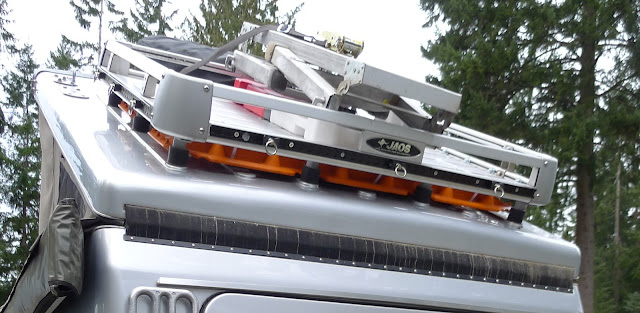
(above) The black metal tie-down tracks were bolted through the rack and have solid and easy to move tie-down rings...Great stuff...That metal step scaffolding on top of the water/fuel is something I'll probably include in the project...It serves as a low step/ seat or high step/ladder...With the teak floor pulled out and set on top, it is a perfect outdoor table, high or low, and with the bench back-rest cushions on top make a great place to lay out and soak in the sun, up off the ground...I'll get pictures of that set-up later...
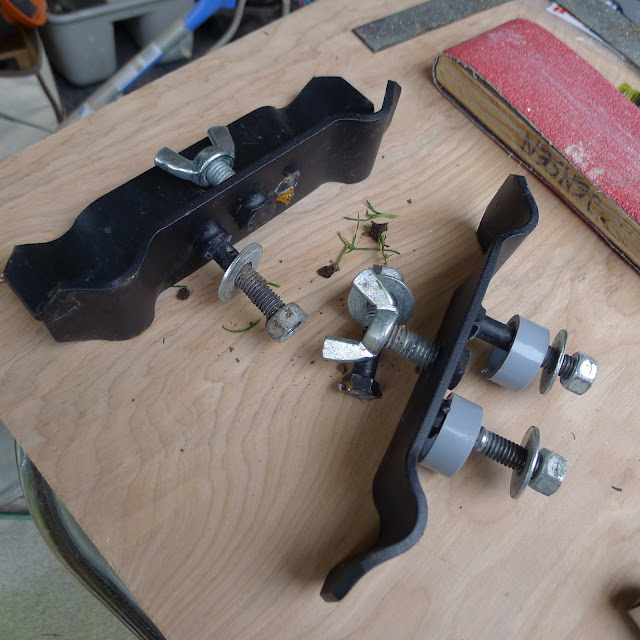
(above) When I mounted the tie-down tracks to the curb side of the rack, I took off the shovel/ax mount, and you can see that one of the welded on bolts came un-welded...To me the design was funky...First off, to access it you need to get to the roof, twist two firmly tightened wing nuts and eventually you need to reverse the process to store them again...Way too complicated...Especially when you need them quickly...
(above) So my solution turned out something like this...
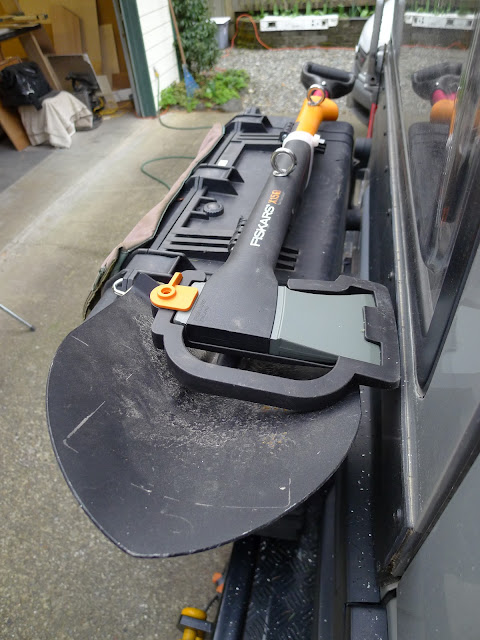
(above) The case handle was useless, so I put a couple of big tee-nuts on the underside, drilled a couple of holes and spun a pair of eyeybolts into the tee nuts...The HD zip-ties do a couple of things...first they really hold the ax and shovel tight to each other and they deter thieves...If you want to 100% lock them, a piece of pipe can be fit through the eye-bolts and locked...
(above) The placement of the shovel was precise so that when the door is opened there is no contact between the shovel tip and the cabin...
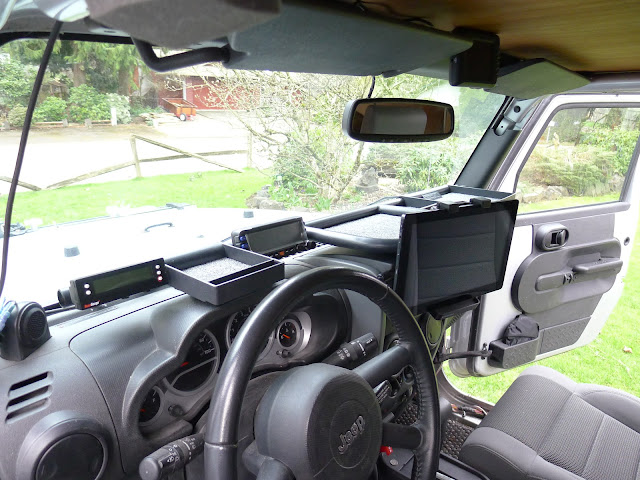
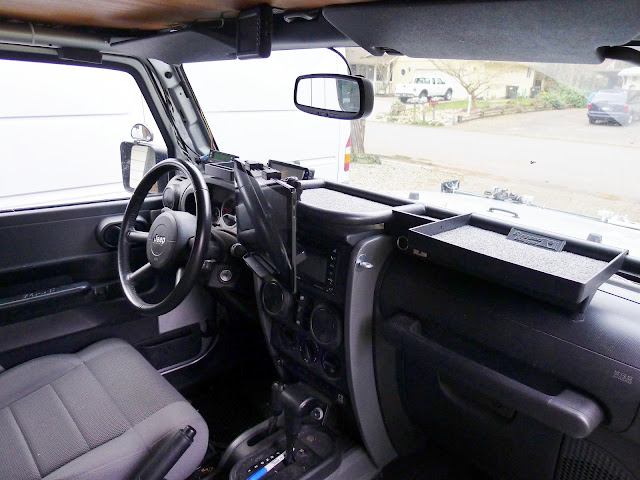
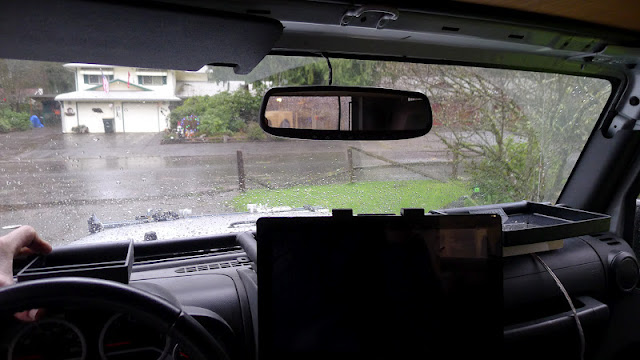
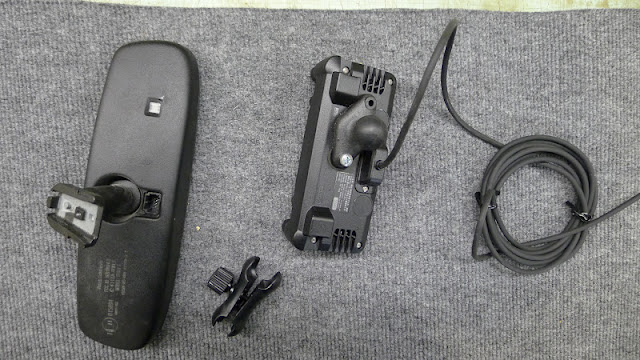
(above) Up front things are getting finished...from left to right: Scanguage, camera tray, ham radio, tablet computer...Above: mirror and rear view cam monitor...
(above) Passenger trays, and below a 12 volt DC and a 120 volt AC outlets...The basics...Carpet fits the trays...
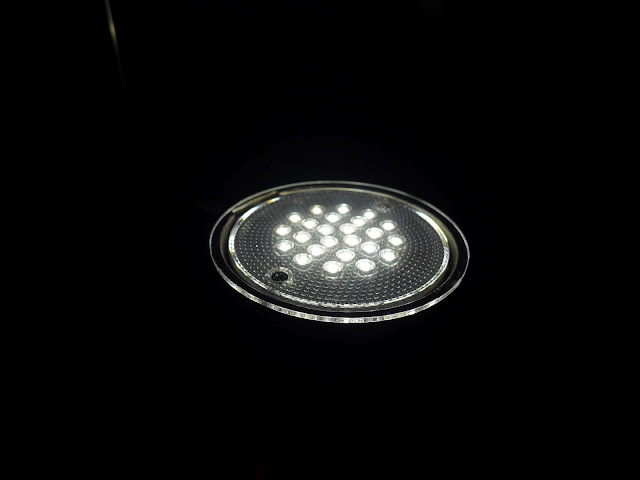
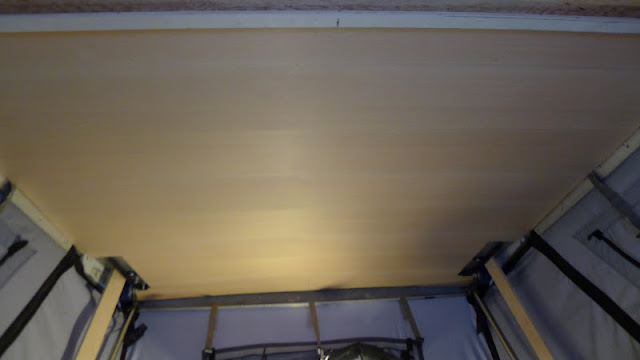
(above) In the back I messed around with the lights...
(above) The raw LED lights cast this, on the ceiling...
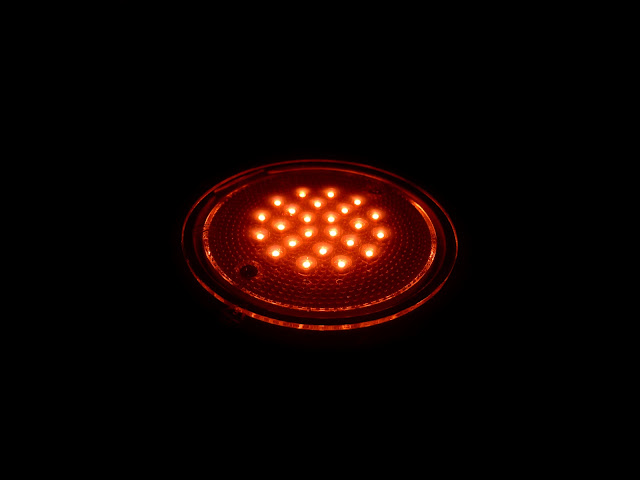
(above) If you put the red plastic dinner plate on top of it...
(above) ...it looks like this...Put on the Barry White and whisper "Come a little bit closer, Sugar and let's share some champagne"...
(above) Back to reality...Driver view in the dark...
More later...
")