PaulJensen
Custom Builder
Forty-Four...
Forty-Four...
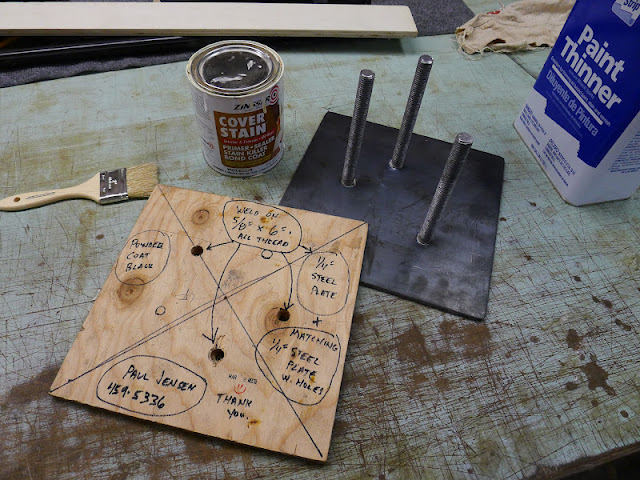
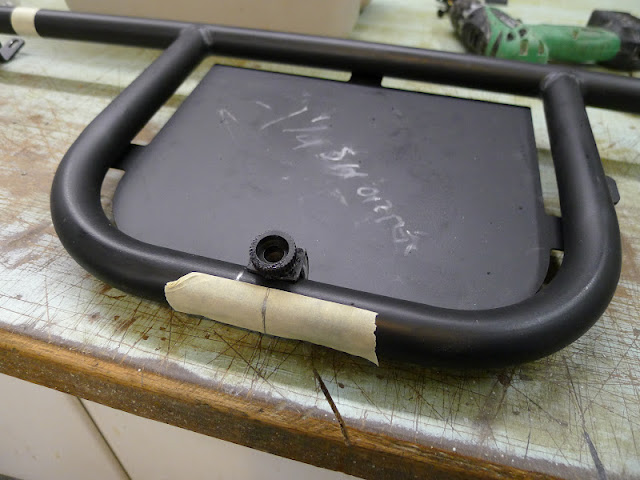
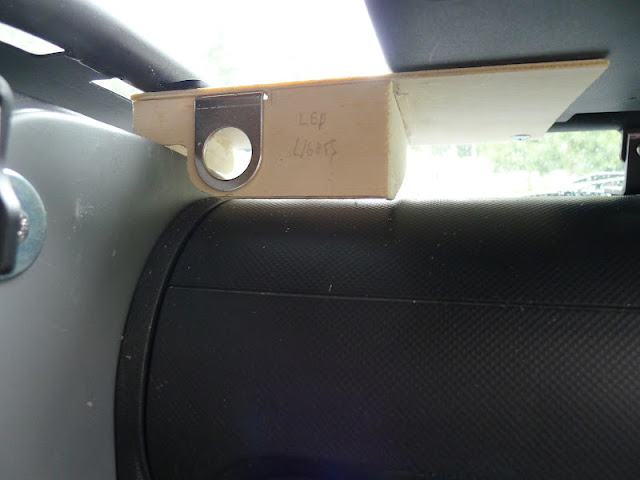
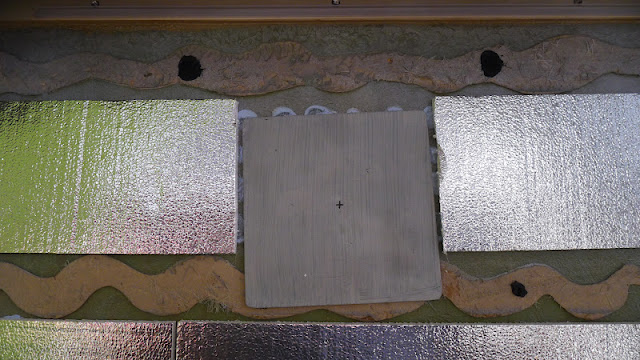
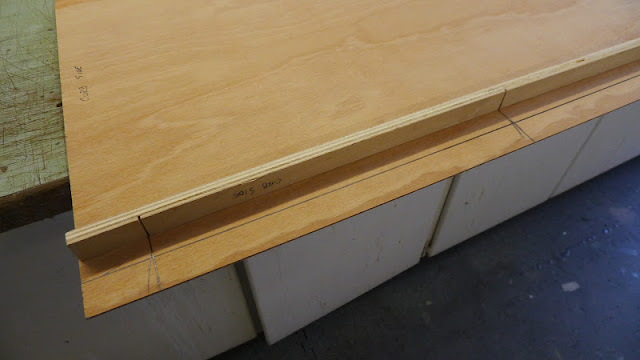
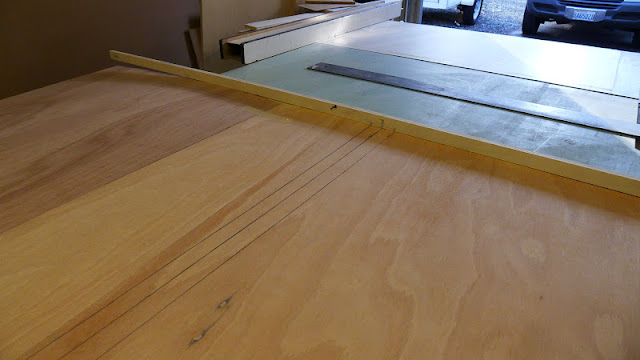
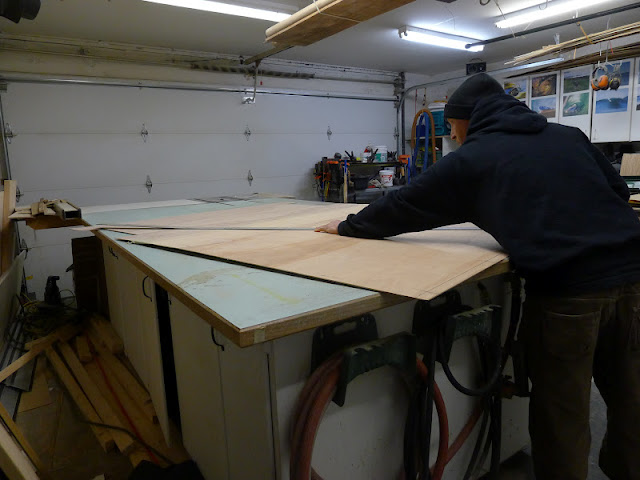
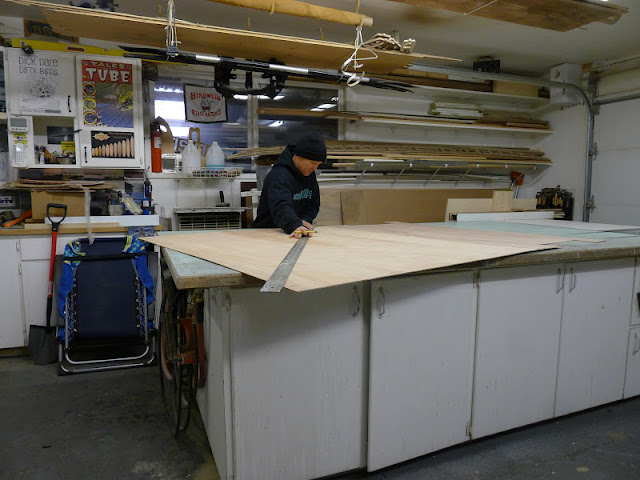
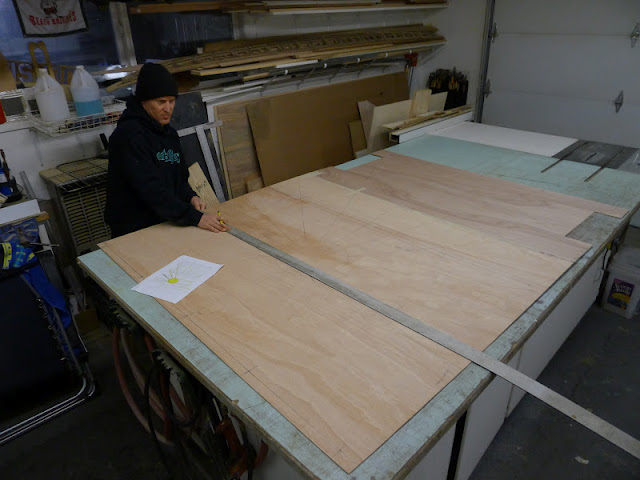
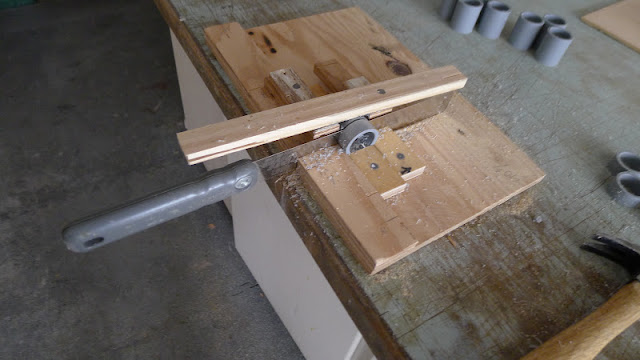
(above) On the priority list, getting the spare tire moved off the roof rack to just forward of the rack, was next...The picture shows the pattern / template that I took to the welder...Below it is the inside the roof part of the mount...
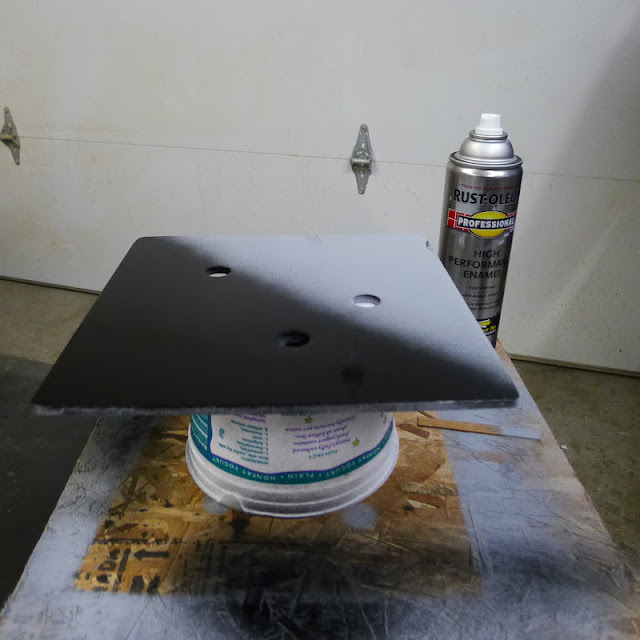
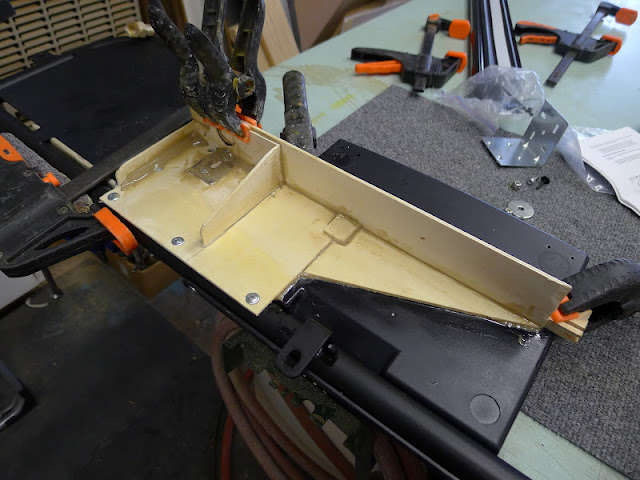
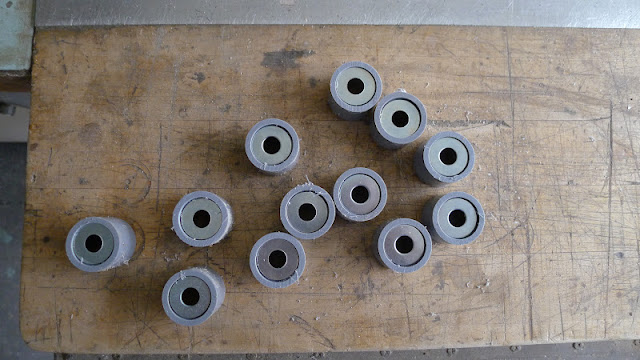
(above) Raw steel gets primed and painted...
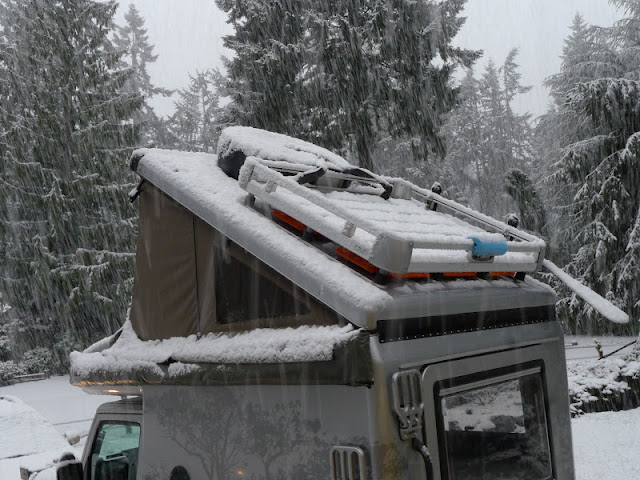
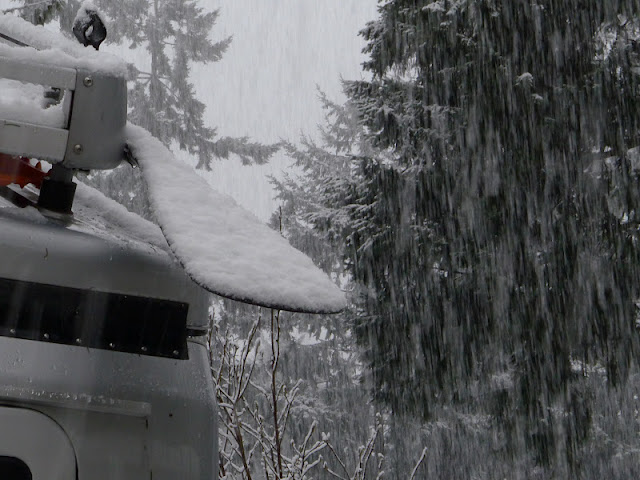
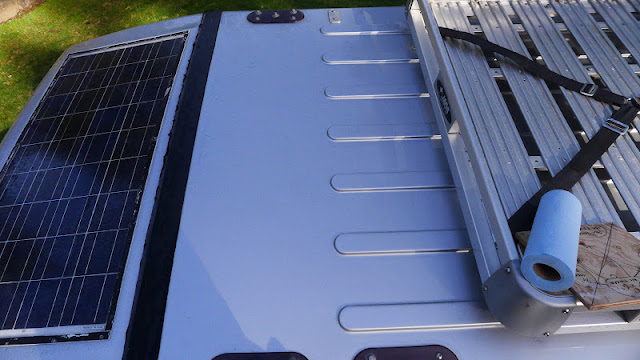
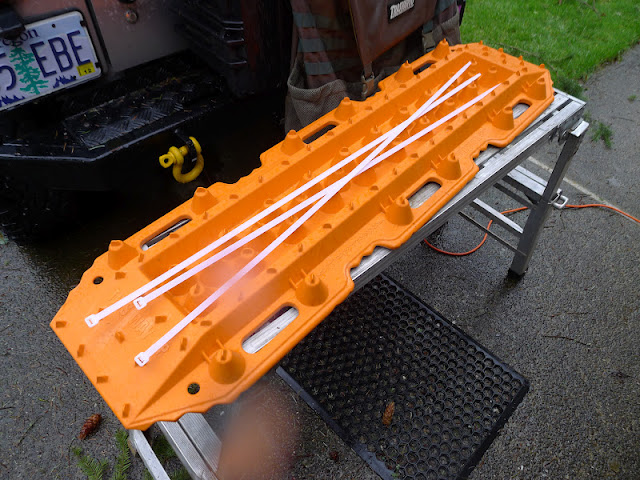
(above) It was great to have a dry day...First thing to do up on the roof was to wipe the ice away...Yeah, it's still winter up here...

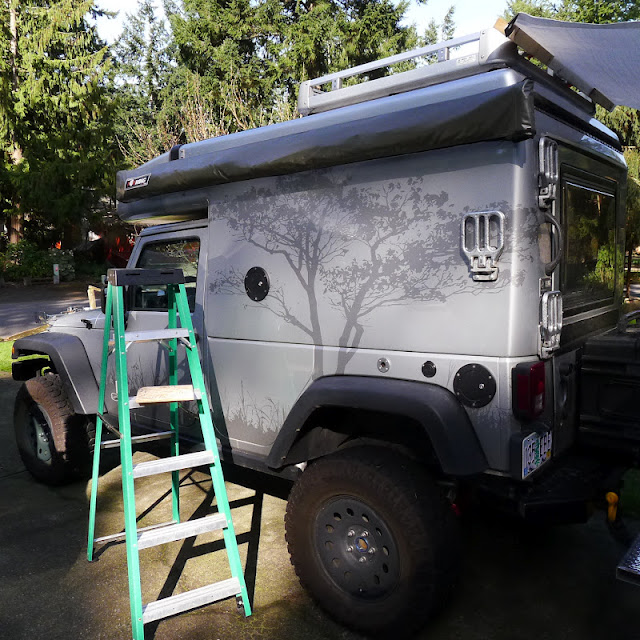
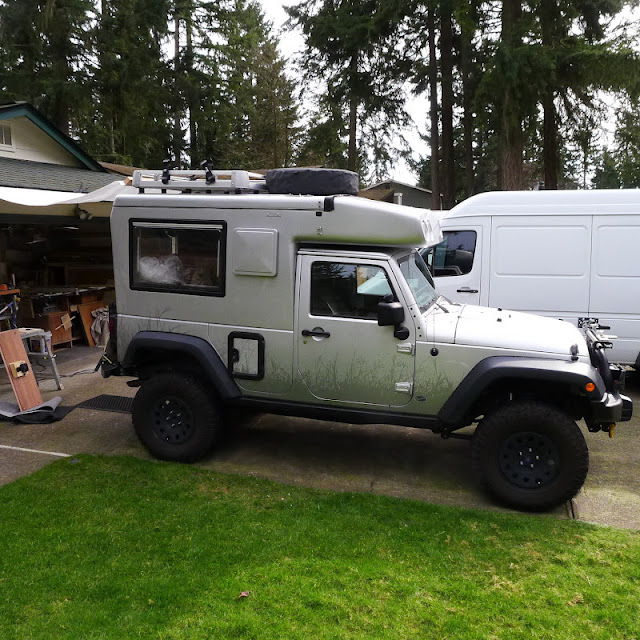
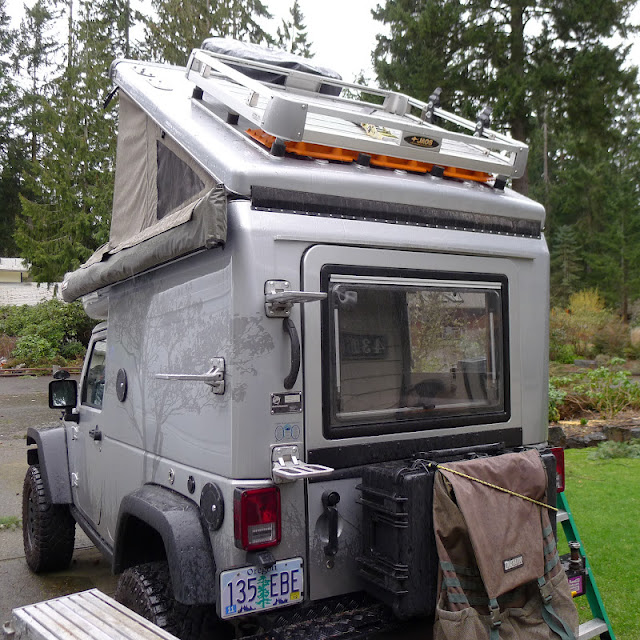
(above) Tire and cover...You can also see the swing up step that has been worked to how I want it...If the swing arm was more sturdy (I don't think it is needing improvement, it is great) the step width could be wider, but making it wider moves the fulcrum point too far outward for the step to be safe...it would flex a lot...Being narrow like it is, it is firm enough in the right place...You gotta keep in mind, it's to help you get in and out, not an escalator...Some user skill required...
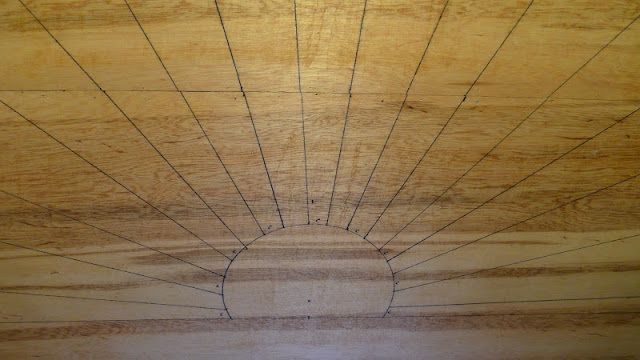
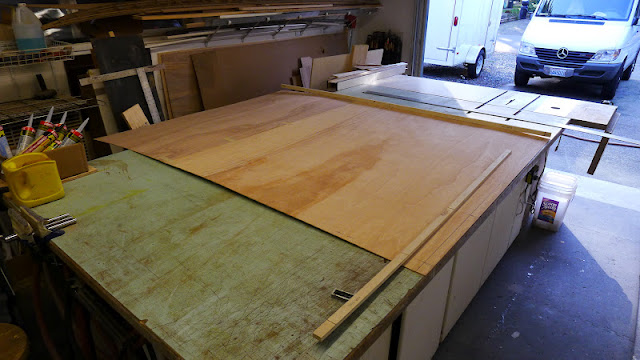
(above) Blank canvas, let's make some mess...
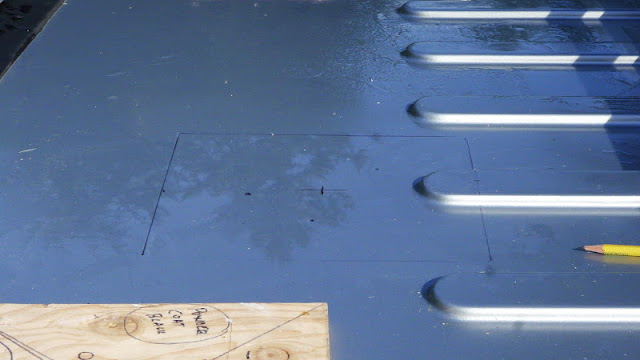
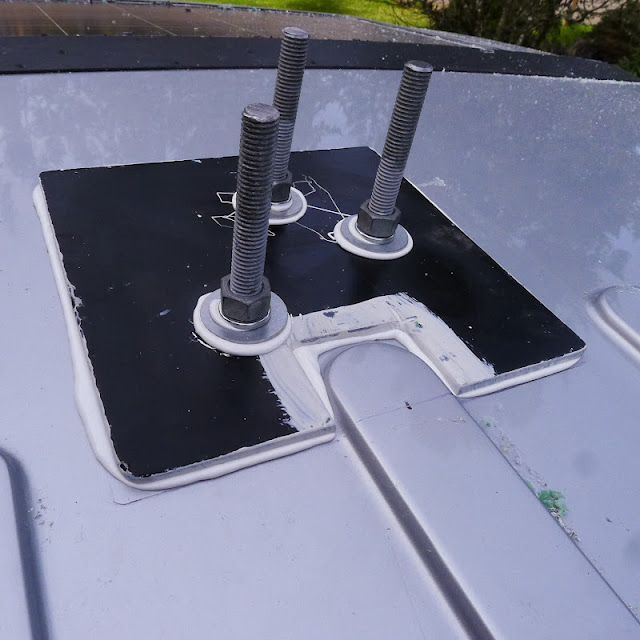
(above) The placement of the mount required for the outer part of the mount to be notched for the roof rib...BTW, the roof is firm and can easily support one or two people walking around up there...Nice job E.R....!!!...
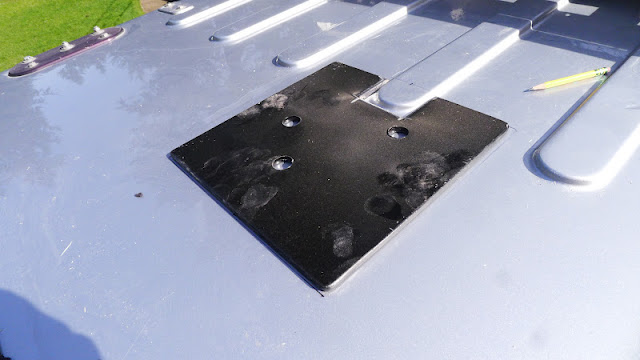
(above) With the flange trimmed and placed, the three holes were drilled for the bolts to go through...
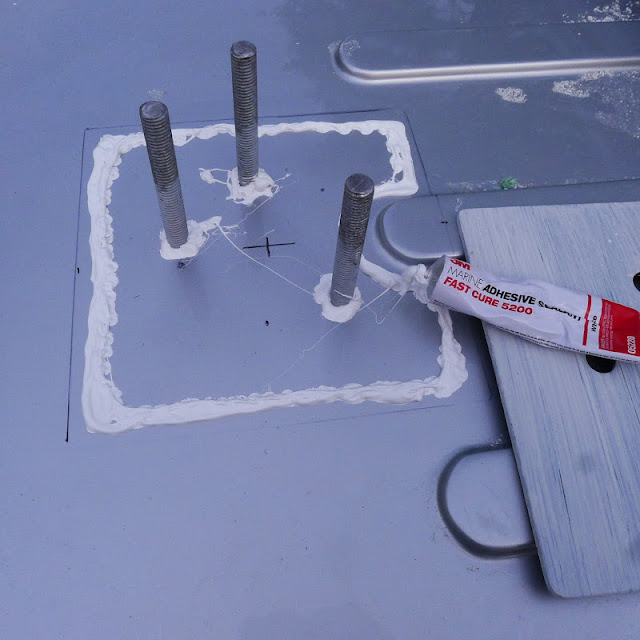
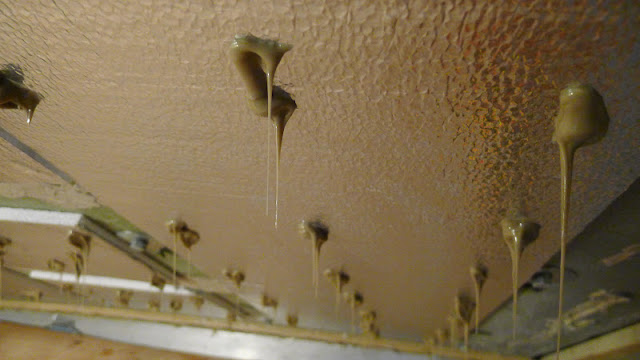
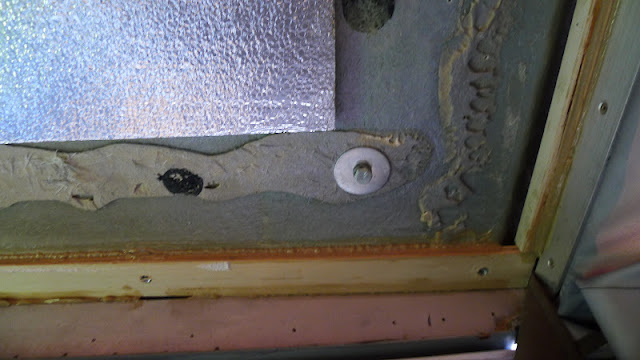
(above) Tire mount slide up from the inside...I used a short block of wood between the bed and the flange to keep it in place while working from the top...It was easy...I used the good stuff to seal the deal...
(above) Flanged, bolted and tightened...

(above) Cleaned up...
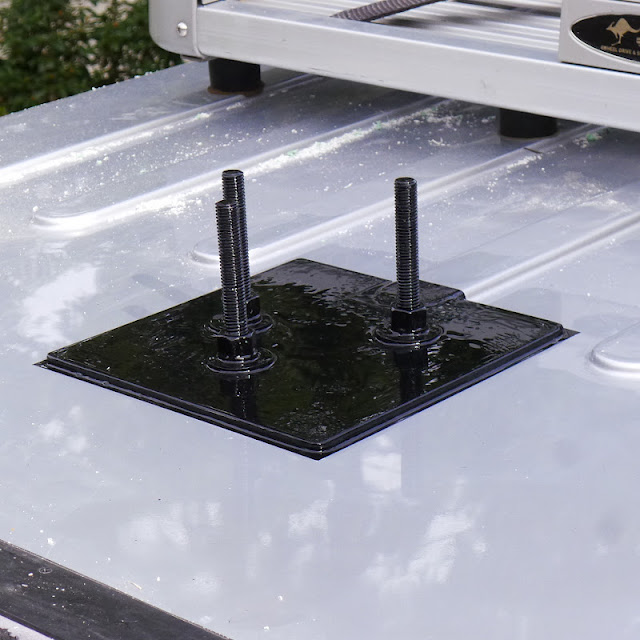
(above) Primed again and painted...To accelerate the dry time, I used a heat gun ...
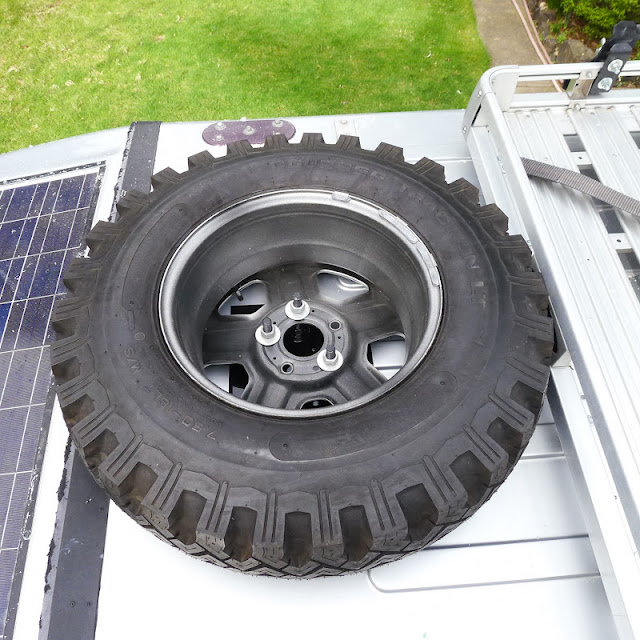
(above) Up the ladder with the tire and slipped in place...
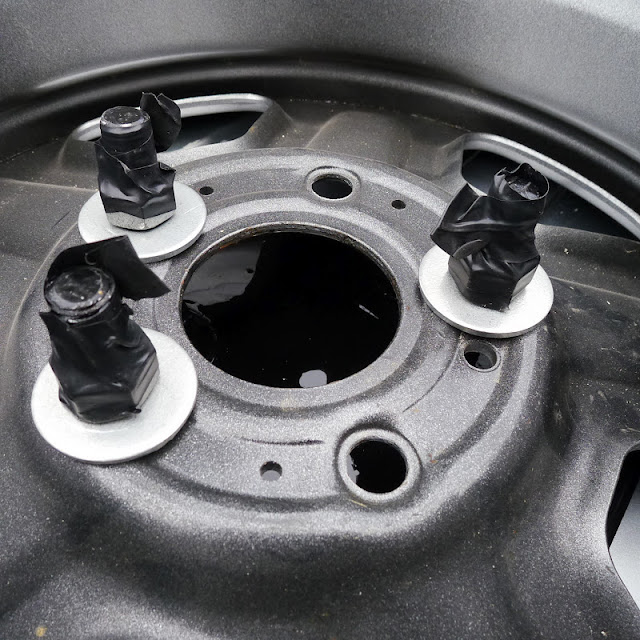
(above) The nuts were wrench tightened beyond finger tight by a few full revolutions, then the nut and thread were taped with electrical tape to keep them from loosening because of vibration..The semi-wet paint on the threads should help that way too...
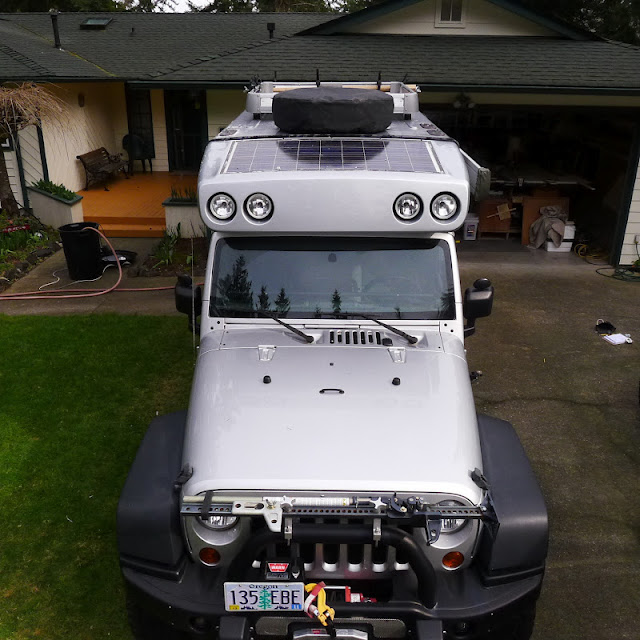
(above) And it looks like this now...
(above) "That's the way, uh huh, uh huh, I like it, uh huh, uh huh..."

(above) With the tire placement resolved, I can now figure out prime placement for the remaining junk that goes up there...(No I don't mean junk, it's just a word I use)...
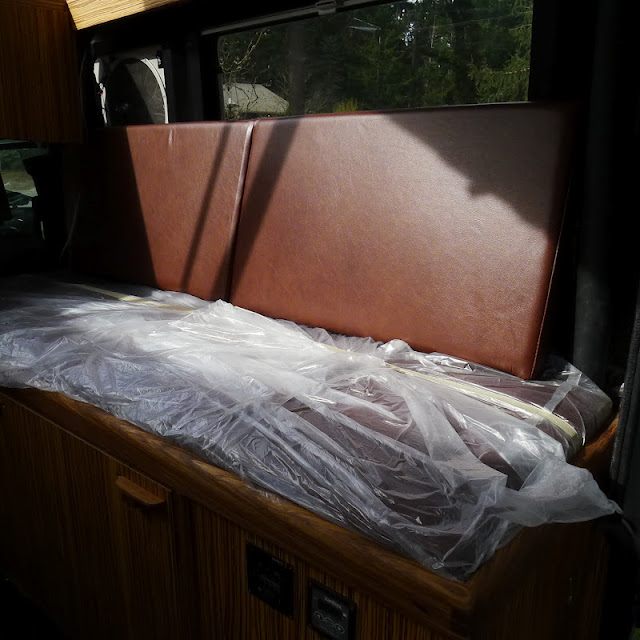
(above) Back inside, here's a too contrasty view of the back rest in place...
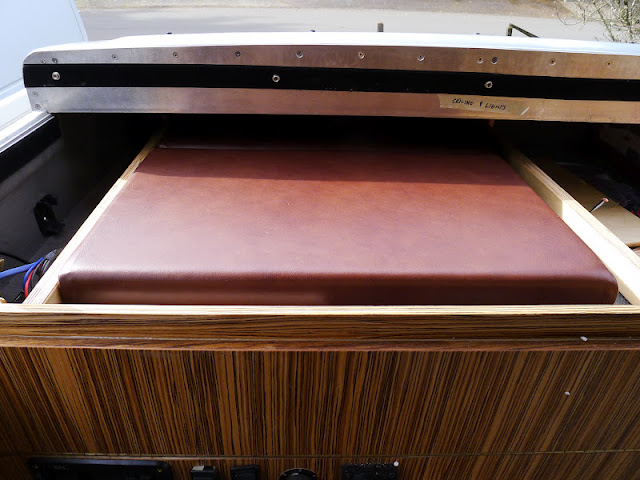
(above) The back cushions fit on the bed when not needed...The 3/4" wood dowels that join the separate cushions together fit in there too...
(above) For the lounger position, just one cushion goes like this....This is a place I could while away a few hours in, no problem...
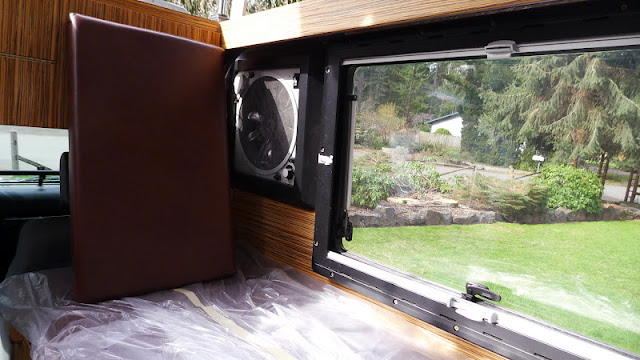
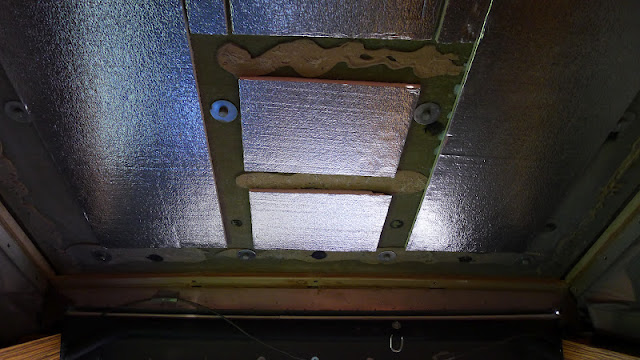
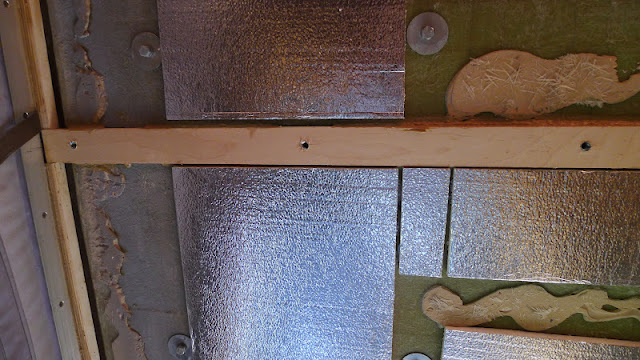
(above) The tire mount, inside looking up...
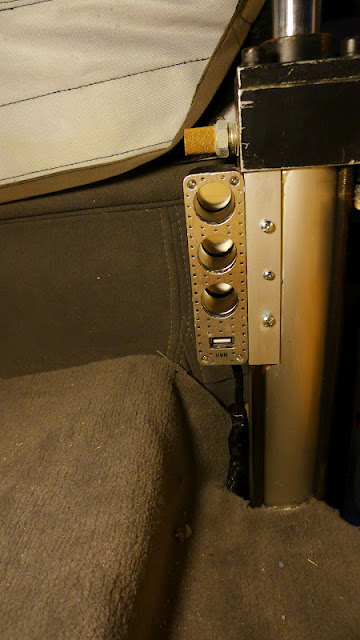
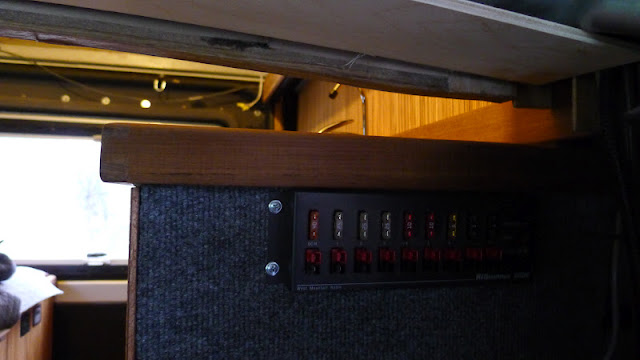
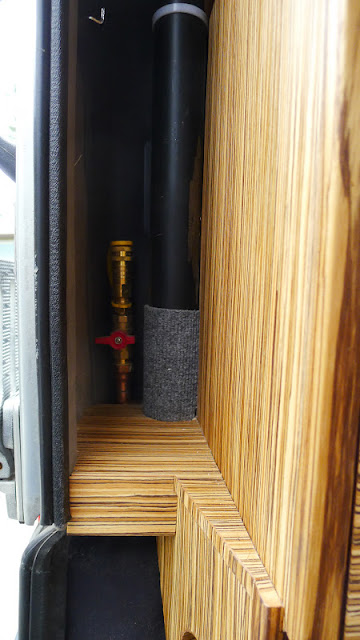
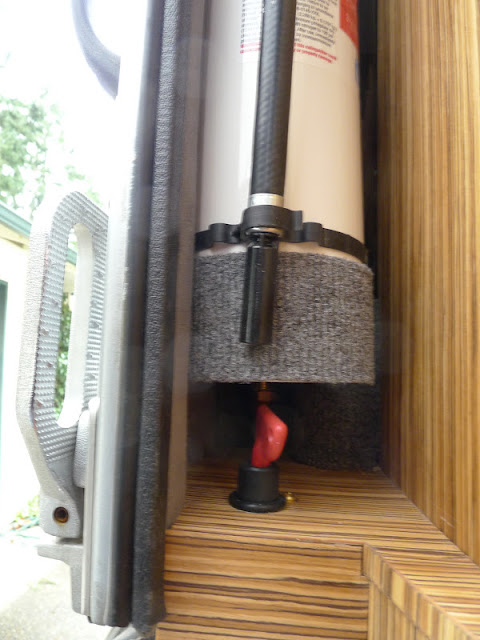
(above) A 12 volt power tap was installed here on the top of the curb-side pneumatic ram tube...Oh yeah, the pneumatic system lifted the roof and tire set-up no problem...Something I had concerns about given where the wheel / tire weight was placed...Mike assured me it would be more than fine, and it is...
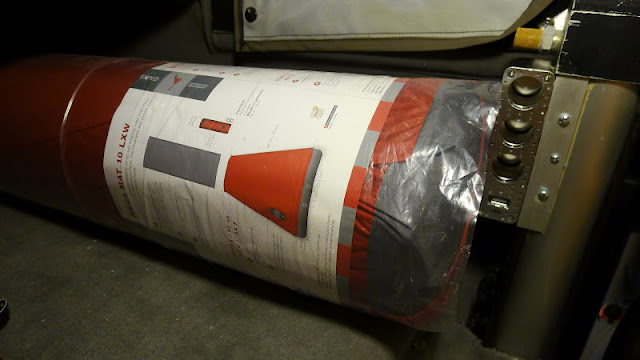
(above) Sleeping pad in place when not in use...The pad - http://www.moontrail.com/exped-megamat-10-lxw.php - is 78" long x 30.3" wide x 'Princess And The Pea' thick...Yeah, roughing it...

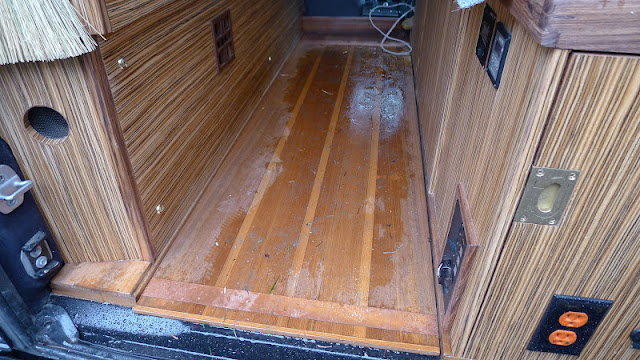
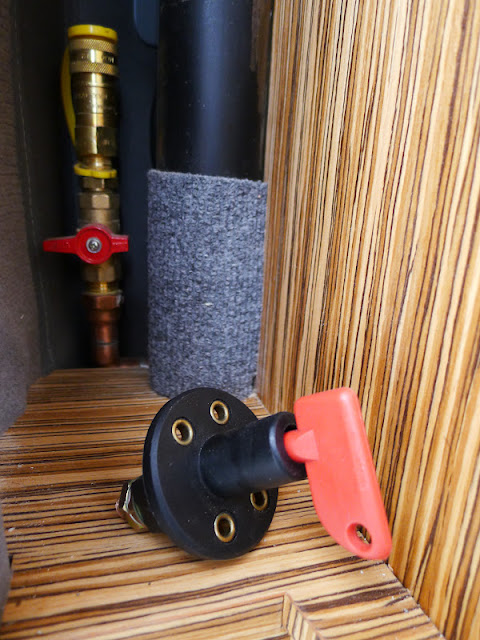
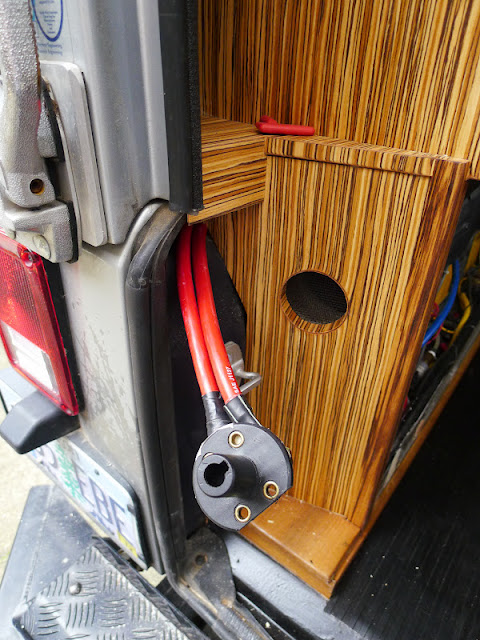
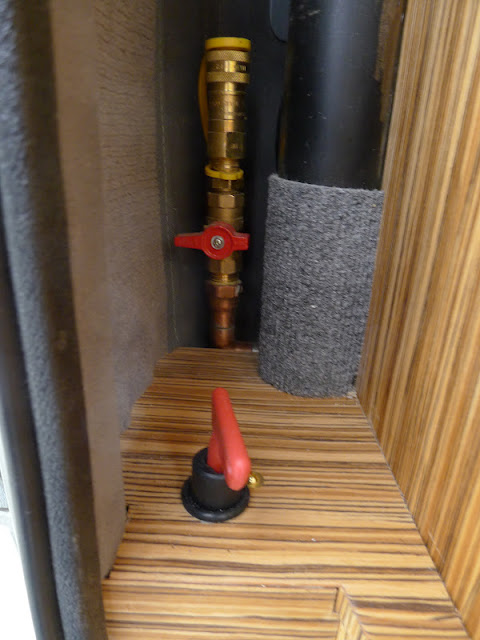
(above) Finally (for today) this power tap was installed here on the rear wall of the curb-side, hard against the window...
More tomorrow (after I surf)...
Forty-Four...
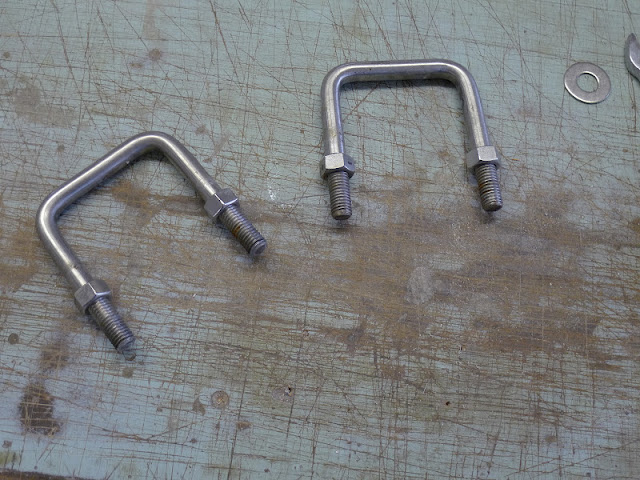
(above) On the priority list, getting the spare tire moved off the roof rack to just forward of the rack, was next...The picture shows the pattern / template that I took to the welder...Below it is the inside the roof part of the mount...
(above) Raw steel gets primed and painted...
(above) It was great to have a dry day...First thing to do up on the roof was to wipe the ice away...Yeah, it's still winter up here...
(above) Tire and cover...You can also see the swing up step that has been worked to how I want it...If the swing arm was more sturdy (I don't think it is needing improvement, it is great) the step width could be wider, but making it wider moves the fulcrum point too far outward for the step to be safe...it would flex a lot...Being narrow like it is, it is firm enough in the right place...You gotta keep in mind, it's to help you get in and out, not an escalator...Some user skill required...
(above) Blank canvas, let's make some mess...
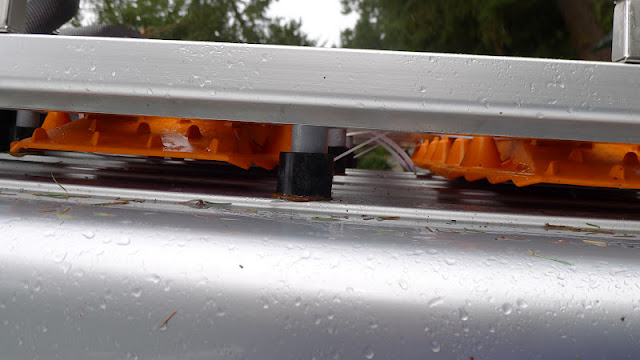
(above) The placement of the mount required for the outer part of the mount to be notched for the roof rib...BTW, the roof is firm and can easily support one or two people walking around up there...Nice job E.R....!!!...
(above) With the flange trimmed and placed, the three holes were drilled for the bolts to go through...
(above) Tire mount slide up from the inside...I used a short block of wood between the bed and the flange to keep it in place while working from the top...It was easy...I used the good stuff to seal the deal...
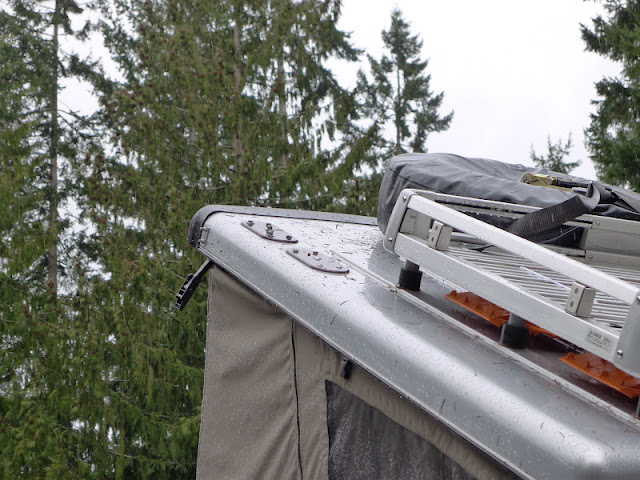
(above) Flanged, bolted and tightened...
(above) Cleaned up...
(above) Primed again and painted...To accelerate the dry time, I used a heat gun ...
(above) Up the ladder with the tire and slipped in place...
(above) The nuts were wrench tightened beyond finger tight by a few full revolutions, then the nut and thread were taped with electrical tape to keep them from loosening because of vibration..The semi-wet paint on the threads should help that way too...
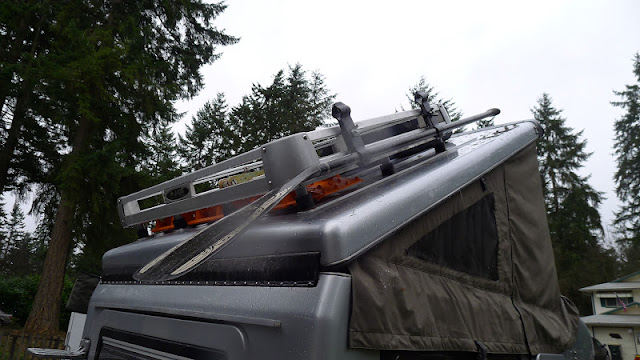
(above) And it looks like this now...
(above) "That's the way, uh huh, uh huh, I like it, uh huh, uh huh..."
(above) With the tire placement resolved, I can now figure out prime placement for the remaining junk that goes up there...(No I don't mean junk, it's just a word I use)...
(above) Back inside, here's a too contrasty view of the back rest in place...
(above) The back cushions fit on the bed when not needed...The 3/4" wood dowels that join the separate cushions together fit in there too...
(above) For the lounger position, just one cushion goes like this....This is a place I could while away a few hours in, no problem...
(above) The tire mount, inside looking up...
(above) A 12 volt power tap was installed here on the top of the curb-side pneumatic ram tube...Oh yeah, the pneumatic system lifted the roof and tire set-up no problem...Something I had concerns about given where the wheel / tire weight was placed...Mike assured me it would be more than fine, and it is...
(above) Sleeping pad in place when not in use...The pad - http://www.moontrail.com/exped-megamat-10-lxw.php - is 78" long x 30.3" wide x 'Princess And The Pea' thick...Yeah, roughing it...
(above) Finally (for today) this power tap was installed here on the rear wall of the curb-side, hard against the window...
More tomorrow (after I surf)...


")