Fiberglass M416/M100 Military-style Trailer Tub Kit

jscherb

Expedition Leader
I've disassembled the tub so I can begin the paint prep and paint process. While I've got it apart I'll take a few photos...

Over the last week or so I've been finishing up the details of the frame, like the lighting and the rear stabilizer jacks, so now that the tub is off I can show the completed frame. The only thing not yet installed is the wiring harness. The harness is already done, and it just plugs into all of the lights that are installed, but I won't actually install it until after the frame is painted.
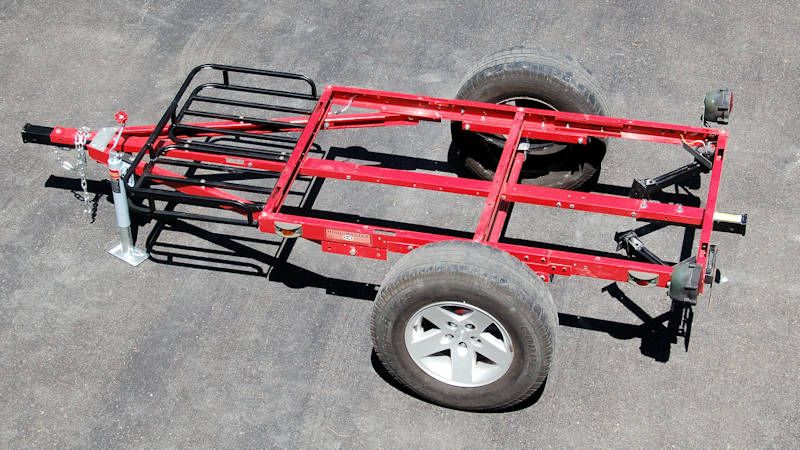
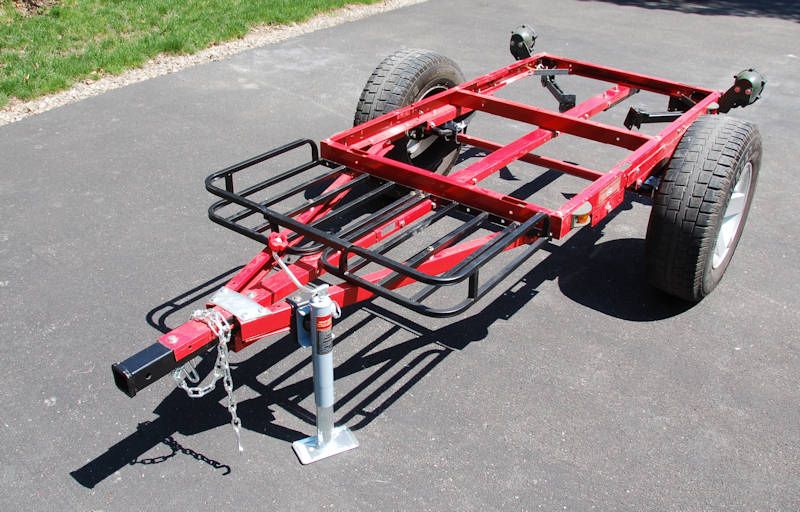
FrameDone10_zps541b9c2f.jpg


FrameDone13_zpsab295bd7.jpg


There are more photos of the bare frame in the main build thread at the Trailer Adventuring Forum:
http://tventuring.com/trailerforum/thread-119.html
 

jscherb

Expedition Leader
Because of the shape of the tub parts, when I made the molds for this tub I made multi-part molds to facilitate getting the parts out of the molds. I've sent a detailed molding document to one of the companies interested in bringing this kit to market so they could evaluate what's necessary to do the molding, and they've come to the same conclusion that I did, which means multi-part molds.

Here's one of my molds for this tub, it's the solid end panel, the top edge of the panel is made by a removable part of the mold, you can see the bolts that hold the top part of the mold to the main mold:

PVASolidEndMold_zps6107e59a.jpg


The way they've decided will be best for molding will result in a mold seams where the parts of the molds separate (mine did too). Because of this, their plan will be to mold the parts in black paint-ready gelcoat only.

The good news is that the black paint ready gelcoat is quite a bit less expensive than white UV-protected gelcoat.

The flip side is that it's recommended that the black paint-ready gelcoat be top-coated with paint or bed-liner material to avoid surface oxidation / chalking over time from UV exposure.
 
What a fantastic DIY project! I have been considering a trailer for all of our gear and I have to say, I've always loved the military style trailer, but would never get one because of the work involved in making them look and function decently. I've had a HF trailer in the past and it worked great. I've since considered a totally home-built trailer with a HF base. This idea combines the best of both worlds! I really hope it comes to market!! Good work sir :beer: :bowdown: :beer:
 

jscherb

Expedition Leader
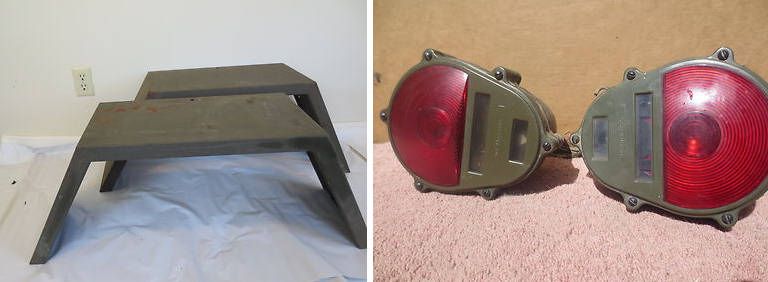
Saw these parts on eBay last night (they're not my listings :))...

eBayParts_zps7d02e227.jpg


The fenders are NOS (new old stock, unused) M416 fenders, and are currently listed at $90, which is a good price for them: http://www.ebay.com/itm/221221579046?ssPageName=STRK:MEWAX:IT&_trksid=p3984.m1423.l2649.

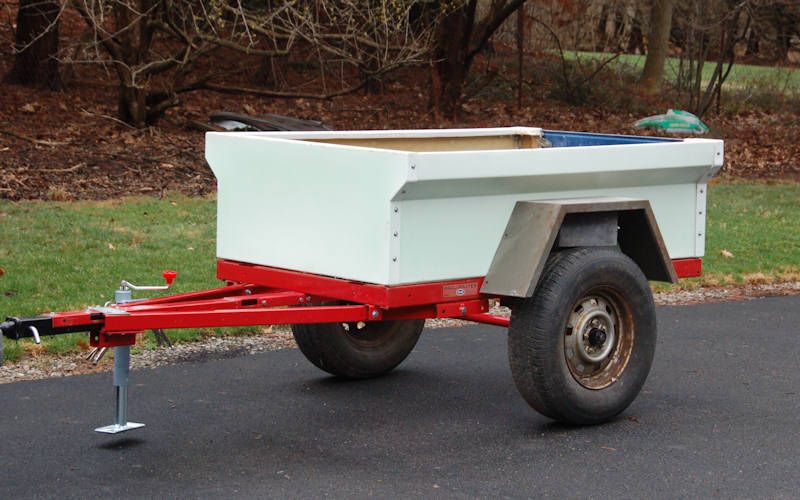
I have a set of NOS M416 fenders here, they're a good size if you plan to use something like Jeep steel wheels:

TubTest3_zps667be44f.jpg


If you use Jeep alloy wheels these fenders aren't wide enough though because the alloy wheels stick out further due to the spacers required to fit the small-hole alloy wheels on the trailer hubs.

I bought my pair of M416 fenders some months ago just to use as a pattern for the wider ones I made (compare the ones above to the ones below), I wanted to design my wide fenders so they could be used on this trailer kit or be a direct bolt-on for an original M416 since so many people with M416's run tire that stick way out from their stock fenders. I'll likely sell my original M416 fenders when I've finished this project, I won't need them anymore.

Also on eBay right now, the pair of military lights that are correct for an M416A1: http://www.ebay.com/itm/221221585048?ssPageName=STRK:MEWAX:IT&_trksid=p3984.m1423.l2648. They're currently at $30, which is much cheaper than they usually show up for. They're the same as the ones I'm using:

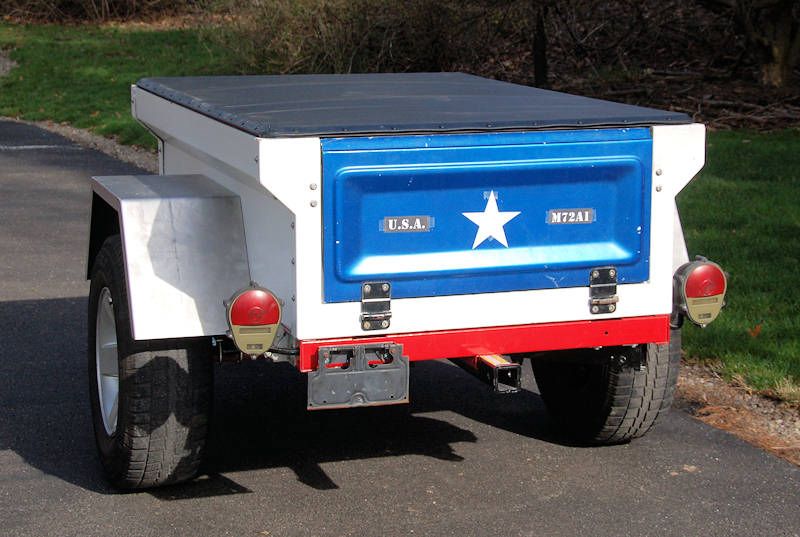
Graphics3_zps265ad8de.jpg
 

jscherb

Expedition Leader
What a fantastic DIY project! I have been considering a trailer for all of our gear and I have to say, I've always loved the military style trailer, but would never get one because of the work involved in making them look and function decently. I've had a HF trailer in the past and it worked great. I've since considered a totally home-built trailer with a HF base. This idea combines the best of both worlds! I really hope it comes to market!! Good work sir :beer: :bowdown: :beer:

Thank you very much!
 

jscherb

Expedition Leader
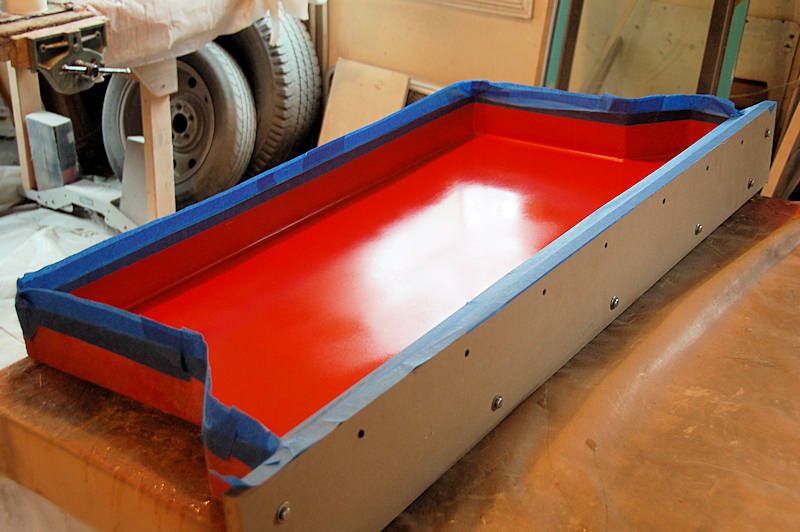
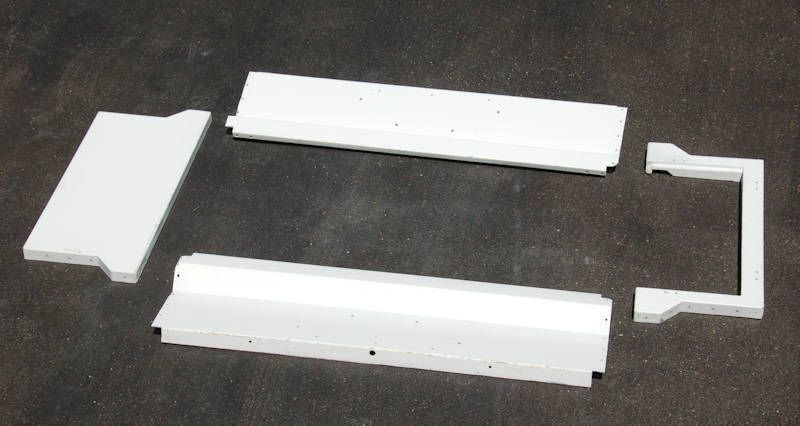
Today I'm doing some final sanding on the fiberglass parts to prep them for paint. Here's a photo of the fiberglass parts kit disassembled...

M72PartsKit_zpsf46341df.jpg


I ordered the paint on Monday but it doesn't seem to have shipped yet, so I'm not sure when I'll be able to get the painting done. I still have lots of other prep work to do though - like sanding the frame, so not having the paint isn't delaying me (yet).

The other day I took a PDF of the decals I've designed for the tub to a local place that makes decals for me, they said they'd be ready today.
 

Mark Harley

Expedition Leader
When it is all done send it to Mark Harley, Oakmont Pa. 15139
I will test it for you!

Looking forward to it hitting the market!
 

jscherb

Expedition Leader
True! I sold that trailer last month...................I need a new project.
Well if you need a new project, you definitely don't want me to deliver a finished trailer to you, you need to get a kit of your own and make a proper project of it :)

M72PartsKit_zpsf46341df.jpg
 

jscherb

Expedition Leader
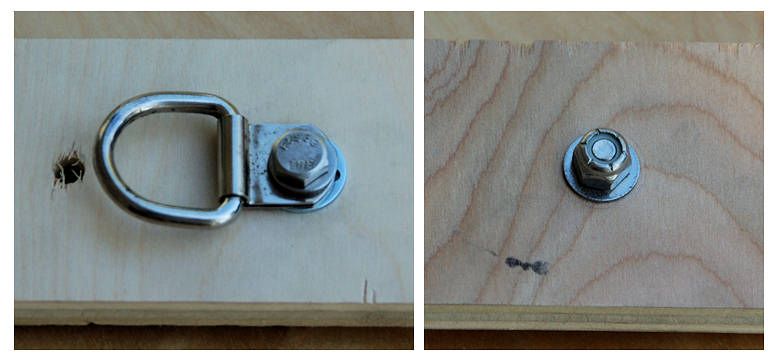
I'm putting some tie-down anchors in the tub floor, here's a shot of one of them in a test scrap of plywood (top and bottom view):

TieDowns1_zpsebf80557.jpg


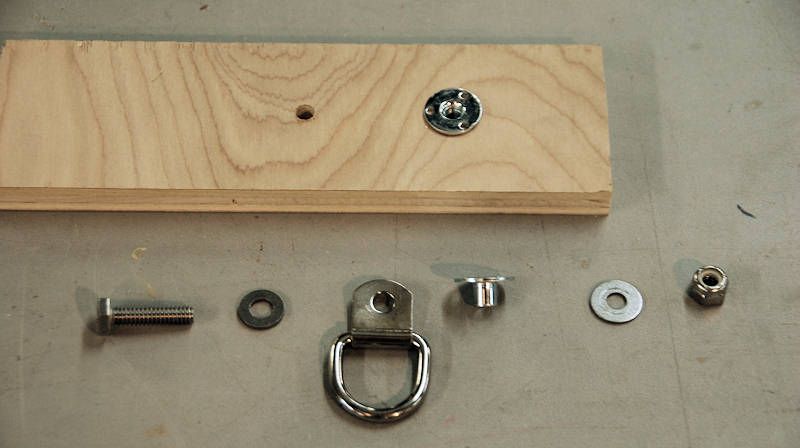
The anchors came from the u-pull junkyard, every PT Cruiser has 4 of them. Here's how I've installed them... I put a tee nut into a hole in the floor, then I put a bolt and washer through the tie-down and thread it into the tee nut; I tighten it just enough so the anchor swivels nicely. Then I put a washer and a nylock stop nut on the bottom side of the plywood to secure everything in place. The tension between the t-nut and the stop nut holds everything very securely but still allows the tie-down to swivel freely.

TieDowns2_zpsf0ff57c3.jpg


They're very inexpensive, look good and easy to install.

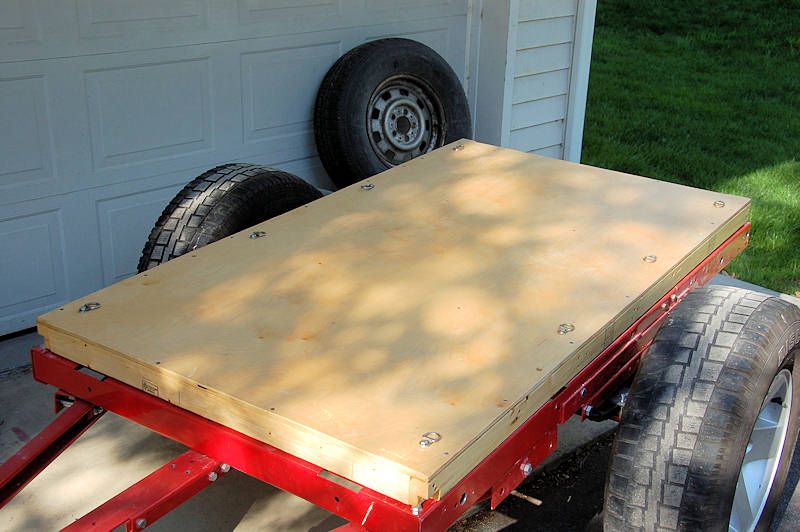
Here's a shot of the floor with 8 tie-downs installed.

TieDowns3_zps4cdb1761.jpg


The floor is just sitting on the frame for now so I can roll the frame and the floor out of the way in the garage as I'm working on the tub prep.

The floor has been sealed; the next step is to assemble the floor and the tub together. I'll then use seam sealer to seal the joints between the floor and the fiberglass so water can't get in (a good quality latex caulk from a home center could also be used, but I've always had excellent results with automotive urethane seam sealer). Also the corner joints between the tub parts will get seam sealer. Once everything's sealed, it'll be ready for primer and paint.

Also in this photo up against the garage door is one of the pair of tires on Jeep wheels I used in early photos of the trailer going together. I'll think I'll probably paint the wheels olive drab to match the rest of the trailer so I can use them when I want to really make the trailer look more "military".
 

Forum statistics

Threads
188,375
Messages
2,903,893
Members
230,227
Latest member
banshee01
Top