Fiberglass M416/M100 Military-style Trailer Tub Kit

jscherb

Expedition Leader
This is the paint I'm planning to use for the prototype trailer and frame: http://www.tcpglobal.com/Customshop...y2=Gallon-Kit&websitecategory3=Medium+Reducer. It's a two-part urethane with a low gloss (roughly 20%, so about an eggshell finish), and it also contains UV inhibitors for a longer life. BTW it's quite a bit less expensive if you order it through Amazon.
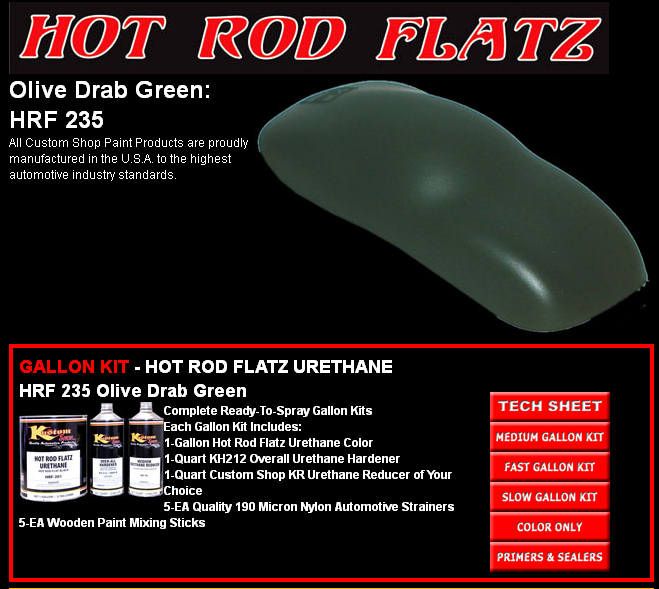
HotRodFlatz_zpsfe5dc6da.jpg


I researched a lot of different paint solutions, including paints offered in the military restoration market and normal two-stage automotive paint plus a flat clear coat. Originally I planned to ask my local auto paint jobber (Elmira Auto Paint) to custom mix some automotive paint for me to match the rattle can paint I used to do the 1/4 scale model, but after they did their homework, the best they were going to be able to offer me would have required a separate low-gloss clear coat step. Not that a separate flat clear coat bothers me, but given that I've got to do the top and bottom of the frame, and the top and bottom of the tub, the clear coat steps would have added 4 days to my paint plan.

So the Hot Rod Flatz combination of UV protection, the built-in low gloss finish (no need for a separate clear coat), and the two-part urethane for hardness and durability made the most sense to me from cost, time involved in painting and durability standpoints. I reviewed this choice with my friends at Elmira Auto Paint and they agreed it's the best way for me to go with this project. I do still plan to have Elmira Auto Paint mix up some Raptor bed liner color matched to this paint.

Based on the delivery date for the paint, it doesn't look like I'll be able to start the color painting until Friday. I'll be able to do the epoxy primer before then, but I don't want to do that too early - paint bonds best to epoxy primer within 3 days of when the primer is applied, so I'll probably start shooting primer on Wednesday.
 
Last edited:

jscherb

Expedition Leader
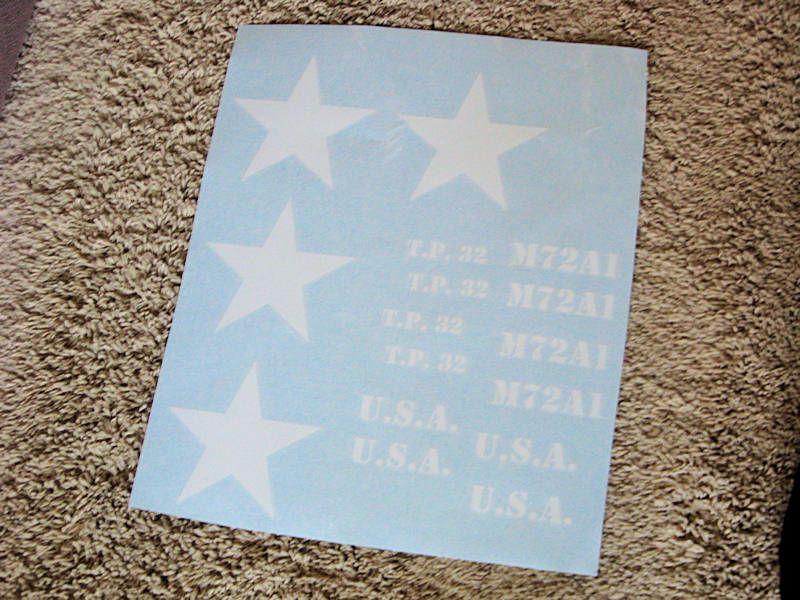
The local sign shop got my decal set done the other day...

M72Decals_zpsd53166ab.jpg


This sheet is almost 2x3 feet, it's bigger than it might look in the photo. This sheet has a few more decals than I'll need, I always get an extra or two of each just in case I somehow manage to get one applied crooked. I've never gotten one crooked, but some day I'm sure I'll need the extra :).
 

jscherb

Expedition Leader
Lots of fender choices...

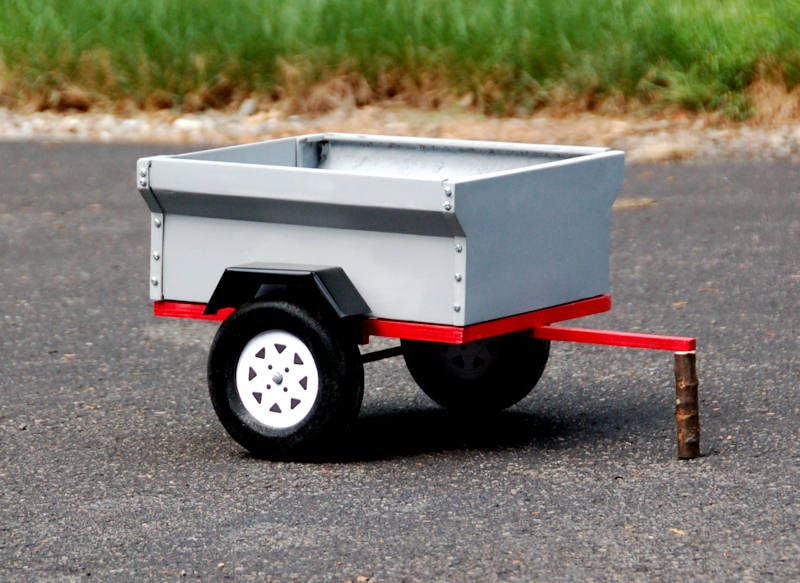
If you're building an M48 4'-long version of this tub on a Harbor Freight 90153 40-1/2" x 48" 1090 Lb. Capacity Utility Trailer and you're running the stock HF tires and wheels, then the stock HF fenders will work just fine. This 1/4 scale M48 model was built with the stock wheel/tire size and the stock fenders:

MiniM416Proto1.jpg


If you're running 14-15" steel wheels and tires up to say 235/75-15, then you'll need 9" or 10" wide fenders, which are usually pretty easy to find at places like Tractor Supply, Northern Tool, etrailer.com, or KMT Service Parts (http://kmtparts.com/trailer-body-components/jeep-style-fenders.html).

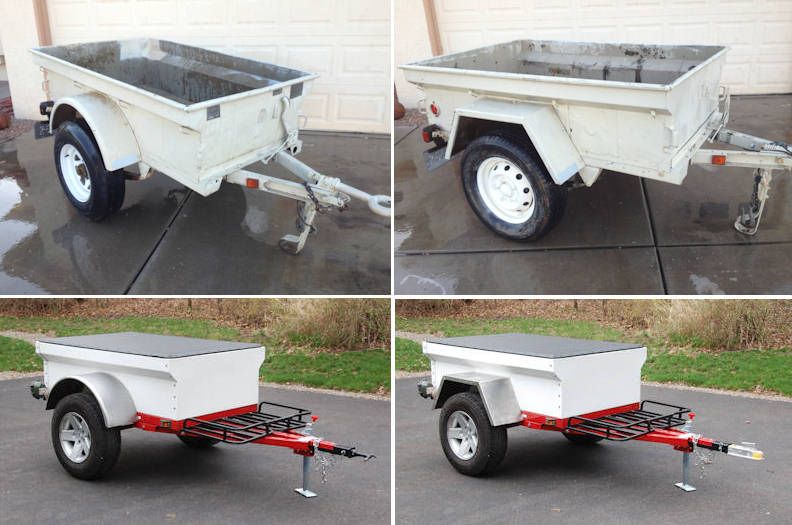
Original military styles were either round (M100) or angular (M416):

FenderComparison2_zpsd129b001.jpg


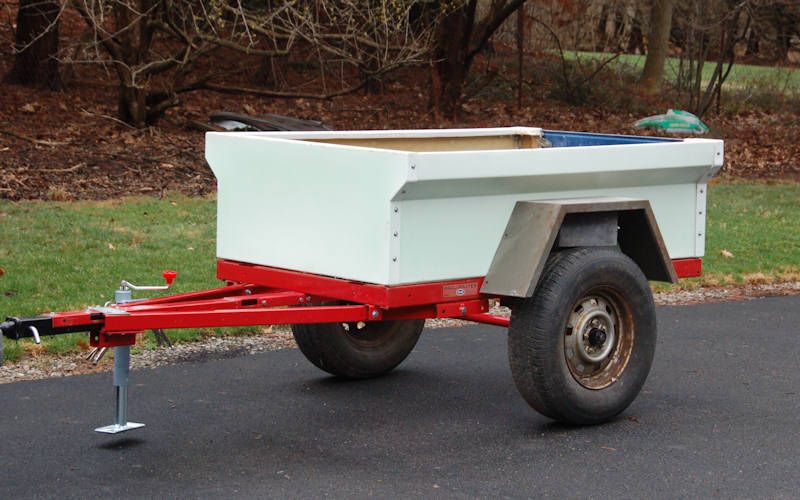
Round fenders like the M100 style are easily available at many places in widths up to 13" (the ones in the bottom left photo in the group above are 13", so are my custom ones at lower right). Or, you could run original M416 fenders, they show up from time to time on eBay and at military surplus places, they're 9.75" wide:

TubTest3_zps667be44f.jpg


If you plan to run alloy wheels with Jeep-sized tires that have a small center hole that doesn't fit over the trailer hub, you'll need to run spacers on the hub for center hole clearance, and that increases the fender width required, as shown in the two lower photos in the group of four photos above. Depending on wheel and tire size, you'll likely need 12" or 13" wide fenders (the ones above are 13").

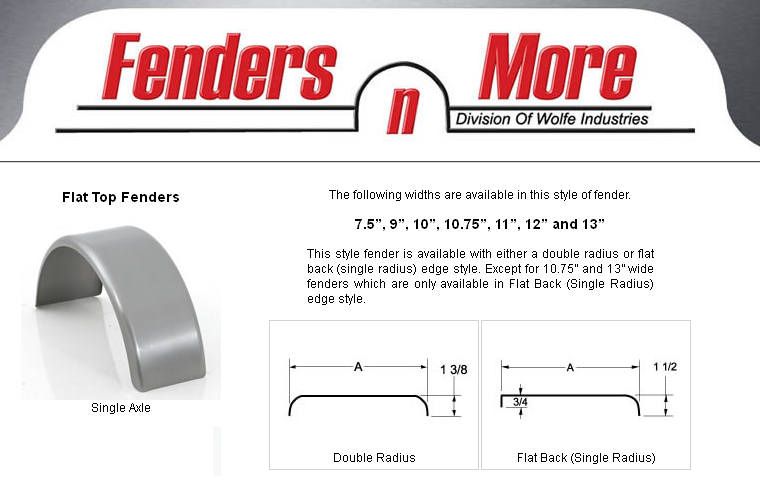
Round 13"-wide fenders can be found at etrailer.com, KMT, or a place called Fenders n More (http://www.fendersnmore.com/), they can make them in a bunch of widths up to 13"

FendersNMoreRound_zpsd674fc93.jpg


If round fenders aren't what you plan, you might use "Jeep-style" fenders like the ones that Sierra4x4 and Manley use on their trailers:

JeepStyleFenders_zps4b237ea6.jpg


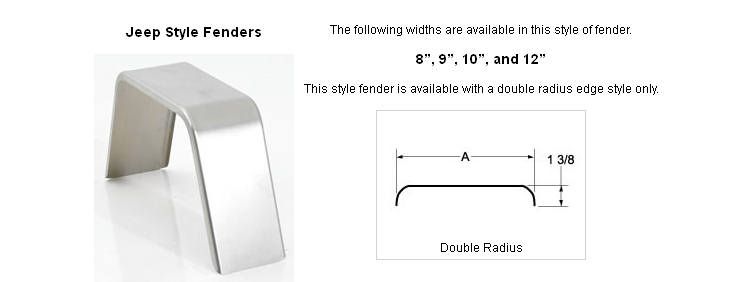
Fenders n More offers Jeep-style fenders in up to 12" widths, which are wide enough to cover most reasonable sizes of tires you might put in this trailer:

FendersNMoreJeep_zps3be1886c.jpg
 

jscherb

Expedition Leader
I've finished the details of the design of the fiberglass hard cover to the point where I could begin making the mold masters. But before I make the mold masters for the cover I'm going to get the base trailer completely painted and reassembled and then hopefully get the mold masters for the tub in the hands of a company to make production molds (that's assuming some company signs up to market this kit). Once that's done, then I'll begin the work on the mold masters for the hard cover.

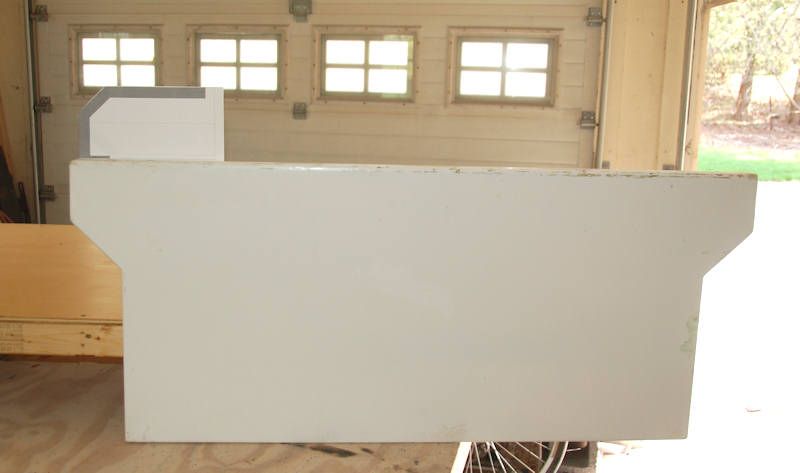
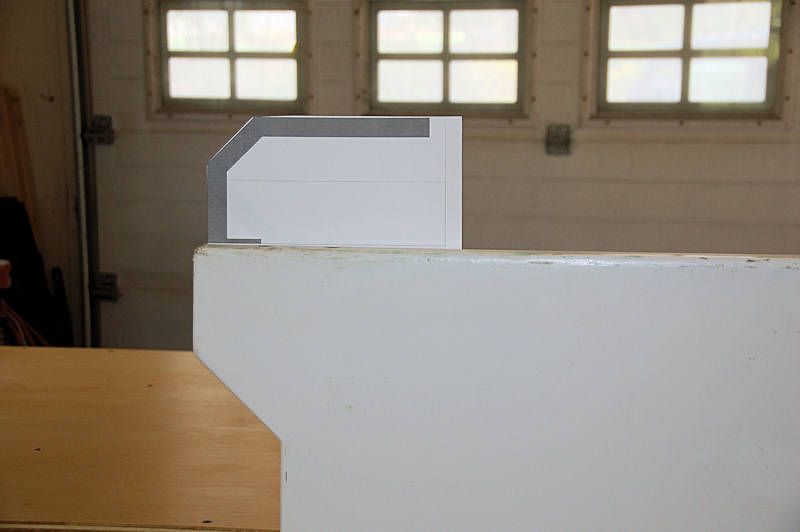
The other day I did a quick printout test of the side profile of the cover in place on the tub. The cover won't be as thick as it looks in the printout, that's the thickness of the mold master. The fiberglass cover will be about 3/16" thick. The cover is 5" tall.

CoverProfile1_zps61d720d2.jpg


CoverProfile2_zps86e65b86.jpg
 

jscherb

Expedition Leader
You've seen a few of my "225-lb. gorilla" tests eariler in this thread - standing on the open tailgate and sitting on a fender... I always plan these tests during the design phase. Imagining the test being performed helps me understand the stresses the parts will be under so I can do a design that will cope with those stresses.

One of the 225-lb. gorilla tests for the hard cover of course would be me sitting on top of the cover, and I don't expect much trouble with that one based on the reinforcements I plan (supporting a tent on top of the cover is a key requirement of the design). But there's another series of tests that have to be performed on the cover - tests to see how weatherproof it is. The joint between the cover and the tub is simple, there won't be any trouble with leaks there. The area for concern is the center joint in the case where the cover is configured to have each have be hinged and separately openable. So I've got two tests planned that I've been using to guide my design:

1. With the cover closed, spray the garden hose on the cover until there's lots of water sitting on the cover. Then open one side of the cover to cause the standing water to flow towards the hinge. No water should enter the tub.

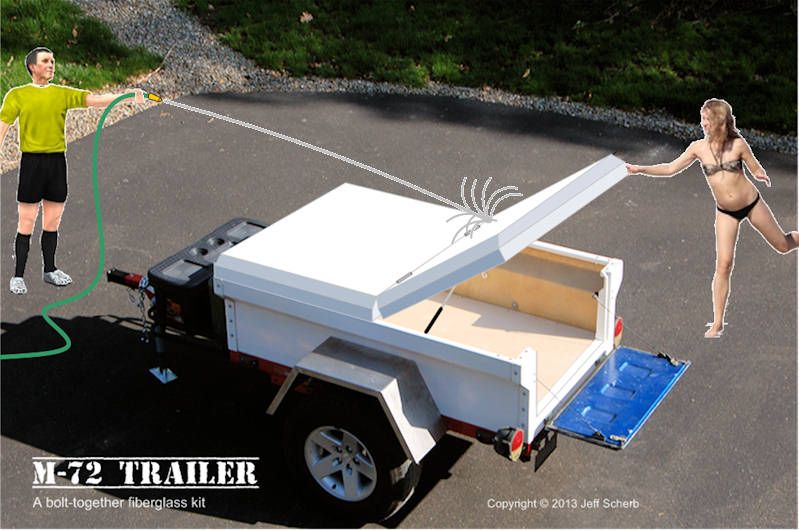
2. Once that test has been passed, the next more severe test is to continue spraying the hose while an assistant, properly clad to get wet, lifts one side of the cover. This will create a much larger flow of water towards the hinge. I had a little fun the other day doing an illustration for this test :):

HoseTest1_zpse47793e0.jpg


The control for the tests is a standard car trunk. The tub should stay as dry as a car trunk would when subjected to the same tests. I don't have a vehicle here with a trunk, so I might have to substitute the rear hatch of either the Suburban or the minivan.

I've got a weatherproofing design that I'm confident will pass the tests, but of course the proof will be in the testing. I'm looking forward to getting a prototype cover made so I can do the tests.
 

Mark Harley

Expedition Leader
I can see how tester scored the bikini babe....................... Nothing cooler than CROCS and black socks!
 

jscherb

Expedition Leader
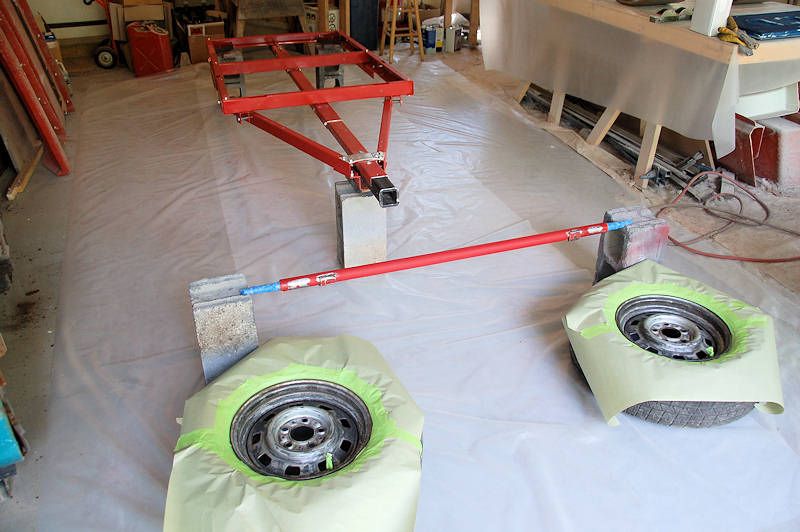
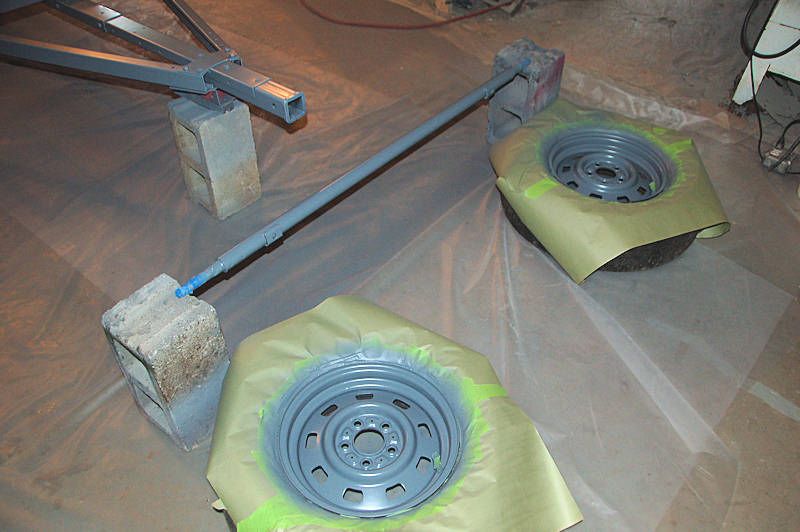
I finished all the paint prep work, so painting begins tomorrow. In this photo you can see the frame, axle and two steel wheels. All have been sanded and washed with lacquer thinner.

PaintReady1_zpsee78983f.jpg


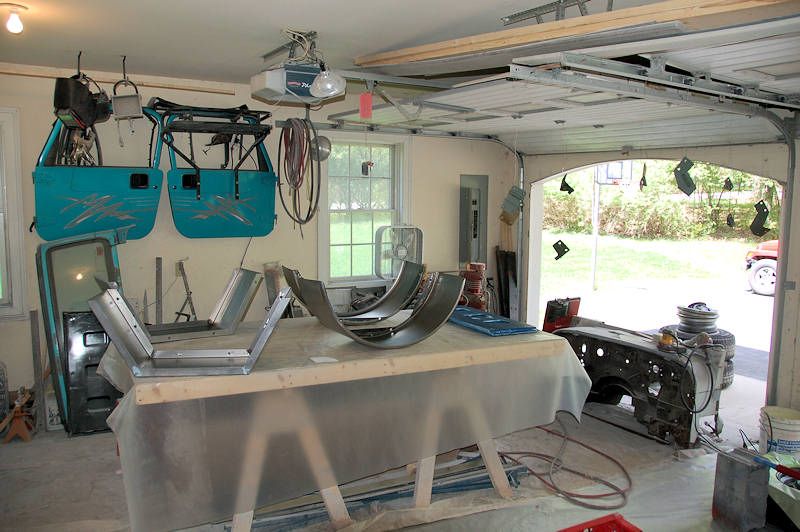
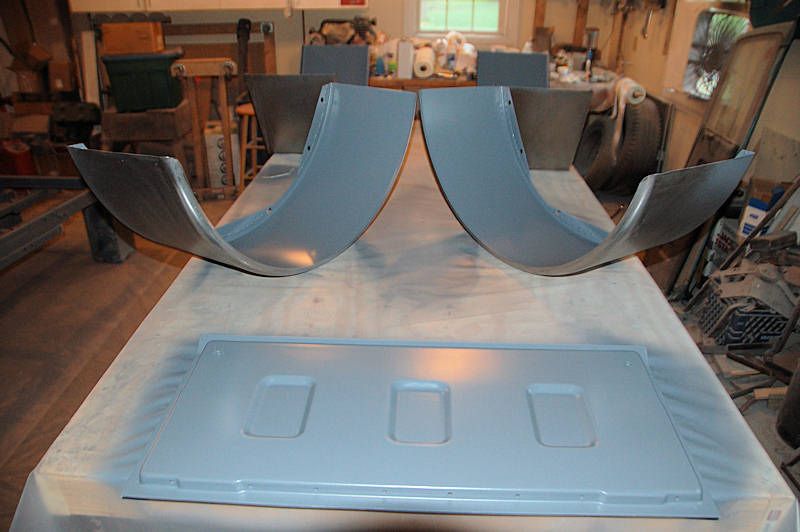
Looking the other direction, I've got both sets of wide fenders on the work table, along with the tailgate. You can also see most of the loose hardware (hinges, tail light brackets, etc.) hanging from the garage door channel.

PaintReady2_zps880b28fe.jpg


Tomorrow morning everything will get several coats of epoxy primer. Tomorrow evening I'll enlist one of my sons to help me turn the frame over, and Thursday morning the other side of the frame, the outsides of the the fenders and the flip side of the tailgate will get epoxy primer. Thursday afternoon the olive drab paint is scheduled to be delivered, so Friday the color coats start.

Once the frame is completely painted and reassembled so I can roll it out of the way, I'll do the tub.
 

jscherb

Expedition Leader
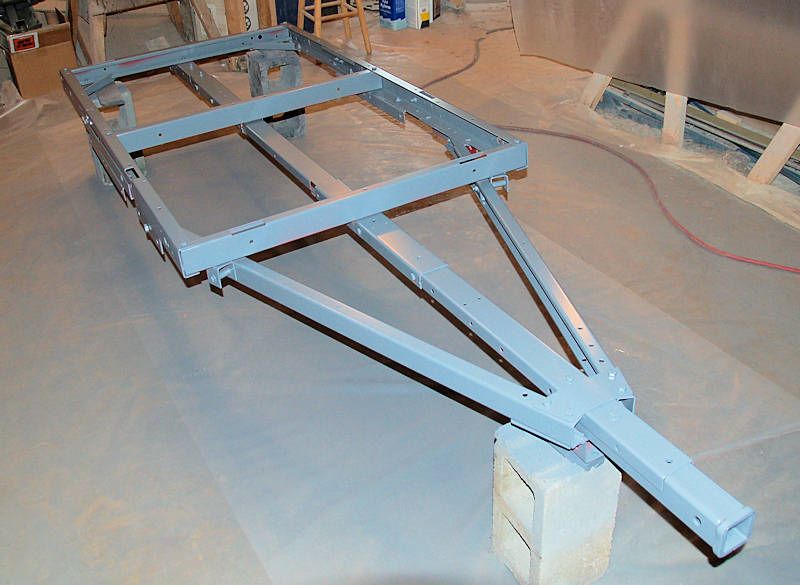
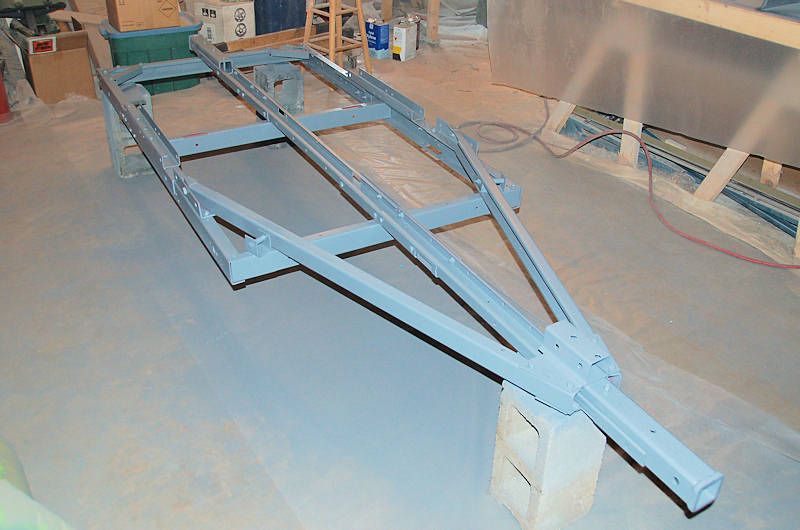
A Harbor Freight frame that isn't red anymore :)

FramePrimer1_zpsa24f2c9b.jpg


(Well the bottom is still red, and a few spots inside the rails that will be easier to get at when the frame is flipped to prime the other side, but those will be fixed tomorrow).

Wheels and axle:

FramePrimer2_zpsd42b9fe8.jpg


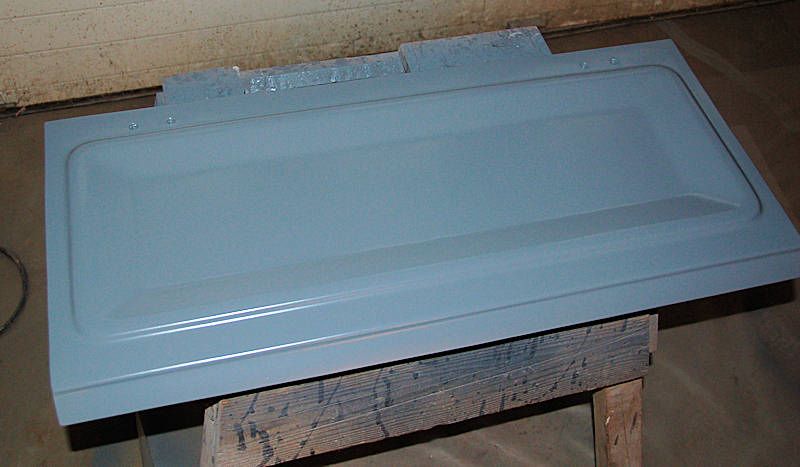
Tailgate and fenders:

FramePrimer3_zps45ecb5d9.jpg


The parts have had 2-3 coats of epoxy primer. I'll let it cure overnight and then I'll flip the frame, fenders and tailgate over to prime the other sides tomorrow morning.
 

jscherb

Expedition Leader
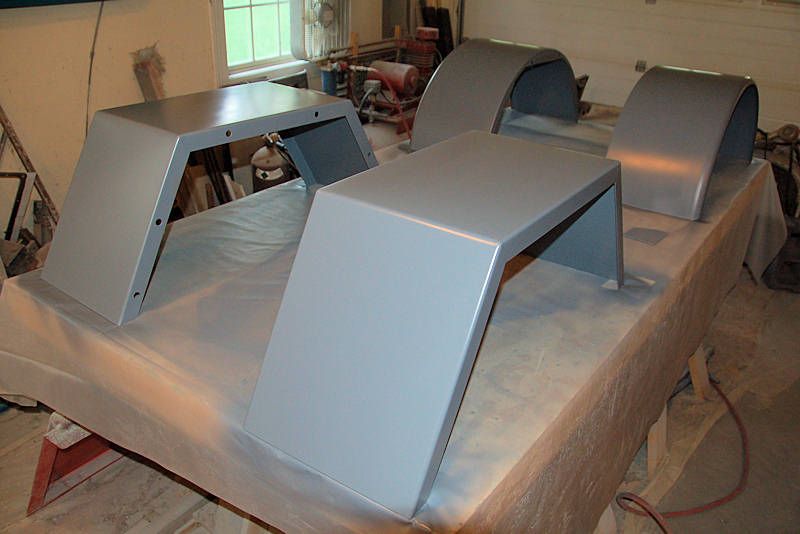
Everything is primed inside and out now. Except the tub... final assembling the tub/floor is my next task this morning. UPS will be delivering my olive drab paint this afternoon, so the first coat of that goes on later today.

FramePrimer4_zpsc59a3a6d.jpg


FramePrimer5_zpsb114bd4d.jpg


FramePrimer6_zps8bb4e7b0.jpg


I'm working on the final assembly of the tub now, there are photos of that process in the main build thread at the Trailer Adventuring Forum: http://tventuring.com/trailerforum/thread-119.html
 

jscherb

Expedition Leader
Still like the look of those round fenders better!

I've set things up so three different types of fenders can be swapped on, and I'm painting them all to match - this trailer being a prototype, it's main purpose is to prove my design for the bolt-together assembly, strength and styling, and I intend it to be a bit of a showcase for different configurations and options, like fenders.

I've shown photos with three different types of fenders so far, here's how I set up all three types to mount to the same bolt pattern so I didn't have to drill multiple sets of holes in the tub. Probably nobody will ever have the need to mount multiple types of fenders to their trailer, but just in case someone ever does, here's what I did.

The first challenge was mounting the custom M416-style wide fenders and the M100-style wide round fenders to the same bolt pattern - the angular M416 style and the round style don't share much footprint in common.

I made the M416-wide fenders with a 1 1/2" bolt flange on the back, and put 6 bolt holes in it - 4 for the tub sides and two for the frame. That's shown on the left below.

To fit the round fenders into the same bolt pattern, I welded semi-circular flange extensions inside the small round flange that came on the fender. These were sized and shaped so the inside edge matches the inside of the M416-wide fender bolt flange. Holes were then drilled in the same 6 positions as the M416-wide fenders.

FenderBoltPattern1_zps29867477.jpg


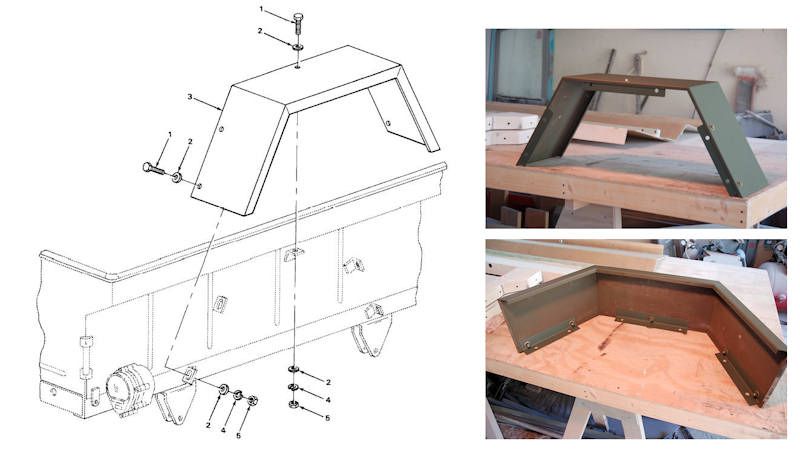
Mounting the stock M416 fenders was a different challenge. In stock form, they bolt to brackets which are welded to the M416's tub and frame, and the flange on the inside is only 1/4" wide - way too narrow for any reasonable size bolts. My first thought was to weld flange extensions inside the fender, similar to what I did with the round fenders, but I decided I didn't want to modify or harm the original M416 fenders. I won't need them forever, and someday probably I'll offer them to an M416 owner who needs replacement fenders. I'm sure he/she wouldn't want the extended flanges welded in the way of their brackets. The original mounting design is shown in the drawing at left below.

So I decided to make bolt-on brackets, they're basically 1 1/2" angle, formed from 16-gauge sheet metal. These bolt to the original holes in the M416 fenders and the other leg of the angle forms a bolt flange that matches the bolt flange on my custom M416-wide fenders. Again holes were drilled in the same six locations.

FenderBoltPattern2_zps81ac04cd.jpg


So even though probably nobody will ever have a need to do something similar, that's how I set up all three different fender types to mount to the same bolt pattern, and without modifying the original M416 fenders. FWIW.

So Mark, you can look forward to me posting finished photos of the trailer with all three styles of fender, including the round ones that you like :).
 

Forum statistics

Threads
186,502
Messages
2,886,734
Members
226,515
Latest member
clearwater
Top