Fiberglass M416/M100 Military-style Trailer Tub Kit

jscherb

Expedition Leader
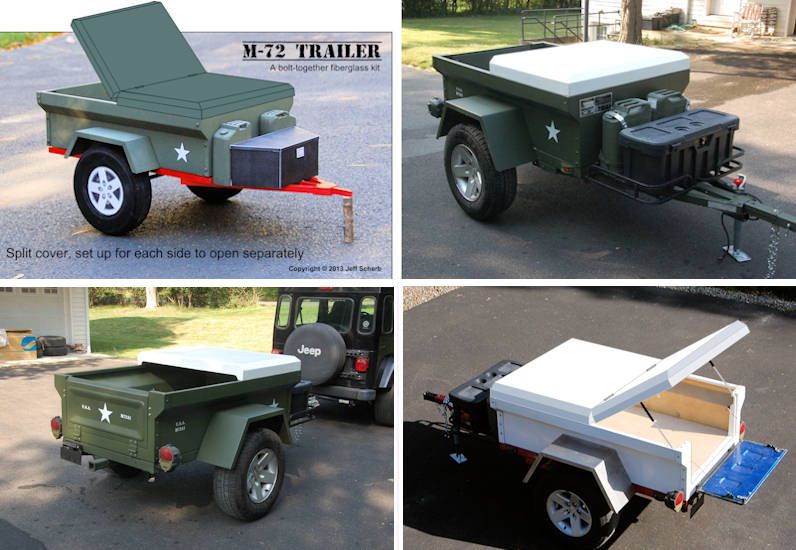
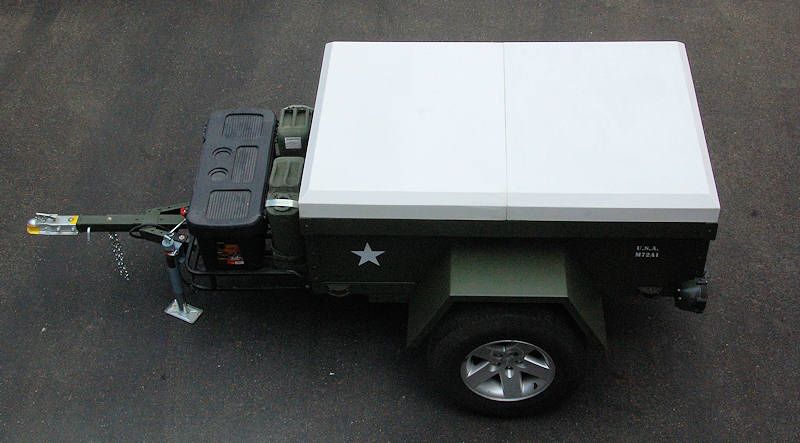
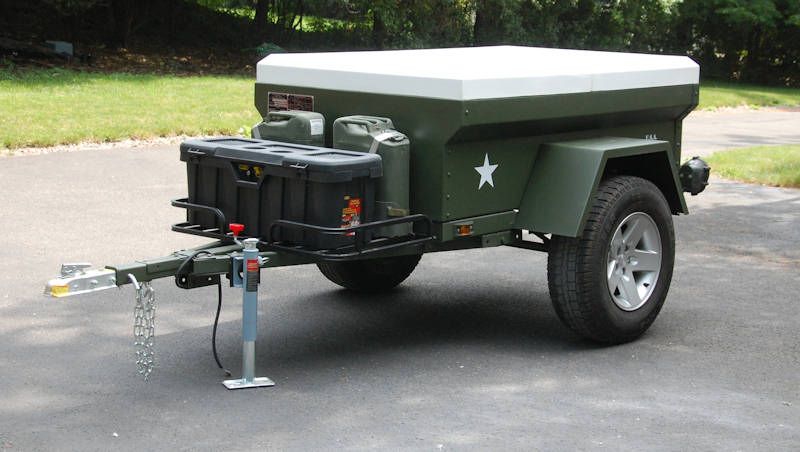
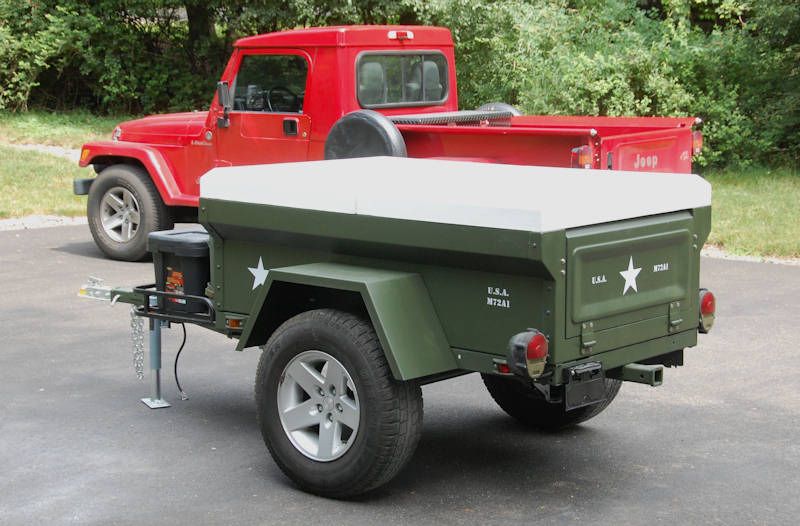
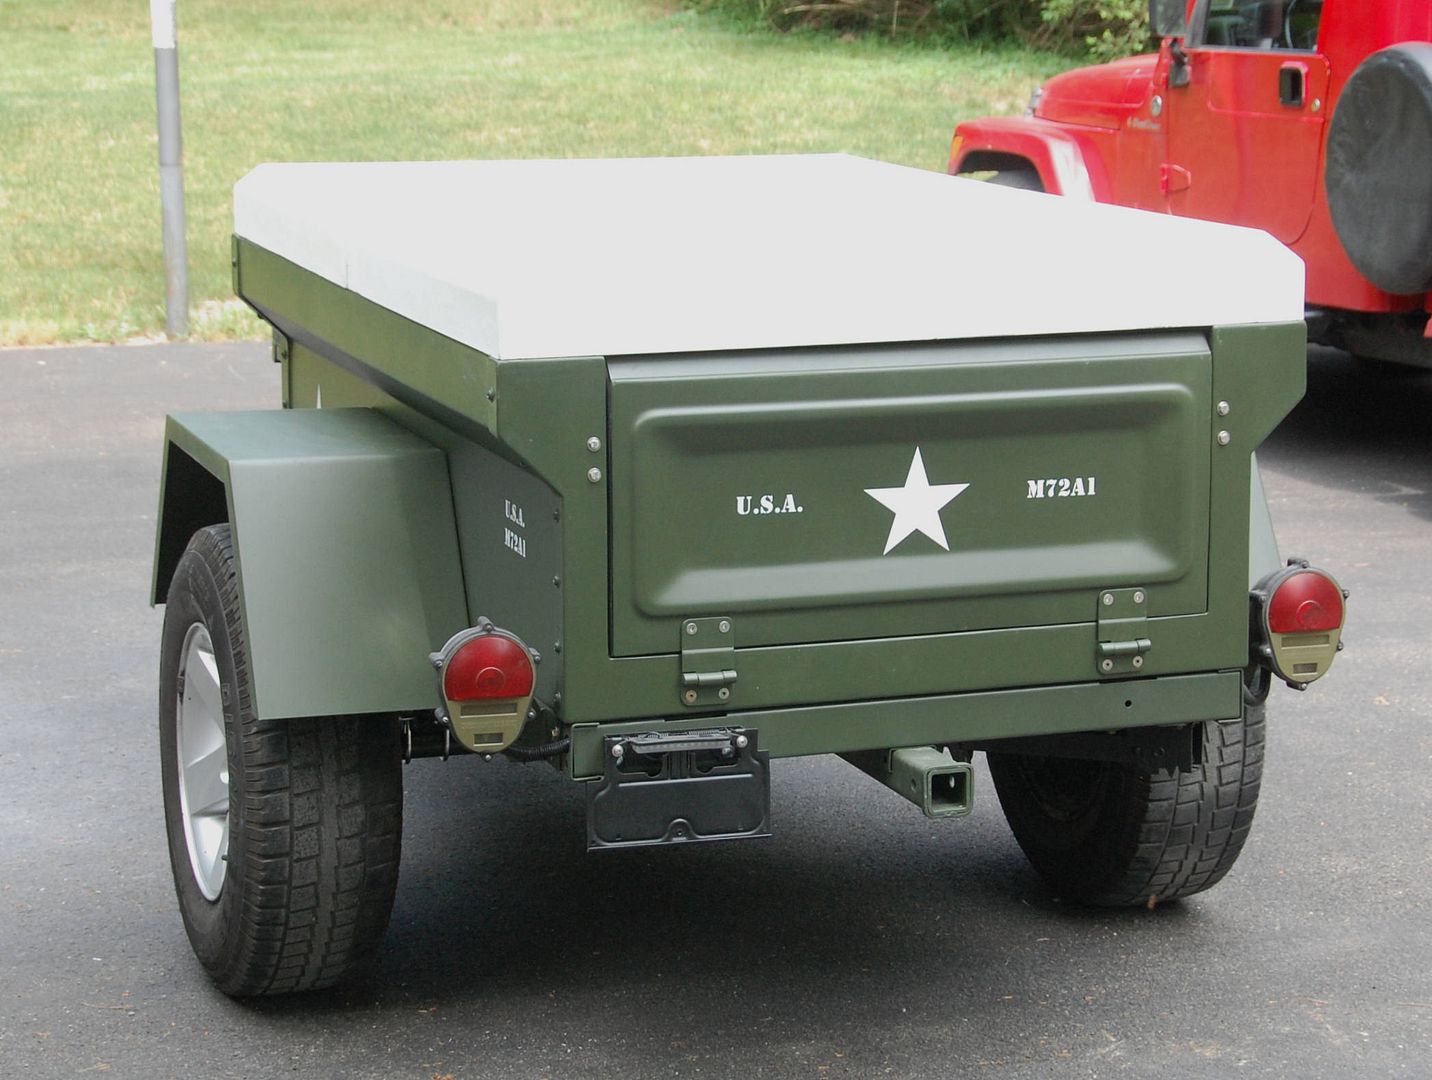
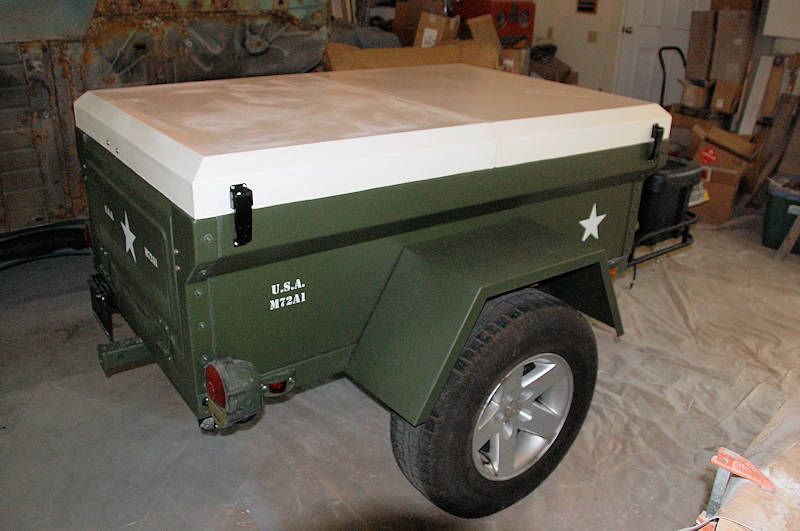
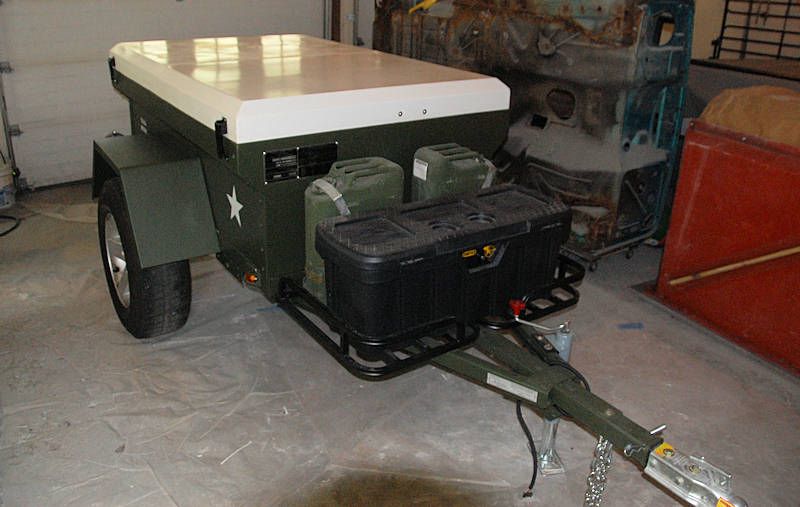
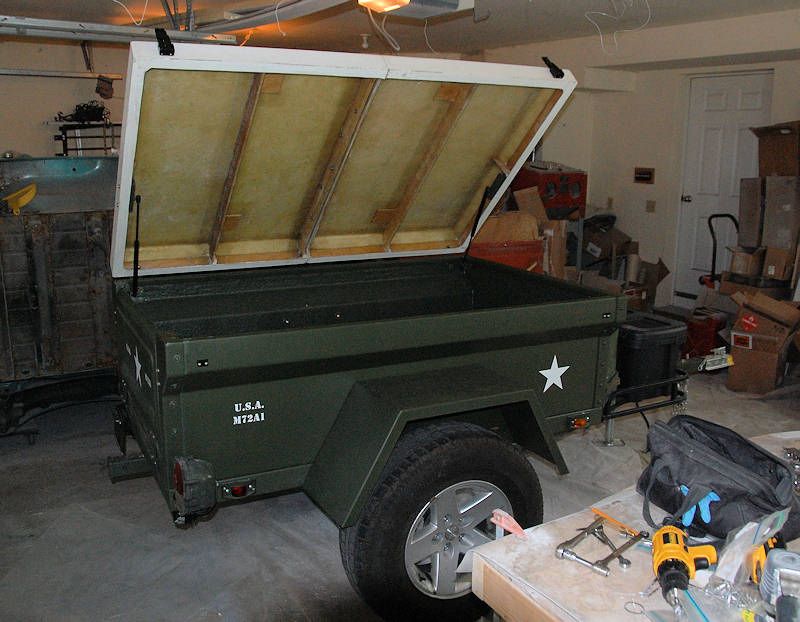
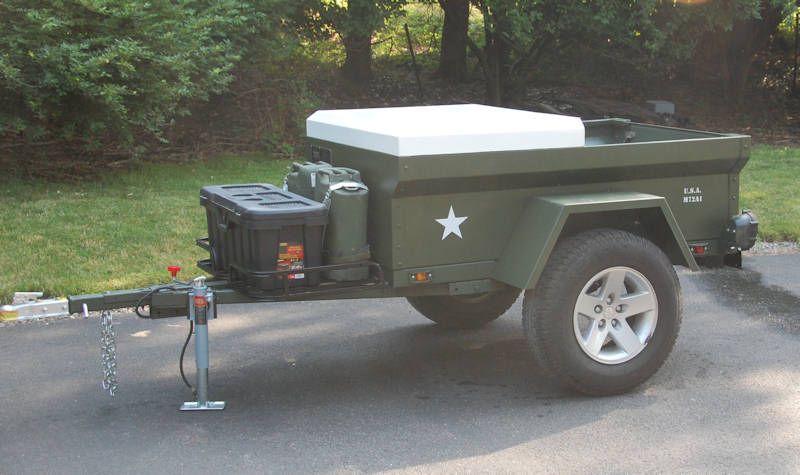
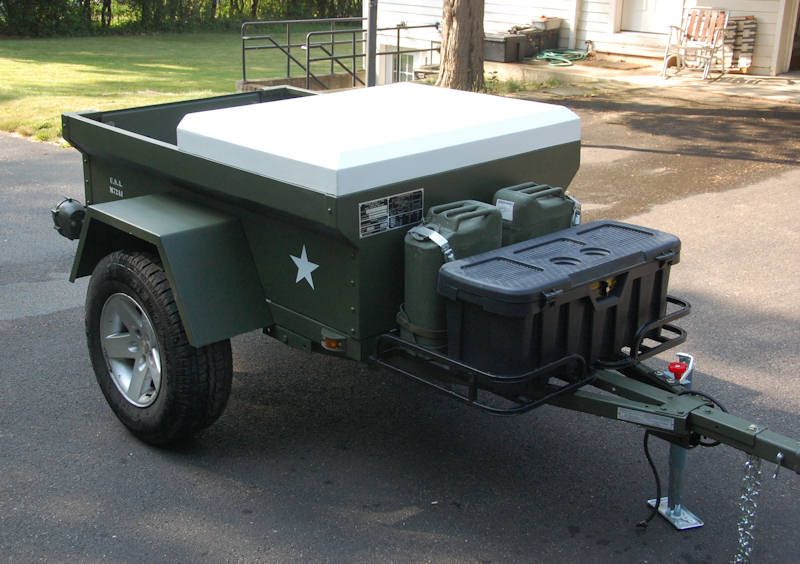
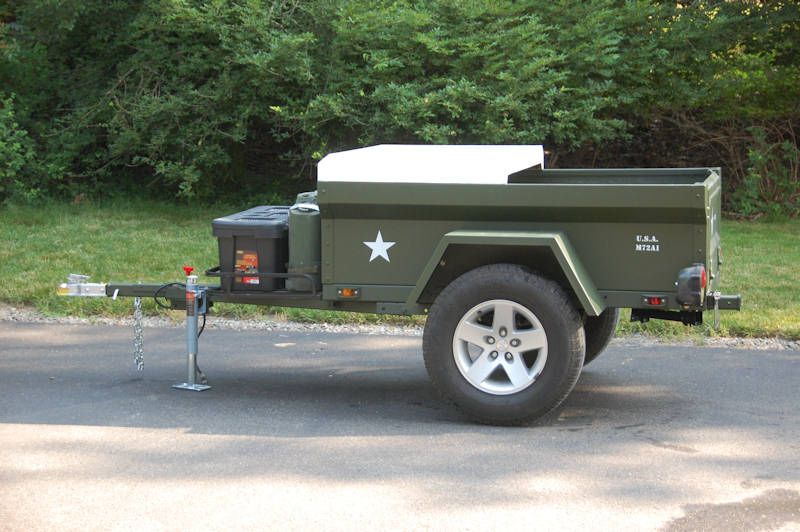
Outfitting idea: cargo rack... I've shown this photo before, you can mount rack bars to the sides with "fake rain gutters". The tonneau cover fits nicely under the rack bars.

RackBars_zps25b9f1a2.jpg


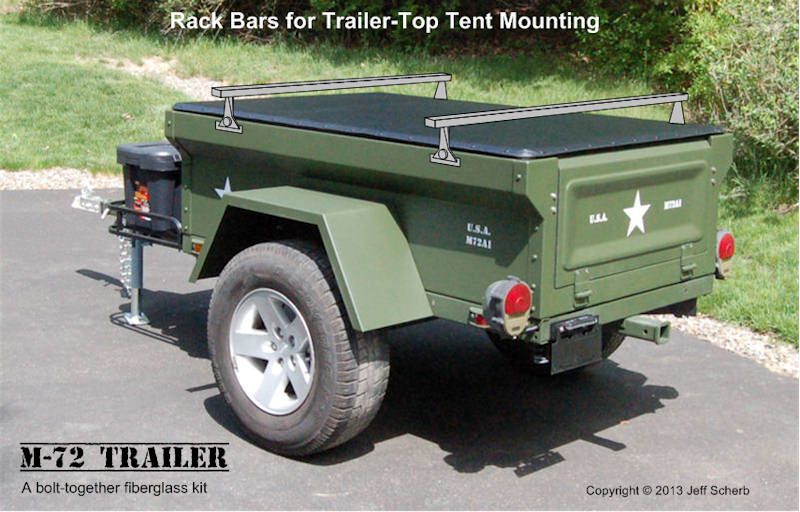
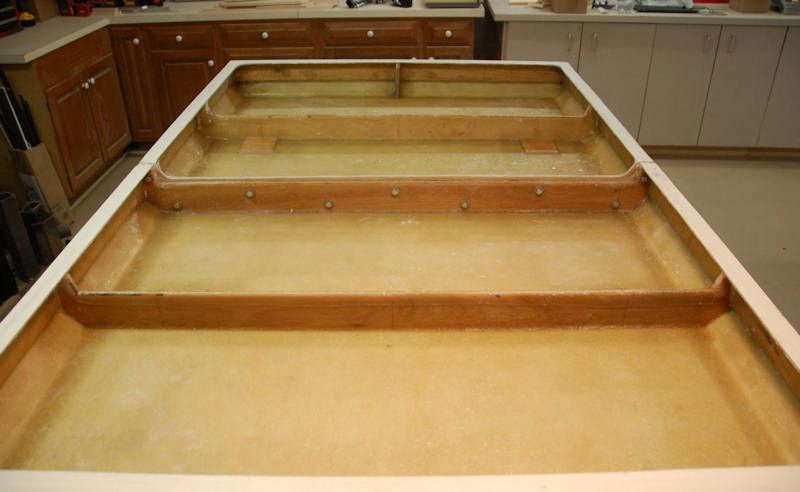
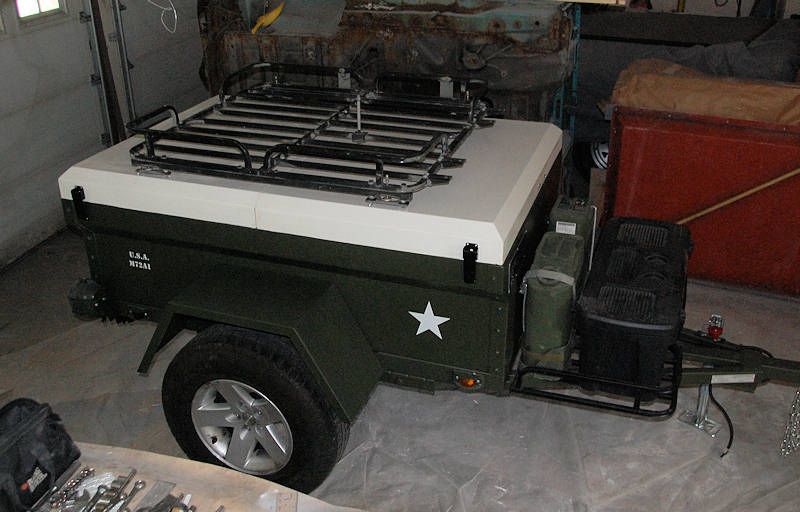
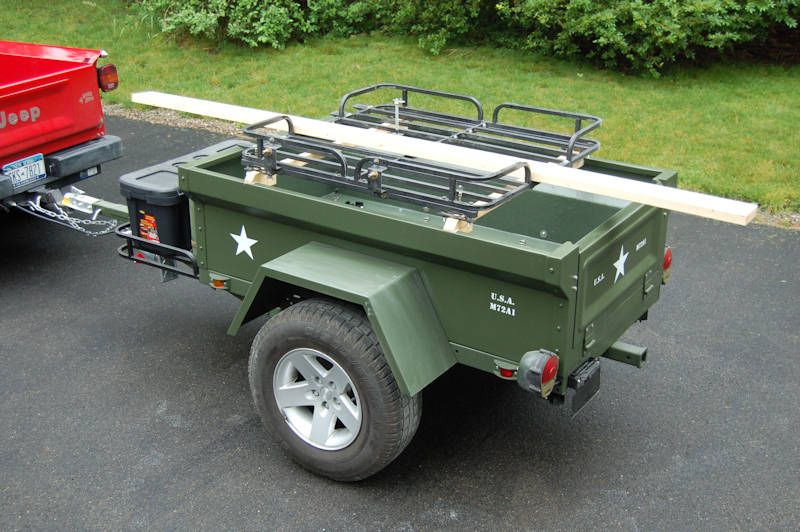
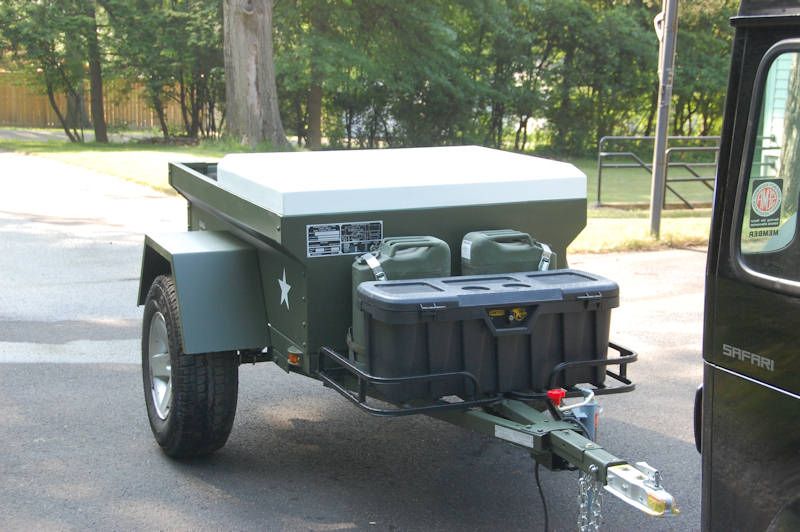
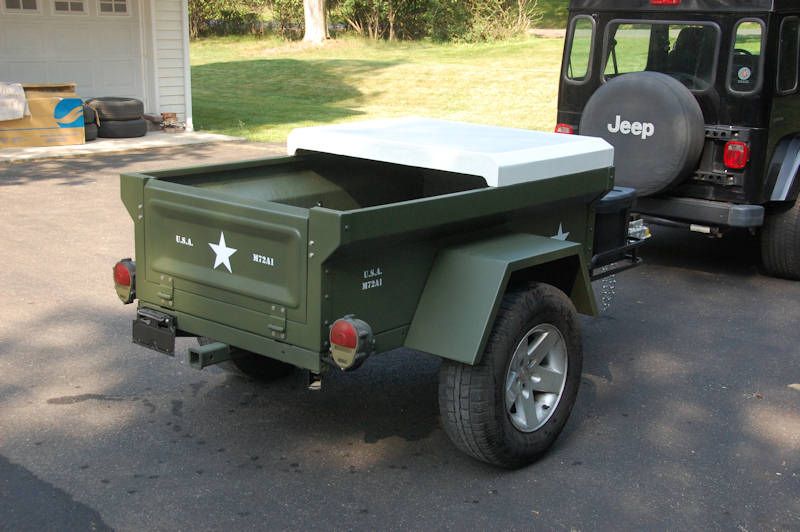
A roof-top tent can be mounted on the bars, or you could mount a cargo rack like the one below. I don't have a set of rack bars with fake rain gutter mounts, so I just threw the rack on some quick wooden cross bars I made up for mockup purposes, without the tonneau cover:

RackBasket3_zps04a8cae2.jpg


RackBasket2_zps8d0b8b68.jpg


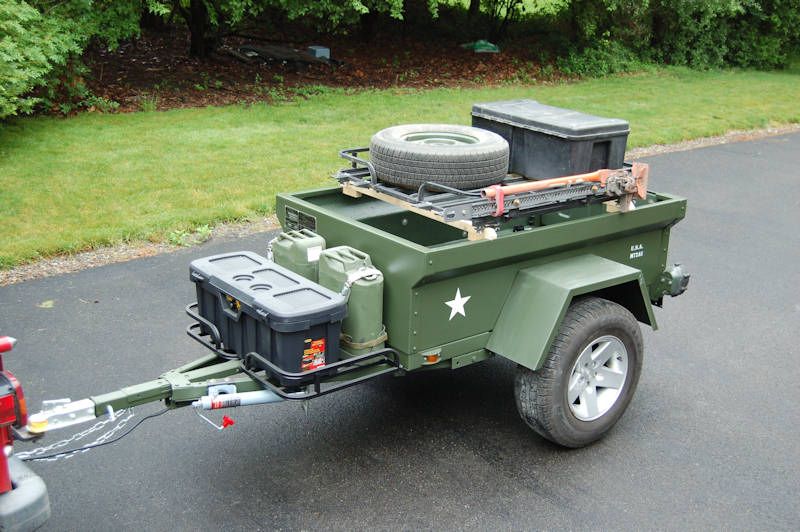
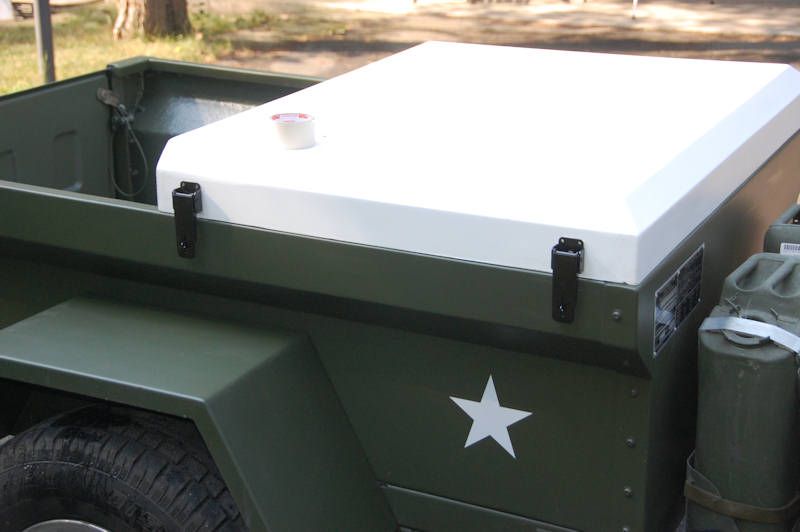
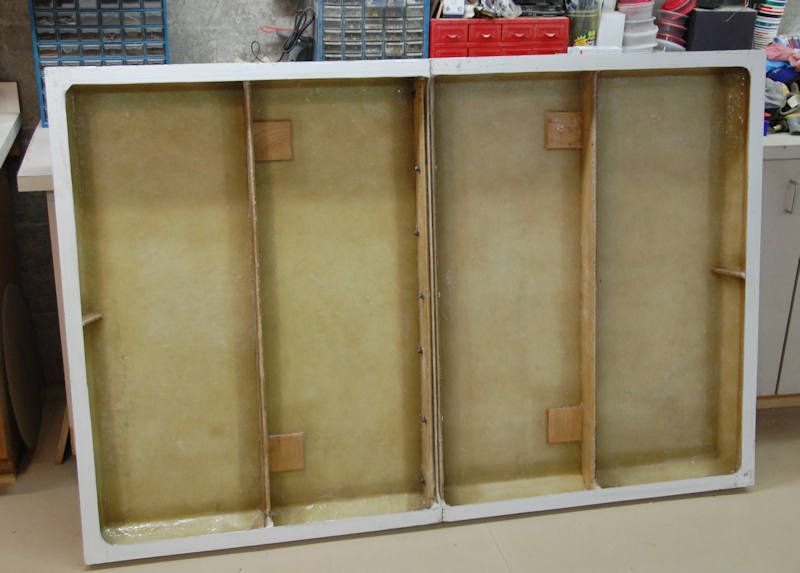
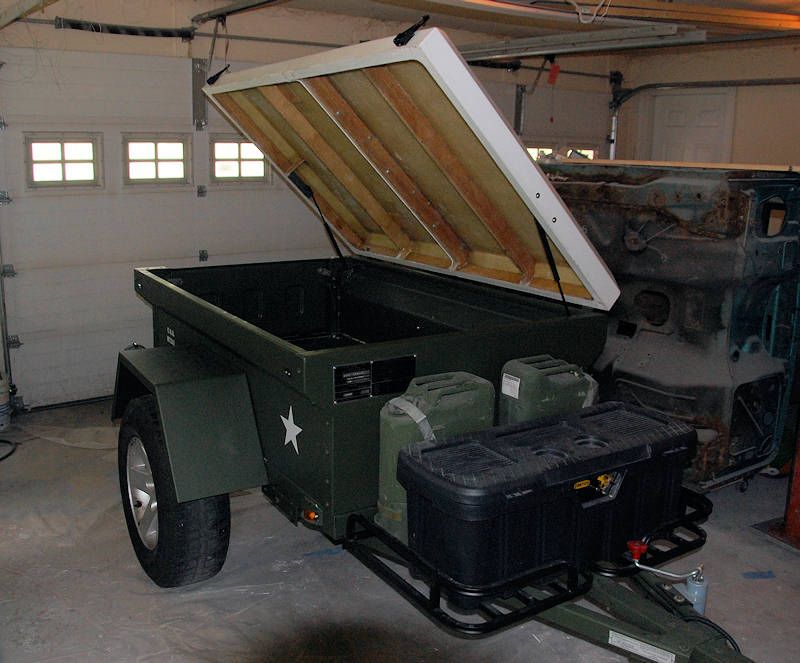
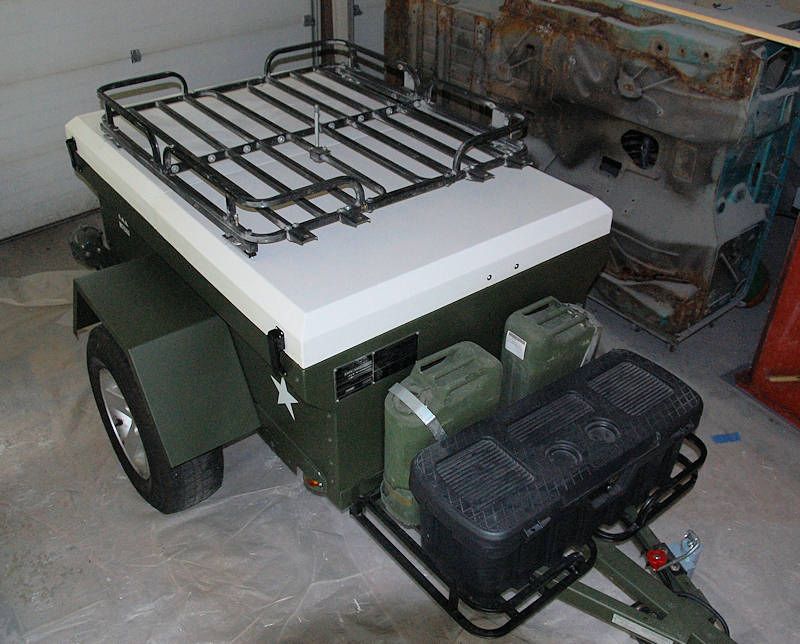
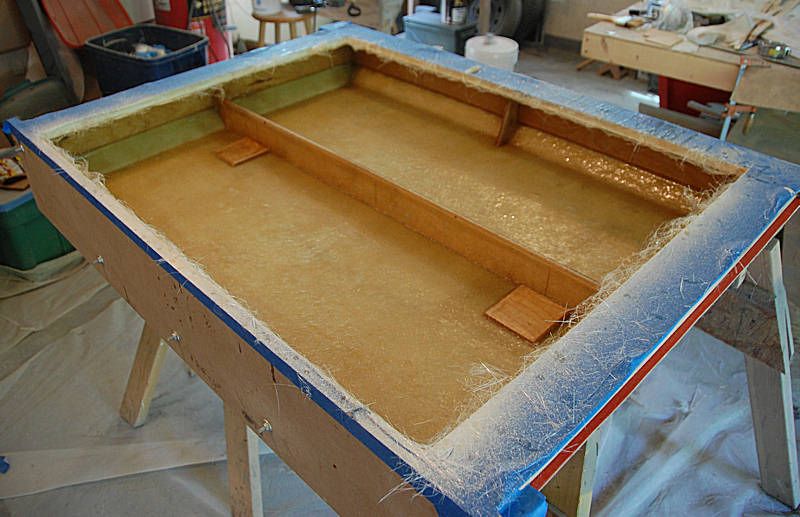
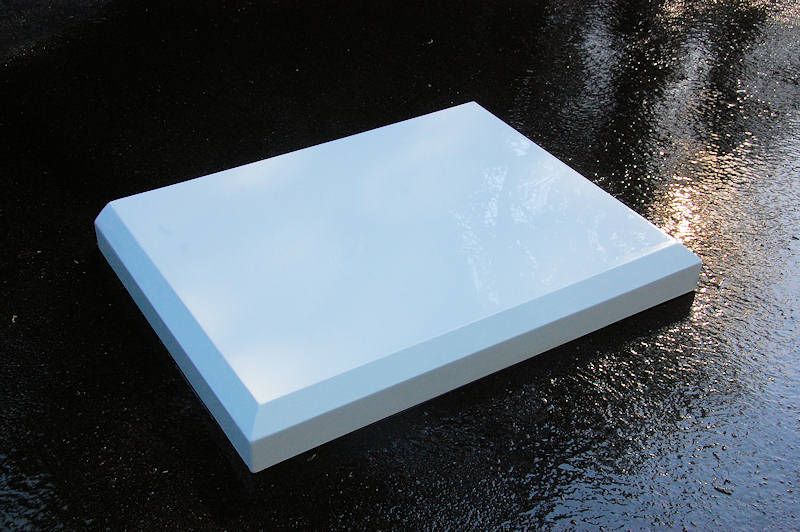
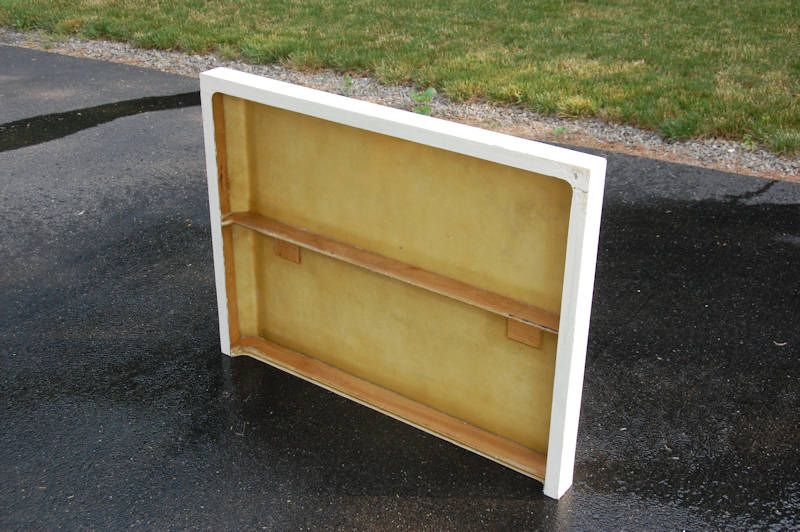
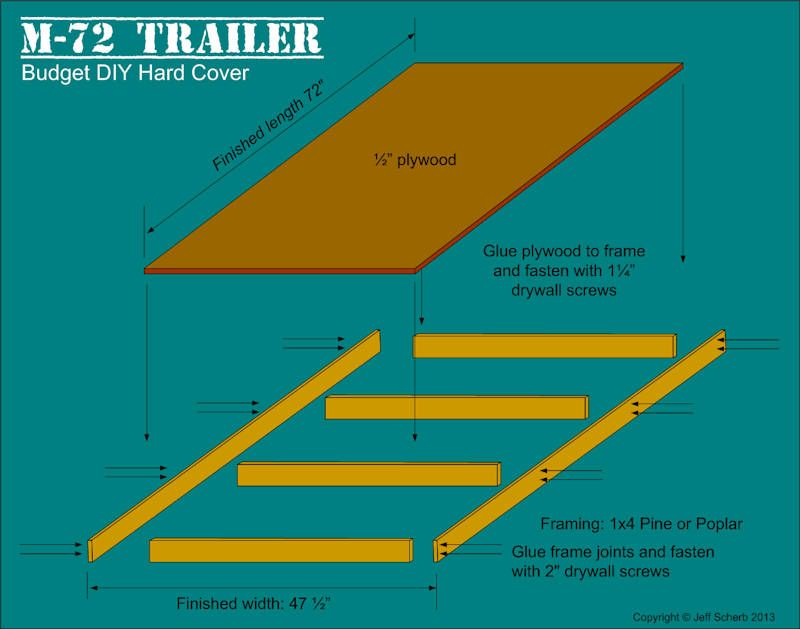
The rack could also mount directly on the fiberglass cover I'm in the process of making.

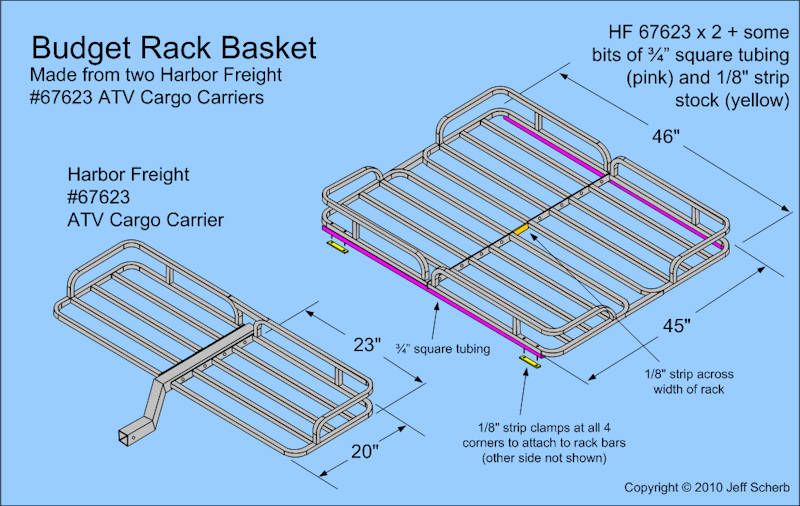
I've used this rack basket on most of my projects, it's made from Harbor Freight materials. The basic rack can be made for about $75. Here's a drawing I did when I first built the basket to put on top of my Safari Cab hardtop:

Rackbasket-2_zps29a8cb8b.jpg


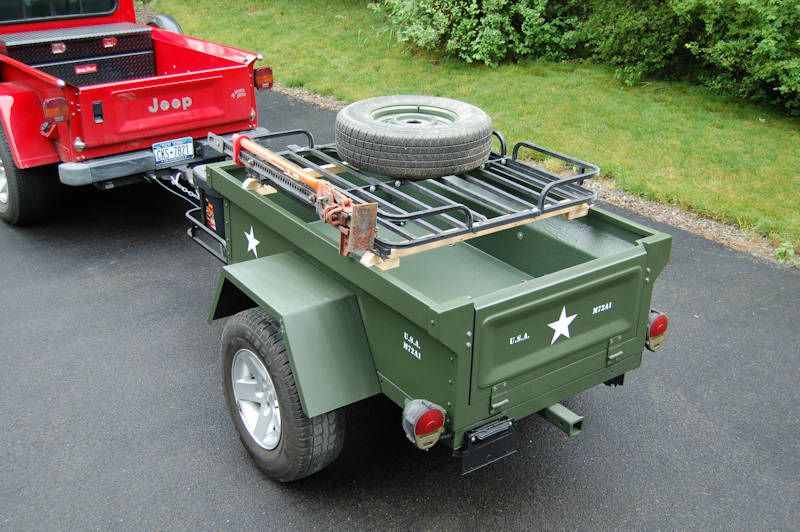
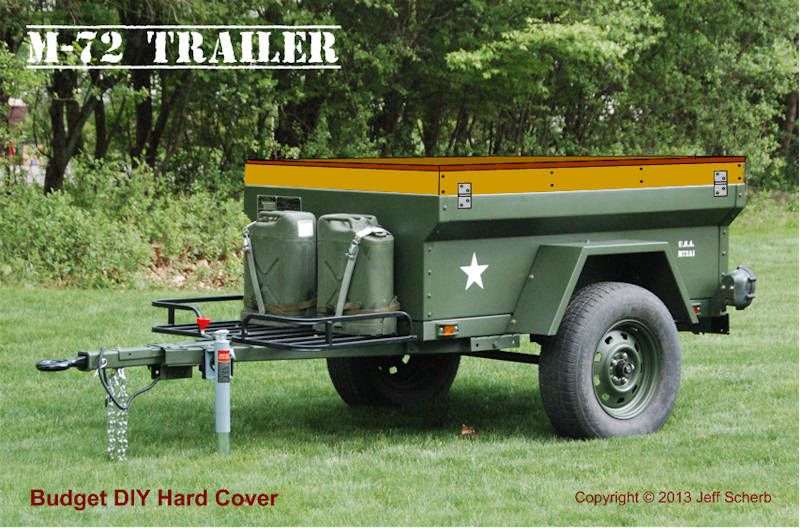
The Hi-Lift mount took less than $15 in parts from Tractor Supply. The bracket to secure the spare tire cost about the same. I can provide details for both if anyone's interested.

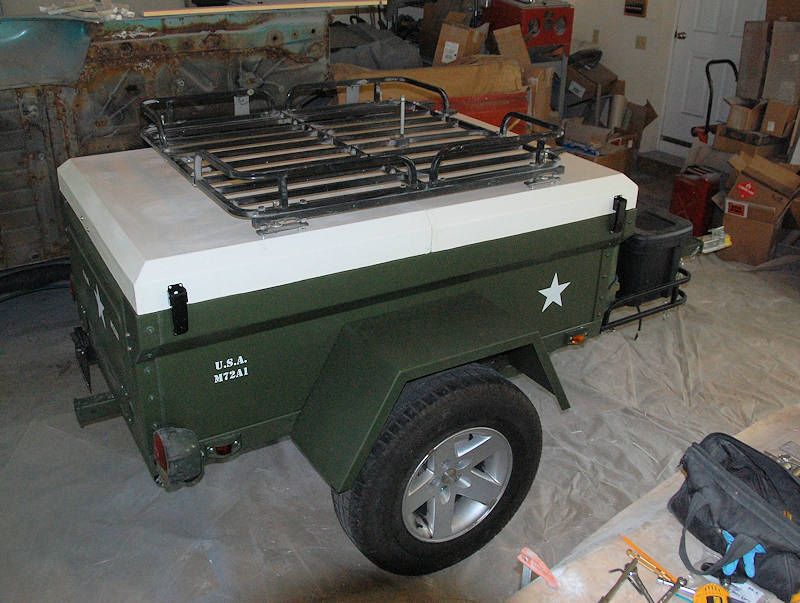
The rack also makes a nice place to carry long items, the "valley" in the middle makde a nice place the secure things like this 10' 2x6 (obviously you'd tie the board down, this photo is just for illustration so I didn't tie it in place).

RackBasket5_zpsdf3cb19c.jpg


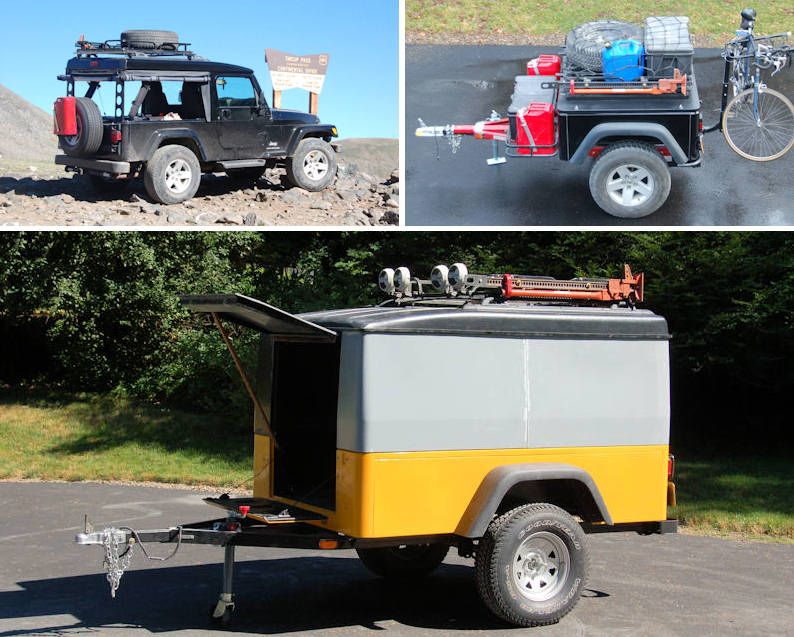
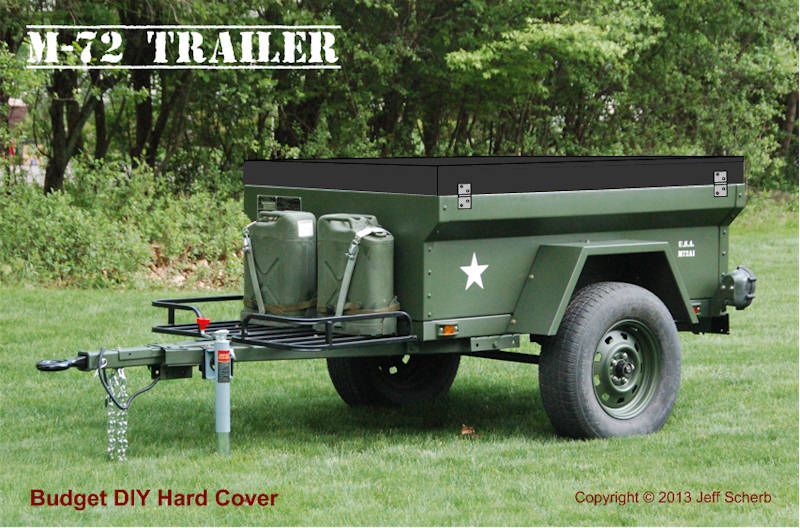
This rack has been really handy, here are a few other places it's seen service - it's been on my Safari Cab hardtop on my Jeep through the Colorado mountains, on my prototype Dinoot Jeep-tub trailer, and on my Safari Cab-based Jeep tub camper prototype:
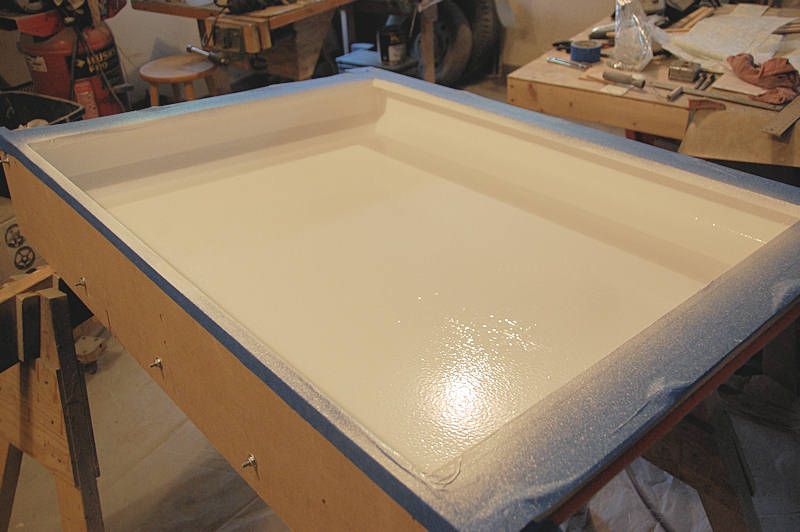
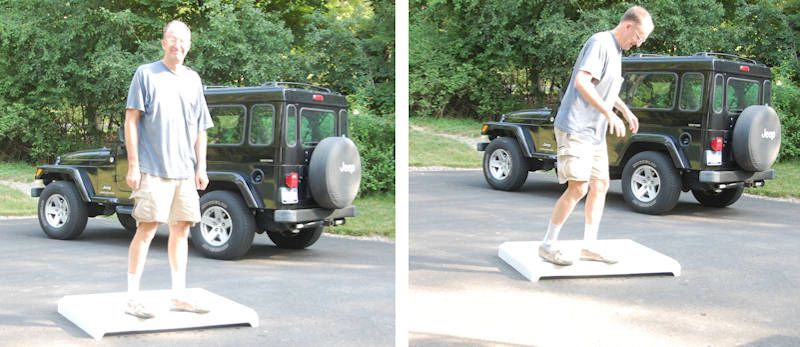
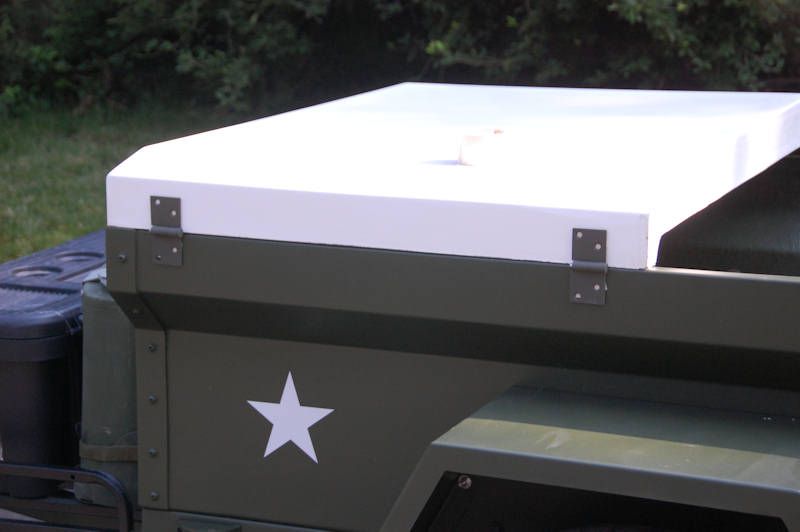
RackBasket7_zps7ad97726.jpg
 

jscherb

Expedition Leader
Today I'm molding the first of the two cover halves. The first step is gel coat, the photo below was taken just after I finished shooting it:

Cover1GelCoat_zpsedc5d262.jpg


I always get an early start when I'm molding parts, so I shot this at about 7am. It'll take about 2 hours for the gel coat to cure to the proper point where fiberglass layup can begin.

More photos to come later.
 

jscherb

Expedition Leader
The molding work on the cover half is complete. Tomorrow I'll pop it out of the mold and I'll prep the mold to make the second half.

Cover1LayupDone_zpsb8612c3c.jpg
 

jscherb

Expedition Leader
Here's the cover half I molded yesterday. It's been rough trimmed and the mold release has just been washed off.

Cover1Popped1_zpsa90126c9.jpg


Cover1Popped2_zps45a1bef2.jpg


Cover1Popped3_zps69f874a8.jpg


In case anyone's wondering, the two square pieces of plywood near the center rib are bolt reinforcement plates for the tent - the tent has a 32" square bolt pattern, so these reinforcements are placed so the tent will be centered on the cover when bolted in place.
 

jscherb

Expedition Leader
Since the cover is designed to support a tent, I needed to do the 225-lb. gorilla test. In the right photo I'm bouncing a little...

Cover1Gorilla1_zps1cd99184.jpg


Test passed ;). That's just the first test, there will be more as the cover gets assembled and installed.

It's pretty light too...

Cover1Weight_zpsb309d7a1.jpg
 

jscherb

Expedition Leader
Here's a few shots of the cover half sitting on the trailer. It's a sunny day so it was impossible to get good exposures of the olive drab trailer and the bright white cover together :(.

CoverFitTest1_zps6552b7ad.jpg


CoverFitTest2_zps6db9f71b.jpg


CoverFitTest3_zps4503c896.jpg


CoverFitTest4_zps56d83952.jpg


CoverFitTest5_zps3559a71a.jpg
 

jscherb

Expedition Leader
When I did the initial design of the tub, I made the dimensions such that it would be simple to build a hard cover out of plywood (the original M416 is too wide for a 48" sheet of plywood). So while I've been working on the fiberglass hard cover, I've also done a drawing showing a very simple plywood hard cover:

DIYCover1_zps3beadf61.jpg


It's basically a frame made of 1x4 pine or poplar with a piece of plywood glued/screwed to the top of the frame. The frame width is set to 47 1/2" (the width across the outside of the tub side panels), and the plywood gets trimmed to that width. Assembly of the frame could be with glue and drywall screws.

I've drawn the unfinished cover on a drawing of the actual trailer, obviously you'd want to paint it to protect it from the elements:

DIYCover2_zpsb457ed69.jpg


It's shown with the DIY lift-off hinges I described in here a few days ago, buy any hinges would do as long as they're strong enough. You'd want to put latches on the opposite side, almost any latches would work as long as they're strong enough.

You could do junkyard gas struts like I've shown with my mockup in the workshop, or you could just use a prop stick to hold it up when open.

The bottom surface of the frame would be weatherstripped; since it's 3/4" thick wood you could get 3/4" wide weatherstrip from the local home center or hardware store.

I've drawn the cover with two ribs across the center, if you planned the cover to support a tent, you might consider using thicker wood for the ribs or doing a few more ribs, but even as it's drawn with only two 1x4 ribs it should support a tent just fine.

Not counting whatever finish you chose, you could easily build this for less than $100 complete with hardware. You could do a sealer coat of say, polyurethane, and then apply one of the roll-on bedliner products and you'd end up with a pretty sharp looking budget cover:

DIYCover3_zps3d1f2287.jpg


Obviously you could go crazy with woodworking building a cover with angled edges that looks like the one I'm doing in fiberglass and lots of other features, but I wanted to show this ultra-simple design to show what could be possible on a tight budget.

Back to the fiberglass cover... I'm prepping the mold again today; I plan to mold the other half of the fiberglass cover tomorrow.
 

jscherb

Expedition Leader
I'm molding the second cover half today, but I won't post any photos of the molding process - they'd look exactly like the photos I posted on Friday when I molded the first half :).


When the second cover half comes out of the mold, I'll bolt it together, put on the tub and get the hardware installed. I stuck some of the hardware on with tape for mockup purposes...

CoverHingeTest1_zpse75e8de0.jpg


CoverLatchTest1_zps73284f0a.jpg
 

jscherb

Expedition Leader
Now that at least half of the fiberglass cover has been molded, I thought it would be interesting to compare the actual cover to some of the drawings I've posted over the course of the cover design project:

CoverModelCompare1_zps8bc91fcb.jpg
 

jscherb

Expedition Leader
Here are a few shots of the cover test fit on the tub, sorry for the exposure, it's impossible to get good contrast with the bright white fiberglass and the olive drab in the sunlight.

CoverTestFit1_zps14833c62.jpg


CoverTestFit4_zpsbd554331.jpg


CoverTestFit2_zpsc4ce154b.jpg


CoverTestFit3_zps4c171239.jpg
 

jscherb

Expedition Leader
Here's what the inside of the cover looks like when it's bolted together into the one-piece configuration:

CoverBolted1_zpsa118dcfc.jpg


CoverBolted2_zps6f70a94a.jpg


CoverBolted3_zpsc892ad9e.jpg


Now on to the hinges, latches and struts...
 

jscherb

Expedition Leader
Here are a few shots of the cover installed. So far I've only installed two hinges, I plan to add two more to provide better support when the cover is open and a tent or a load is on top. Also the weatherstrip won't get installed until after the covers are painted.

CoverTestInstall1_zps52c67074.jpg


CoverTestInstall2_zps34fa665a.jpg


CoverTestInstall3_zpsd44d4b23.jpg
 

jscherb

Expedition Leader
And a few shots of the cover in the open position. The strut hardware worked out very well.

CoverTestInstall4_zps11ad051b.jpg


CoverTestInstall5_zps63b1b780.jpg


Next up: drilling the mounting holes for the tent and installing tee-nuts in the cover so the tent can be bolted in place without having to tighten nuts under the cover while holding the head of the bolt inside the tent :).
 

jscherb

Expedition Leader
I'm testing the fit of the Harbor Freight rack basket on the cover; I plan to set it up to mount to the same holes as the tent so I don't have do drill multiple sets of holes in the cover.

RackTestFit3_zpsd06a0c39.jpg


RackTestFit2_zps9d555cd7.jpg


RackTestFit1_zps3c828019.jpg


Today I'll get the tent/rack mounting holes drilled and the tee-nuts installed and I'll install the other two hinges. Then I'll disassemble the cover and begin paint prep.
 
Last edited:

Forum statistics

Threads
188,448
Messages
2,905,089
Members
230,428
Latest member
jacob_lashell
Top