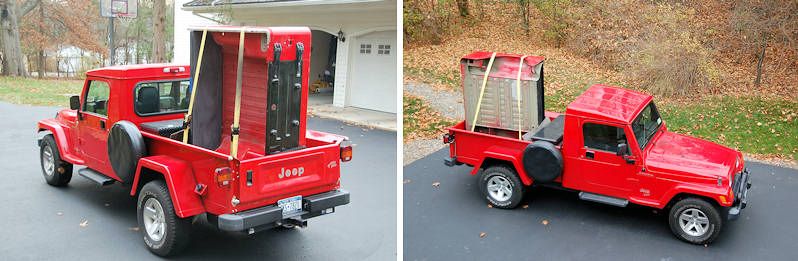
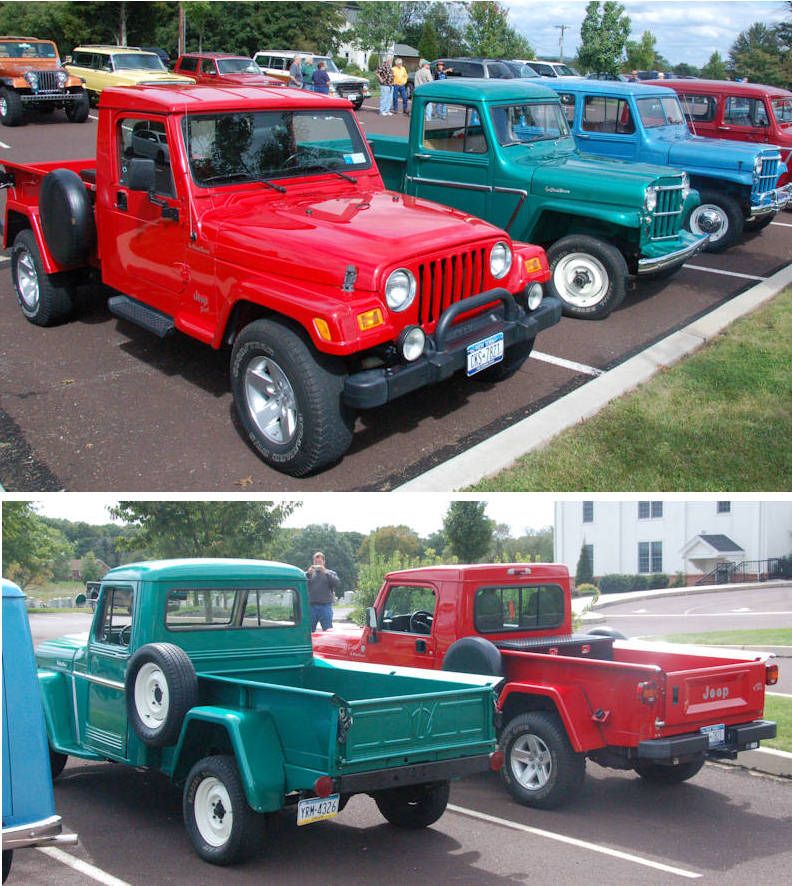
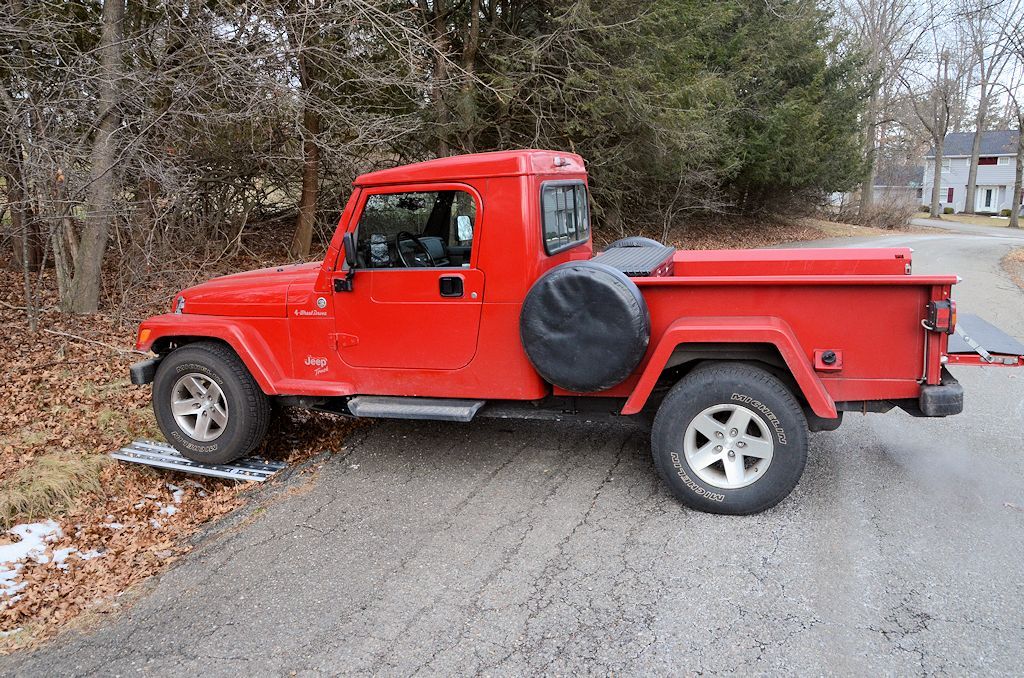
Since this thread is entitled "How would you outfit this custom LJ?", here's a post about how I outfitted for this expedition...
We're not camping on this trip, so all I outfitted the Jeep with were things to get us out of trouble on a trail plus some things for comfort on the trip (like the fridge). The way things are loaded most of the cargo space in the Jeep is still free. I'll share a few photos I took before leaving on the trip, maybe these photos will give someone some ideas.
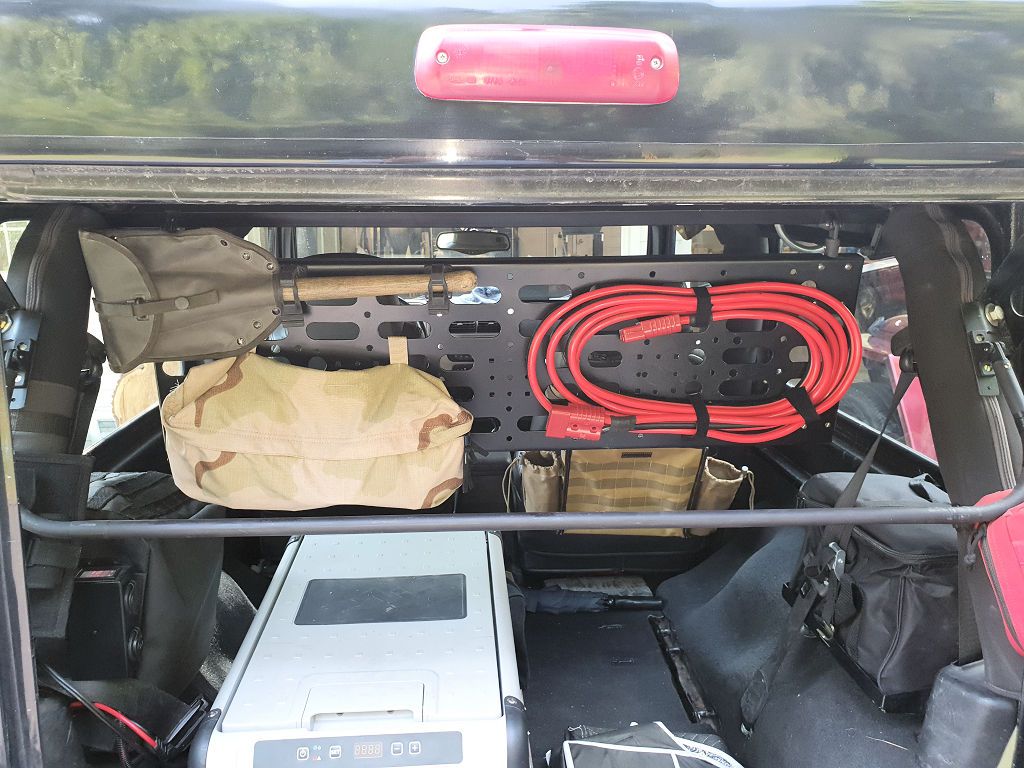
Looking in the back door:
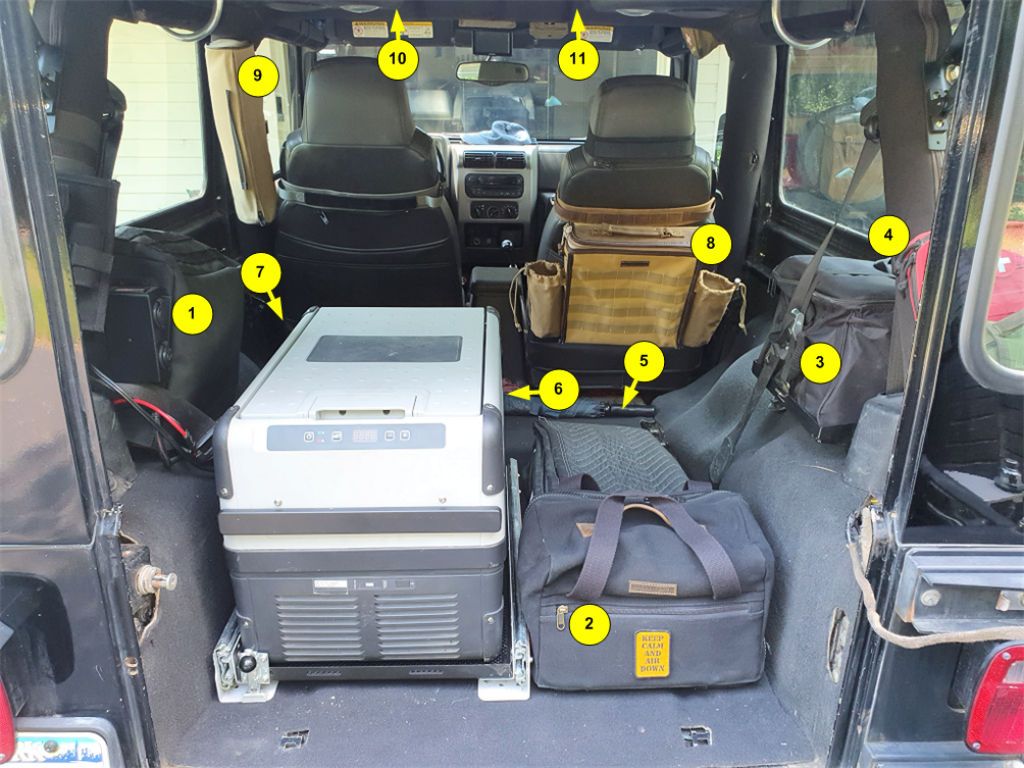
- Battery and power panel for the fridge. This battery gets charged by the Jeep's alternator and can be used as a second battery to start the Jeep in case the main battery fails.
- Compressor and related supplies (hose, tire repair supplies).
- Ammo can containing the TrailVision camera system. The trails I'll be doing on this trip won't require the extra views the Trailvision system can provide, but it's in the Jeep in case I decide it will be helpful; it can be set up in a few minutes and offers a 3-camera view of the details of the trail ahead.
- First Aid kit; hanging on the rear slope of the roll bar. Out of the way but quickly accessible.
- (On the floor well behind the passenger seat) Hydraulic jack. Much quicker and easier than the factory jack.
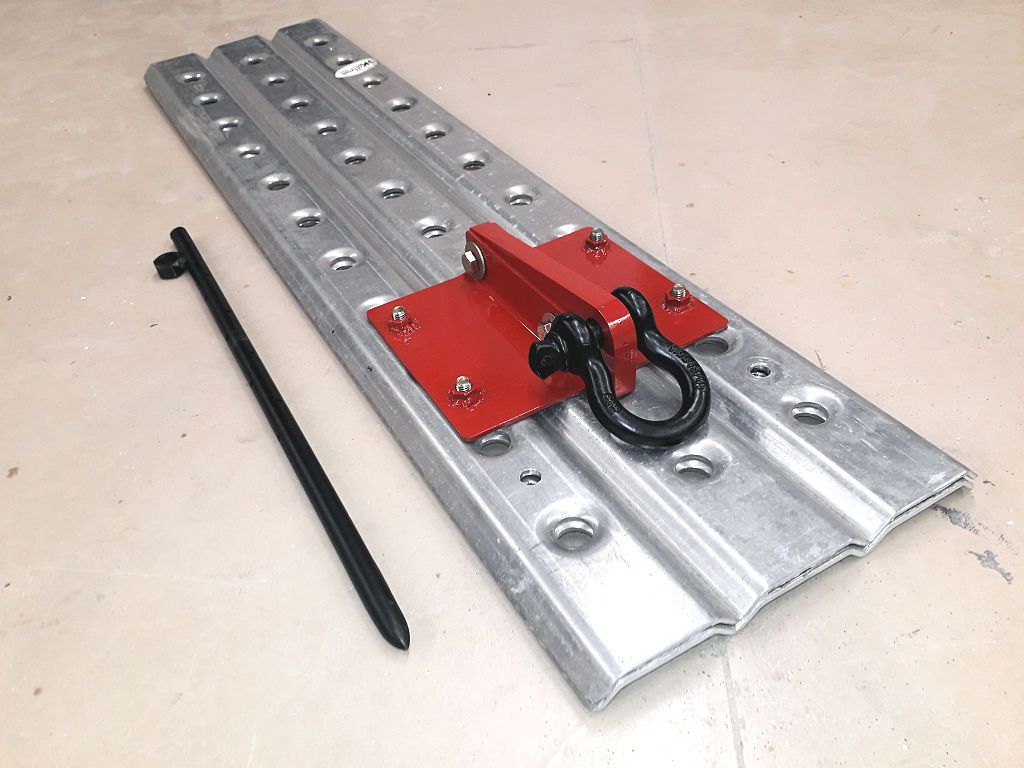
- (In front of the fridge) Winch/recovery bag. Includes winch line damper, ground anchor (bolts to the sand ladders), tree saver strap, snatch block, winch remote and other related gear.
- (In the floor well behind the driver's seat). Tool bag.
- Cool Bag hanging on the seat back. Can be used to keep drinks and snacks cool on the road and easily accessible from the driver's seat and also can be used to carry lunch on hikes to picnic spots away from the Jeep.
- 35,000-lb recovery strap in a roll bar bag on the vertical part of the main roll bar hoop. Out of the way but easily accessible.
- (Above the roll bars) Sand ladders. Also used as a ground anchor for the winch.
- (On the swing-down Molle panel) Mostly emergency gear - a shovel, a military surplus bag with spare parts, bolts, baling wire, duct tape, etc., and the winch extension that allows me to run the winch in the rear receiver.
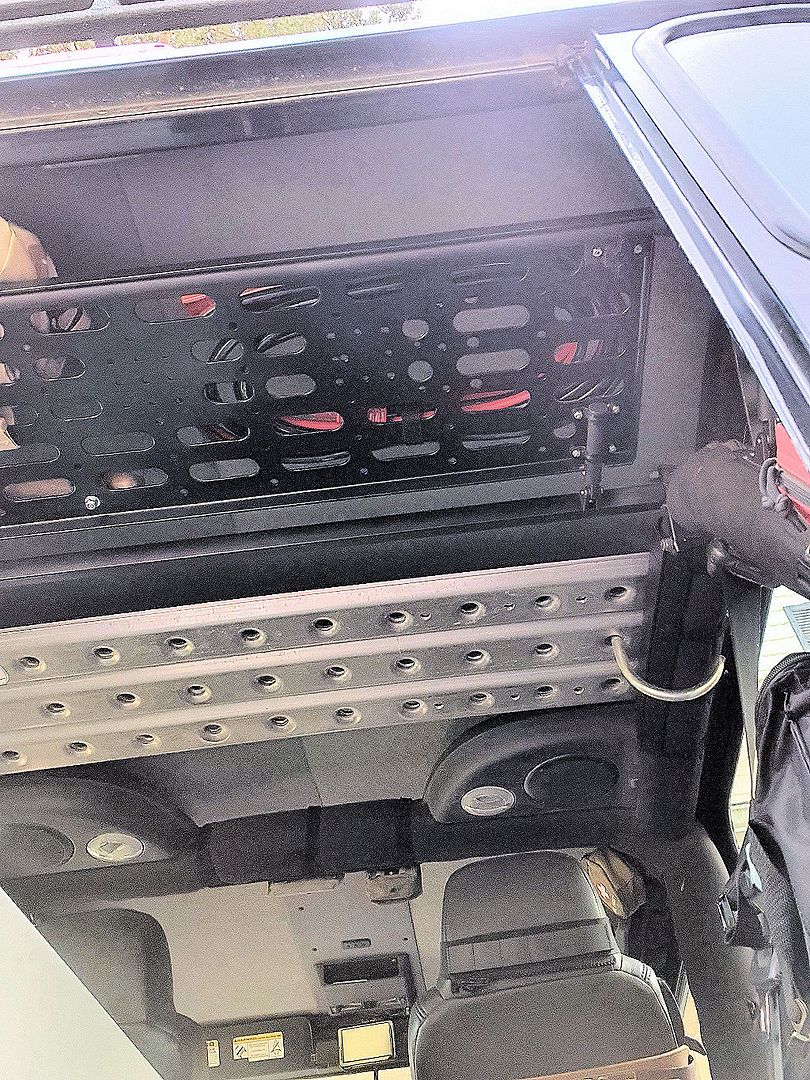
A view of the swing-down Molle panel:
A view overhead. Not a good photo, but you can see the bottom of the Molle panel in the stowed position and the two sand ladders/ground anchors on top of the roll bars/below the ceiling. Completely out of the way but easy enough to get at if needed.
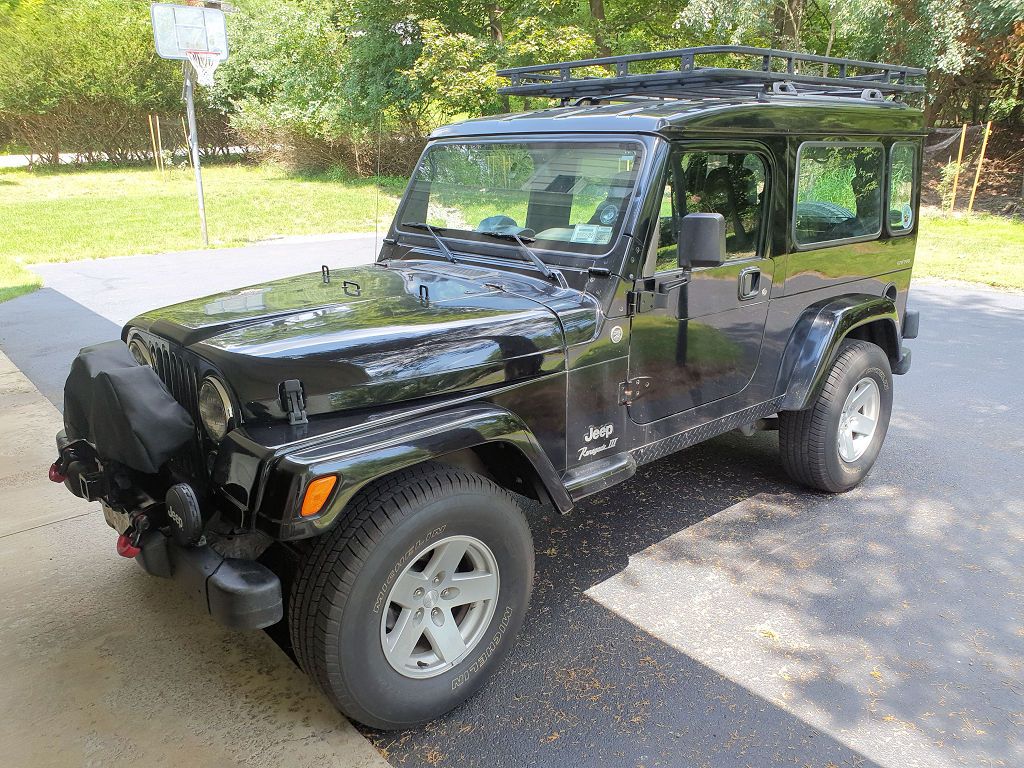
At the last minute and based on the forecasts for rain, I put two more sand ladders on the roof rack. Just in case the rain causes deep mud on the trails these could be helpful.
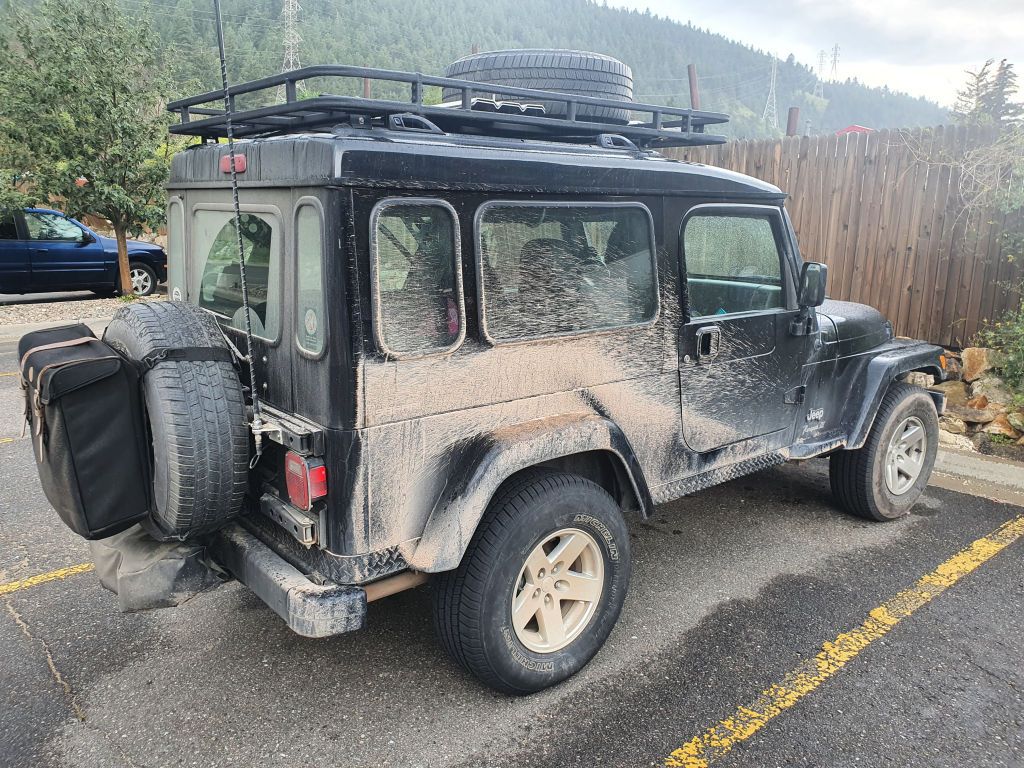
The winch is in the front winch receiver in this next photo and the rack is on the roof to carry a second spare (spare won't be on the roof until the day before the trip because Jeep won't fit in the garage with the spare up top). It's a fairly short trip, scheduled pretty tight, so with an extra spare I won't have to lose time trying to get a flat fixed or tire replaced if something goes wrong.
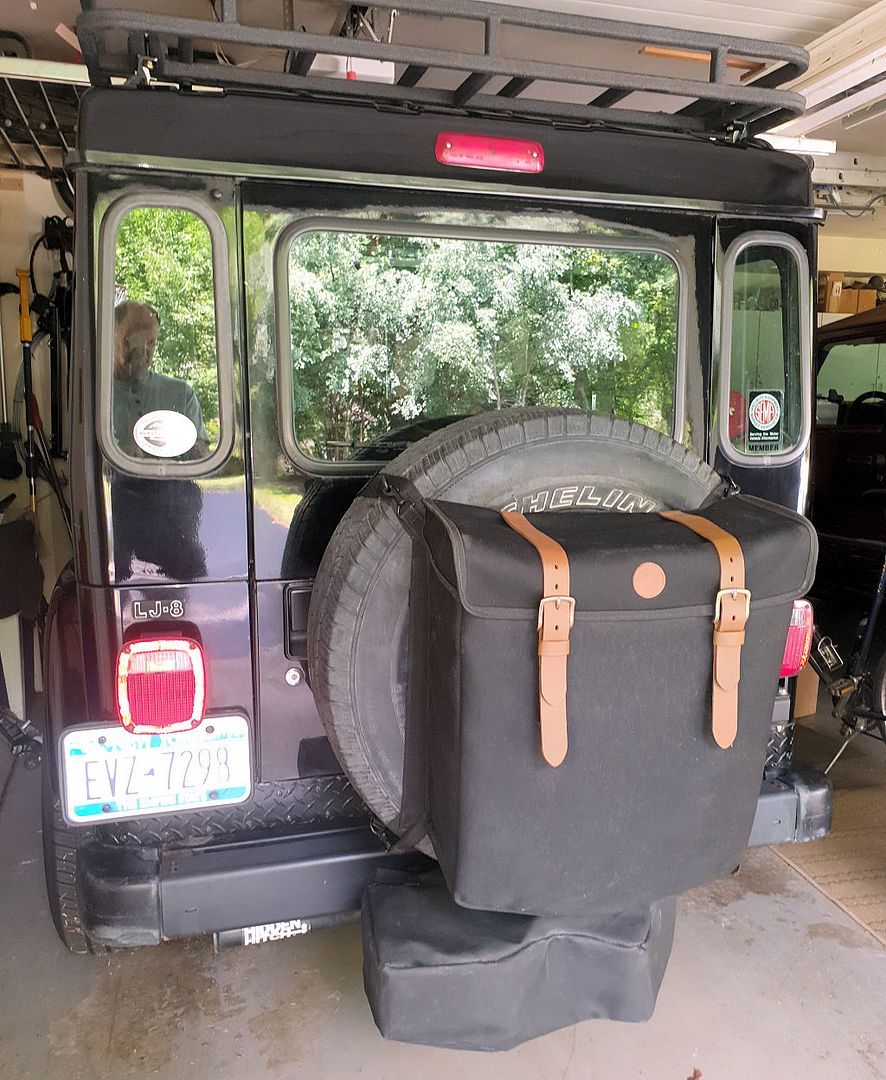
On long high-speed runs on the interstate when the outside temperature is high, the winch in the position above can cause the engine to run about 10 degrees warm, so usually I carry the winch in the rear receiver for the highway runs:
When the highway portion of the trip is over the winch can go back up front - for local and trail driving it doesn't affect cooling (I never bothered moving it when I got to Colorado - the trails I was doing weren't going to require much departure angle, so I just left the winch there - you can see the winch back there in some of the trail shots).
Also hanging on the spare is my trash bag; it's got a plastic bag inside it for trash and I've also put a pair of boots in there in case I have to do any recovery in the mud. I also use the bag for recycling on trips - I'm obsessive about recycling plastic containers when I'm at home and it bothers me to buy a bottled drink on the trip and have nowhere to recycle it so I put all of the recycling in the trash bag and it goes in my recycling bin when I get home.
All that was left to load after these photos were taken were a few bags with clothes and other personal items and maybe a small bag for non-cold food items, but there's more than enough cargo space left for that.
")
") .
.