InssssssssVANity!!!!!!!......or ****** did I just fly to Maine to by a Sprinter!

Cole

Expedition Leader
Obviously the green lift parts were going to clash with the wine colored van. So I took them to a powder coater and had them changed to the closest match we could find. Now to find the time to put the front portion of the VanComapass lift on.

25315310533_b0321b252d_c.jpg
 

Cole

Expedition Leader
Thanks.

Its not a "perfect" match but its VERY close. Close enough that with the parts separated by a few inches you can't tell.

The green was clearly not going to work since the big spacer bar would be visible. I considered just rattle canning them black but figured that if I wad going to do it, it would be a shame to lose the durability of powedercoat and may as well make them match.
 

Darkrider

Adventurer
Great updates for sure! Looking forward to future ones. Granted i am working on a Chevy van but this build still inspires ideas to see what can be done with it.
 

12xplore

Observer
It was quite a long time ago but at one point you mentioned wanting a vent in the floor to draw cooler, shaded air from under the van. I am currently have some work done on my van and one of the items is installing a deck plate like this. The solid cap will stay on most of the time and will be insulated but I will also have another cap with holes drilled in it to allow airflow. Simply switch caps as needed. Either way it is strong enough to walk on so can be placed anywhere. Various sizes are available.

31UTfS0AjNL._SY300_.jpg
 

Attachments

  • 31UTfS0AjNL._SY300_.jpg
    31UTfS0AjNL._SY300_.jpg
    9.6 KB · Views: 508

Every Miles A Memory

Expedition Leader
That's a pretty good idea with the cap. You could also just buy and extra lid, router out everything but the threads and fasten a screen on it to keep out bugs and critters, but allow airflow to circulate upwards
 

12xplore

Observer
Right, I'm actually putting the screen on the bottom of the lid so it won't snag while walking on. Putting in large enough holes for good airflow requires the screen as you said. Also routering the floor so it sits flush. Sorry for the slight thread hijack!
 

Cole

Expedition Leader
Thanks. Cool ideas.

I was actually staring at the extra unused seat holes in my van yesterday thinking about this.
 

Cole

Expedition Leader
(I created a thread just for the Sprinter lift but figured I'd include this in my build too)


I've been dreaming of doing a lift and ultimately a 4x4 conversion on my Sprinter from day one. There just weren't the right parts available and I haven't been ambitious enough to put together buy own kit.

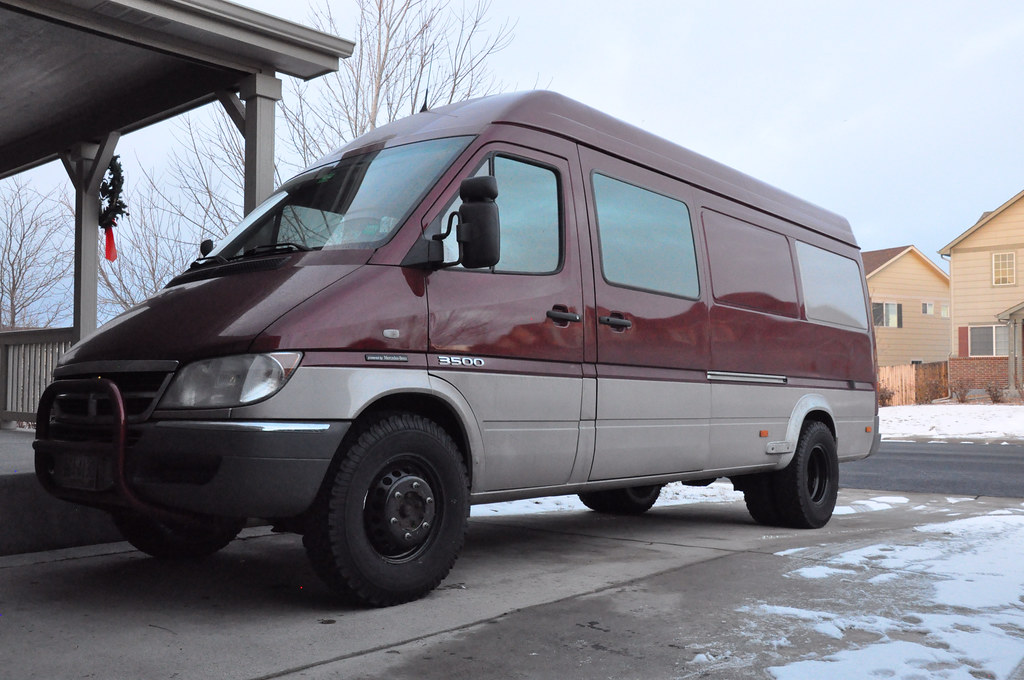
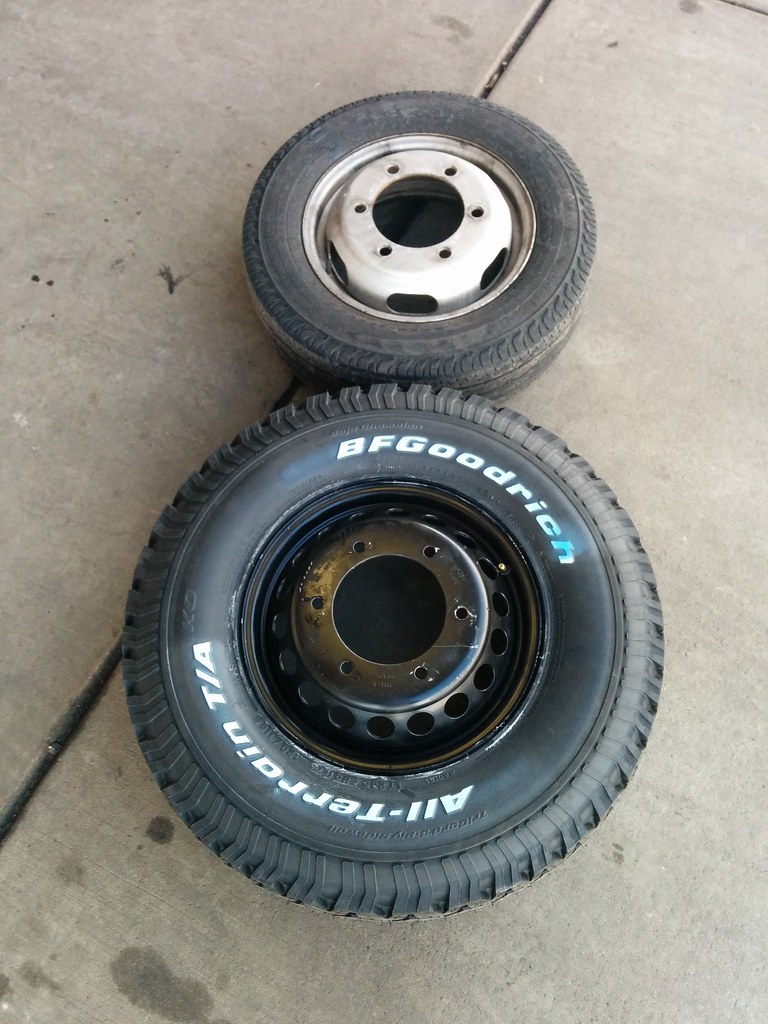
Many of you may remember the original quest to run bigger tires on my Sprinter In this link here

The cliff note version is this quote from myself below. Notice how much bigger the tires I have now are compared to the ones I started with on the 3500.

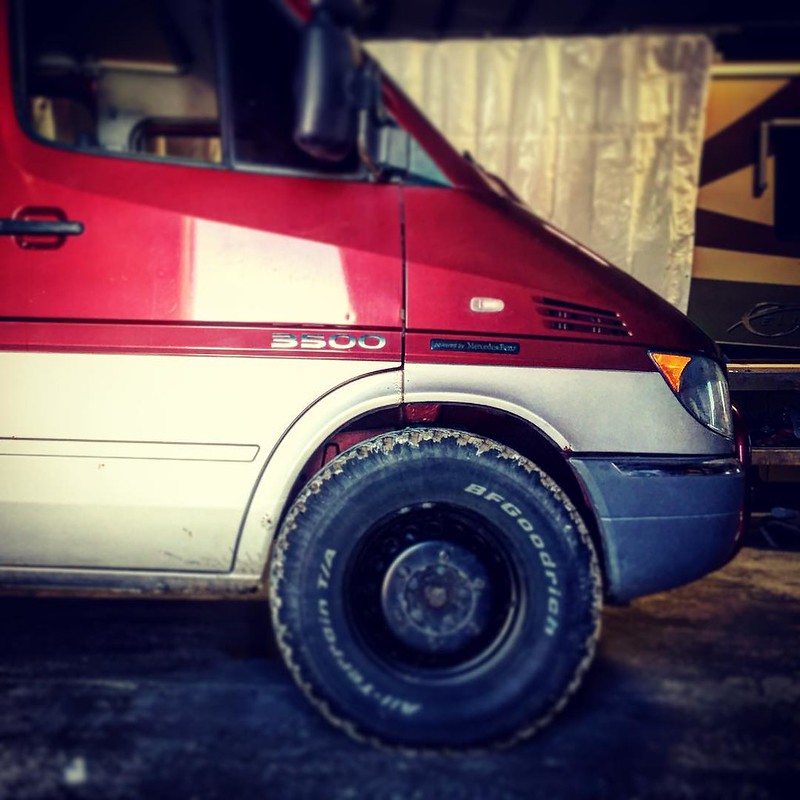
After running this set up now for about 30K miles I've been very happy with it! I don't have rub issues except on the sway bar I added in the front at full lock. BUT...........the fit is VERY TIGHT! I would like to have more room in there and a more aggressive look.


Figured someone had to step outside the box here and "go big or go home":lol:

Full disclaimer, these don't fit......yet:tongue: They rub the rear edge of the front and wreak fenders but there looks to be plenty of space for my to play with my cut off wheel:crazy: I knew this was going to be the case.....but bought the van to have fun with so here goes!!!!:thumbup:

Just didn't have time to start the fab work today.
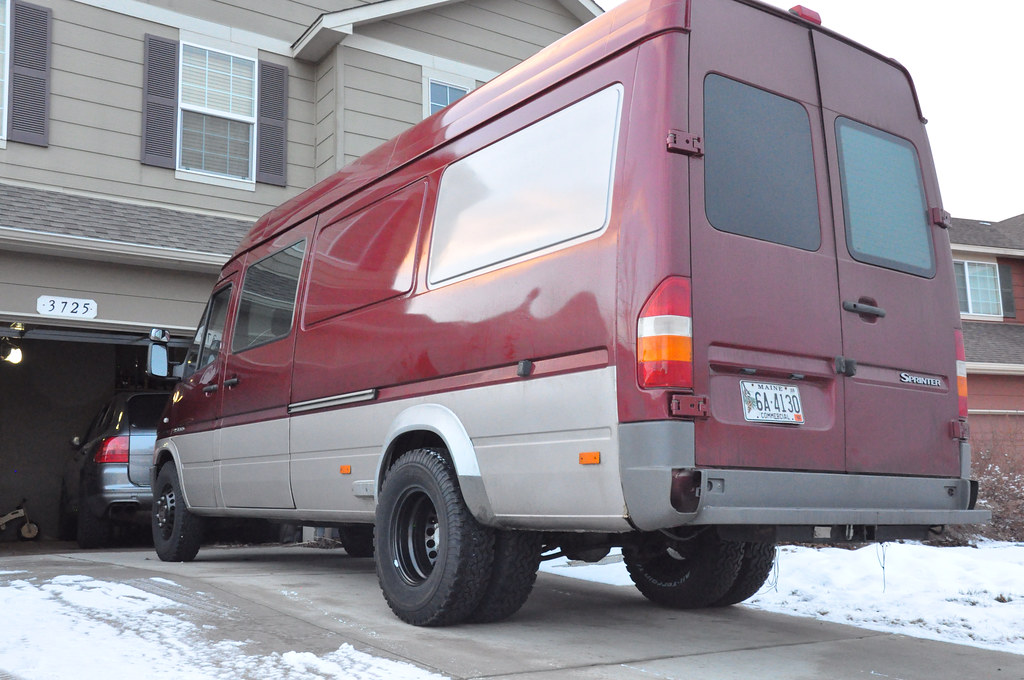
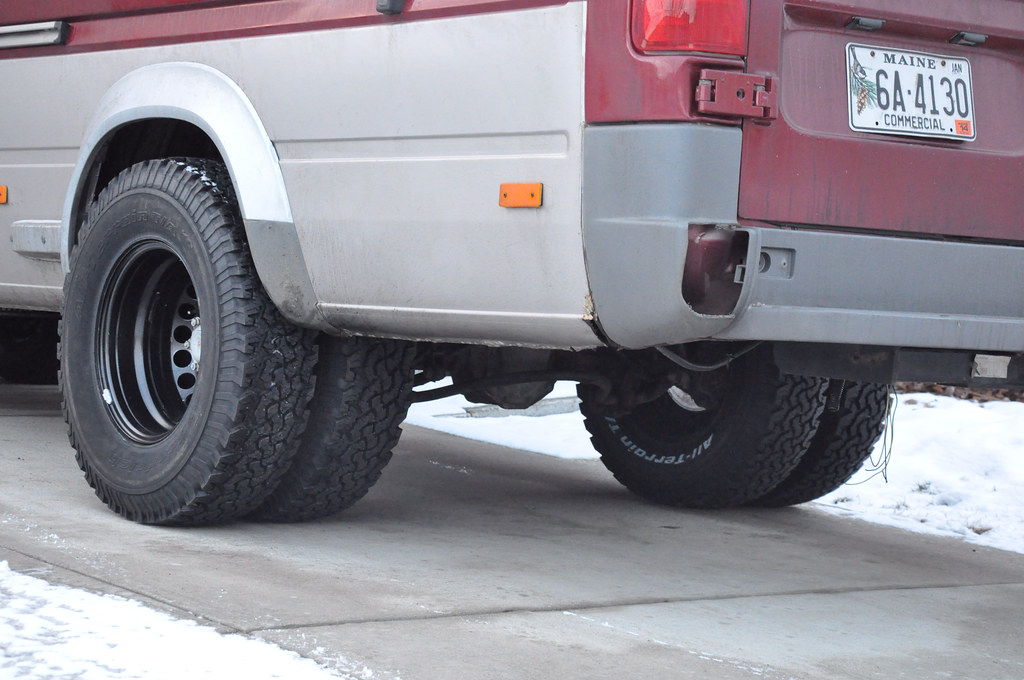
235/85/16s

11957455916_cfb757db30_b_d.jpg


11957059664_02b958e2f5_b_d.jpg


We test fit them and there was about an inch between the duals!

11957062734_088447acb5_b_d.jpg


11955359756_e7524cbff0_b_d.jpg

https://vancompass.com Just introduced a new "lift kit" and skid plates for the Sprinter!!:thumbs:

I live in the Colorado rockies and have ventured to some crazy places in my Sprinter as it is. So I'm excited to get a little more room under it.

At this very moment VanCompass is only making the from 2" lift for my 3500. We have been working together to get a rear kit done too:thumb:(They just didn't have a 3500 to work with) They are also working on kits for the newer Sprinters so I figured this might be a good place to have a general discussion about lifts on the Sprinters in general.

VanCompass did such a detailed set of install instructions and a video on their site HERE That I figured a detailed "install" thread wasn't really necessary:lol:But I will include a few pictures and details of my own experience doing it.


I just started installing the front and I'm excited to see how it works out.

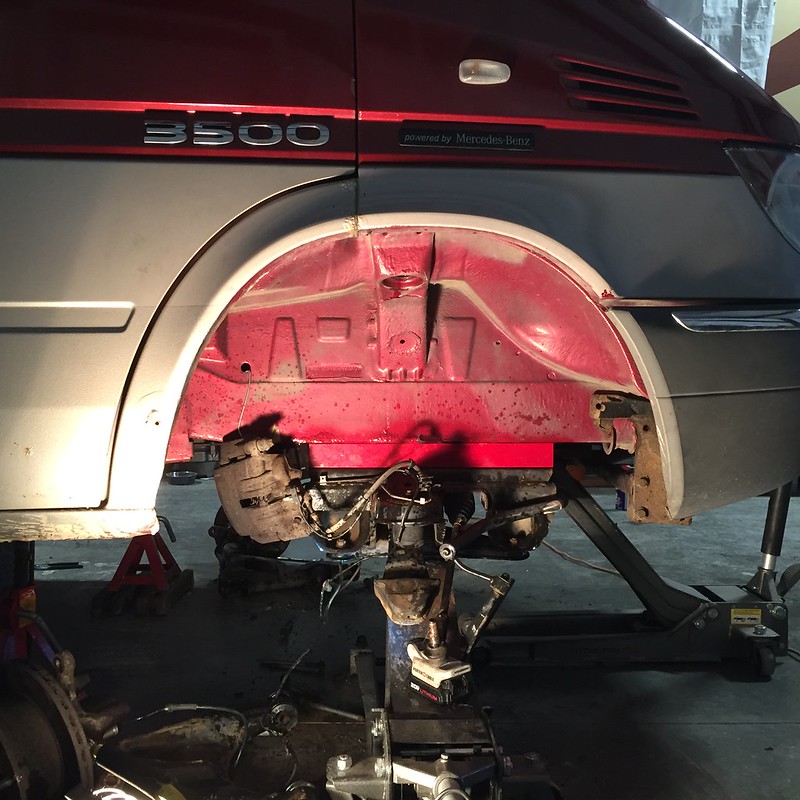
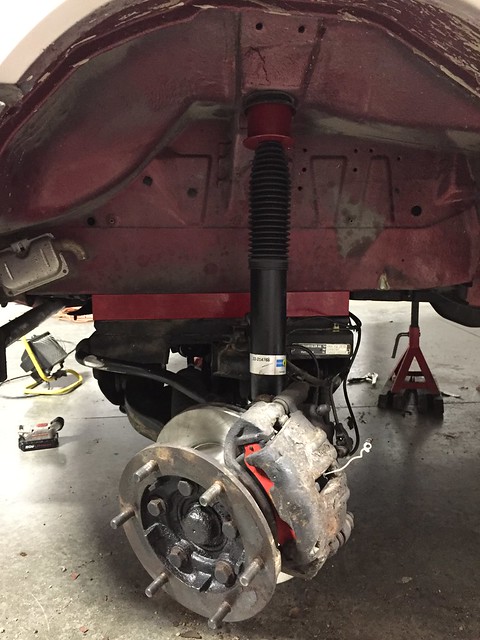
Here is the required "before" side shot of my front wheel fitment. The inner fenders have been *slightly* trimmed. I know this looks like it must rub, but it doesn't even in the deepest snow.

26112485861_341947978d_c.jpg


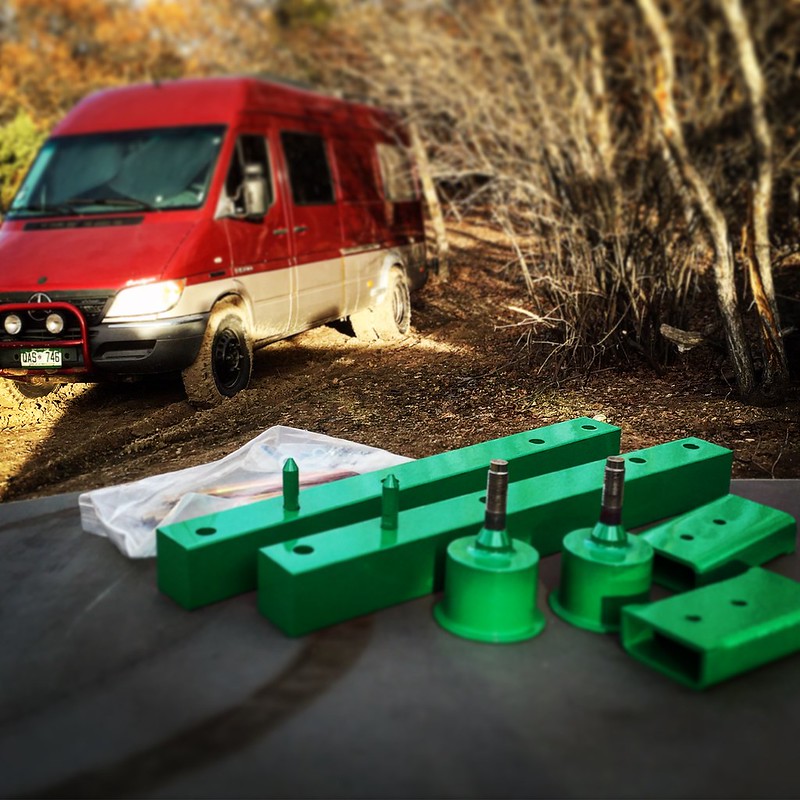
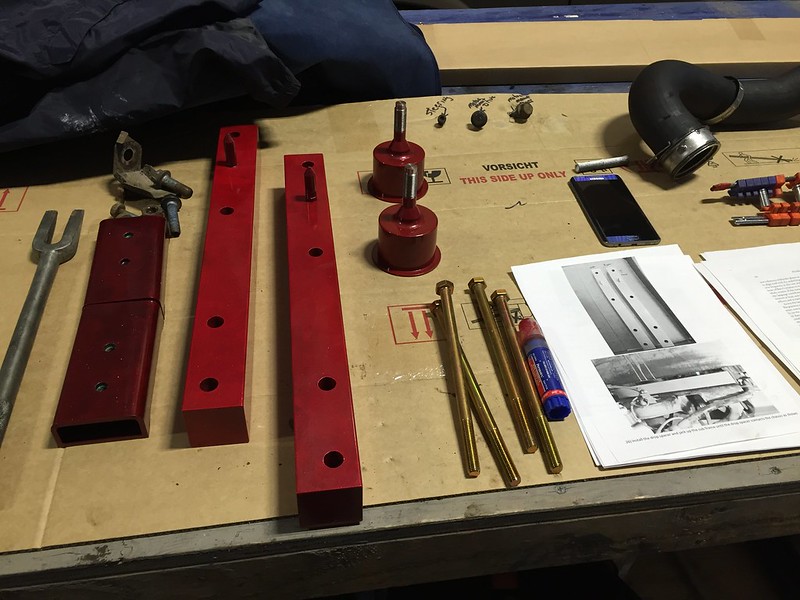
Here is what comes in the front kit. There are two spacers for the front sub frame. Two engine mount spacers to keep the engine in the right spot and two spacers for the upper part of the struts. (and bolts).

24770325159_8706baec48_c.jpg


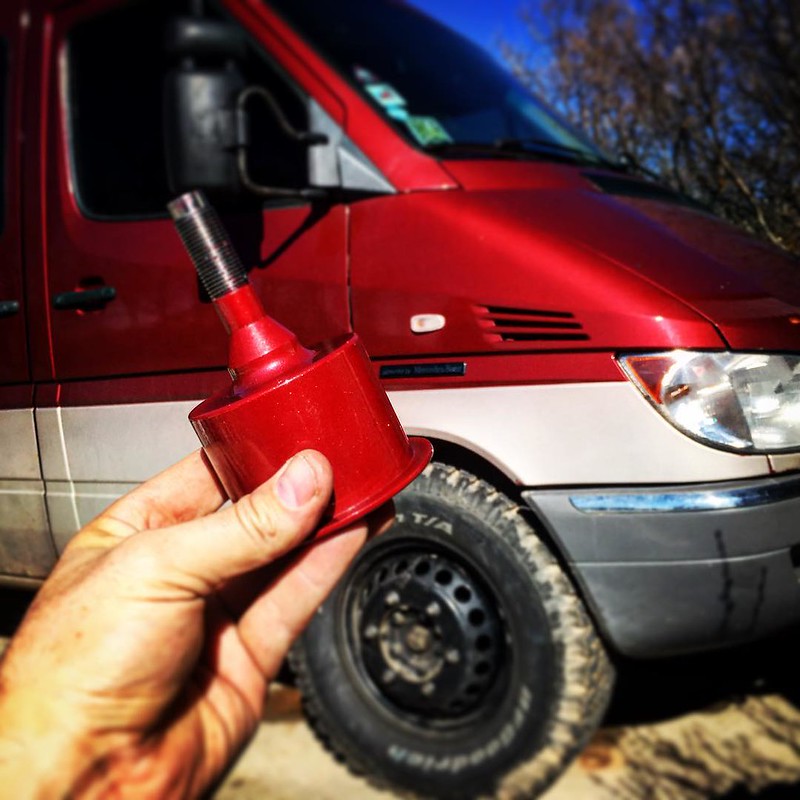
Of course there was no way the neon green was going to look right on my burgundy Sprinter. So I had them Powder coated to a better color! I honestly would have been fine with grey or black but as long as I was having them done doing a color that was a bit more fun was in order. :laughing:


25315310533_b0321b252d_c.jpg


26210262285_30883ebe54_c.jpg


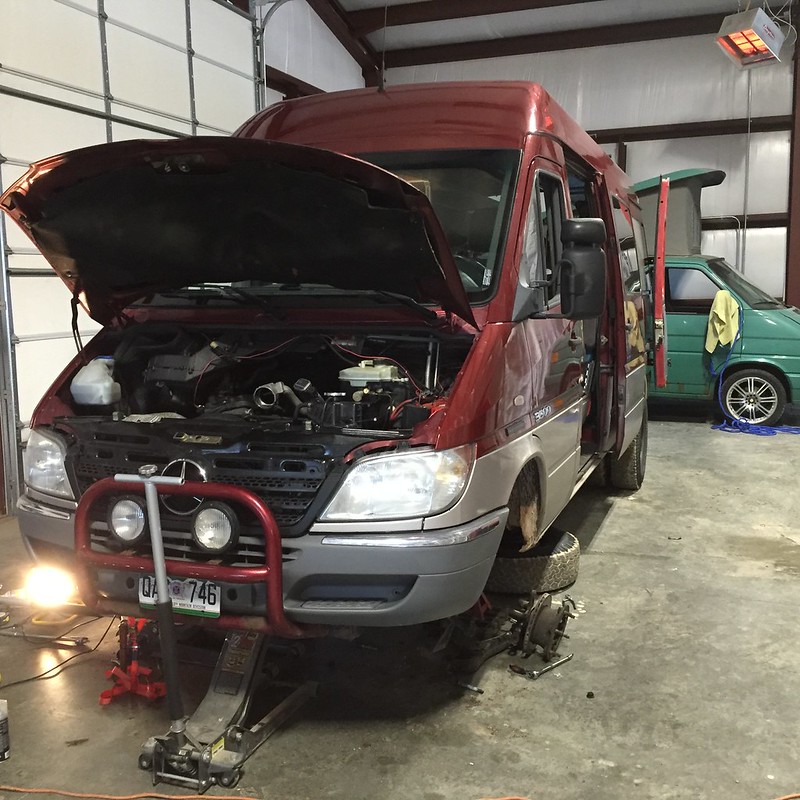
I'm doing this on the floor of my shop space with pretty basic tools. Having 2 jacks will make life much easier.

26143959261_56eec18276_c.jpg


You have to pull the control arms off to reach the sub frame bolts. But it only took us about 2 hours to get to this point of having the subframe spacers installed.

26184337476_56ab9a9efc_c.jpg


I stopped here for the moment to wait for parts. My van drove great but one of my front struts was totally dead:dunno: I decided to do all the brakes, struts and tie-rods while I had the van this far apart. It needed those parts anyway. :thumb:
 

Cole

Expedition Leader
Just a tiny little update.

I finished the lift install. I've installed a lot of lift kits over the years and this one was definitely on the easier end of the scale.


Completing the front end has just been delayed by "while you're in there" items. I discovered one of my front struts was dead so I ordered 4 new Bilstien shocks for the van. The brake rotors were pretty worn looking so I ordered all new rotors and Brembo pads front and rear. That of course led to having to drill out the rusted rotor retaining bolts. Which took a trip to the dealer 20 miles away.

Also figured I'd change the inner and outer tie rods while I had them open. Of course my tie rod tool wouldn't fit the inner Sprinter tie rod and that required ordering a new tool. Which should be here tomorrow.

I'd like to get this on the road with the front lift on it and get some impressions on how this thing is going to work!

26334061551_a2d8b6f334_z_d.jpg
 

Bbasso

Expedition Leader
Looks pretty simple, essentially it's spacers?
And I spy your heater's muffler lol

How does the ride differ?
 

Cole

Expedition Leader
Yes, just some spacers. So in theory it should ride exactly the same, just higher.

I'll report back when I get it out of the shop and back on the road. My new inner tie rod tool should get here today.
 

Cole

Expedition Leader
It would be nice if I could get enough height from the rear to run a softer rear spring. But they haven't completed the rear kit for the 3500 yet. Think they are waiting on some additional measurements from my van.
 

Forum statistics

Threads
186,716
Messages
2,887,404
Members
227,160
Latest member
roamingraven
Top