Stuff
Back to work after a bit of a medical layoff, pulled muscle.
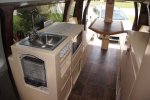
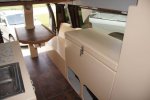
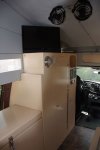
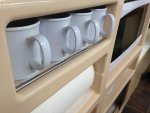
Put in new seats, had to build an adapter for the base- just 4 lengths of steel inset into a plywood base and bolted together. Bottom piece pulls chair to the board, top piece pulls board to the floor. Very tight. It was an unusual pattern of the original seats. The passenger seat will have to wait until I get an ordered swivel base. Then I will lay more insulating rubber and put the carpet back down following a good cleaning with simple green and a pressure sprayer. The seats are air ride type and work great but we need find a means to fill the air other than a quick disconnect to my compressor that I am using now. I put the galley back in after modifying with cup and paper towel holders, two drawers (not in) and ceramic tile around the catalytic heater and where the portable stove will sit. I don't think the stove will need hold-downs unless there is plans to leave it out or cook while underway, which I think highly unlikely.
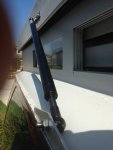
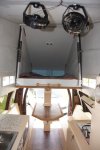
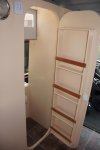
We are getting close to the end, a few pieces of trim, get the gas struts up (awaiting parts) and connect some gas lines. Who am I kidding, there's alot more trim to be done!
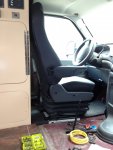
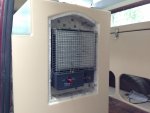
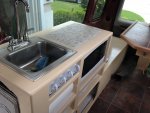
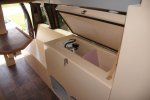
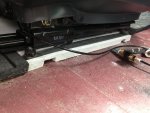
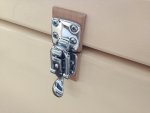
A few more details. Under the seat, the two notches hold metal that runs under the metal you can see. The tray with utensils will drop behind the counter in the galley, makes a nice place to holds stuff that fits awkwardly in drawers. The cups are held in place by a Stainless rod, and the hold-down for the freezer top.

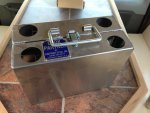
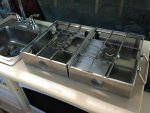
Here is the stove set up. The stove is larger than I imagined it would be and is built to survive the apocalypse. The only complaint is that I will need to configure two quick disconnects, each burner has its own instead of one input into the stove. I guess I can connect them in some way.
Back to work after a bit of a medical layoff, pulled muscle.
Put in new seats, had to build an adapter for the base- just 4 lengths of steel inset into a plywood base and bolted together. Bottom piece pulls chair to the board, top piece pulls board to the floor. Very tight. It was an unusual pattern of the original seats. The passenger seat will have to wait until I get an ordered swivel base. Then I will lay more insulating rubber and put the carpet back down following a good cleaning with simple green and a pressure sprayer. The seats are air ride type and work great but we need find a means to fill the air other than a quick disconnect to my compressor that I am using now. I put the galley back in after modifying with cup and paper towel holders, two drawers (not in) and ceramic tile around the catalytic heater and where the portable stove will sit. I don't think the stove will need hold-downs unless there is plans to leave it out or cook while underway, which I think highly unlikely.
We are getting close to the end, a few pieces of trim, get the gas struts up (awaiting parts) and connect some gas lines. Who am I kidding, there's alot more trim to be done!


A few more details. Under the seat, the two notches hold metal that runs under the metal you can see. The tray with utensils will drop behind the counter in the galley, makes a nice place to holds stuff that fits awkwardly in drawers. The cups are held in place by a Stainless rod, and the hold-down for the freezer top.


Here is the stove set up. The stove is larger than I imagined it would be and is built to survive the apocalypse. The only complaint is that I will need to configure two quick disconnects, each burner has its own instead of one input into the stove. I guess I can connect them in some way.


Last edited:

