That 'watching paint dry' is kind of key with this 'Hammered Finish' paint. You have to put it on a little thick - and it is a very thick and gooey paint, to begin with - for it to develop the intended finish. Near as I can figure, this toxic goop develops its finish by using materials with different drying / contraction rates. Even after the 'hammered' look starts to form you can still plow a brush thru it and as long as it's fresh, the patterns re-form.
But it also has a short working time before it off-gasses and starts firming up. If you spill stray drops ahead of your painting area, or are prone to having paint slop down the sides of your cans, you need to promptly brush it flat.
The first time - on the MkI deck - I used a standard 4" paint roller. Big mistake. The gooey paint developed strands much like cotton candy, from the surface to the roller. Fortunately that was re-absorbed as the paint laid down. I switched to closed-cell foam rollers after that first side application. Thie time around I'm again using the closed-cell roller to shove paint around. But I'm also using cheap disposable 2" brushes and deliberately going a bit thick.
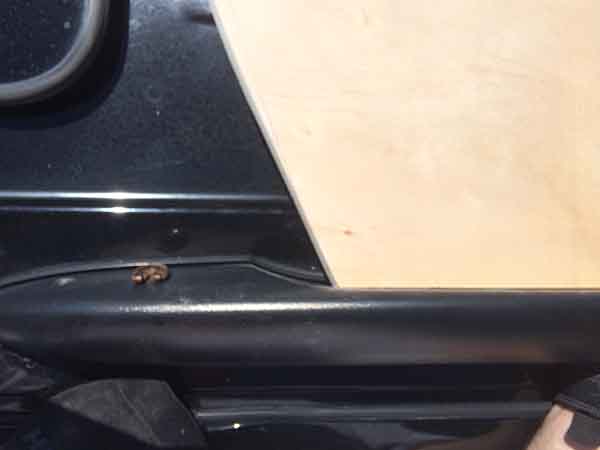
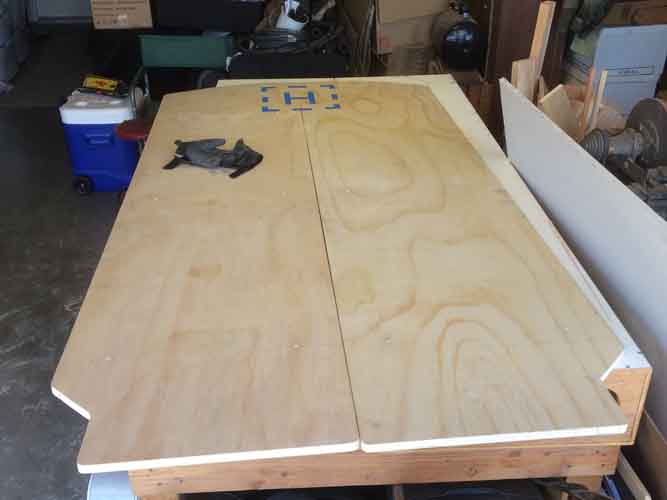
Something else with this paint over KILZ primer, it's developing pinholes as the 'hammered finish' does its thing, the paint drawing up and actually pulling away, despite a very thorough application. IIRC on the MkI I put a second coat on, which worked fine. These pinholes are only visible I think because I used a white primer.
You also ought to give that 'hammered' finish time to develop, before setting the piece out in the sun or breeze to dry. It's a bit like wrinkle-finish paint in that regard. It seems to work better for the appearance.
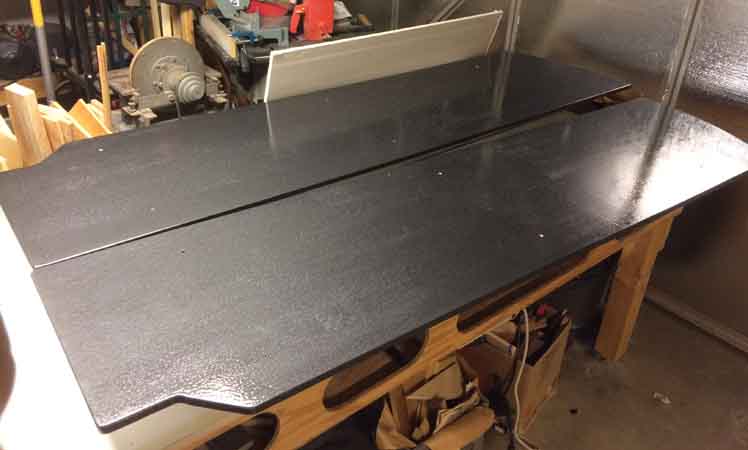
It also helps a great deal in 'keeping a wet edge' with this Hammered paint. Despite being labeled 'black', it's really more of a dark gray / gunmetal color and vaguely metallic in appearance. And due to the nature of the paint it tends to show roller or brush marks if you don't keep it wet as you go. Putting it on thicker than you would a normal paint also helps mask this effect, as the thicker coat develops the hammered look. Sort of acts to camouflage brush strokes.
-
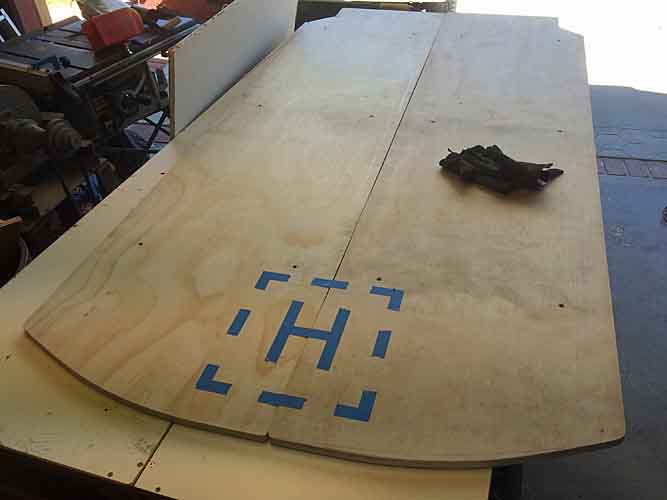
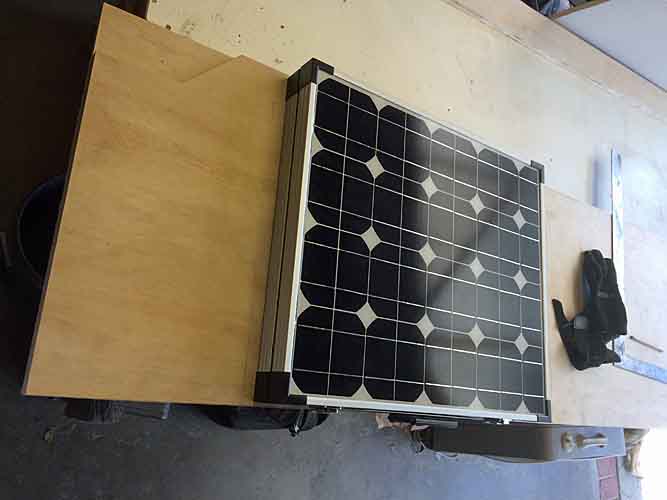
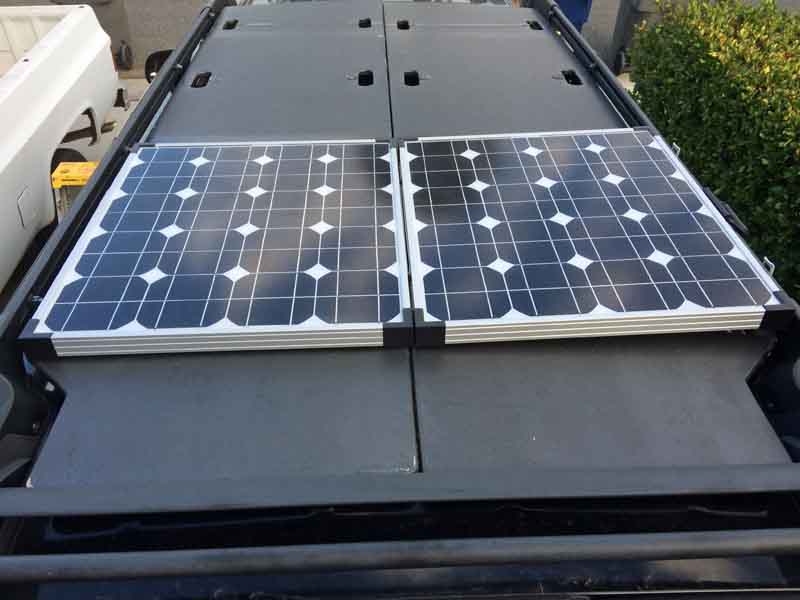
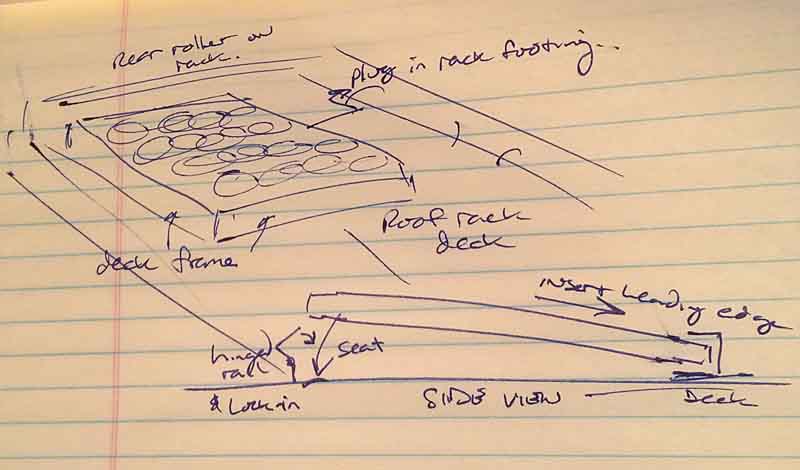
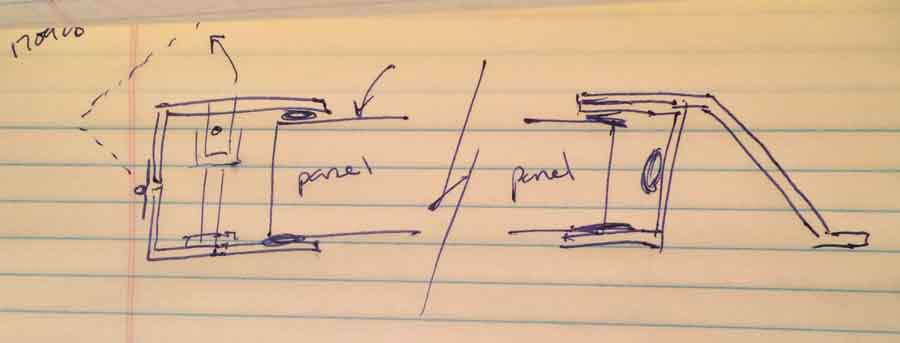
On the panel install, it's going to be something like this -
I'm also thinking to make its mounting frame in two halves, so the roof deck can still be taken off a half at a time, without having to dismantle the solar panel mounting.
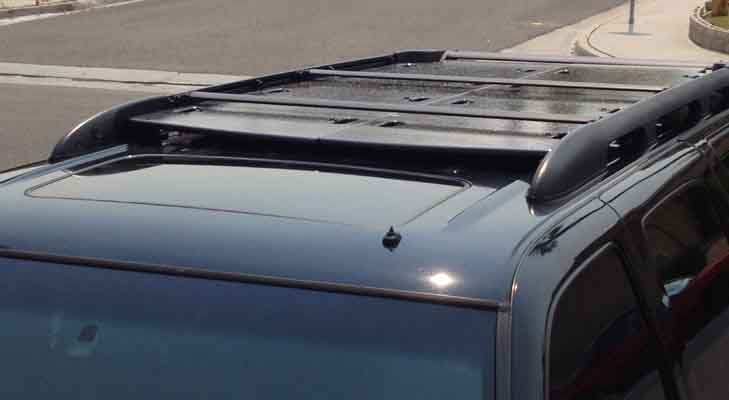
The mounting frame will be painted satin black to blend in with the roof rack. Shouldn't be very noticeable from the ground.
An early sketch, I haven't put refinements on paper yet.
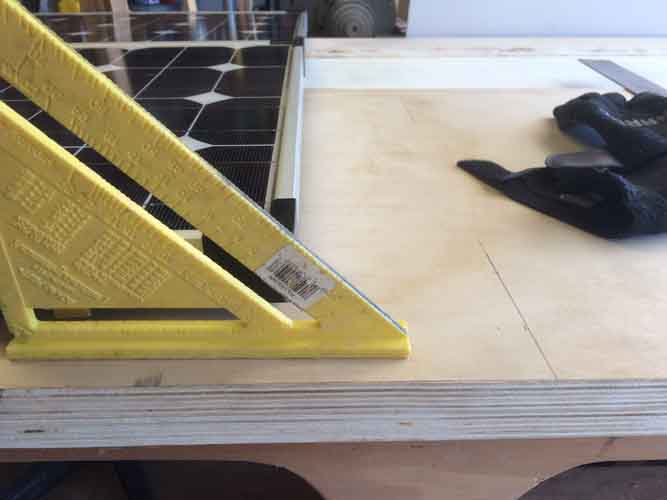
I already have an 18" bending break, but it isn't wide enough for this project. Even in two halves, the sections are ~22" wide. I'm probably going to buy the 30" model from Harbor Freight, if I can't find a local fabrication shop that can bend my front fairing, inexpensively. It will be a shallow Z-bend. At least 45degrees. Or as much more as I can fit between the panel mount c-channel and the middle brace of the roof deck. Might be able to get as much as a 60deg 'angle of repose' out of it.
I'll be working out the solar mounting frame details on paper within a few days. I've got most of it in my head already. And what I can recall of the flush hood locks should be workable. But that memory is ~30yrs old. I need to look around and see what sort of new security panel fasteners are out there. I want something that takes a key or unique tooling. That can't be worked with a screwdriver.