New shop.... Next project!!

hobietony

Explorer
Great post. We bought an ambulance last year and converted it to a rv. Been trying to get my husband to let me convert it to 4x4 and lift it but he says it will ruin the gas mileage we get about 13-15 right now. When yours is complete can you keep us posted on your gas mileage

Can you post some pics, or PM me? I really want to see what others have done to the inside - I have ideas, but no hard plans yet...
 

hobietony

Explorer
Update on the progress...

Last weekend got the rest of the millwork removed - down to bare walls everywhere now
m_P1150001.jpg


Spent most of the weekend tracing wires, trying to understand where it all goes and how it works before I start wholesale ripping it all out. Some stuff is easy - I dont need the light bars, so if I pull the light bars, everything that feeds them can be removed. Other switches and circuits I want to re-purpose, so I'm trying to trace them from the end use back to the switch - not as straightforward as it sounds, goes through a big relay panel, and the wires from the switch to the panel disappear down into the dash, and reappear by the e-brake pedal in one big fat bundle.

These three boards need to be moved before the roof gets cut out
m_P1150005.jpg

m_P1150004.jpg

m_P1150003.jpg


There is also a sub-panel under the drivers seat, looks like several of the 'coach' functions that interface with the 'cab' functions run through here - lights of course, but also coach heat/ac (wires from the coach heat/ac the control the engine ac clutch, wires that open coolant flow from the engine)
m_P1150012.jpg


Switch panel in the coach
m_P1150007.jpg


Switch panel in the cab
m_P1150018.jpg

m_P1150017.jpg


Wires from the cab to the coach
m_P1150013.jpg


More at the footwell
m_P1150015.jpg
 
Last edited:

hobietony

Explorer
Front grille and lights removed, getting to the wires from the lights and siren
m_P1150019.jpg

m_P1150021.jpg


Got them as far as here, probably have to remove the fender to get to where these and the rest of the bundle leading to the cab battery penetrate into the cab
m_P1150022.jpg


I want to have everything possible running off of the coach battery bank, so I'm trying to reroute everything that is currently tied into the cab - Those ambulance guys were pretty thoughtful though, each wire is labeled directly on the jacket for its whole run, so it could be a lot worse.

Trying to do something fun each chance I work on it as well, cut off all the bolts and pulled the running boards
m_P1150028.jpg


Figured while the grille is off, I would paint it black and spruce it up a bit, primed and painted only to have the paint all bubble - ******? Looked at my 'primer', turns out it was a grey paint of some incompatible type - Looks like stripping and repainting the grille is on the list now.
 
Last edited:

hobietony

Explorer
So one of the problems exposed was this huge hole in the fenderwell, caused by loose tire chains - I have to hope they were on a call and couldn't stop, because they couldn't have missed hearing it
m_P1150010.jpg

m_P1150009.jpg


So, fixing that was this weekends project
First aluminum welding project with this new toy
m_P1230059.jpg

Miller 212 with dual bottle setup, and an aluminum spool gun

A little practice led to these welds with the repair piece sitting on the bench
m_P1230042.jpg

m_P1230039.jpg

I was feeling like "not so bad, not as hard as everyone says"

No pictures with the old fender piece out, but when I went to weld this piece in place, wow, ugly as homemade soap. It is secure, but I loaded a heavy bead of sikaflex over all the beads, because the welds sure weren't going to keep the water out, and I didn't want anyone to see them anyway.
m_P1230044.jpg

m_P1230045.jpg
 
Last edited:

hobietony

Explorer
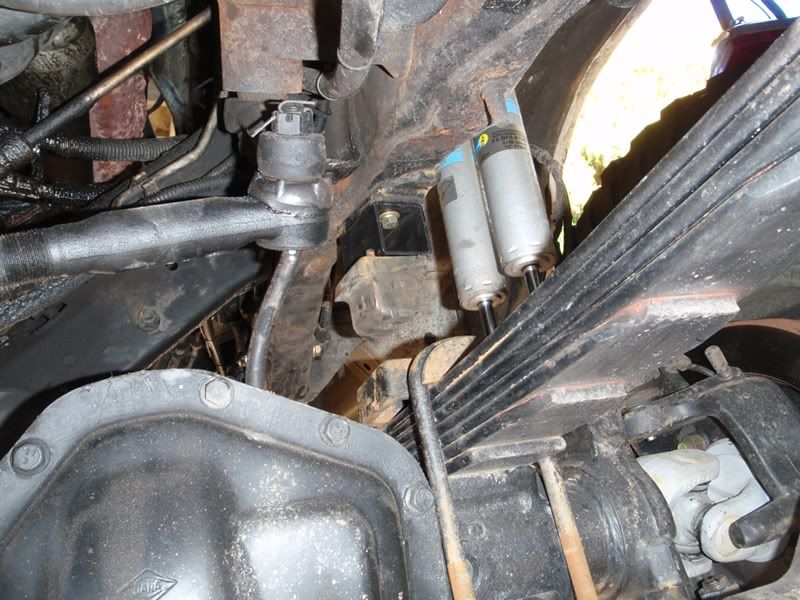
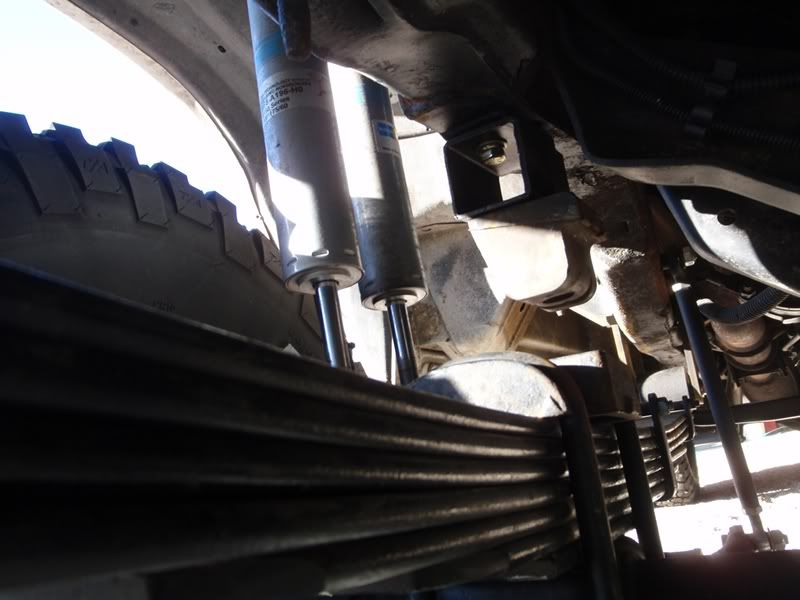
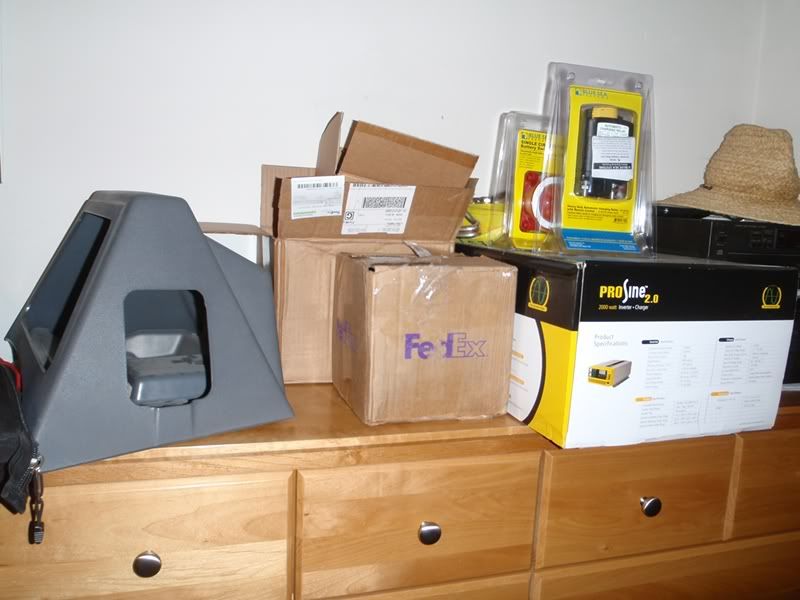
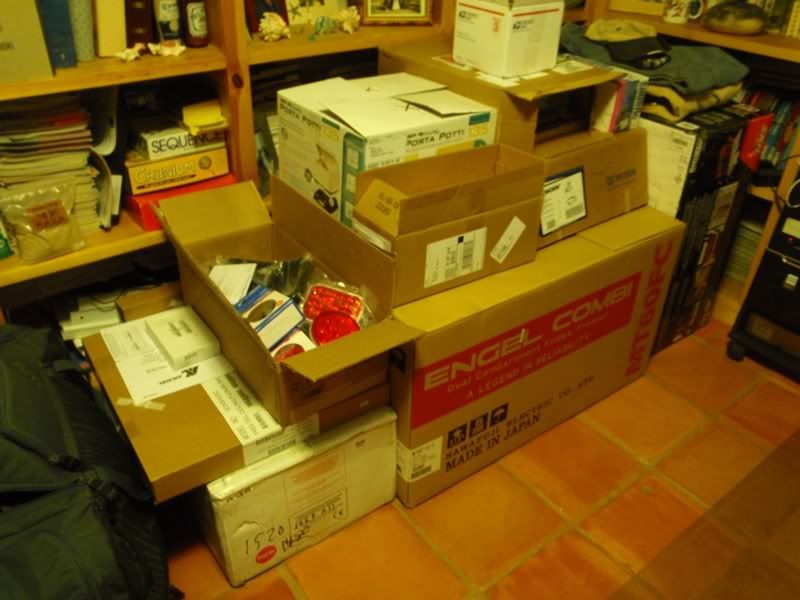
I also got a box from Chris with the pieces and parts that he didn't have time to install before I picked up the rig in NC, including the rear air bags, front bump stops, and a longer pittman arm.

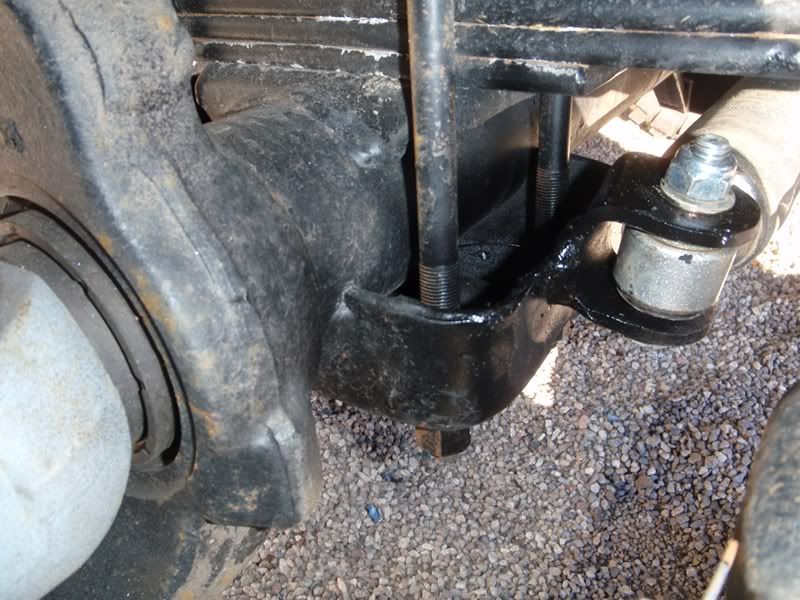
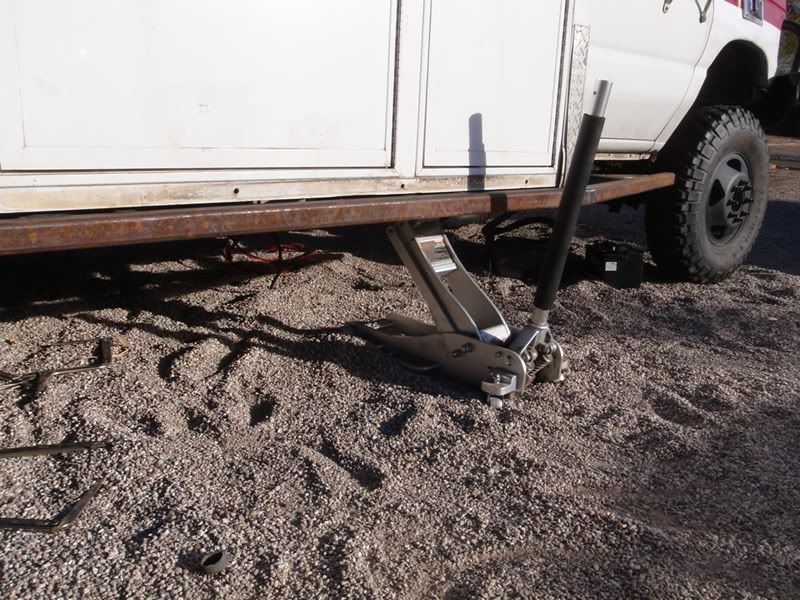
Went to install the bump stops today, everything went in smooth (although I had to drill one hole, got two identical stop extenders, need a mirror image).
m_P1230051.jpg

m_P1230049.jpg


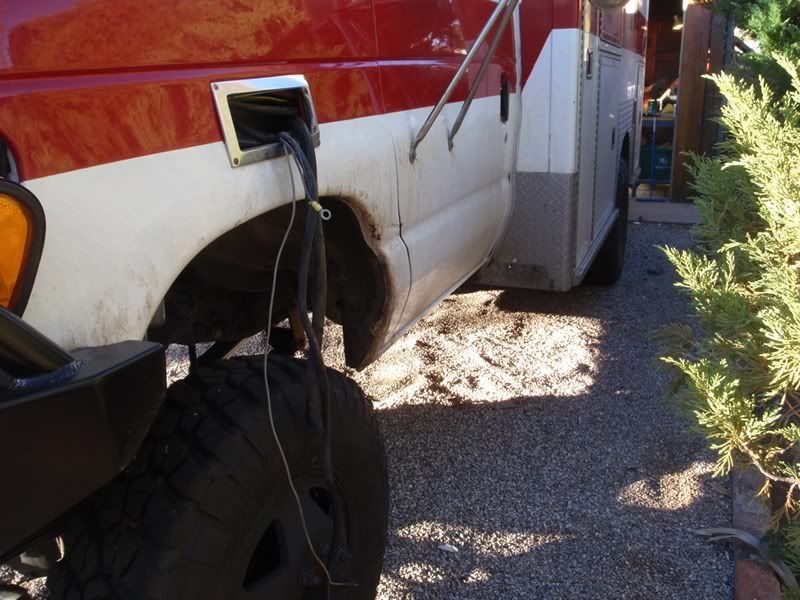
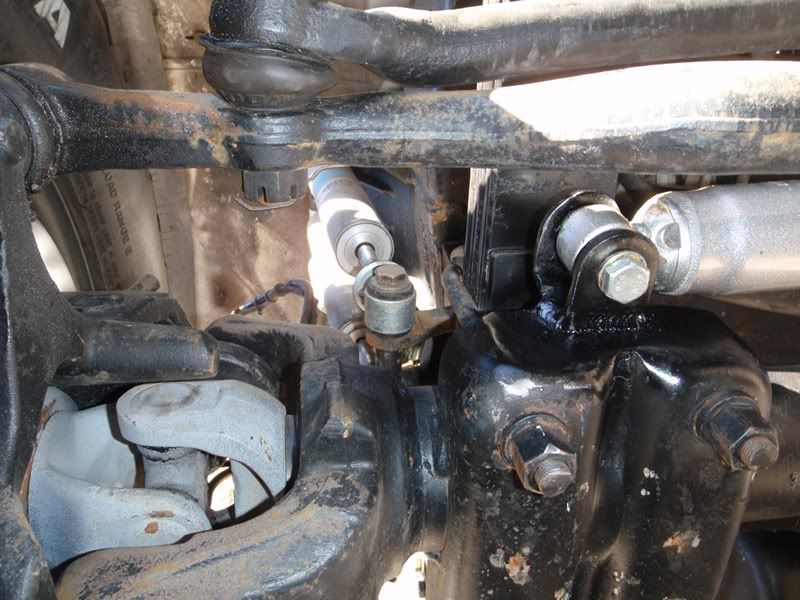
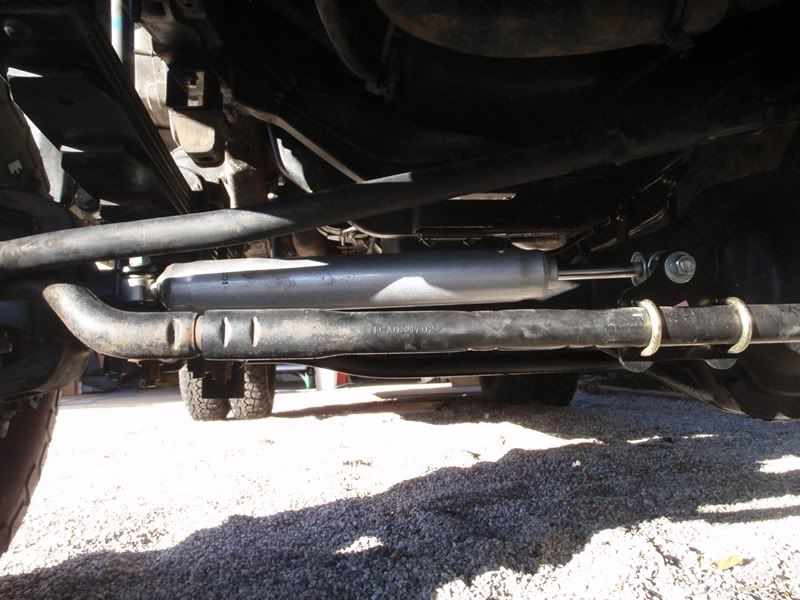
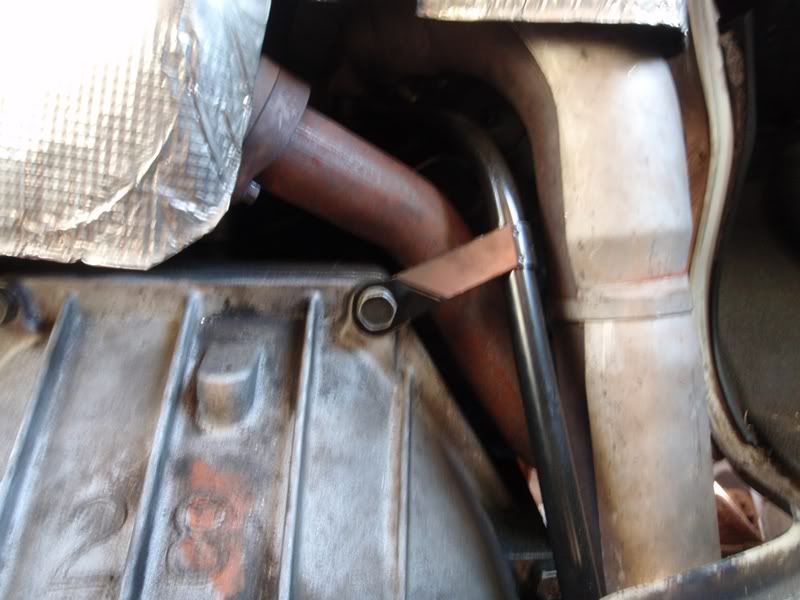
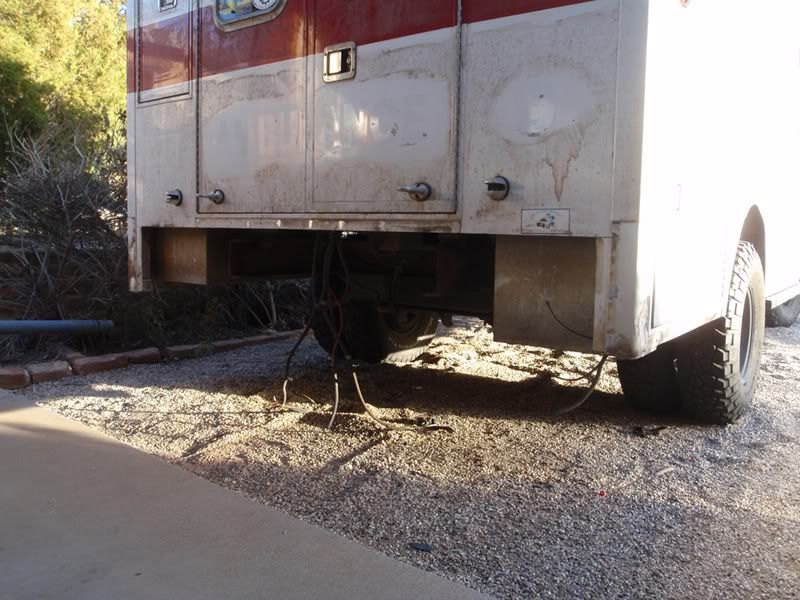
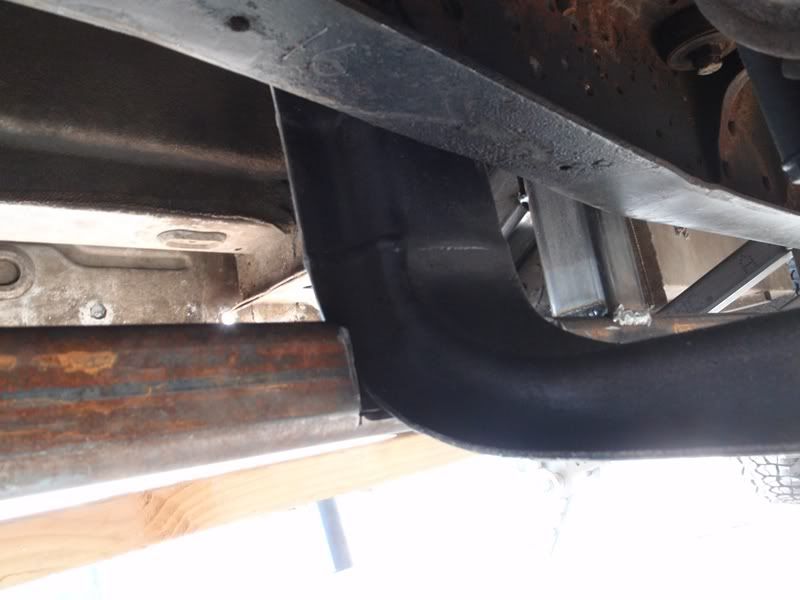
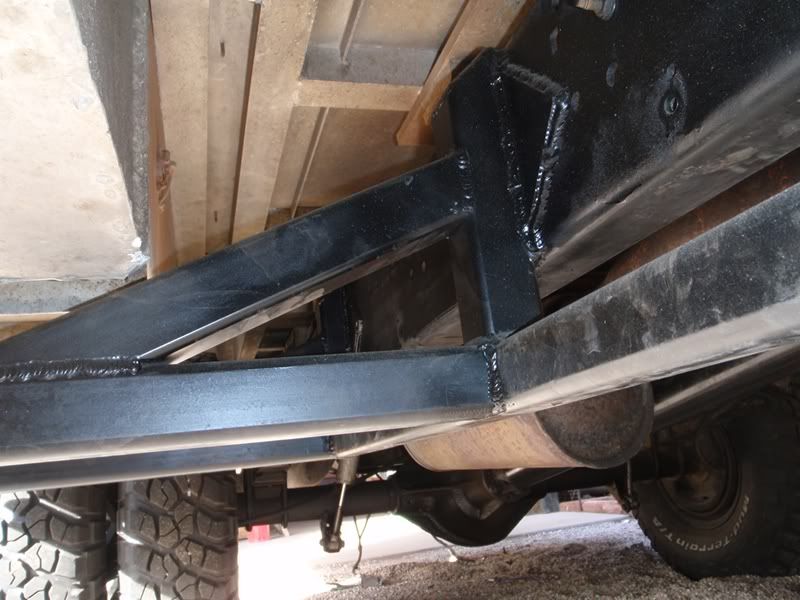
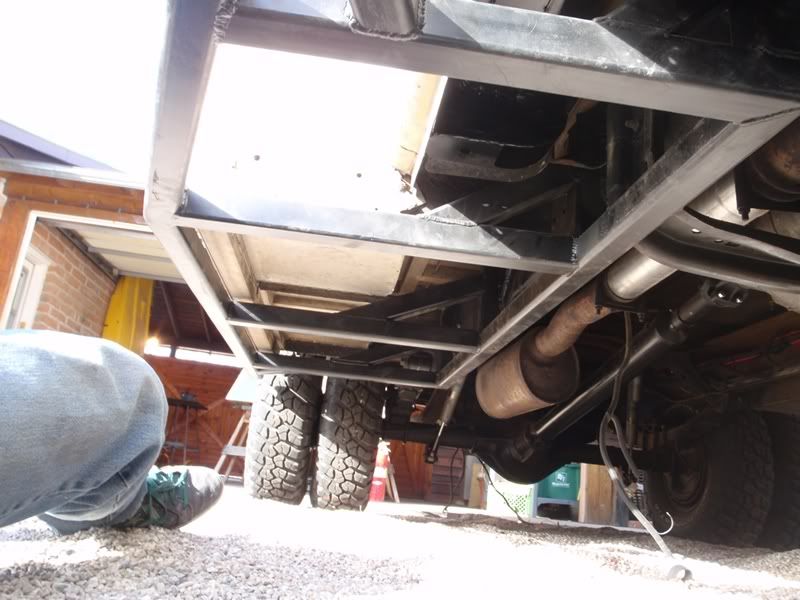
When Chris built the axle, he left the stock trac bar mount in place, with the thought that in the future, when he developed the mounting fab for the other end, he would send me the kit, and that it might help with a vehicle this heavy. This puts the steering stabilizer in the stock location, below the tie rod. Well, I just couldn't take seeing that stabilizer as the lowest thing on the front end any more. Chris, no need to send that trac bar when you develop it...:sombrero:

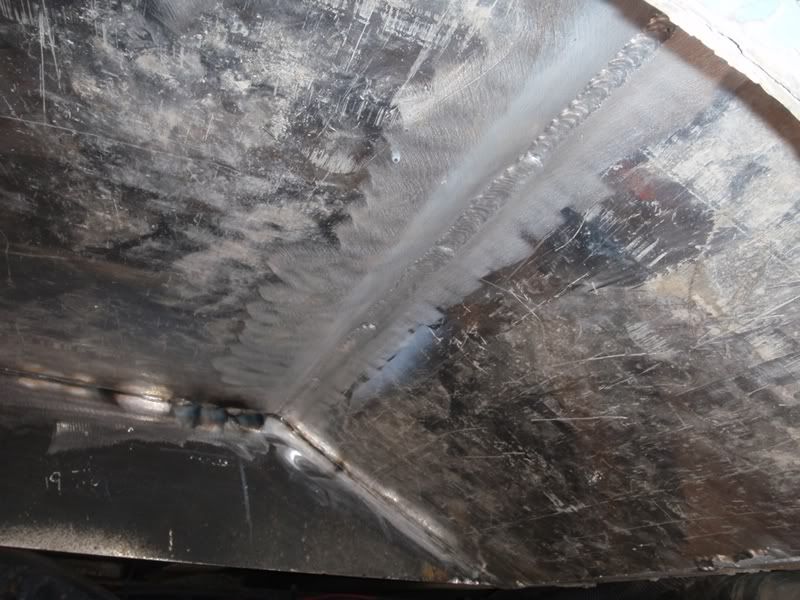
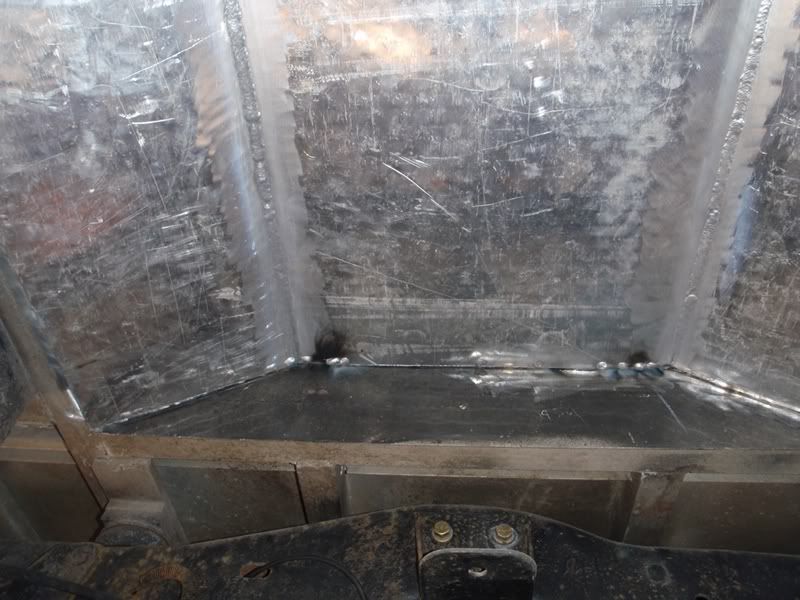
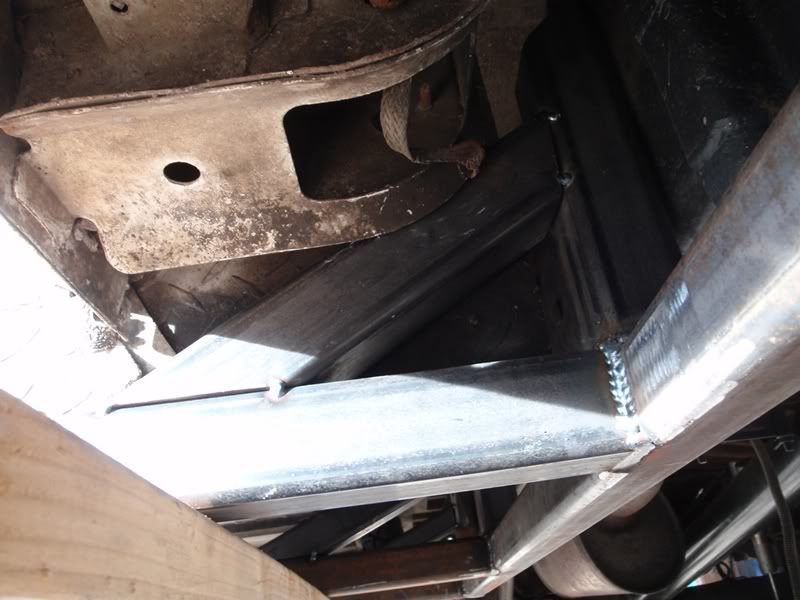
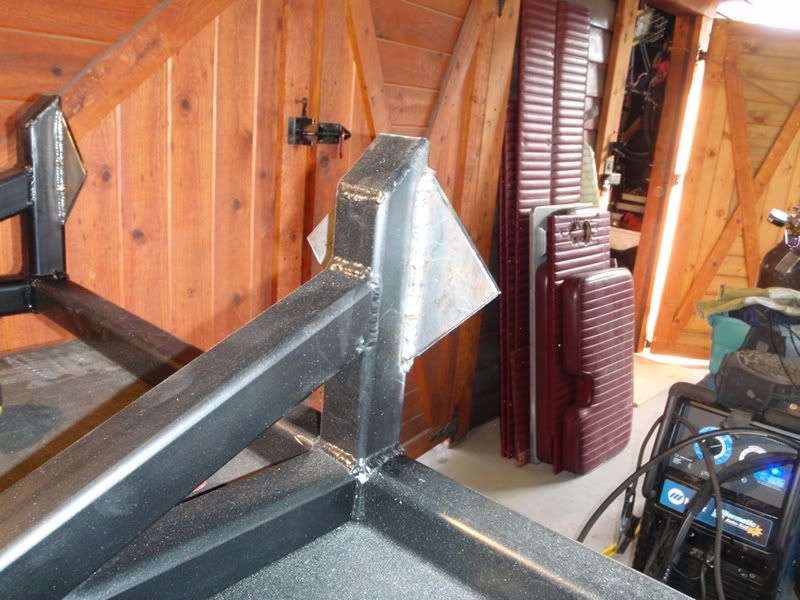
Chopped off the stock tracbar mount, and saved the attachment for the stabilizer. Rewelded it up high and tight, a bit more protected now
m_P1230048.jpg

m_P1230054.jpg

m_P1230046.jpg


Passed the steering lock-to-lock test, looks like everything will clear under articulation as well.
 
Last edited:

hobietony

Explorer
Alright, this should get me caught up on the weekends work

Got new clear lenses for the load lights and the side flashers
m_P1230038.jpg


Didn't need four lights on each side, so saved two for load lights in the back of the van up high, and will use two as auxillary reverse lights.

Needed something to cover the holes in the side, and wanted something that looked like the rest of the vehicle - Went with aluminum diamond plate
m_P1230033.jpg


The ghetto aluminum machining station - skilsaw with a 40 tooth blade, and a belt sander clamped upside down on the welding table
m_P1230036.jpg

m_P1230034.jpg


Maybe paint them black?
m_P1230037.jpg


Also spread a bit more fairing compound on the topper, but couldn't bear to start sanding again. I'll have to get over that soon, maybe get a few sanding sessions in this week.
 
Last edited:

nely

Adventurer
My tracbar mount is rubbing on my steering linkage so im considering cutting it off too.
Im interested to hear if the pitman arm helps with the bumpsteer on your van. Thats what im trying to solve on my 4x swap. But it defenitly handles better now than when it was I-beams upfront.

Sent from my SGH-T959 using Tapatalk
 

carcrafter22

Adventurer
Nice work!, your build is one of the reasons I bought my ambulance. I am very curious to hear how the new pitman arm works also, I've heard these kits have a small bumpsteer issue before, I'd love to hear if its fixed before I order my kit soon.

Have you decided on a layout yet?
 

bettyboarder

New member
Can you post some pics, or PM me? I really want to see what others have done to the inside - I have ideas, but no hard plans yet...

Sure I'll send you some. We haven't done much with the interior yet. Added a fridge, some solar panels, changed a couple of the lights to be speakers and added a fridge.

After traveling in it for 2,800 mile we decided to keep the inside mostly stock because our layout works great for us.

I would like to figure out a better bed and a toilet & shower solution though. We currently just bought a foam bed, cut it in half put it on the bench as a couch then we just put it on the floor at night. I love your benches. Cant wait to see the rest
 

hobietony

Explorer
Due for an update...

Replaced the transmission wiring harness that gave me such trouble on the way out from NC

Goes way back there...
m_P2090006.jpg


Replaced the kinked tranny dipstick while I was in there, Chris sent another since this one seemed to have gotten kinked during the tranny removal/reinstall

Goes way back there as well, had to drop the exhaust downtube to get it out
m_P2090007.jpg


Cleared the sub-distribution panel from under the drivers seat, still need to route the battery disconnect to the electrical 'room'
m_P2090008.jpg

m_P2090011.jpg


Cleared the switch panel from the dash, the little house up there will hold gauges now
m_P2090009.jpg


Got all of the light/siren/emergency wiring cleared from the van body, although I managed to blow the right headlight fuse (I hope). I'll have to find where that fuse is now, probably time to buy a manual.
m_P2090013.jpg


Pulled the taillights with the intent to move them up on the rear of the box, as prep for bobbing the rear of the box. Turns out they were rusty junk, and will go to the trash bin.
m_P2090003.jpg


cut off the bumper and everything below the doors - this was kinda fun. Gives an idea of where the bodyline will transition around the sides when I shorten the storage doors and boxes
m_P2090002.jpg
 
Last edited:

hobietony

Explorer
Need to start putting things back together, and needed a place for the coach batteries, and a relocation for the 2nd starting battery. Didn't want to interfere with where I would mount up the sliders/armor, plus I wanted a fun project, so I fabbed up the armor and got it installed on the passenger side. All three batteries will mount to the spaces between the lateral supports

Getting started.
m_P2050018.jpg


Mostly together
m_P2020003.jpg


Test fit
m_P2050020.jpg


Needed to notch arount the tranny support
m_P2050023.jpg

m_P2050024.jpg


Need to buzz a little off the corner of the storage box
m_P2050025.jpg


Tight fit
m_P2050026.jpg


Tabs on the attachment surfaces so I dont have a vertical weld line on the frame
m_P2060034.jpg


All painted
m_P2060035.jpg


Might not be art welds, but it sure isn't going anywhere
m_P2060048.jpg


Starting battery will fit in the first space in the picture, house batteries will fit in the next two - Should be well protected, and if anything, securely attached
m_P2060047.jpg
 
Last edited:

hobietony

Explorer
Lots of visits from UPS/FedEx/Freight companies

Rooftop air - I really really wanted to figure a way to get it off the roof, but the cost/PITA/lost storage just couldn't justify it. I'll build a nice little cage to protect it from tree branches/etc
m_P2090015.jpg


Got new center console/switch panel area, two banks of carling switches, inverter/charger, batt separator, and two battery shut off switches
m_P2080050.jpg


Propex 2800 heater, air register for the AC, a slew of LED lighting, Engel fridge/freezer, porta potti, box of gauges, sink, stovetop, water pump, and some dirty work clothes
m_P2080053.jpg
 
Last edited:

Forum statistics

Threads
188,531
Messages
2,906,350
Members
230,598
Latest member
Bobah
Top