amgvr4
Adventurer
The tent is here!
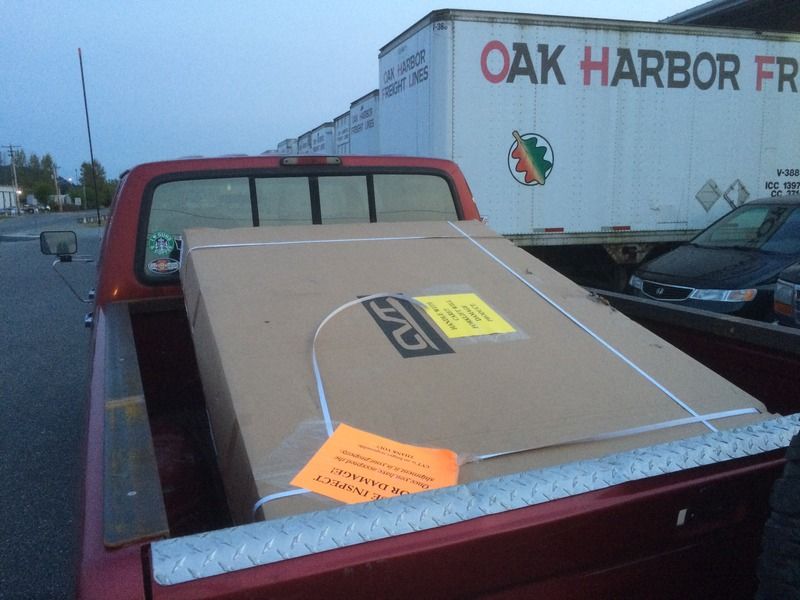
So I ordered my CVT Mt. Rainier on Wednesday and the plan was to drive down and pick it up on May 9th. On Thursday I got an e-mail shipping confirmation for the tent. After a few calls it turned out that there was some confusion at CVT and they accidentally sent my tent instead of holding it for me. This turned out to be a good thing as I will explain later. I was at a conference in Bellevue on Friday when I got a call from the freight company letting me know the tent was at the sorting facility in Mt. Vernon. Good thing is they were open until 9pm so I was able to make it up there just in time to pick it up. With the actual tent I could make my frame with a lot more confidence than I had with the measurements I got over the phone.
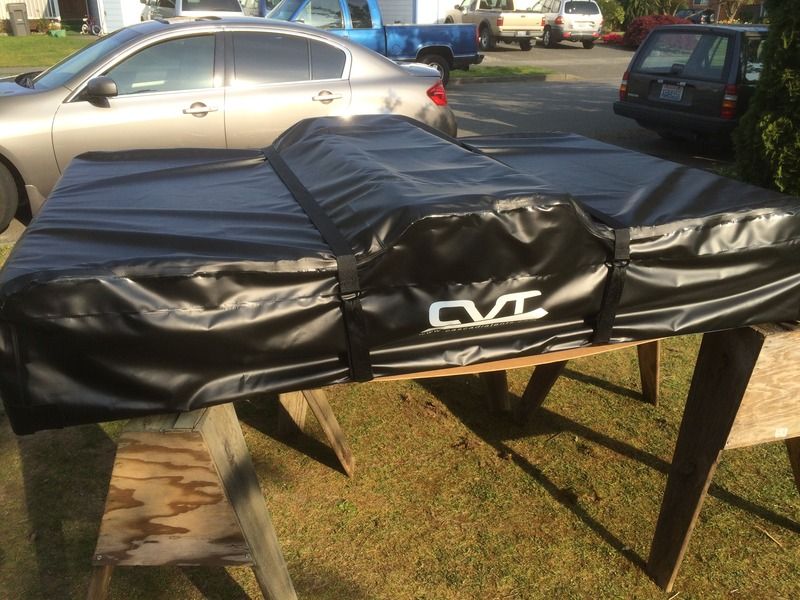
Picking it up
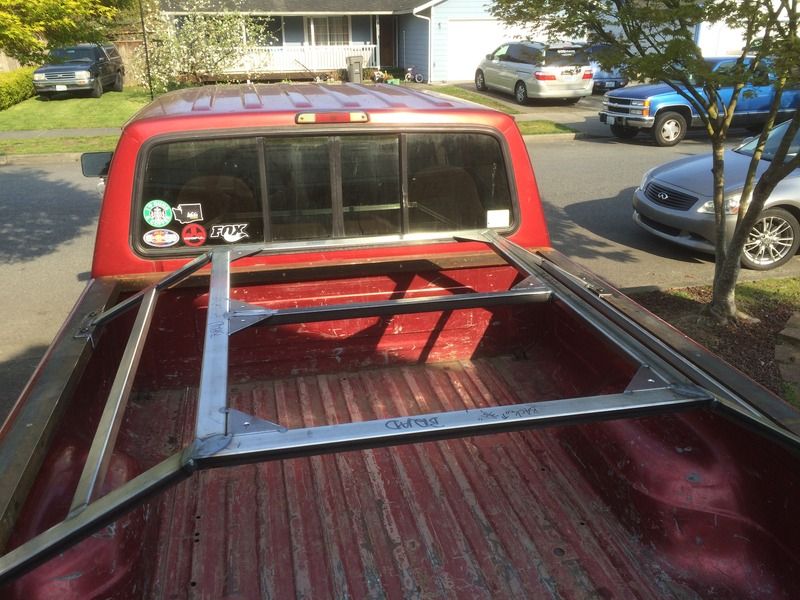
I set the frame on the tent to see how it lined up with the rails on the bottom of the tent. The spacing numbers I got over the phone were 32". Turns out mine was 29.5"
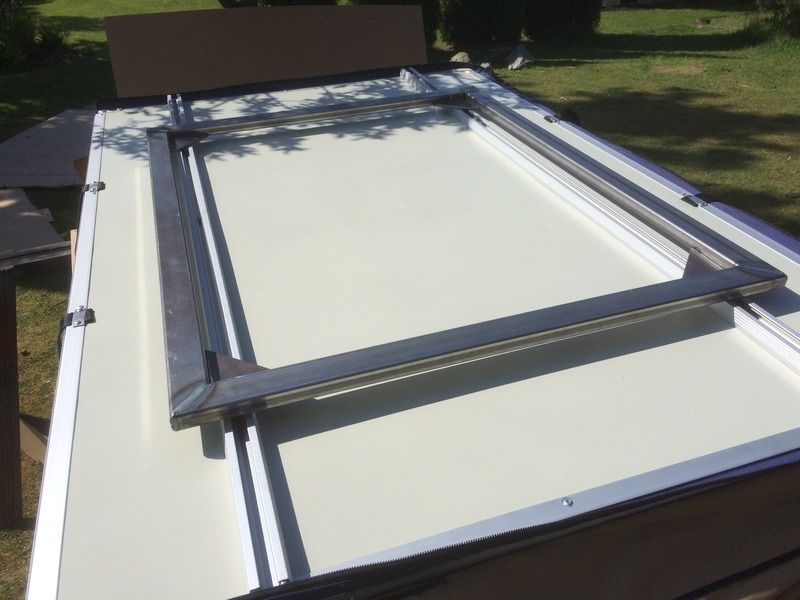
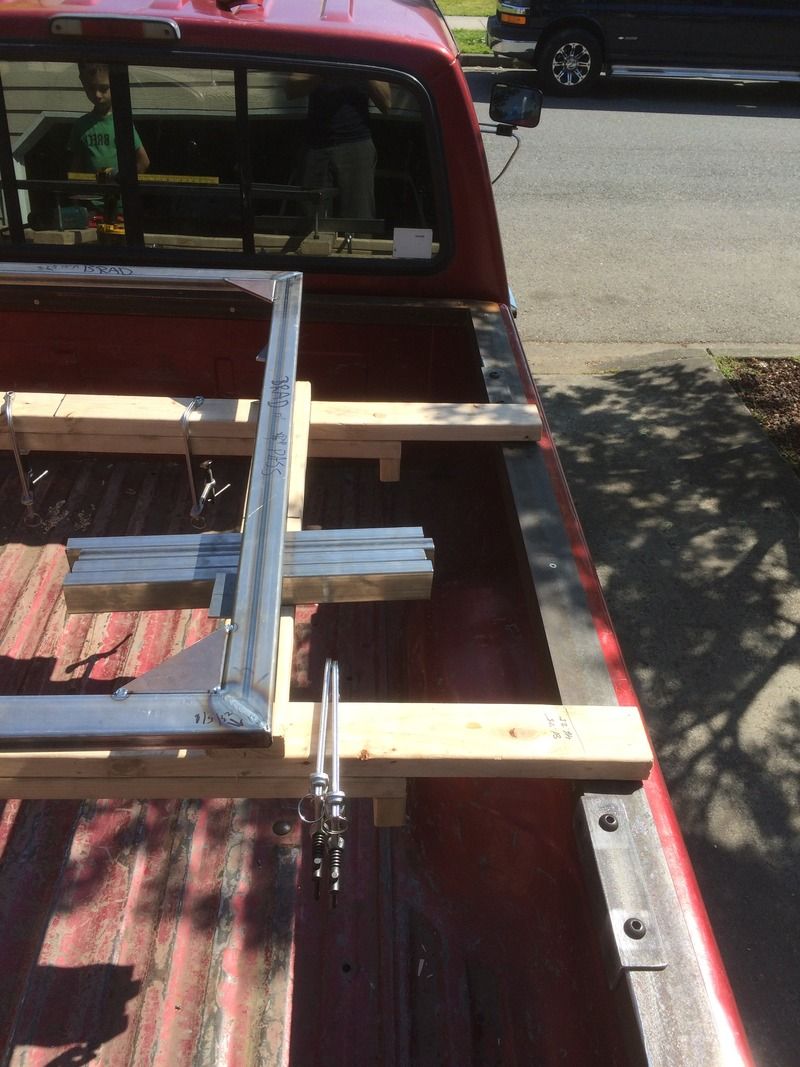
This made me have to change my plans on how I mounted to the frame. My original plan was to drill my holes down the length of the frame, but now that the rails were inset several inches I decided to use the triangle gussets to mount the tent. This would have been a big issue if I had made it without the tent and tried to bolt it up at CVT according to my original plans. I would have been hard pressed to make the modifications needed to mount the tent without my welder and tools.
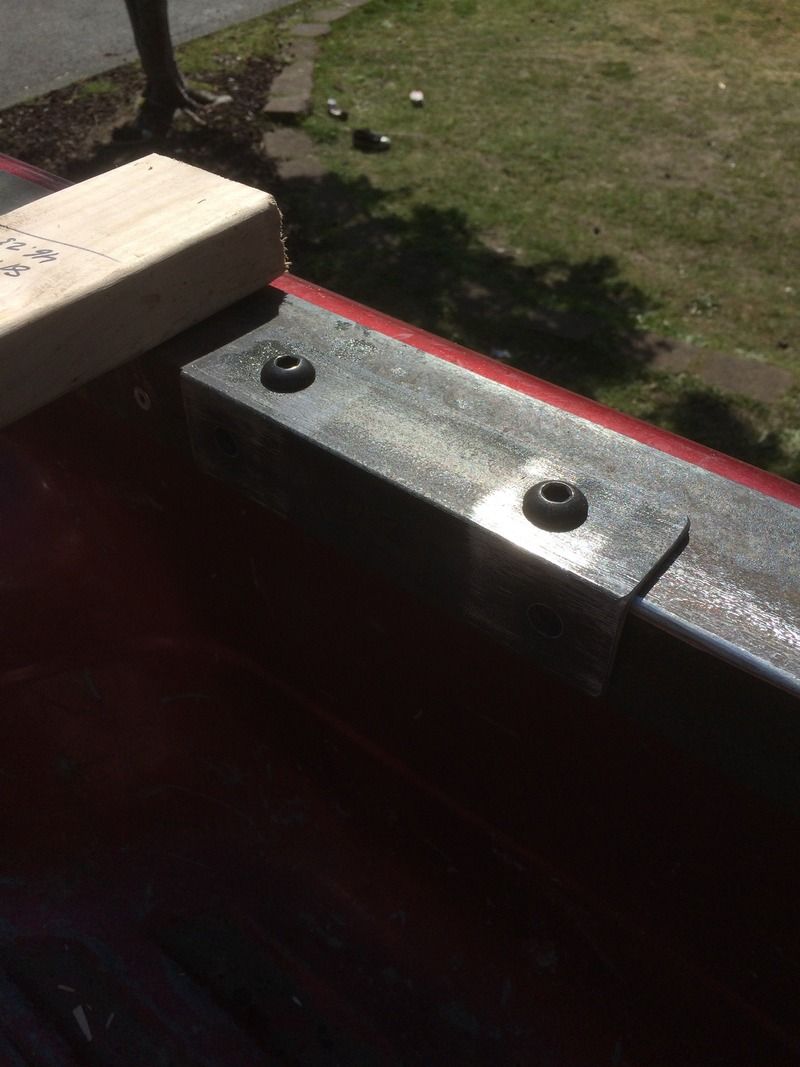
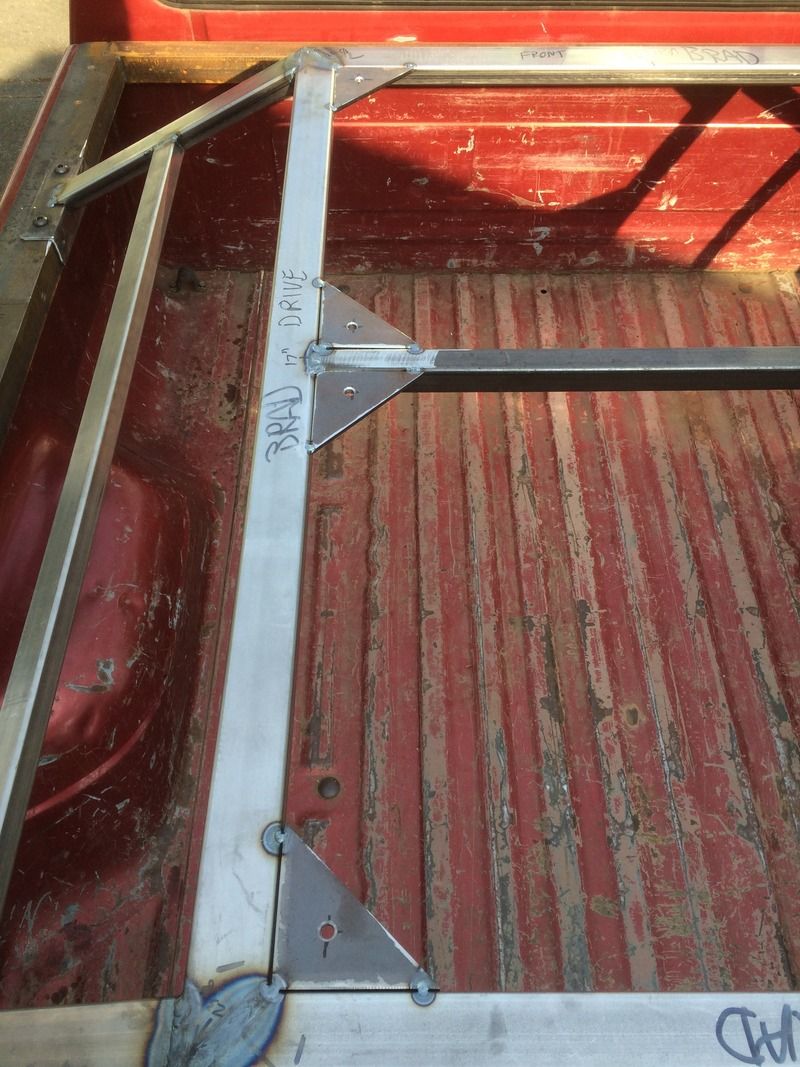
I also had to shift gears with my mounts for the tent frame to the bed. I had originally planned on bolting each pad with four .5" bolts. Unfortunatly I drilled the holes too close together on the top and side and I will probably not be able to use the side holes
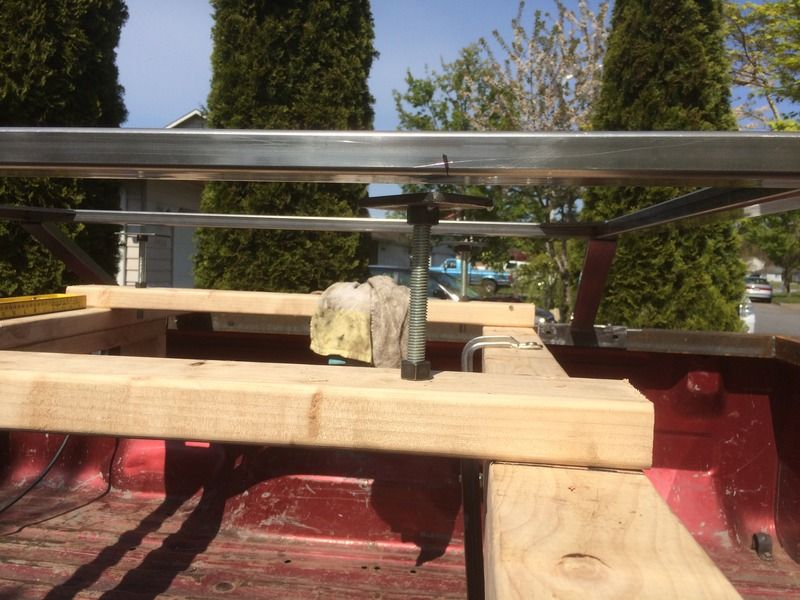
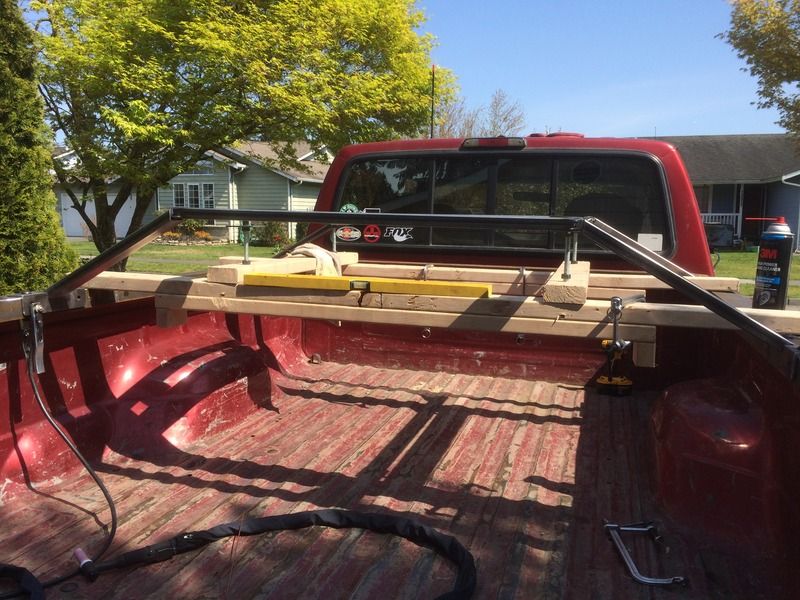
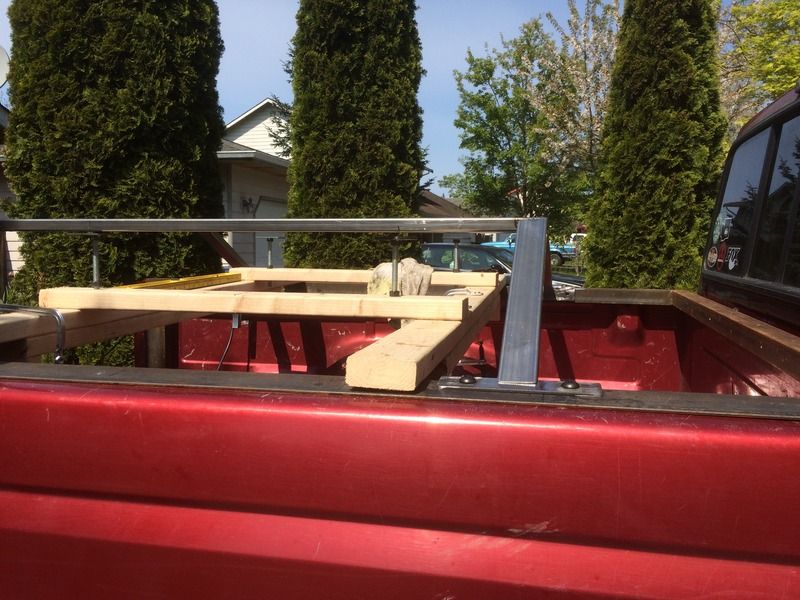
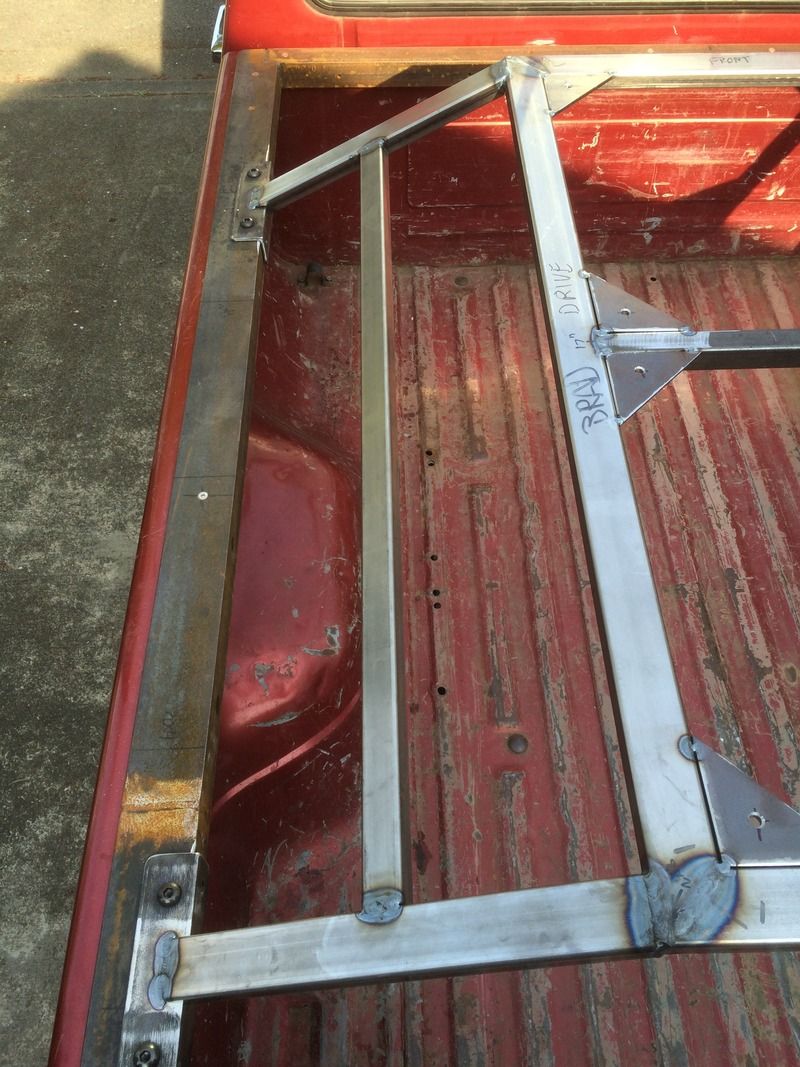
I modified the jig to be able to adjust the frame to the correct height and level with some 1/2-13 all thread
Then I cut the legs and notched them into the mounts
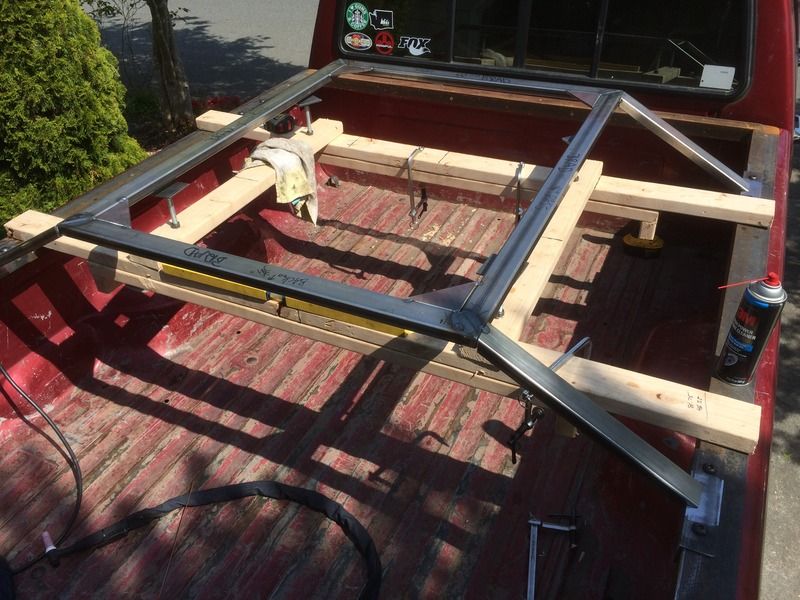
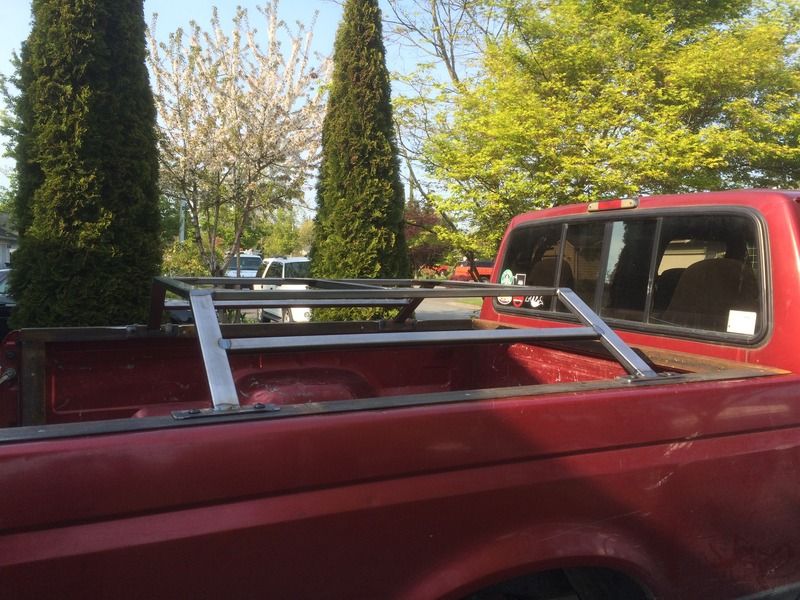
I added some cross bars to the legs for mounting my hi-lift and shovel to and welded most of the structure together. There are still some things I need to burn in with the frame off the truck
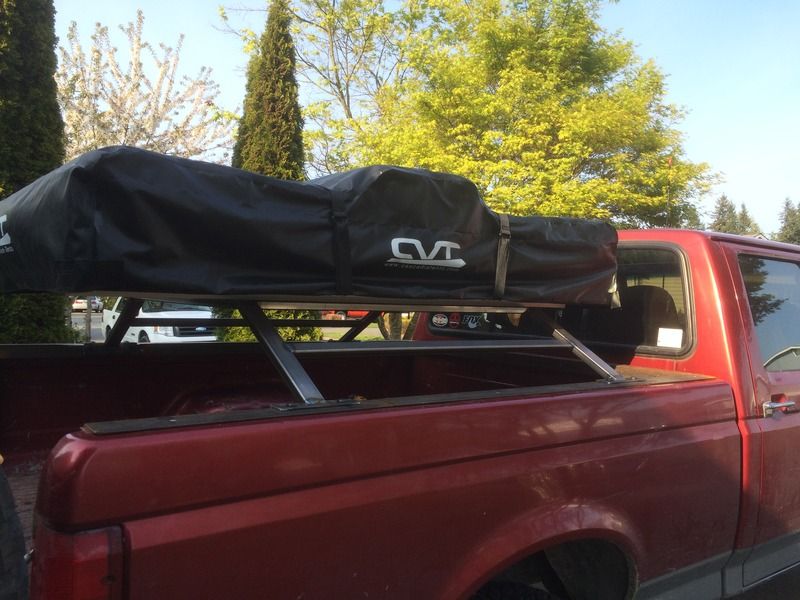
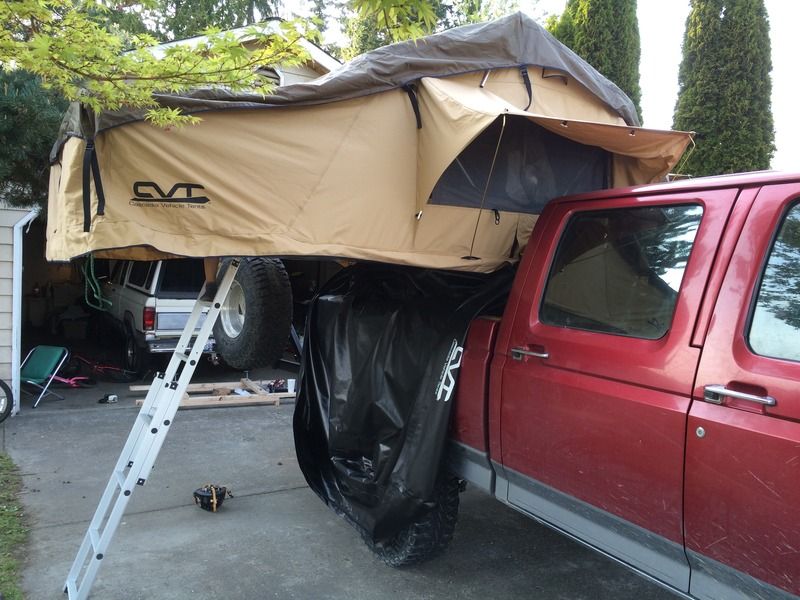
The tent ready for its first test fit
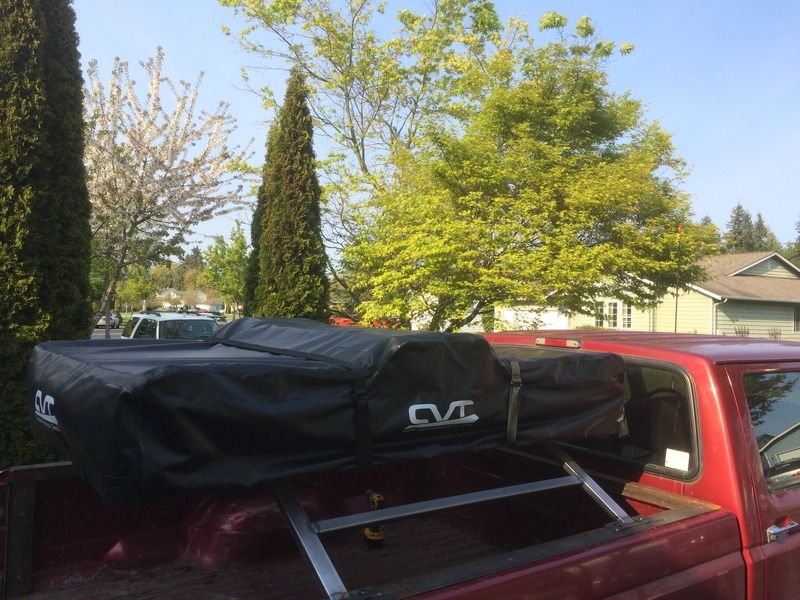
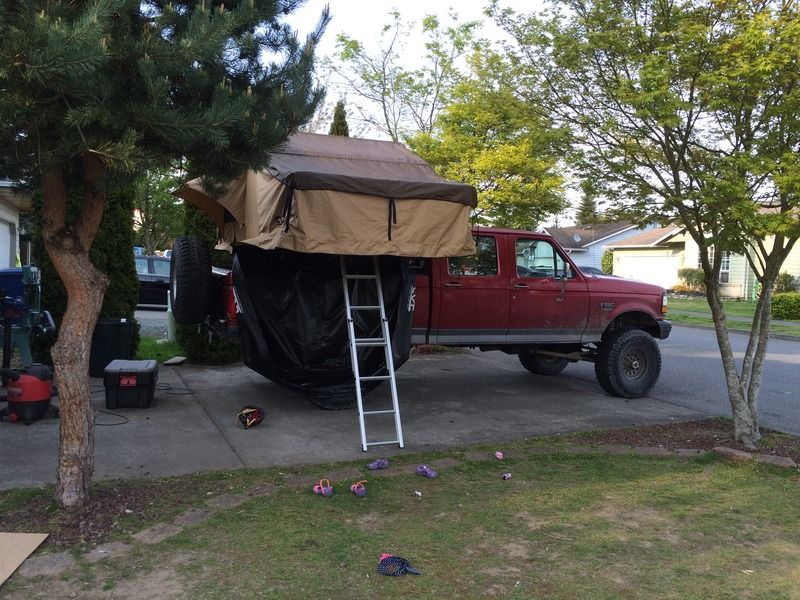
On the truck

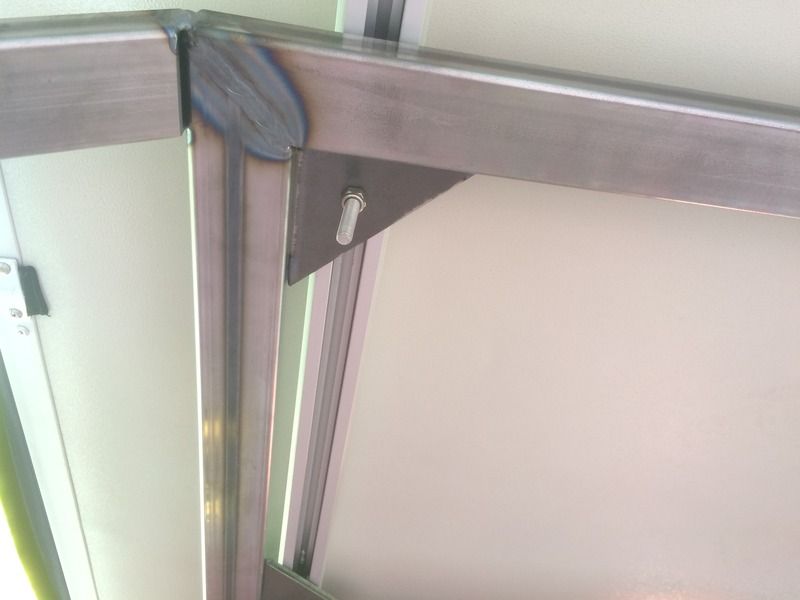
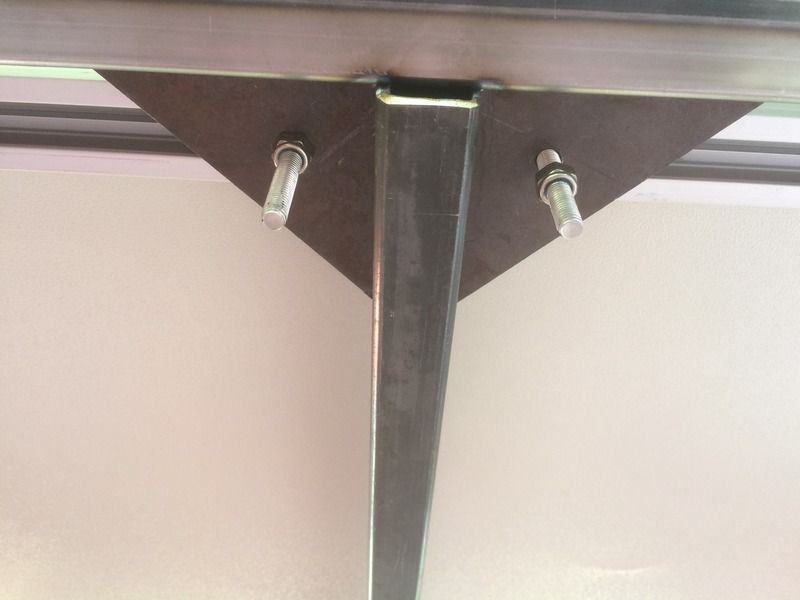
The mounts. I have to cut the bolts down. They are head gashers of death!
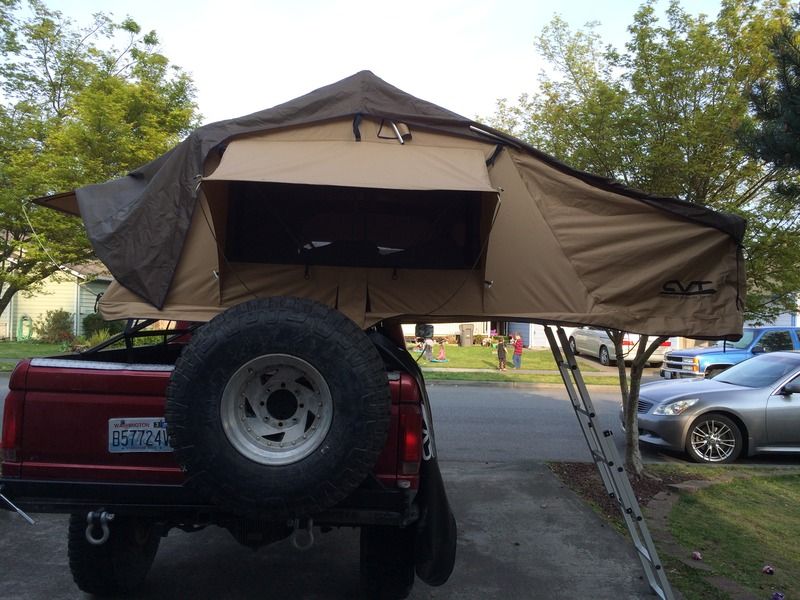
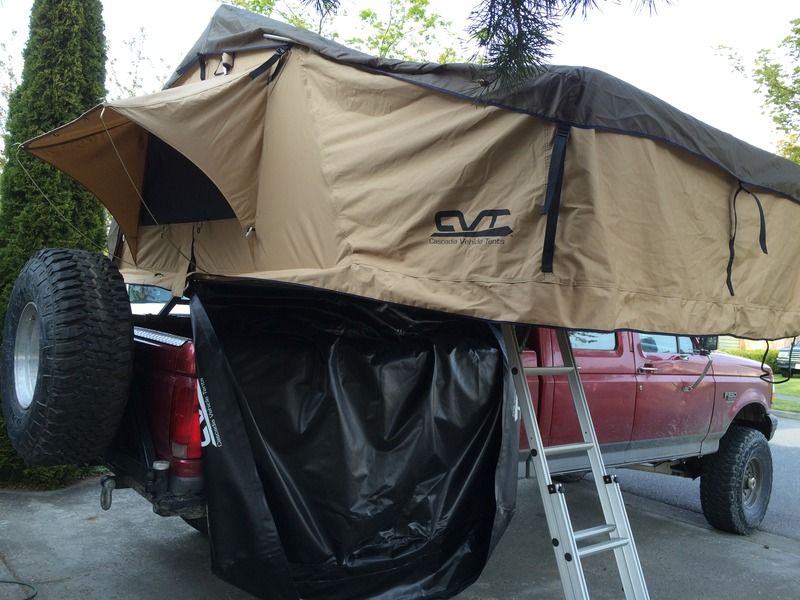
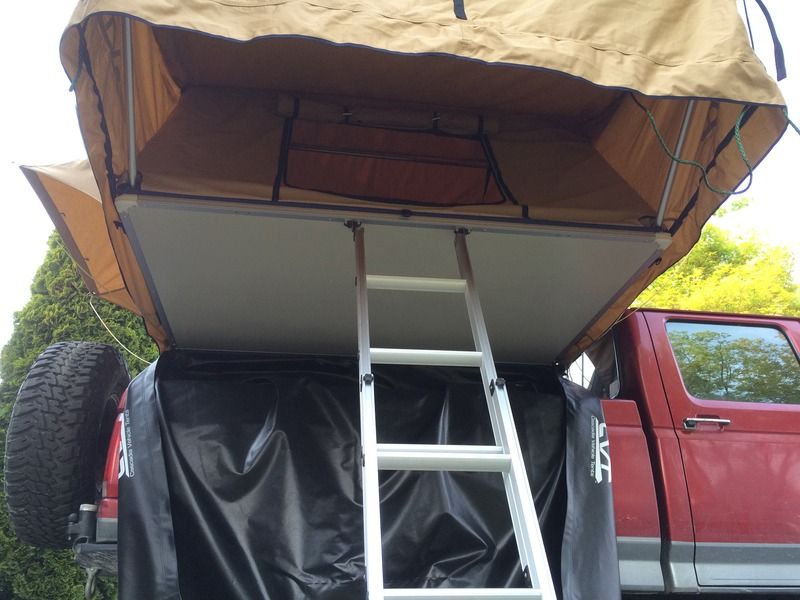
The tent opened up
In spite of the glitches the setup turned out pretty much as I had planned. Bobby and CVT are great to work with and he really took care of me during the shipping mix up. I still plan on heading down to Bend to stop by and see their shop and show off the truck/tent combo in a few weeks. Now I got to gut out and go use this thing!
So I ordered my CVT Mt. Rainier on Wednesday and the plan was to drive down and pick it up on May 9th. On Thursday I got an e-mail shipping confirmation for the tent. After a few calls it turned out that there was some confusion at CVT and they accidentally sent my tent instead of holding it for me. This turned out to be a good thing as I will explain later. I was at a conference in Bellevue on Friday when I got a call from the freight company letting me know the tent was at the sorting facility in Mt. Vernon. Good thing is they were open until 9pm so I was able to make it up there just in time to pick it up. With the actual tent I could make my frame with a lot more confidence than I had with the measurements I got over the phone.
Picking it up

I set the frame on the tent to see how it lined up with the rails on the bottom of the tent. The spacing numbers I got over the phone were 32". Turns out mine was 29.5"

This made me have to change my plans on how I mounted to the frame. My original plan was to drill my holes down the length of the frame, but now that the rails were inset several inches I decided to use the triangle gussets to mount the tent. This would have been a big issue if I had made it without the tent and tried to bolt it up at CVT according to my original plans. I would have been hard pressed to make the modifications needed to mount the tent without my welder and tools.
I also had to shift gears with my mounts for the tent frame to the bed. I had originally planned on bolting each pad with four .5" bolts. Unfortunatly I drilled the holes too close together on the top and side and I will probably not be able to use the side holes

I modified the jig to be able to adjust the frame to the correct height and level with some 1/2-13 all thread


Then I cut the legs and notched them into the mounts


I added some cross bars to the legs for mounting my hi-lift and shovel to and welded most of the structure together. There are still some things I need to burn in with the frame off the truck


The tent ready for its first test fit

On the truck


The mounts. I have to cut the bolts down. They are head gashers of death!


The tent opened up


In spite of the glitches the setup turned out pretty much as I had planned. Bobby and CVT are great to work with and he really took care of me during the shipping mix up. I still plan on heading down to Bend to stop by and see their shop and show off the truck/tent combo in a few weeks. Now I got to gut out and go use this thing!


