My Storage Solution - AKA Lessons Learned
I finally finished my cargo solution. There really isn't anything ground breaking about them, especially since I blatantly stole most of the ideas from you nice folks. But more than the drawers themselves, I figured I would post things I learned while making them that might help people plan their systems. A self critique, if you will, but there are some things that people may want to consider first when planning these projects.
Since drawers in an FJ80 has been done a thousand times, I strongly considered ordering a set from Warfield Offroad. In hindsight, that still may have been the best route given his very fair pricing and good reviews.
Here's what I wanted out of my system (in no particular order):
1) Was
relatively easy to remove and return to stock (mostly accomplished)
2) It wouldn't look terrible. (accomplished, IMHO)
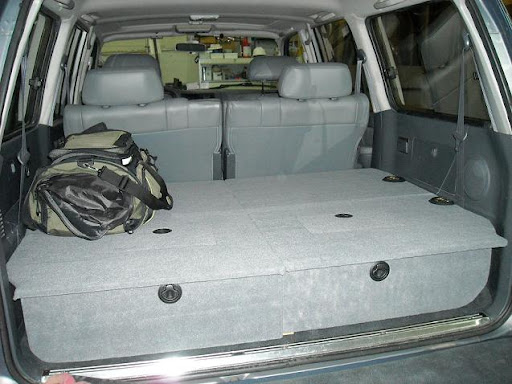
3) Could be used as a sleeping platform (accomplished)
4) Had tie downs for storage (accomplished)
5) Was secure and kept the cargo secure (accomplished)
6) Had hatches for easier access (mostly accomplished)
7) Had covert storage (accomplished - until I reveal it here

)
1) Easy to Remove
I think I mostly hit this one, but this is also where I learned a lot (aka screwed up). Based upon others, I went with 1/2 inch Birch Plywood and I am really glad I did. It is plenty strong for cargo and sleeping. There really isn't any need to go with 3/4 inch unless your hauling A LOT of weight or covering much larger openings (i.e. one piece platform in back of a pickup).
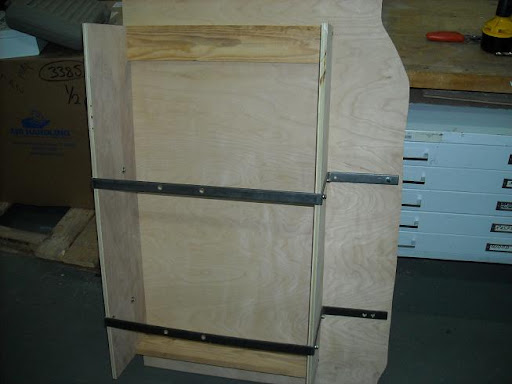
I also liked the Warfield version how it used metal framing and a two piece system.
This makes it easier to remove and allows me the option to replace on of the third row seats. I went in thinking it also saves a significant amount of weight. In hindsight, I doubt it saves a whole lot of weight over a complete plywood box, but I think the metal substructure does create a better way to secure it and attach the cargo tie downs above:
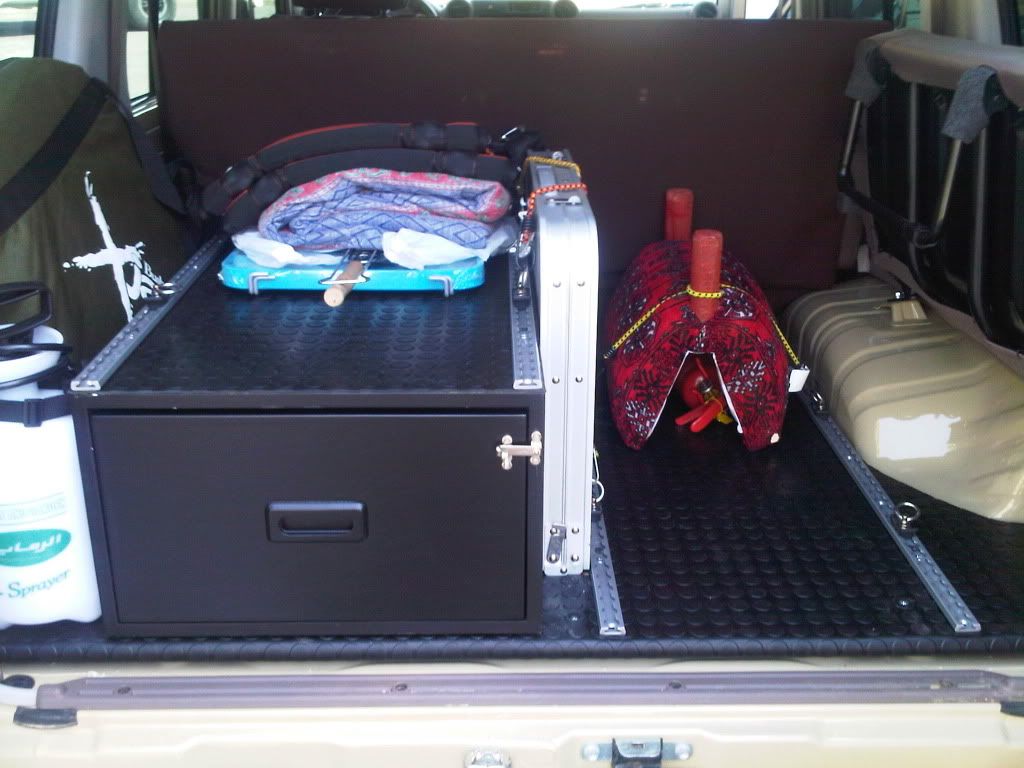
Drawers - Here's where I learned the most. Going in, I was unsure whether I wanted drawers. They add weight and add a significant amount of time and cost to the project. But they are convenient for getting stuff out and they certainly add a more finished look to the project. So in the end, I went with drawers, but I'm still not sure it was the best idea. I will try them out for awhile, and may actually remove them at some point.
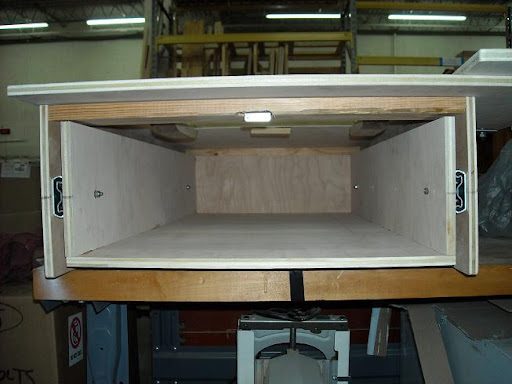
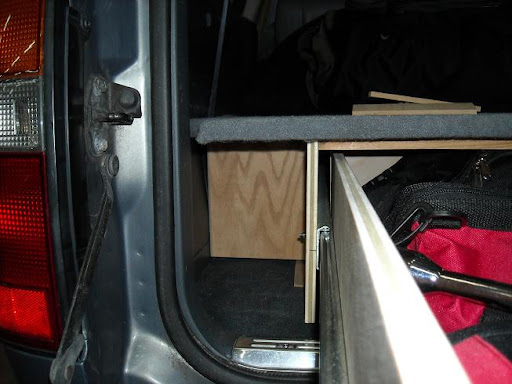
Some things to consider about drawers (In addition to weight, cost and time), is that they reduce your usable storage too. The picture below doesn't illustrate it too well, but you lose precious inches with drawers. In addition, you can't pack stuff in tightly since it needs to slide freely to open and close.
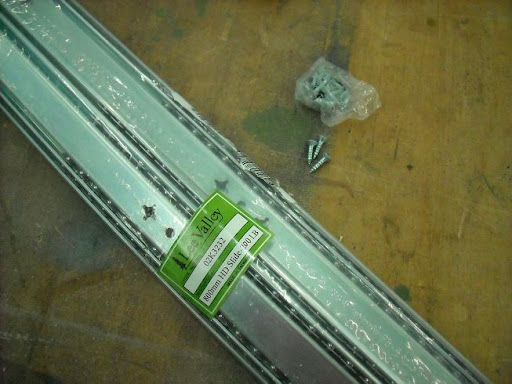
My other screw up, I mean lesson, was in the slides. I used the 200 lb KV slides from Lee Valley that most do. They are plenty strong and seem to be very good quality. But you know what???
They don't separate!!
Once built, your drawers are in for the long haul! I don't know, maybe none of the heavy duty slides separate, but this was significant to me. First, it makes the removal of a carrier that much more difficult. Secondly, it's that much more of a pain to build the darn things.
On the plus side, I'm glad I went with the $40, 200 lb slides (For most people I really think the $100, 500 lb slides are overkill). In the end, they still attach with dinky little 1/2 inch screws (although I used a couple through bolts with nuts on each one):
I really think the best set up is just a platform with large tupperware type pullout containers. The problem there is finding the right size containers (which is why I ended up with drawers). I also like the drawers that just slide on cutting board material which maximizes space and is simple and cheap. Just some things to consider.
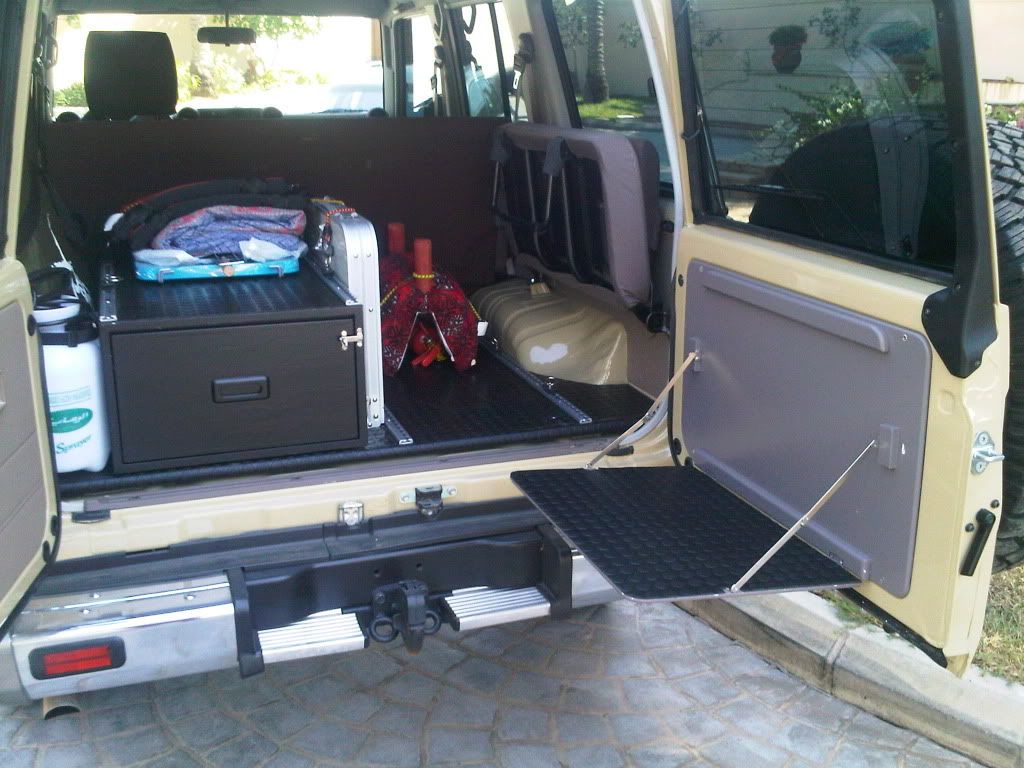
2) Looks
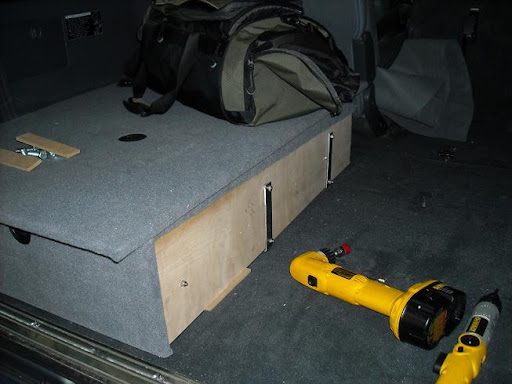
I 'll let you guys be the judge, but I'm pretty happy with it. It's not perfectly symmetrical, but the $8 Walmart carpet matches pretty well. I also like how the entire surface is now flat without the fender bumps in the way. If nothing else, my hockey sticks fit perfectly flat now.
3) Sleeping Platform, 4) Tie Downs, and 5) Cargo Security
My big concern here was having a very flat surface. This meant no piano hinges on the latches and flush mount tie downs. I actually ended up not using my flush mount tie downs because I liked the low profile ones better and they are positioned at the outer edges. But if they become bothersome, I may switch back to the recessed ones. They are bolted through to the metal frame. The metal frame is bolted directly into where the 3rd row seats attach. In other words, in a rollover or other serious accident, it's not going anywhere and I'm not worried about heavy tools flying around and hitting my family.
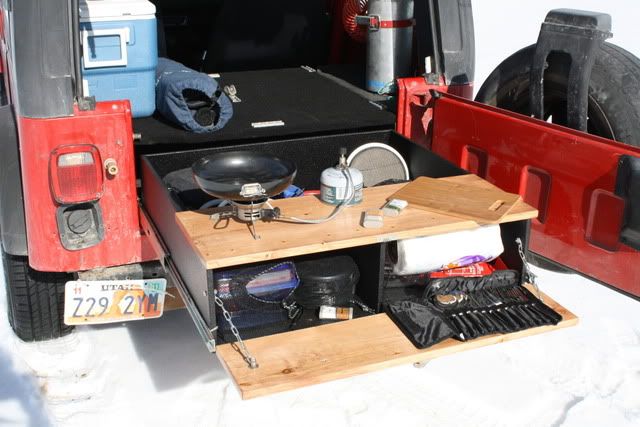
6) Hatches
This was another "learning" area.
")
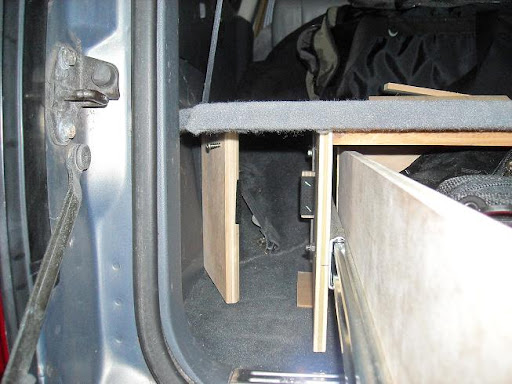
I really liked the idea of hatches to quickly retrieve stuff. They also provide access if you can't get the drawers open for some reason. The reality is that it is pretty darn tough to get anything out through the hatches. Perhaps I should have just made them huge? But I would be hard pressed to try to pull my tool bags out through that hatch. The other issue is securing the hatch. A hatch is no good, IMHO, if it can fly open in an accident and send a heavy tool flying at your head. Although I think piano hinges are probably the best solution, I had to work around that since I didn't want hinges in the middle of my sleeping platform. I had to add supports (1x2 wood) to support them from underneath. This further interferes with drawer space. (you can see that in the unfinished drawer pic above).
7) Covert Storage
You may question the sensibility of posting my hidden compartments here, but I'm really not too worried about
you guys stealing my stuff.
The beauty of these platforms is there is all sorts of places for compartments and false bottoms. Why, you ask? Because people love breaking into stuff at trailheads. So let's say you've parked at a trailhead or your remote campsite and you are going to take a hike or swim in the lake. It's not practical to take your wallet, passport, firearm, Ipod, whatever. But locking it in the car isn't all that secure either. I'd rather take my chances with a good hiding spot than an easily defeated lock. Even if they steal the car, my guess is they will pass over good hiding spots and I will get my stuff when the car is recovered (and hopefully not torched). I went pretty simple and used a screw as a hing and vecro for a latch:
There's a surprising amount of space in the void by the fenders and it is a spot easily missed - especially with a quart or two of oil in front of the door.