Post your Camp Awnings

Corey

OverCamping Specialist
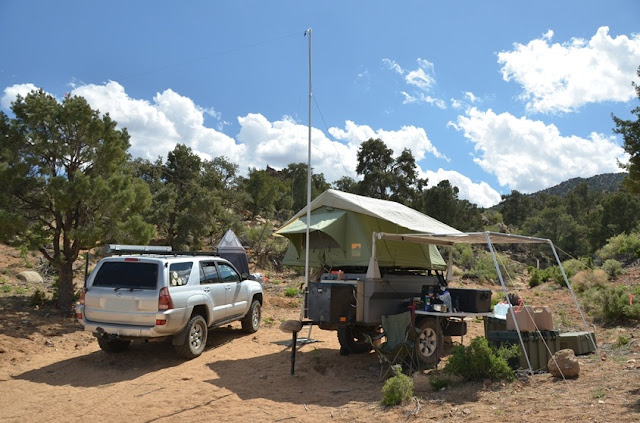
Brand new awning installed today,a really significant upgrade from my old Campinglabs awning I have had since the spring of 2008 when my tent was installed.
http://forum.expeditionportal.com/t...erland-amp-daily-driver?p=2286554#post2286554

6.jpg


9.jpg


11.jpg


14.jpg
 

NMC_EXP

Explorer
Old School

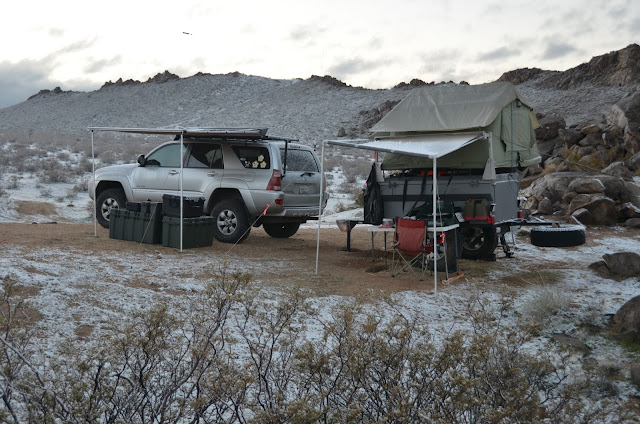
There are simple, effective and inexpensive options.
--Canvas tarp, tied to roof rack.
--Supports (2) are Cabelas adjustable tent poles. They are used upside down with the 1-1/2" ground spike up and inserted through the tarp corner grommets.
--Guy ropes (4) consist of 1/4" manila rope tensioned by a 1" dowel slider. A loop in the upper end of the guy rope is slipped over the support pole ground spike.
--Tent stakes (4).

IMG_1639.jpg
 

acg

Adventurer
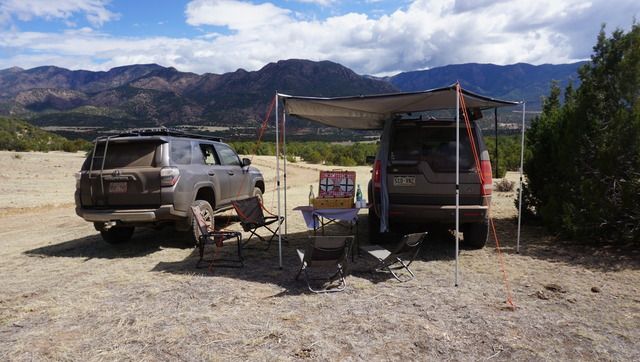
OZTrail 2.5m and 1.25m awnings
 

Attachments

  • 2016_07     Golden Ears Provincial Park 1.jpg
    2016_07 Golden Ears Provincial Park 1.jpg
    608.4 KB · Views: 47
  • 2016_07     Golden Ears Provincial Park 2.jpg
    2016_07 Golden Ears Provincial Park 2.jpg
    618.5 KB · Views: 43
Last edited:

Choff

Adventurer
Van Camping with our new Hasika Awning , amazon purchase for $109, goes up great and like the 3 level poles so you can drop down for more privacy.
 

Attachments

  • IMG_2774.jpg
    IMG_2774.jpg
    584.9 KB · Views: 59

Switch

Observer
This is a variation of Wildcat’s awning with hand full of minor changes. The main difference is using Bimini hinge mounting brackets to secure the vertical support poles to the truck. This way the poles that hold up the awning also hold it down and the angle can be adjusted for rain and wind. Once I had that in place, I realized that I could add an awesome kitchen counter and shelf.

View attachment 409209


So far this has only been field tested in fair weather but last week in Death Valley an extremely large and intoxicated visitor to our camp tested the support poles with his full weight when he almost fell onto the counter so I know the setup can take quite a bit of weight and torque but I'm carrying spare parts just in case.

The 1.25" wooden dowel w/ hooks for hanging pots was sitting in my basement from our last house & just happened to fit perfectly below the table. It would be easy enough to add hooks to the horizontal kitchen counter support pole to eliminate this part.


These pics show the Bimini hinge fittings attached to the rock slider and custom rear bumper. The screw post on the hinge mounting brackets were replaced by stainless steel locking pins which required drilling out the threads. Locking pins were used elsewhere as needed.
View attachment 409210
View attachment 409211

Note: I used Taylor Made Bimini hardware for the 3/4" EMT but Sea Dog Bimini hardware fit better (and cost less) for the 1/2" EMT fittings. The Taylor Made hardware had to be ground slightly wider to fit the 3/4" EMT. The back awning uses all fixed length 1/2" EMT & Sea Dog Bimini hardware so was very cheap to build. All set screws were countersunk into the EMT to prevent them from sliding on the EMT except where rotation was desirable. In the case of the sliding jaws on the ¾” EMT attached to the truck, I made groves for the set screws so the sliding jaws could rotate on but not slide along the EMT. The set screws in the sliding jaw hinges were replace by thumb screws where necessary.


This shows how the kitchen counter is supported with cross members The counter can be adjusted level by sliding the jaw hinges. The vertical EMT have set screws at the ends to prevent the jaw hinges from sliding off the ends. The shelf above the counter is supported using 2MM rope and the webbing straps with sliding buckles used to secure the tarp when it is rolled up.
View attachment 409212


The tarp is attached to the EMT using Hampton Products-Keeper 06345 8" Bungee Cords with plastic toggle balls
View attachment 199977

I found these Kapro 240-01 Surface levels on Amazon to be great for both leveling the counter and the whole truck.
View attachment 199971
No more pancakes spilling out of the frying pan due to tilted stove!

I also used a similar design to have the option of putting a 2nd tarp over the back which is the sleeping platform. Here you can see both tarps deployed.
View attachment 409213


To make the telescoping poles I used 1/2" and 3/4" EMT and 1/2" Halex EMT couplings from the Home Depot.
View attachment 199972


The 1/2" Halex EMT couplings fit very tightly inside the 3/4" EMT (once I removed the lock screw and grind flat one side of the fitting). I also had to grind the inside of the coupling to allow the 1/2" conduit to slide freely. I also replaced the Halex lock screw with a Sea-dog Nylon head-screw.
View attachment 409214
View attachment 409215

On the photo above you can see where I used painters tape & black spray paint to mark off 1" distances at about the right distance for tightening the horizontal telescoping poles. This way I can adjust both sides of the awning to the same length & get the proper tension.


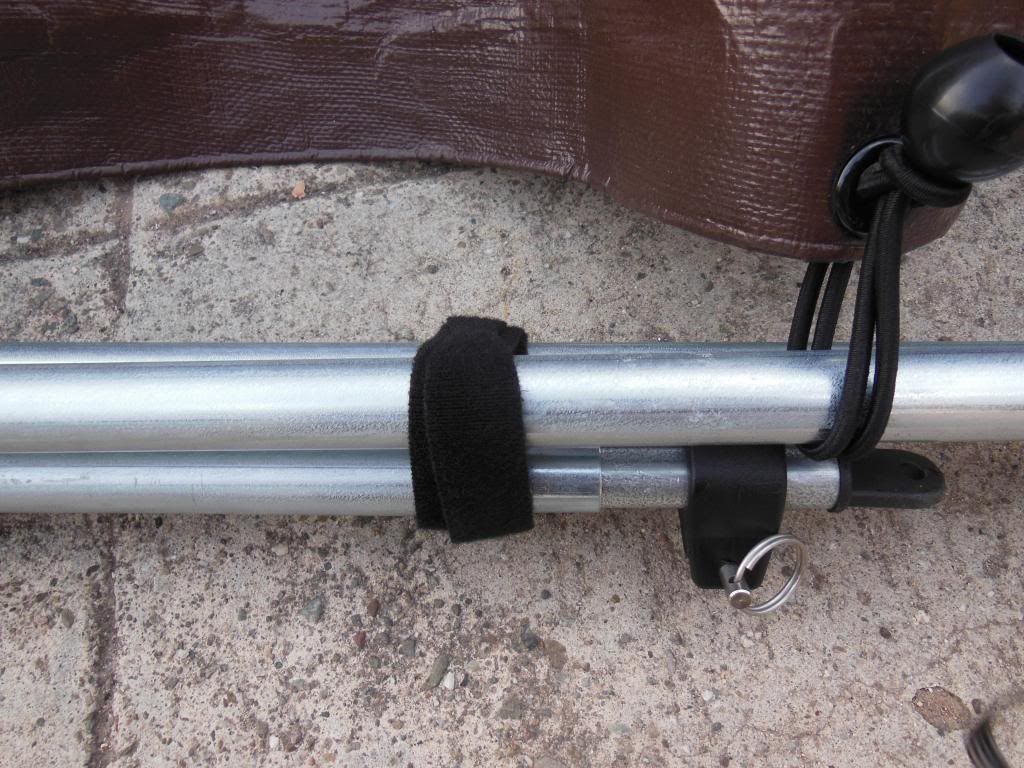
When the poles are collapsed and folded I use 1” Velcro straps to keep them together and organize which poles get removed first

DSCN7878a.jpg


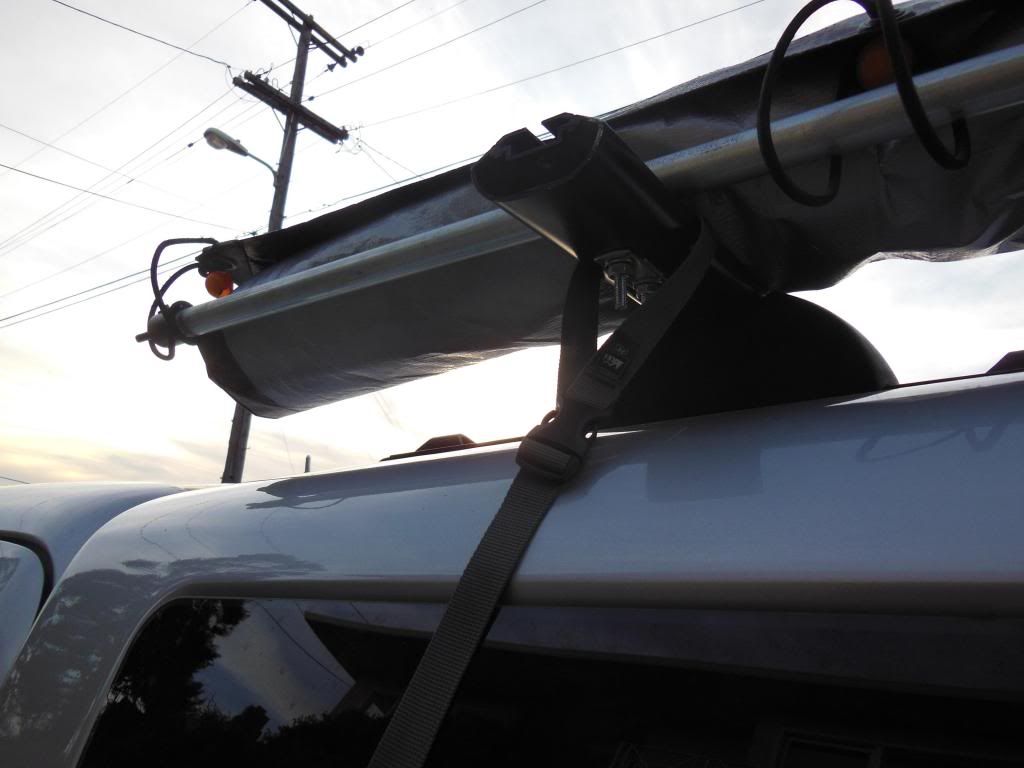
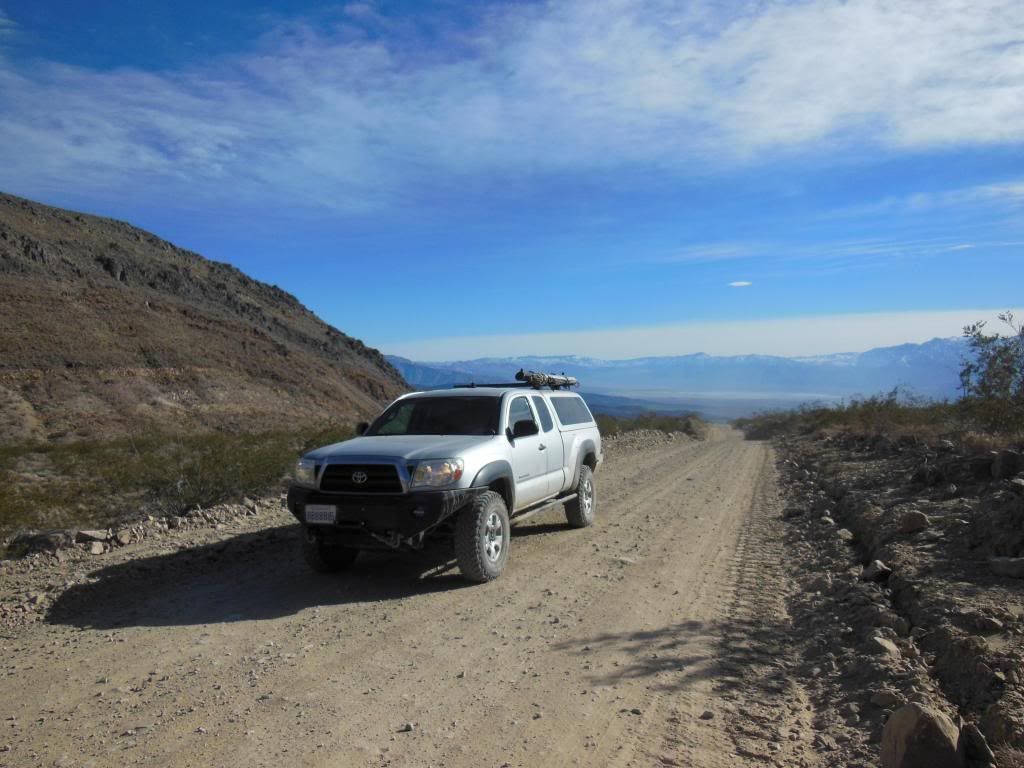
Here you can see the 60” length of ¾” EMT that is secured to the ProRac Utility Roof Rack via Ubolts. The entire tarp rolls up and is secured by the 4 webbing straps with sliding buckles to both the EMT and root rack.

DSCN7879a.jpg


Happy trails...
DSCN8237a.jpg


Here's my updated after several years of use. I posted this thread looking for something better.

In short:

Overall, it worked pretty well but it had a couple drawbacks:
1: There was no housing so I didn't like to leave it on all the time.
2: Unless I was careful, any metal parts that rubbed on the tarp would cause holes. And it needed to be secured so it did not flap when driving.
3: It took only about 5 minutes to setup but it took at least twice as long to pack up again.

On the positive side:
1: Attaching directly to my truck made it super wind-resistant and simplified the setup.
2: The optional table was really handy for longer camping stays.
3: Replacing the tarp was easy and cheap

I decided to give it another season. So, I moved this awning to my new 2024 Tacoma and made some improvements.

I upgraded the attachment points to the truck so I didn't need Bimini fittings with quick release pins. The new mounts snap onto the rock slider tube and tube on the rear bumper.
upload_2024-4-17_21-15-12-png.5726925


Old rock slider attachment:
upload_2024-4-17_21-15-40-png.5726926


New rock slider attachment:
upload_2024-4-17_21-16-5-png.5726927


Old bumper attachment:
upload_2024-4-17_21-16-28-png.5726928


New bumper attachment:
upload_2024-4-17_21-16-51-png.5726929


The result is the poles stay fixed in position before I have the tarp installed. With the old Bimini fittings the poles would flop to one side unless a 2nd person held them in place. Now it is free standing before the tarp is installed. Even without the cross member. And a one person setup instead of two. Which means my wife can help with the tarp instead of holding things up; basically cutting the setup time in half.

upload_2024-4-17_21-17-12-png.5726930


That makes adding the cross member (and tarp) much much easier
upload_2024-4-17_21-17-34-png.5726931


What I like about my DIY awning is that the support poles are attached to my Tacoma which makes it much more adjustable. It is much stronger than commercial tarps I've seen with replacement parts easily sourced. It can be adjusted to suit wind and rain. And I don't need to stake it down with ropes (IMHO stakes are dumb).

Here is a pic from our first night camping in Anza Borrego two weeks ago when intermittent rain was no trouble at all.

upload_2024-4-17_21-18-42-png.5726932
 

PCO6

Adventurer
I camped with this set up a few weeks ago. It's a basic 6.5' x 6.5' awning with a 4 sided hub screen tent with a cot next to it. I did my cooking, etc. out of the cargo area with the tailgate for a bit of over head coverage. It was simple and comfortable.

24-04-07 5.jpg

24-04-07 4.jpg
 

Forum statistics

Threads
188,342
Messages
2,905,812
Members
229,959
Latest member
bdpkauai

Members online

Top