started by selecting some steel, 3x3 angle and box tube:
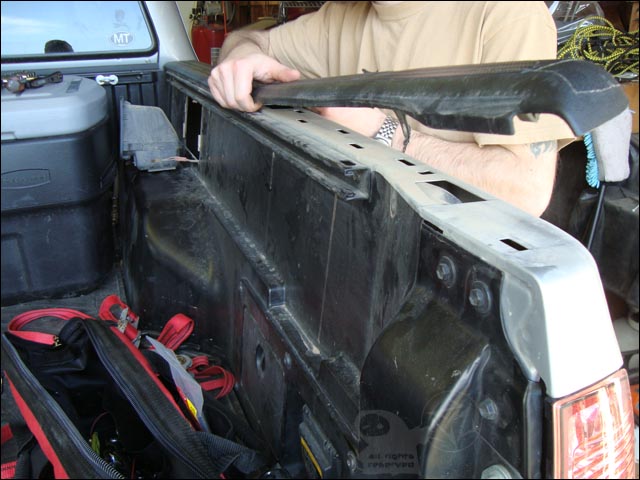
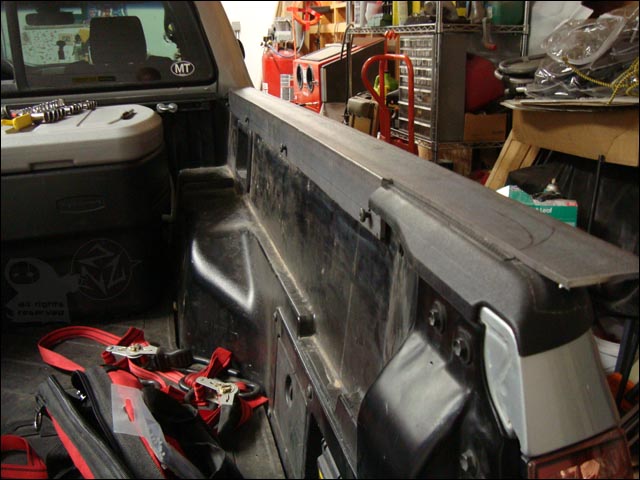
removing the bedside caps:
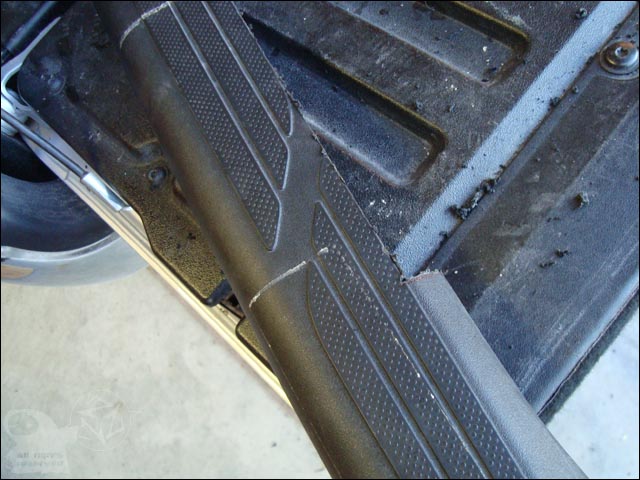
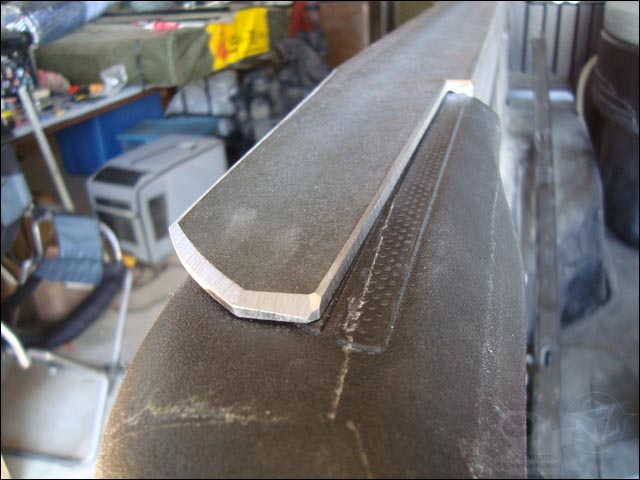
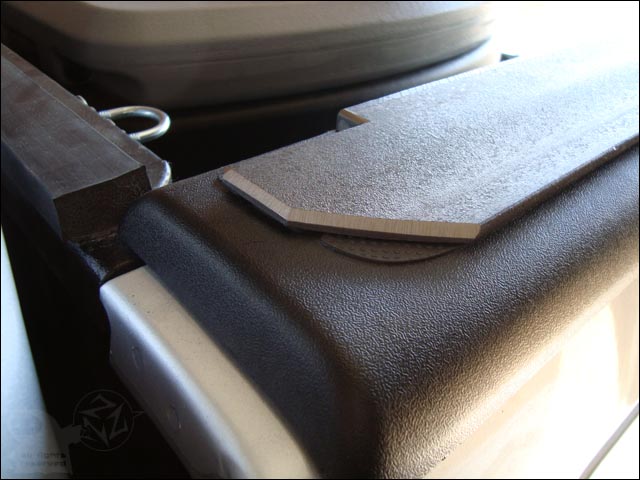
measured and cut the bedside caps, removing the overhang over the rail. once I had the fit I sanded down the edges and cleaned them up.
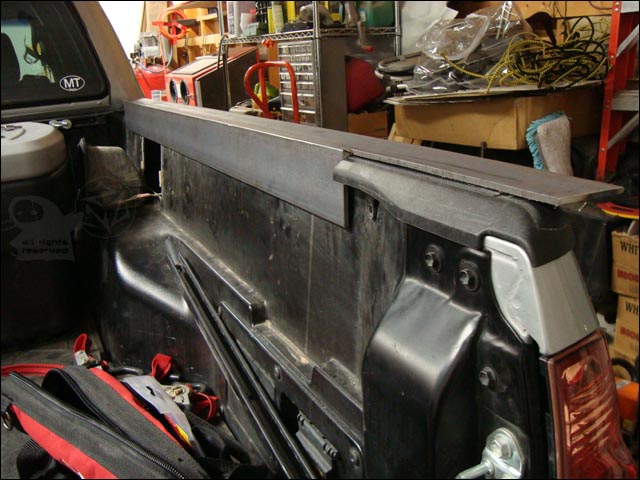
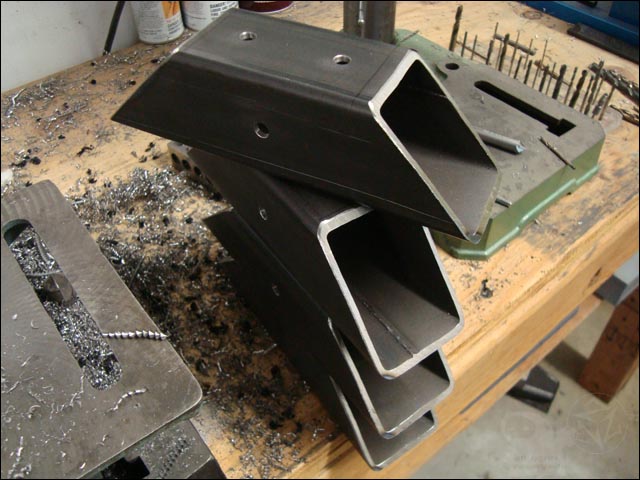
first cuts completed in the steel: fitting up nicely!
long cuts completed in the steel, hole patterns transferred and drilled, test fitting:
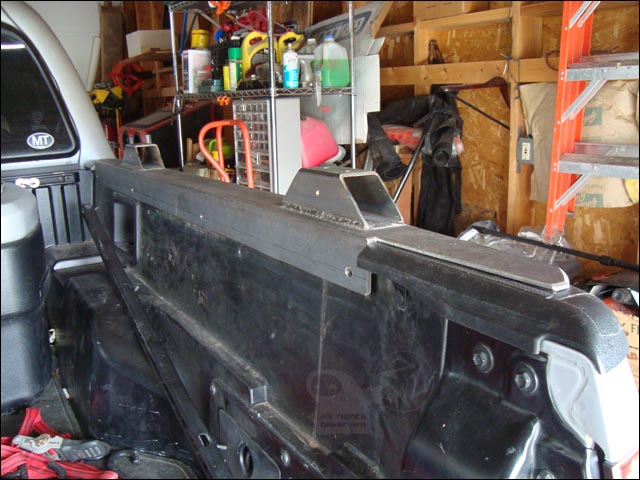
trimmed to length and shaped, starting to look good
front:
next i fabbed up the rack mounts from the box tube:
rack mounts all welded on:
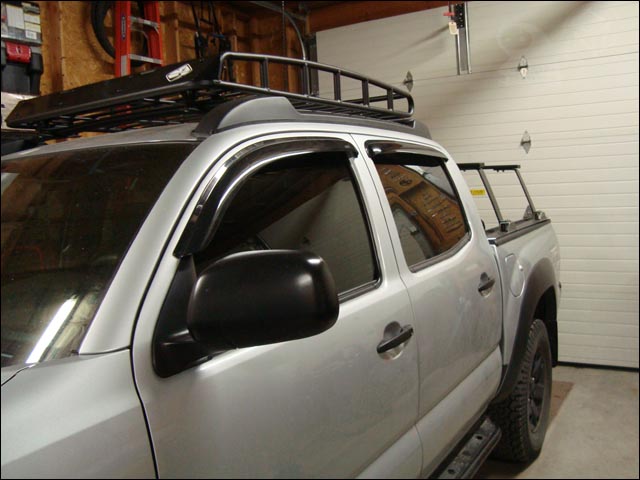
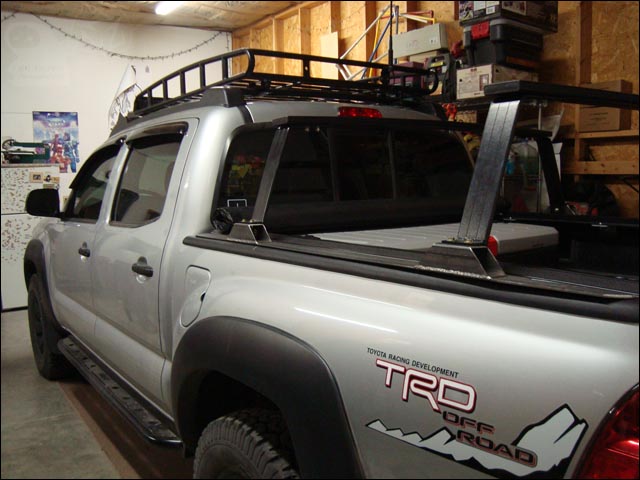
Then it was time to put everything together in the bed and make sure the tonneau was gonna fit with the new system and the Frontrunner rack etc. I also needed to get the final measurements for the weatherstripping that I later used to seal between the bed rails and the tonneau rails.
pics from the mockup:
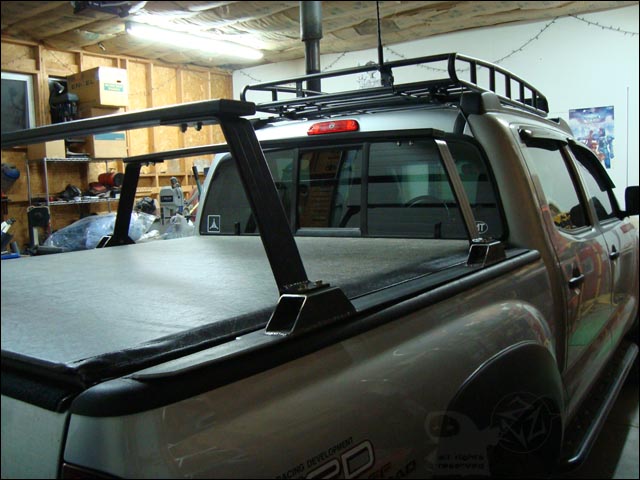
tonneau rolled up:
tonneau rolled down:
Everything fit together pretty well at that point, it is a little tight getting the header installed with the extra thickness of the steel, but it works. Much stronger and more stable than the original mounts I had made.
During the mock up and test fit, I decided to make some tie downs and weld them onto the new bedrail caps as well. Turned out sweet, and have proven to be very useful.
At that point I wanted to get them powdercoated, called around and both local shops had a 3 week wait. Well, we had a trip planned so as usual I needed it done and took them in to get Line-X'd instead.. big mistake, came out looking like melted poo and coated so thick with giant runs they wouldn't fit back into the bed. Got my money back from that fiasco, stripped the Line-X off, and rattlecanned them with Krylon. I have plans to take them out again later this winter to make some modifications and will get them powdercoated then.
")
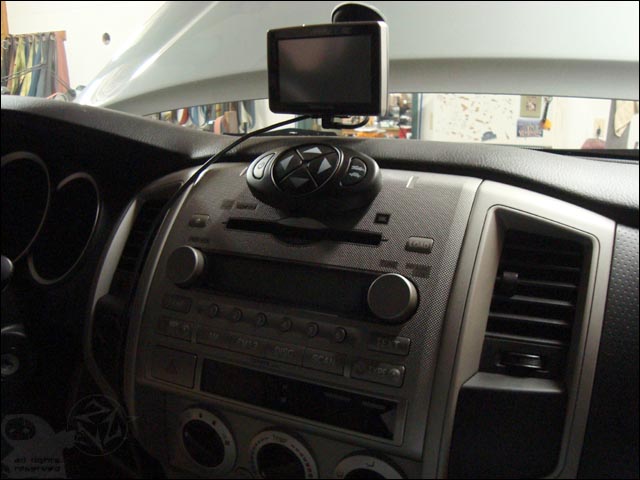
 I finally got around to replacing mine earlier this summer and am much happier on trips now. The factory stereo is really bad and the speakers are simply awful. When you replace them you'll be amazed at how cheap they are- paper cones and magnets the size of beer bottle caps (yes, I know paper cones are used in a few high end indoor speakers but these are pure junk). I know I should have spent the money on a snorkel and some fancier wheels, but dang it makes everyday driving soooo much nicer. :sombrero: