Project T100: "Baja Explorer Ver. 2"

G100

Adventurer
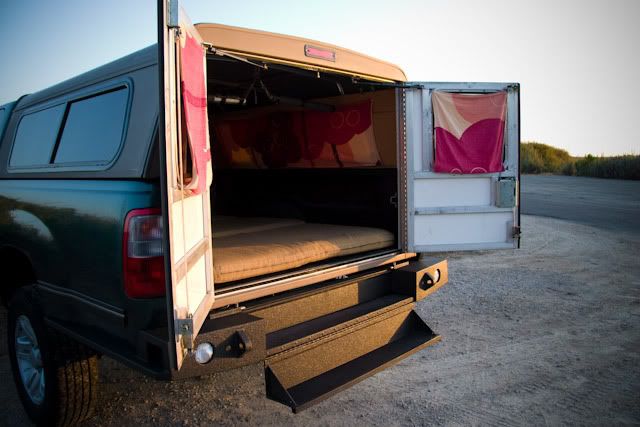
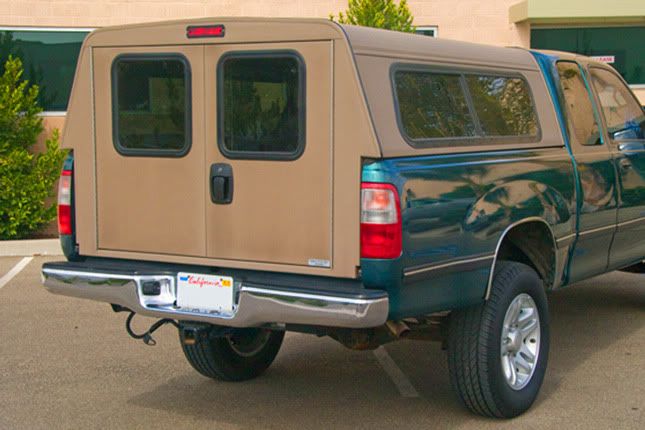
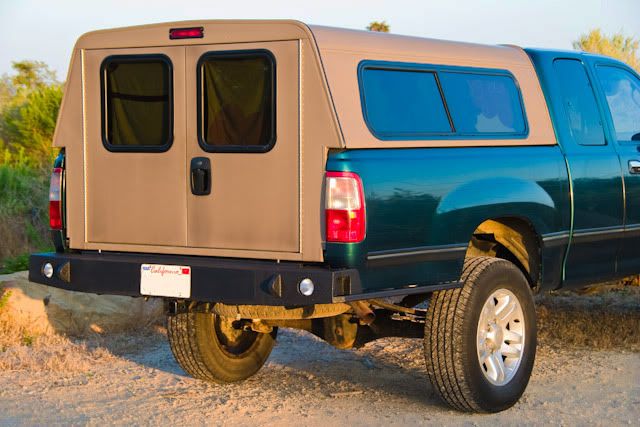
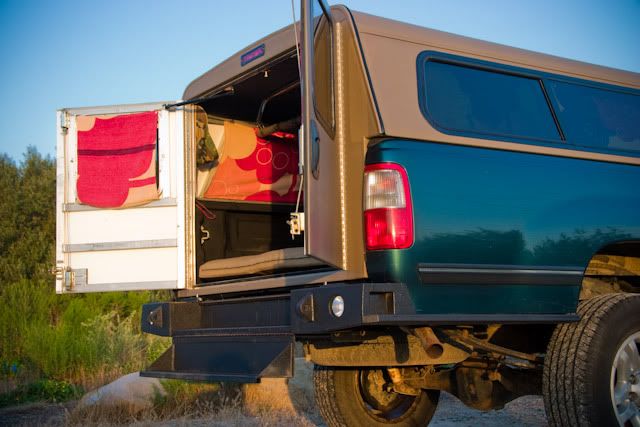
So I finally got around to taking some pictures of the bumper in it most finished state, I say most finished because there are still some things I got to do before I can say it is finished. It is now on to the roof rack project, which I think is going to be a doosie.

Before:
BumperFinal-1a.jpg

These pictures are taken from roughly the same angle (my eye level) so you can really see that the new bumper has increased my departure/approach angle.
After:
BumperFinal-1.jpg


BumperFinal-2.jpg


BumperFinal-3.jpg


Back up lights:
I took these pictures from inside my car looking in the mirrors. My truck was about 30 ft. from my garage door. These pictures are taken with the exact same settings.

Backuplights-1.jpg
Backuplights-2.jpg


Thats it for the bumper I promise!, Time to get started on the rack
 
D

Deleted member 9101

Guest
I really like what you have done with the T-100...almost makes me wish my Tundra was a 4x4...lol
 

kcowyo

ExPo Original


That turned out looking fantastic! Please let me know when you are ready to mass produce them, or if you need a guinea-T100 for V.2! Really nice job, love the lower bedside protection too.


:beer:

.
 

selk78

New member
awesome T100! I keep telling my brother that thoses trucks make great expo trucks, he has a 97 T100 that's mostly stock, but with guys like you thinking outside the box, maybe he will rethink modds for his truck when i show him your truck, keep up the great work!
 

Regcabguy

Oil eater.
Really trick bumper w/step! That concept would really be appreciated by us popup guys. It'd eliminate my separate scissor steps saving much needed floor space.
 

G100

Adventurer
Back To Work!

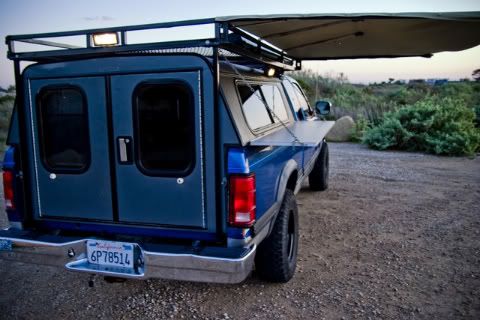
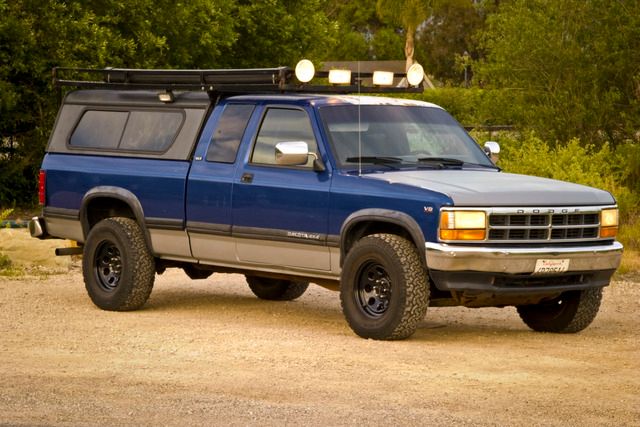
Alright after a four month hiatus, its time to get some stuff done. So here is the start of my rack project that I started during my time off over the holidays. I need some opinions on some stuff also, so help me out.

Okay so to start out here is a picture of the basic plan, but of course to be improved upon.
What I want to improve/change:
-lower profile design
-air deflector in front (for MPGs) with recessed/inset lights (only 2,not 4)
-use LED light strips for side lights
Truck_08.jpg


OldBlue-3.jpg


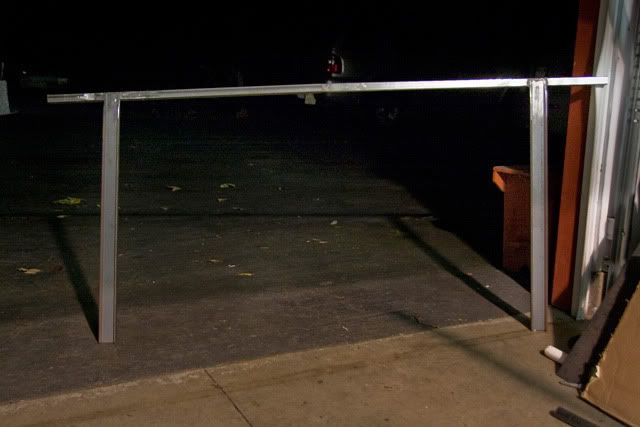
First thing to get done are the vertical supports. The rear is basic, just 1" square tubing straight up from the bumper. I will be adding a tab that will come off of a little "ladder" step that will bolt in to the bed just above the tail light for more side to side support.

The front, not so basic.
Long story long: Old design has a trapazoid shaped piece resting on the bed rail under the rear window. This worked great for about 5 years, until I started noticing the floor forming cracks on both sides right next to where the bed mounts to the frame. I would weld them up and they would just crack again, so I ended up welding some plates on there. I figure the cracks are from the top heavy weight of the rack swaying side to side. I inspected this area when I had my bed off the truck during the rear window project to see if I could just weld a plate on there before I put it back on, but toyota already has a reinforcement plate there. Then I inspected how strong the back bed rail looked, not very. The back bed rail is just a bent piece of probaly 16 guage steel spot welded about every two inches to the floor to allow for drainage.

Long story short : I need to have supports coming up from the frame cause I don't think the bed is strong enough.

plus I have to create a design that has two sides that fit around my camper shell boot and then attach together.

Heres what I have come up with so far:
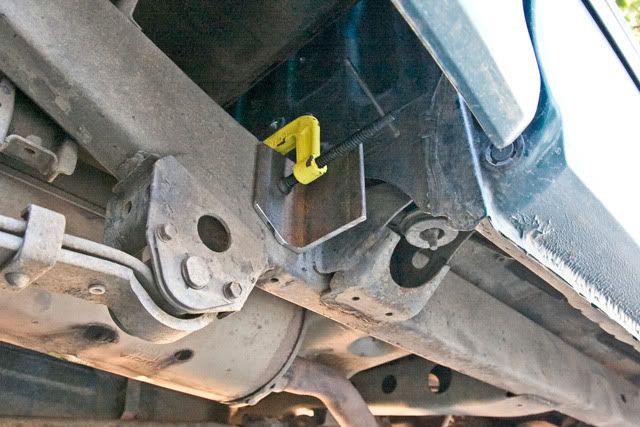
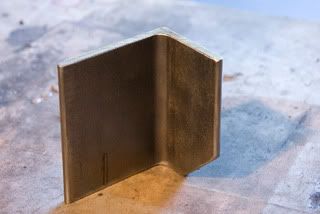
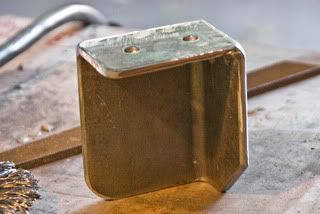
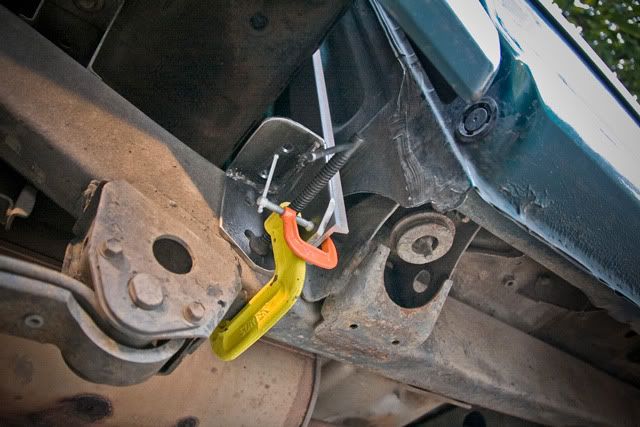
Frame brackets out of some 1/4" angle iron.
Rack01.jpg

Rack02.jpg
Rack03.jpg

I welded a top side to the bracket so that I could have a mounting plate to take advantage of the huge unused area directly above and behind (as seen in photo above). I was thinking maybe a propane tank, possibly a battery, or maybe a water tank.
Any suggestions? it would be nice to figure out what I want to do to this, so I can plan around it.

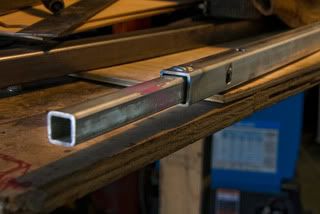
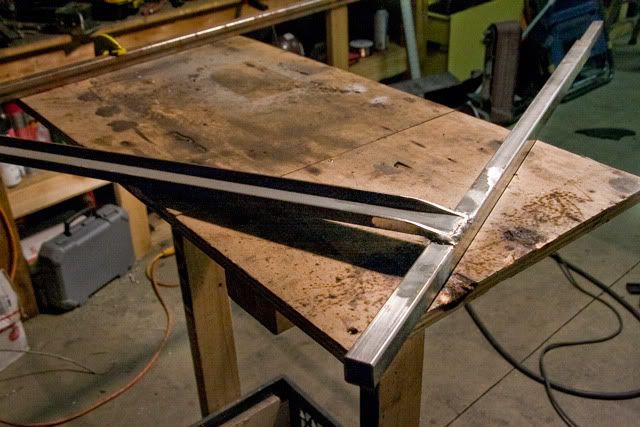
To create the inter-locking pieces that fit together above and below my truck boot, I am going to use 1" square tubing with a piece of 3/4" square tubing that will slide inside, of course permantly attached to one side.
Rack07.jpg

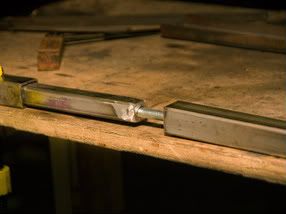
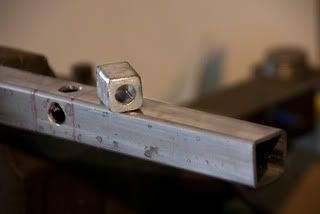
The connection above my boot will just slide together and attach with some bolts running down through the connection. Because I can not access the connection below my boot I will run a piece of all-thread inside the tubing. I welded some pieces of 3/4" tubing inside the 1" tubing about 4" back from the end, this is what the all thread will tighten up against.
Rack13.jpg
Rack06.jpg

For the supports going from the bed rail piece to the frame mounts I used 3/16" channel that measures about 2 1/2" wide by 1/2" thick which just fits perfectly in the space between my cab and bed, though I did have to grind the top a little to get it fit.
Rack05.jpg


Rack04.jpg


The supports come down perfectly to the where the brackets will be, and I will just bolt them in.
Rack10.jpg


My question to you guys is: Do you think I should weld on my bracket or drill some holes in my frame and just bolt it on? I am leaning toward welding it on cause it seems like a bad place to be drilling two holes in my frame. It just seems like a high stress area, and I don't want to weaken the frame.
What do you think?
 

J-man

Adventurer
definately weld. Bolts always find a way of coming loose especially when your in the middle of nowhere.
 

bajajoaquin

Adventurer
My question to you guys is: Do you think I should weld on my bracket or drill some holes in my frame and just bolt it on? I am leaning toward welding it on cause it seems like a bad place to be drilling two holes in my frame. It just seems like a high stress area, and I don't want to weaken the frame.
What do you think?

There's a lot of talk in the Mitsubishi FG forum about frame mods. The general consensus there is that you should closely follow the manufacturer's instructions to commercial body companies.

I'd imagine that Toyota has figured a lot of this out, and has some materials available for people who make commercial truck bodies. Toyota or a local company can probably point you in the right direction.
 

JCMatthews

Tour Guide
When I pulled off my old ranchos (came with the car, who knows how old) I was expecting a little fight with some resistance . . . nope. I unscrewed the bolts, compressed them no problem and they stayed compressed, no return, now I'm no expert but sounds like they're shot to me.

The Ranchos and the Bilstiens, are different types of shocks. The Ranchos are hydralic. They give resistance both ways, but don't try to extend the piston. The "Billys" are gas charged shocks and are always trying to extend the piston. Not saying that the Ranchos weren't shot, they probably were.

My question to you guys is: Do you think I should weld on my bracket or drill some holes in my frame and just bolt it on? I am leaning toward welding it on cause it seems like a bad place to be drilling two holes in my frame. It just seems like a high stress area, and I don't want to weaken the frame. What do you think?
I think that I would weld it. What about putting a plate on the frame mount that allows the rack risers to stand as well as be bolted? This might help to keep the rack from being able to damage the bolts by distributing the weight.
 
Last edited:

Forum statistics

Threads
188,155
Messages
2,902,788
Members
229,582
Latest member
JSKepler
Top