Rango.....1942 Willys MB

Metcalf

Expedition Leader
I didn't really do much last night.....

100_0093.jpg


Then I got my butt kicked by the steering box for about an hour. The cotter keys broke off the TRE on the pitman arm first. Then there was this little pin/bolt on the steering box input shaft where the steering shaft mated up. That thing kicked my butt for WAY too long. I got the last laugh...but not till I whacked my knuckle with a ball peen hammer.
 

Metcalf

Expedition Leader
Tonight was most a measuring and cleaning night.

100_0099.jpg


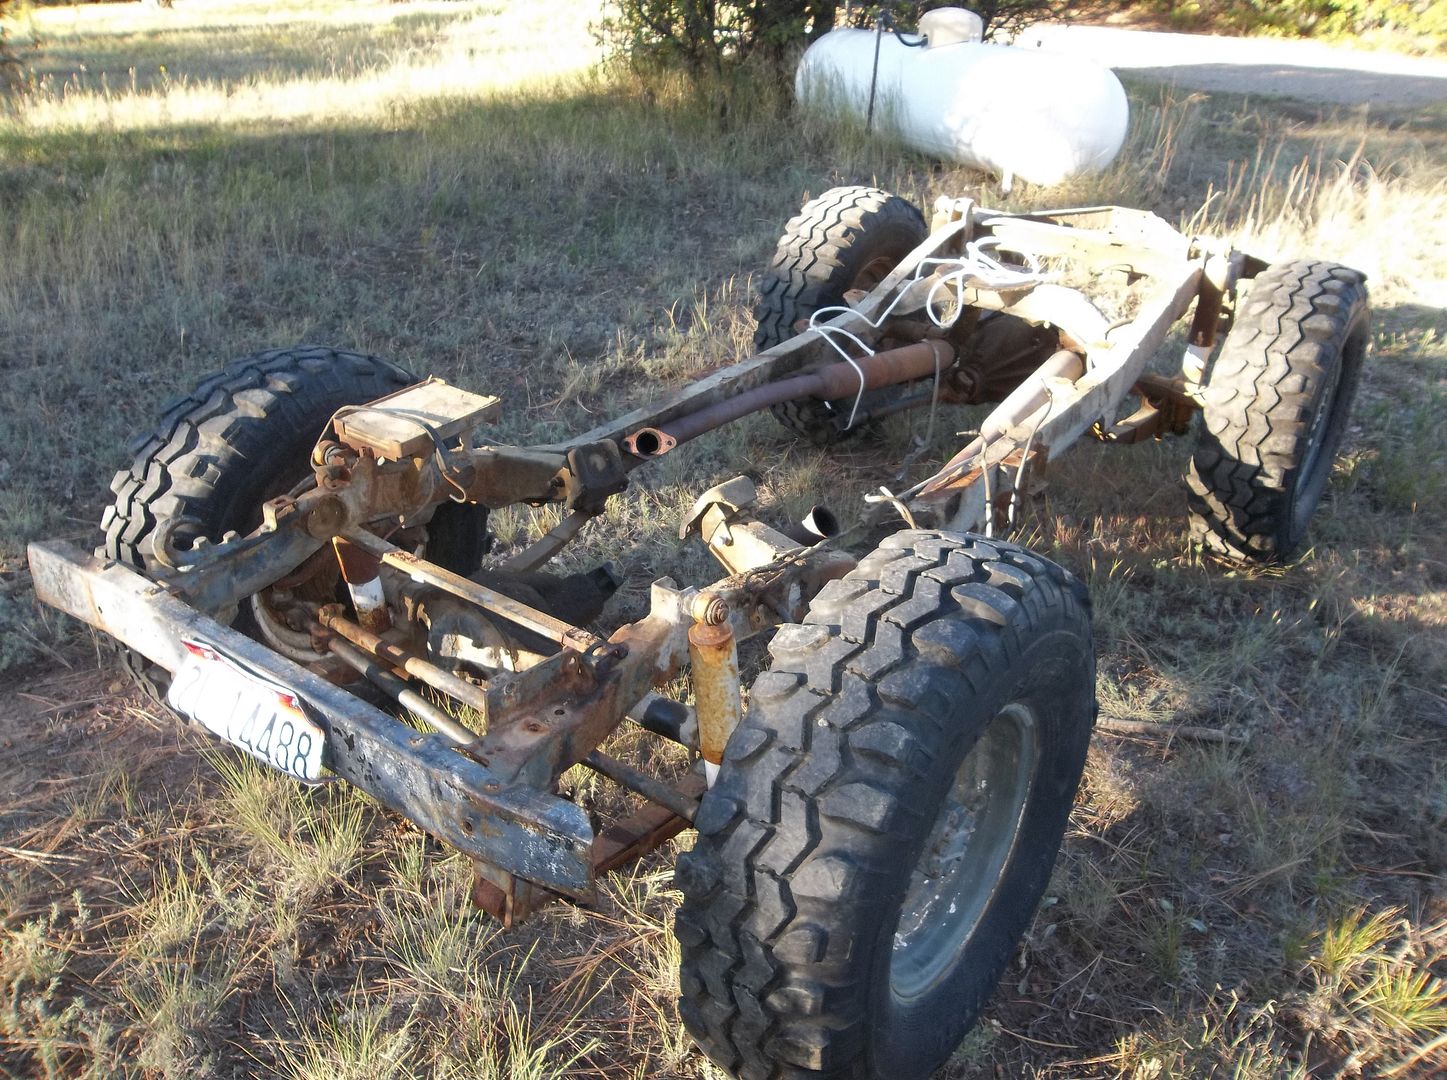
I moved the old chassis out of the shop. Overall it really isn't THAT bad. It needs the rear crossmember replaced and maybe a good sandblast, but other than that its not in that bad of shape.

100_0101.jpg


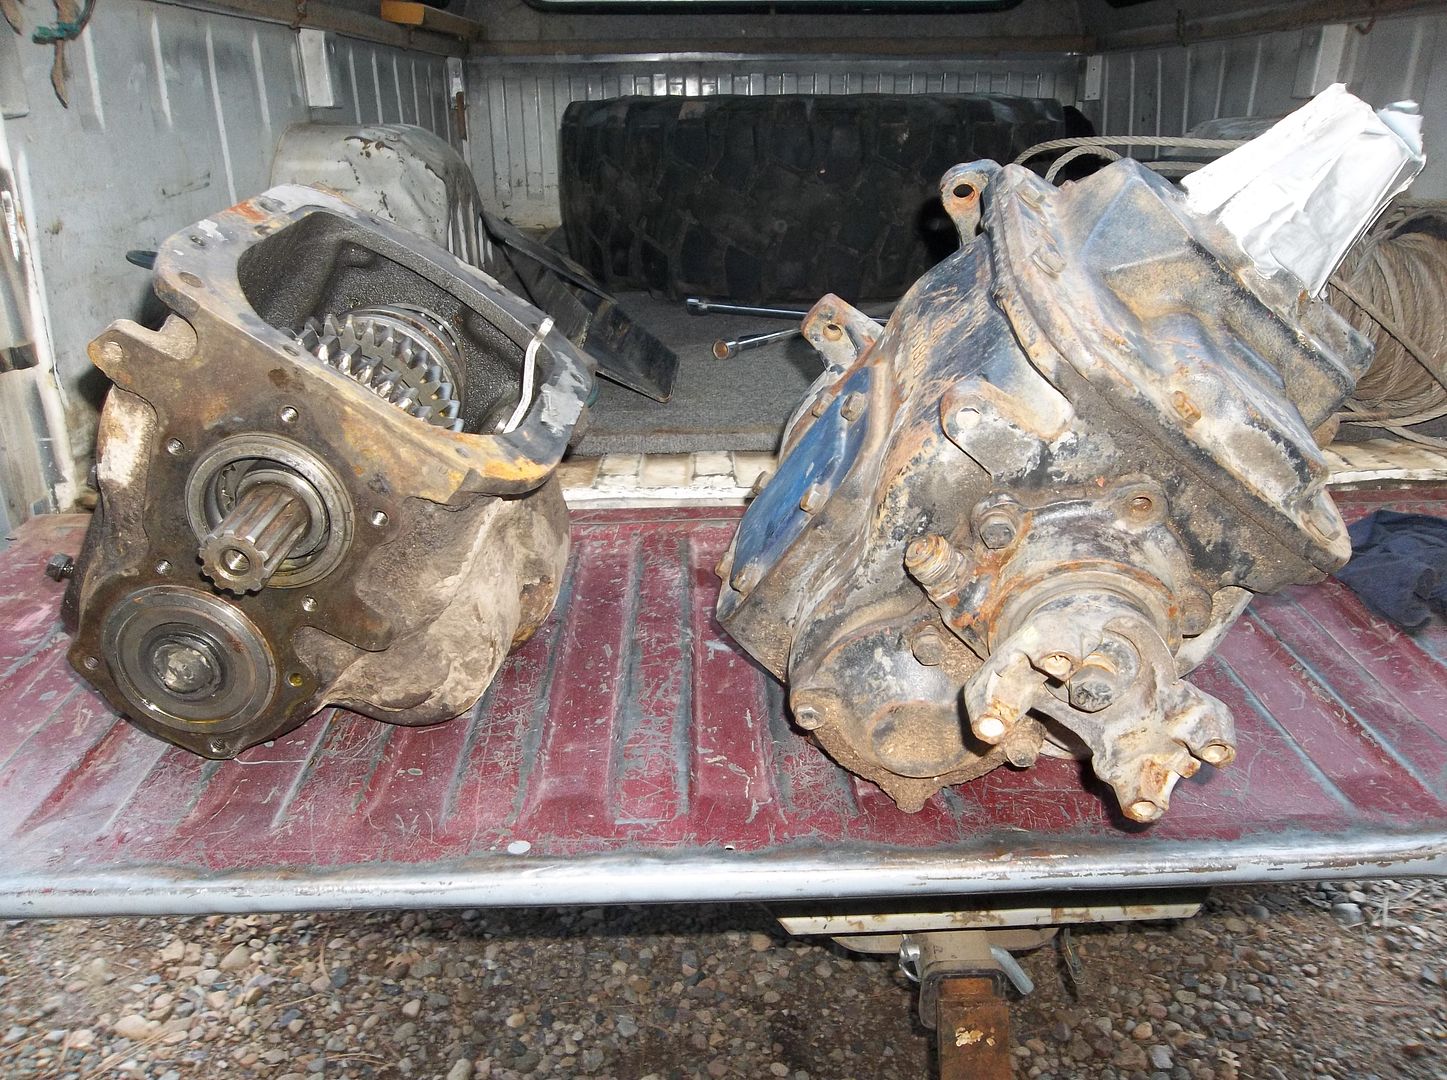
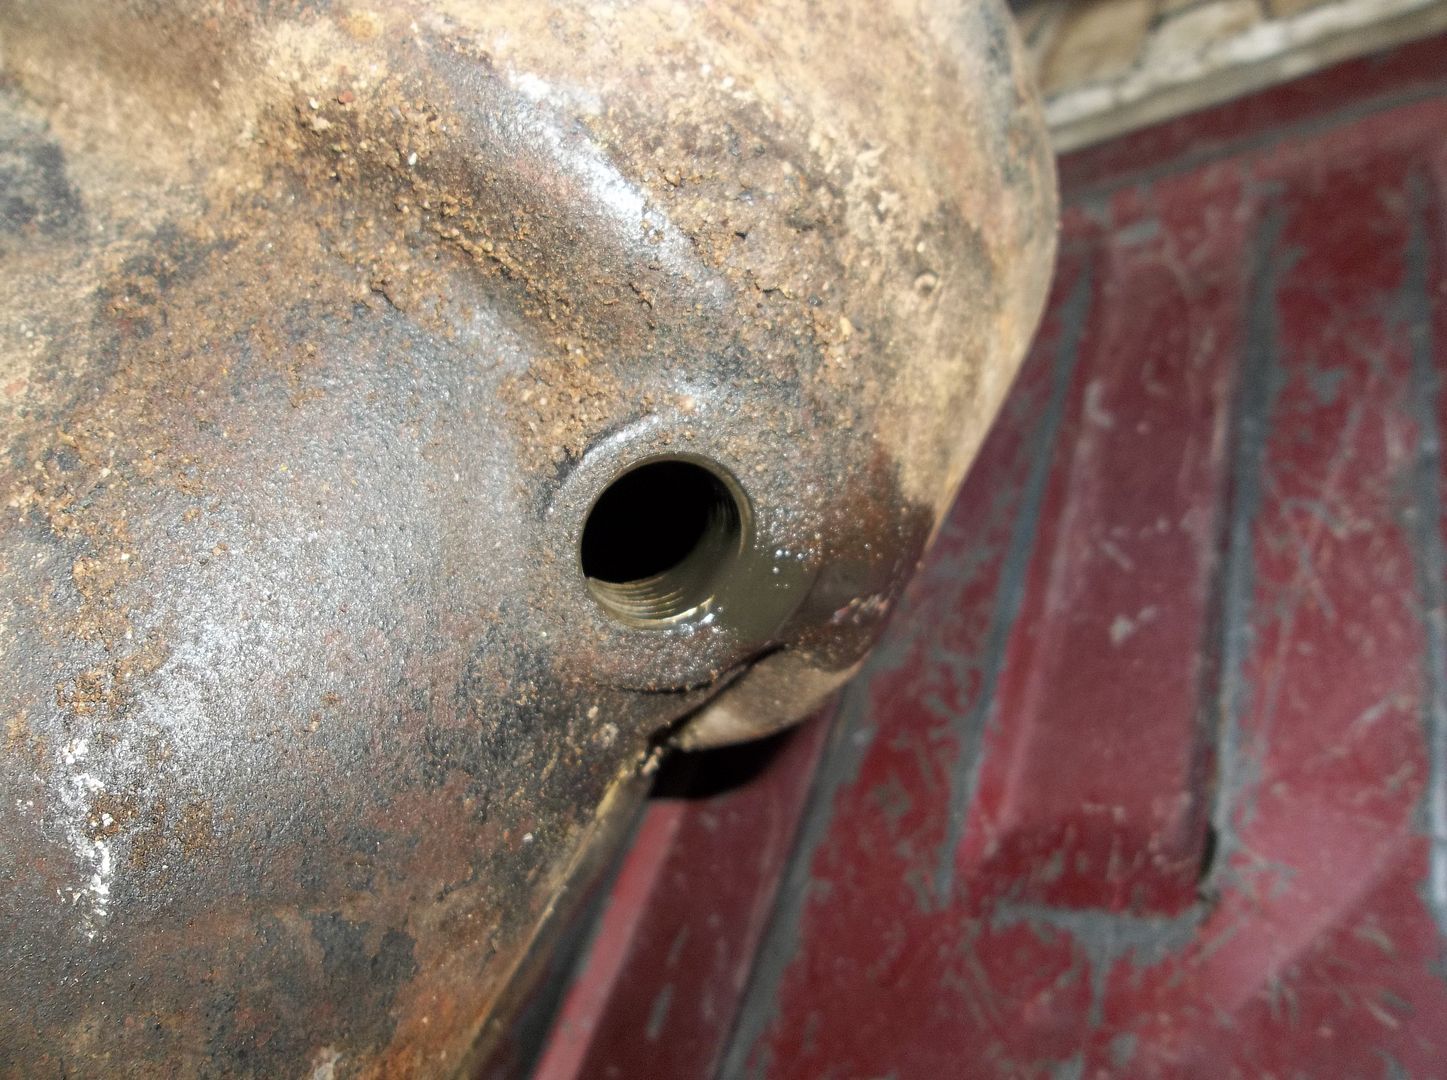
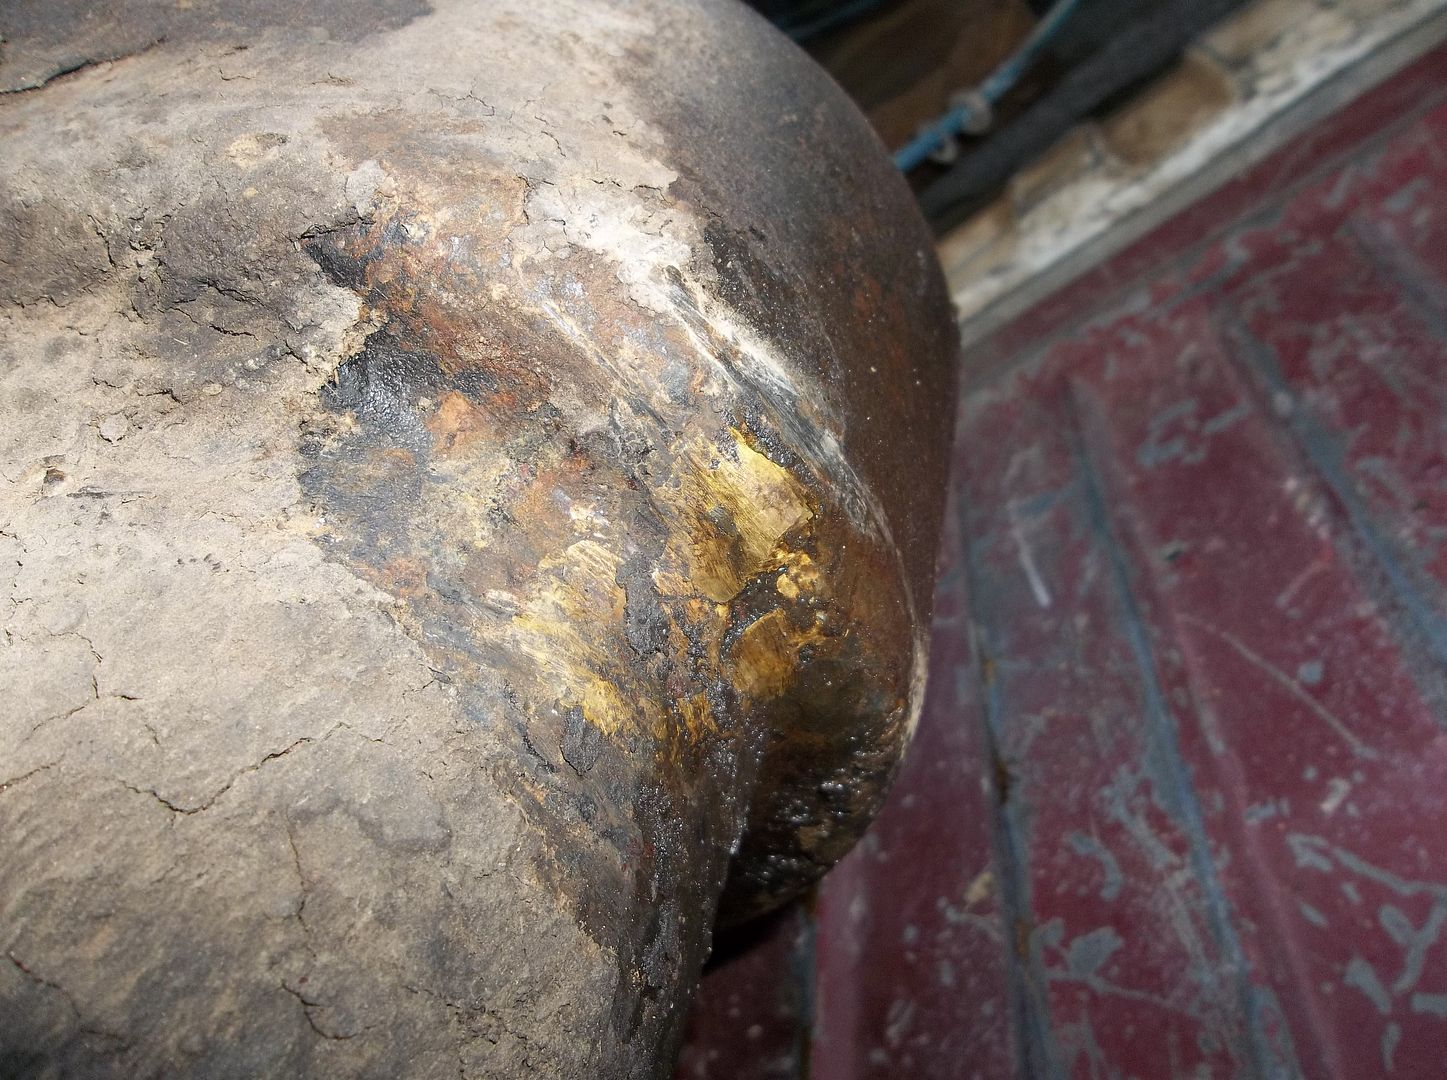
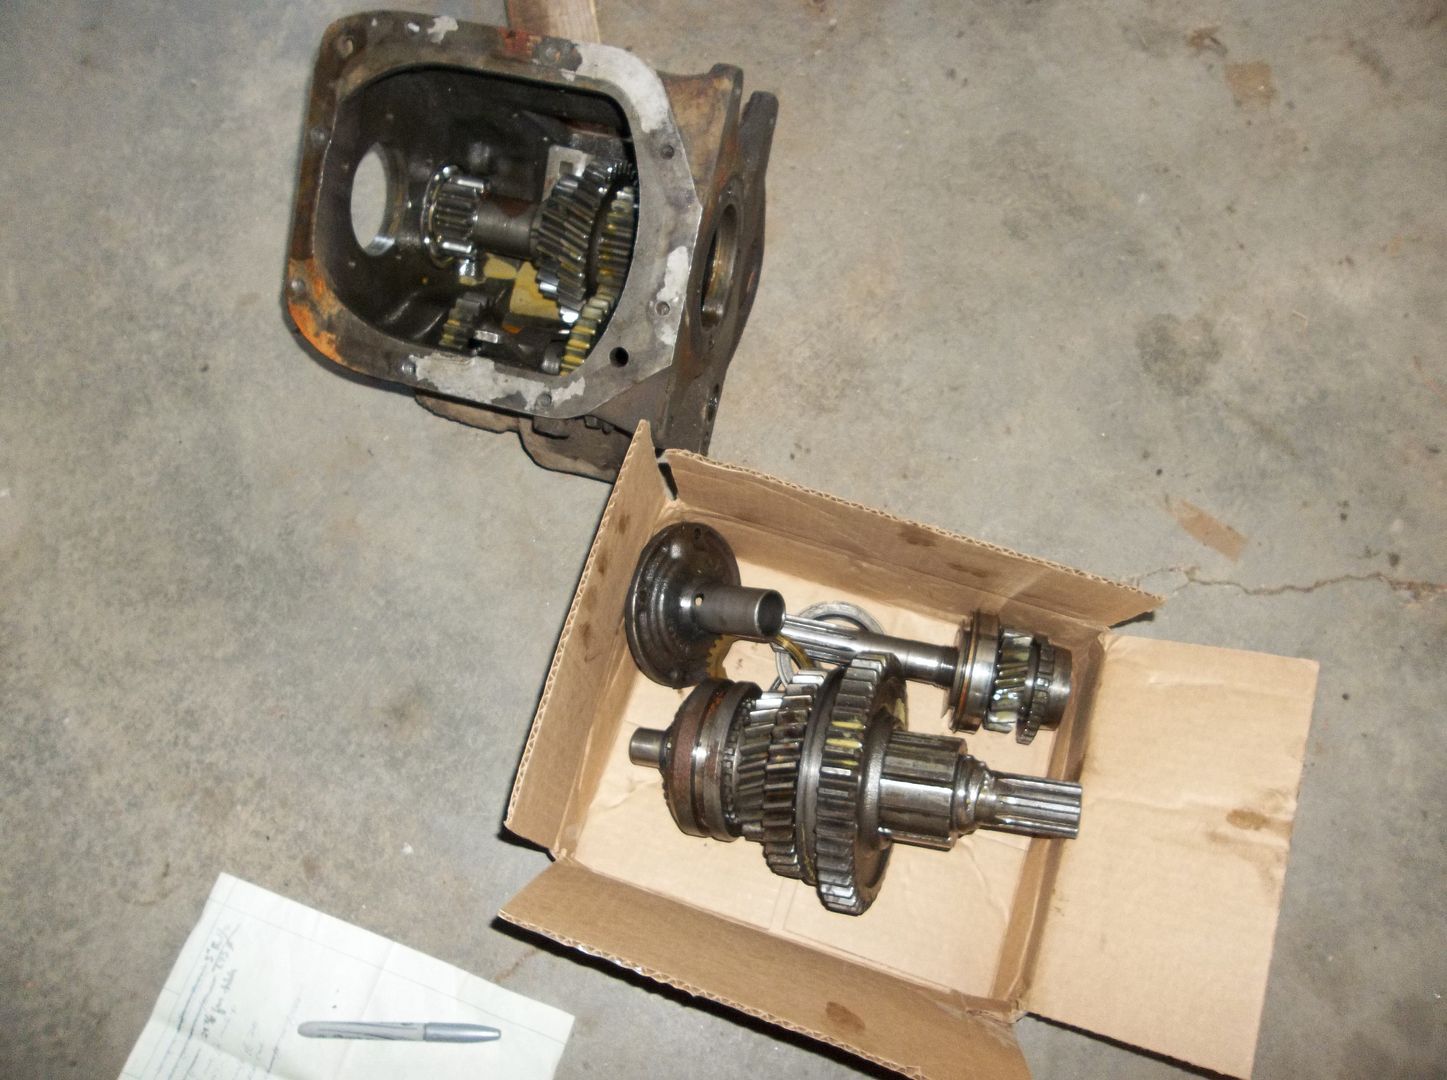
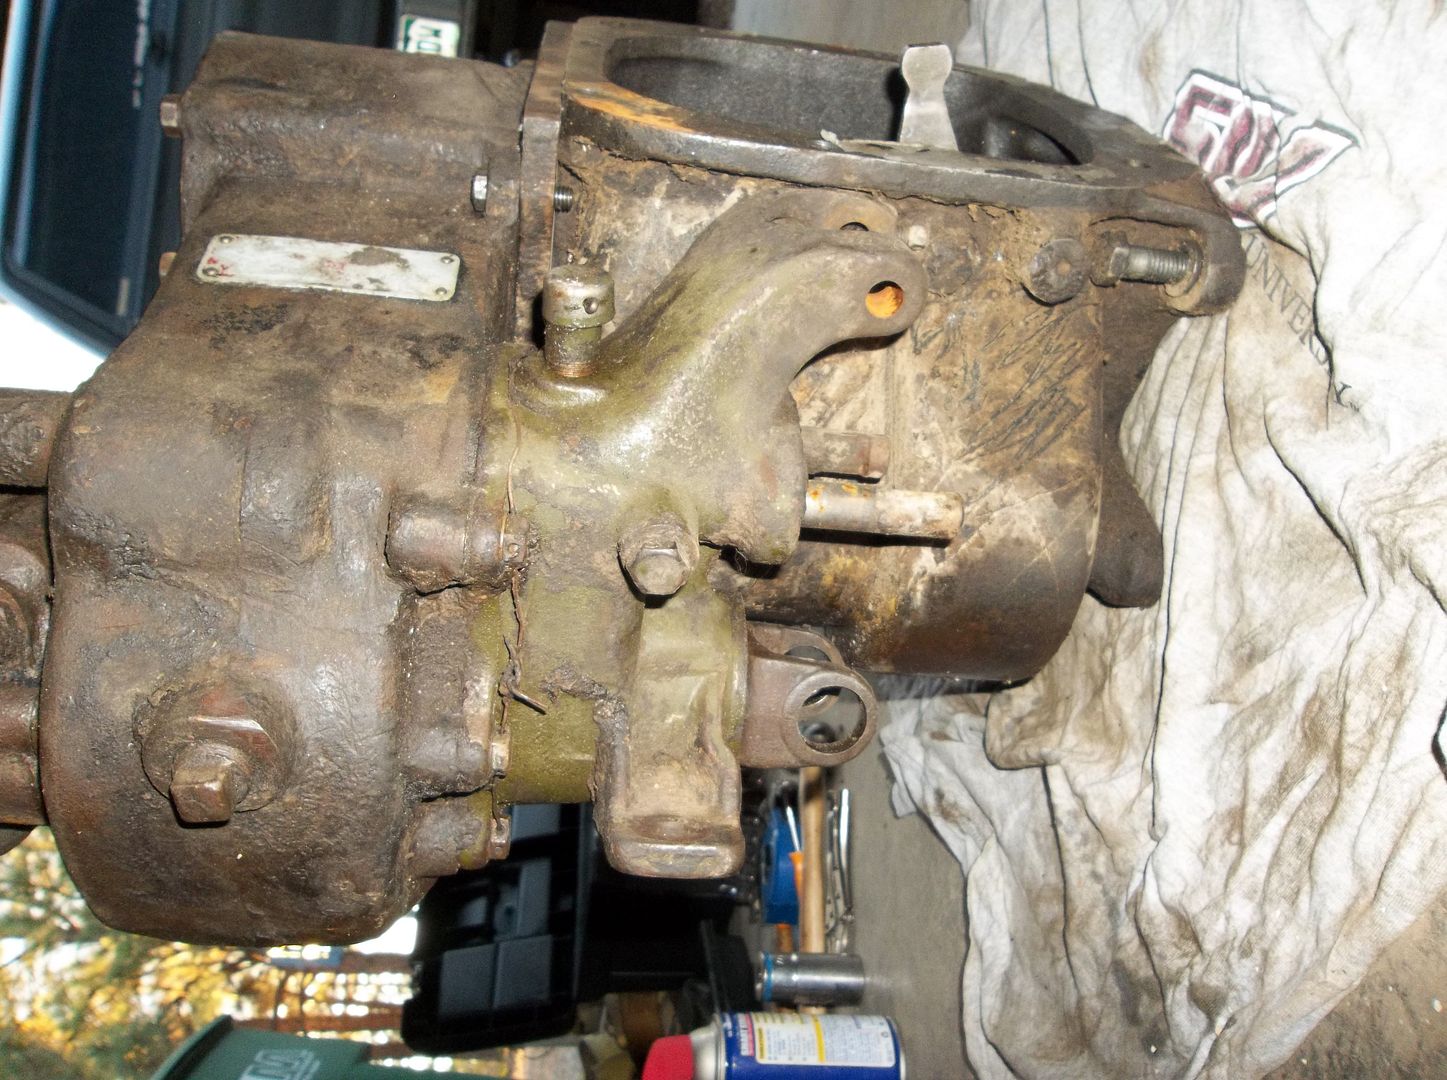
Then I moved the SM420's into the garage. I really need to build one out of the two units I have. The one that was in the chassis when I bought it has been modified for clearance with the Dana 18 and the super short adapter. The fill plug has been shaved off and welded shut.

100_0103.jpg


100_0102.jpg


I wish there was an easier way to do it, but I think I need to take the 'new' guts and install them in the 'old' case....suck.

100_0104.jpg


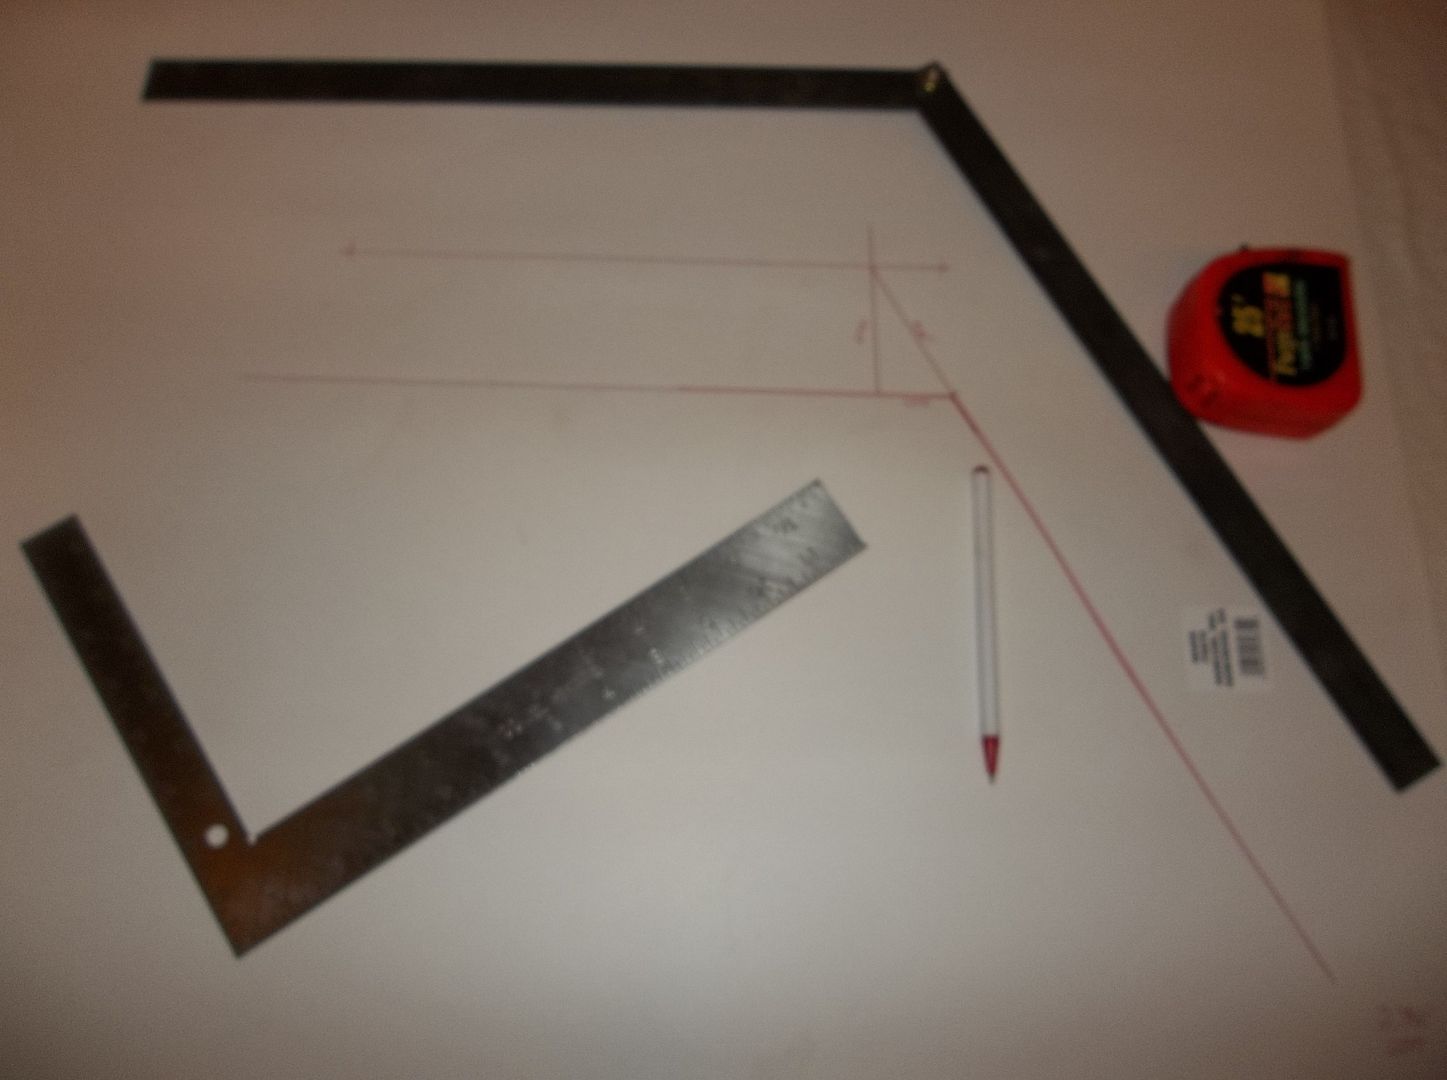
I made a little angle finder like in the tube bending 101 article. It came in really handy for measuring the front fender angle. I then transferred the angle over to a big piece of paper. Then I went out and measured the amount of 'lift' I want in the front fenders. At this point, I basically want the bottom of the fender to sit at the top of the angle in the factory grill. I think this is the most logical place for the fender to sit, it seems even more logical than factory....

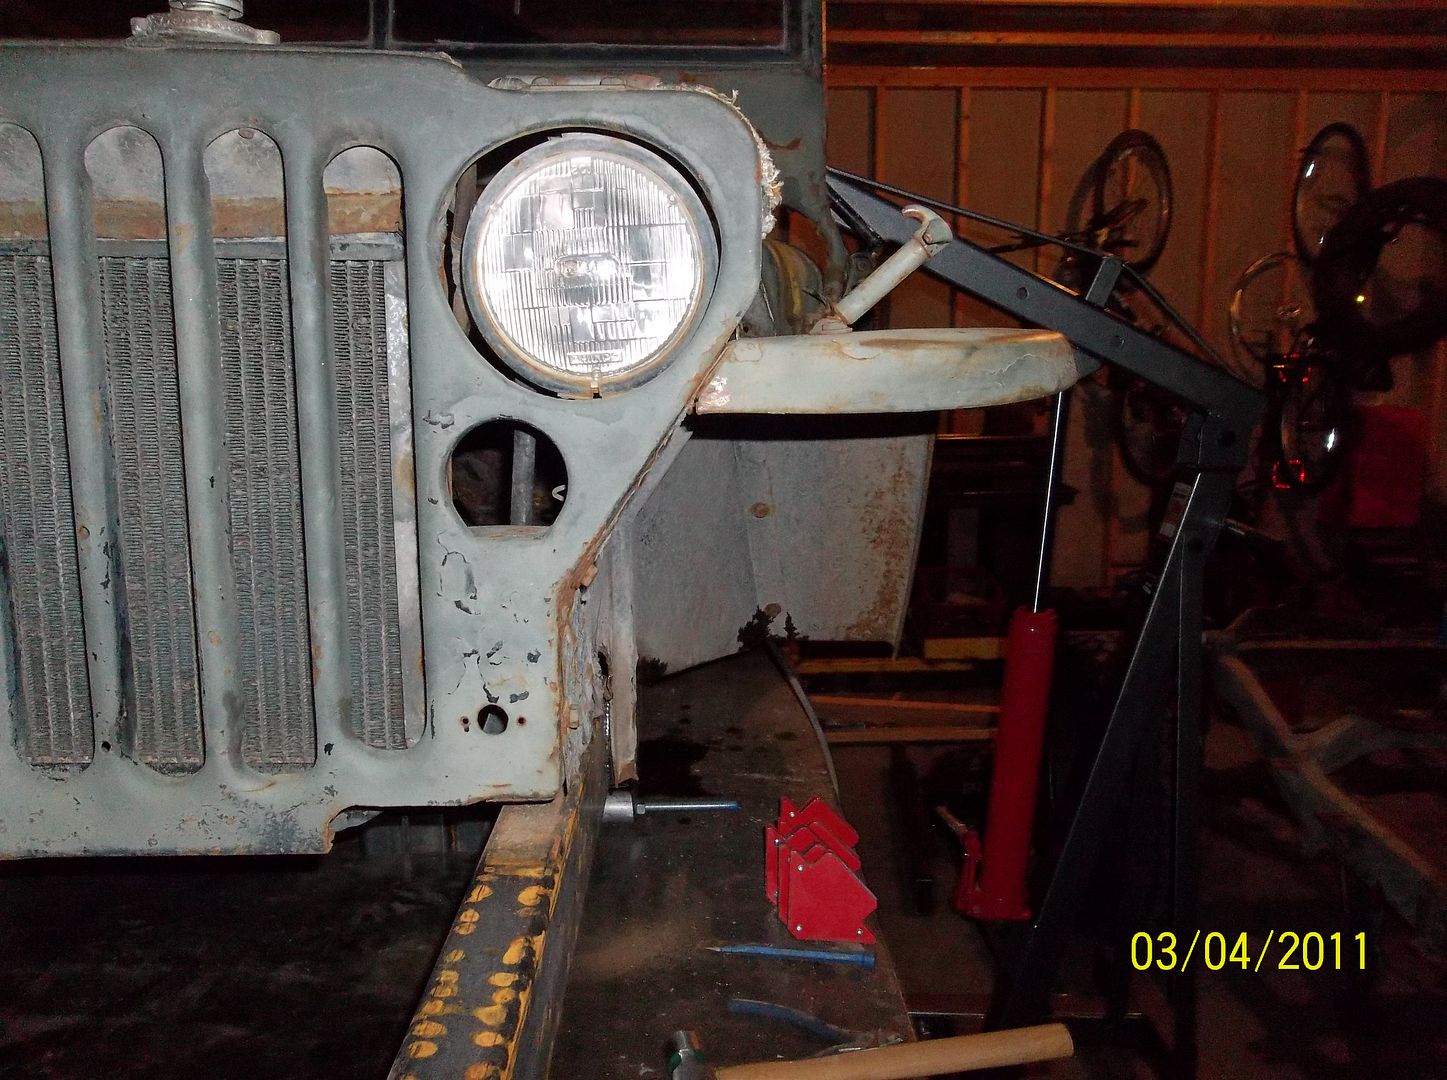
100_0057.jpg


This is where the fender is factory....

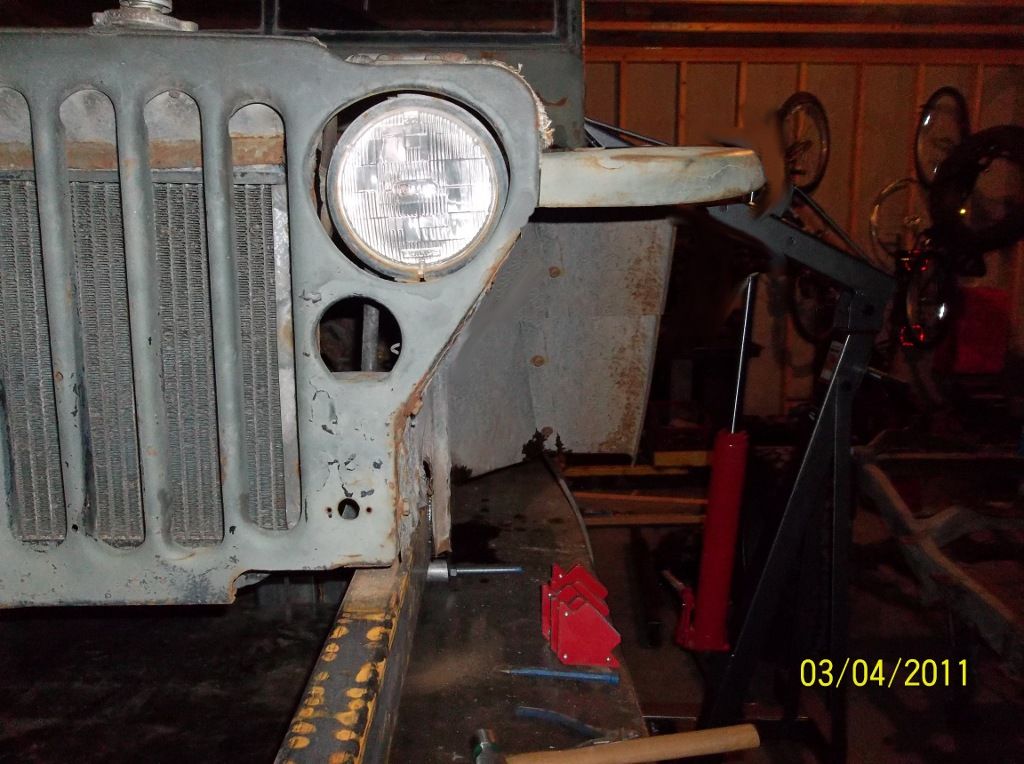
100_0057r.jpg


Here is where I want the fender to sit after it is modified. I think its a kinda subtle change that should be too obvious. This is with the fender effectively lifted 2.75" from the stock location. I think that is enough without having to go into overkill. To put that into perspective, it will provide room for a 5" tire diameter change without any more lift. Things get tight at the back of the fender if you don't move the axle forward on a flat fender. This is one of the main reasons I have been planning on a 3" push of the front axle forward.

Now. The other part of the simple layout is to determine how far to redrill the bolts on the cowl. That leg of the triangle is very close to 3.0". So if you slide the fender along the cowl angle at the back of the fender approx 3" you raise the flat part of the fender 2.75" ( the horizontal surface ).

The slight side effect of this change in fender position is that you also move the fender forward as you move it up. According to the layout the grill will need to be moved forward 1 3/8". You could also chop that amount out of the middle of the fender, but I think sliding the grill forward will be less work....and having another 1 3/8" of engine room won't hurt anything on a flat fender.

The front edge of the fender where it bolts to the grill will be reworked, but other than that the fender modifications should be minimal.
 

reece146

Automotive Artist
The bare YJ frame in front of my shop weighs about 225 lbs according to my bathroom scale. After sandblasting it might be 10 lbs lighter with all the rust gone. :)
 

Metcalf

Expedition Leader
The bare YJ frame in front of my shop weighs about 225 lbs according to my bathroom scale. After sandblasting it might be 10 lbs lighter with all the rust gone. :)

I don't think mine is going to come in much lighter than that, but I guess that will include a front and rear bumper? It will be interesting to see what the final weight is going to be. The basic frame is only 160lbs or so according to the computer minus the welding.
 

Karma

Adventurer
HI,
What a great thread and neat project. I'm very impressed with your approach but I'm too lazy for that much work.

I have a story that will probably make a lot of people sick. My wife and I bought a brand new Jeep Wagoneer in 1964 when they first hit the market. Being new to 4 wheeling we joined a club devoted to just Wagoneers and Gladiators. There were quite a few members so the model must have been selling pretty well.

Our club president owned a Jeep dealership. At our first meeting he announced he had received a shipment of 50 WW2 Jeeps. They were disassembled, crated and cosmolined. He wanted $600 each. We had to move them from his warehouse to home, about 50 miles for us.

Being a young married couple with a new Jeep payment made this a serious decision. I did not have a good place to work on the Jeep but I could have figured something out like the front yard. I knew nothing about Military Jeeps other than John Wayne movies. My wife was not enthusiastic. She failed to see the beauty in the little beast.

These reasons plus my school schedule caused us to pass on the deal. I have been sorry ever since. It's one of those once in a lifetime opportunities and I blew it!!

Sparky
 

Metcalf

Expedition Leader
The 225 lbs is just the bare frame - everything that can be removed has been unbolted.

I guess mine isn't THAT heavy then :) Mine has the rear bumper, rear crossmember, and from bumper.

It will be interesting to see what the entire vehicle weighs when its 'finished' I am REALLY hoping for 3000lbs or less. Anyone else want to guess?
 

Metcalf

Expedition Leader
Tonight after work just seemed to flow....

100_0106.jpg


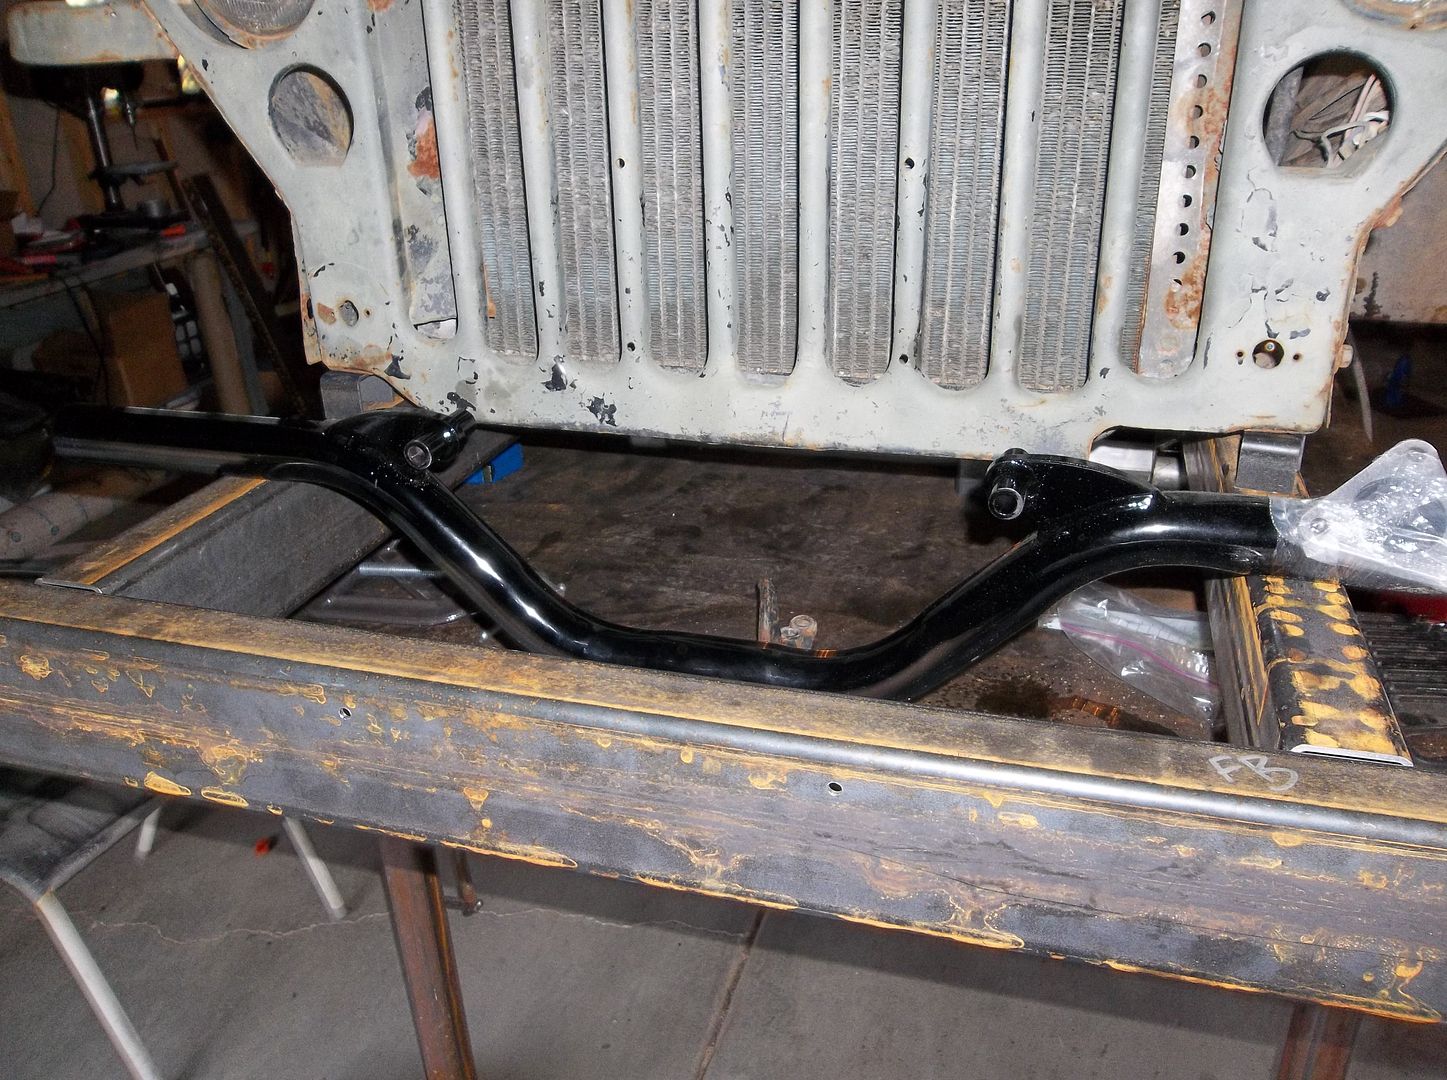
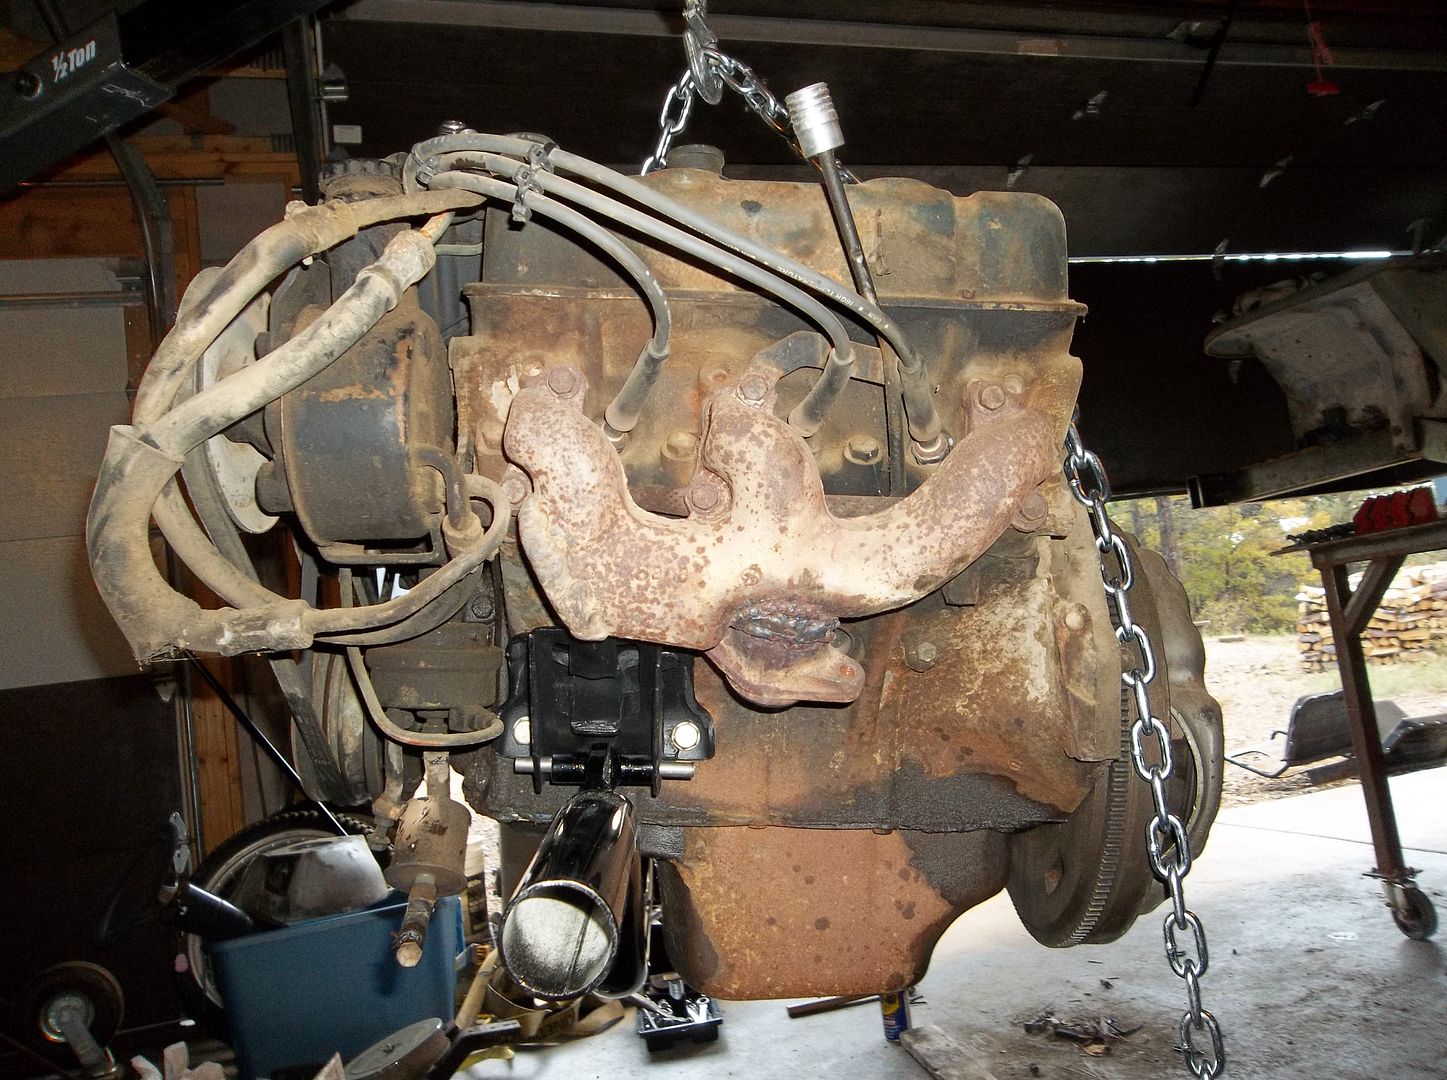
Unboxed the engine mount crossmember. Layed it on the front of the frame so I could see how it was going to line up in the frame. I think it will work, but dang things get tight on a flatty quick....the bends JUST fit inside the frame.

100_0110.jpg


100_0113.jpg


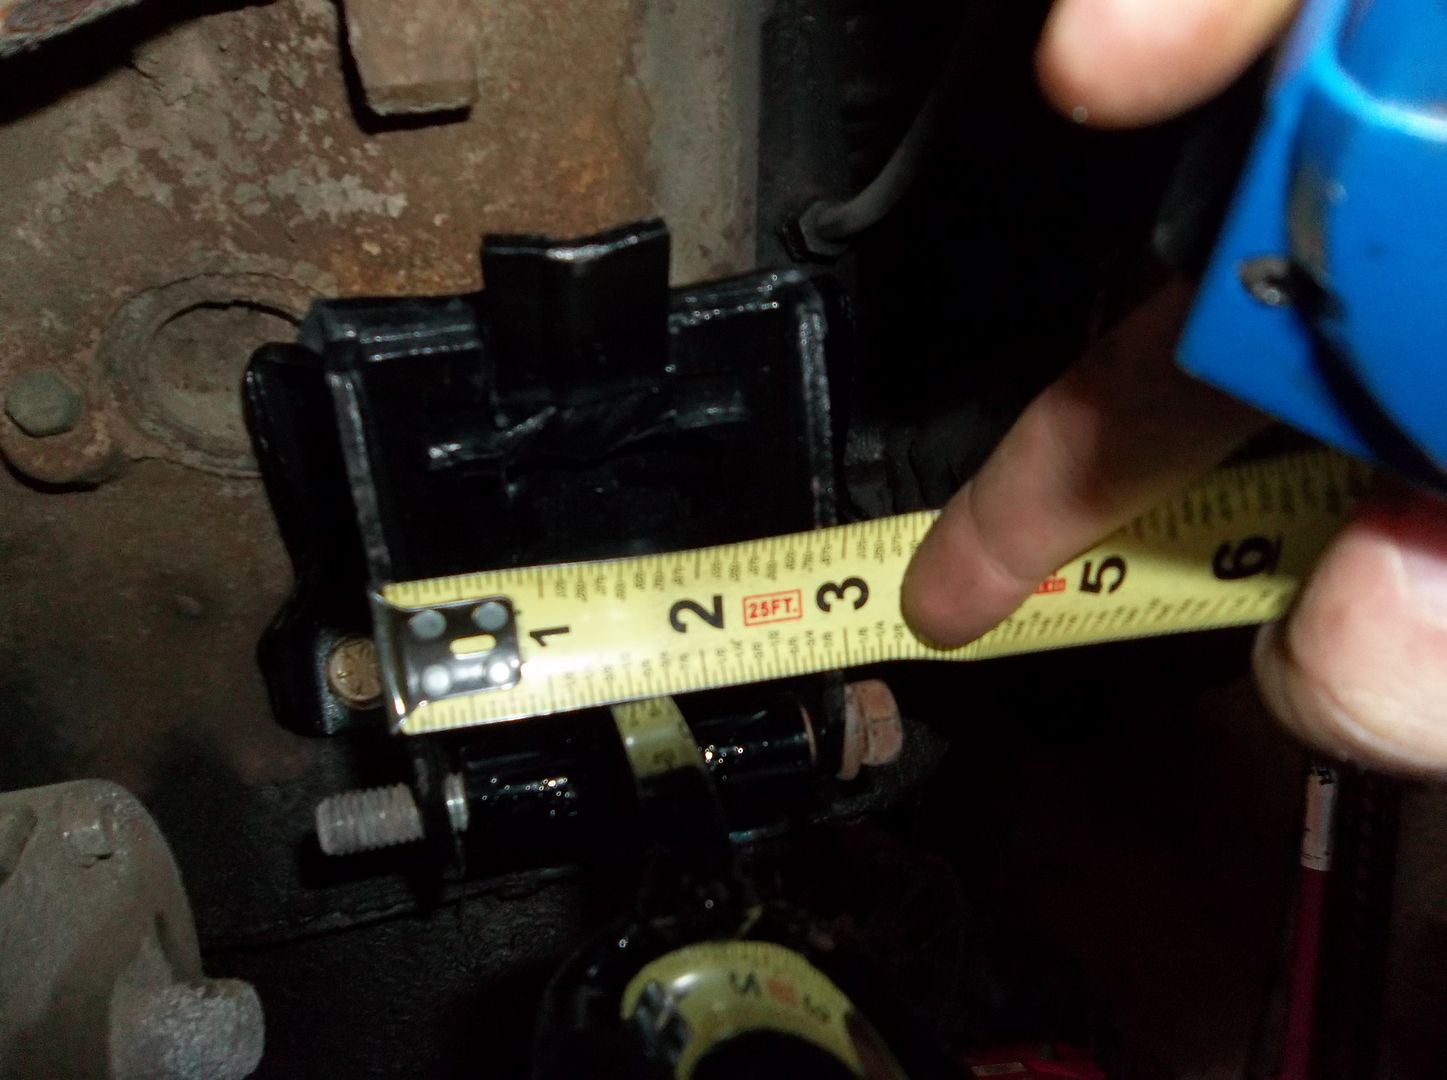
I bolted the new mounts and crossmember up to the 225. Everything fit pretty decent, no clearance problems that I could see. The mount tucks fairly close to the motor....or at least close enough I think.

100_0111.jpg


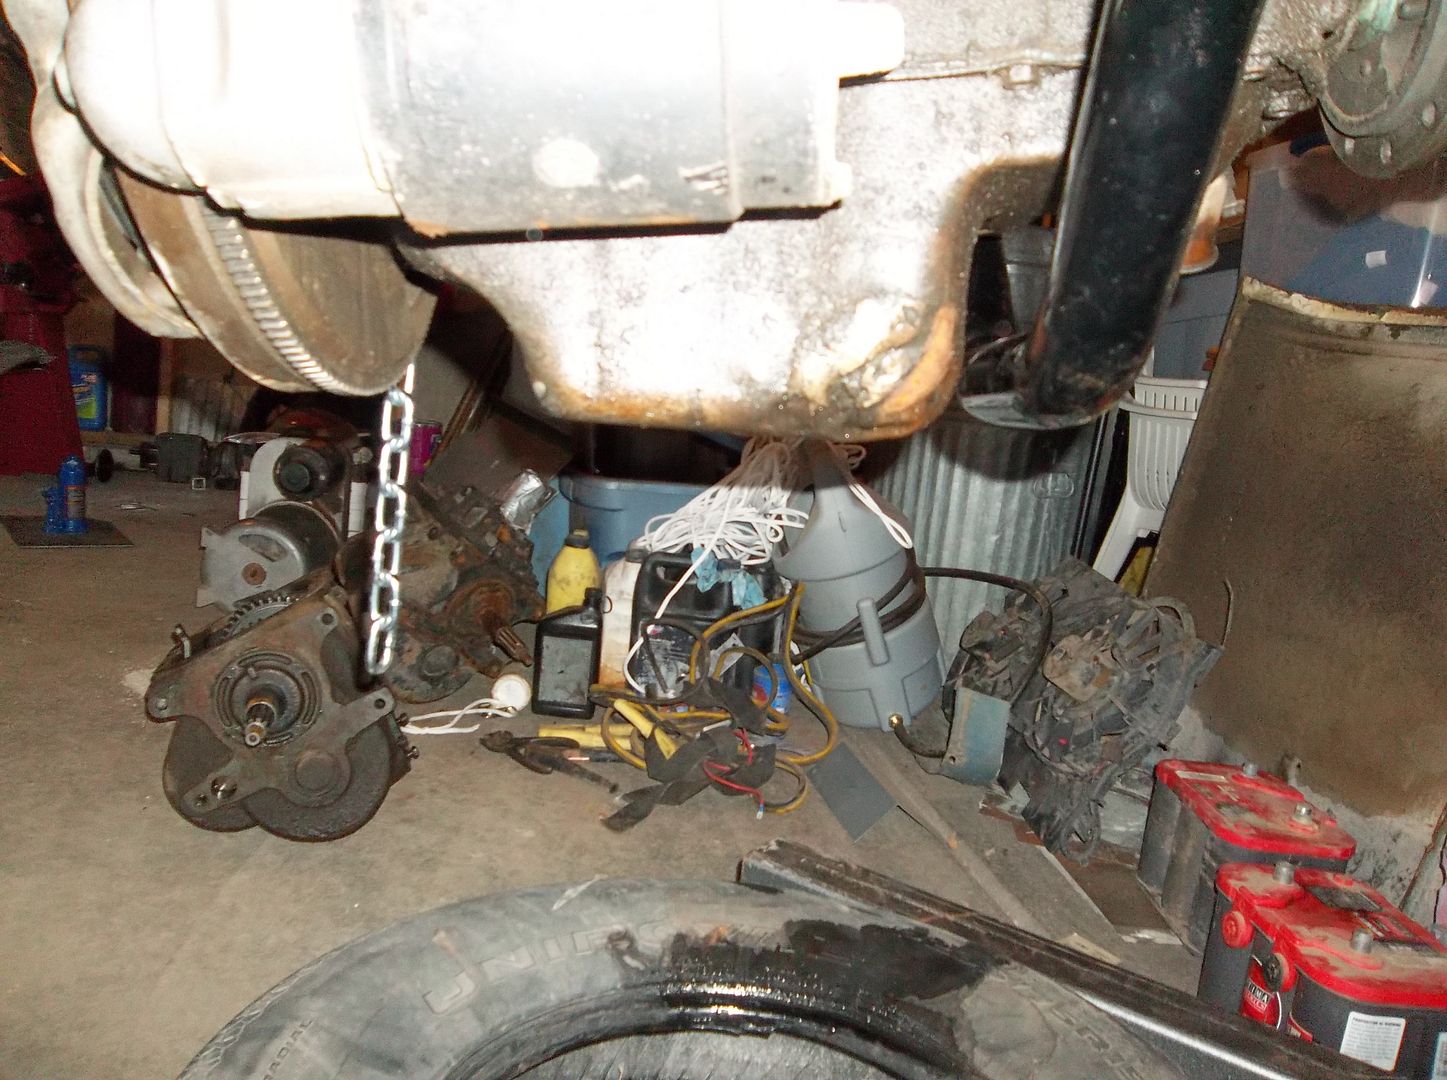
The crossmember cradle dips under the factory oil pan just fine. Its low enough that I should be able to use it for an oil pan skidplate mount or something. It doesn't rob any clearance really. Since it is a cradle the front axle may want to get a little friendly with it? I think raising the engine up about 3" with another 1-2" of lift from the sagging stock front springs I should be ok.

100_0114.jpg


I need to grab some hardware for the motor mounts...not included...LAME! The block is 7/16-14, I used some grade 8 with lock-washers for the motor mounts. The motor mount to cradle hardware needs to be 3" long at least + room for the nut/washer. I will grab some tomorrow.

100_0115.jpg


Next I stripped down the old SM420 a little so I could use it for a lighter mock up case.....

100_0120.jpg


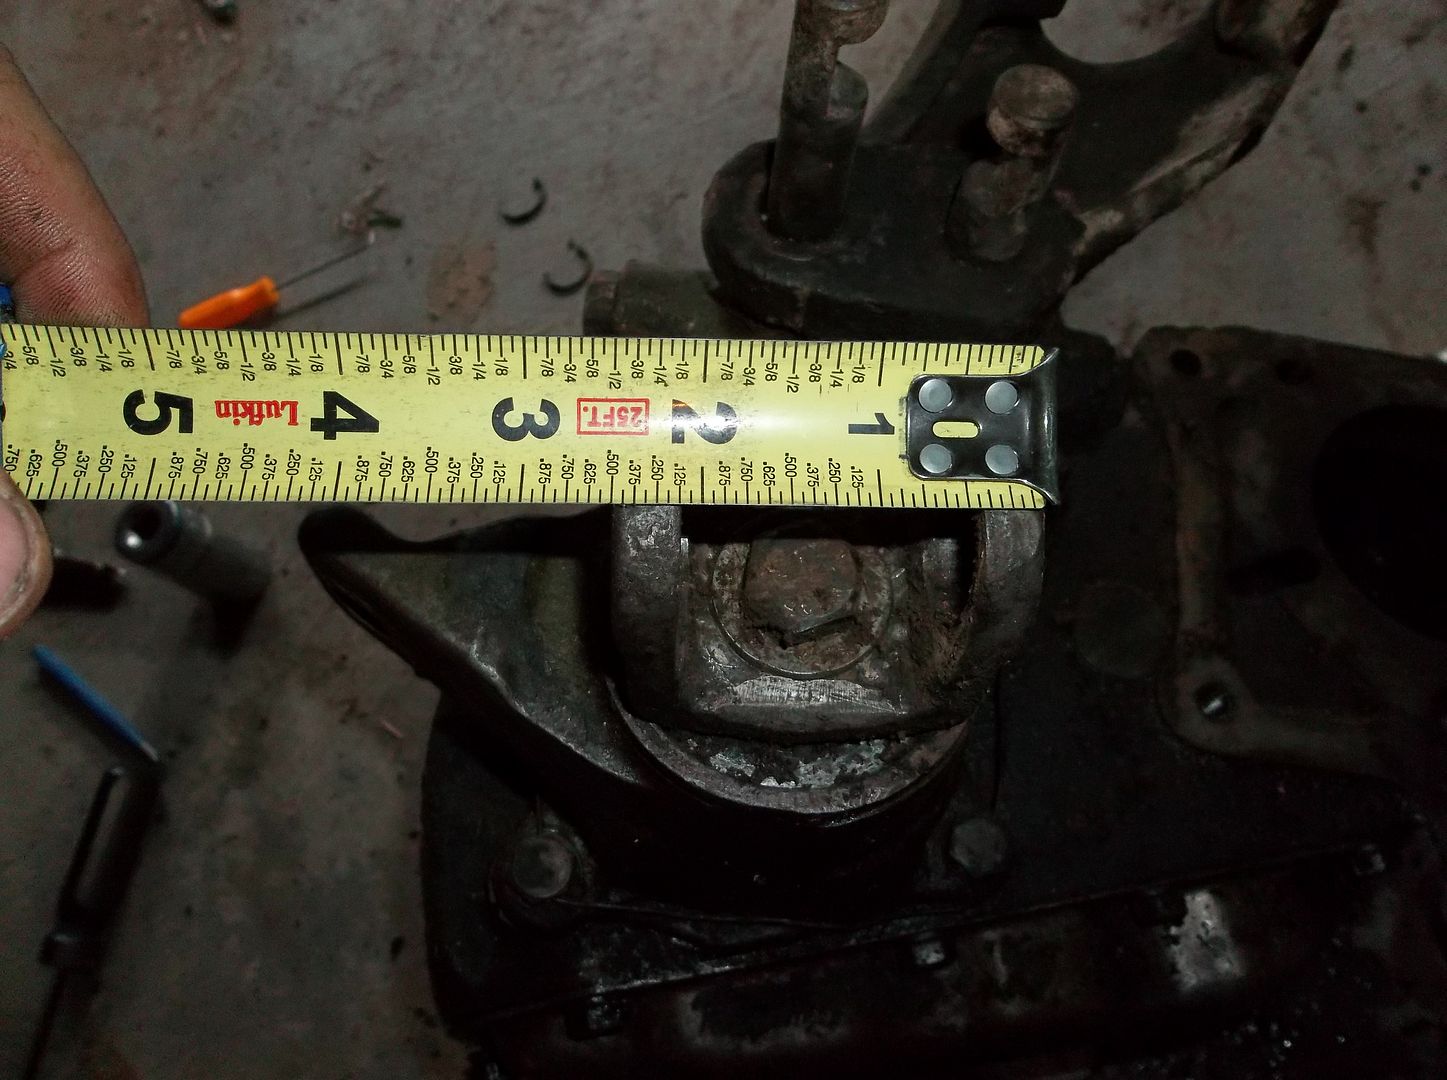
I took the front drive shaft off the front output on the D18. I have the drive shaft longer anyways so this makes the case easier to handle for sure. Has anyone ever seen a yoke like this on the Dana 18? Its suppose to be a V6 yoke from my research, but I can't remember ever seeing one that used bolt to hold the yoke on the end of the shaft?

100_0125.jpg


I then bolted the Dana 18 to the back of the SM420 with the homemade adapter. Its cool that the entire thing is so short, but dang is everything TIGHT! The twin stick shifter BARELY clears the side of the transmission!
Overall for a granny 4-spd combo this has to be about as small as you can get. Its only about 19-20" long total from the front of the transmission to the rear output yoke center line. From the input/output centerline the SM420 is only about 8" deep also! Something about 10lbs in a 5lbs sack comes to mind!

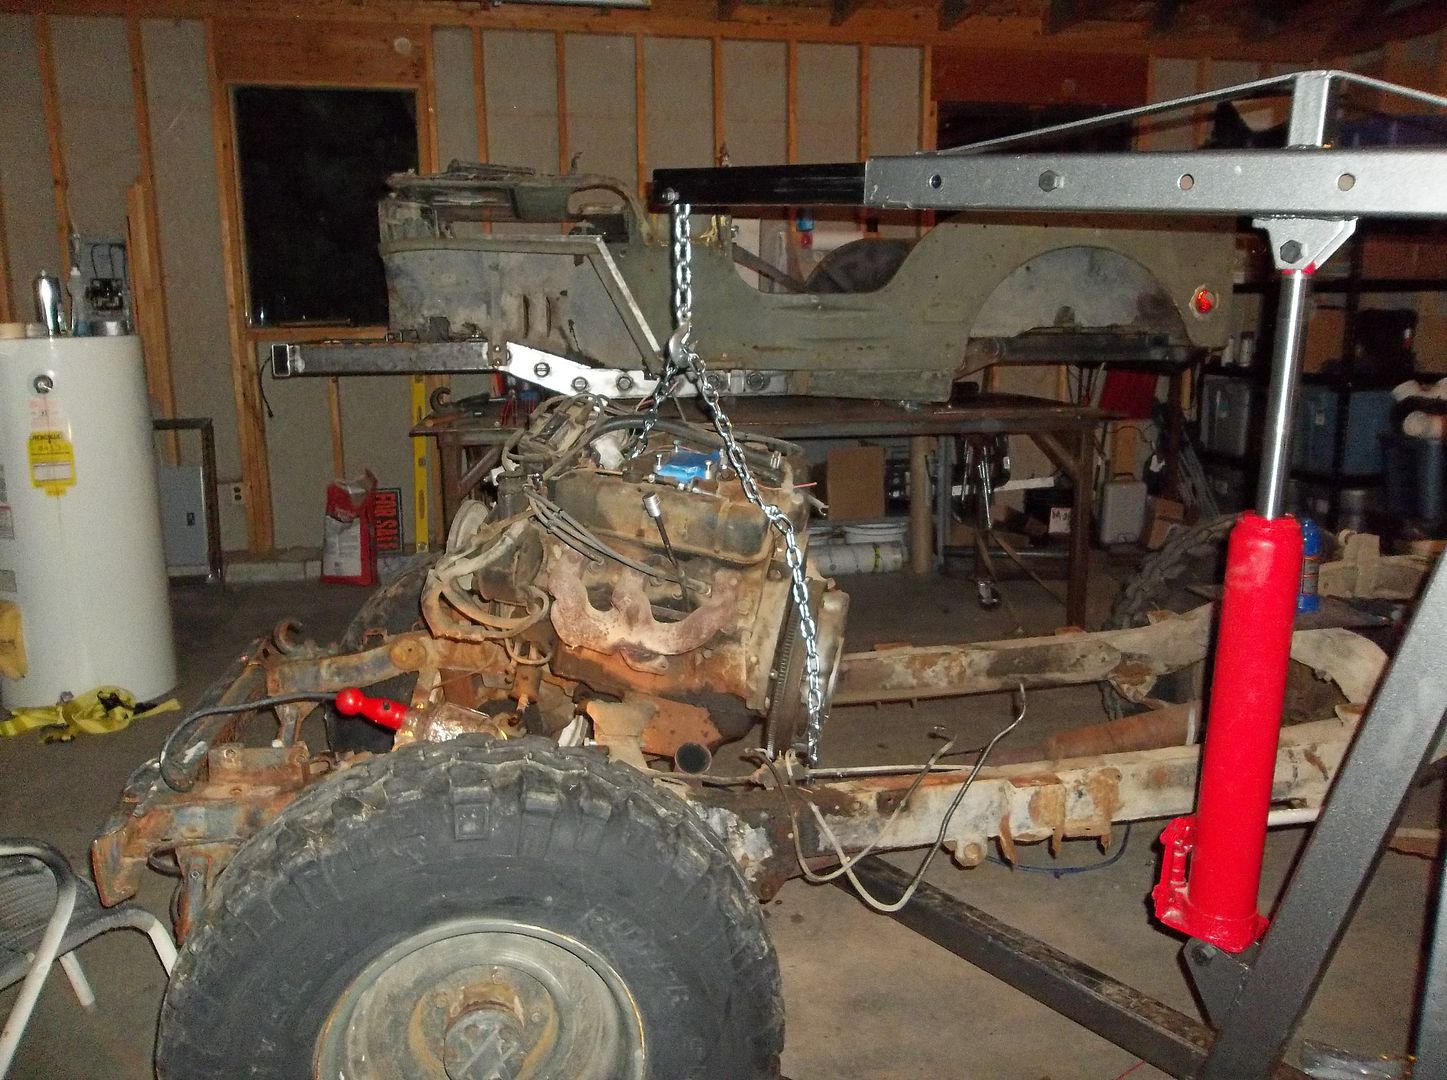
Hopefully tomorrow I can bolt the transmission/t-case to the engine and get ready to hoist it into place on the table and start to get things mocked up and mounts built this weekend.....
 

reece146

Automotive Artist
Crap! For some reason I had it in my head you were running a SBC.

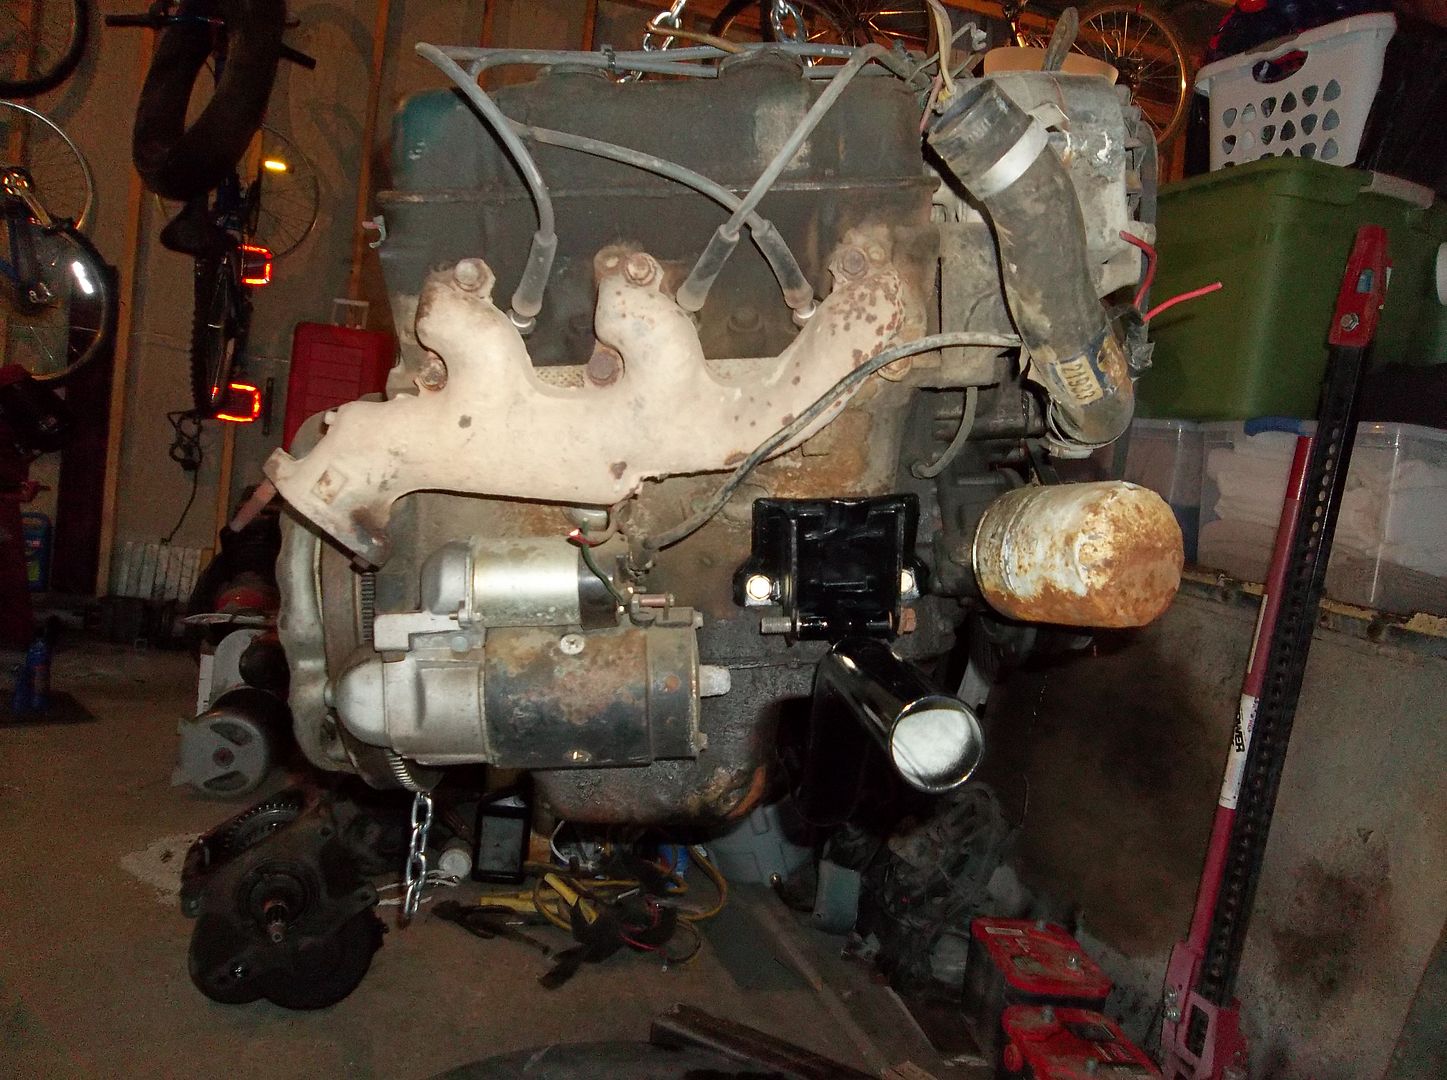
Funky welding job on the driver's side exhaust manifold. :)
 

Metcalf

Expedition Leader
Nope, no V8 for me. The little V6 seems to do fine. I could be tempted by an all aluminum buick 215 V8 if I ever stumbled on one.....

Yup, home made center dump manifold. I need to make a set of custom headers for this engine one of these days.
 

jeepdreamer

Expedition Leader
I'd stay with the manifolds...You could go to the junkyards and find rear dump ones off the buick cars. They work fine, never wear out, and don't transfer as much heat to your tootsies.
Never seen a bolt on yolk before...odd! But then a Buick in a Jeep is odd (fire) anyway... :)
That super short tranny/T-case is coolness...and with the 50# flywheel it should be awesome!
 

reece146

Automotive Artist
I'd stay with the manifolds...You could go to the junkyards and find rear dump ones off the buick cars. They work fine, never wear out, and don't transfer as much heat to your tootsies.

Agree. Do some casual scrounging around and you might find something. What is there is "non-optimal" but it isn't a big deal that is worth spending a lot of time on. If you can find a factory cast iron manifold that would be the way to go to keep the heat where it belongs.

Those Buick V6s are great little engines. Perfect for a rig like yours; I wouldn't bother with a 215 personally but I've never been a fan of that engine so don't mind me.
 

Metcalf

Expedition Leader
I have to use a center dump manifold/header on the drivers side. If it was a rear dump it would go right into the steering shaft or steering column.

I won't be swapping the motor any time soon. It may get a rebuild down the road. I have had my eyes out for one of the 4.1L blocks. I have always wanted to make an odd-fire 4.1L engine with even fire heads and intake manifold. This would give me a few more options for induction....
 

jeepdreamer

Expedition Leader
Not sure how I brain farted that this is a flatty! oops. Though I have to wonder if a rear dump would work with the stretched frame and steering box moved forward.?. Maybe with a mid shaft bearing on the steering shaft? *shrugs* I'm just not a big fan of headers but its your jeep, right? :)
Speaking of stuff that may not work.. have you seen the hanging pedal kit from Advance Adapters? I think JP magazine did a short article on it... or maybe it was 4WheelDrive&SportUtility...? I'll look and see if I can find it. Sometime dealing with the through the floor pedals is a pain.
 

Metcalf

Expedition Leader
Not sure how I brain farted that this is a flatty! oops. Though I have to wonder if a rear dump would work with the stretched frame and steering box moved forward.?. Maybe with a mid shaft bearing on the steering shaft? *shrugs* I'm just not a big fan of headers but its your jeep, right? :)
Speaking of stuff that may not work.. have you seen the hanging pedal kit from Advance Adapters? I think JP magazine did a short article on it... or maybe it was 4WheelDrive&SportUtility...? I'll look and see if I can find it. Sometime dealing with the through the floor pedals is a pain.

The steering joint at the end of the column was REALLY close to the manifold in the old configuration. I am lifting the engine about 3" and pushing it forward about 1" also. I still don't think it would clear a rear dump exhaust manifold. The steering column is getting redone for the new seating position, and the steering joint near the firewall will be moving up I think since the column will need to be flatter for the lowered seating position.

The vehicle already has hanging pedals, but they are VERY rough and will be getting replaced. I am going to use a pedal mount package from an XJ. They seem to work REALLY well on a flat fender body. The pedals are short enough and offset enough that its basically a bolt in thing. I am also changing from a cable clutch linkage to a hydraulic clutch linkage also. The vacuum boosted brakes should be nice on the flatty too....the XJ booster is nice and small.

I won't be doing headers right away. It would be a 'later' type project, perhaps when i rebuild or replace the motor. What I have on the jeep right now works so I will keep them for now.
 

Forum statistics

Threads
188,348
Messages
2,903,631
Members
230,227
Latest member
banshee01
Top