A little bit of a milestone tonight.....
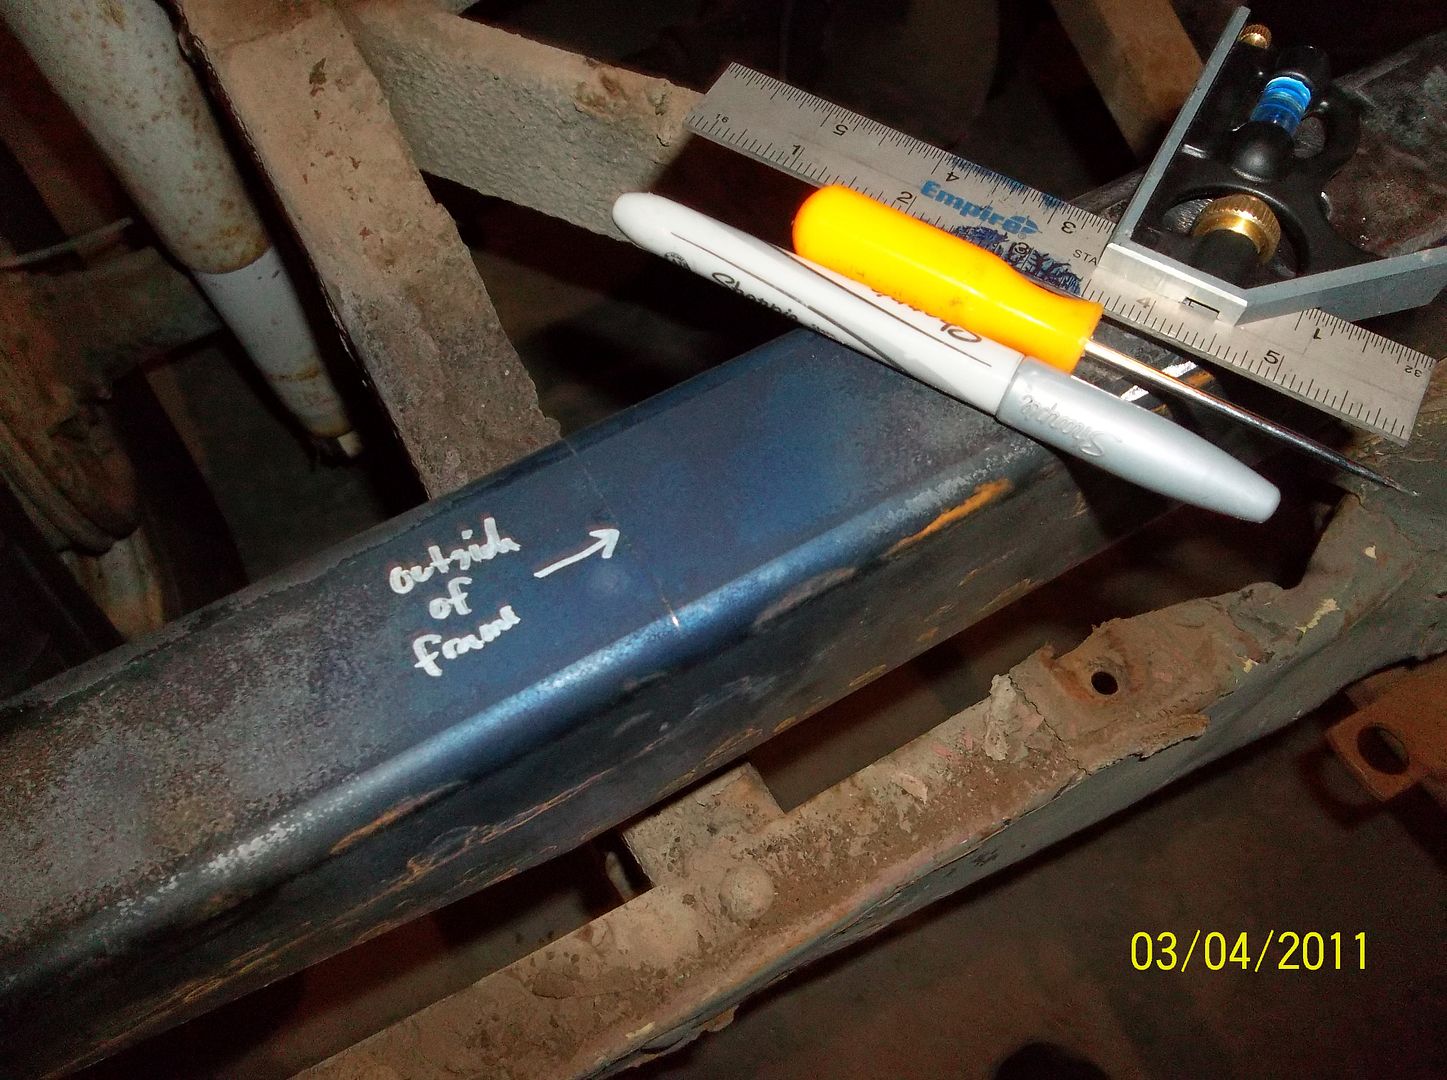
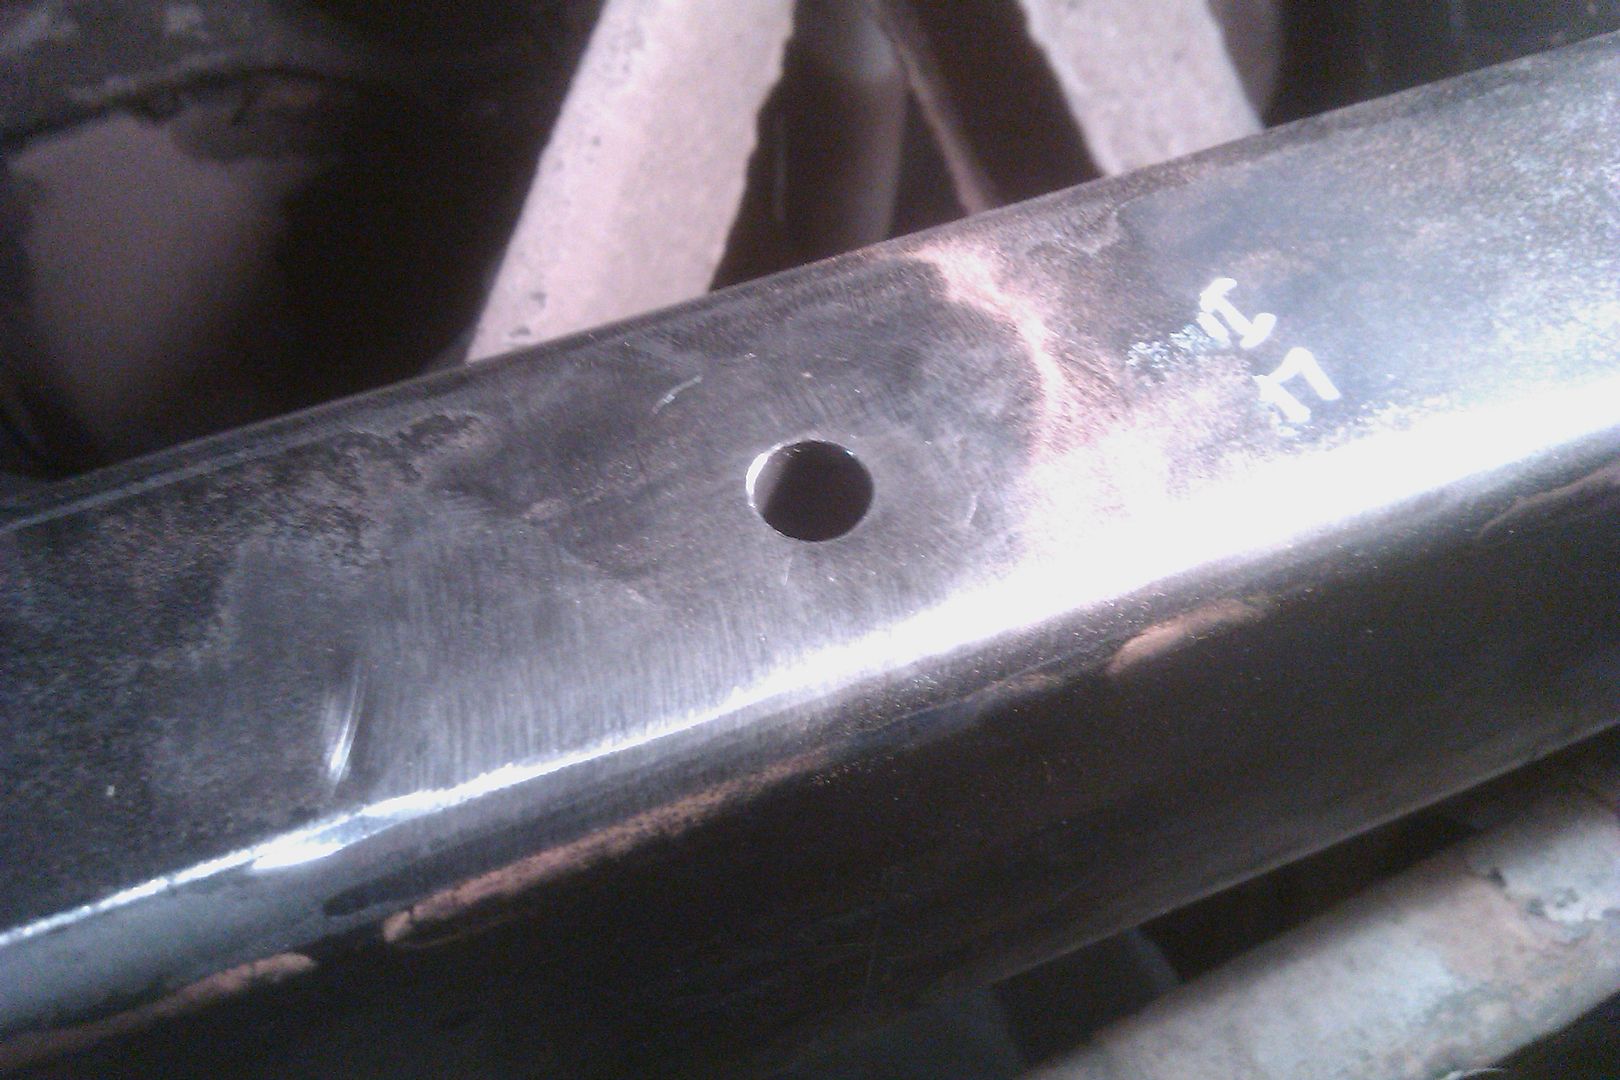
First I marked the rear bumper/crossmember for the install on the rear of the frame. I like marking in blue and then using a scribe. It give a nice thin line that is fairly easy to see and doesn't rub off too easy. I then usually 'text' out what the lines are for. This way if it takes me a few days to use the line I know what the line is suppose to be for.
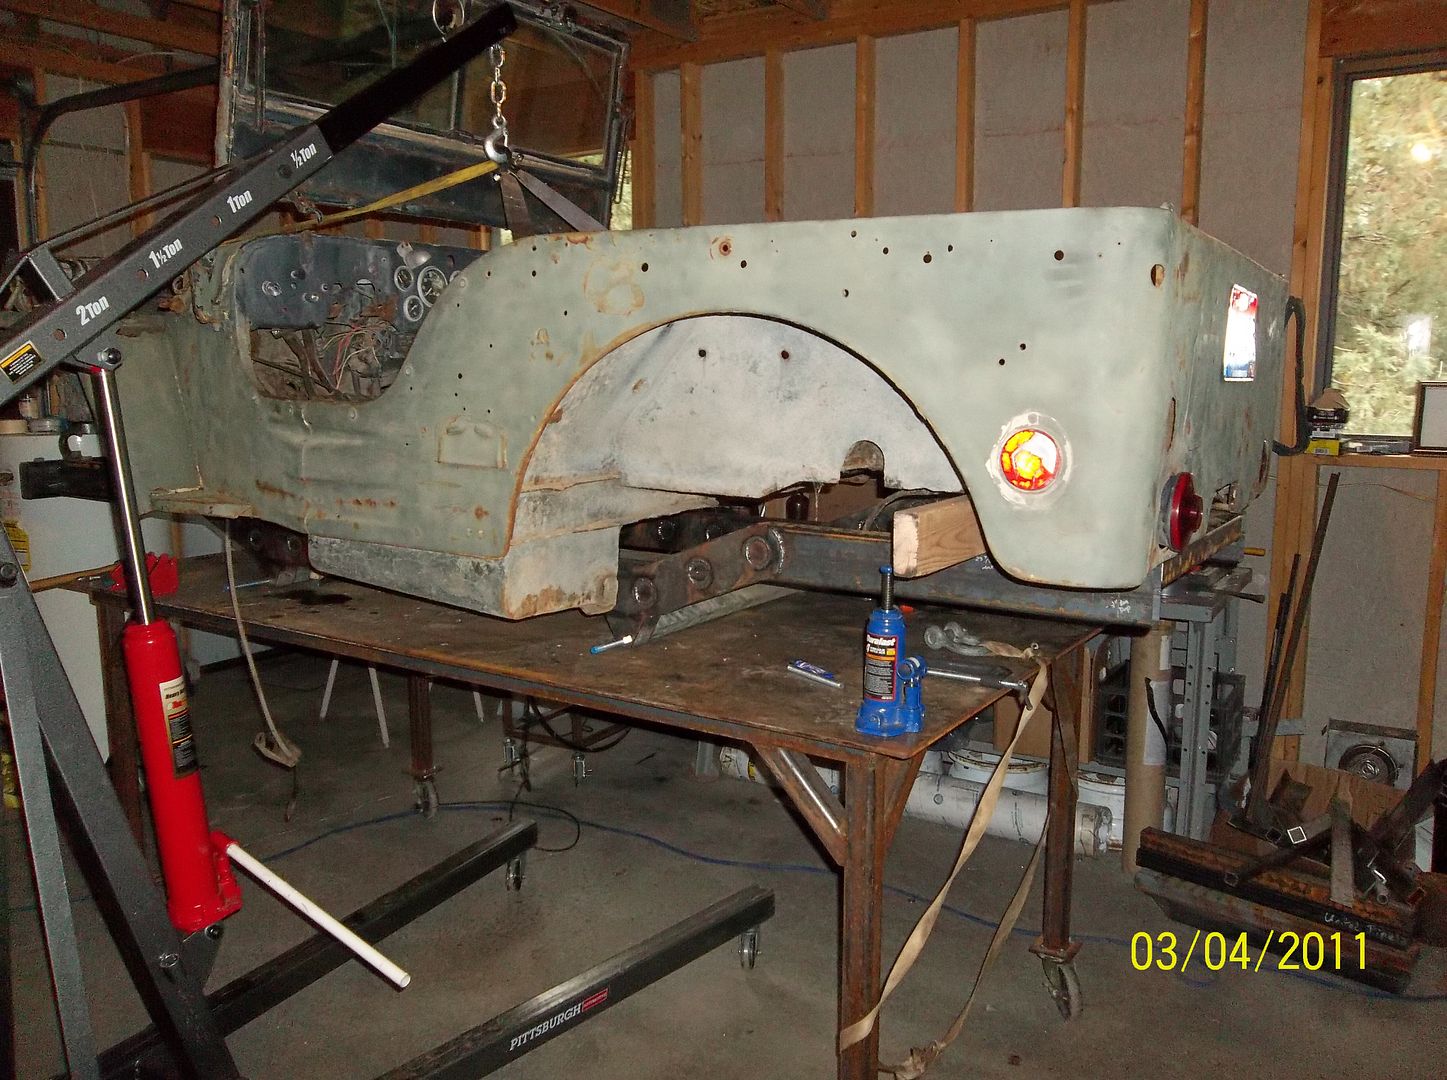
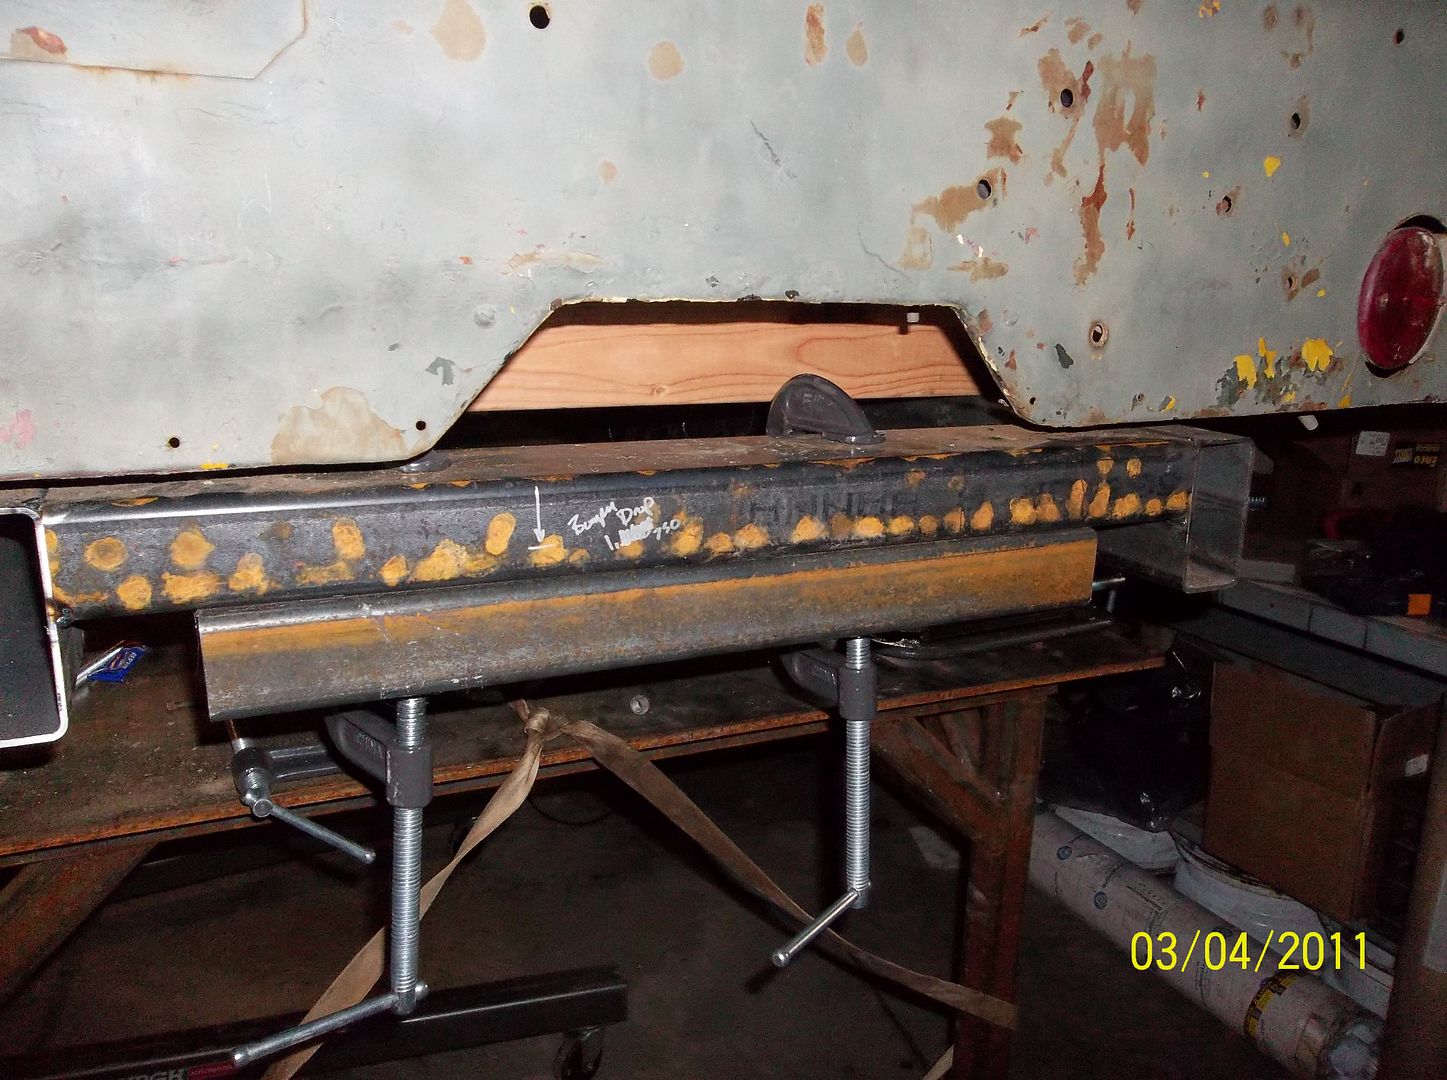
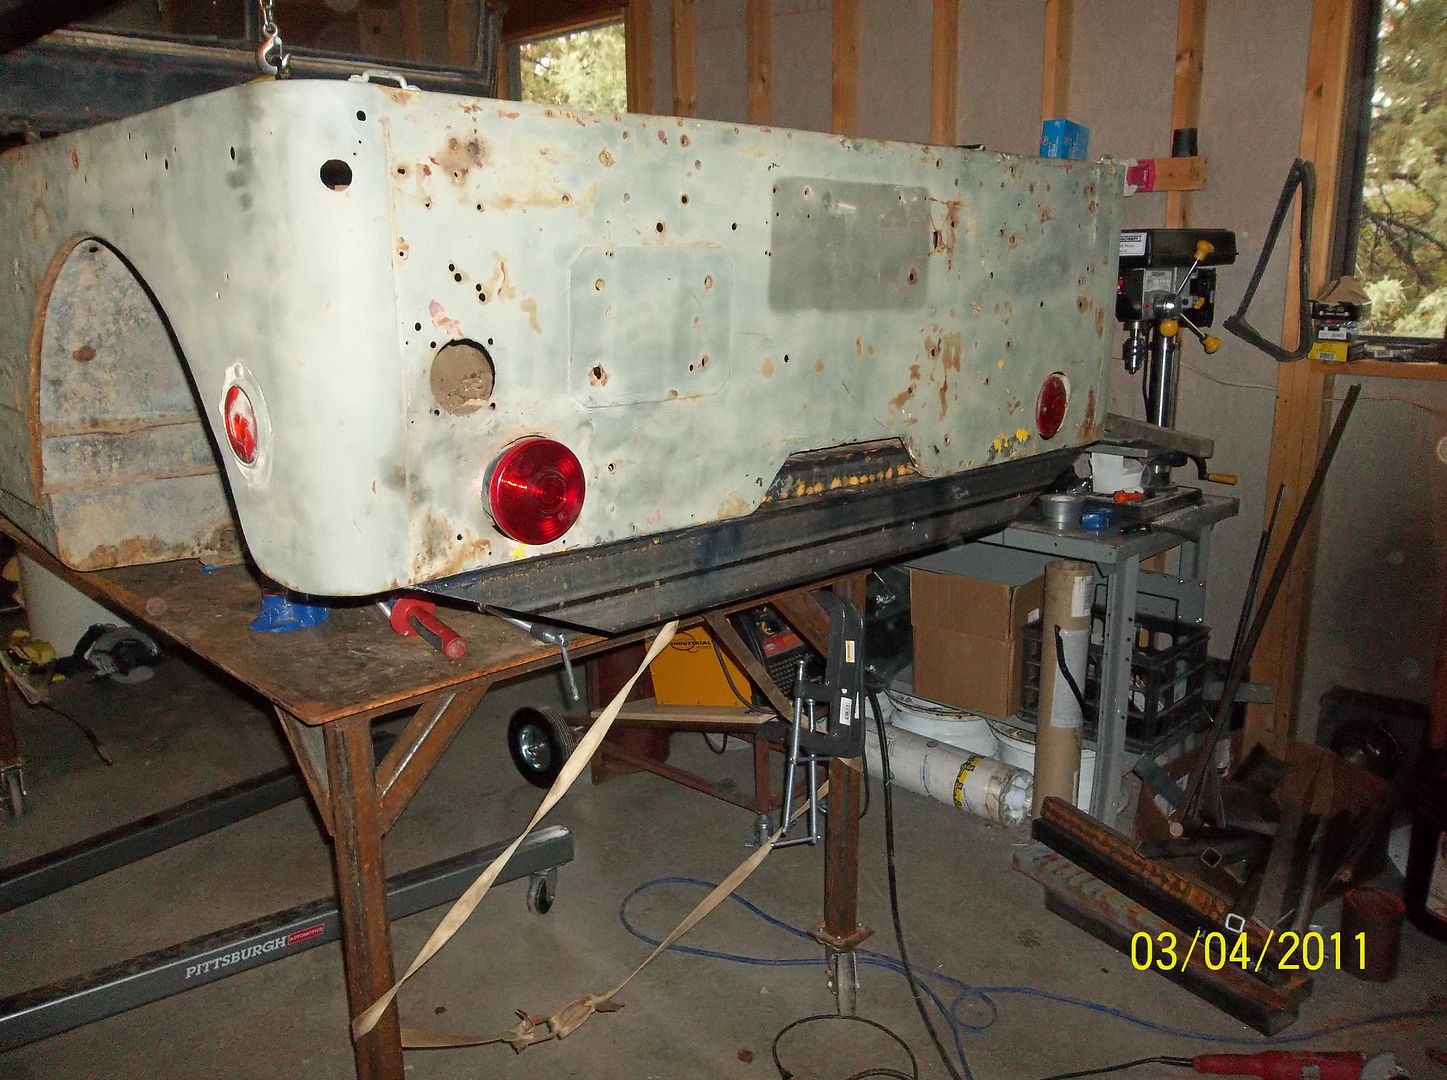
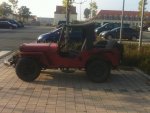
Next I gave the tub a body lift. I kinda like it.....NOT! It does get the body out of the way so I can play with the frame....
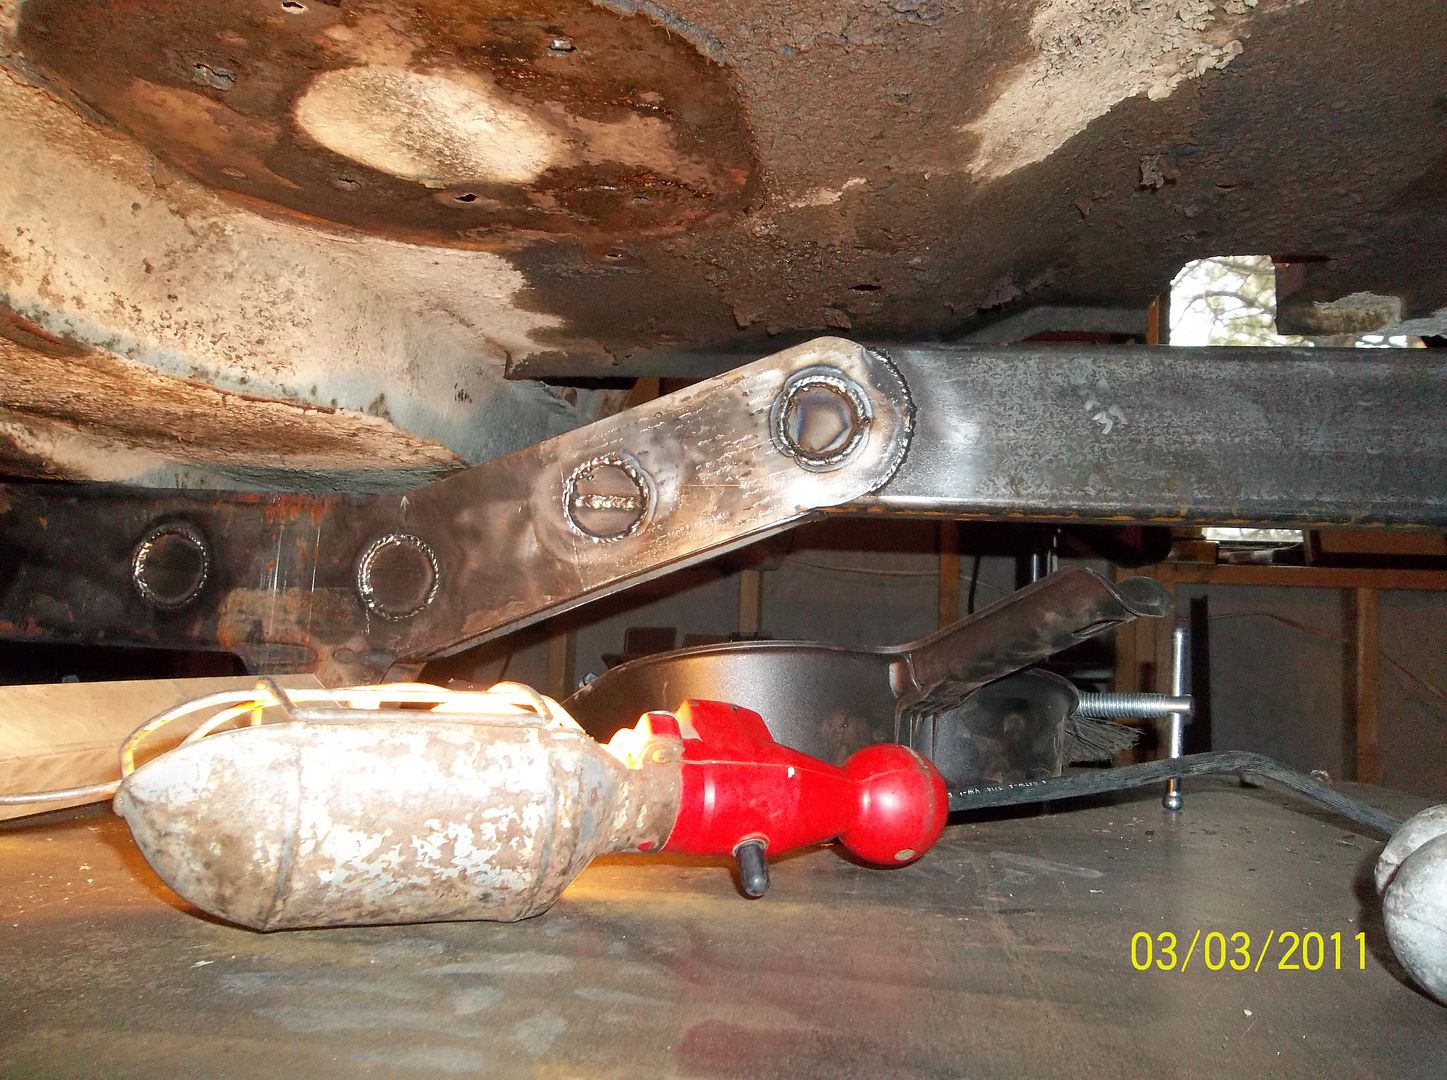
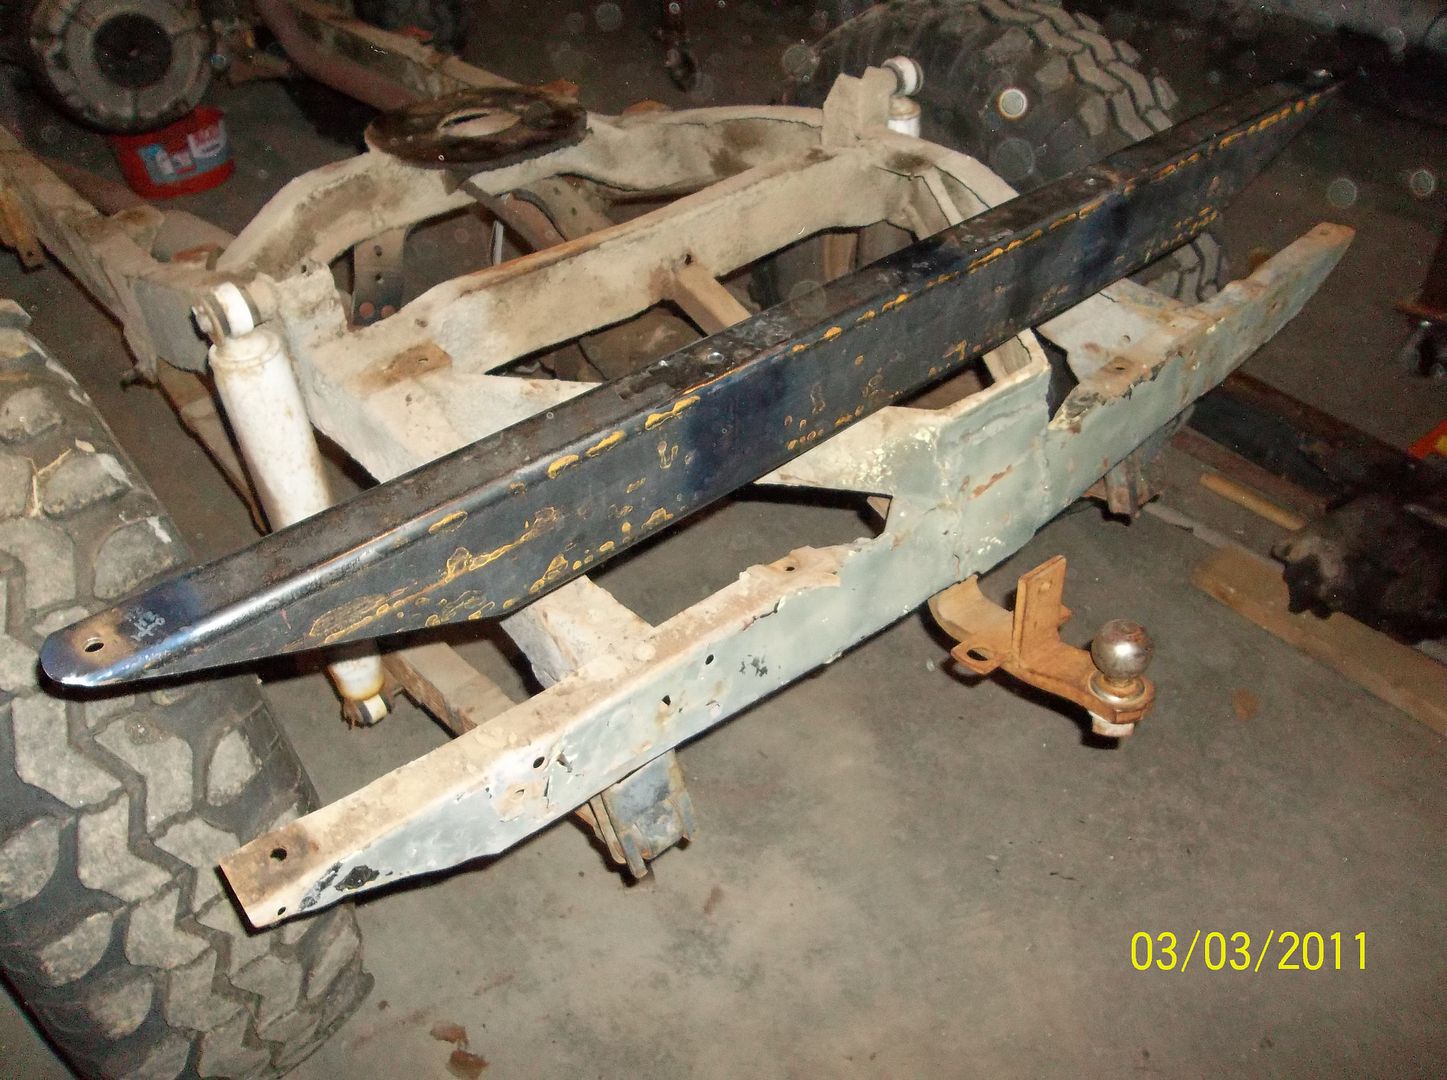
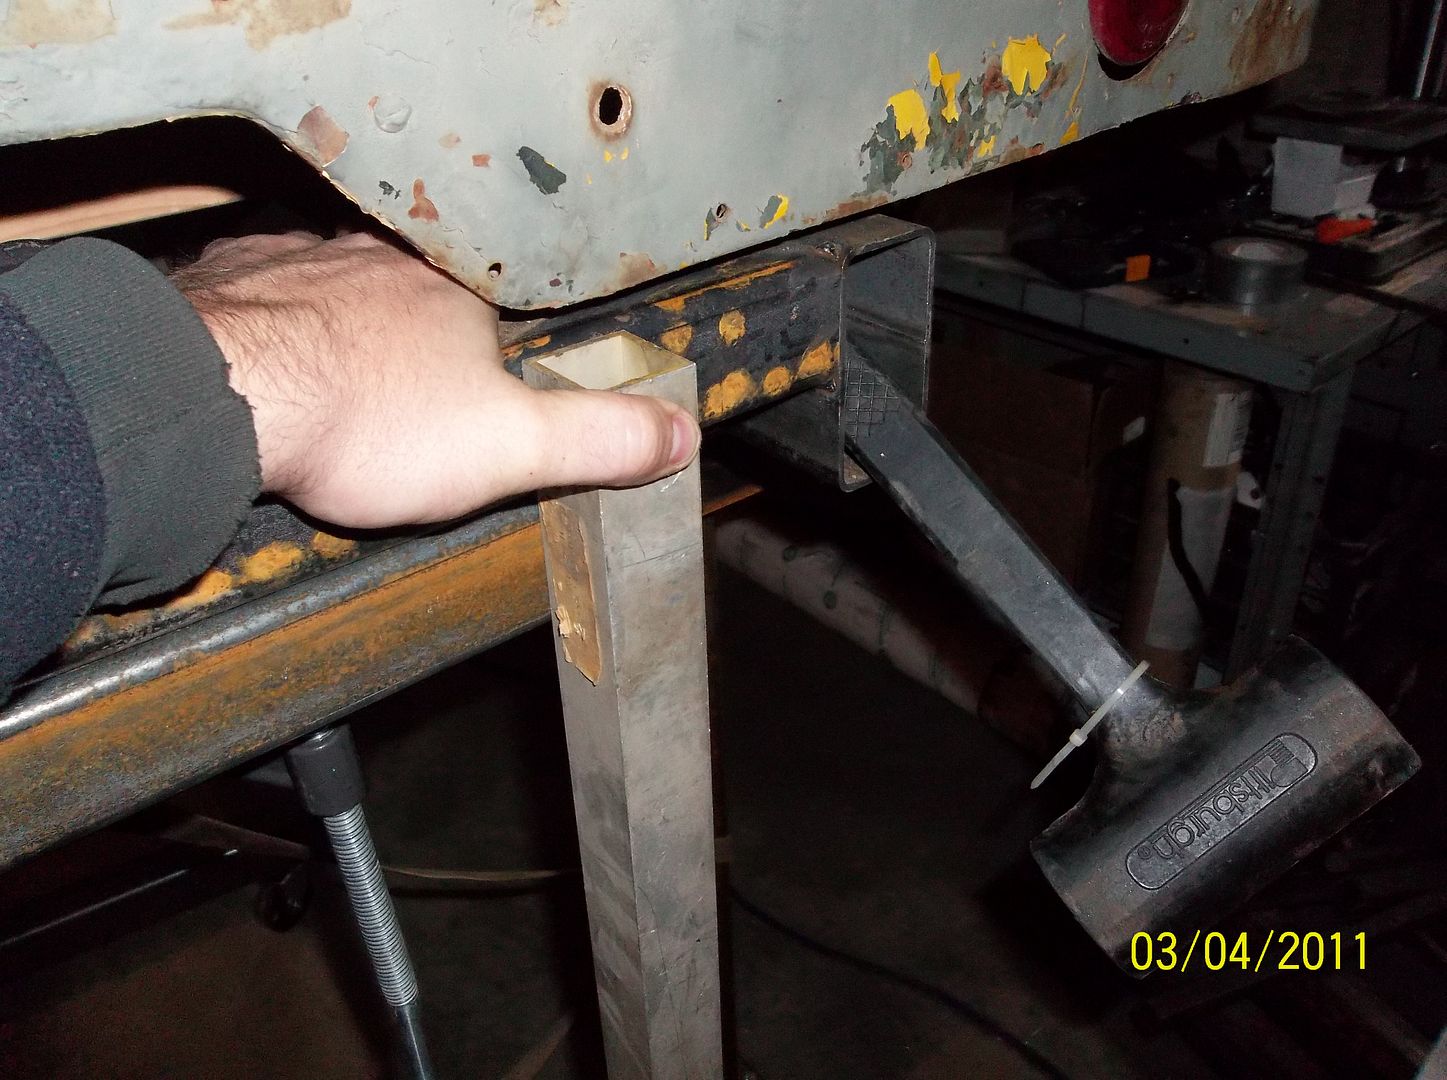
Getting the rear bumper clamped on the rear of the frame was a little bit of a pain. Its a good thing I have lots of scrap tubing around and a few clamps. First I clamped a short section on the bottom of the 2nd rear crossmember.
Once the piece was clamped in I aligned it to the back of the frame. This was pretty easy with the clamps snugged but not tight. I used a dead blow and some aluminum tubing scrap to 'flush' the rear surfaces. Once I had it close I started tightening down the clamps and double checking these clamps. They need to be pretty tight....but not crushing the tubing or anything.
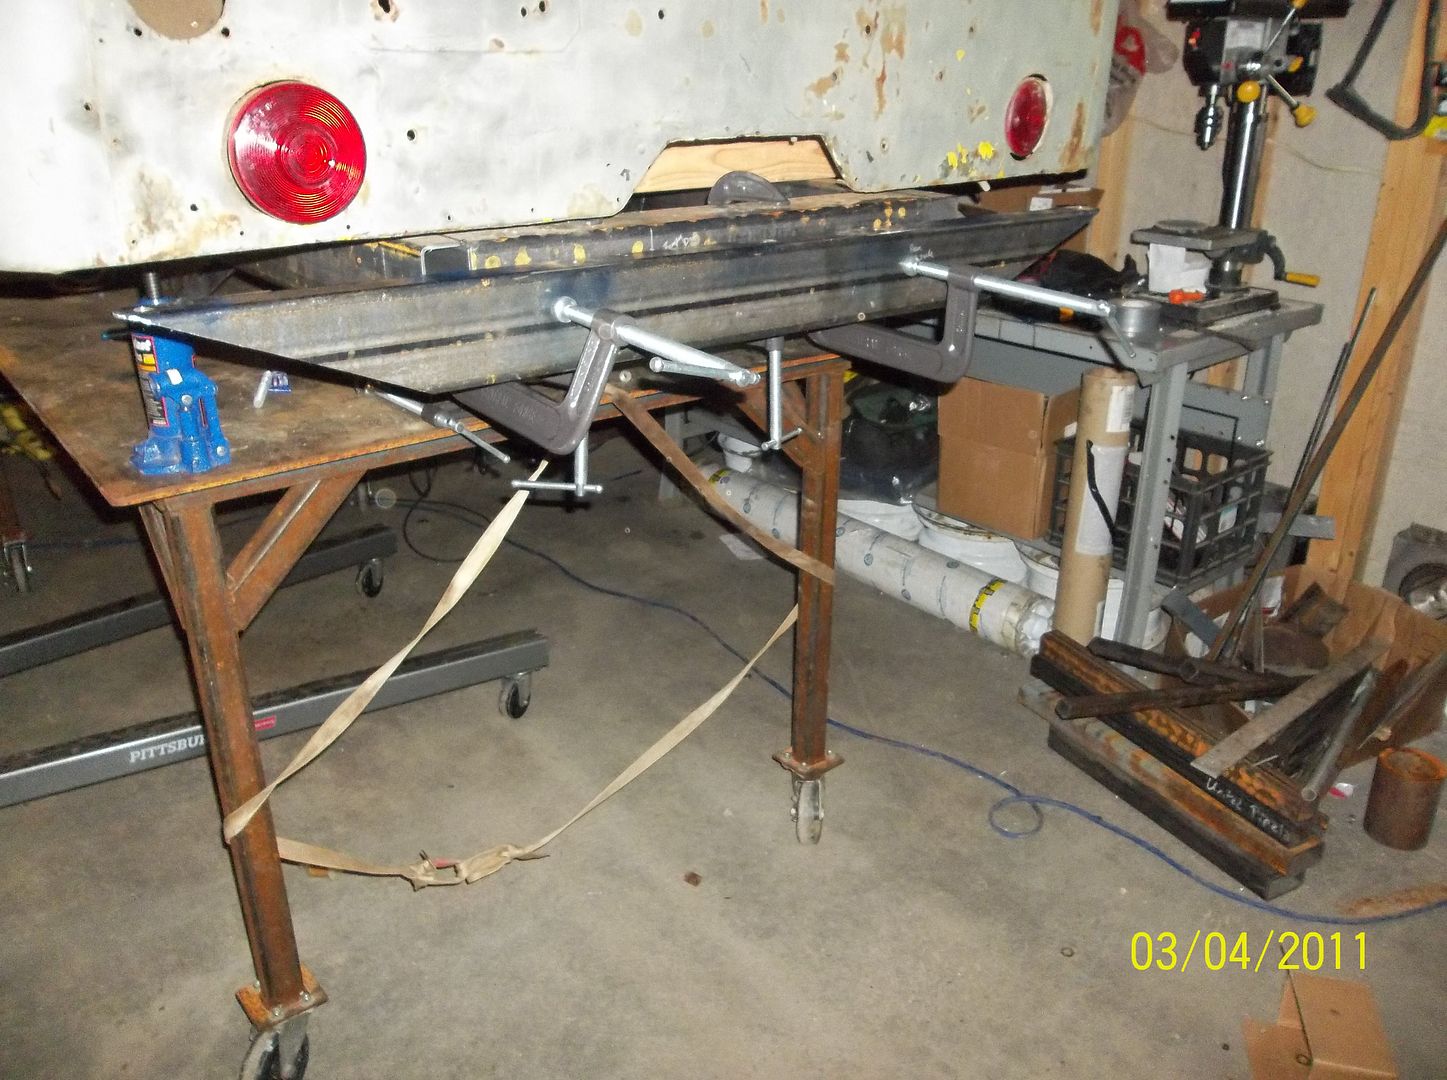
Clamping the rear bumper was a fun exercise in balance and dexterity. The bumper doesn't weigh THAT much but its hard to run those clamps with one hand!
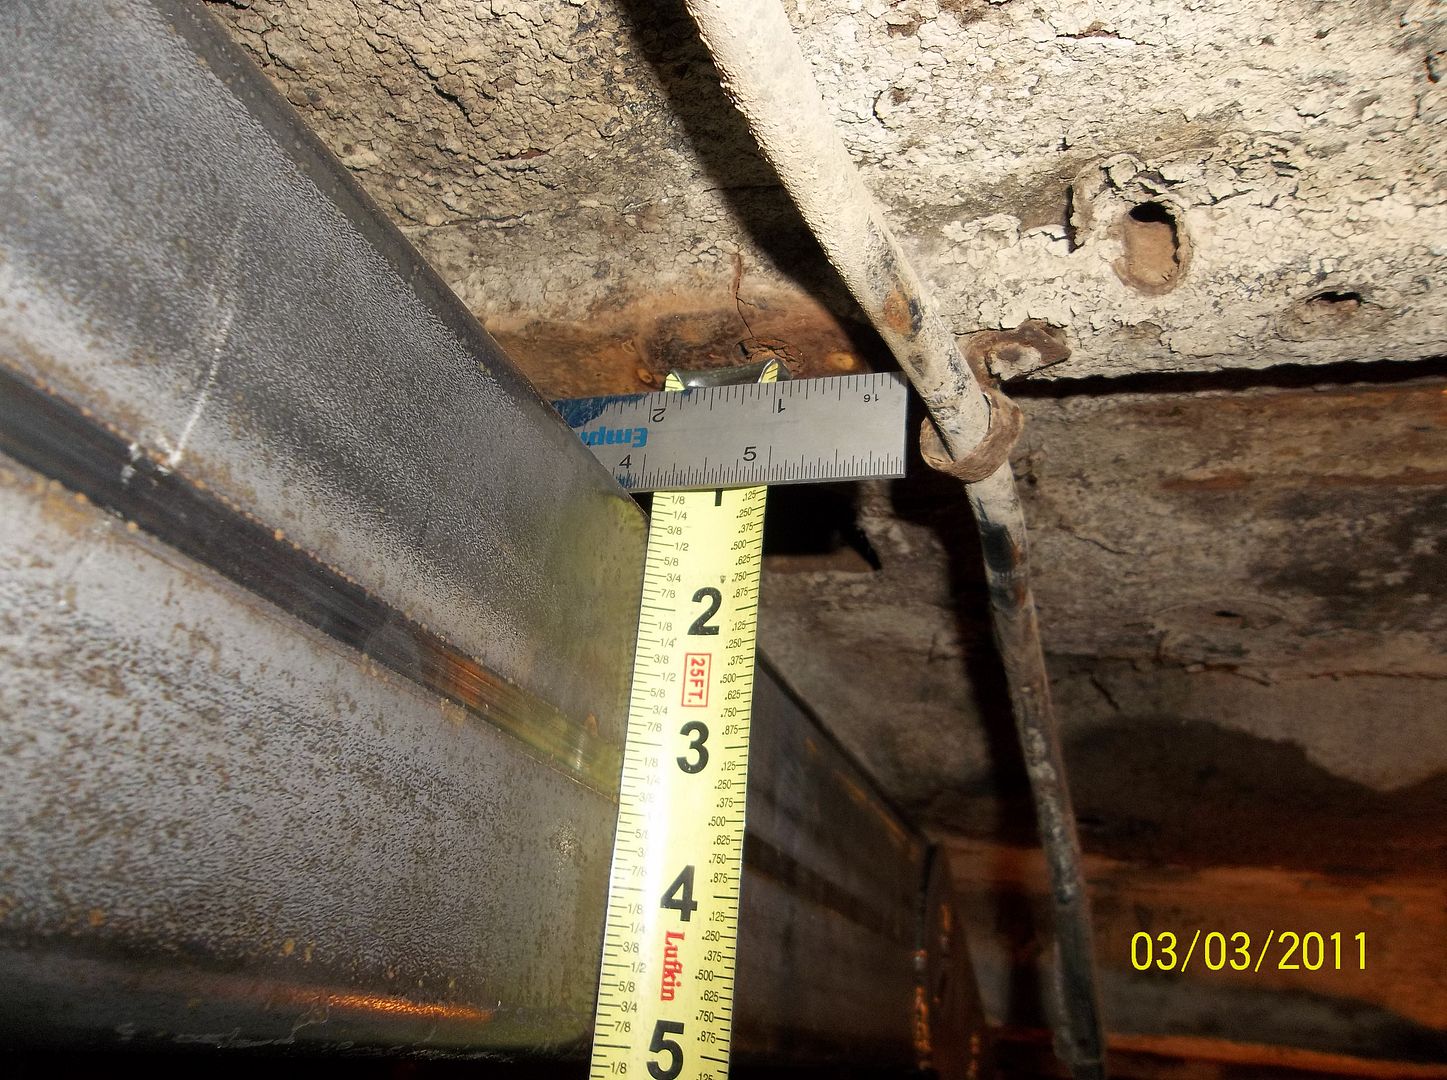
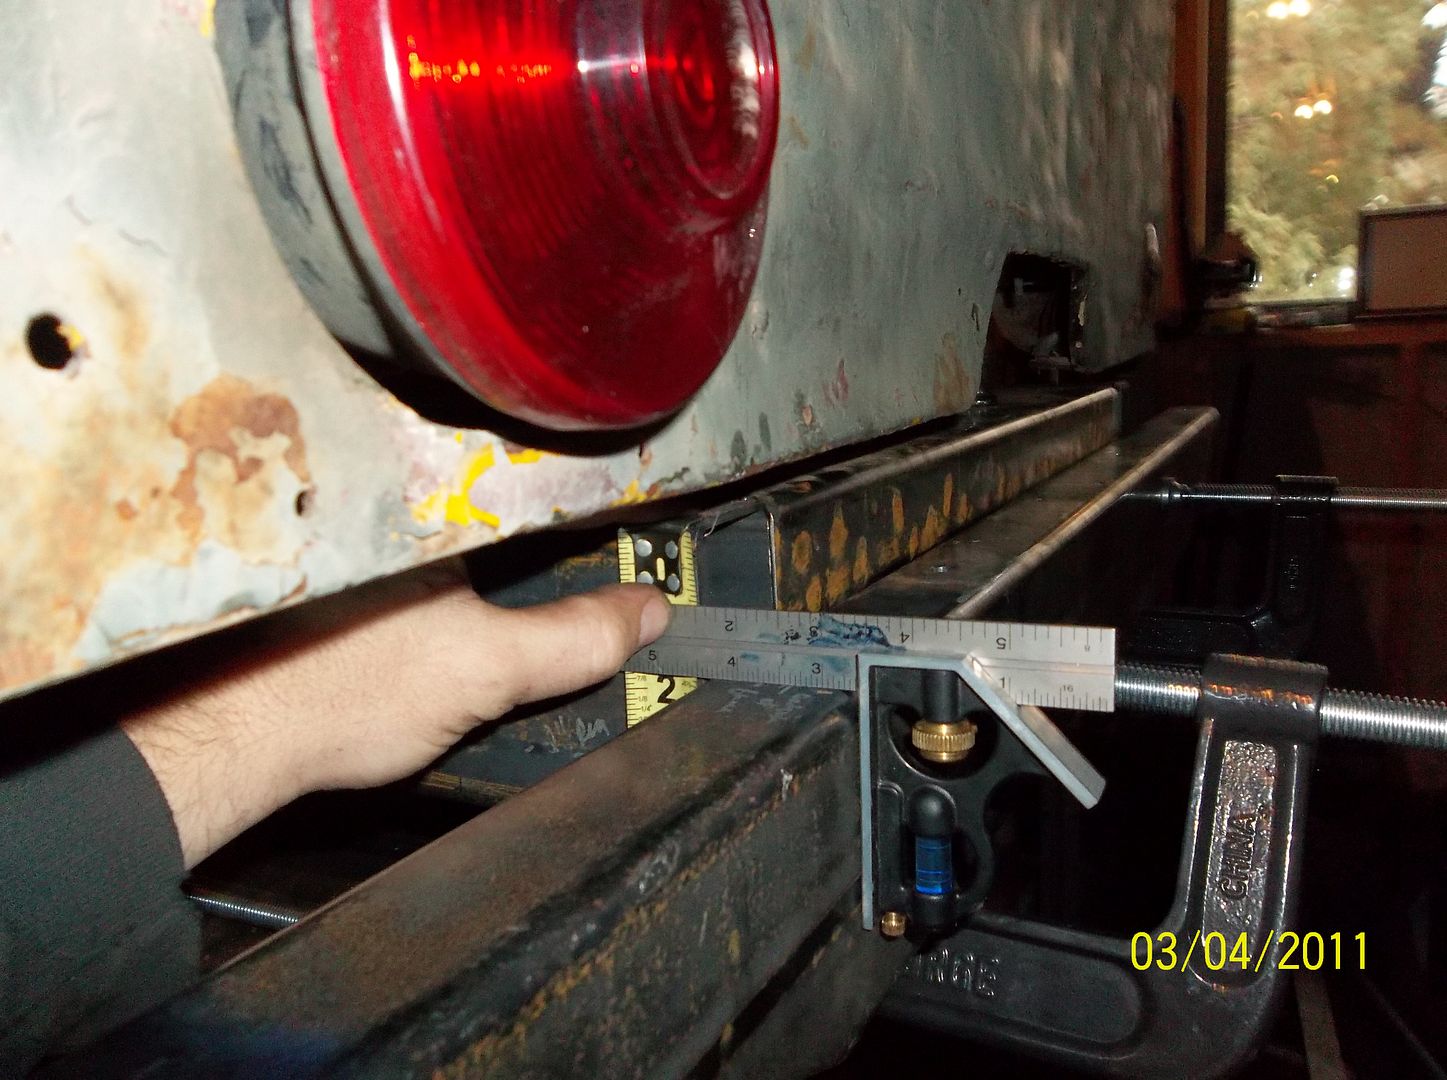
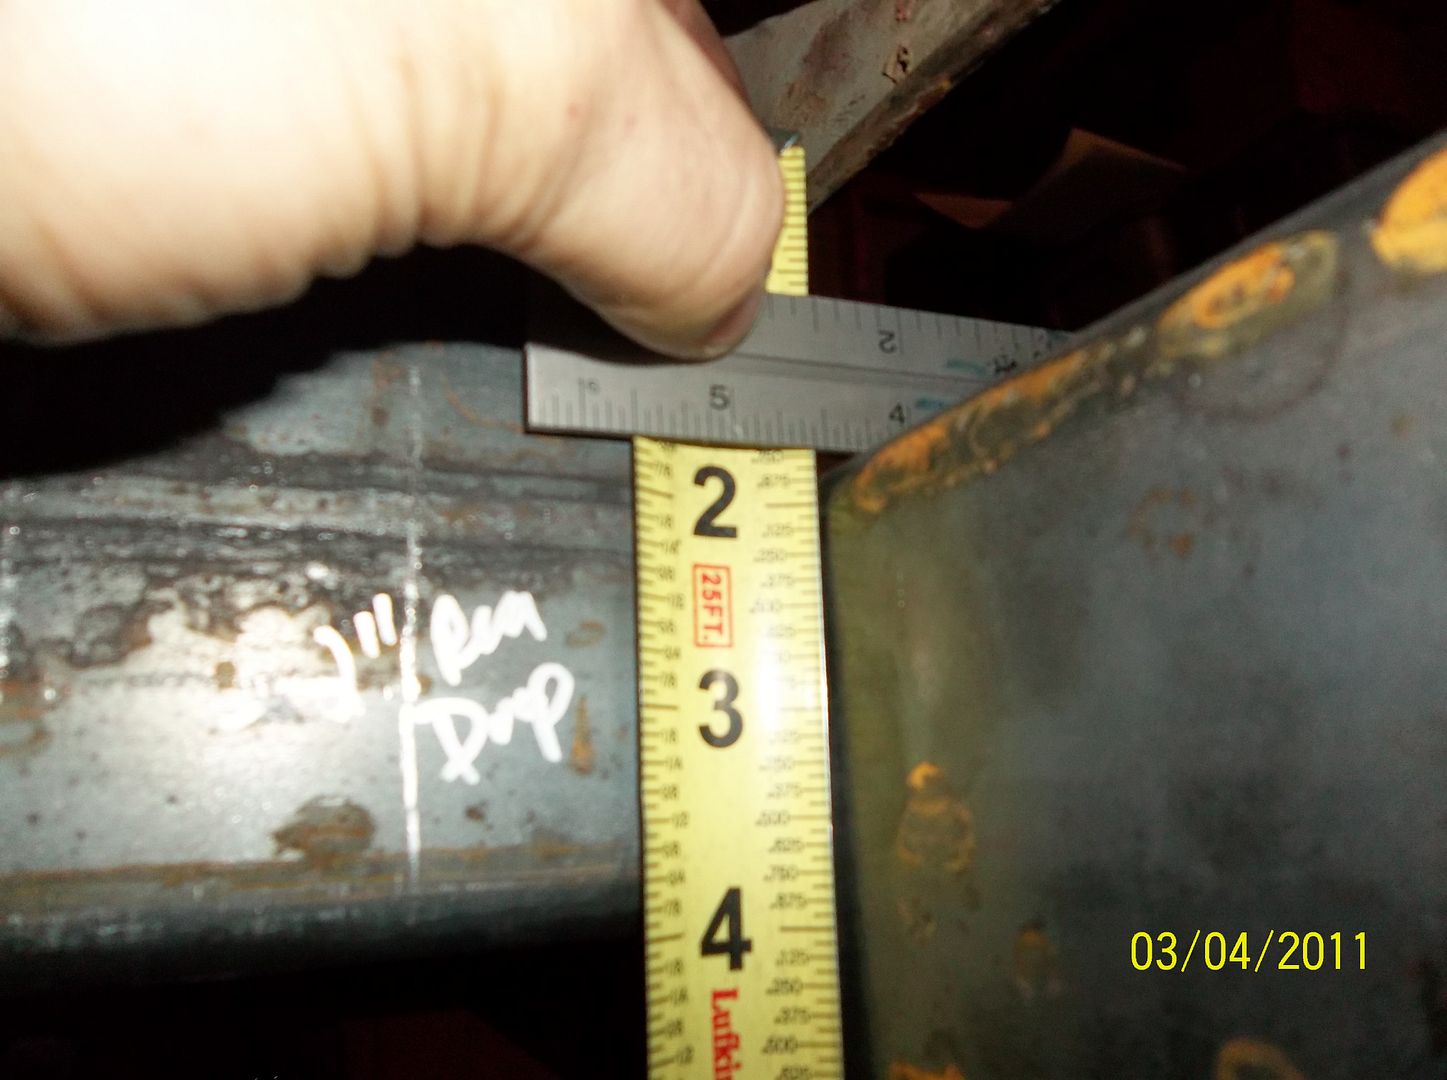
Next I started aligning the rear bumper with the hammer. Tap, measure, tap, tap, measure, tap, tap, measure, measure, measure. I set the rear bumper 1.75" down from the top of the rear frame rail. I think the measurement is between 1.625 and 1.75, but the tub is 70 years old so its kinda hard to tell sometimes. Once I got everything where I wanted it I started snugging down the clamps.
Then I spent about 20 minutes trying to roll the welder over to the back of the jeep. Even with only one project this garage gets tight!
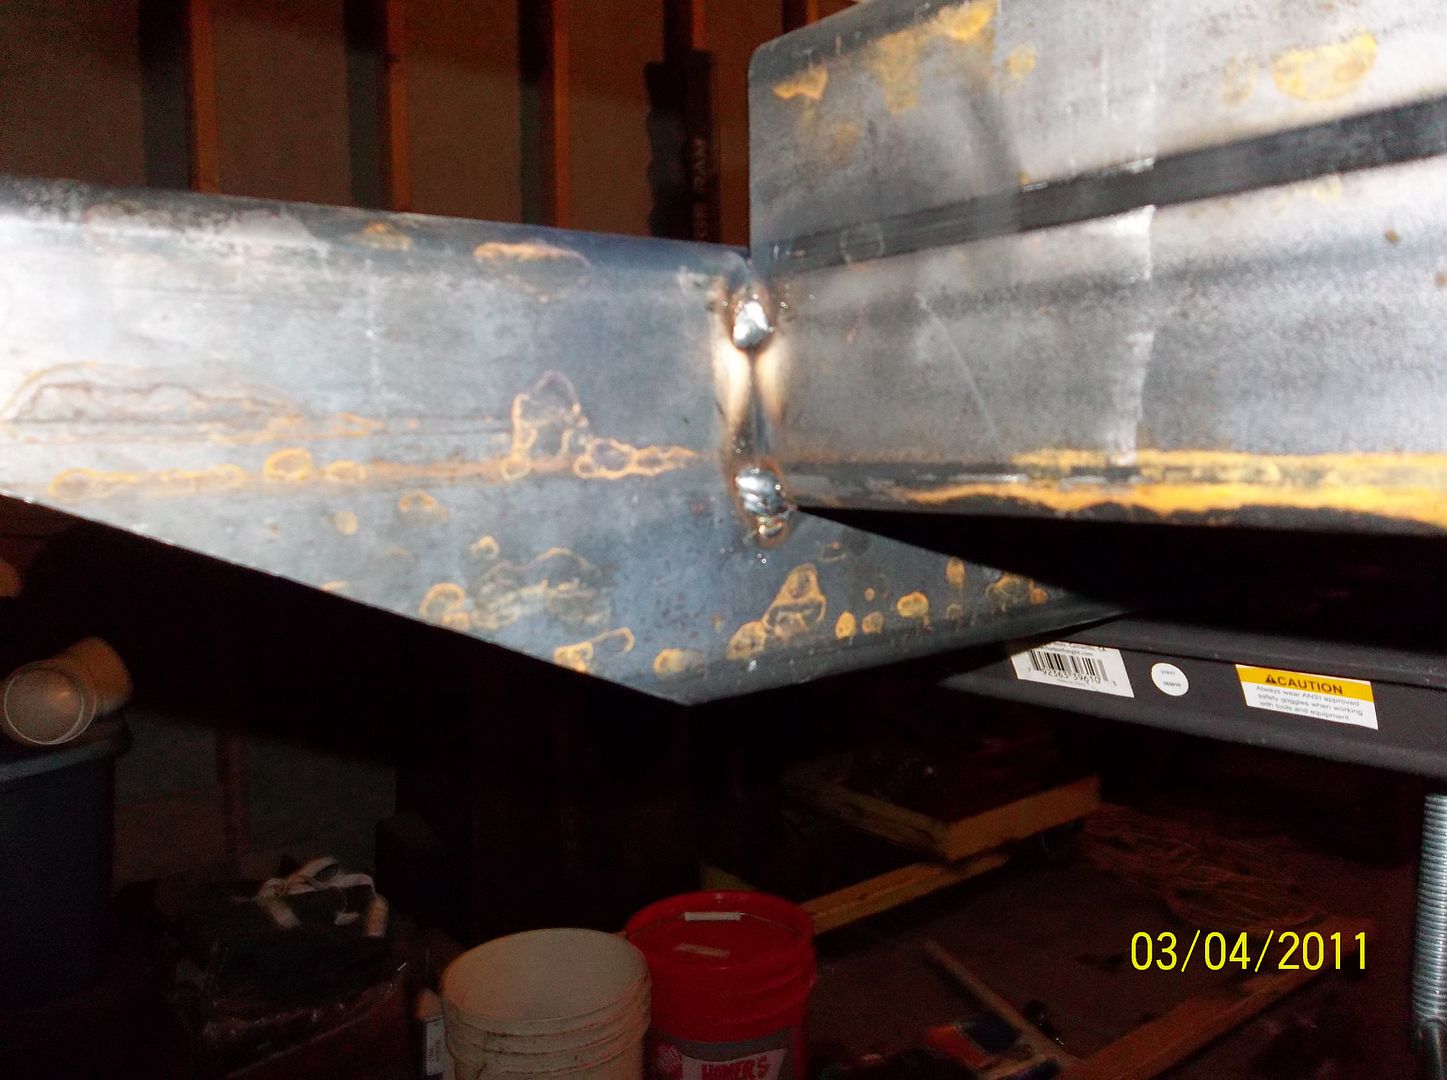
A few good tack welds along with some big sparks down my sleeve and I was ready to remove the clamps...
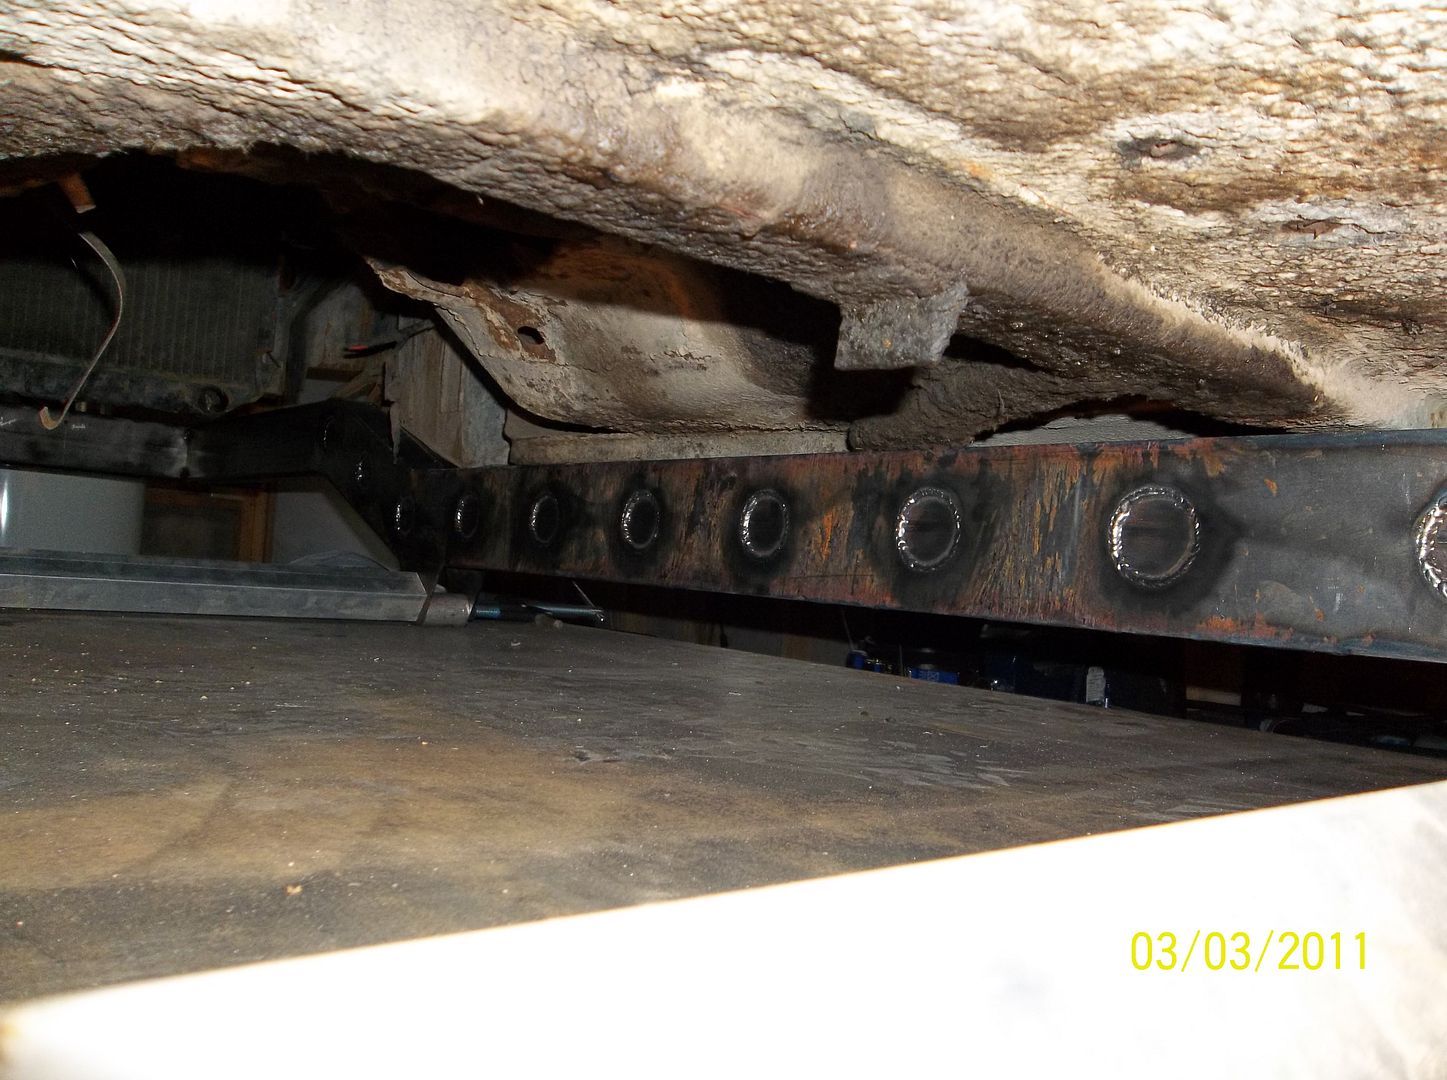
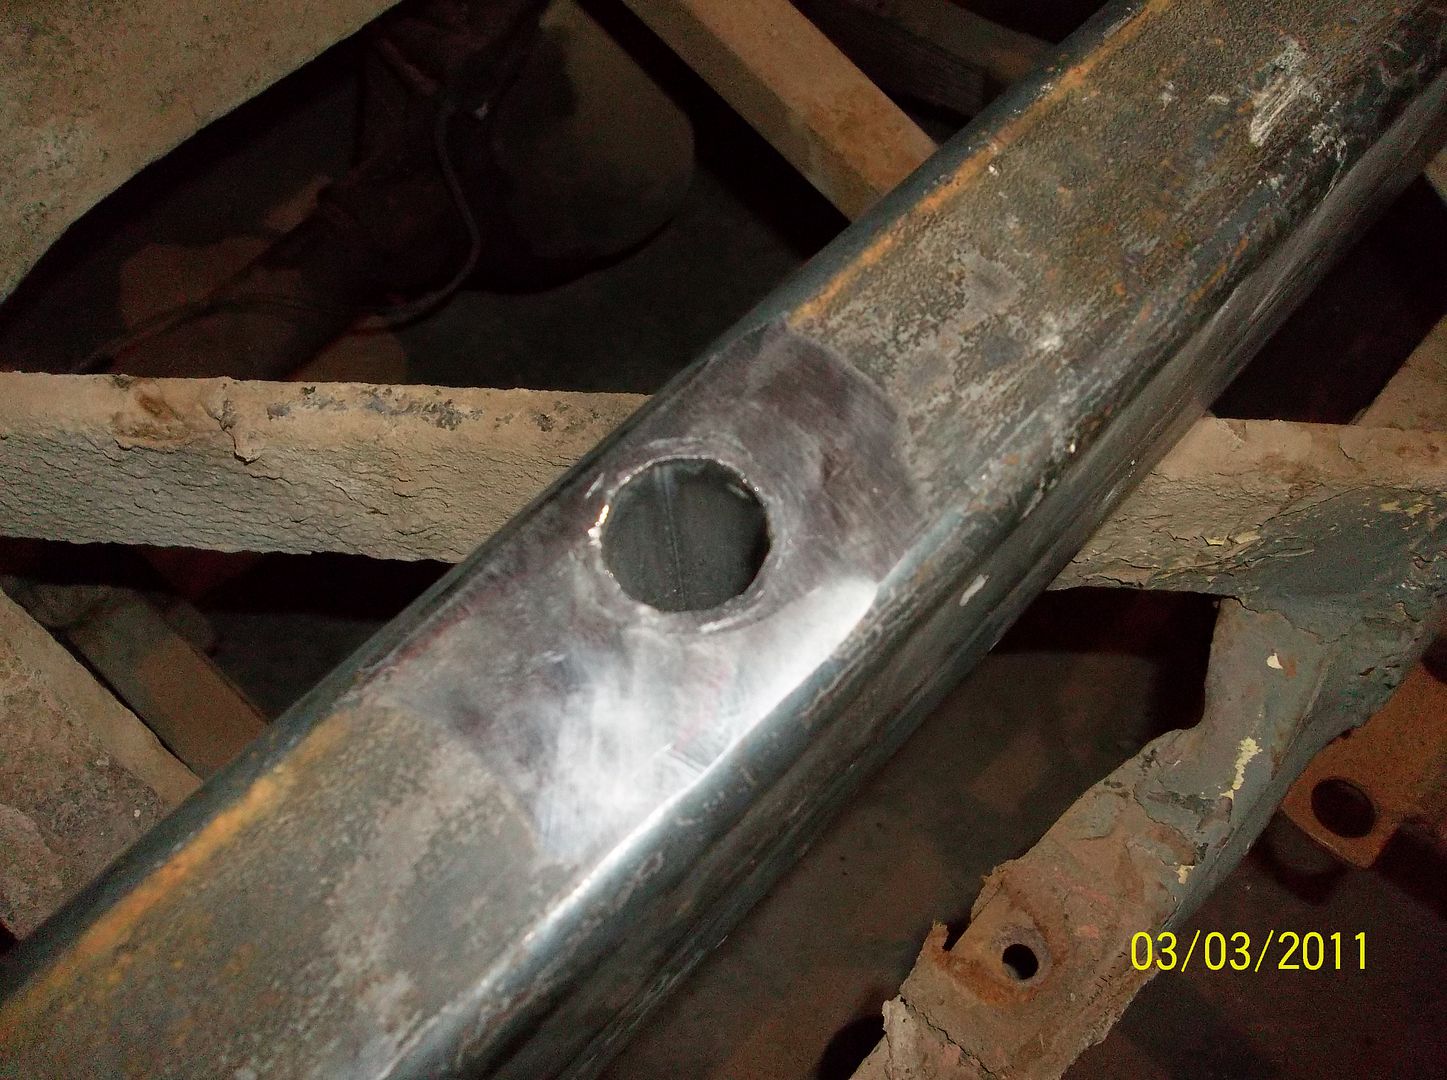
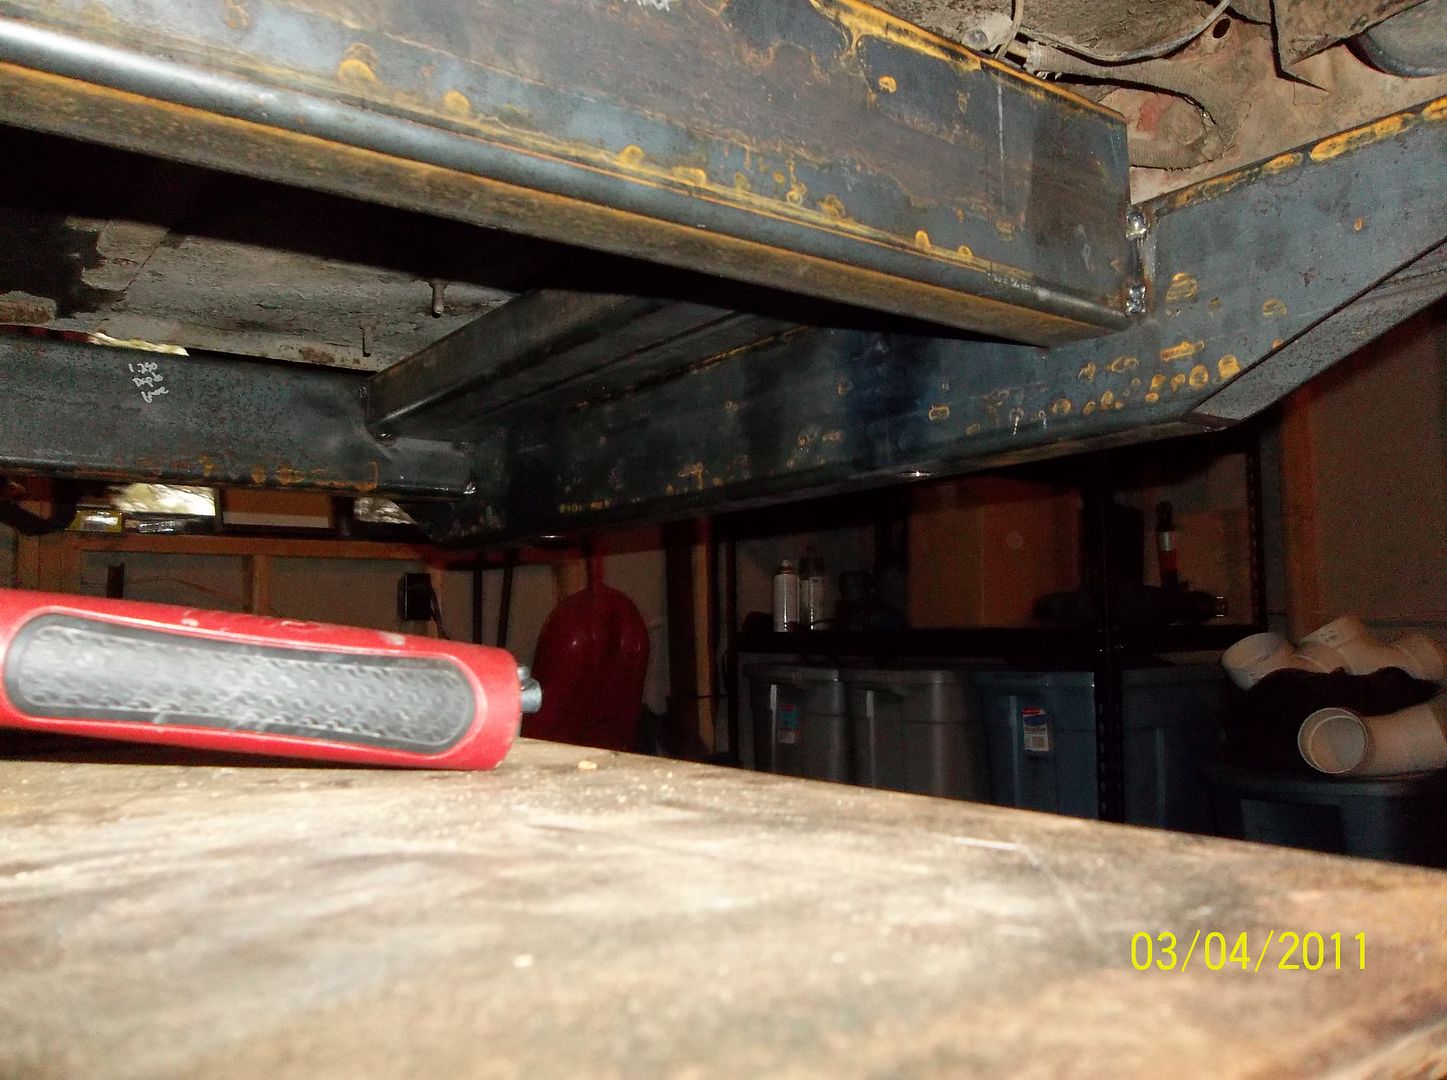
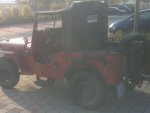
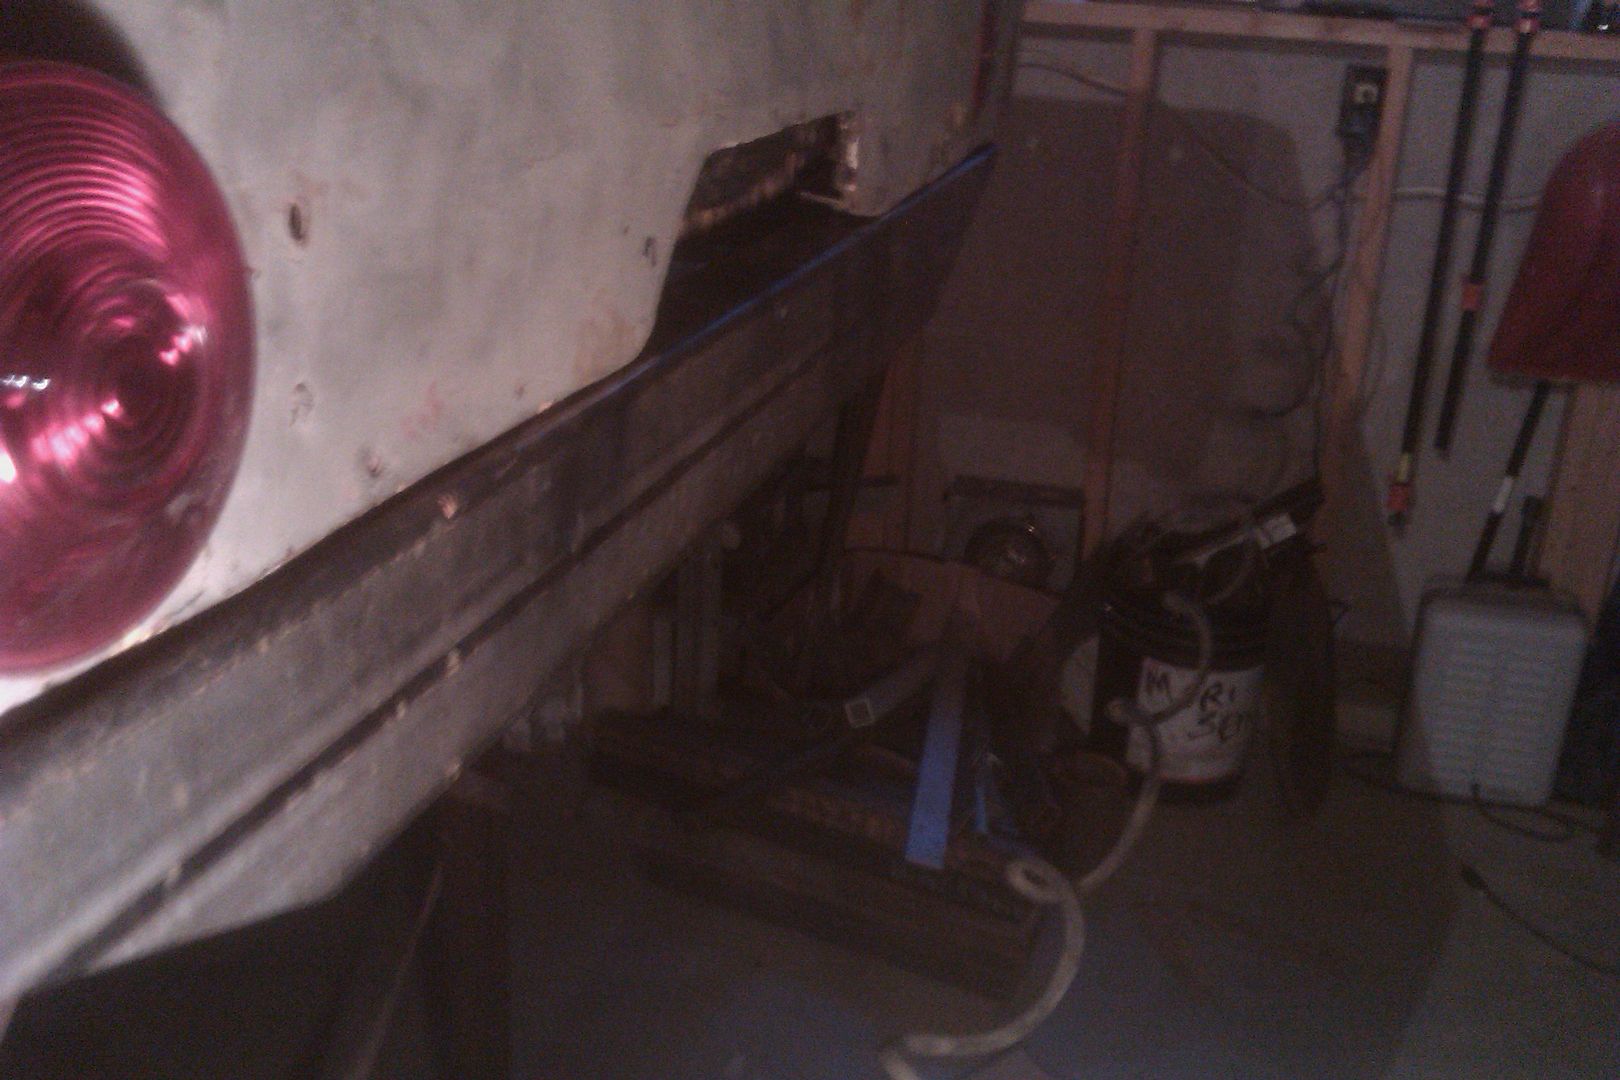
Here is the final position of the bumper from the underside looking rearward.
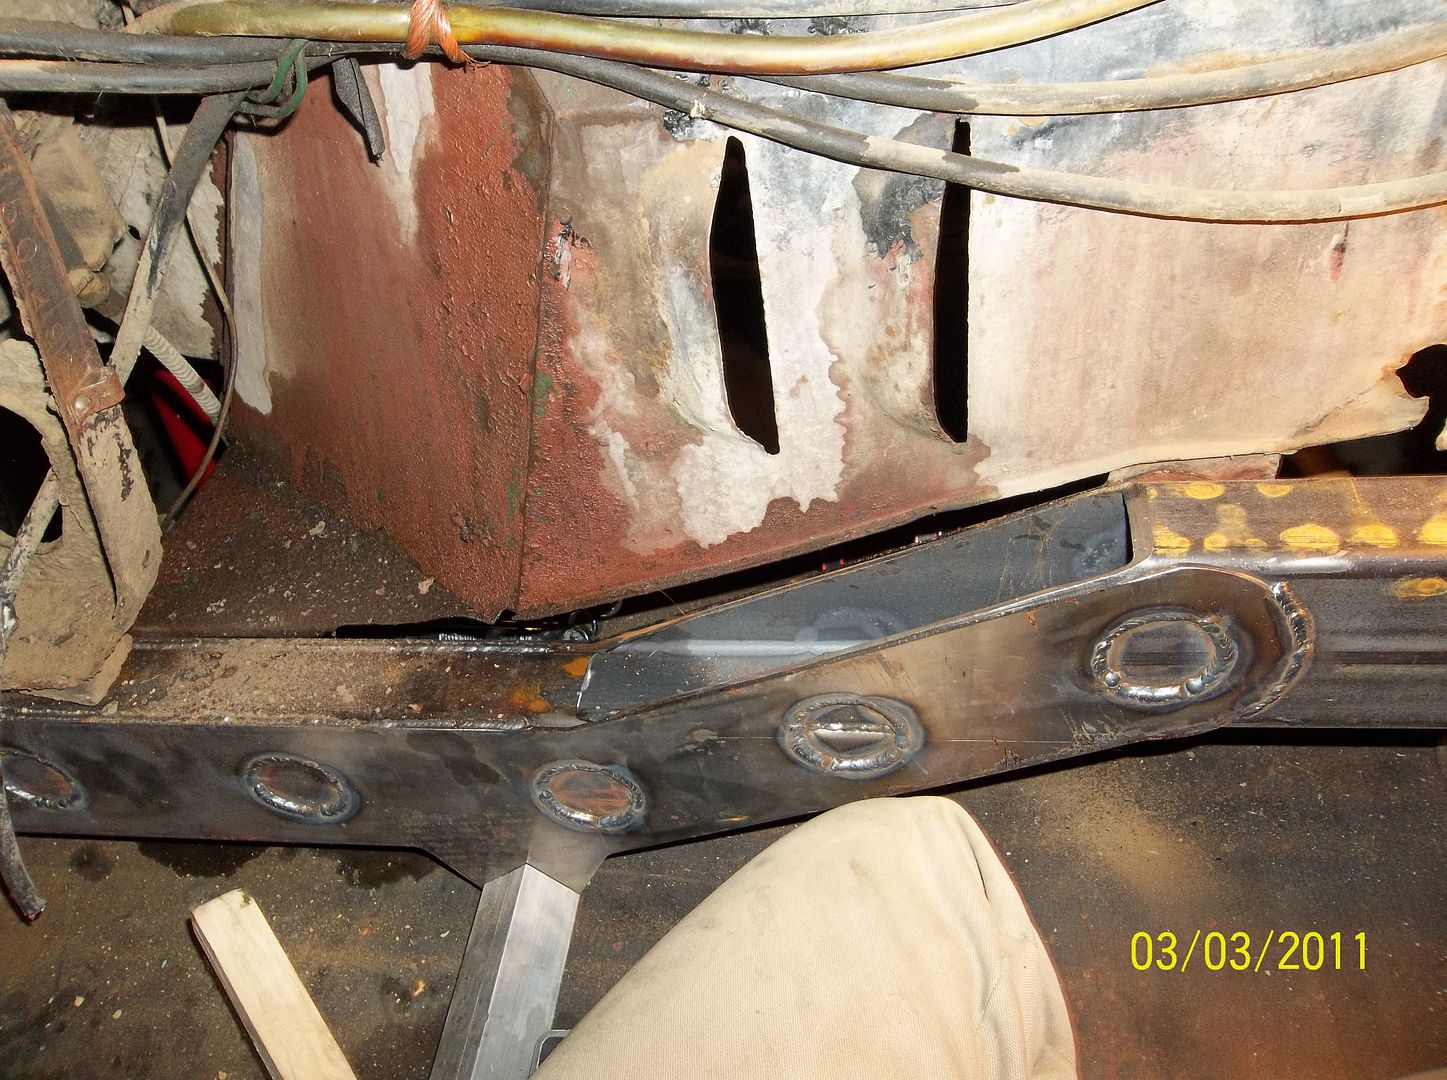
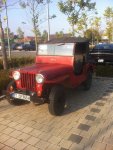
And here is the tub in its final position on the frame and bumper. I was able align the holes with a pry par easy enough and then let the full weight of the body on the frame. 3 out of 4 holes lined up perfect. I could slip a bolt in by hand. Once of the bolts is a little tight on the passenger side inner bolt. This was one of the areas that saw some tub damage from the bending of the old frame. I will play around with that mounting tab a little bit more, but will probably have to open it up about 1/16 or so.
I like that the new rear bumper looks close to stock but will be a fully boxed unit when its done. I will also be rebuilding the mount for the pintle hitch and installing a new pintle hitch with a cast in molded 2" ball. I like those units the best since they are smooth and round on the bottom.
Any thoughts so far. This thread has been pretty quiet lately.
 I managed to trac the guy down during lunch and talked to him. Its a '49 and his father bought it in '53. Everything original too! So when your done with yours and have made it amazing it can be handed down through the family for generations!
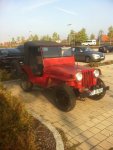

") I'm going through a JFO school right now and get to be up close and observant of the working end of these.
I'm going through a JFO school right now and get to be up close and observant of the working end of these.