Rango.....1942 Willys MB

reece146

Automotive Artist
Looking good.

I always amazed at how light frames are once they are stripped down. They are so big and bulky it's almost non-intuitive. I have a bare YJ frame out in front of the shop right now and I've had to move it around a few times the last week or so by myself and it hasn't been that big a deal. I really gotta get it to the sandblaster next week and do something with it. Too many projects queued up and in the way.

Your frame is pretty much guaranteed to be heavier than an OEM frame. Be careful when moving it - make sure you have your safety sandals on and mind your back.
 

Metcalf

Expedition Leader
It would be interesting to get a weight on both. I tried NOT to go overkill on the material. The tubing is only 1/8" wall. The side plates are only 1/8" plate. I'm trying to add strength where its needed and not go completely overkill on everything....

I am shooting for a final weight of under 3000lbs, with me in it, and a full tank of fuel.
 

reece146

Automotive Artist
I'll try to fangle something up with the bathroom scales I have in the shop and get back to you.
 

Metcalf

Expedition Leader
That was a LOOOONNNNNGGGGG day........

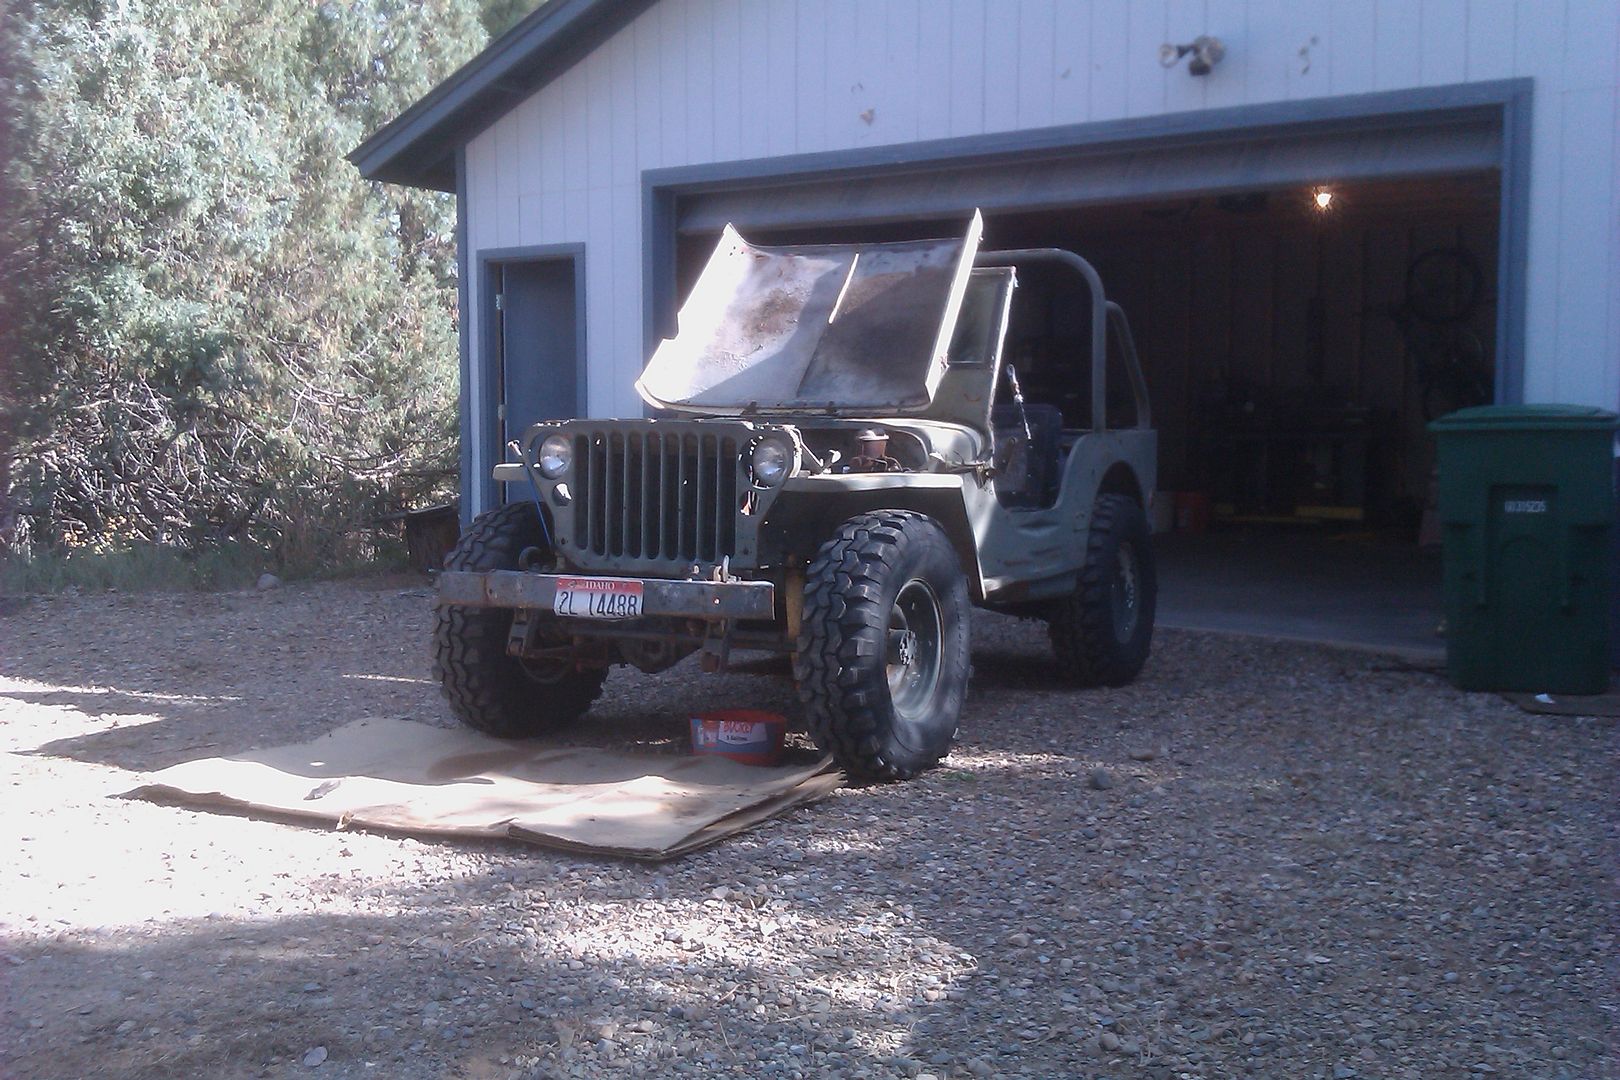
I started by airing up a flat tire on the trailer and then hooking up the truck. Then I had to get everything turned around the other way in the driveway. The Willys almost came off the trailer by itself, but I ended up getting a little help from the misses to steer and hit the brakes as I pushed it off the trailer. I had though about pushing, then jumping in the jeep, and hoping I could hit the brakes in time. I guess I am getting wise in my old age and decided against it.

IMAG0270.jpg


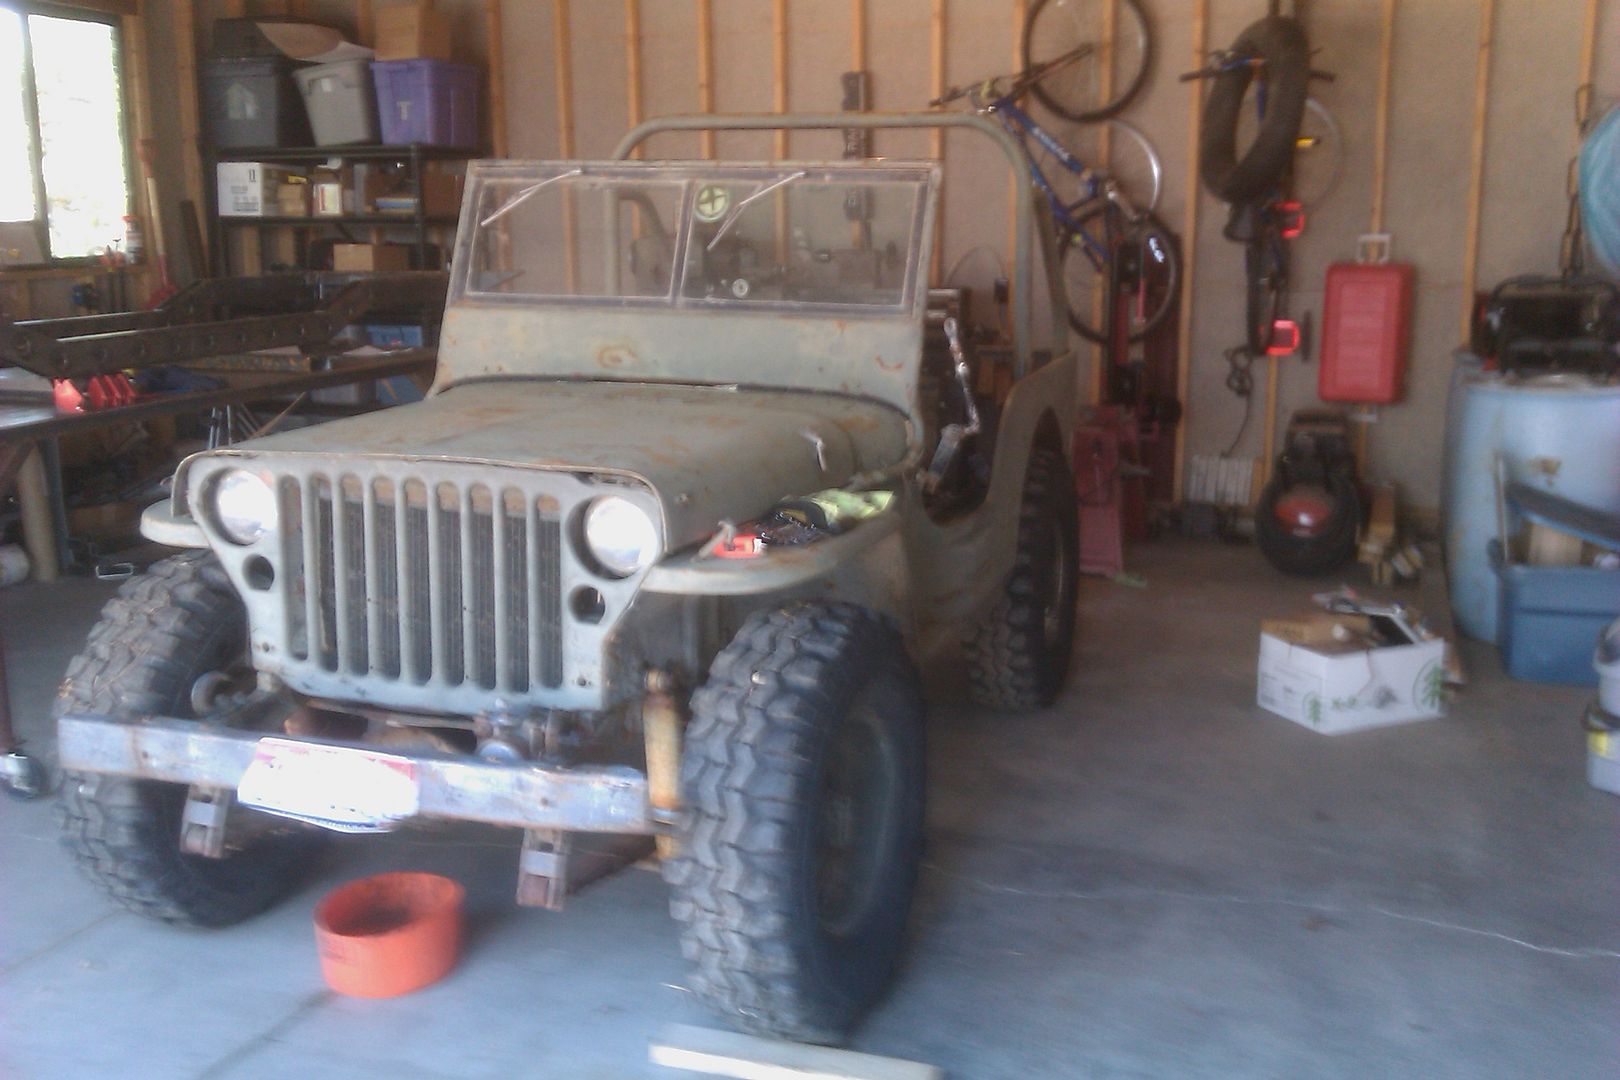
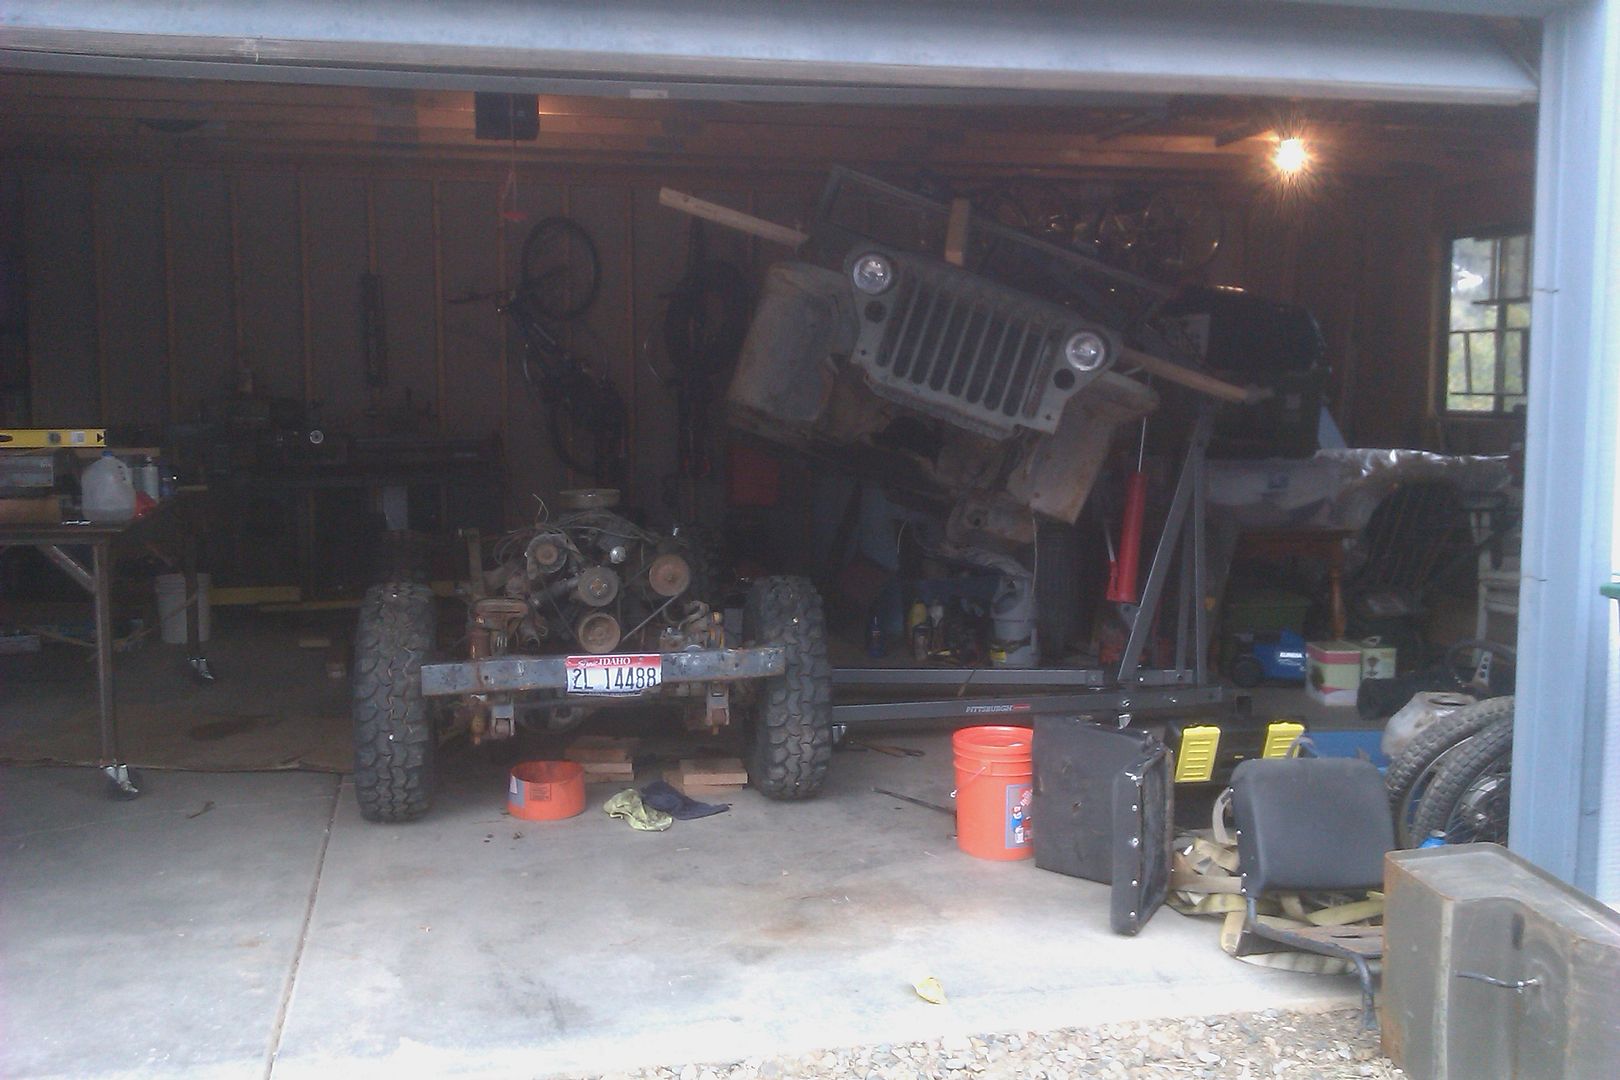
This is the last time it will look like this. I drained the radiator and fuel tank. Then I disconnected the brakes lines. Then I pushed it into the garage for the bodyectomy....

IMAG0271.jpg


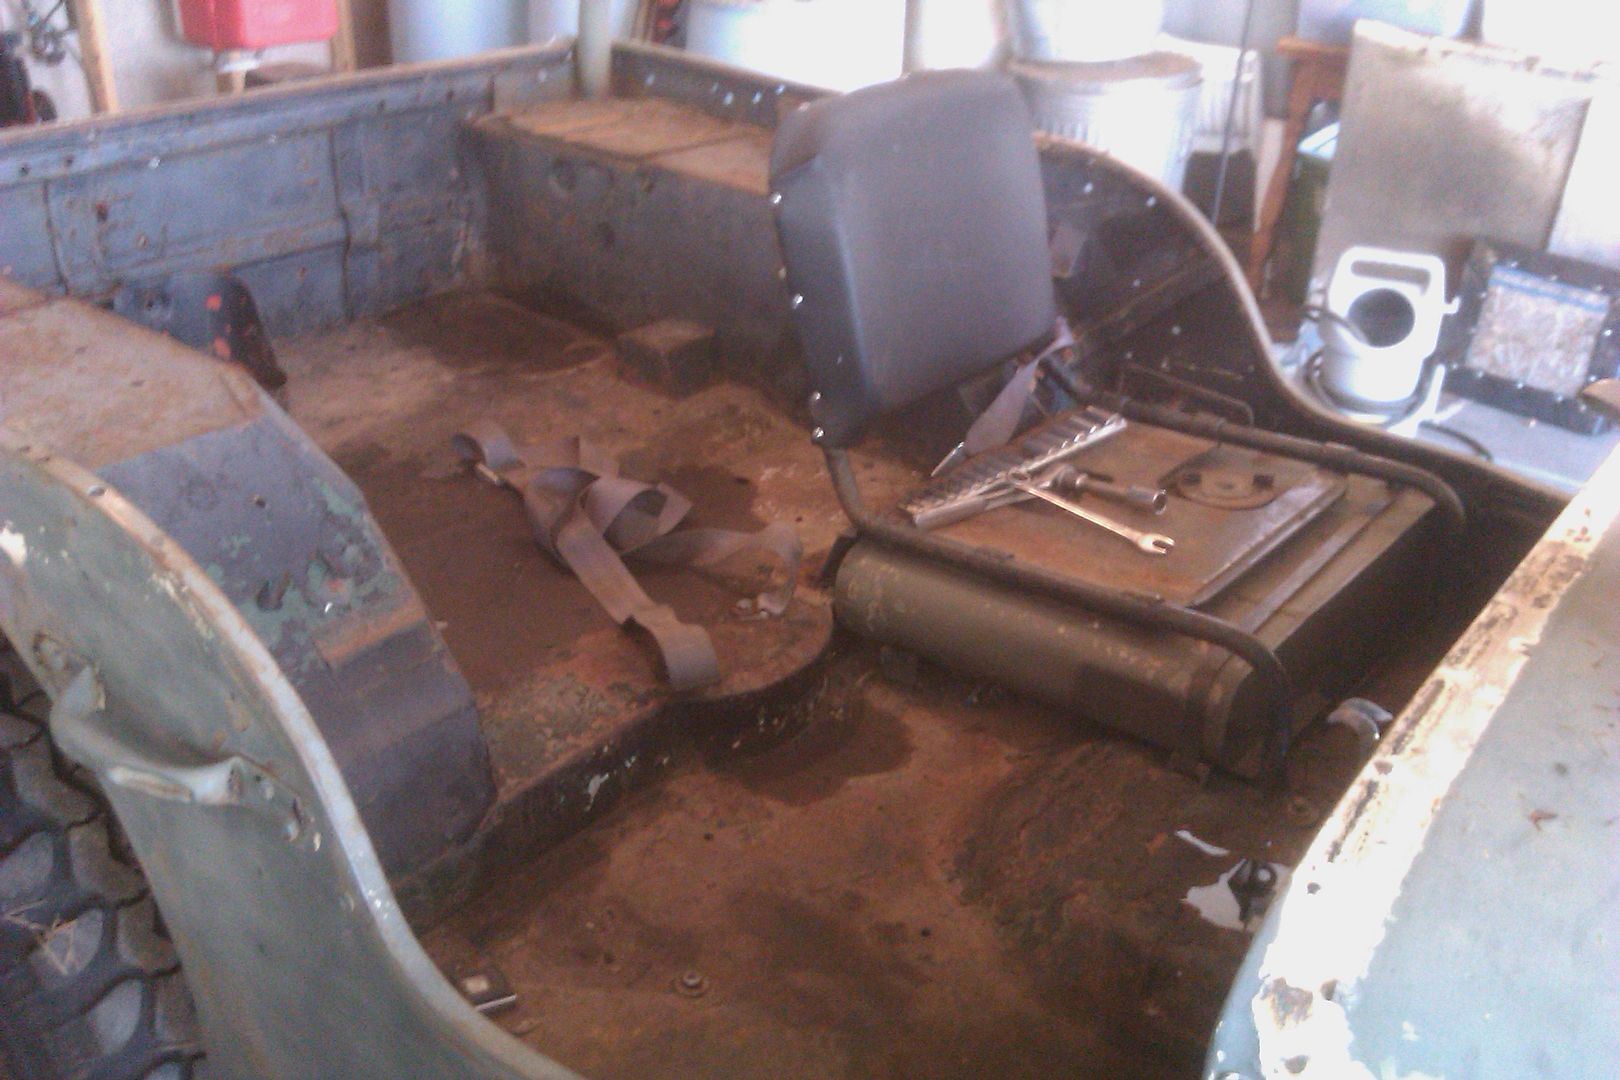
I had to clean out the inside first. That took a little longer than I thought. I had crap stuffed in every nook and cranny. I found stuff I had been missing for like 5 years like my vacuum gauge and dwell meter!

IMAG0272.jpg


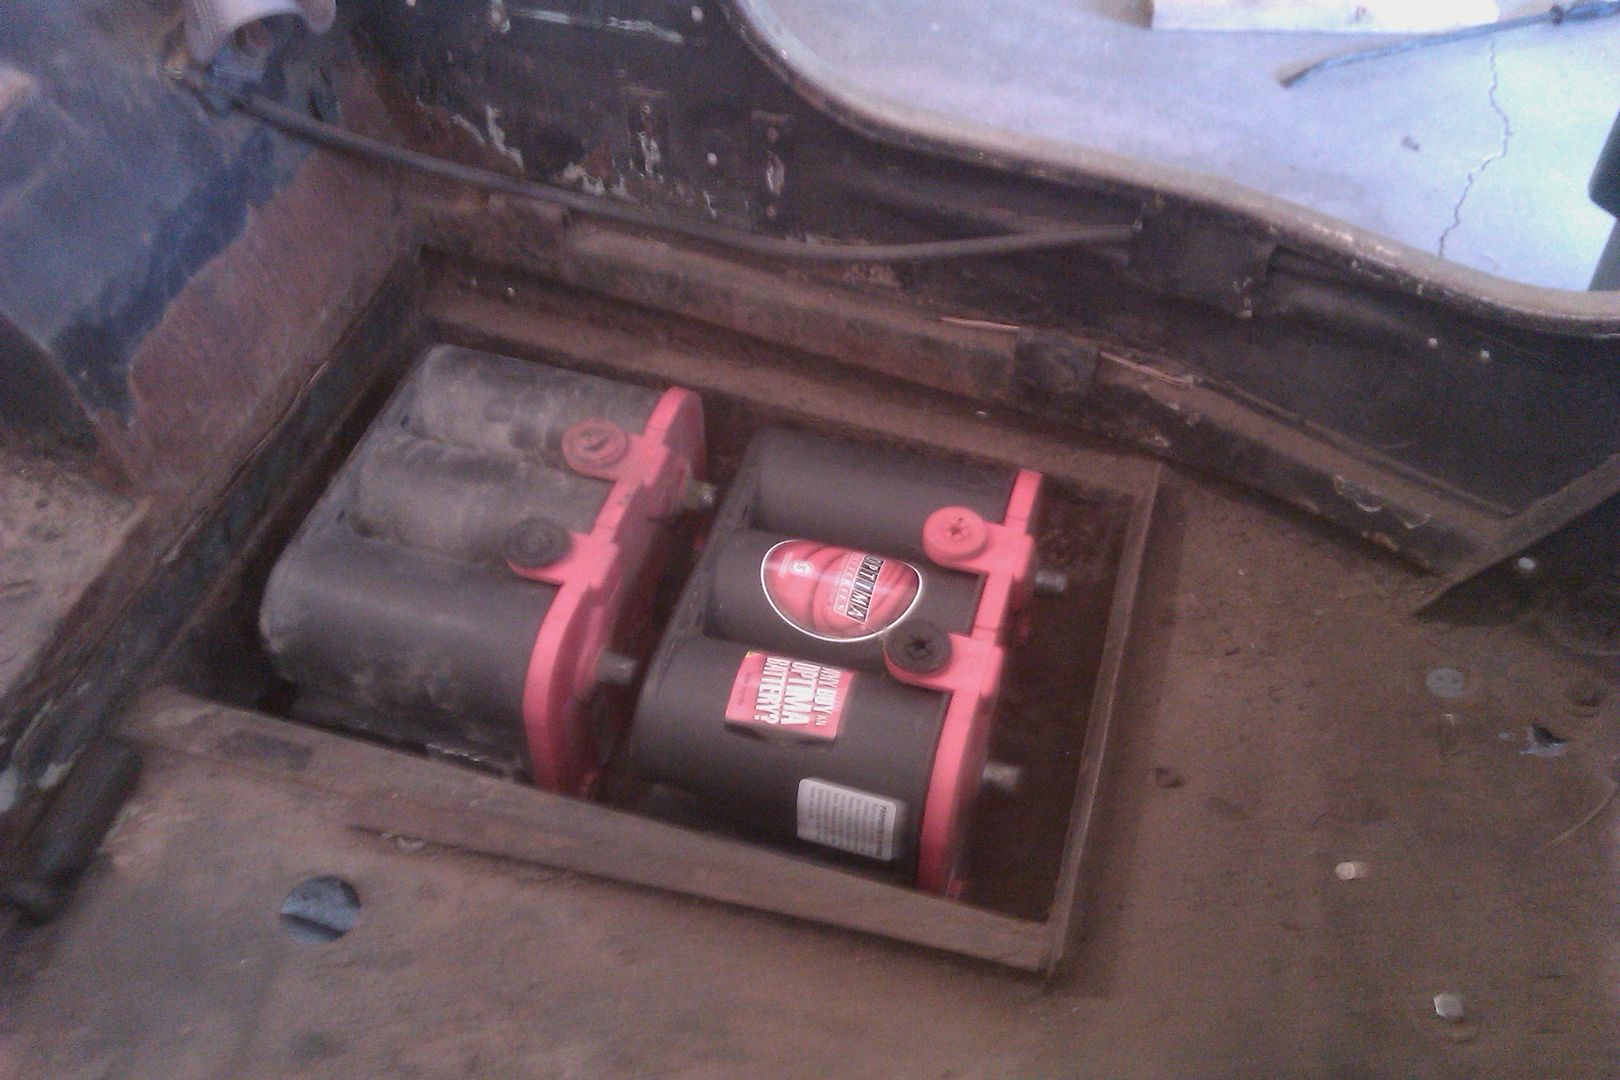
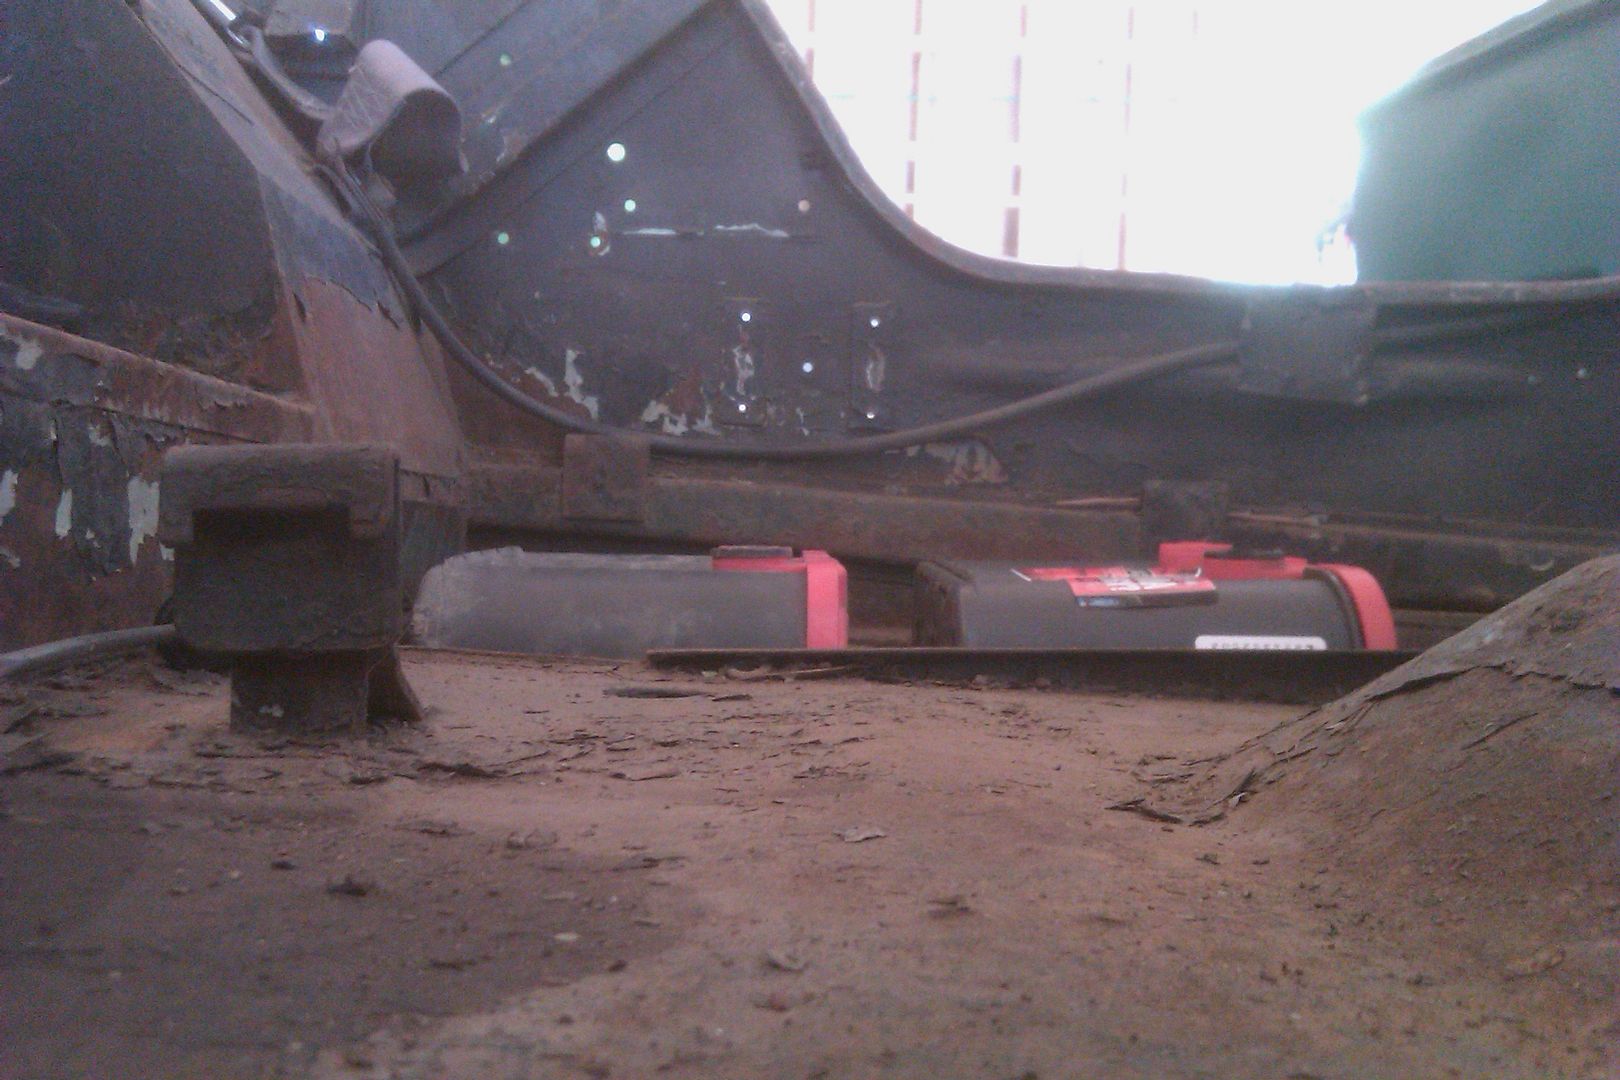
Then I pulled the fuel tank out and test fit some batteries. Those fit nice...

IMAG0274.jpg


IMAG0275.jpg


Now I had to play 'find all the body mount bolts!', its my new least favorite game! There are approx 18-19 body mounting bolts on an MB tub! I only broke one bolt, skinned three knuckles, and thought I was going to loose a finger on the grill mounting bolts.....

Then I was able to do this....

IMAG0276.jpg


IMAG0277.jpg


IMAG0278.jpg


More later....
 

Metcalf

Expedition Leader
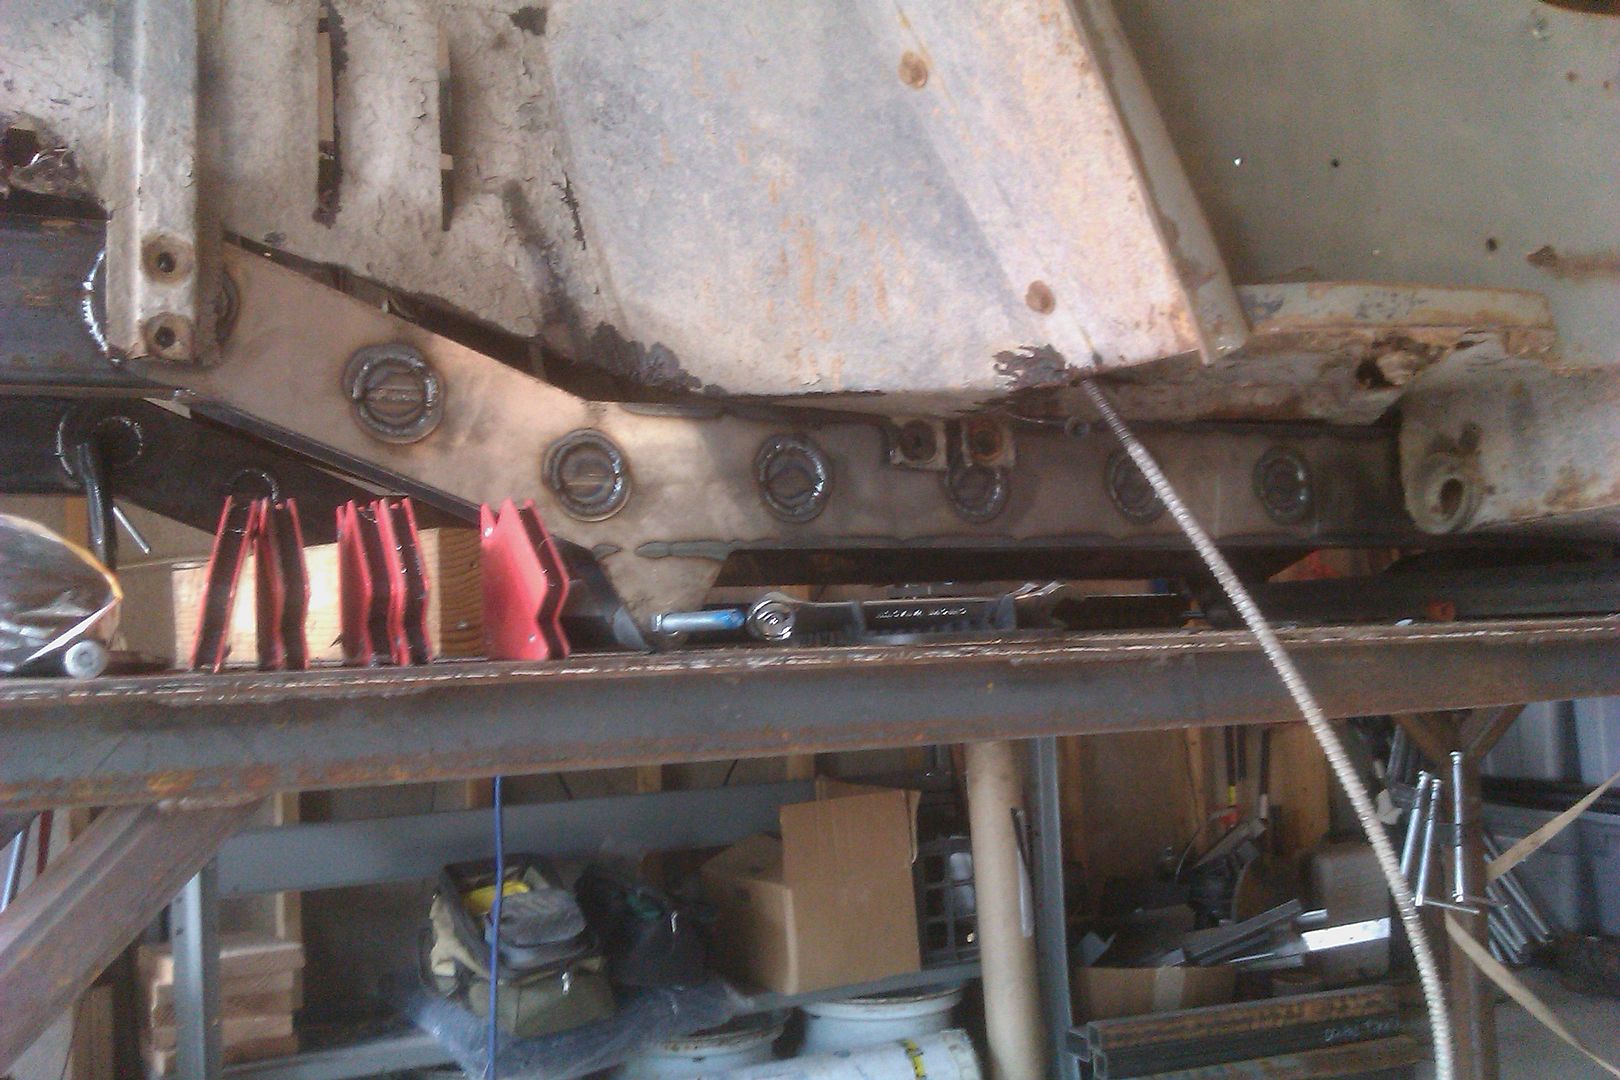
Overall the frame fits pretty darn good!

IMAG0279.jpg


IMAG0281.jpg


IMAG0282.jpg


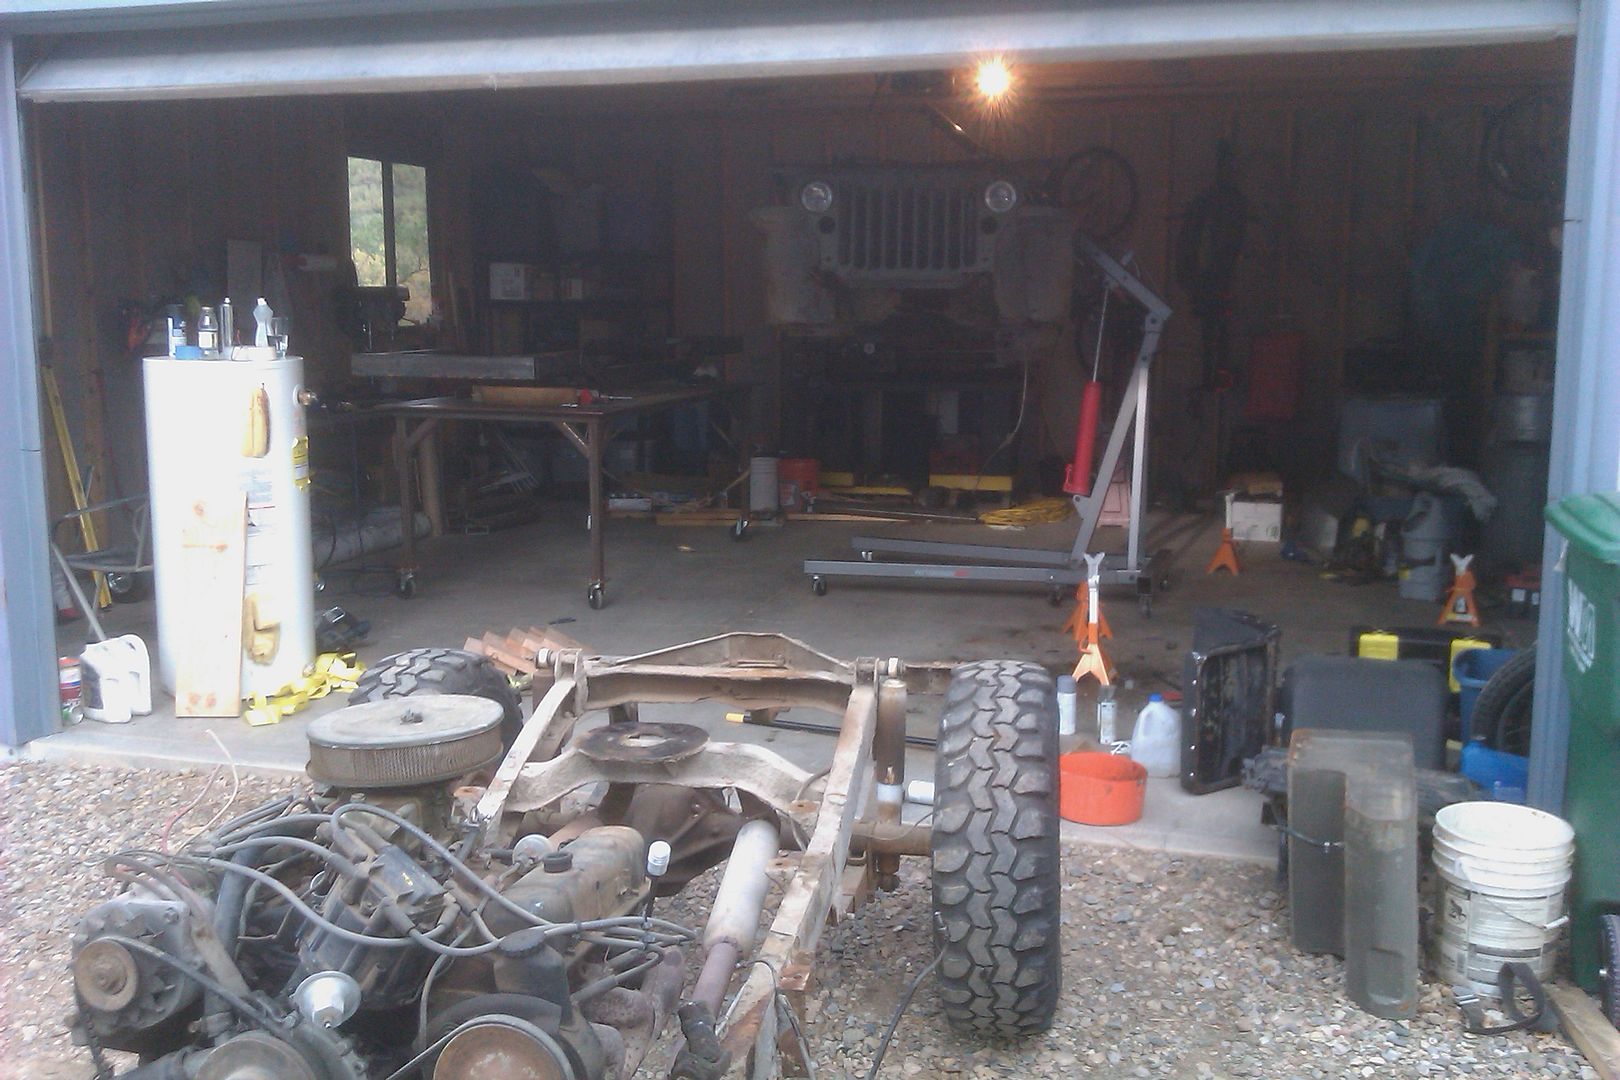
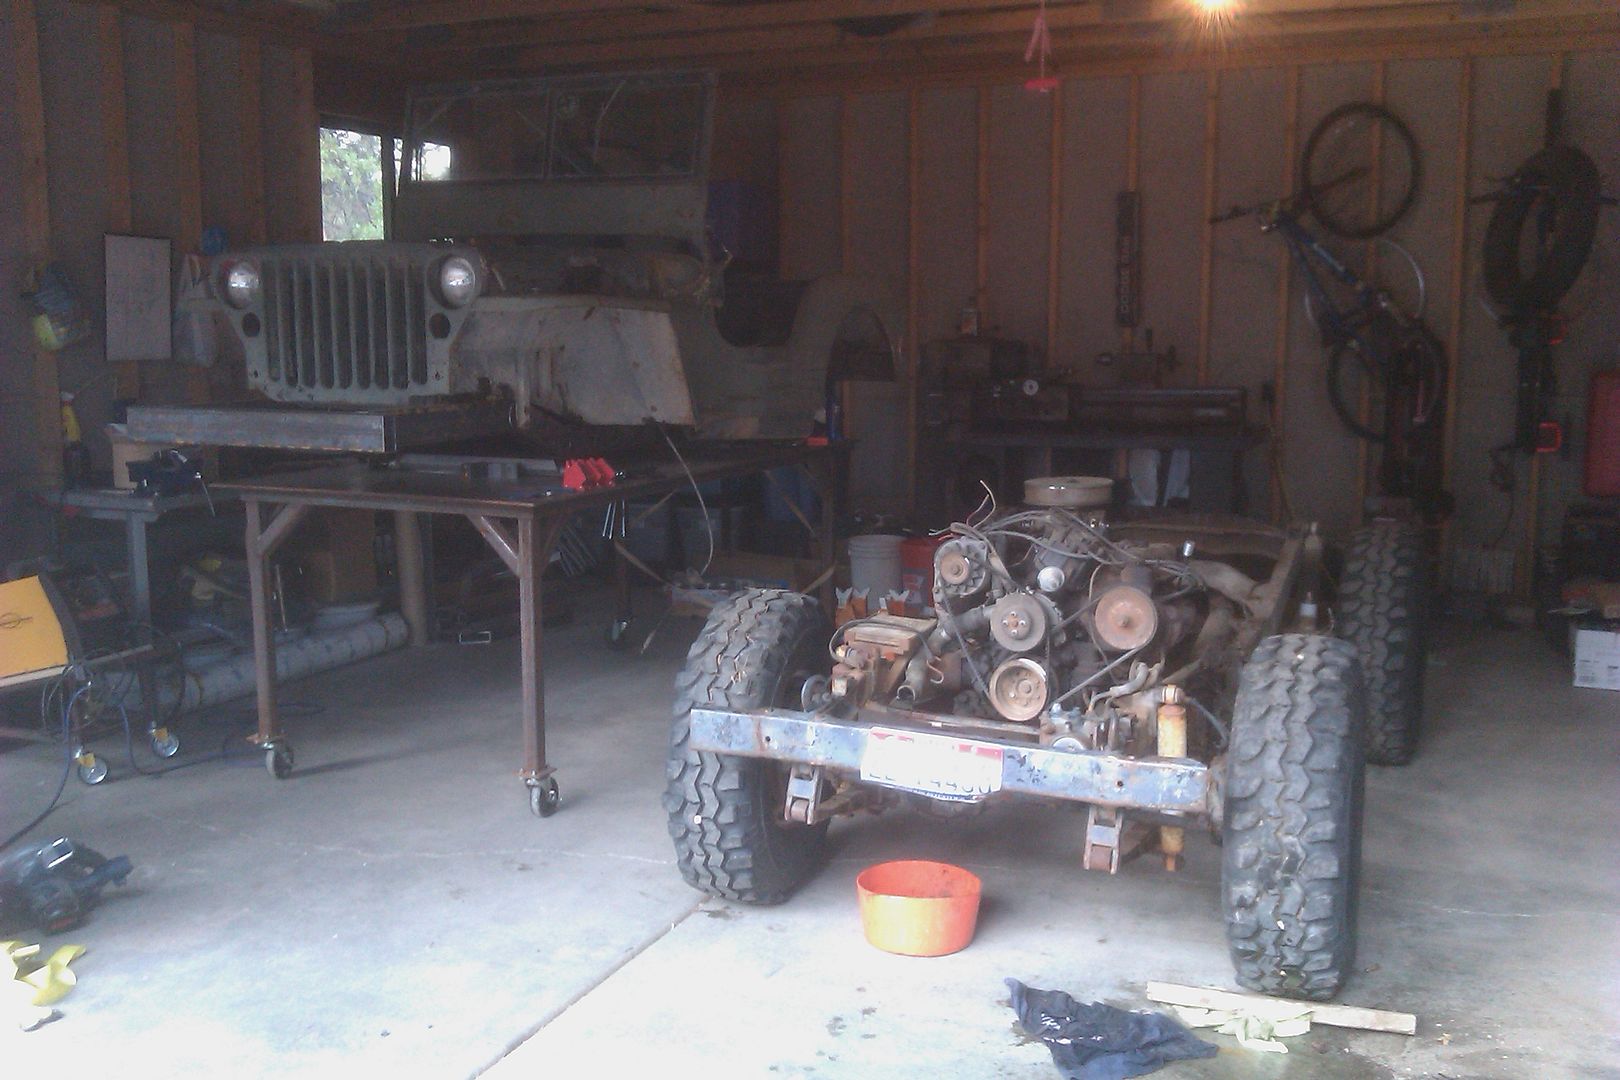
Here is where I am at now. I need to pull the engine out of the frame and then kick it back outside....

IMAG0283.jpg


A few thoughts and notes for those doing a similar project....

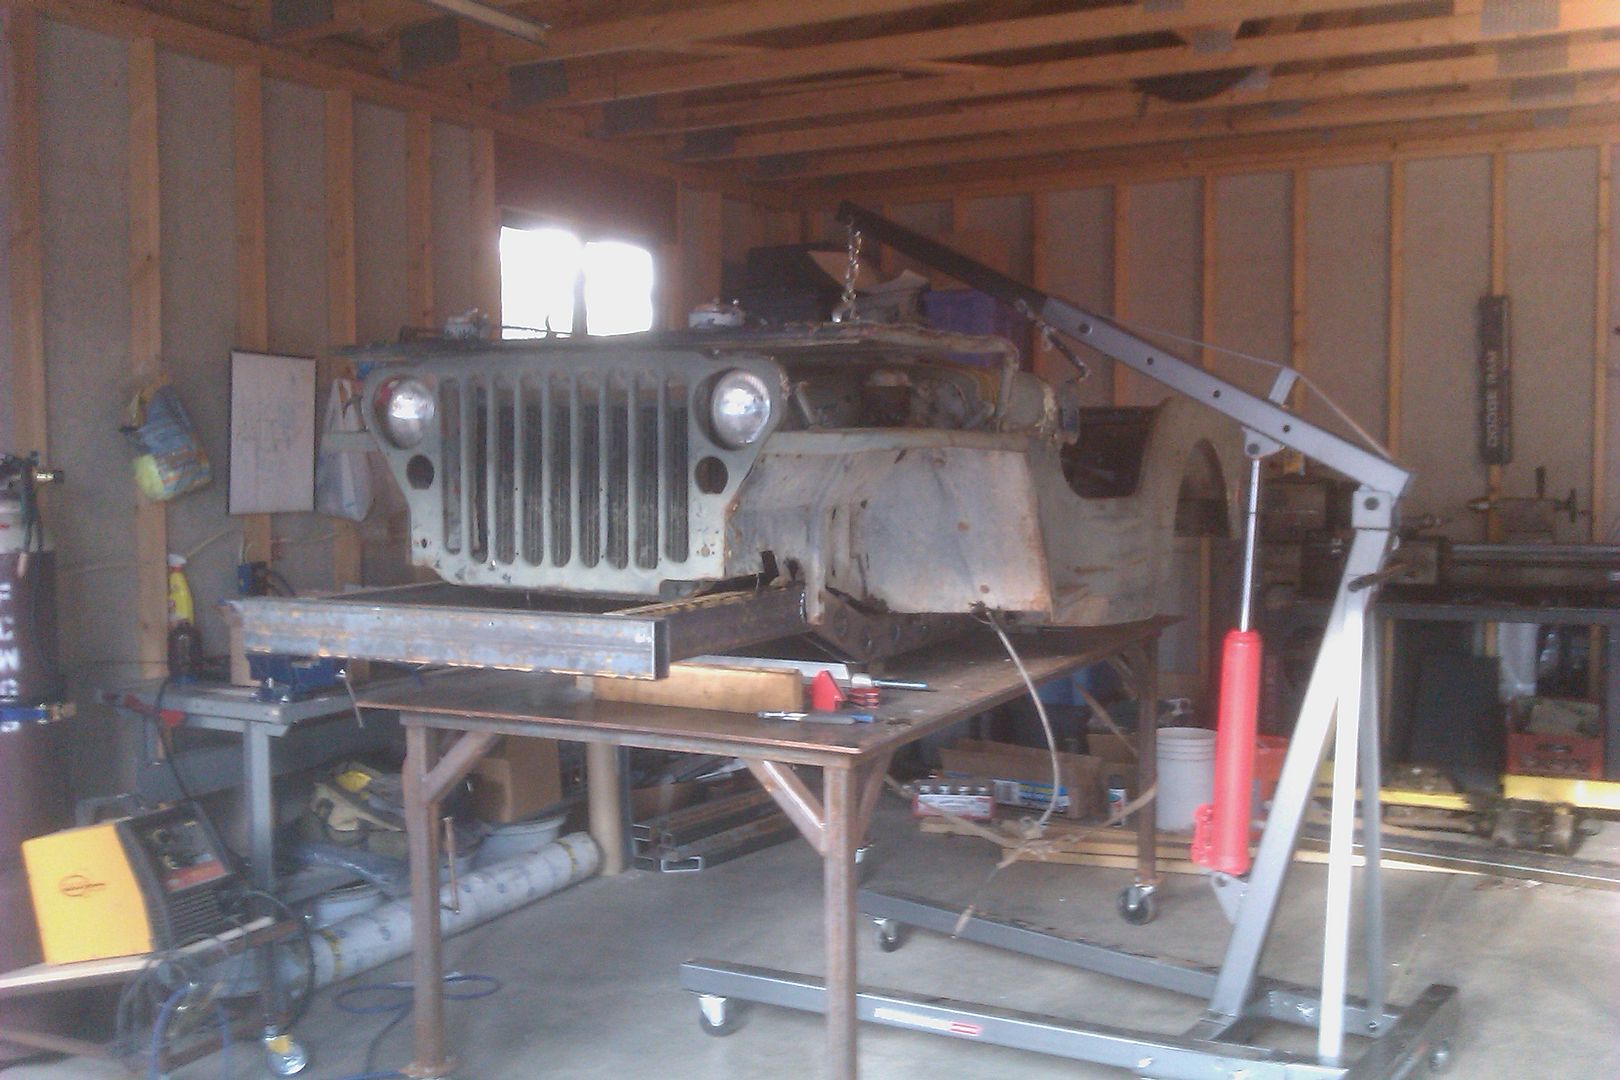
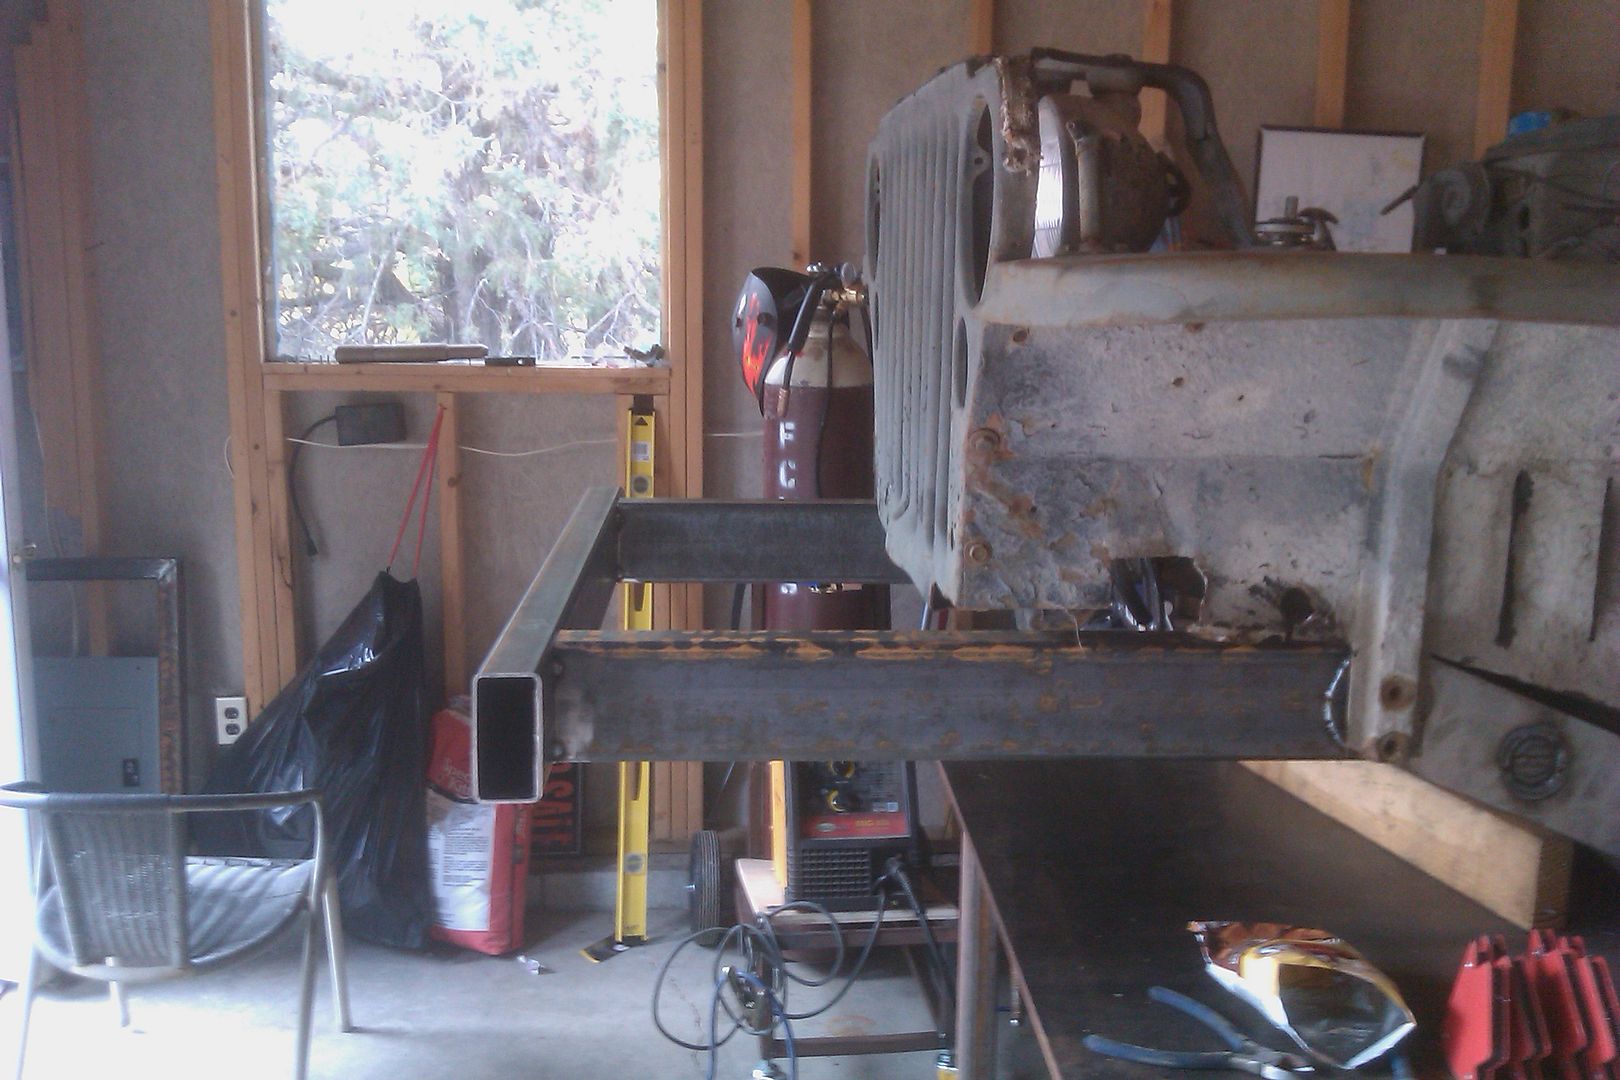
-A welding table that is shorter would have made this easier. Lifting the tub about 4' in the air isn't very fun.

-Having the welding table on wheels was pretty handy.

-An engine hoist is just too handy! Once you figure out how to rig the tub its fairly easy to lift large things like the tub and move it around. I used some webbing around the windshield hinge points and the two old non-original seat belt locations to lift from 4 points. This the was ONLY stable way to lift the tub. I might have almost died once doing it another way....
 

jeepdreamer

Expedition Leader
thought provoking

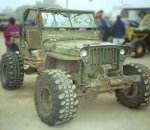
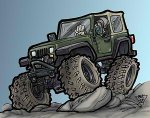
I don't know why but your build makes me think of these... :)
 

Attachments

  • 34ercc_004-1.jpg
    34ercc_004-1.jpg
    76.5 KB · Views: 85
  • JEEP_wrangler_color.jpg
    JEEP_wrangler_color.jpg
    38.2 KB · Views: 49

Metcalf

Expedition Leader
The one on the left is Soni Honeggers, probably my favorite jeep of all time. Its still around too.
 

jeepdreamer

Expedition Leader
Yussir...The Rock Spider! Wish I could find more info and pics on it. Soni has some crazy skill at building cool stuff!
 

jeepdreamer

Expedition Leader
Oh.... Thank you SIR!!! Every time I see that thing I get a smile! And I haven't seen most of those pics even from the magazine article way back in the early 90s? You got more? Crack addict likey! :)
 

Metcalf

Expedition Leader
I just ordered my motor mount crossmember and motor mounts from Speedway.
Shipping was a little bit much at $30 for base UPS.

91618011_R.jpg


http://www.speedwaymotors.com/V6-Buick-Motor-Mount,3272.html

I probably could have built something but I decided this would make things go faster and easier.
I'm fairly sure that the tube is going to be over the top of the front frame rails. This should make it pretty easy to make a little weld on bracket that slides over the tube and sits on the top of the frame rail. That bracket will then weld to the top of the frame.

I am hoping that I can use the welding table to set the engine/trans/t-case in the frame and shim everything up to the location I want then build in the front and rear mounts.

The engine is basically getting raised about 3" from where it was, shifted 1-1.5" forward for bellhousing clearance, and set at 1.25" offset to the drivers side from centerline.

I'm thinking for the D18 mount I am going to do a removeable crossmember BEHIND the D18 with a single bushing that mounts to the PTO cover plate bolts. Then for torque reaction I am going to use the factory torque arm bushing on the front D18 output section. Any ideas what to use for a bushing at each location?

Any other mounting ideas for the engine, transmission, t-case?
 

Metcalf

Expedition Leader
Oh.... Thank you SIR!!! Every time I see that thing I get a smile! And I haven't seen most of those pics even from the magazine article way back in the early 90s? You got more? Crack addict likey! :)

Its one of the coolest for sure. I can't wait till mine is done :) I hope it will be close to that cool!

I will have to dig around and see if I can find the original magazine article.
 

Metcalf

Expedition Leader
I started working on the rear bumper tonight. It seems little stuff like this takes a little more time....

I measured the rear crossmember and rear bumper a few times...like a dozen! Between the measurements from the frame and body I think I got a fairly accurate set of numbers for the rear bumper/crossmember.

Rear crossmember.
-The outside mount pair is 48" wide
-The inside mount pair is 16.5" wide
-The mounts are mirrored side to side as far as I can tell.
-In order to get the rear of the bumper/crossmember flush or just a hair past the mounts need to be at 1.125" from the rear surface of the bumper

I spent some time getting the rear mounts level again so I could try and find how much the rear crossmember drops from the top of the rear frame kick-up. So far it looks like the crossmember will have a 1.875-2" drop. I will probably measure that a few more times....

Here is the start of the rear crossmember....

IMAG0290.jpg


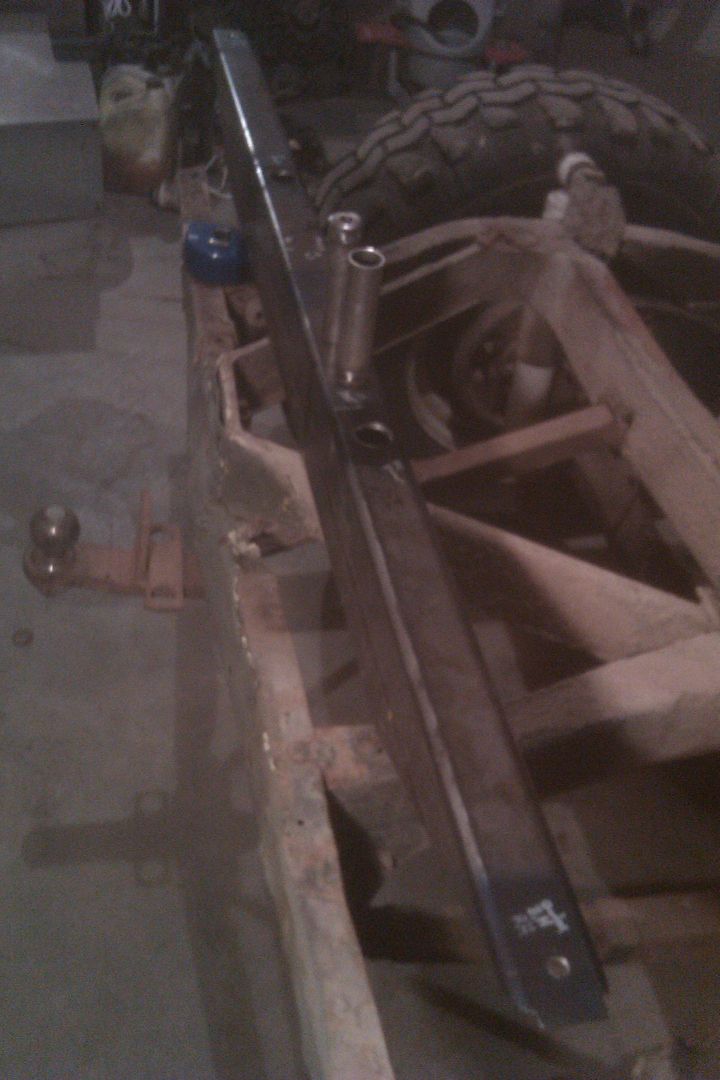
Its a section of 2x4 box just like the frame. I laid out all the holes with some spray blue, scribed all the lines for locations, center punched and then drilled all the holes. I used holes a touch over .375 for 3/8-16 bolts with 9/16 heads.

IMAG0285.jpg


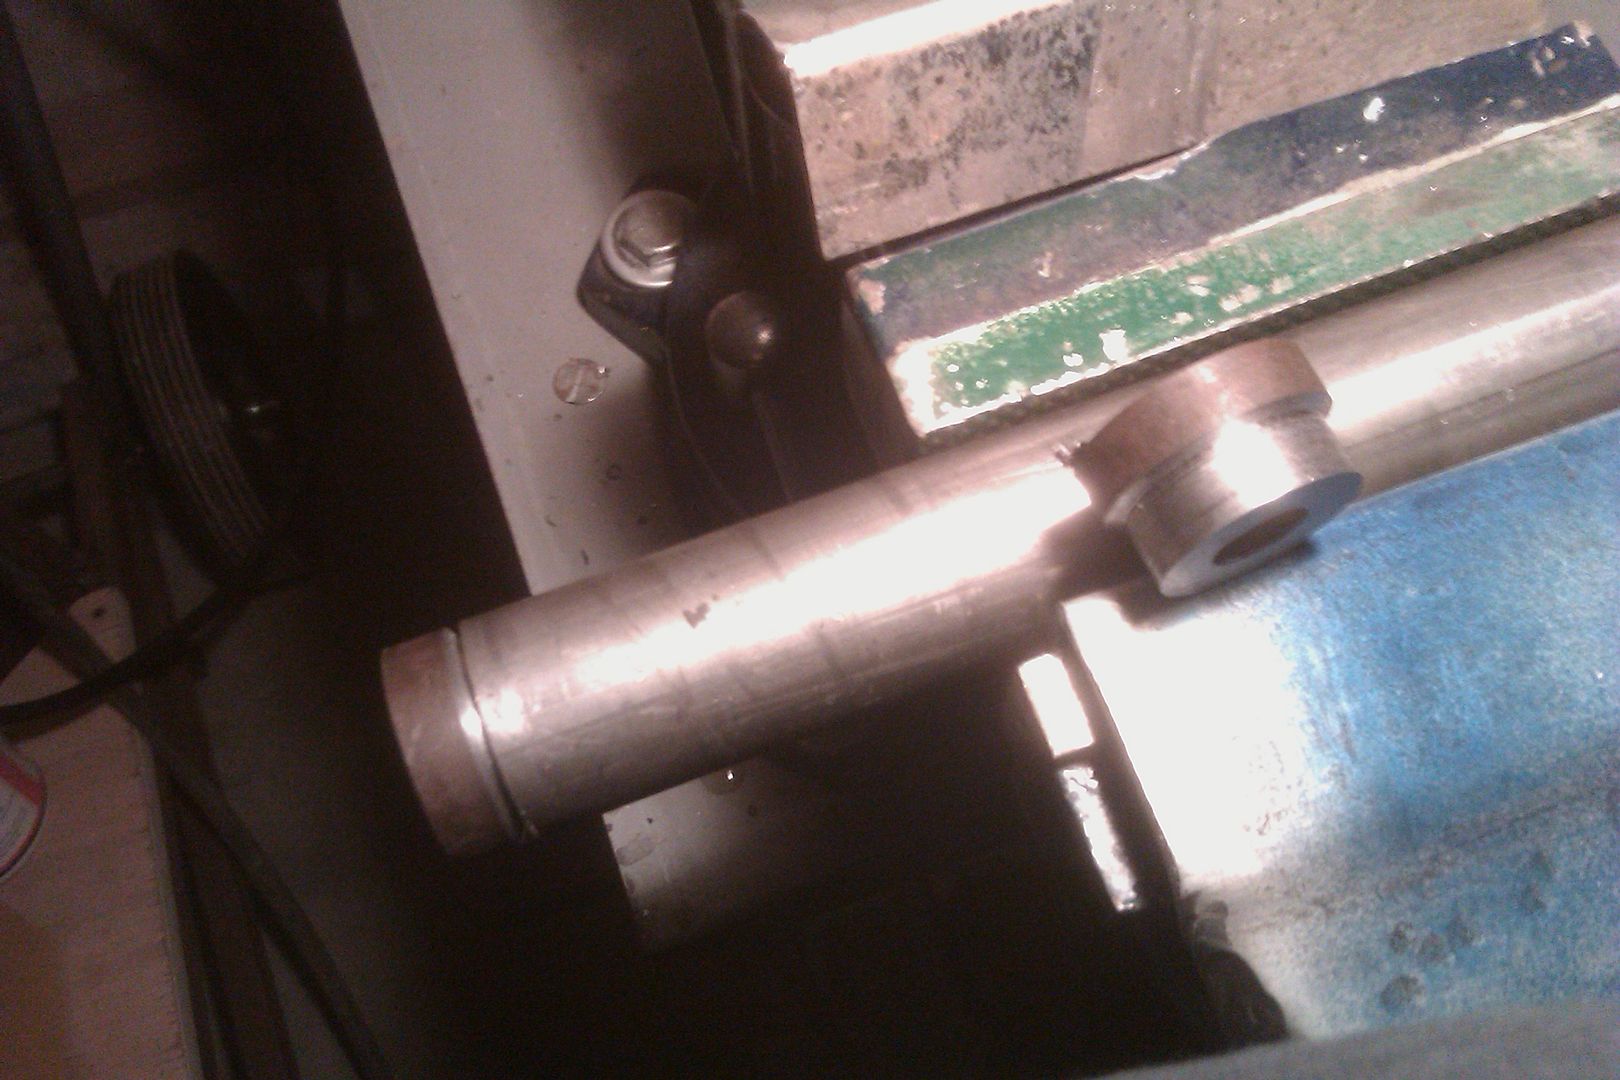
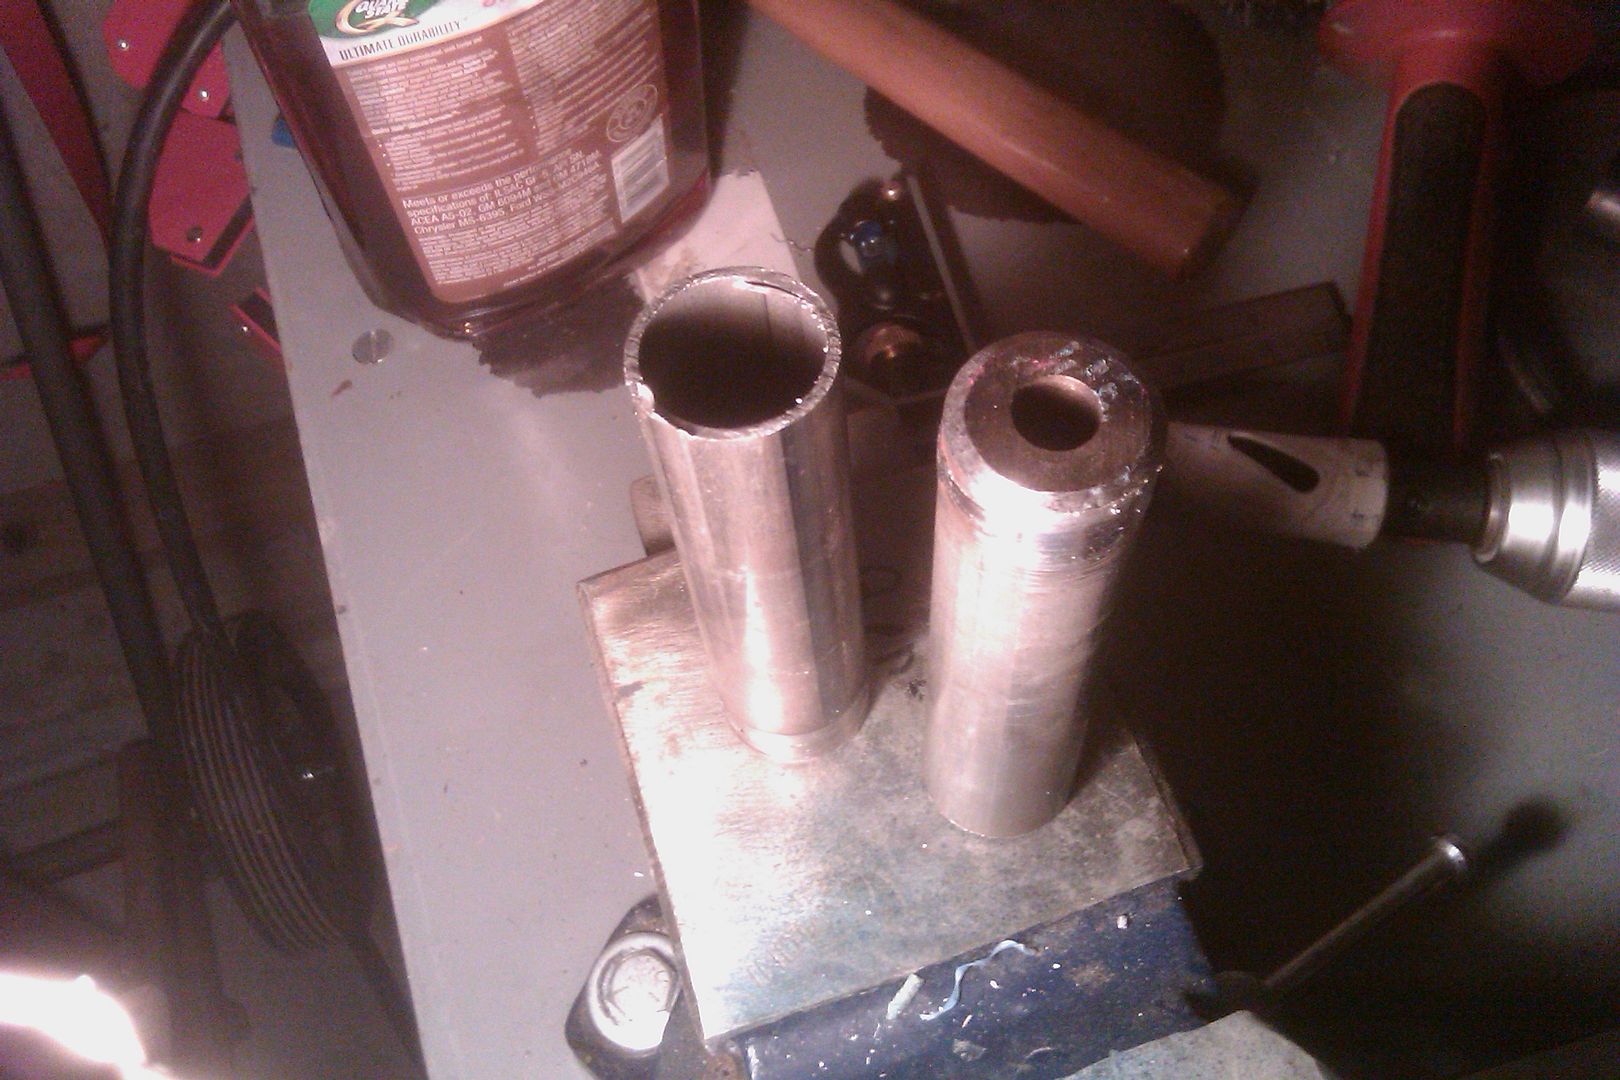
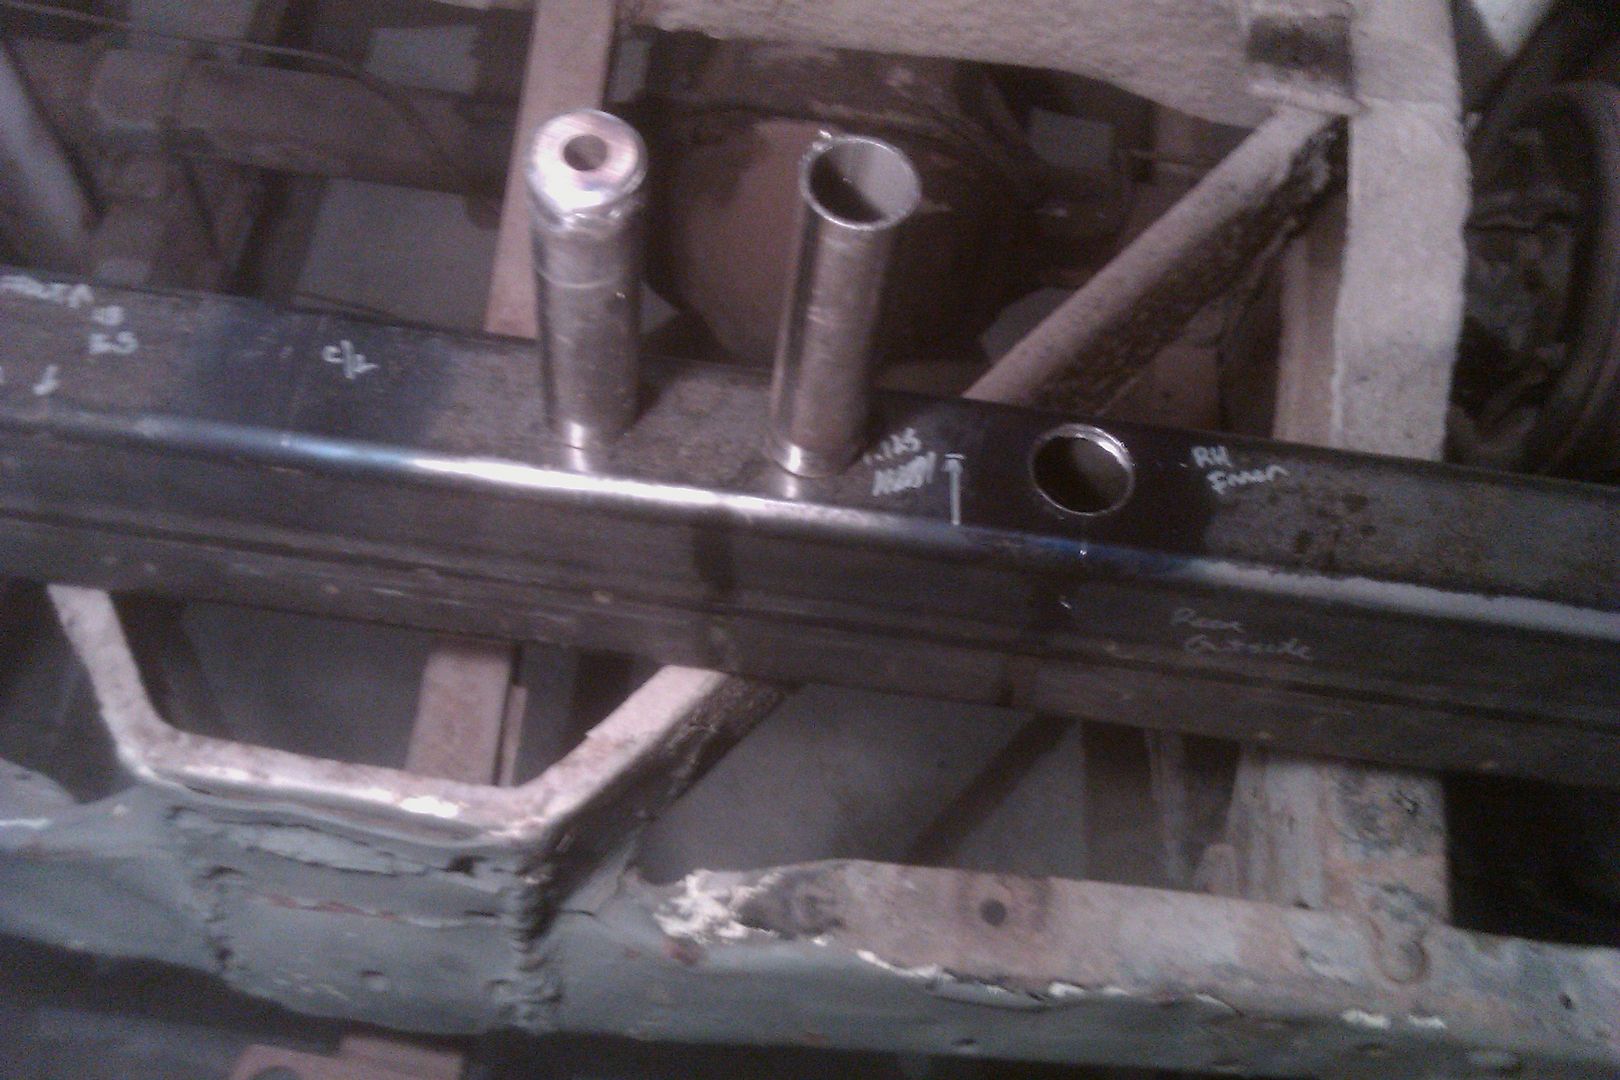
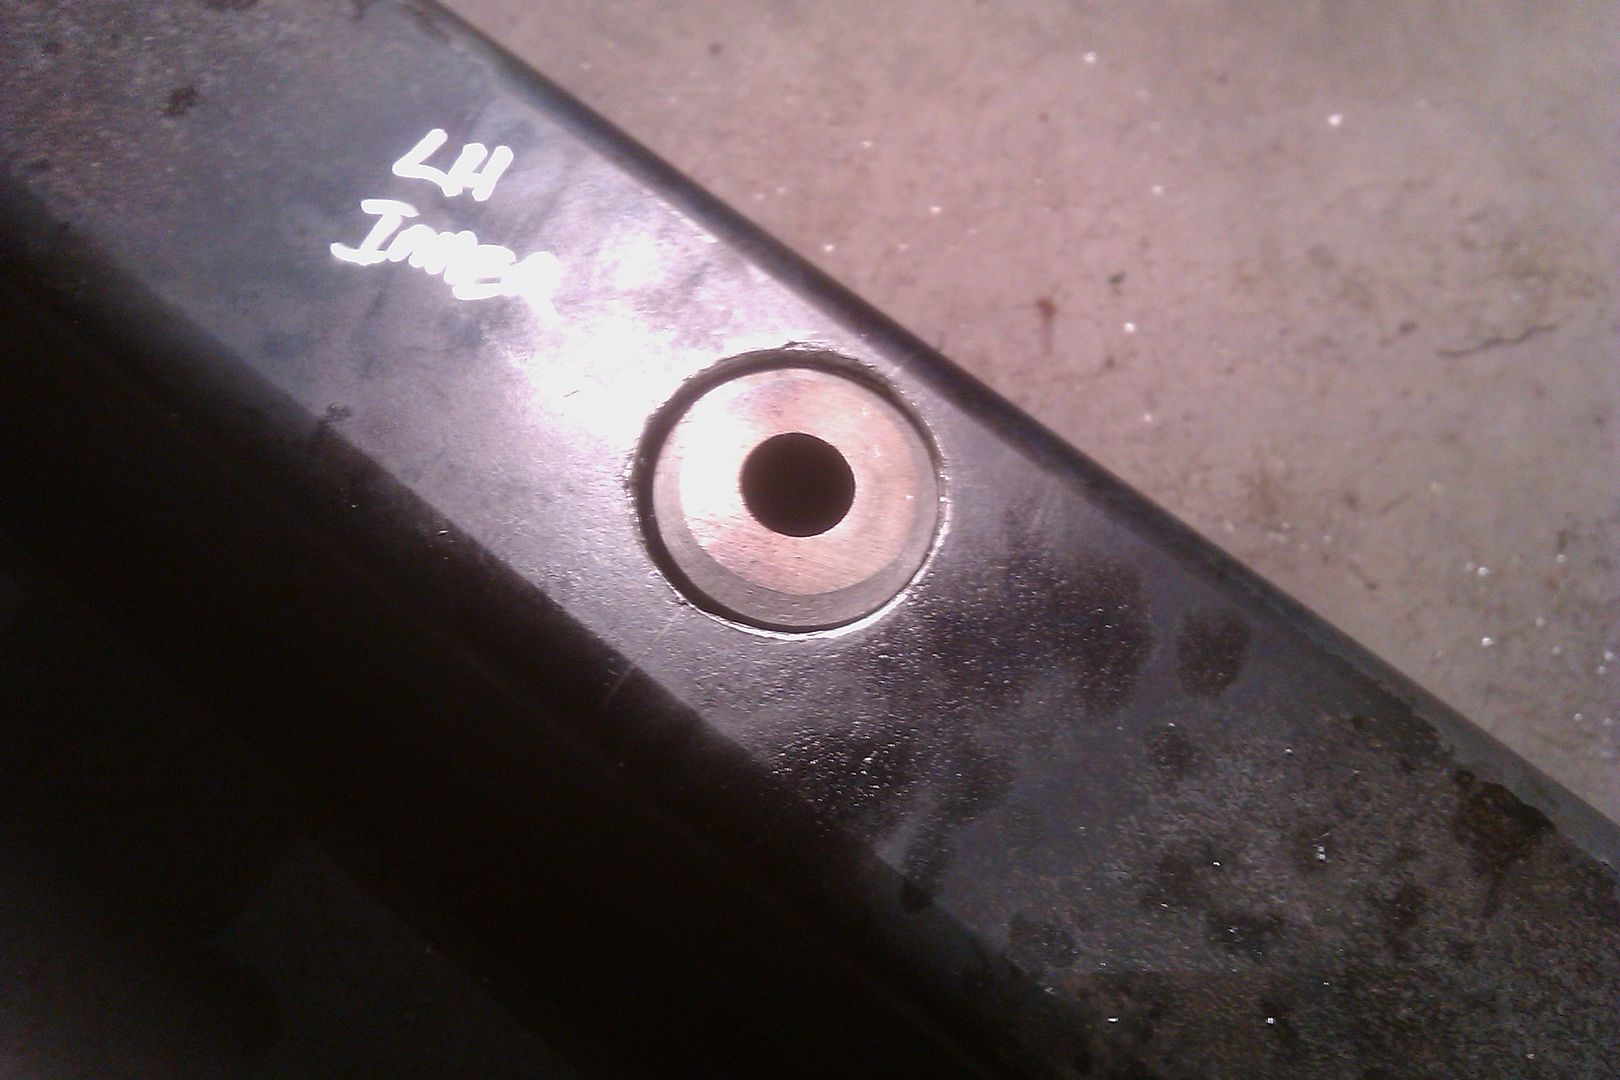
The inboard mounting holes presented a problem since they are in the middle of the bumper and access would have been pretty hard no matter what. I really want the frame to be sealed when its finished. The tapered cuts on the end are going to get some simple strap caps that leave the outer mounting bolt exposed. I decided to make a little sleeve that integrated a mounting bung. I need to be able to weld up both sides so just a sleeve inserted from the bottom wouldn't work. I made two of these little bushings in the lathe really quick out of some 1" bar stock to fit into some 1" tubing I had in the scrap bin. The tubing was JUST big enough that I can insert a socket up the tube to get at the bolt head or nut.

IMAG0287.jpg


I welded the inserts in the tubing and then turned down the bead on the lathe, faced the end, and put on a taper for welding.

IMAG0288.jpg


I drilled both sides of the bumper with a 1" hole saw for the tube to pass through. This was a pain. I need to get some better clamps for my mini drill press. I ended up doing them with a hand drill in the vise standing on the table....

IMAG0291.jpg


They will sit in the tubing like this. I might need to make a little jig to hold the top flush for welding and square up the bottom. Once they are welded I will sand them flush on the top.

That's it for now, more later....
 

Forum statistics

Threads
188,351
Messages
2,903,664
Members
230,227
Latest member
banshee01
Top