Rango.....1942 Willys MB

Metcalf

Expedition Leader
Dang...Long day of being an idiot just got worse. lol! Sorry. IIRC, there is a seal built into your 18s output that keeps (sometimes) the fluid in the case and not in the drum brake? Maybe with some machinging skills you could alter one to work..? You could also look at motorcycle and scooter disc brakes as an option for a small disc? Maybe even use the handle bar lever to actuate? :)

No worries man, ideas are ideas.

I have thought about building a new output housing in order to make a rear driveshaft disconnect for front wheel drive only :sombrero: I don't think making a new output housing would be THAT hard. A nice billet steel rear output would be a nice upgrade in the strength department....then I just need to find someone to make a 300M output shaft....
 

jeepdreamer

Expedition Leader
300M? Sounds like a diesel engine... :)
FWIW you can call Novak and usually talk them into making a custom whatever. Shaft, spline counted widget...whatever. I have a friend that put a BMW turbo diesel motor and auto tranny in front of an NP231. Novak made the adapter for that.
 

Metcalf

Expedition Leader
That is good to know about Novak. I need to talk someone into making a new main shaft for my SM420 for the short adapter but with the 6-spline end for the D18 input gears. A stronger rear output for the D18 would be nice....and maybe front output and coupler.

I do like making my own stuff though.

I'm still looking for an innovative solution for my mini D18 front output yoke also. I've ran it for a decent amount of years now without issue, but I think having something stronger would be nice. There just isn't a lot of room.....at all! Some stonger alloy would probably be a good start.
 

reece146

Automotive Artist
Would adding a PTO output on the back of the Dana 18 and then adding the e-brake there help at all from a packaging point of view?

It would allow you to run a longer rear shaft too since the e-brake wouldn't be in the rear output driveline.

JAT
 

Metcalf

Expedition Leader
Would adding a PTO output on the back of the Dana 18 and then adding the e-brake there help at all from a packaging point of view?

It would allow you to run a longer rear shaft too since the e-brake wouldn't be in the rear output driveline.

JAT

Thanks for the pics. For some reason I thought you had a t-case mounted brake.

PTO output e-brake. I hadn't thought of that one. I think it would make things a little worst since there would have to be a larger tunnel cover over the PTO area. I could hide it in the center console :elkgrin:

The difference between an e-brake mounted on the rear output and not would probably be less than 1" in driveline length. For a flat fender, my ultra short transmission adapter lets me have a fairly long rear driveline. I am moving the axle back a few inches and the motor is going forward 1" so the rear driveline length shouldn't be too big of an issue. I would mount the disc to have back of the drive flange like the stock drum is....so no change in length when I add it later.

Thank you very much for all the input and ideas. I really do like the questions and comment to get my brain in gear. It makes me want to build even faster :sombrero:
 

reece146

Automotive Artist
Thanks for the pics. For some reason I thought you had a t-case mounted brake.

Yeah, it's the same principal though. All the bracket is composed of is some 3/8" steel plate cut to shape with some angle iron welded on at 90 degrees to act as the calliper carrier. I welded it to the axle tube but it is drilled for the bolts that hold the spindle on. You could bolt it to the back of the transfer case I'd guess. Re-use the existing bolt holes for the e-brake you have now. Or something like that.

Maybe you could source a rotor and caliper from a Austin Mini or a go-kart or something. I think the Wilwood calliper I am using is actually a go-kart part.

Again, just some ideas. :)
 

Metcalf

Expedition Leader
I can have the rotor laser cut...no big deal.

The caliper just needs to be simple. I think some snowmobiles have disc cable parking brakes on them?

There really isn't a lot to mount to on the back of a D18. My best bet would probably be to use the PTO cover bolts and extend the mount down to the rear output area. I may be able to use the rear housing mounting bolts, but I think the mount would get pretty complicated pretty quick. I should just make a new rear output housing with an integrated disc e-brake caliper mount :elkgrin:
 

jeepdreamer

Expedition Leader
Switching gears a lil.. Have you thought of sourcing an old Offy or Edelbrock intake for the Buick? You could delete the need for a spacer as well as shave some weight off the motor.
 

Metcalf

Expedition Leader
I have thought about it, but I haven't seen any 2bbl intakes in aluminum. I just don't think this little guy needs a 4bbl really.

I have played with some small 390cfm 4bbl carbs that worked REALLY well off-road but they where highly modified units from the good old days before fuel injection.

Are the aluminum intakes THAT much lower? Anyone have a measurement from the top of the head or something?

I think some of the early FWD cars had some interesting intakes that might have been lower. I think the 3.0 (?) version of the buick had a shorter deck height though.
 

Metcalf

Expedition Leader
I didn't seem to get that much time on the project this weeekend, but I did make a little headway.....

100_0244.jpg


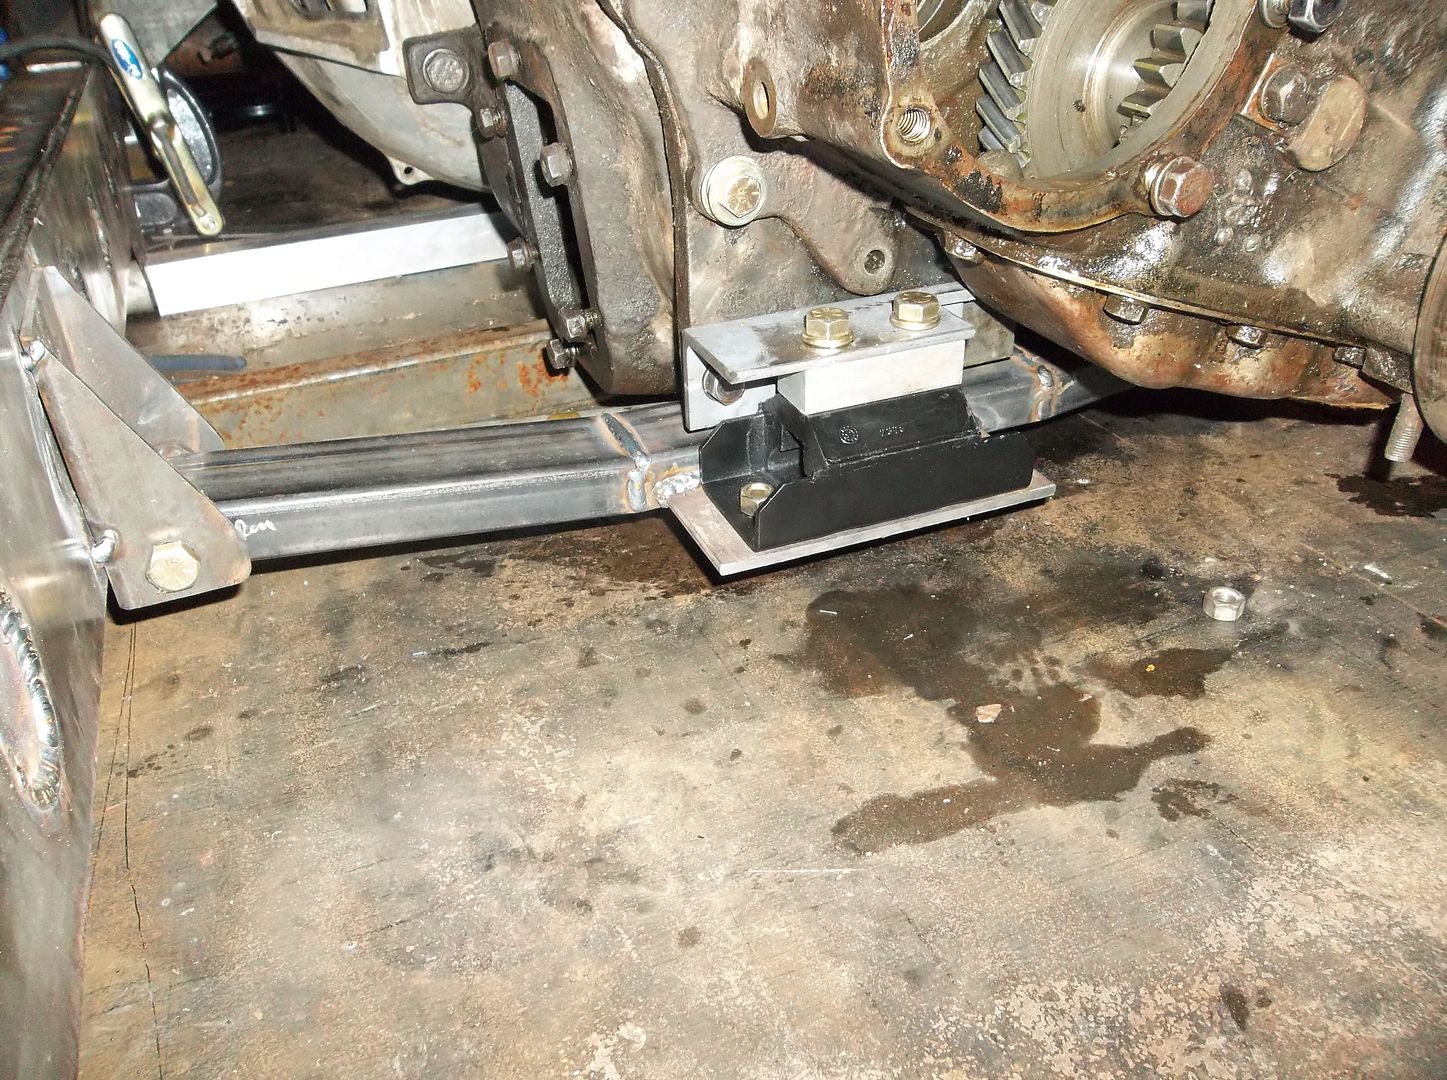
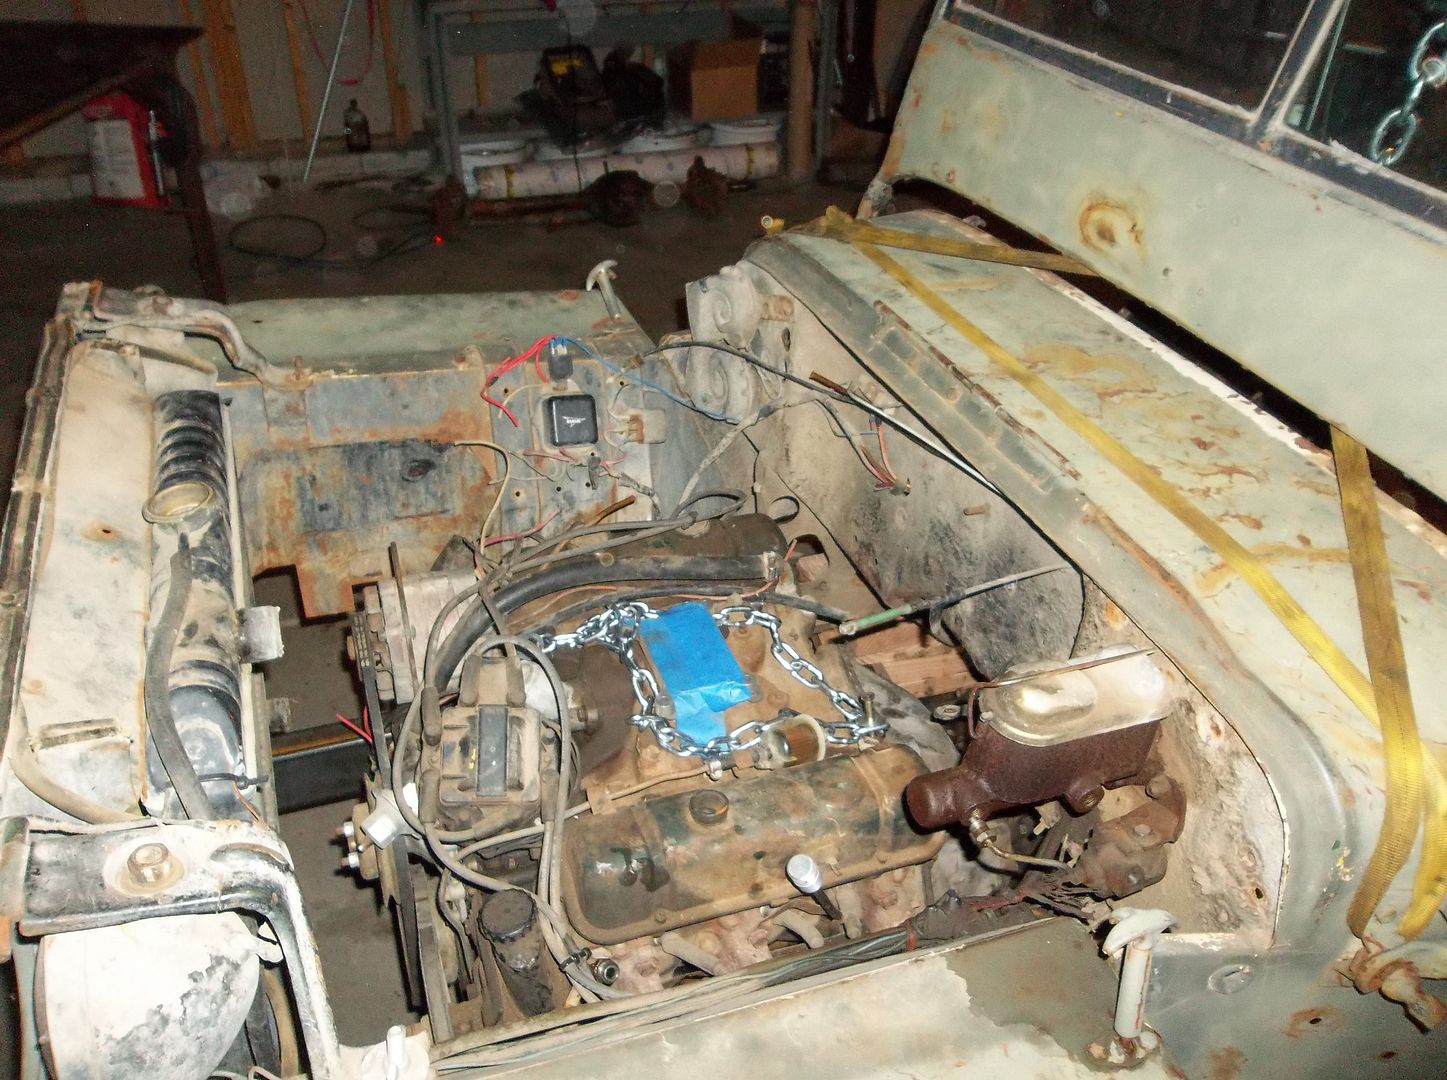
I tacked the engine mounts and pulled the hoist off the motor. Then I built a crossmember to hold up the transmission and transfer case. Things sure are tight on a flat fender chassis!

I used some 1x2, 3/16" wall tubing to squeeze a crossmember directly under the transmission/tranfer case adapter. I was about to use the old transmission mount holes to hold a simple angle iron bracket that allowed me to mount your standard GM transmission mount behind the adapter just under the PTO output. Overall it worked out pretty good. It was really tight but I was about to get the transmission mount flush with the bottom of the crossmember.

I still need to trim the brackets at the frame to smooth out the transition to the frame a little bit. I just couldn't get the entire thing as flush and trim as I wanted, but overall its not too bad I think.

I can adjust the height of the transmission my changing the small aluminum spacer. After I put all the weight on it, I am pretty sure I need to add another 1/4" in height to get everything where it is suppose to be.

There will be an 8" wide skidplate on the bottom of the crossmember that goes all the way forward to the motor mounts and under the transmission, bellhousing, and oil pan. I am probably going to make this out of some 3/8" aluminum plate. I may also include a small extension that goes back behind the transmission mount and perhaps a 'wing' that goes over to the transfer case outputs.

The drop of the entire mess will be about 1.5", it was all a compromise for sure, but I think this will work out ok all around.

I need to add a few more little braces here and there, round some corners, and trim down the frame brackets a bit......

The frame will be going on the jack stands on the floor next so I can lower the height of the entire thing enough that I can get the body flown over the top and set into position after trimming the tunnel out!

It might look kinda like something again soon!
 

Metcalf

Expedition Leader
Are wood body lifts booty fab.....

100_0251.jpg


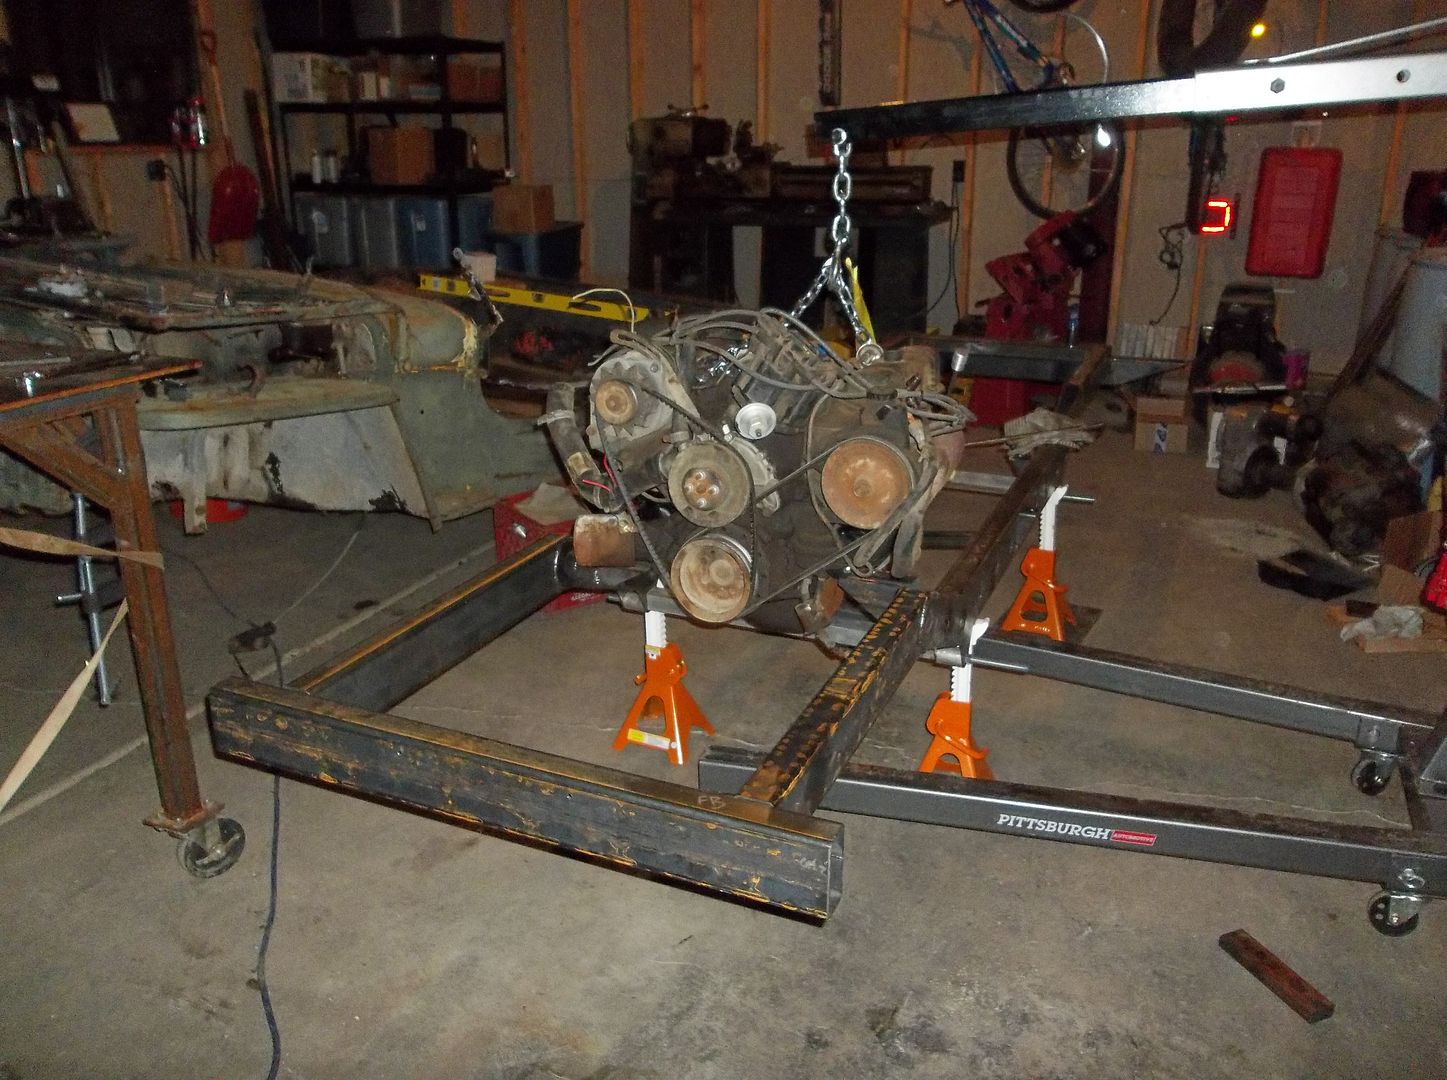
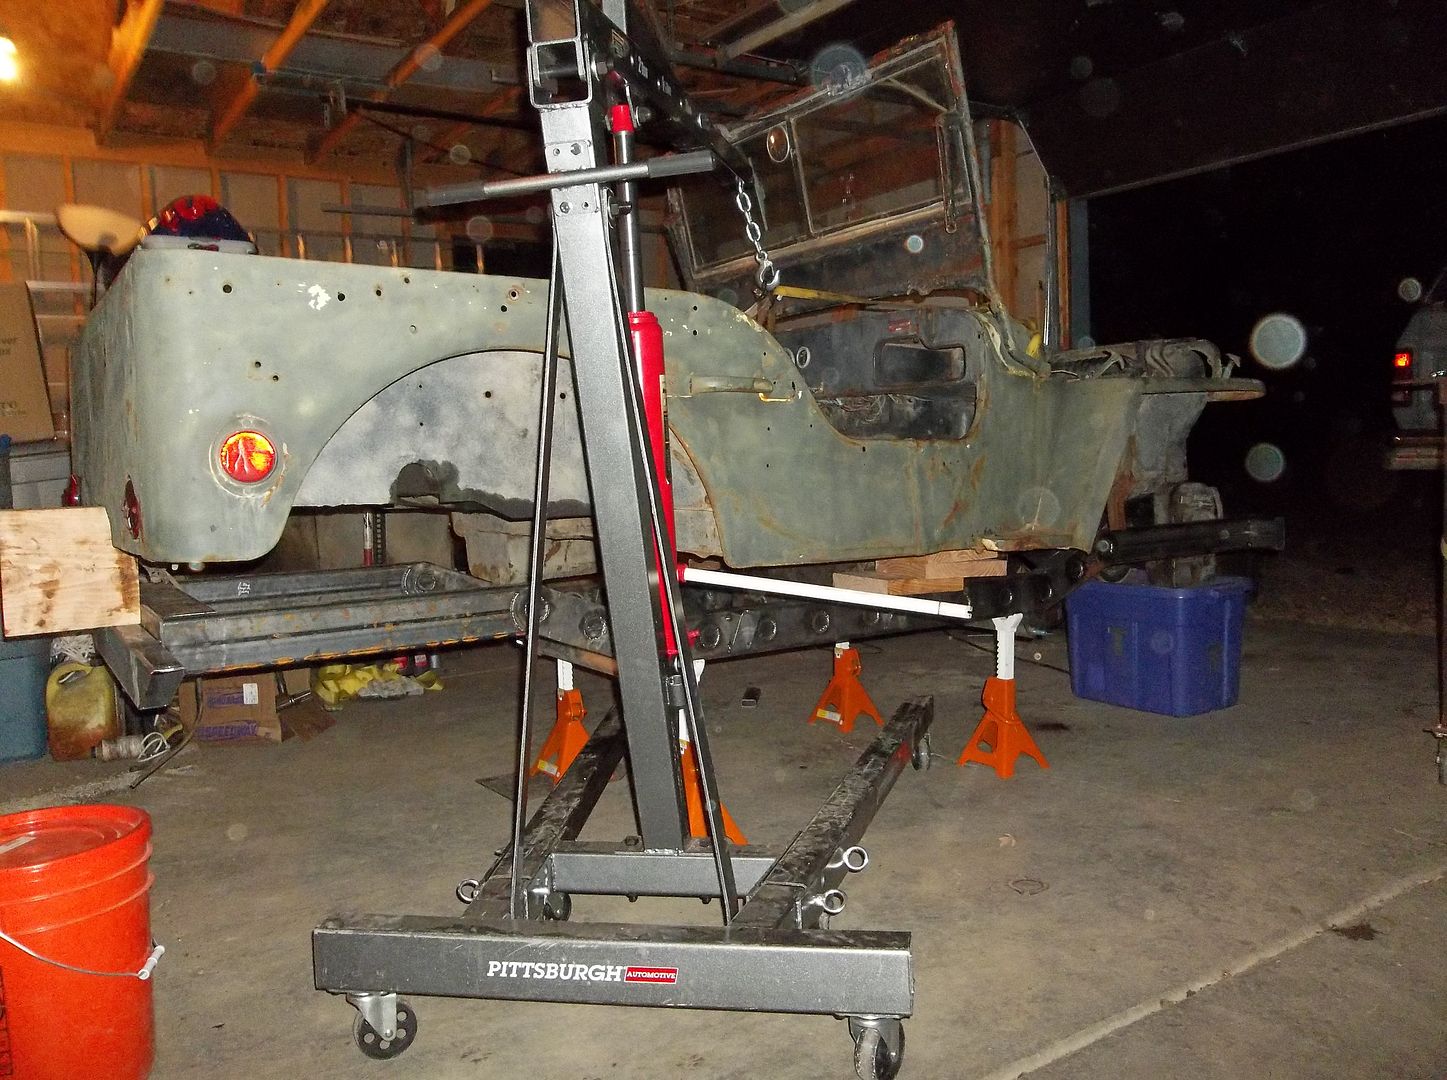
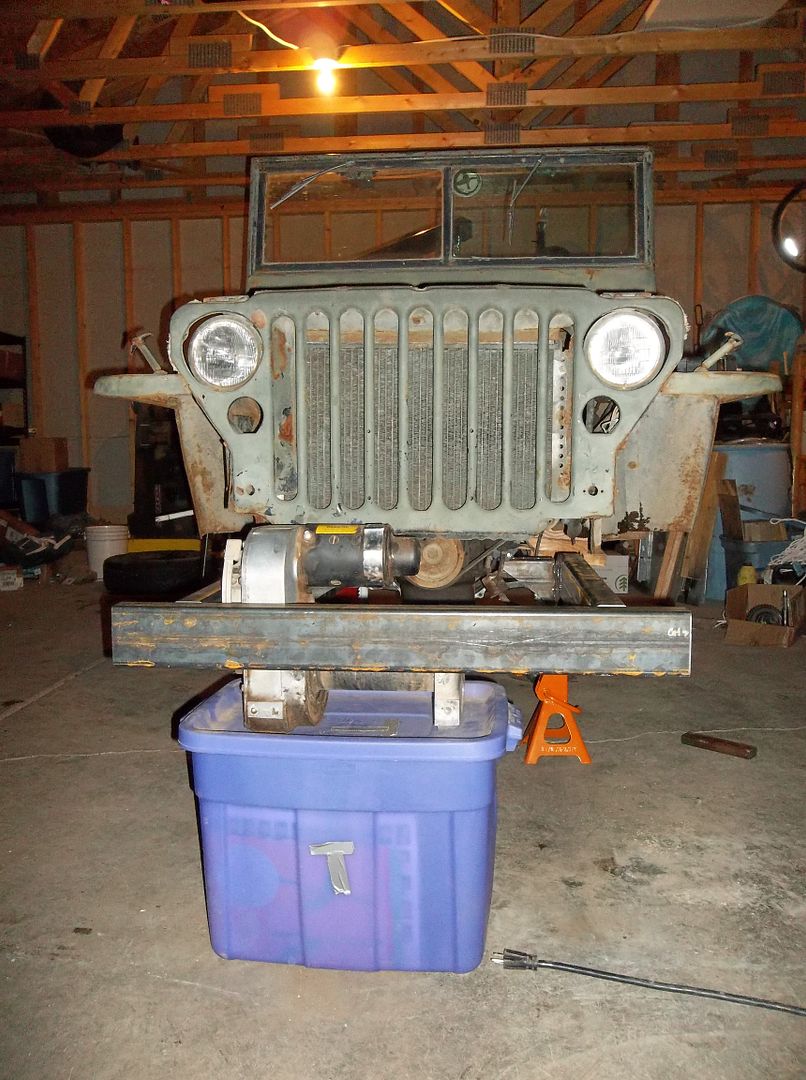
I pulled the frame off the table. Engine/transmission/t-case first. Everything came apart pretty easy. A ratchet strap on the rear of the D18 makes the entire mess fairly easy to move around with the hoist. I had to play a little bit of three card monty to get the frame off the welding table, move the welding table, then remove the jack stands under the tub, then use the jack stands to hold up the frame, then stick the powertrain back in the frame, then move the body over the frame.......DDDAAAANNNNGGGGGG!

100_0261.jpg


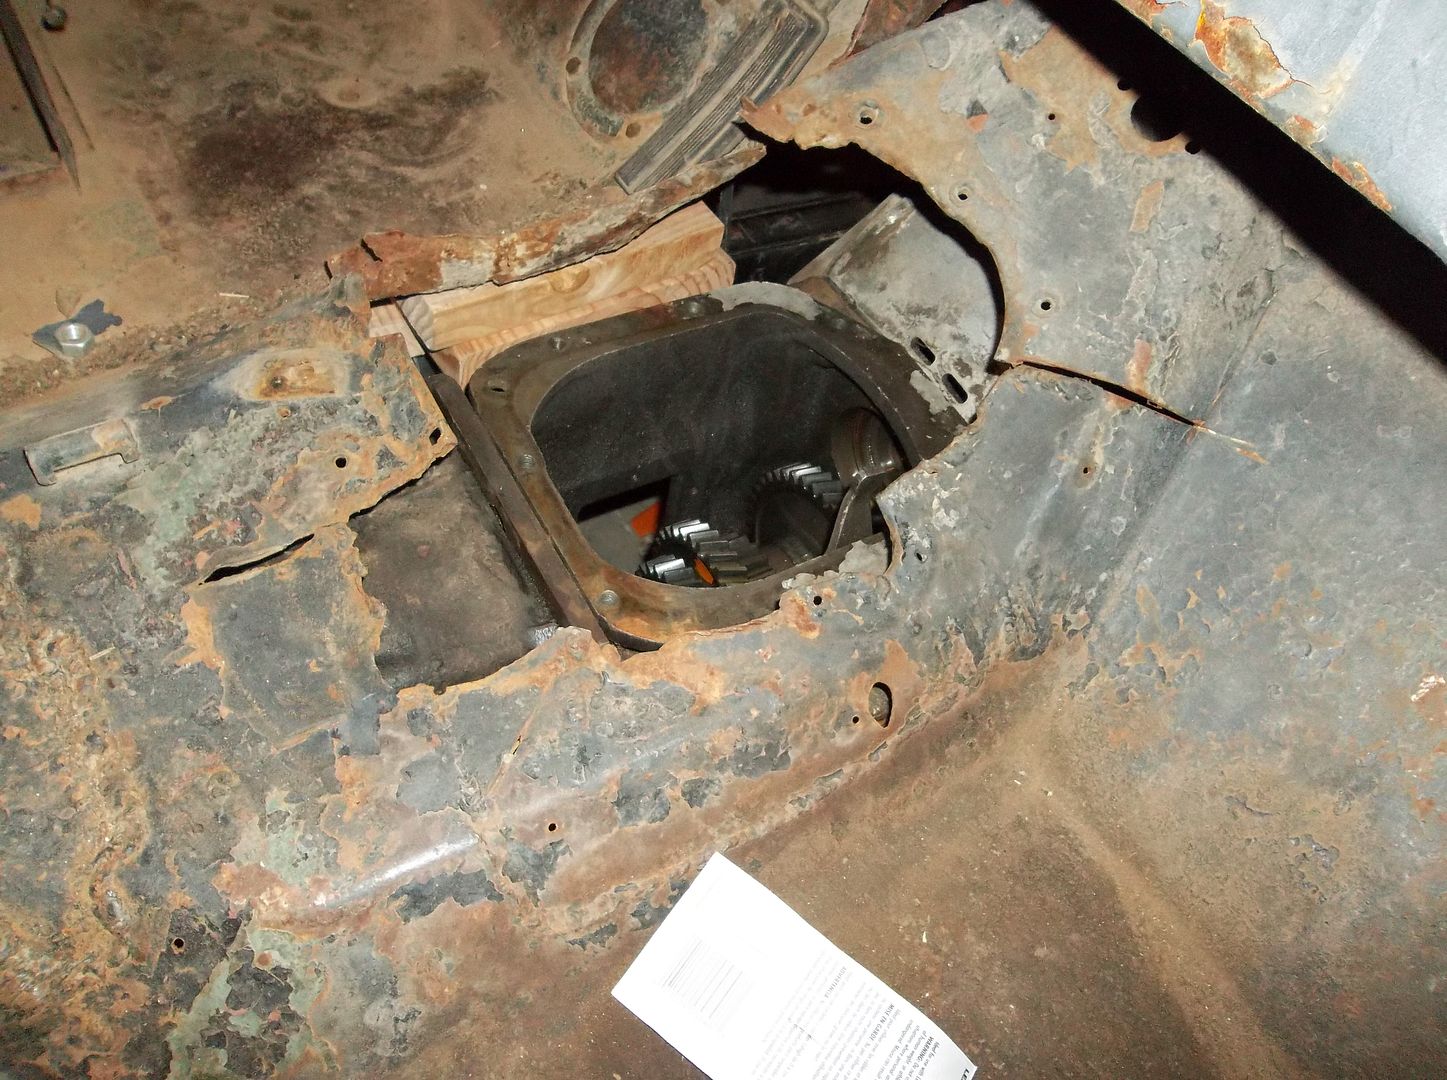
Now I get the REALLY fun job of trimming out the tunnel for the new engine, transmission, and transfer case dimensions. That will probably be what I am doing all week!

100_0260.jpg


I couldn't help it, I had to see kinda what its going to look like....

100_0265.jpg


Not really as much room up front as it looked like! The body isn't its perfect location on the frame, but the grill still has to go forward 1.375" and there will probably be a 1/4" thick winch plate too. I think I am only going to end up with about 1-1.5" behind the winch before the grill. It should end up looking almost stockish....

100_0255.jpg


The engine has some room, but not a lot. The grill is still going forward, but its going to be pretty tight in the end still!

100_0254.jpg


Lets just say I have a little work to do on the tunnel reconstruction and modification.....
 

Metcalf

Expedition Leader
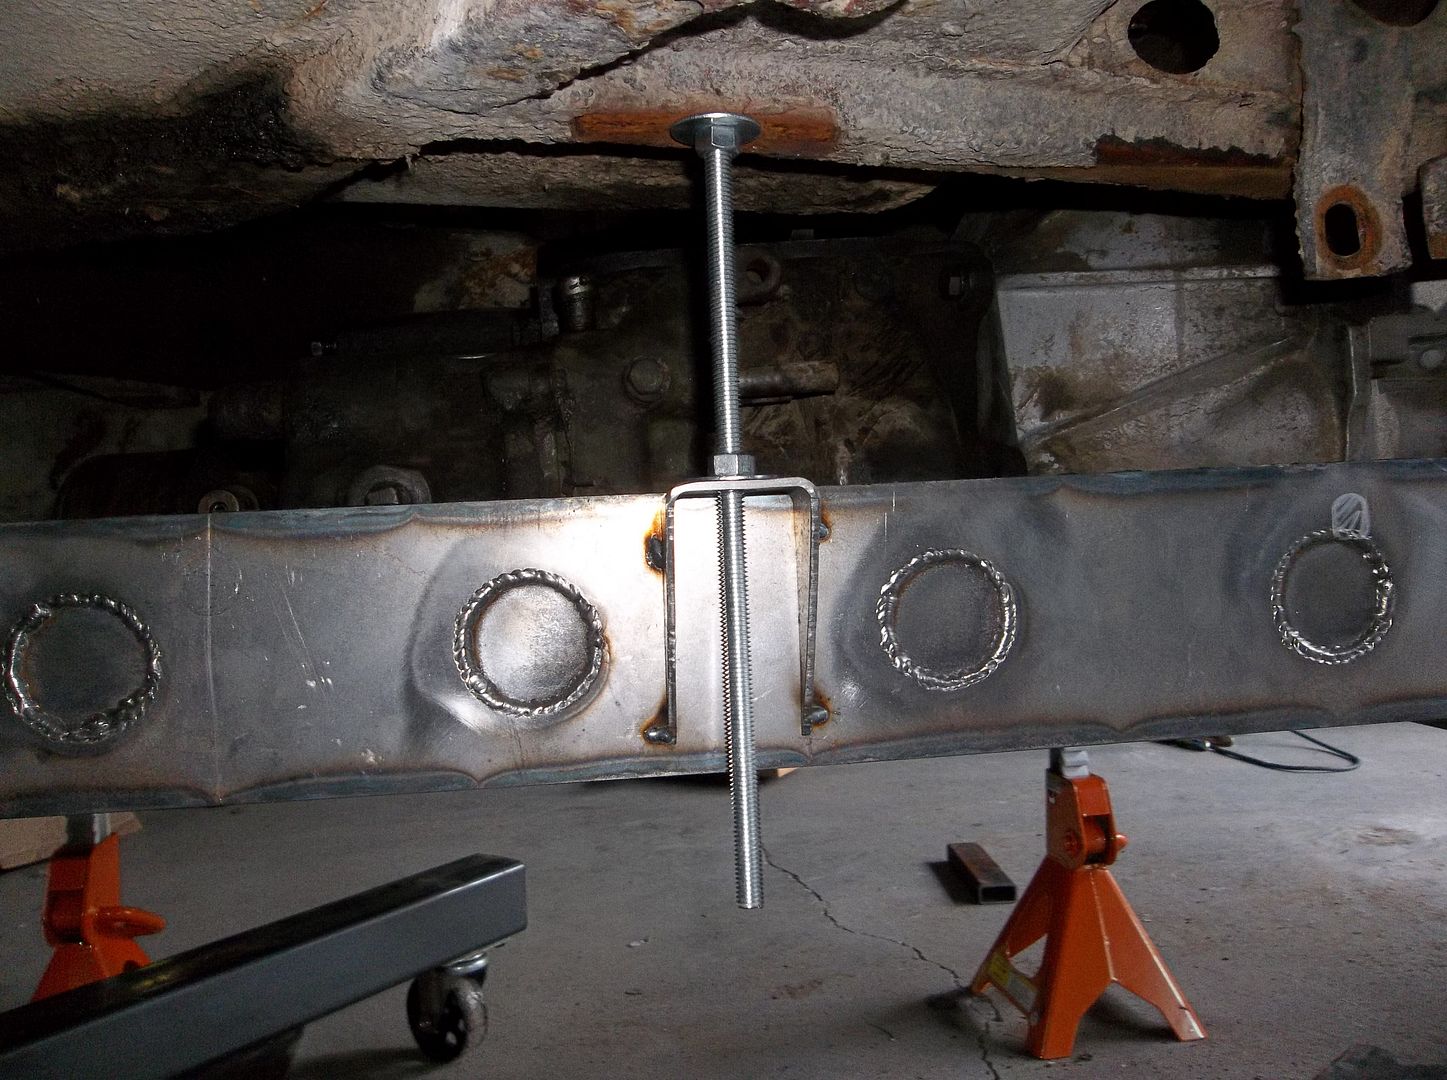
I decided I didn't want to cut the tub so I made a body lift....

100_0268.jpg


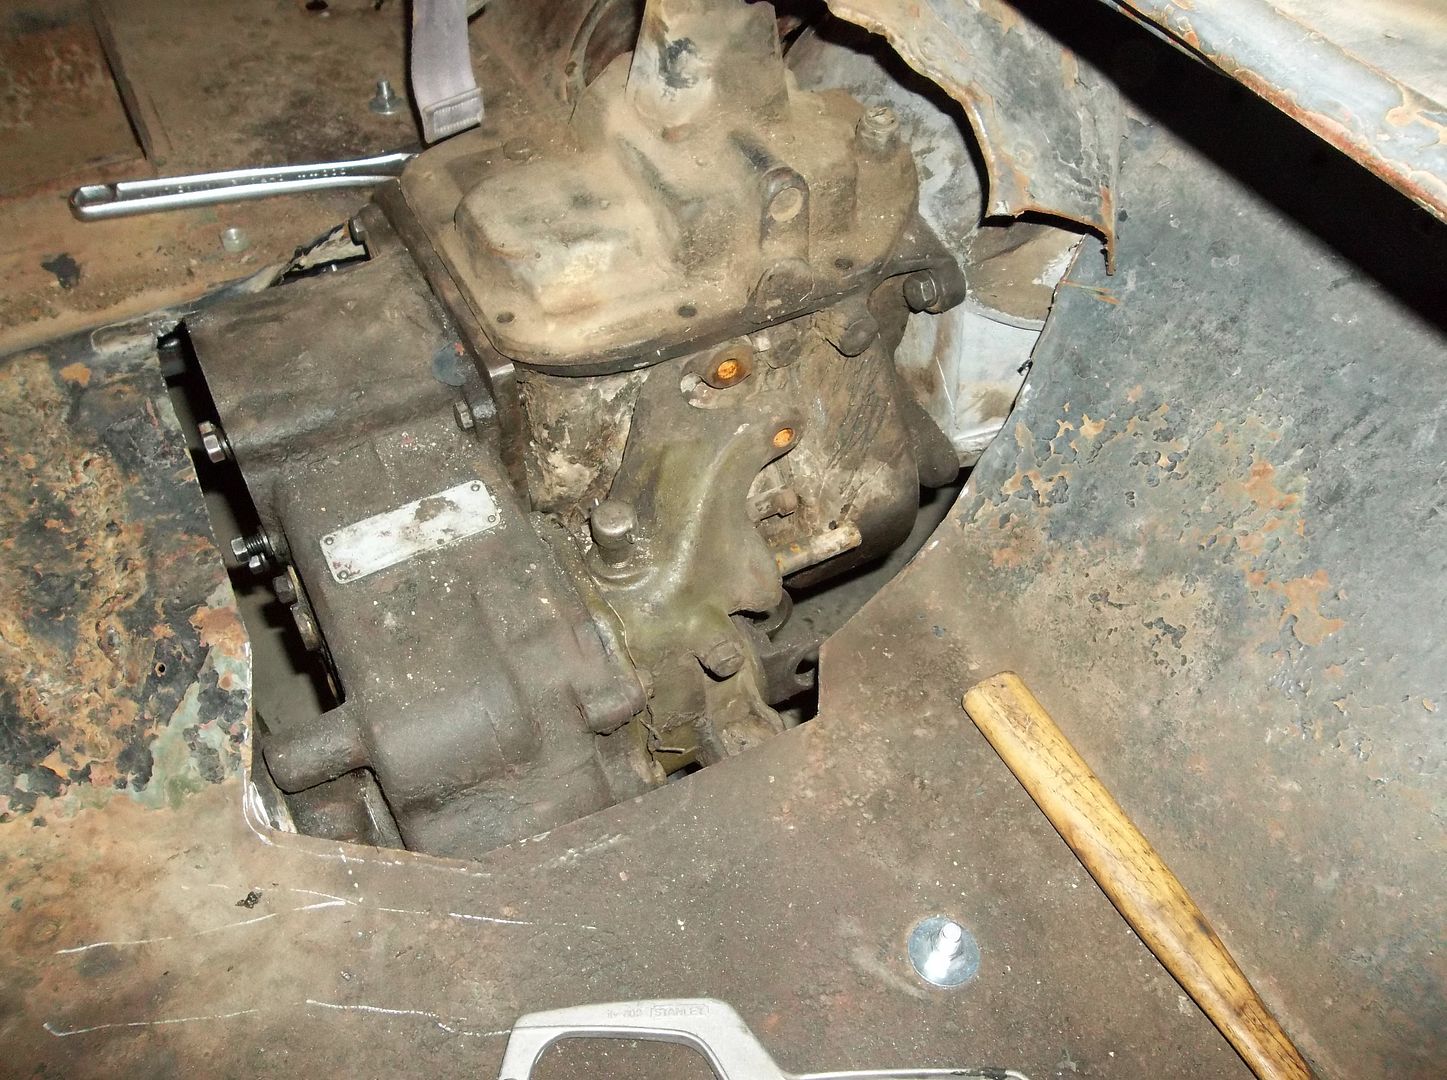
Just kidding, this was an easy way to index the tub over the frame while I started trimming out the tunnel. Overall it went pretty good, I still have more work to do. The most problematic area is the firewall over the top of the bellhousing. That is going to work. The area under the fuel pedal needs some modification. Its pretty tight in that area. The body still needs to go down about 1/2 to 5/8 of an inch...and the transmission and t-case are going to come up another 1/4". Trimming the firewall out is going to be a pain in the rear I think.

100_0283.jpg


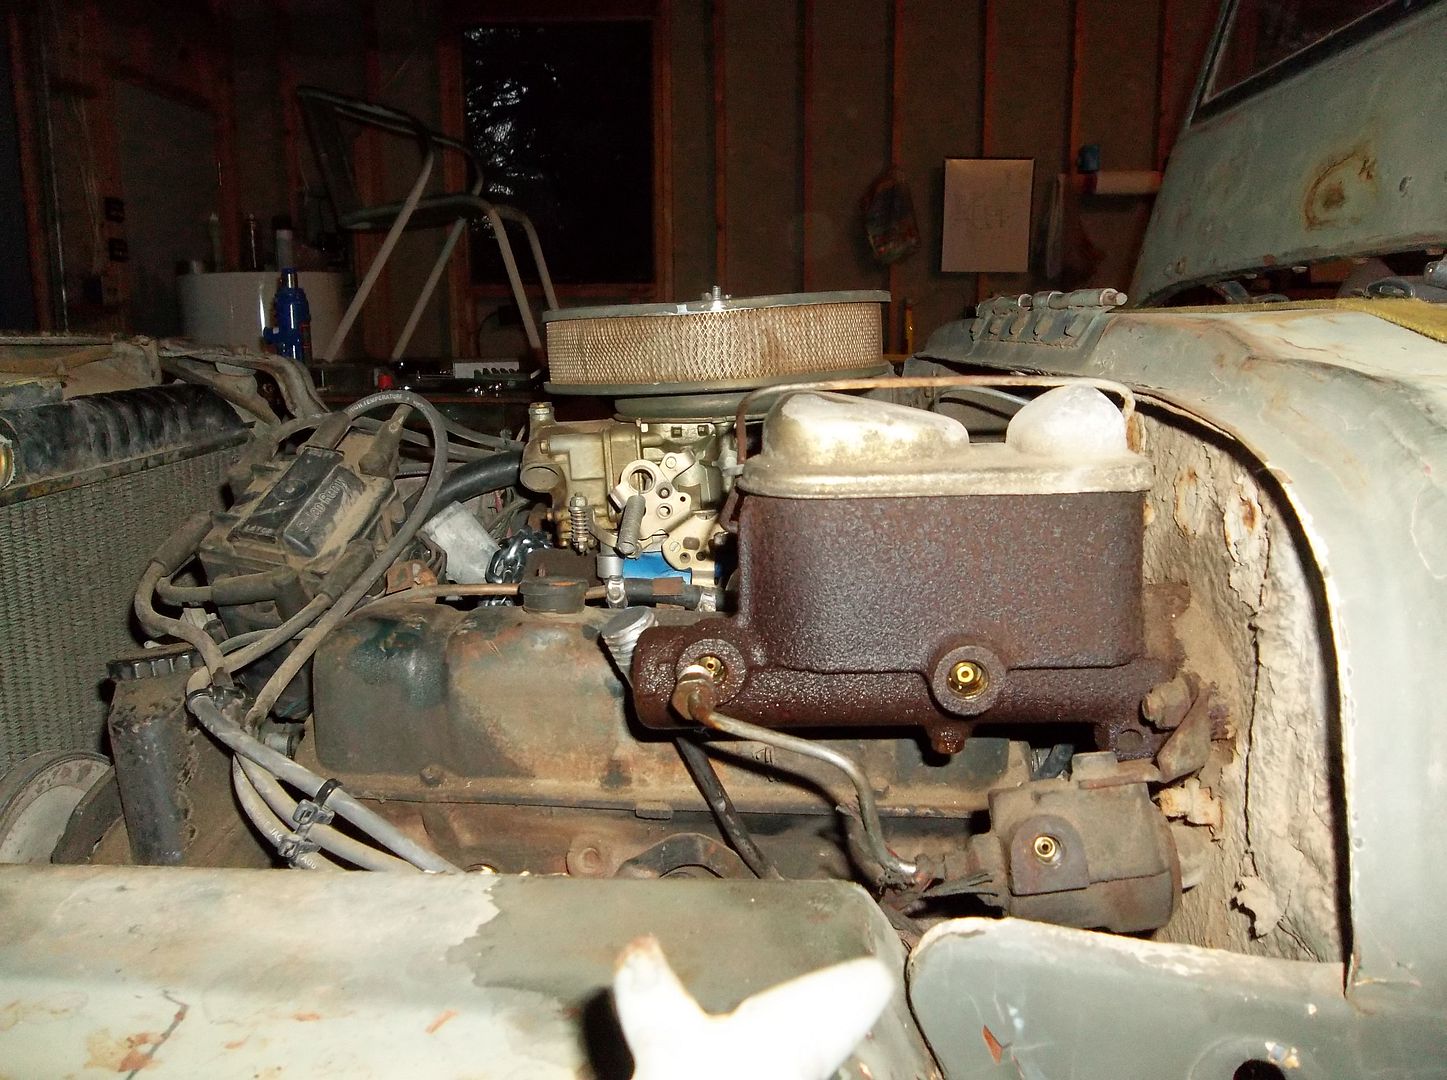
This is where the carb is sitting right now. I just don't know if I am going to be able to get a carb under the hood.

100_0285.jpg


The all-thread body lift worked great to let me lower the body a little bit at a time and keep it indexed over the body. I think that worked out really good for a few bucks in parts. It will also allow me to lift the body up and down a few times without having to use the hoist. It takes a little bit of time to raise the body up or let it down but they where strong enough to let me stand in the tub while I was trimming.

100_0279.jpg


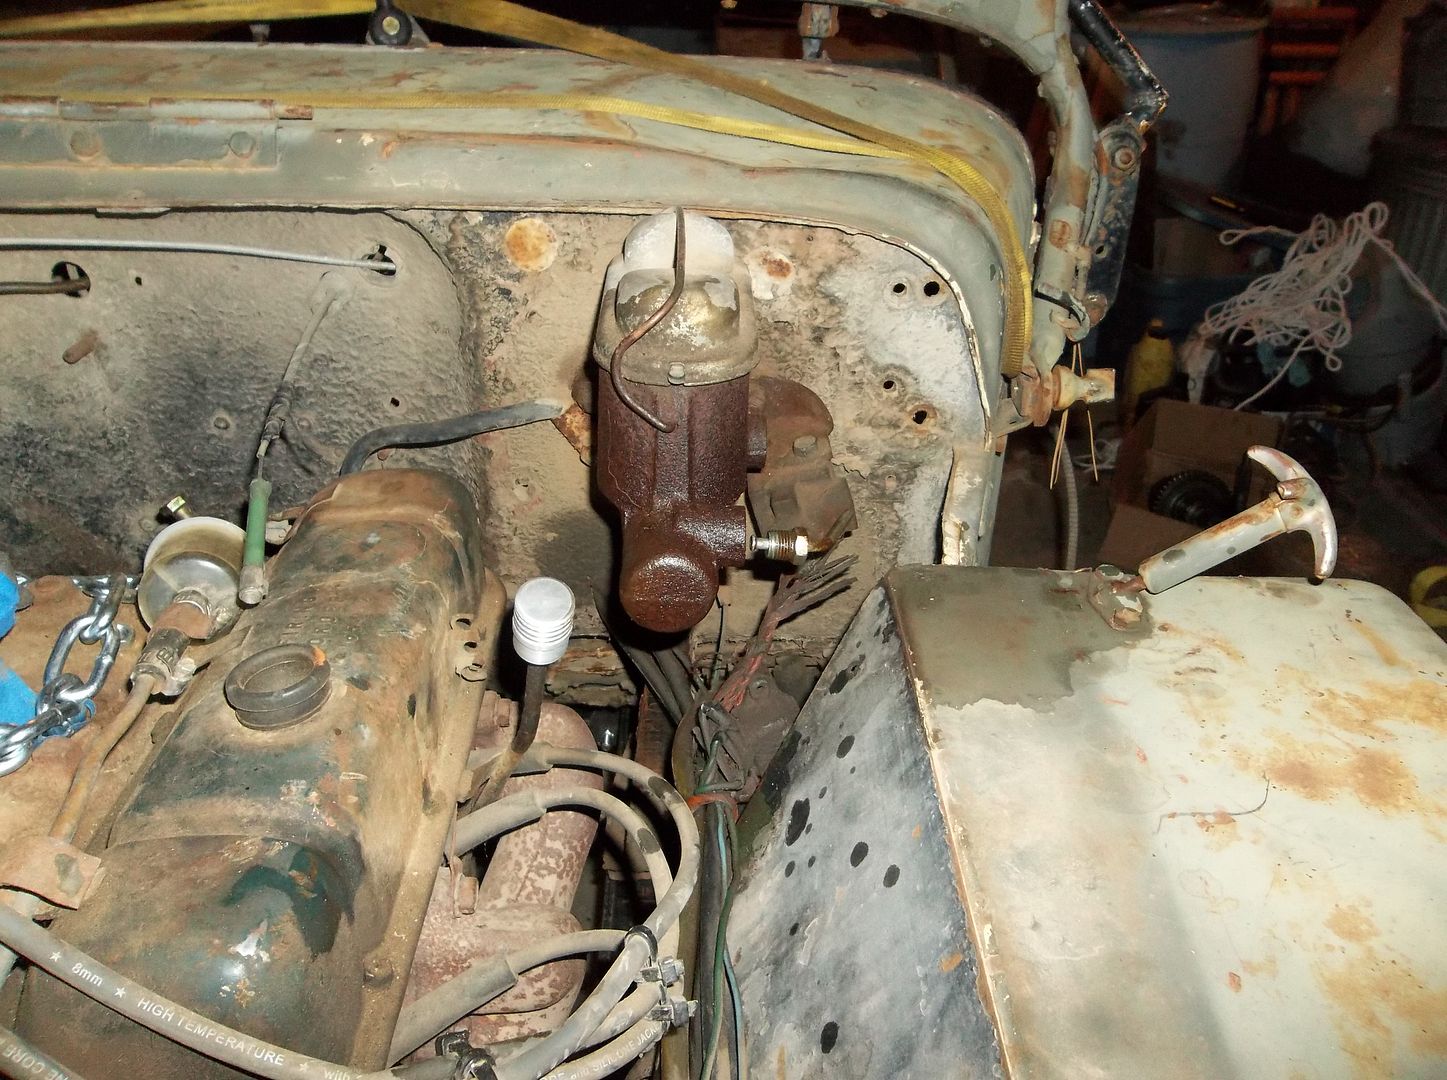
Overall the engine position worked out pretty well. I think I should be able to fit an XJ sized booster on the firewall like I want to. The engine seems to be in a very good position for firewall clearance, other the bellhousing, but I think with the tucked drivetrain its impossible to get away for the issue without moving the motor forward another inch or two. At that point, even with the V6, the radiator will become a problem.

The other area I had an issue with was the rear output clearance with the hat channel on the body. I just don't think an e-brake is going to fit on the back o the transfer case. I will probably change to a short 1310 yoke and get rid of the flange.

I still have a decent amount of trimming to do, but the basic layout is there.
 

reece146

Automotive Artist
Ack!

You had me there... I was getting "angry" when you said you were adding a body lift.

LOL

I'd really start looking at what to do about the carb height now. In the image above it is worrying.

Put the e-brakes on your rear disks. Is your rear axle disk already? I recommend sourcing a caliper with the e-brake built in.
 

Forum statistics

Threads
188,345
Messages
2,903,701
Members
230,176
Latest member
Arcadia1415
Top