Rango.....1942 Willys MB

MrBeast

Explorer
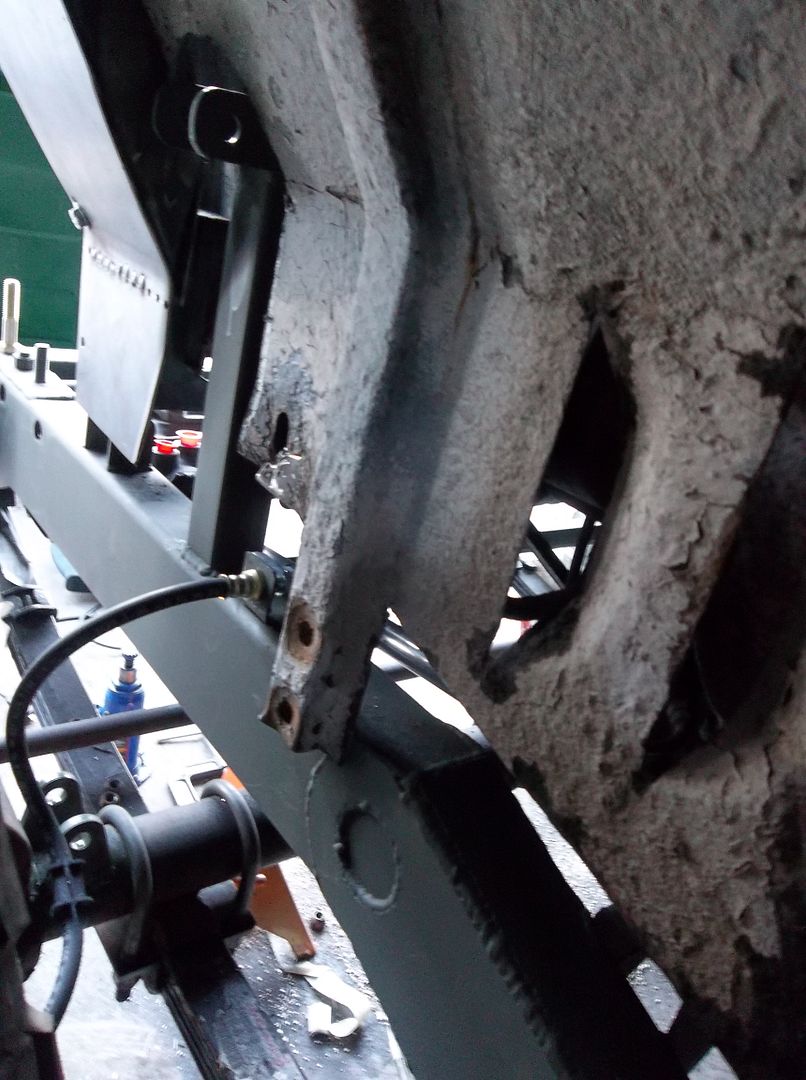
With the super light vehicle having the shock work at 50% might not be that bad....

I couldn't get the shock outside the tub with the narrow (54" wide ) rear axle, just not enough room between the tire and the tub.

In a perfect world the wheel tubs would not extend out past the outside of the frame. Then I could stand the shock up anywhere I want. If I was gong to build another tub from scratch I would make the floor only be 29" wide instead of 32.5" wide. I've had my fill of sheet metal mods for now!

I hear you there, I am ready to be done with mine, I cant wait to be driving the damn thing. This thing better last a loooooong time! lol
 

Metcalf

Expedition Leader
It will be really nice to have it driving around again, that is for sure!

I don't think it will ever be 'done' but hopefully most of the future projects will just be weekend or evening type stuff where I won't have to tear down the entire vehicle again!

The list for future 'little' projects is growing and growing....rocker guards, 5.38s, lockers, alloy axles, etc.
 

MrBeast

Explorer
Yeah they get deeper and deeper and deeper and deeper, I know on mine I decided I am going to get a dana 60 rear and do a 6 lug full float. So that is going to cost a few pesos.

I am probably another 2 grand away from being able to drive mine. and 5 grand away from having it where I want it. It goes so fast.
 

Metcalf

Expedition Leader
Busy night. I'm not going to bother with pics tonight....

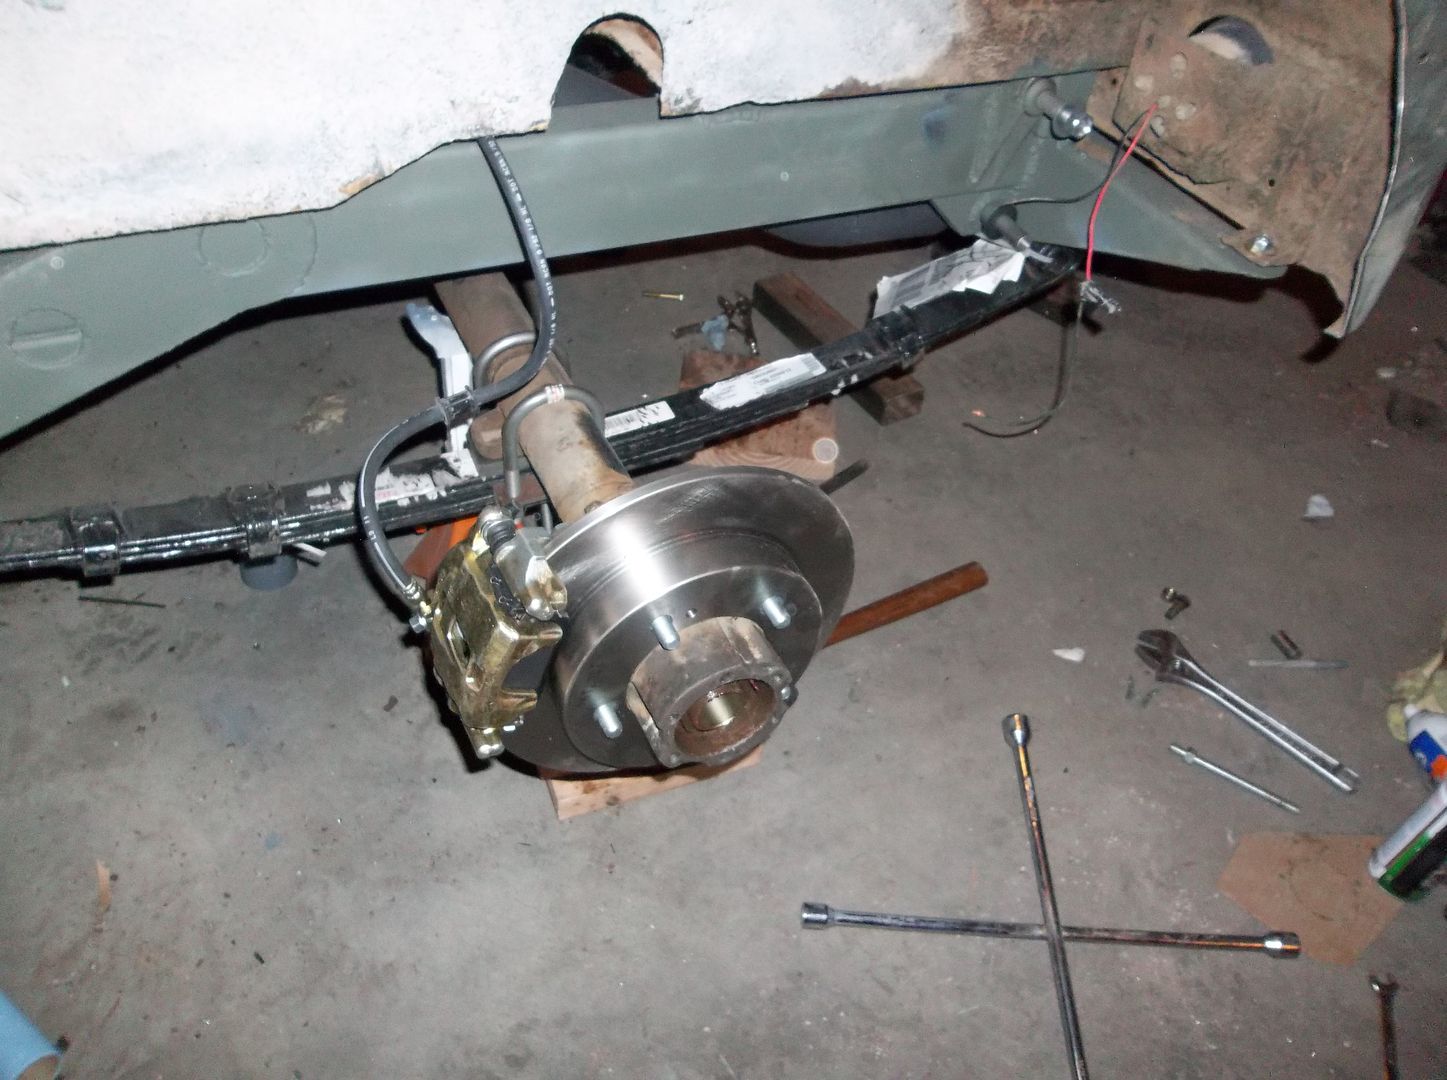
I got the drivers side front and rear shock mounts built/welded/painted along with assembling the brakes on the same corners. They look the same as the other side I already posted pictures of. The rear full float axle is also together on both sides now. It looks the same, only the axle shaft is longer on the drivers side......

Lesson learned. When you modify the brake rotors to fit on the Jeep bearing hubs make sure you drill out ALL the stud holes, not just 4 of 5. That threw me for a loop. I thought the spindle and bearing hub was bent! Opps.....
 

Metcalf

Expedition Leader
I had a productive evening....

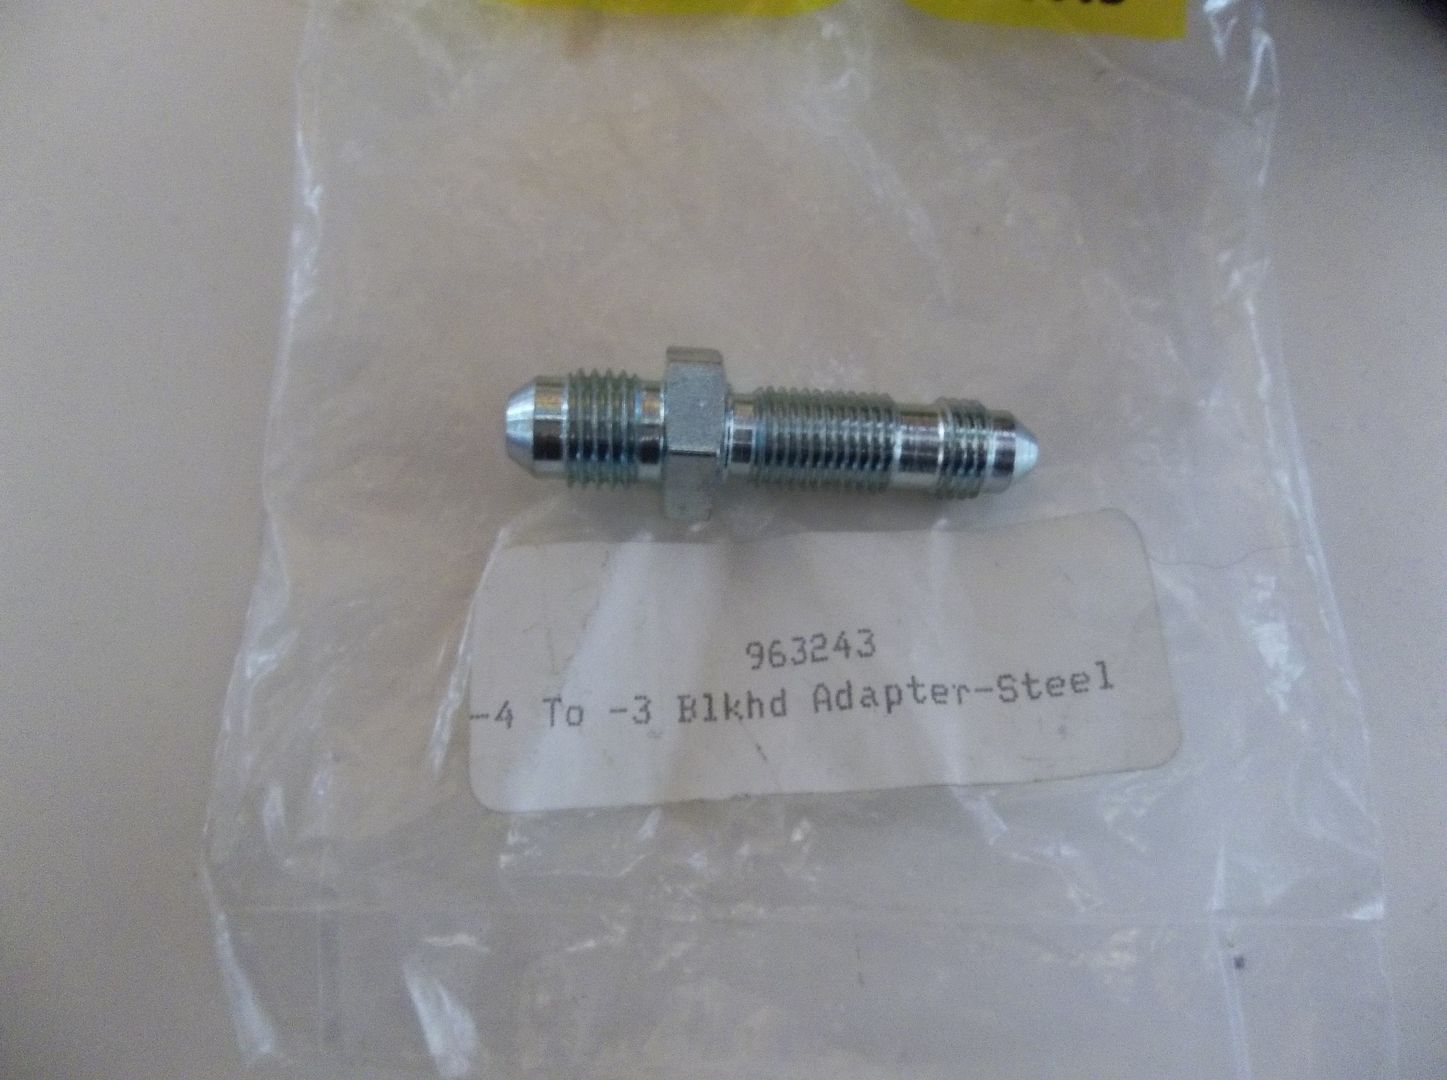
First I made a new fitting for my clutch master cylinder. The speedway/afco/wilwood units all come with an adapter to female 3/8 brake double flare. I purchased an adapter to go to AN-4 male from that but once I put it all together it was to long and the cluch hose ( with a 90 fitting ) ran into the firewall/cowl lip on the flat fender.......

So. After a little digging and thinking I got one of these.....

100_0967.jpg


This is an Earls 963243. It is AN-4 male on one side and AN-3 male ( bulkhead ) on the other.

I had tested before ordering this fitting that the base threads on the clutch master where compatible with an-3. A normal AN-3 male fitting almost works, but its not long enough to seat at the bottom.

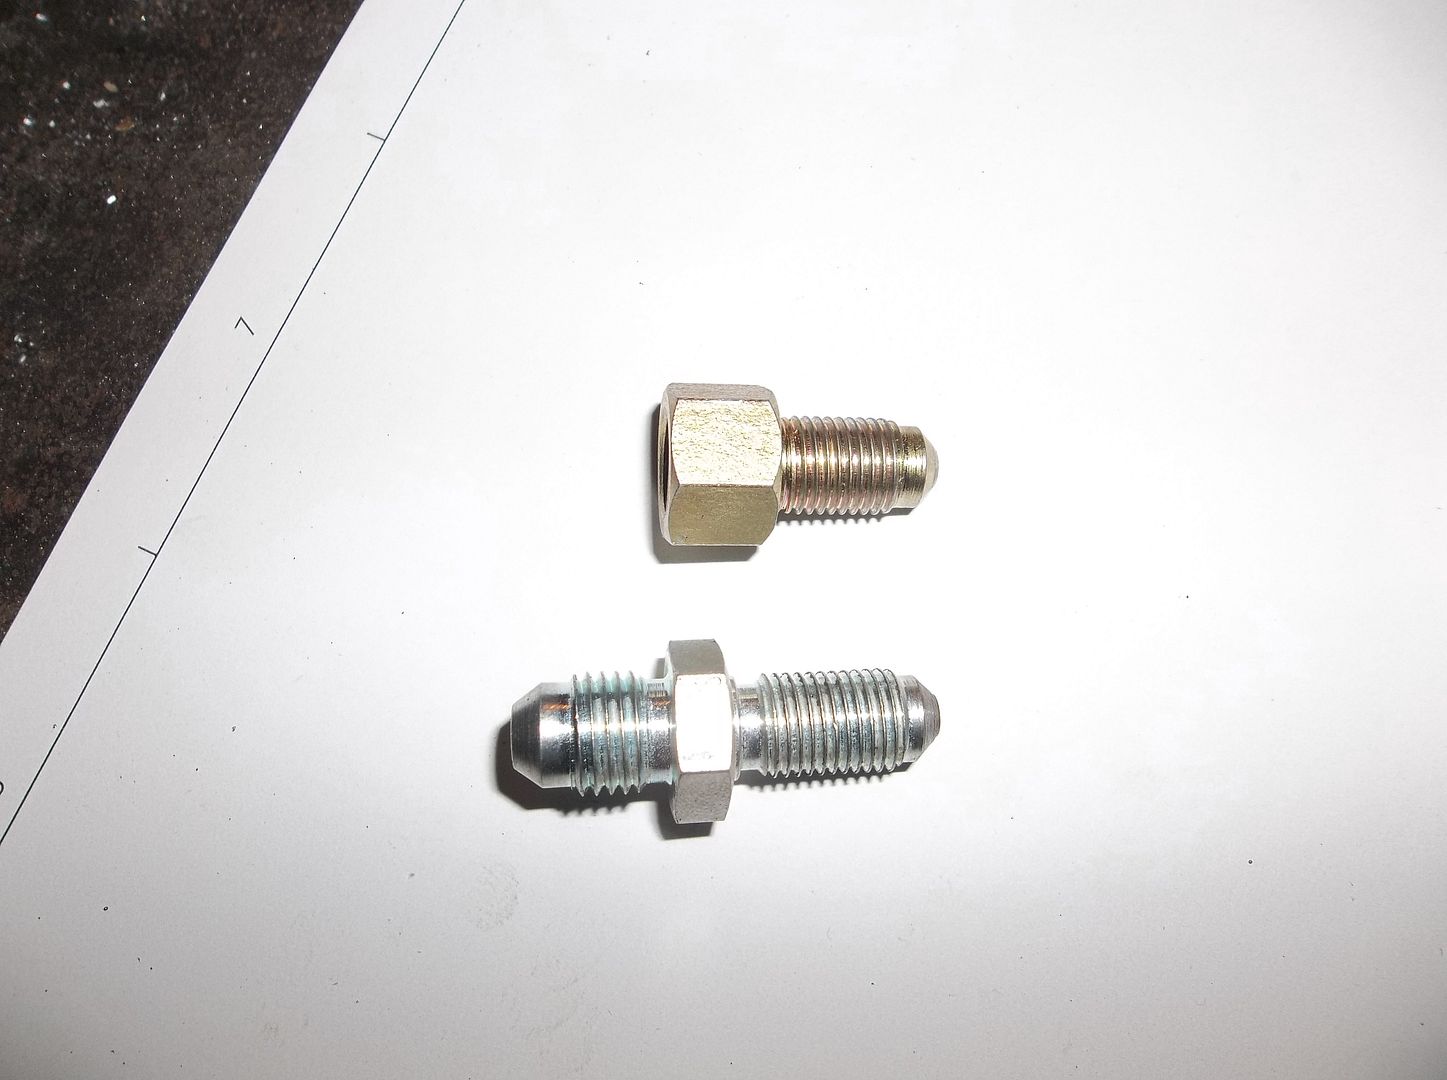
In comes the above fitting.....with modification....

100_0988.jpg


I chucked it up in the lathe, trimmed it down, and stuck the correct 45 degree taper on the end. AN fittings are 37 degree. It ended up working sweet and saving me almost an inch in total length from the multiple adapters!

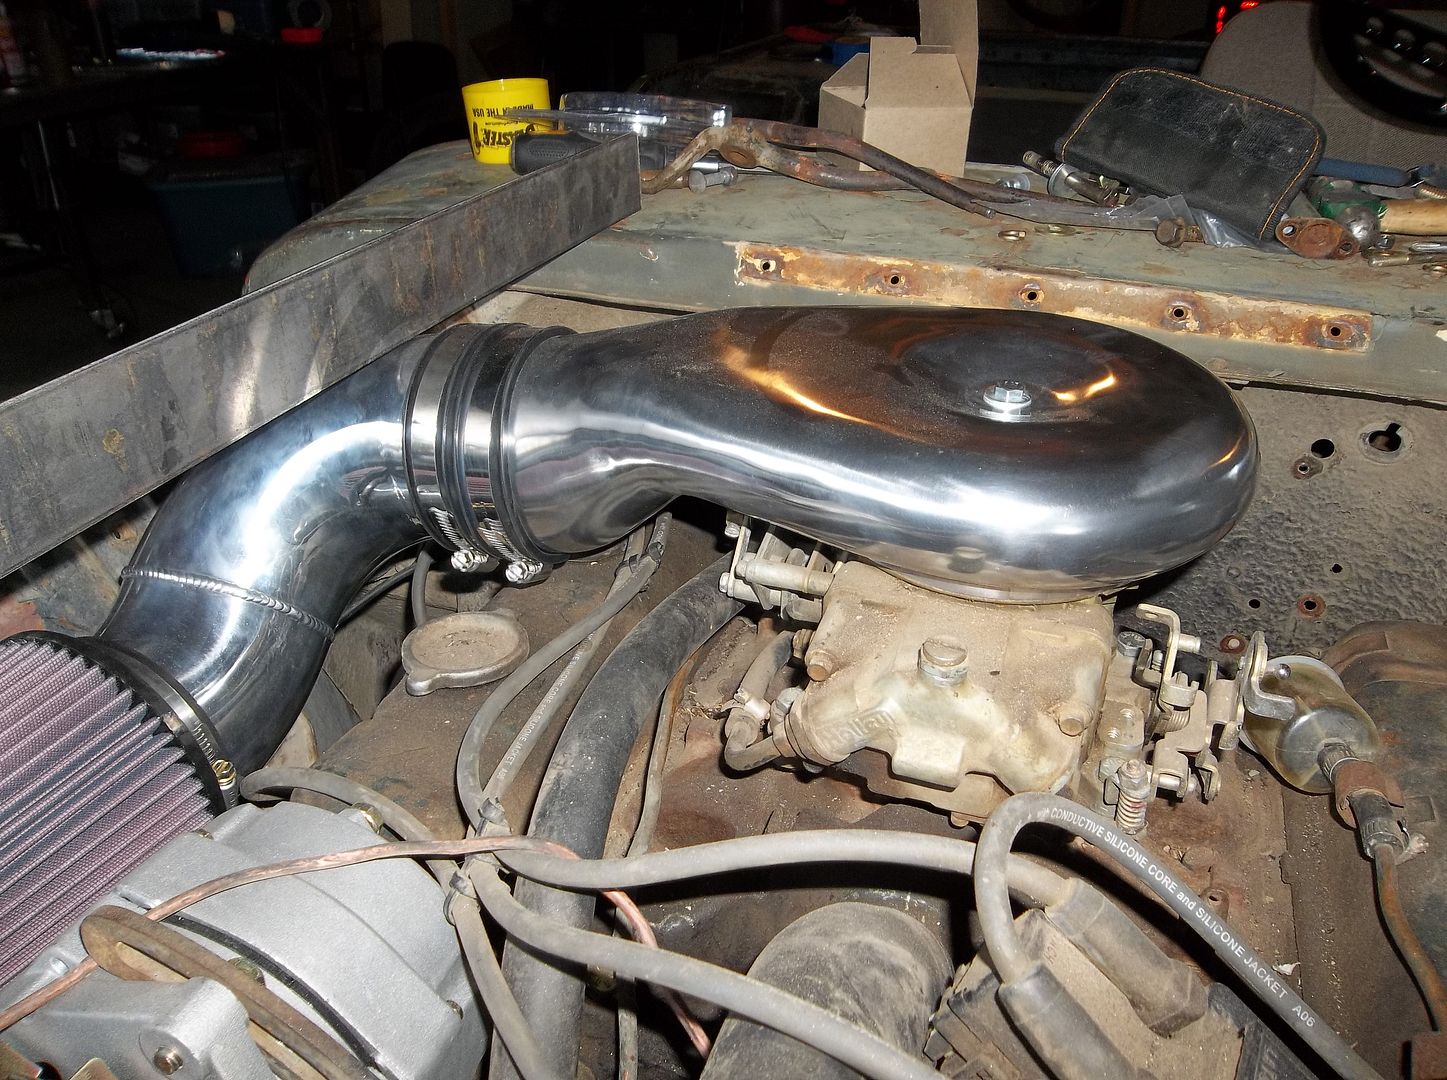
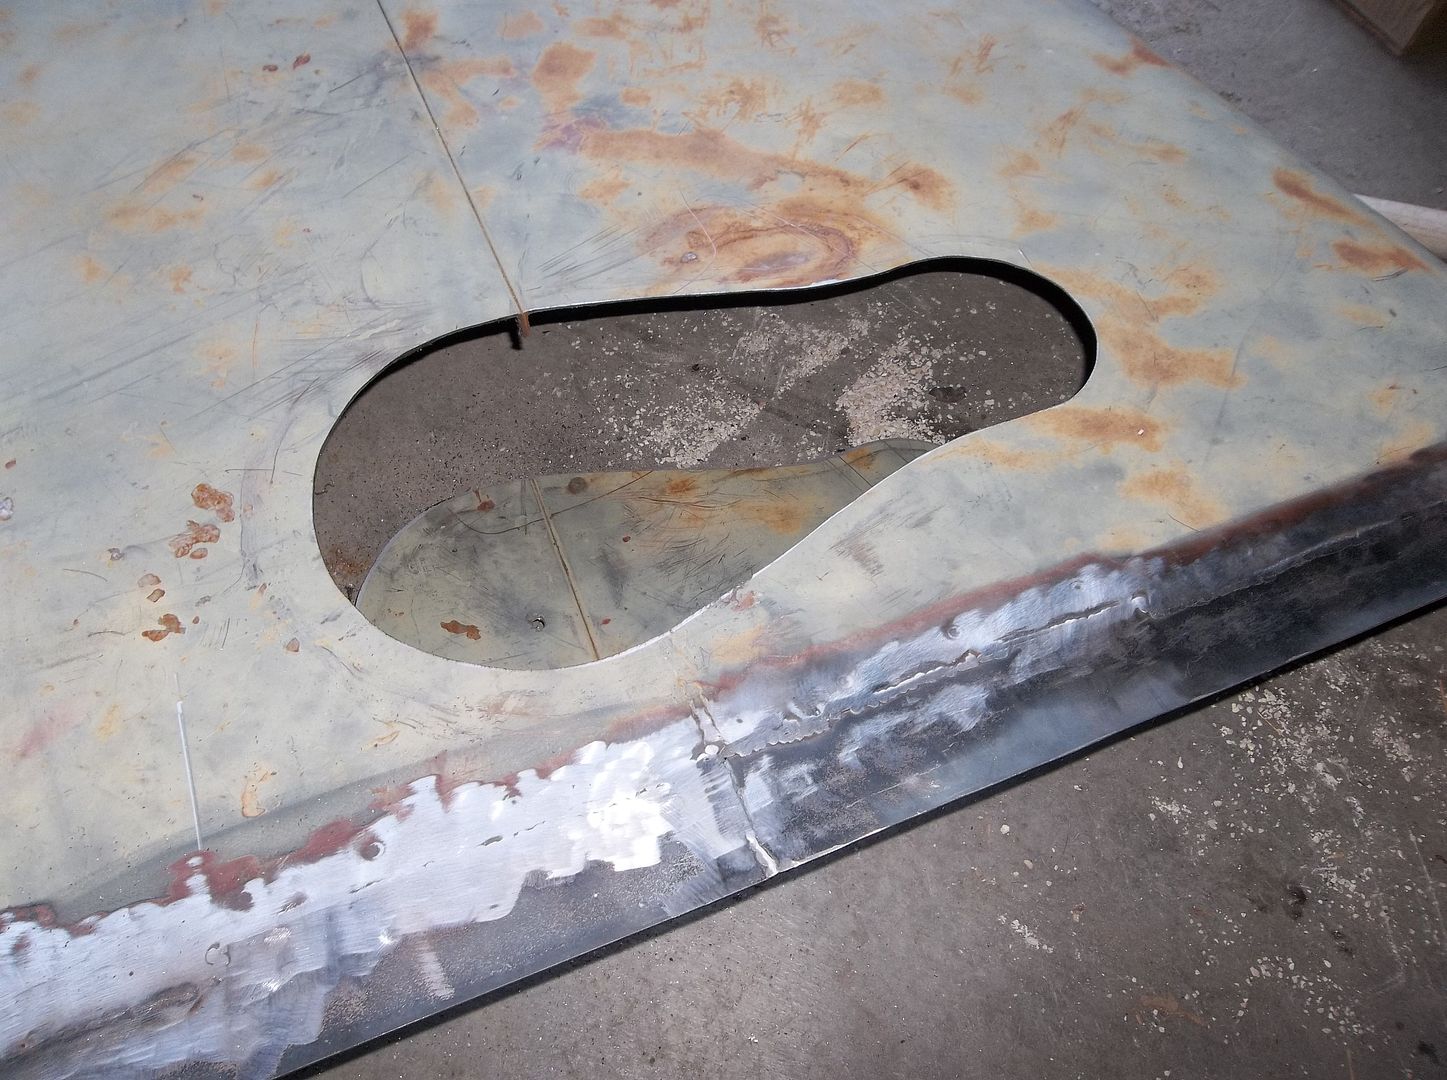
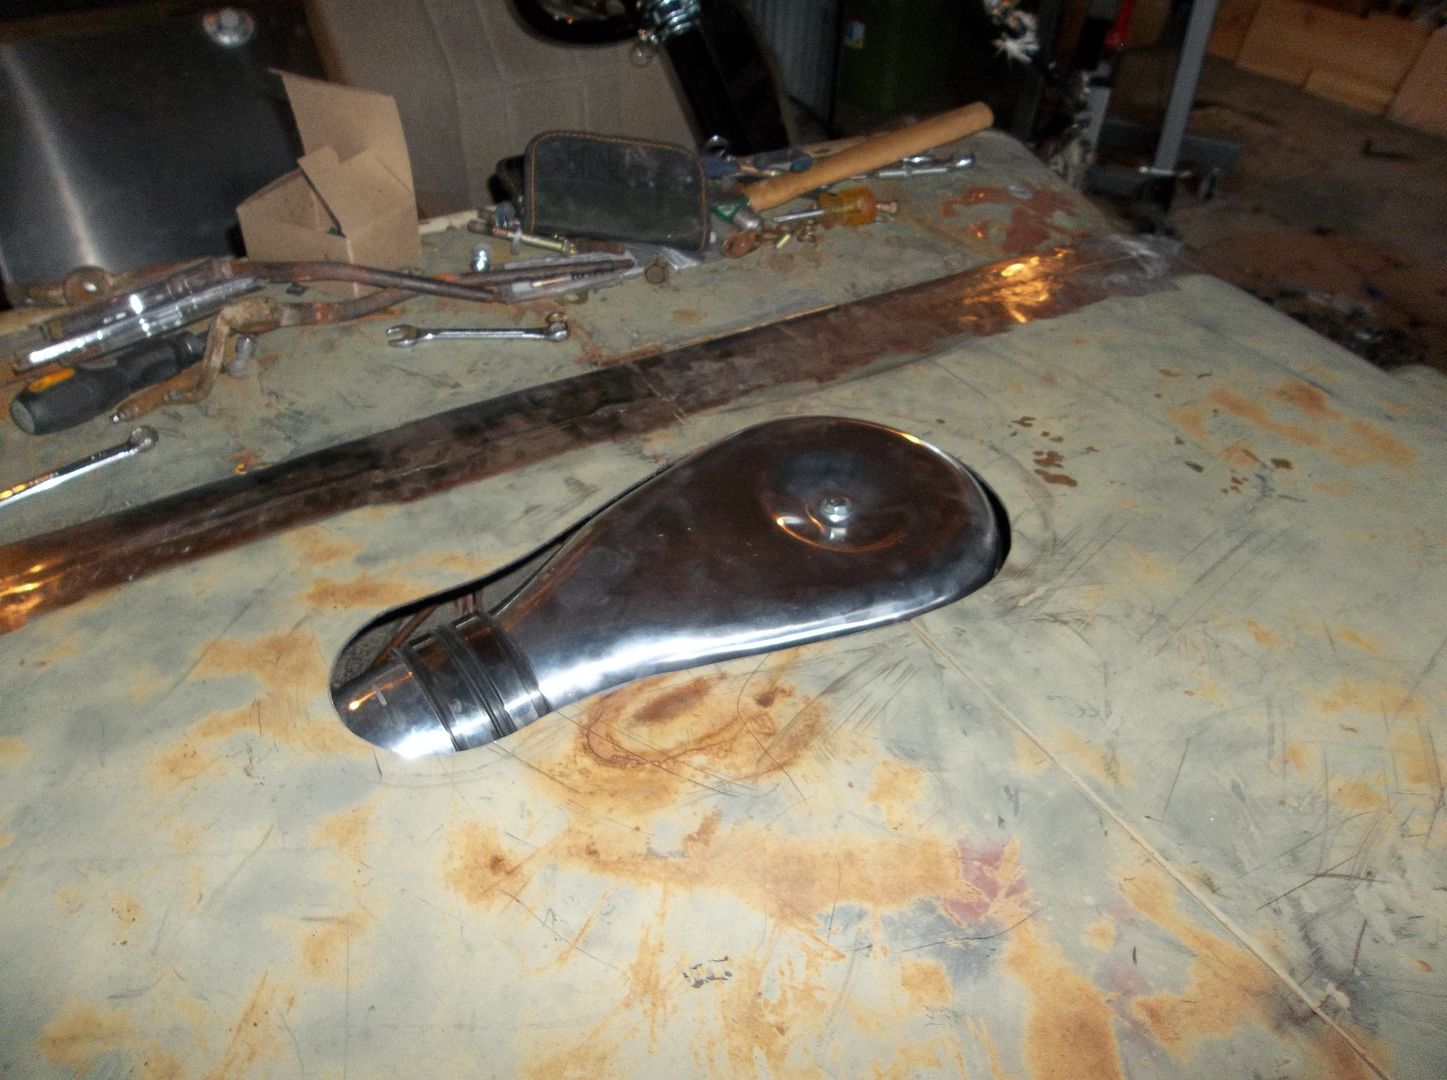
Next I decided to cut the hole in my hood for the carb plenum.....

I was scratching my head for the past few days trying to come up with a way to cleanly cut the hold in the hood......

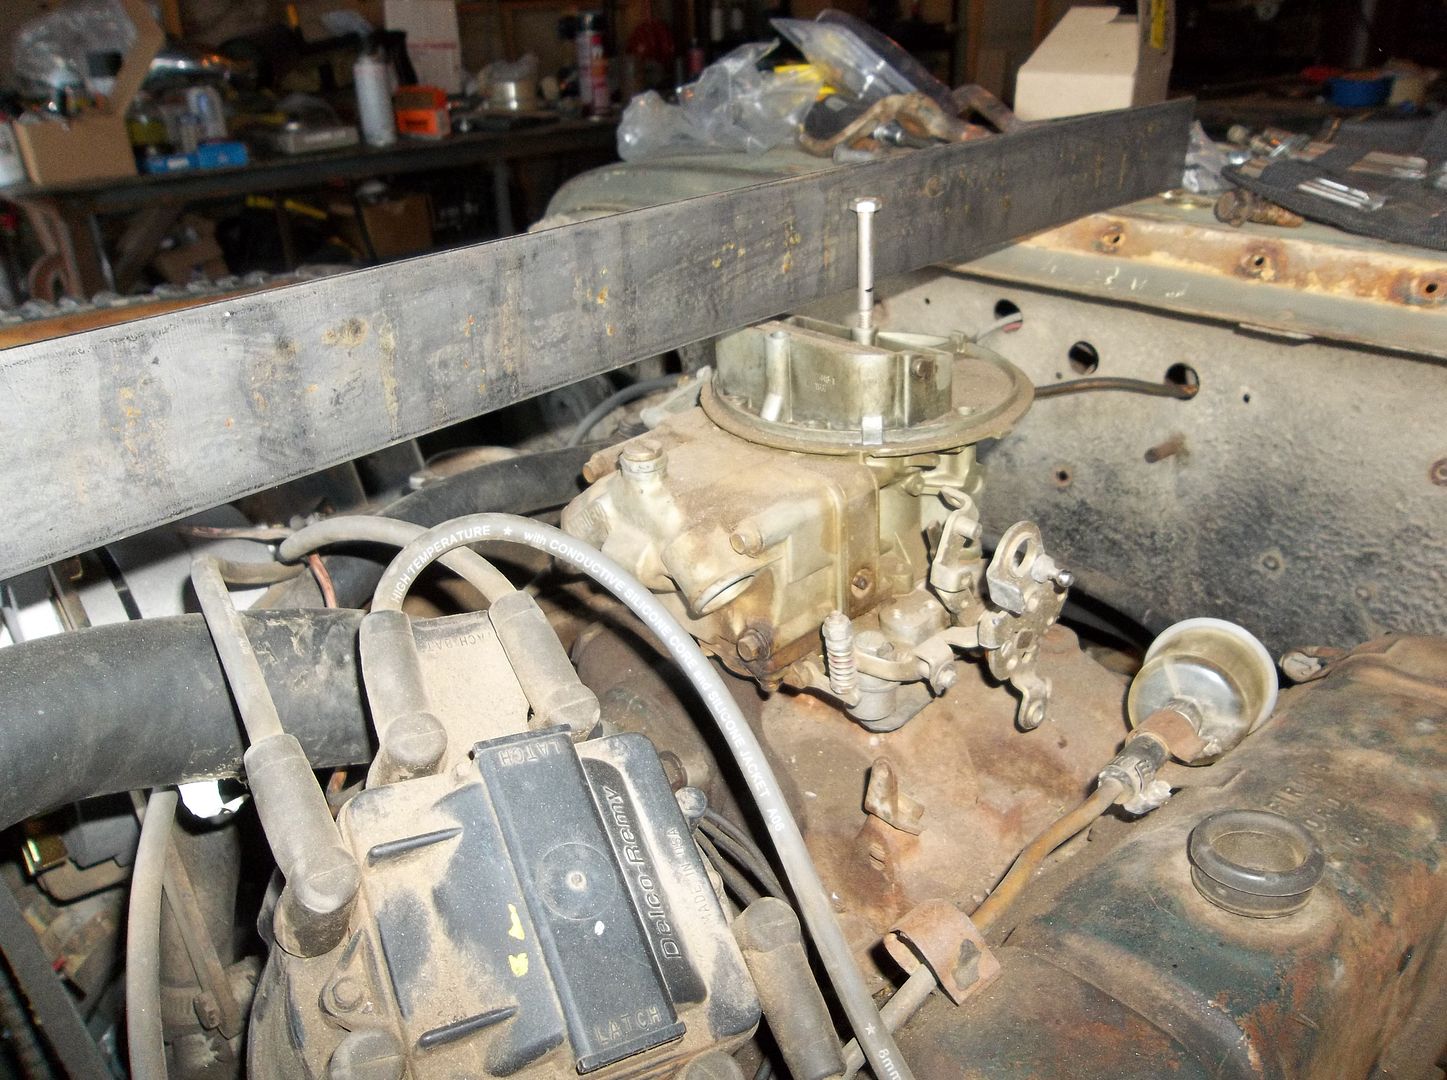
100_0978.jpg


First I threaded a misc 1/4-20 bolt into the carb. Then I used a straight edge to mark the level of the 'hood' by going from the grill to cowl.

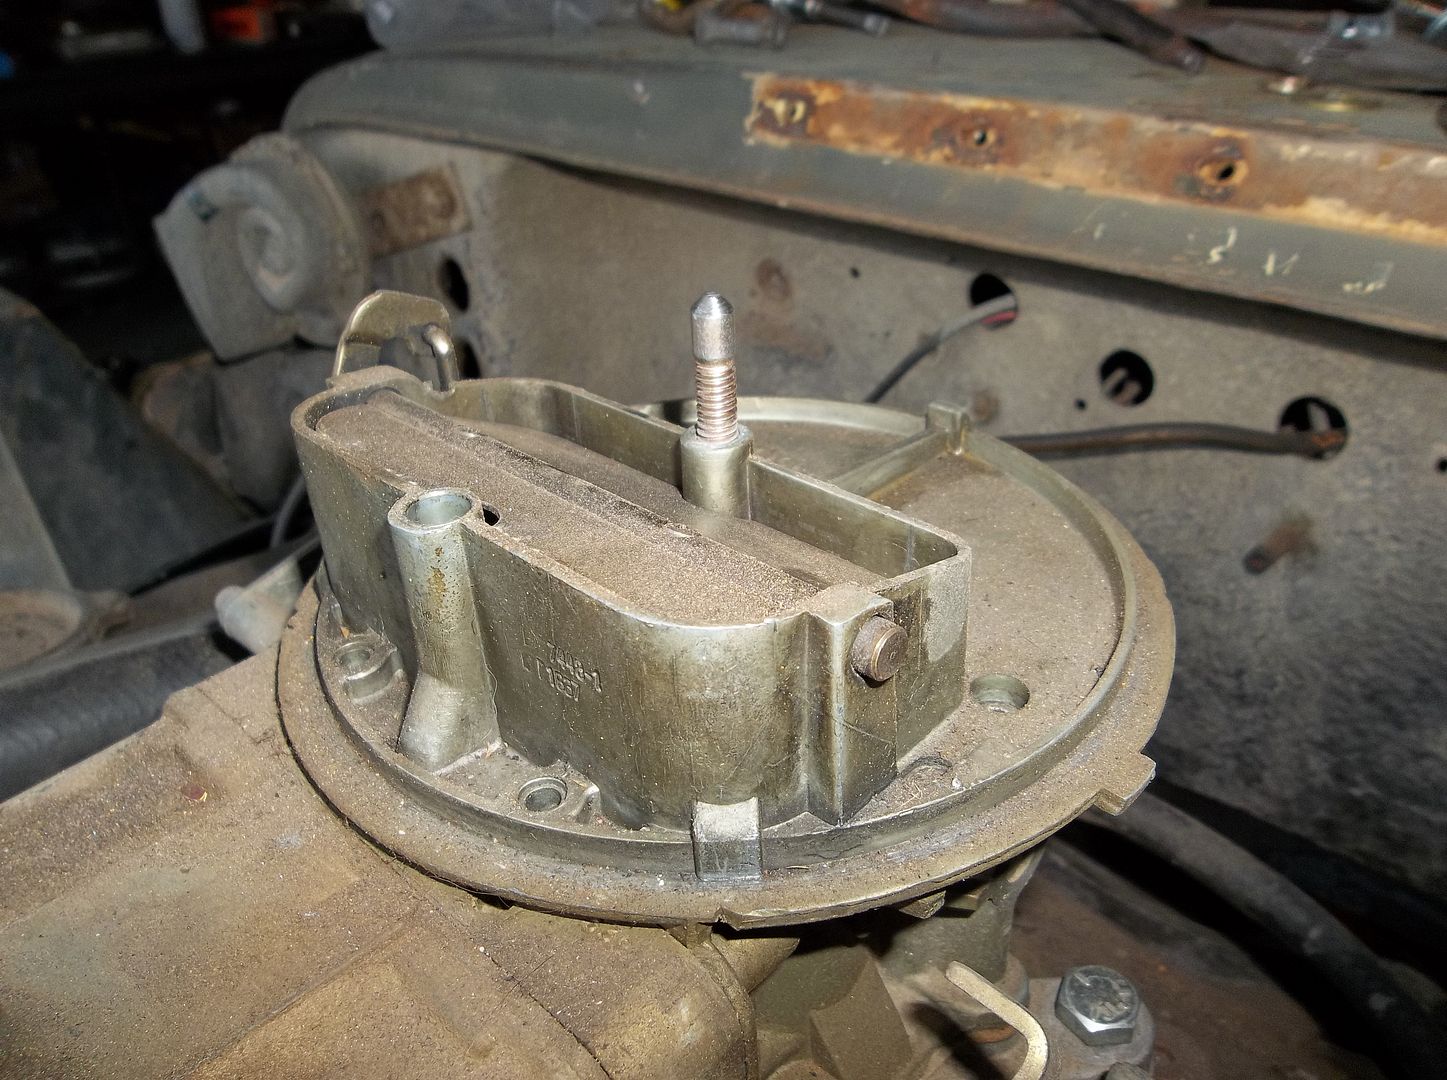
100_0979.jpg


Then I chopped the bolt down and put a rough point on it. It then was threaded into the carb so that the point sat slighty above the level of the hood by about 1/4"

100_0980.jpg


Then I set the hood on and attached the latches to help hold it in position. The closer you can get the hood to its final home the better. One you get it where you want it tap the hood with a dead blow hammer over the stud location. Use light taps till you find the location and then tap is slightly harder. What you end up with is a nice little dimple in the hood giving you the location of the center of the carb......

100_0981.jpg


Now take the hood back off and stick the carb plenum back on. Use a straight edge to find the distance from the carb center to the point where the air intake dips below the hood. Write this down. For me it was 11"

100_0982.jpg


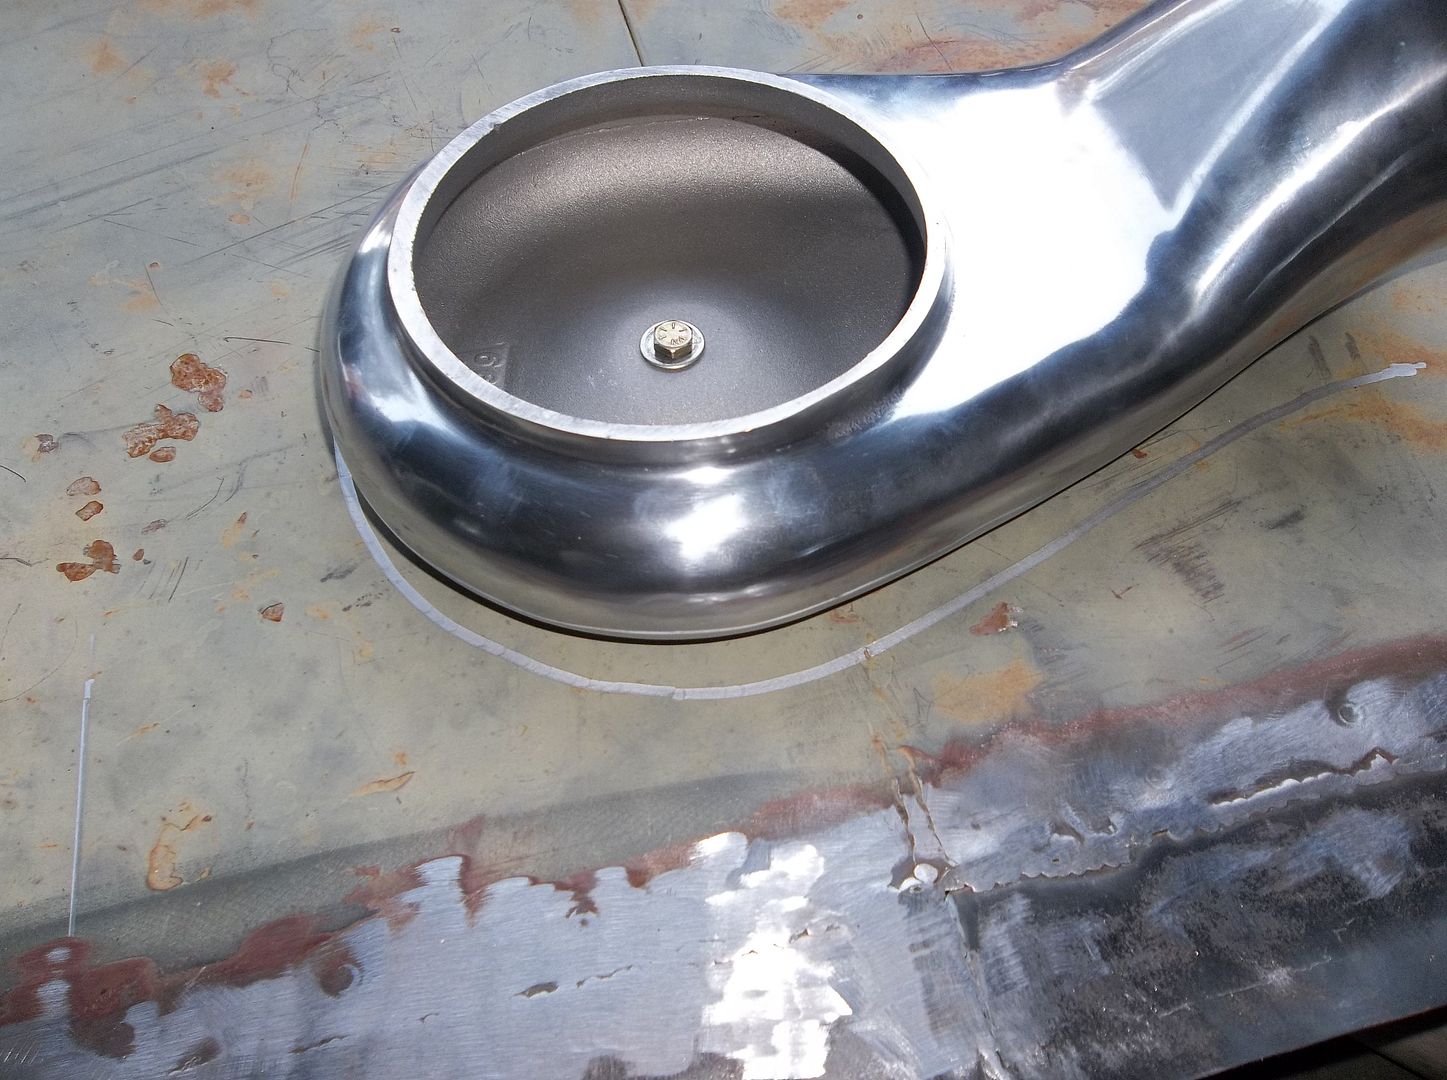
Find your dimple in the hood, drill it to 1/4" or so, flip the plenum upside down and bolt it to the hood. Then use a sharpie to trace the outline. Remember to keep the sharpie as perfectly upright as you can. Then remove the carb plenum and mark the distance where the air intake goes below the hood ( 11" for me ). A half roll of duct tape happened to be the right radius to connect everything on the air intake end.

100_0983.jpg


Drill a pilot hole for a jigsaw blade. Then cut it out. Be careful, take your time, and don't force it through the rib on the bottom of the hood.

100_0984.jpg


Reinstall the hood and check for fit. This was with ZERO additional trimming! I will be adding a support strip on the bottom of the hood to the drivers side of the plenum to replace the section I removed.

Not done yet, more in a few....
 

Metcalf

Expedition Leader
More from tonight....

100_0989.jpg


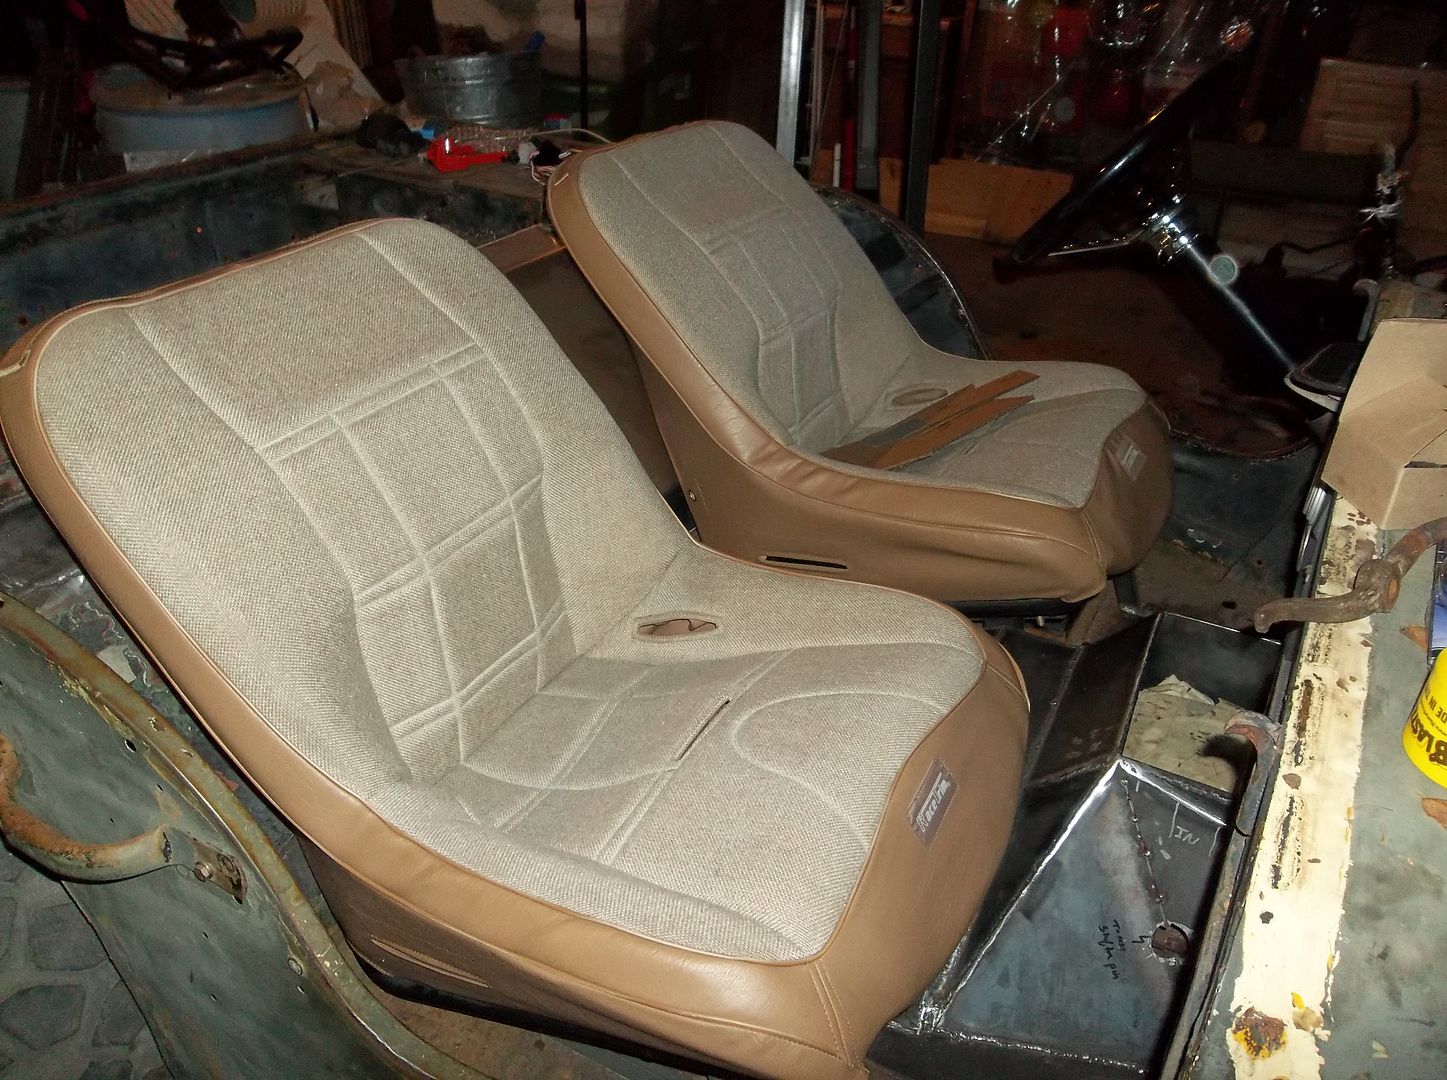
I got the passenger seat mounted! My S.O was kind enough to bring me out a burger and fries. Since she was MUCH cleaner than me she got to test out the seat. Her review was super positive.....something about a '#itchin' improvement over the stock seats. She agree'd that the seat 'bottom' as a bit long.

If your going to put suspension seats in a flat fender tub do yourself a favor and get seats that are shorter front to back. When these wear out I will replace them with a shorter ( front to back ) seat like the PRP Rhino seats.

Also, when you build the seat frames just weld the bolts that go through the floor to the seat frame! This way you can get the seats in and out with just a hand wrench and no jeep yoga while you try and hold the nut on the underside and the bolt in the tub while standing on one leg bent over singing a meditation song because you knee is about ready to freeze up.

100_0977.jpg


With the seats mounted as low as mine the rear bolts are almost near impossible to get a wrench on with the seat bolted to the frame. Welding the bolts in makes all this SO much easier.

I really wish I would have thought of that on the drivers seat when I mounted it! I need to take it out again to mount the battery and trim the frame for some more battery clearance......

100_0971.jpg


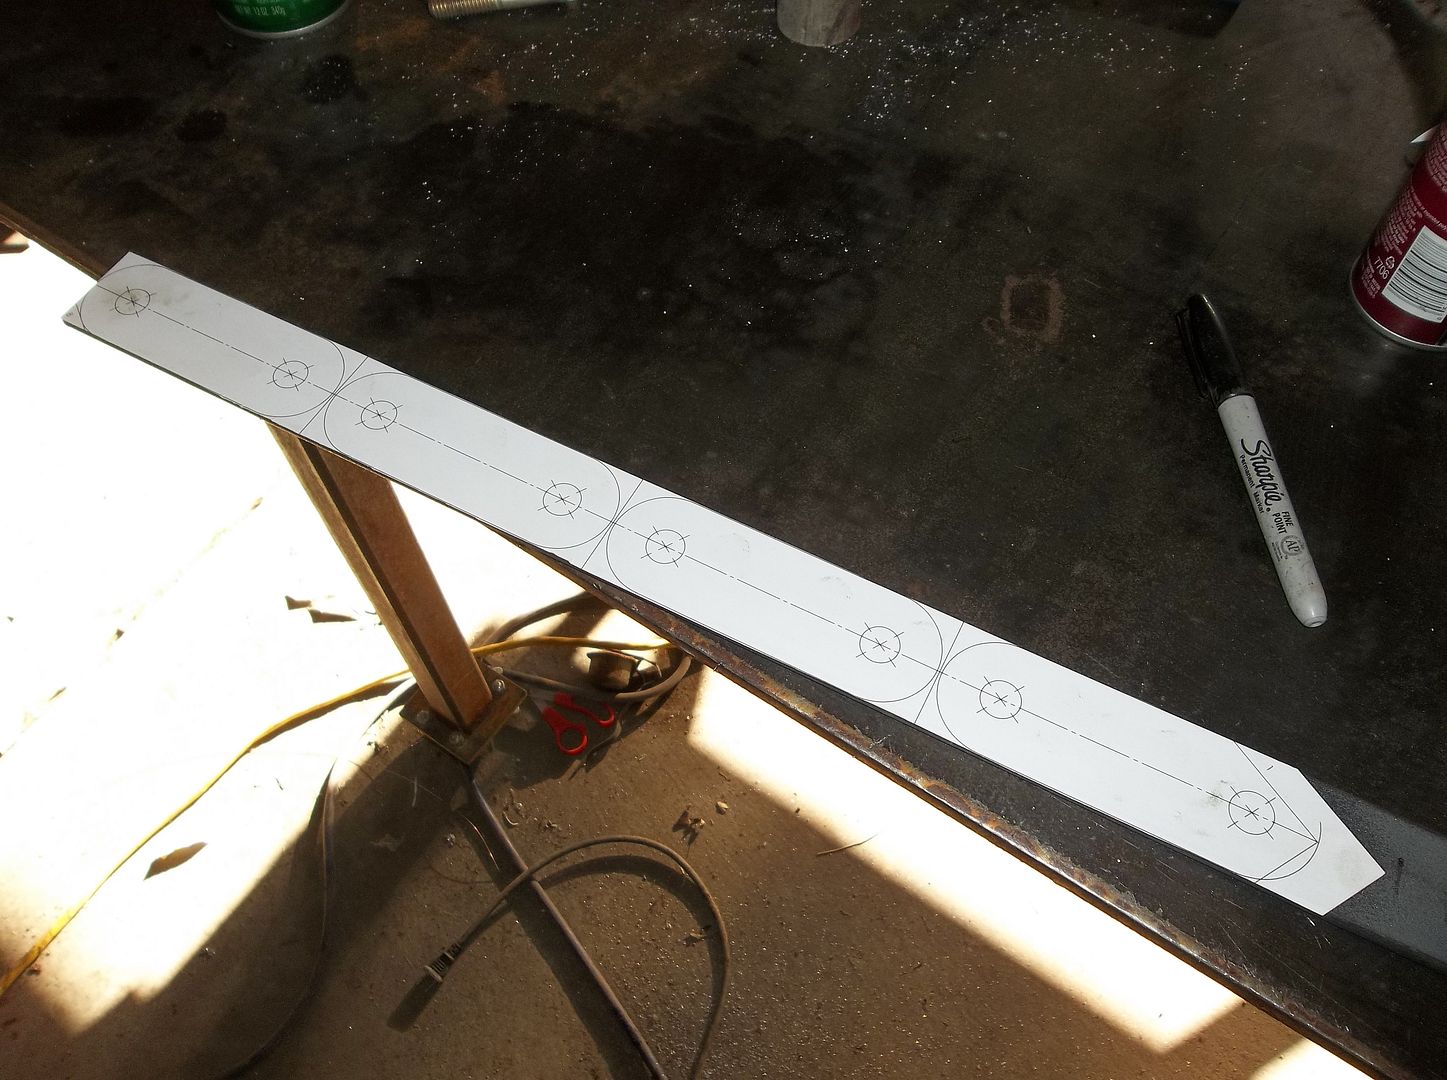
Arts and crafts time again. I laid out the front shackles....

100_0973.jpg


100_0973.jpg


100_0975.jpg


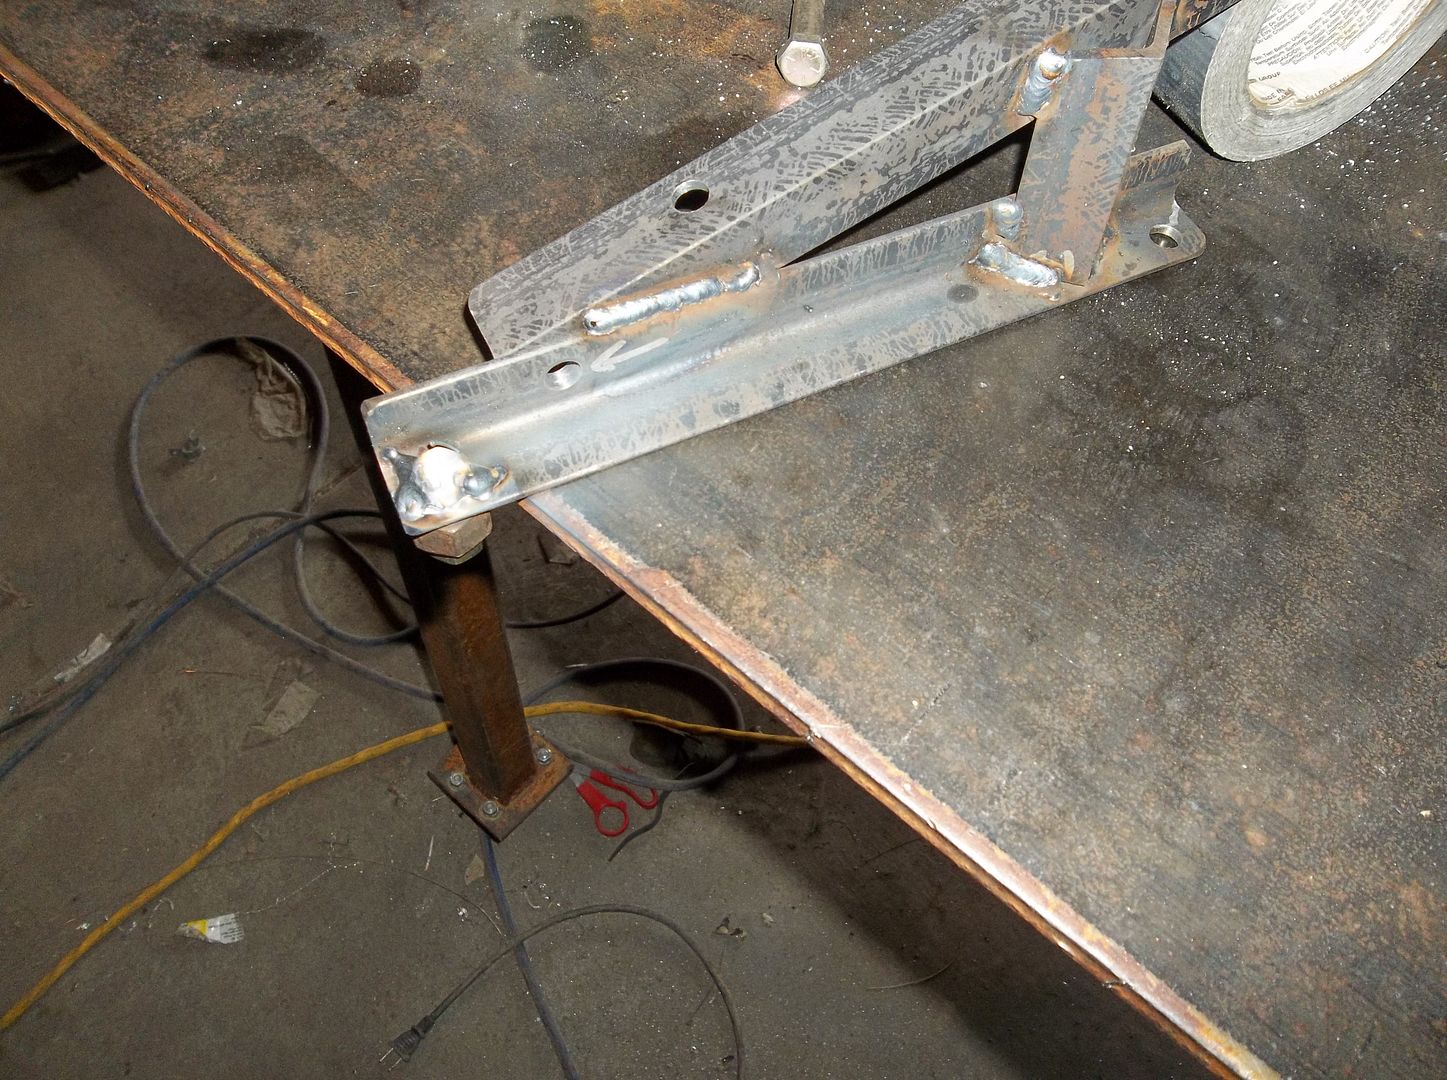
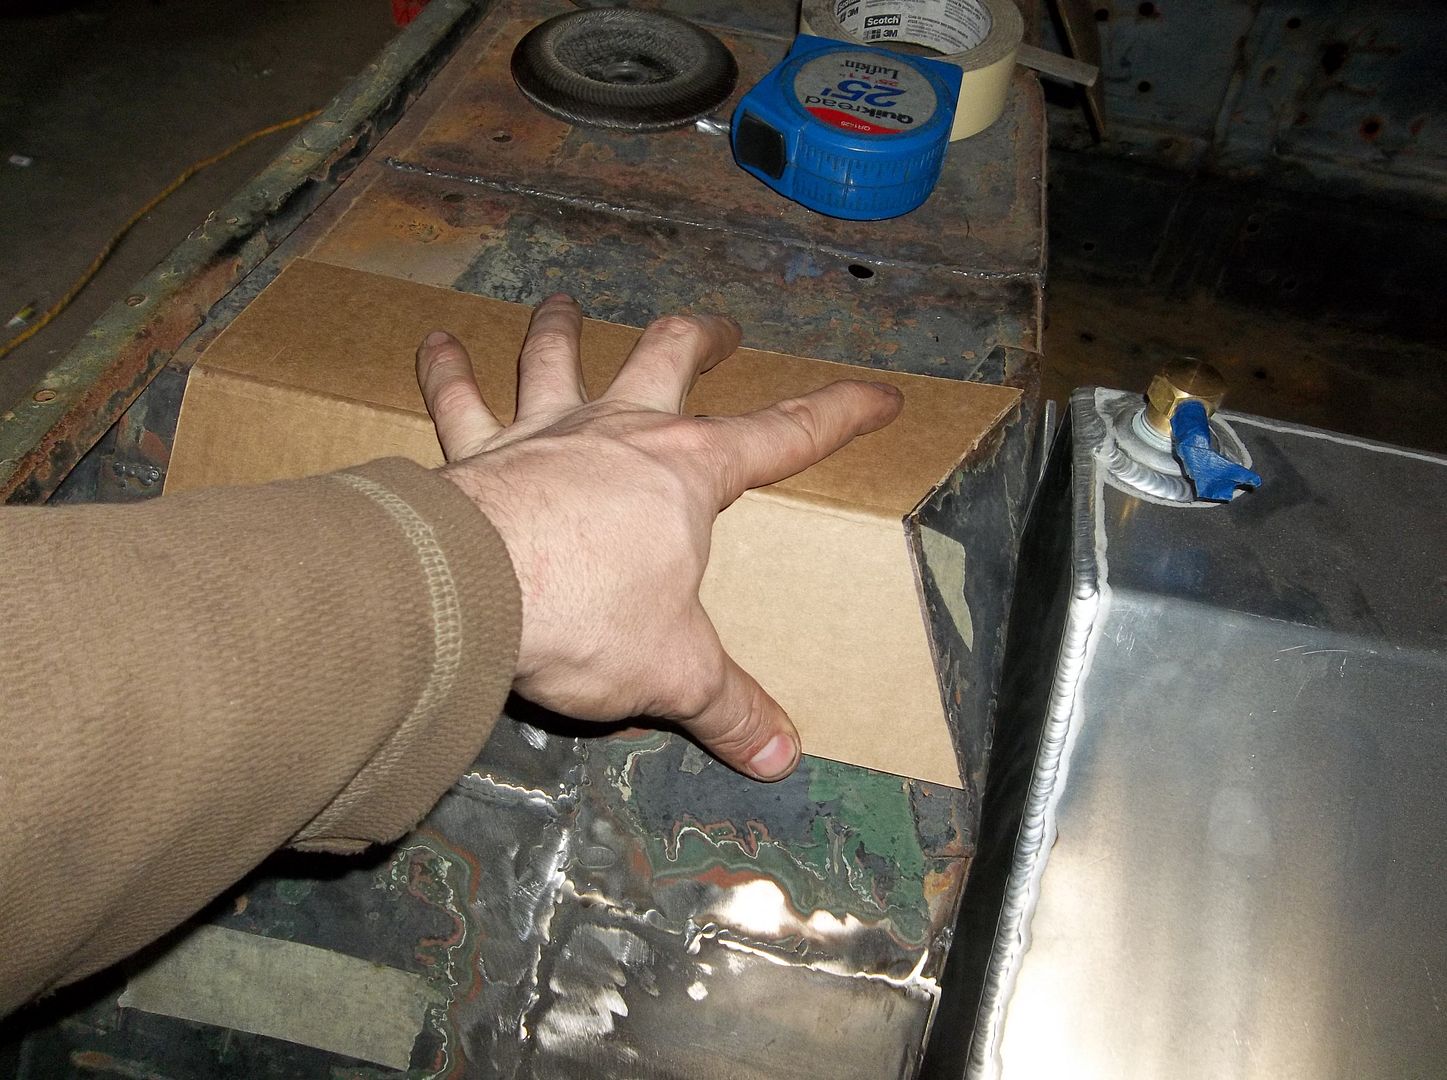
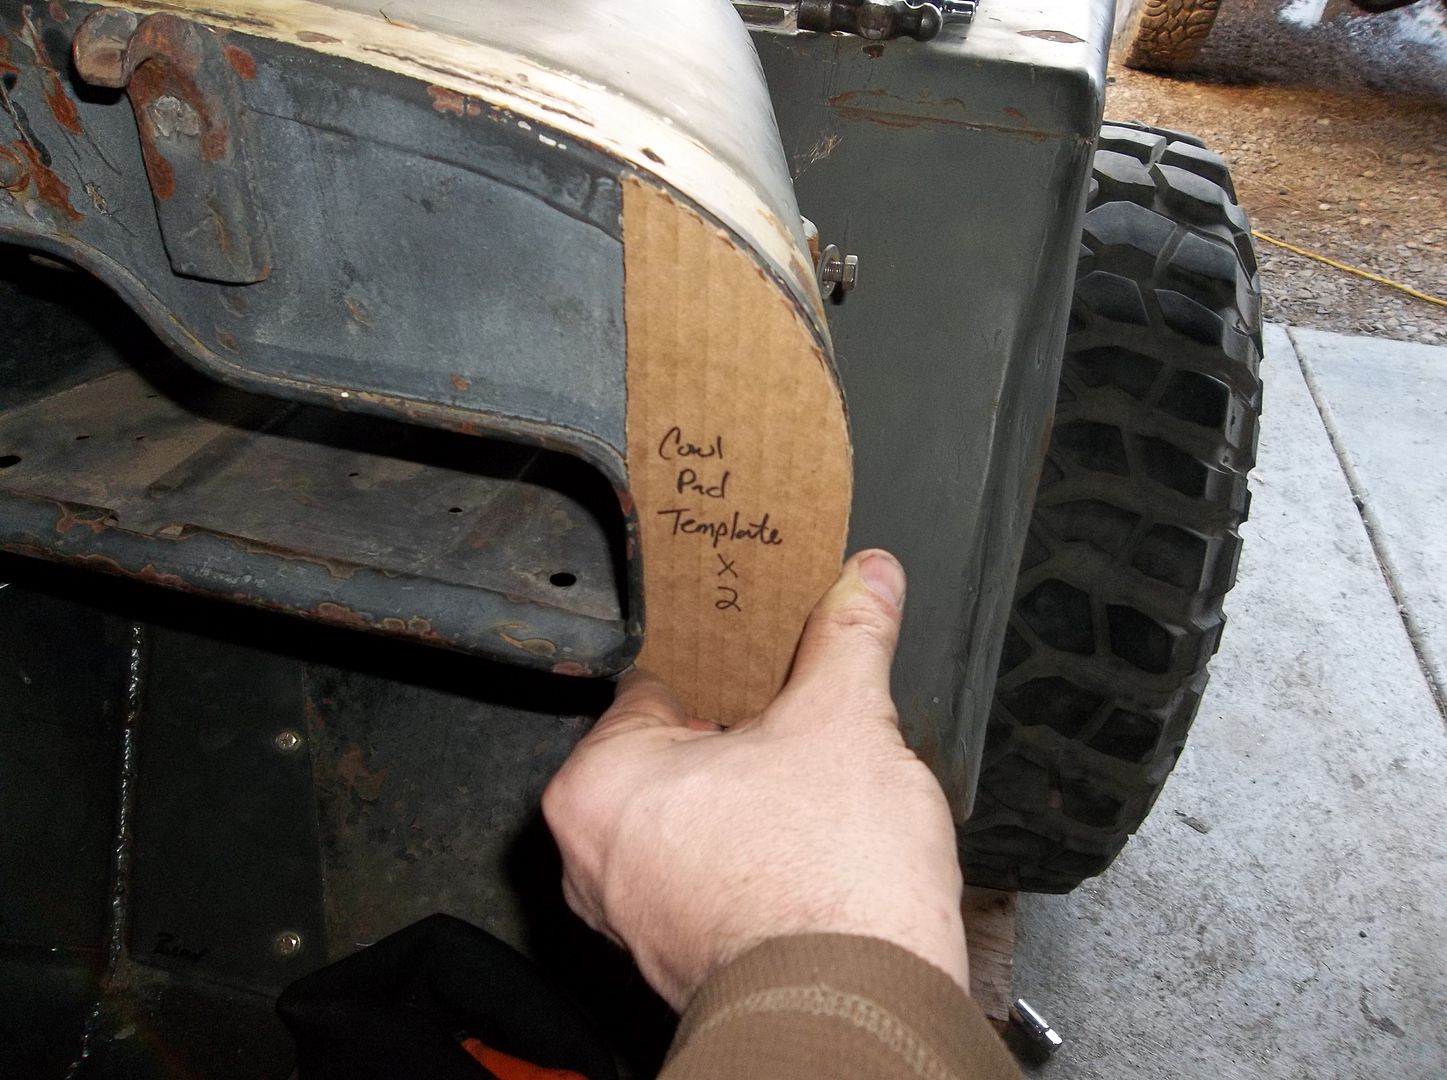
Made some templates for the A, B, and C pillar roll cage feet....

100_0976.jpg


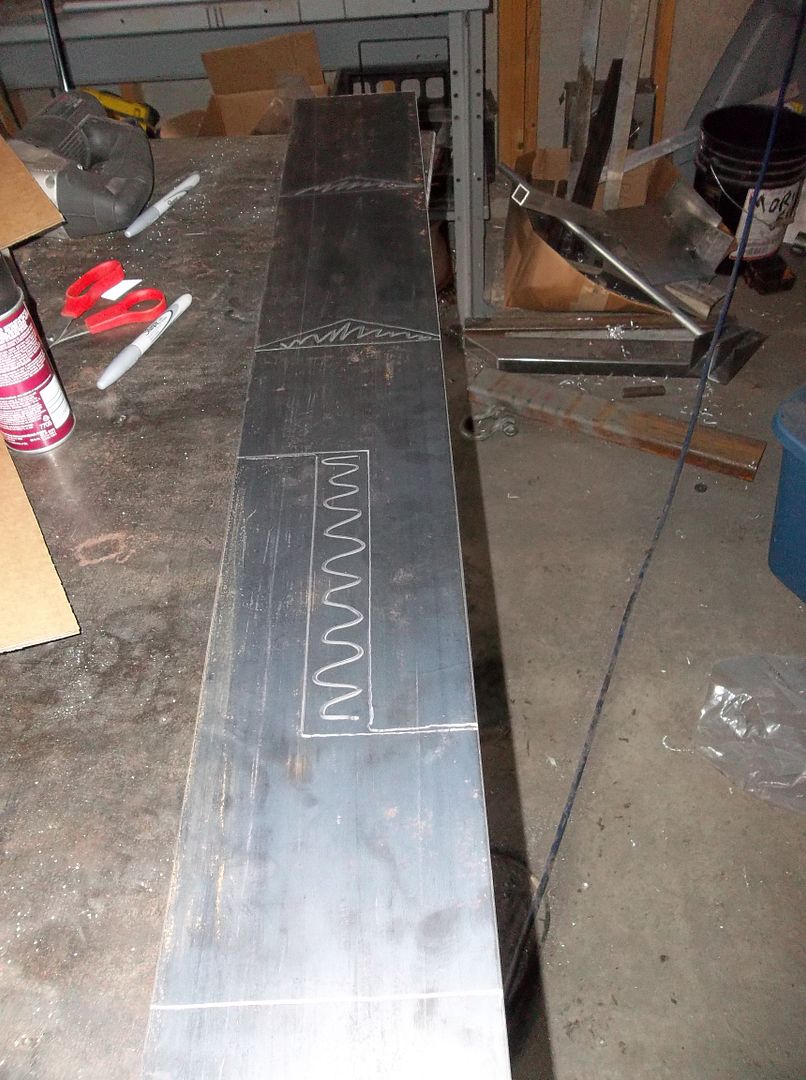
Transferred them to steel stock and cut them out on the saw so I can bend then up on the press at work tomorrow....

From yesterday....

100_0970.jpg


Drivers side shock mounts, floater conversion, and brakes.....

100_0968.jpg


Finally a bad picture of the front shock mount inner fender....
 
Last edited:

MrBeast

Explorer
I am digging it one question though.

100_0989.jpg


Are you going to have enough room for your knees?

I am 6'1" and to me it looks like I might not be able to ride in it. Of course this is why I had to get rid of my CJ5
 

Attachments

  • 100_0989.jpg
    100_0989.jpg
    159.1 KB · Views: 10

Metcalf

Expedition Leader
I am digging it one question though.
Are you going to have enough room for your knees?
I am 6'1" and to me it looks like I might not be able to ride in it. Of course this is why I had to get rid of my CJ5

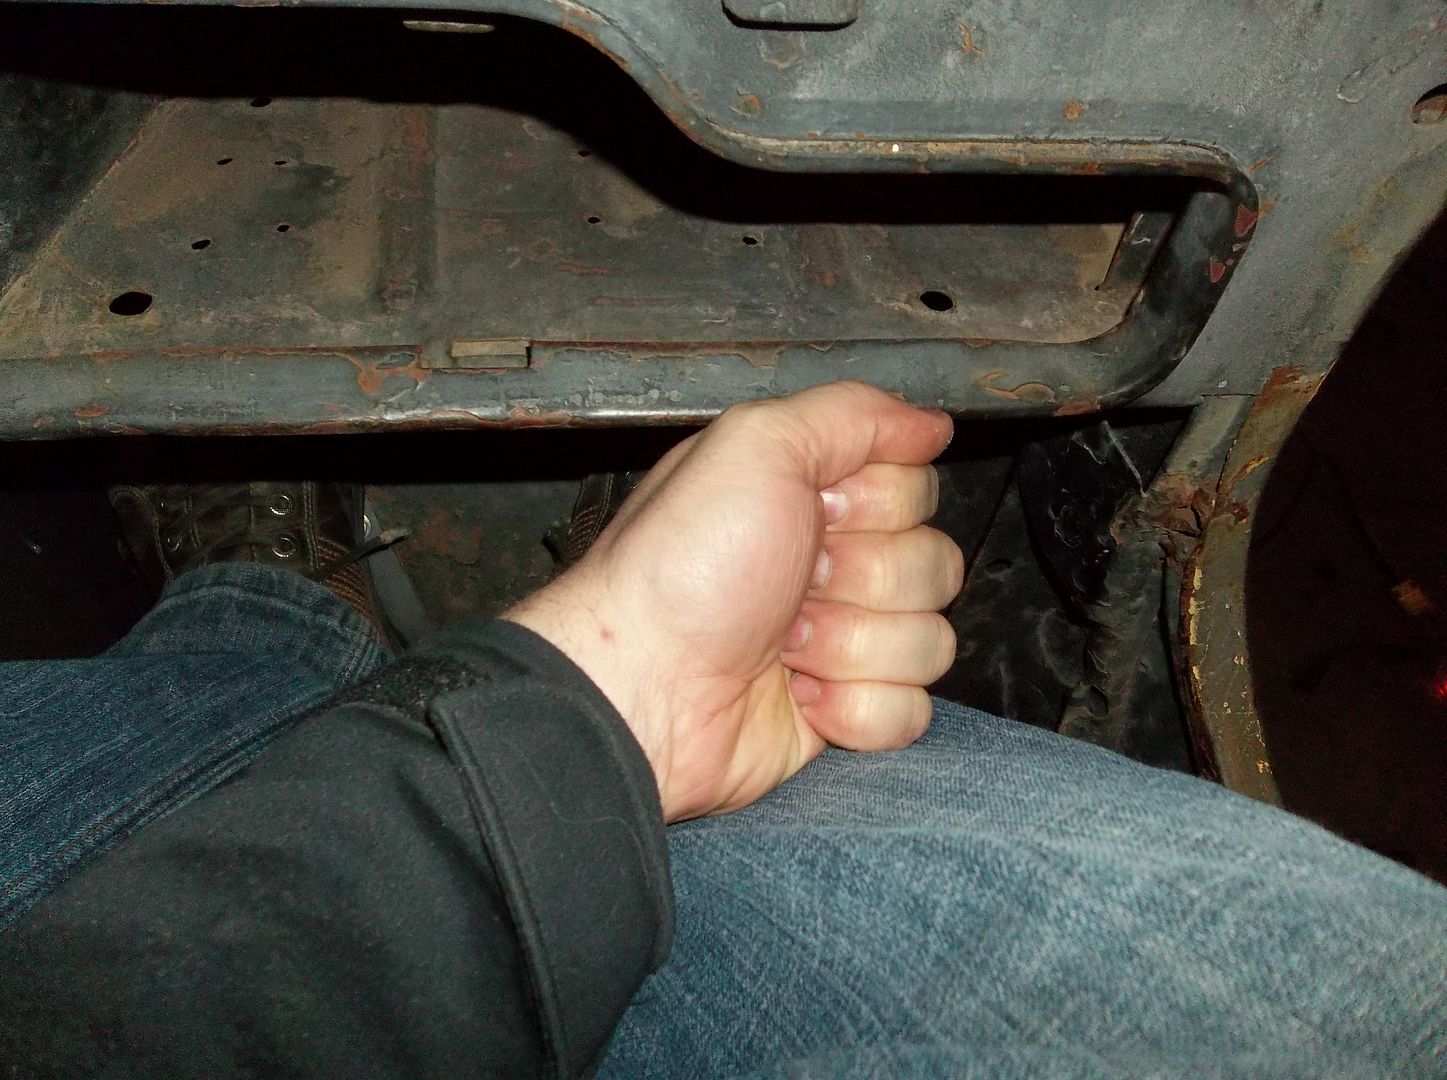
I guess it all depends on what is enough. I had clean work clothes on this morning and took a quick pic....

100_0990.jpg


I'm 5'10" and wear a 32 inseam pant. The high tech fist measurement is about 4.5-5" give or take. I think for a flat fender it is a LOT more room than stock. The seating position is different than any other jeep I have been in.....part go-cart, part jeep, part hot rod, whatever. Overall the seating position is light years more comfortable than stock.....
 

VanIsle_Greg

I think I need a bigger truck!
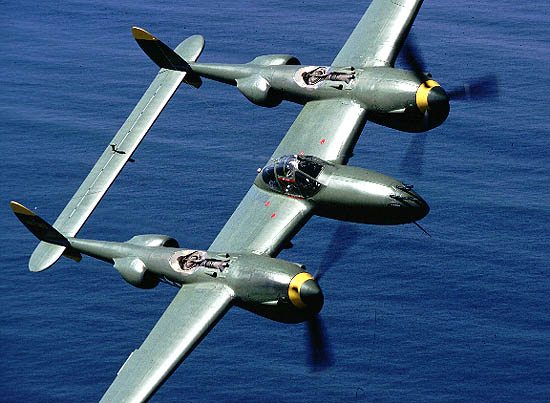
I really dig this. It's reminiscent of the turbocharger assembly on the top of the engine nacelle of a P-38 Lightning. Kinda period.

So funny, that is exactly what I was thinking when I saw that hood cutout! Looks awesome man, very nice work.
Greg
 

Metcalf

Expedition Leader
I need to tone down the shiny, but I think it turned out pretty neat.....

I'm going to try a wire brush or sandblast finish first.
 

MrBeast

Explorer
I guess it all depends on what is enough. I had clean work clothes on this morning and took a quick pic....

100_0990.jpg


I'm 5'10" and wear a 32 inseam pant. The high tech fist measurement is about 4.5-5" give or take. I think for a flat fender it is a LOT more room than stock. The seating position is different than any other jeep I have been in.....part go-cart, part jeep, part hot rod, whatever. Overall the seating position is light years more comfortable than stock.....

That is pretty decent. Should work pretty good, and I agree this thing looks like it is going to be fun to drive.

On that note, you should have seen me last summer trying to get into the CJ5 I picked up, I had just been in a car accident and hurt my back really bad. From my friends reactions apparently it was pretty funny looking, although from the amount of pain I was in I did not share in their humor at the time.
 

Metcalf

Expedition Leader
You don't get in....you put it on :sombrero:

Getting in and out is a bit of a chore. Not as bad as most tube frame buggies though.....
 

Forum statistics

Threads
188,285
Messages
2,904,872
Members
229,961
Latest member
bdpkauai
Top