You are using an out of date browser. It may not display this or other websites correctly.
You should upgrade or use an alternative browser.
You should upgrade or use an alternative browser.
Rango.....1942 Willys MB
- Thread starter Metcalf
- Start date
Metcalf
Expedition Leader
It is looking good, what did you use to bend the plates?
A small hydraulic press brake in the shop where I work. Sometimes its nice to have access to stuff like that. It took like 15 minutes to bend all the plates and sand all the corners.....
MrBeast
Explorer
A small hydraulic press brake in the shop where I work. Sometimes its nice to have access to stuff like that. It took like 15 minutes to bend all the plates and sand all the corners.....
I have been wanting to build one for a while, I have seen several kits and what not you can get for the harbor freight shop press. Would be nice but right now I don't even have a shop to put it in.
Metcalf
Expedition Leader
Well, I tried to take a few more pics. I am kinda rushed these days, and cage building expert I am NOT......
The basic cage is all in and tacked heavily. I will be pulling it tonight to final weld....
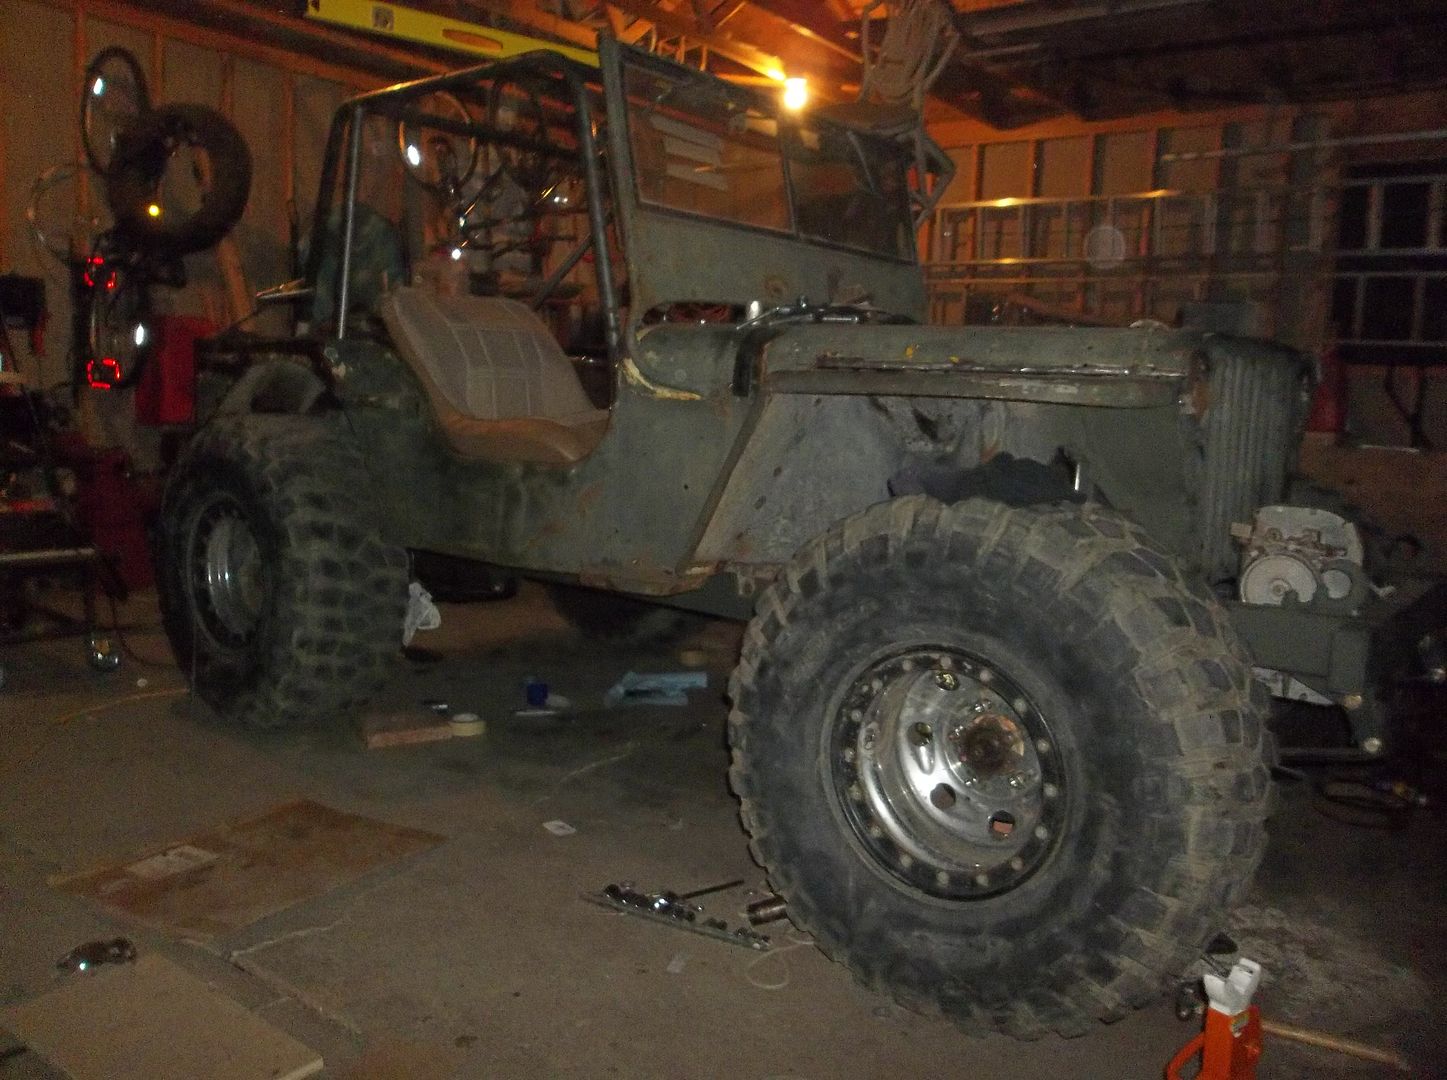
Its just your basic cage. Front to rear ( A to C pillar ) cage design. I think it turned out pretty decent. It was hard to be happy with it being straight enough. The tub isn't, so its hard to know where to draw the line when trying to square things up.
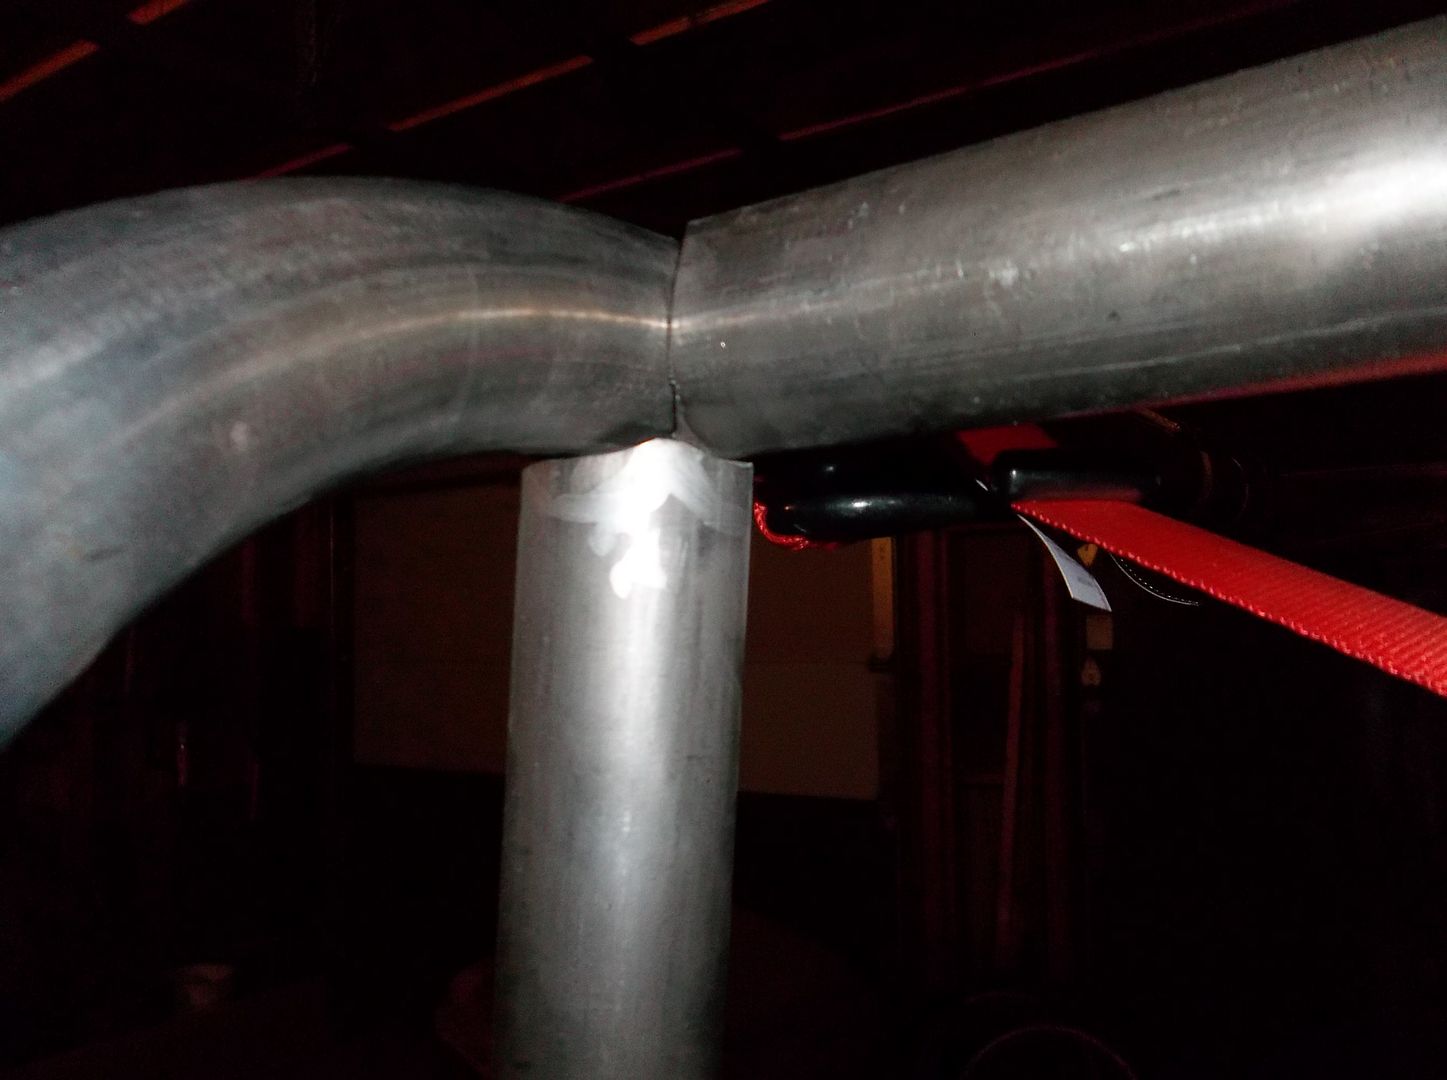
I think I am getting ok at more complex tube nodes like this. I really don't have that much experience with tubing. These where done by eye with a flap disc and a sharpie.
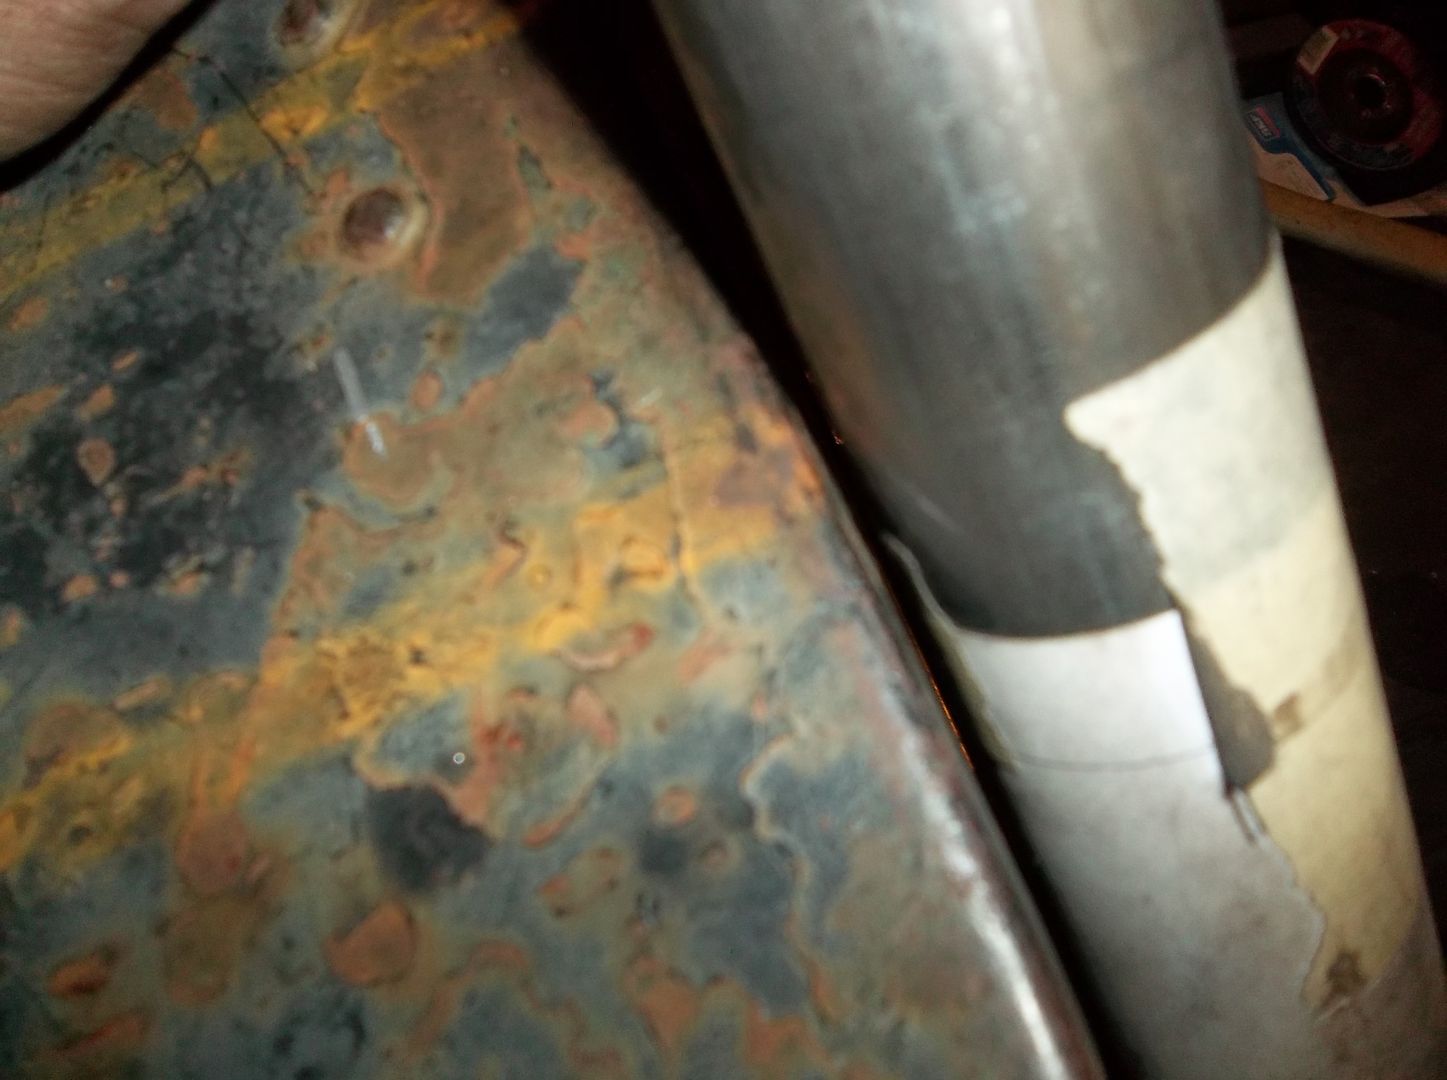
Here is how close the factory tool box lids come to the C-pillar tube. All that work to have the C-pillar roll inboard to get the factory MB/GPW style tool box lids to open......
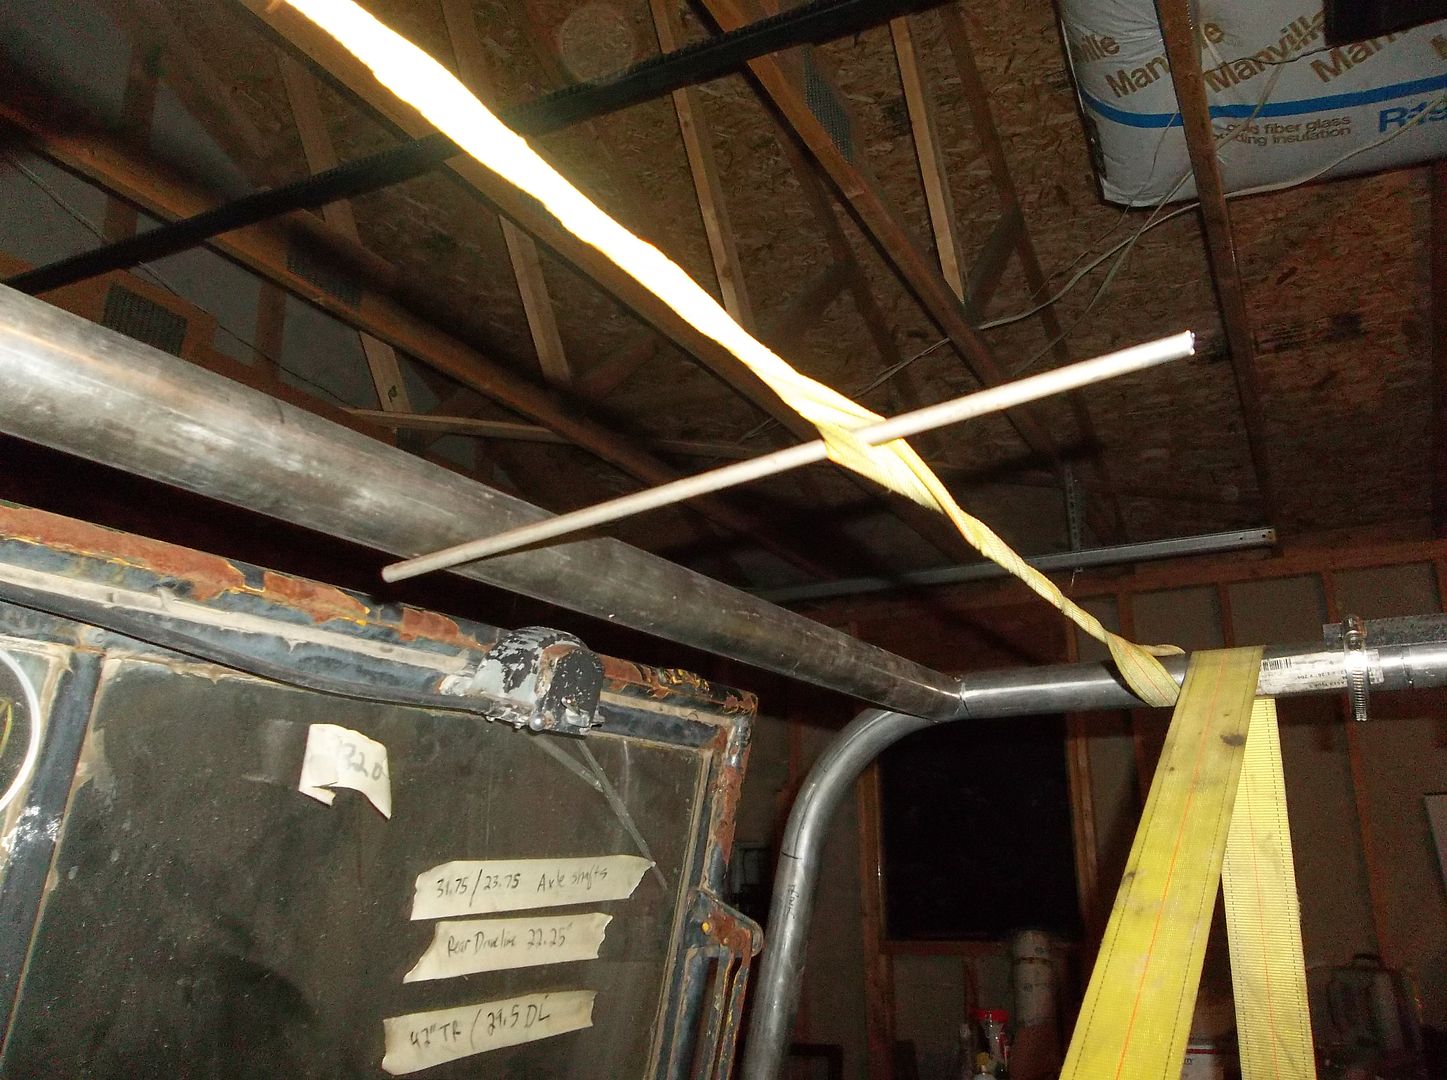
Sometimes you just have to improvise another way to strap, pull, or tub on a specific part of the cage. Having about 10 of those small ratchet straps would be nice....I didn't....so I improvised.
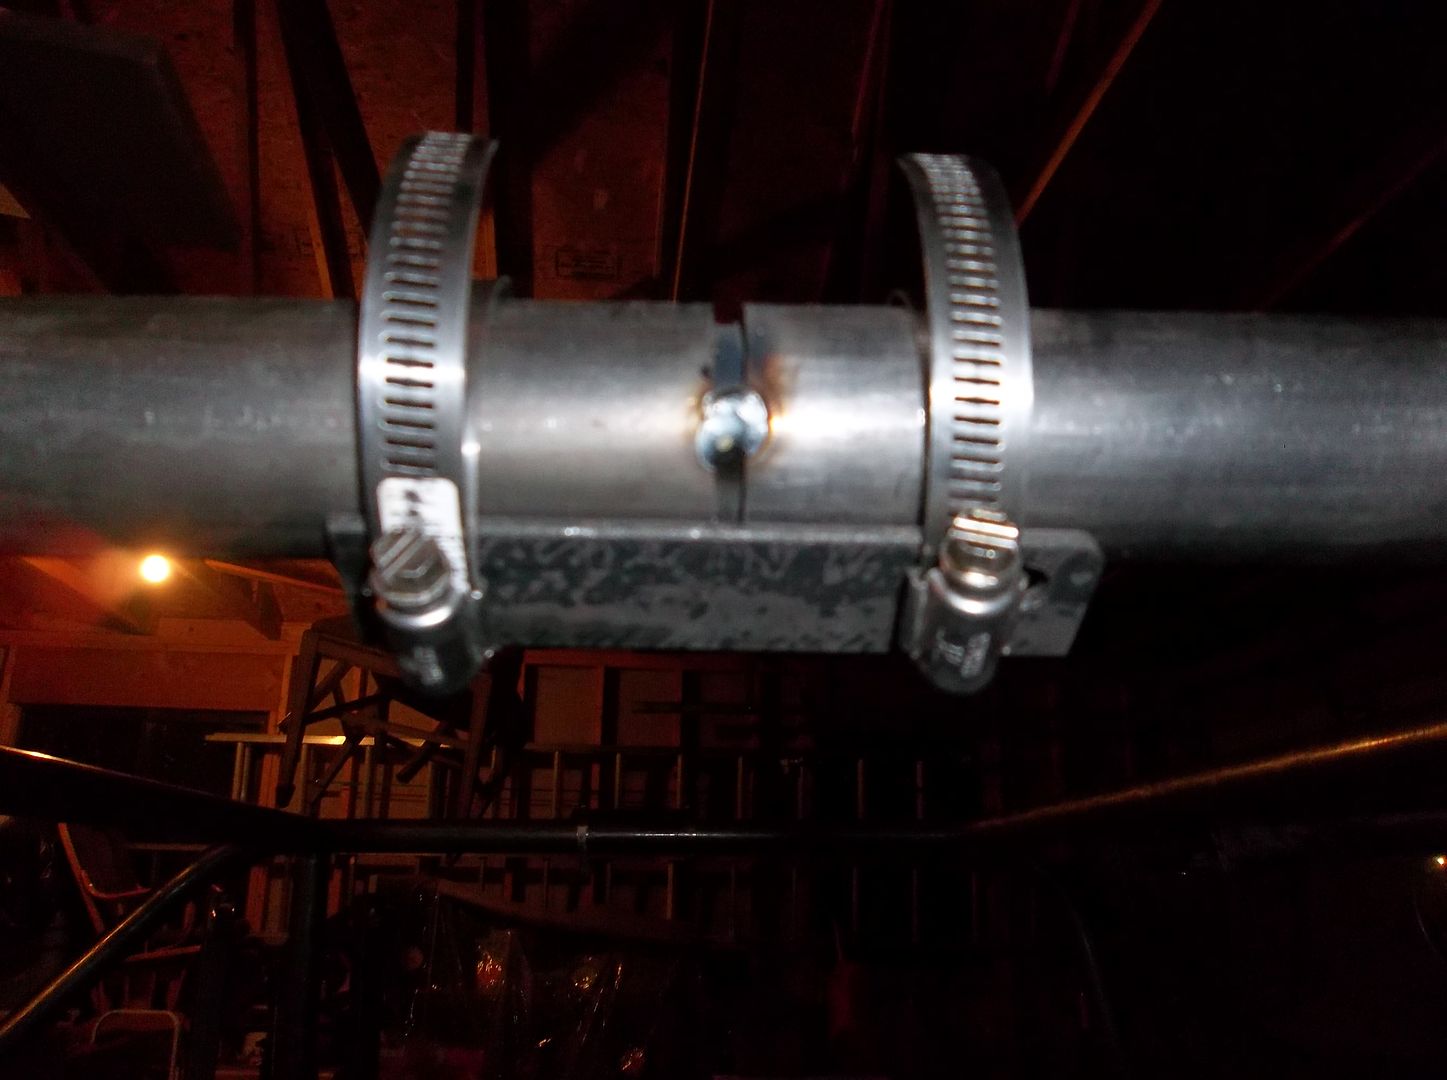
Here was another little trick I had to use. I have a splice on between the A and B pillar bends because those bends are out of plane. I added a small tack weld to the splice tube to hold the main tubes apart by about 3/16". Then I used some hose clamps and a section of angle iron to keep tension on everything so I could hold a point of rotation when setting in the main hoops. I could have still used another 5 pairs of hands, but it did help.
The basic cage is all in and tacked heavily. I will be pulling it tonight to final weld....

Its just your basic cage. Front to rear ( A to C pillar ) cage design. I think it turned out pretty decent. It was hard to be happy with it being straight enough. The tub isn't, so its hard to know where to draw the line when trying to square things up.

I think I am getting ok at more complex tube nodes like this. I really don't have that much experience with tubing. These where done by eye with a flap disc and a sharpie.

Here is how close the factory tool box lids come to the C-pillar tube. All that work to have the C-pillar roll inboard to get the factory MB/GPW style tool box lids to open......

Sometimes you just have to improvise another way to strap, pull, or tub on a specific part of the cage. Having about 10 of those small ratchet straps would be nice....I didn't....so I improvised.

Here was another little trick I had to use. I have a splice on between the A and B pillar bends because those bends are out of plane. I added a small tack weld to the splice tube to hold the main tubes apart by about 3/16". Then I used some hose clamps and a section of angle iron to keep tension on everything so I could hold a point of rotation when setting in the main hoops. I could have still used another 5 pairs of hands, but it did help.
postalWagon
Adventurer
Thanks for posting the Frame specs.
Metcalf
Expedition Leader
Thanks for posting the Frame specs.
I also have the DXF/DWG file for the side plates. I couldn't figure out a way to post that file however.
The PDF worked for other people though? Good to hear if it did.
Metcalf
Expedition Leader
From Pirate. I didn't want to retype some of this stuff....
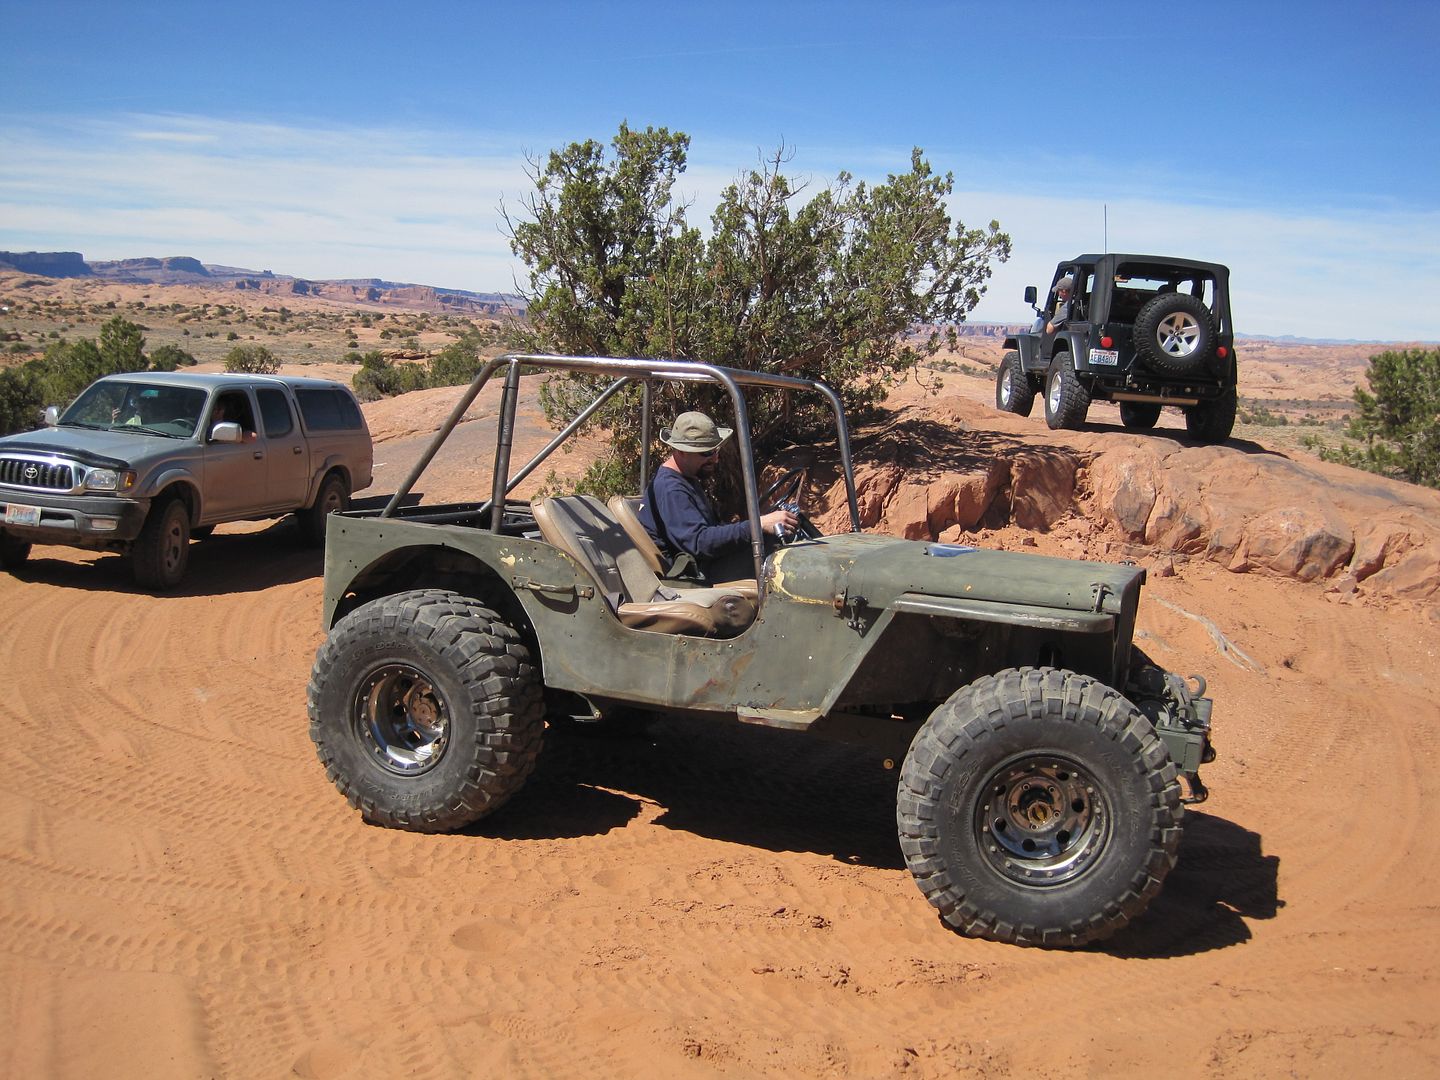
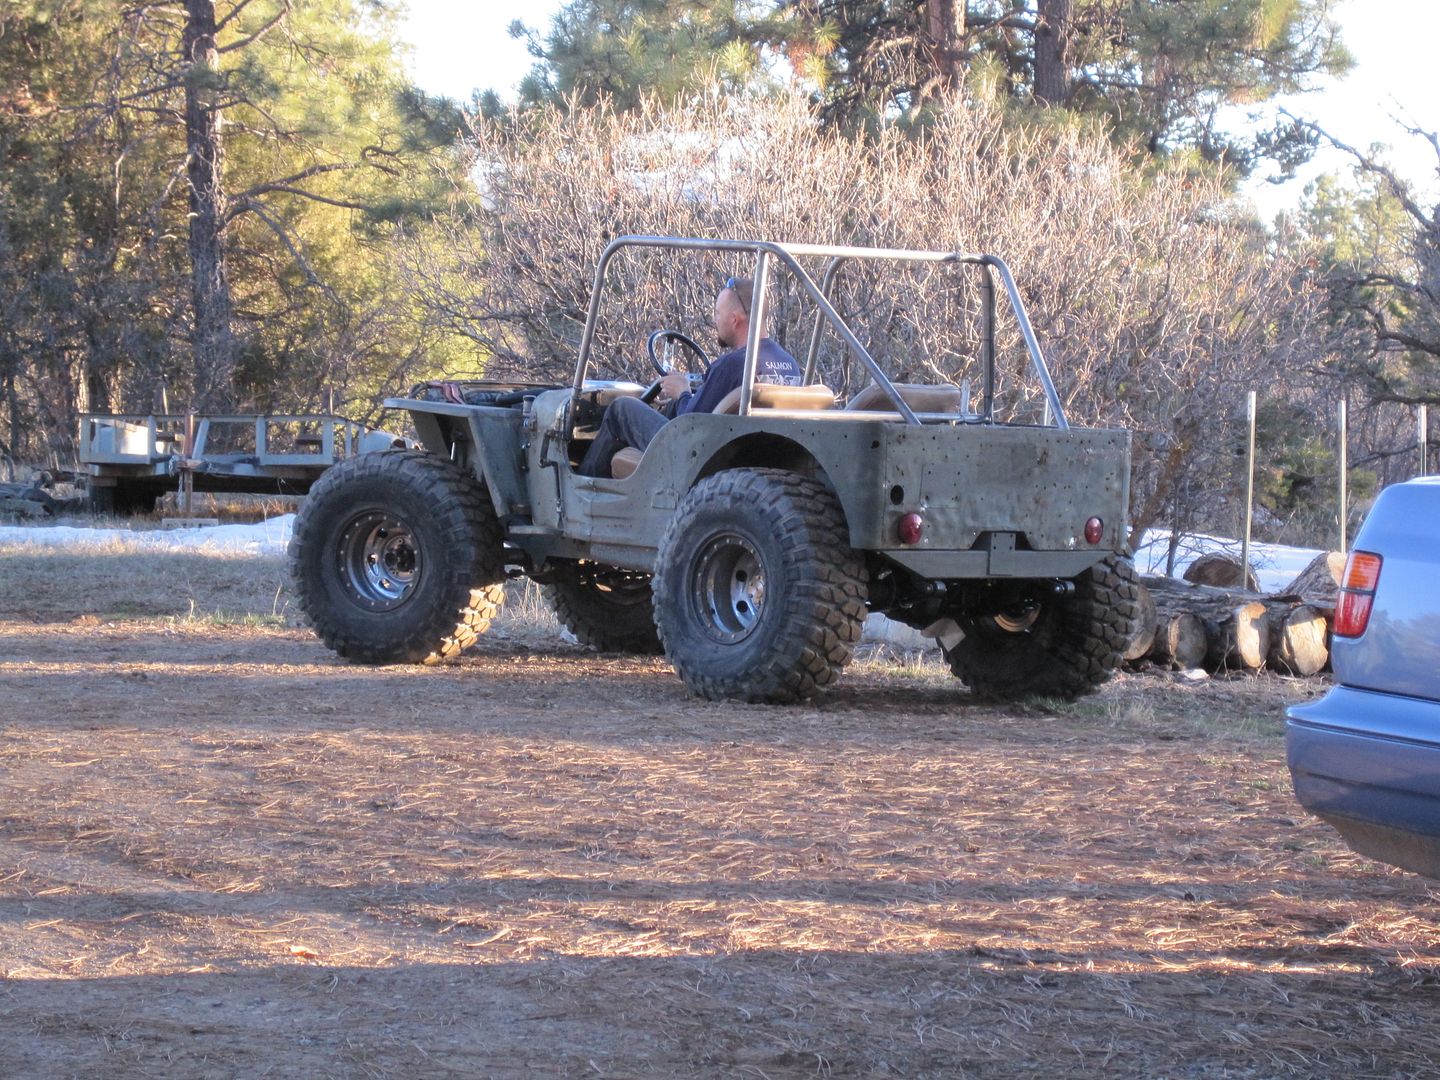
The jeep sits LOW. The rear end needs a slightly longer and/or slightly different shape shackle I have some contact issues between the spring eye and the bottom of the rear 'bumper'. I think a 1" longer rear dogleg shackle should fix most of those issues. I still have about 4-4.5" of uptravel in the suspension from ride height so it doesn't seem to be too low overall. The entire vehicle is just silly low. With the suspension articulated and the tires aired down the rear body seems to be like knee high sometimes.
I do not have enough trail or seat time to really say yes or no however. I had LOTS of teething issues on the shakedown. Just about everything with a rubber seal that had sat for the last year decided it didn't want to work anymore.....
-Main seal on the power steering pump input shaft went out. I may have damaged this getting the old steering shaft off? I ordered a reman box to replace the old one this morning.....
-The fuel pump decided it wanted to stop working. It was the old one on the engine and had sat without fuel for at least a year. I ordered a new one this morning.....
-The front seal on the engine was leaking A LOT. It had been an issue before, but nothing like this! I got a front seal kit for the engine.
I couldn't have made the trip in the first place without my good friend who flew out a few days early to trash on the jeep for a few days to get it ready! THANK YOU! I am sure he will post something up about my terribly messy shop area later. Watch your head on the cage getting in :grinpimp:
Other issues noticed.
-The internal hydro clutch thing is a TOTAL pain in the rear. I don't know if I would go that way again.
-The pedal assembly makes the firewall flex. I need to add something to brace the pedals to the cowl and/or firewall.
-The carb is running bad. I extended the vent but I think with the fuel pump issues everything is all messed up. I have a motorcraft 2bbl going on as soon as I have time to rebuild it.
-I still have air in the brake lines I think. Once the system is bled I think it will be pretty dang decent for manual disc brakes.
-The winch line needs spooled on the winch under tension.
-I need to add a diode to the alternator field wire to keep it from backfeeding to the HEI.
-Gauges still need to go in
The list goes on. Its not 'done' by any means. It did feel REALLY good to get to drive it again though, even if it was for only a few hours.
jeepdreamer
Expedition Leader
Congrats!!!!!!!!!!!!!!!!!!!!!!!!!!!! The evil soldier go cart has been born! lol!
Similar threads
- Replies
- 7
- Views
- 788
- Replies
- 4
- Views
- 2K
- Replies
- 65
- Views
- 6K

