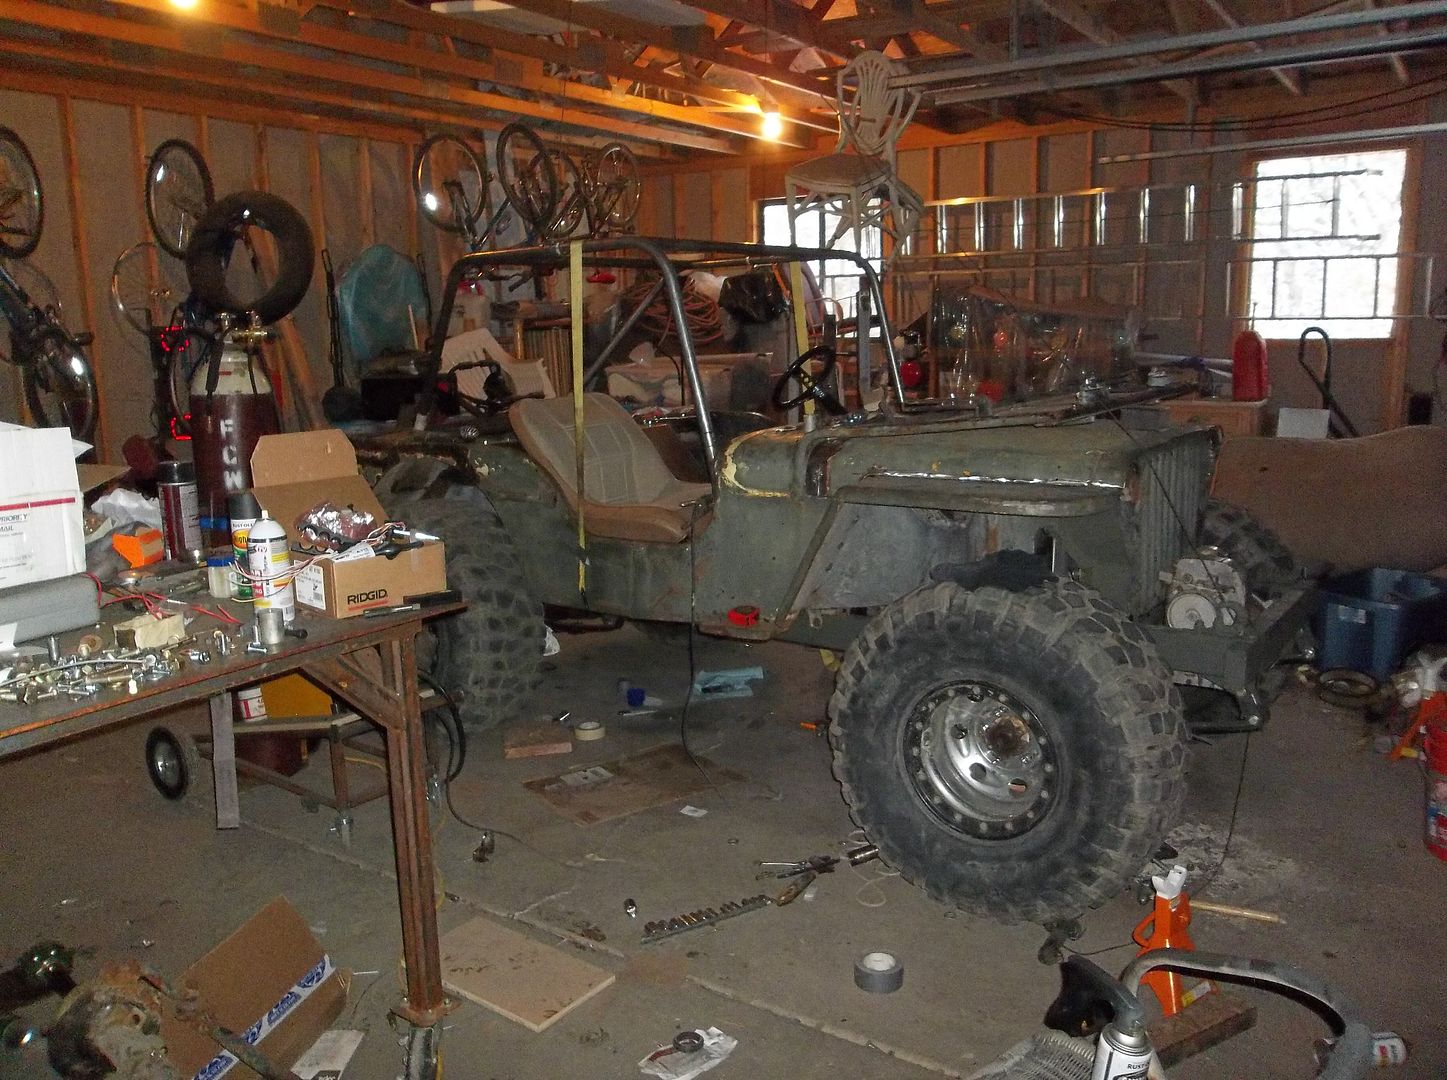
Rango.....1942 Willys MB

Metcalf

Expedition Leader
Last night fun.....

I got the steering linkage built. I was able to directly tap some 3/16" wall DOM tubing with a 1" OD. For a little flat fender like this I just couldn't bring myself going to complete overkill. Using the lathe to keep the tap centered and hold everything worked pretty well.
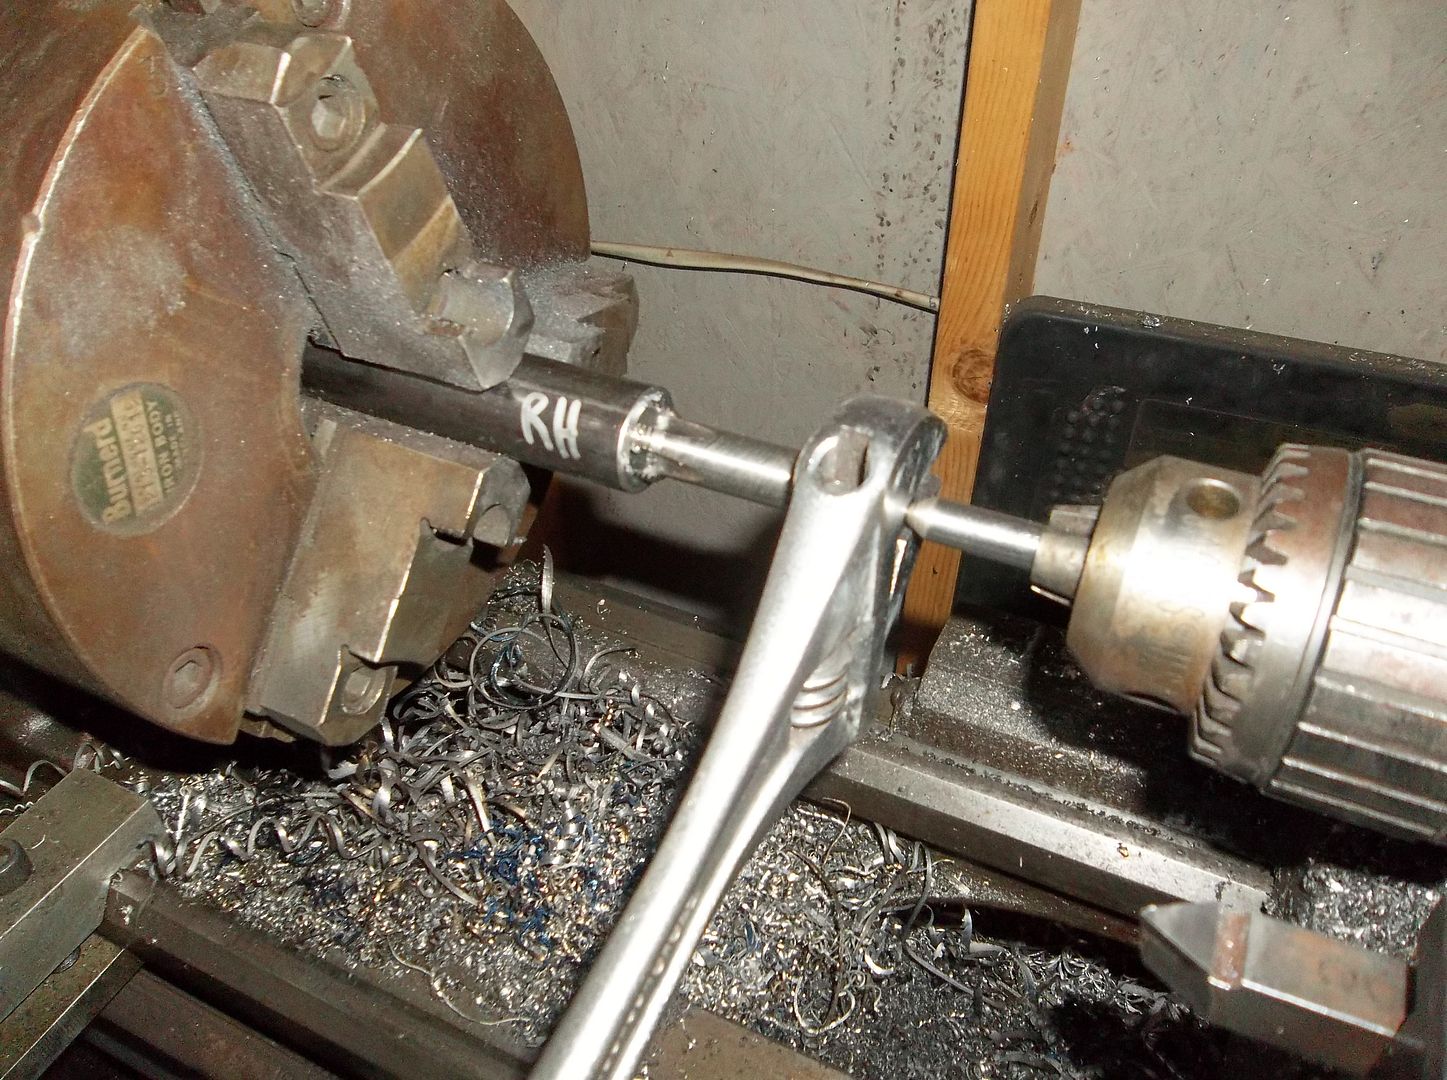
100_0992.jpg


I still need to get an alignment done, but I get full lock to lock steering ( Tires onto the frame/springs ). I was a little worried with the longer D30 knuckle steering arm if I would be able to with my shorter existing pitman arm. It all worked out though. I need to center the drag link also, the spacing got all off while I was trying to get it adjusted. Opps.
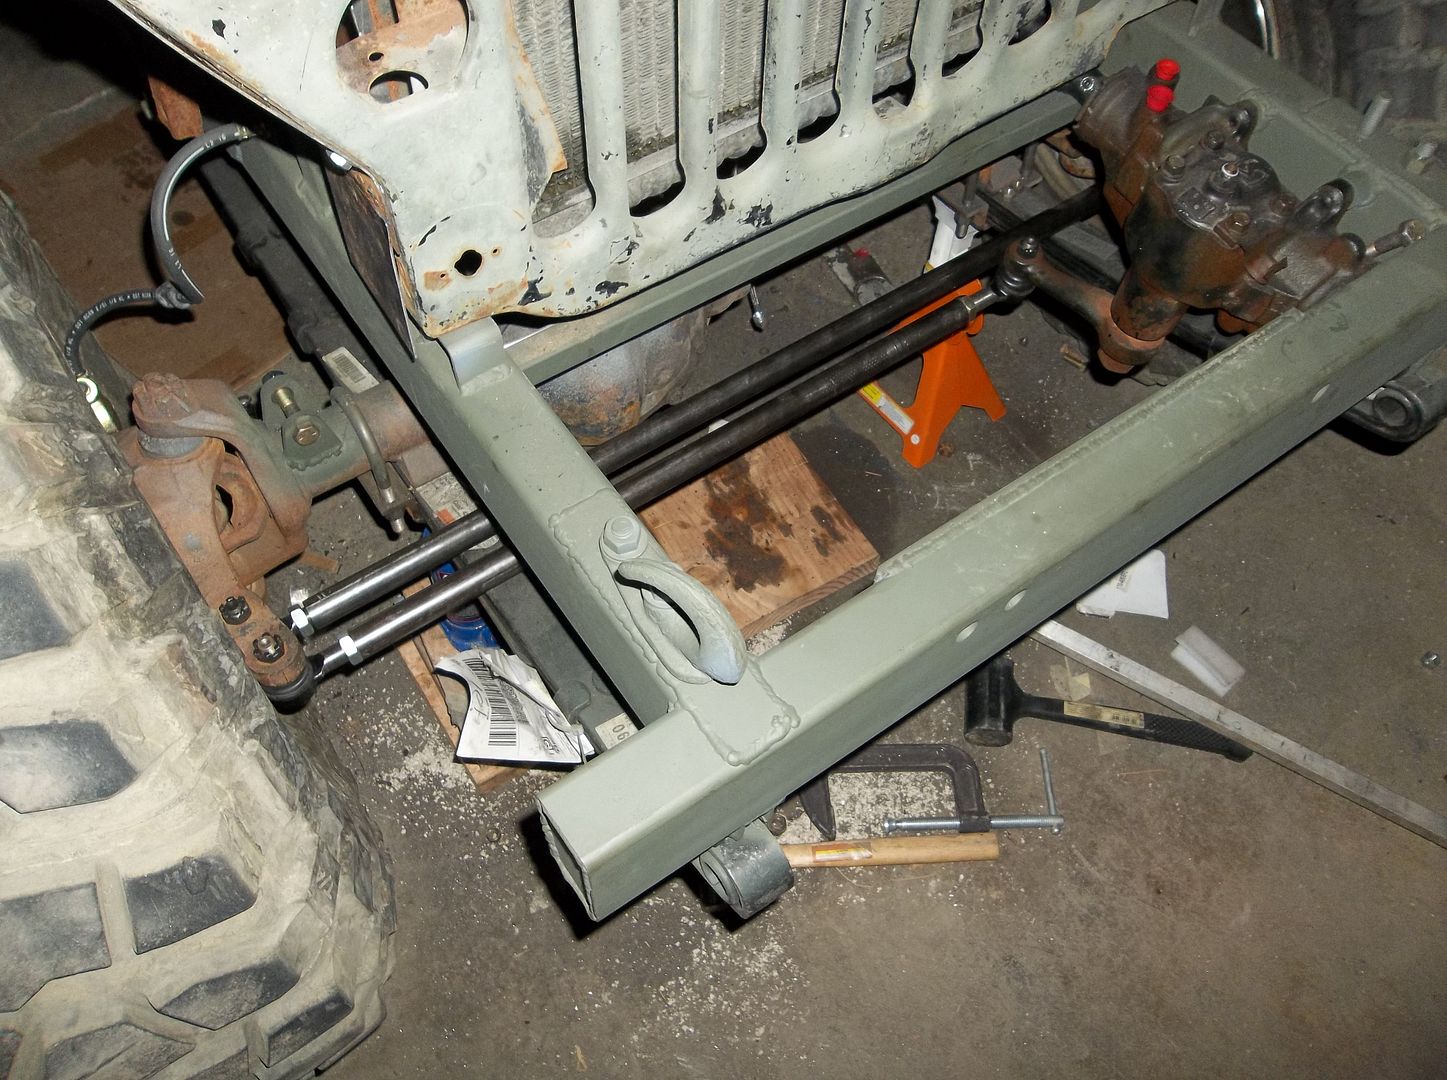
100_0994.jpg


I need to get the steering stops replaced and adjusted also...

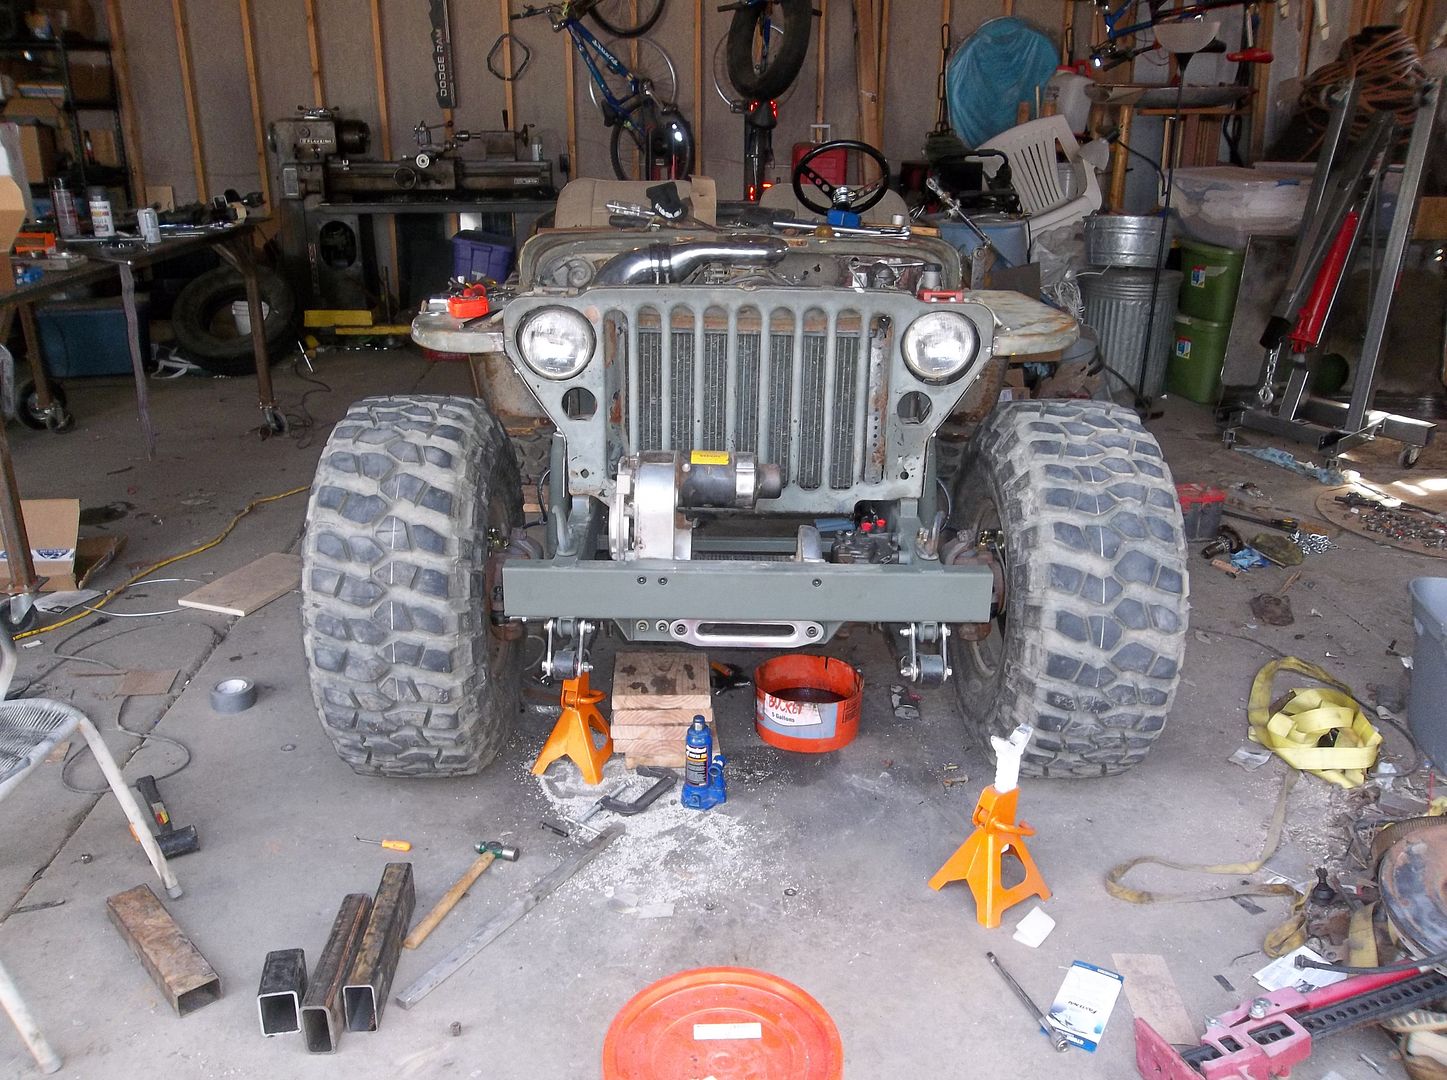
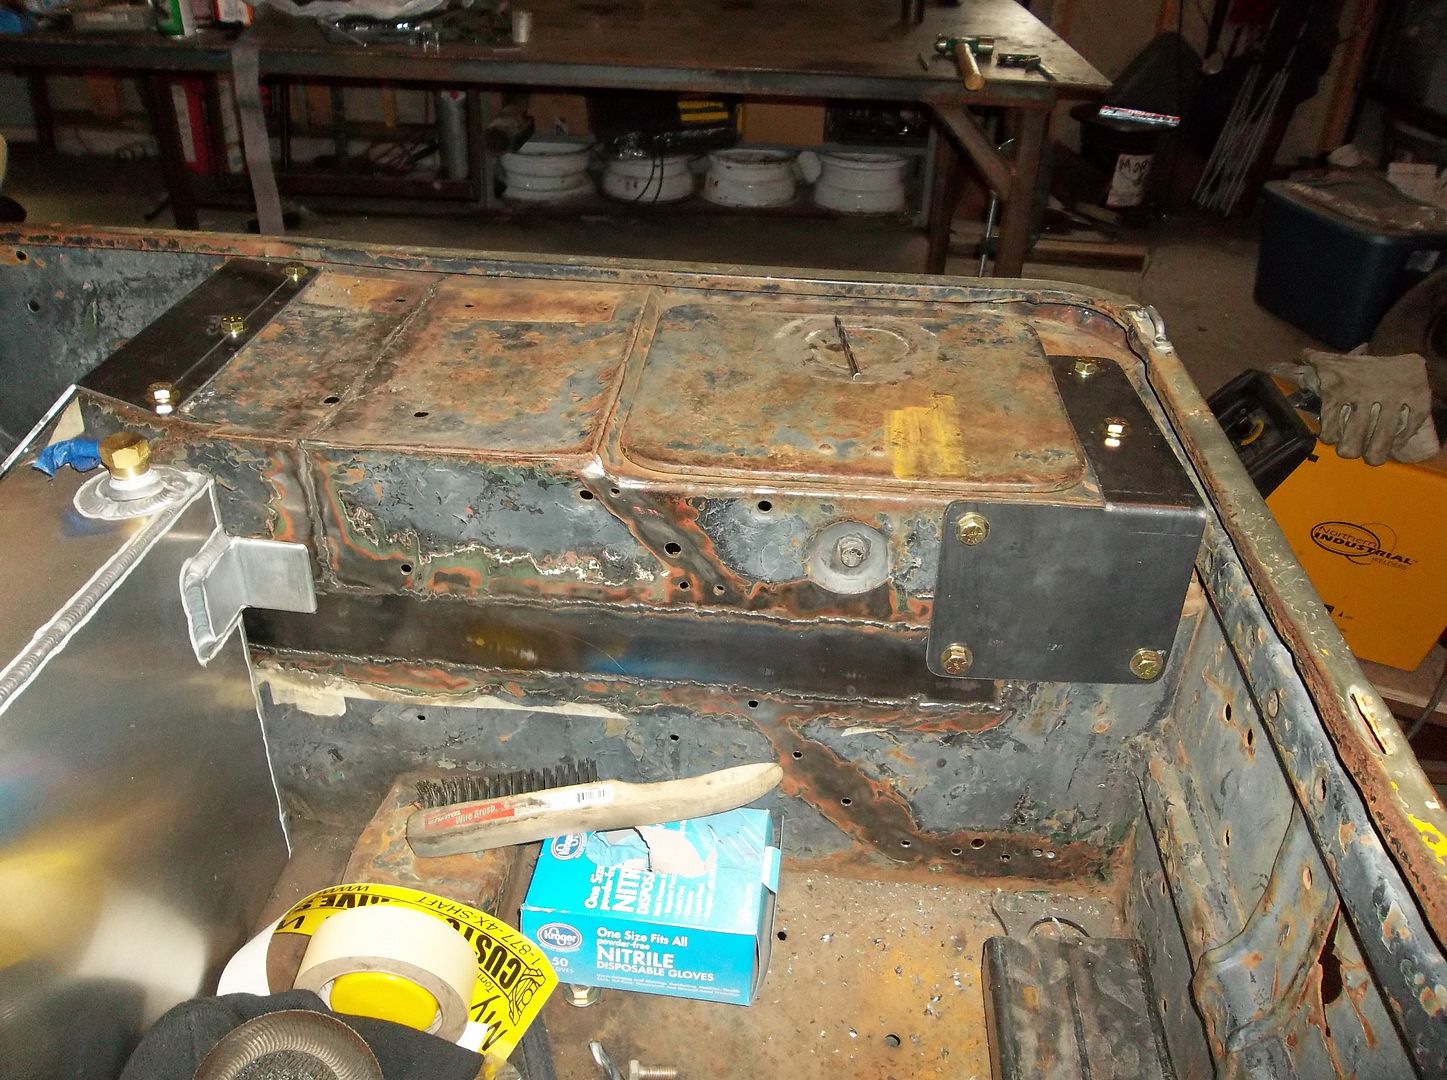
It was getting a little late but I REALLY wanted to get the winch on the front. That thing isn't light nor easy to install by yourself. I was able to use a ratchet strap to a rafter to hold it in place while I got a few bolts started.
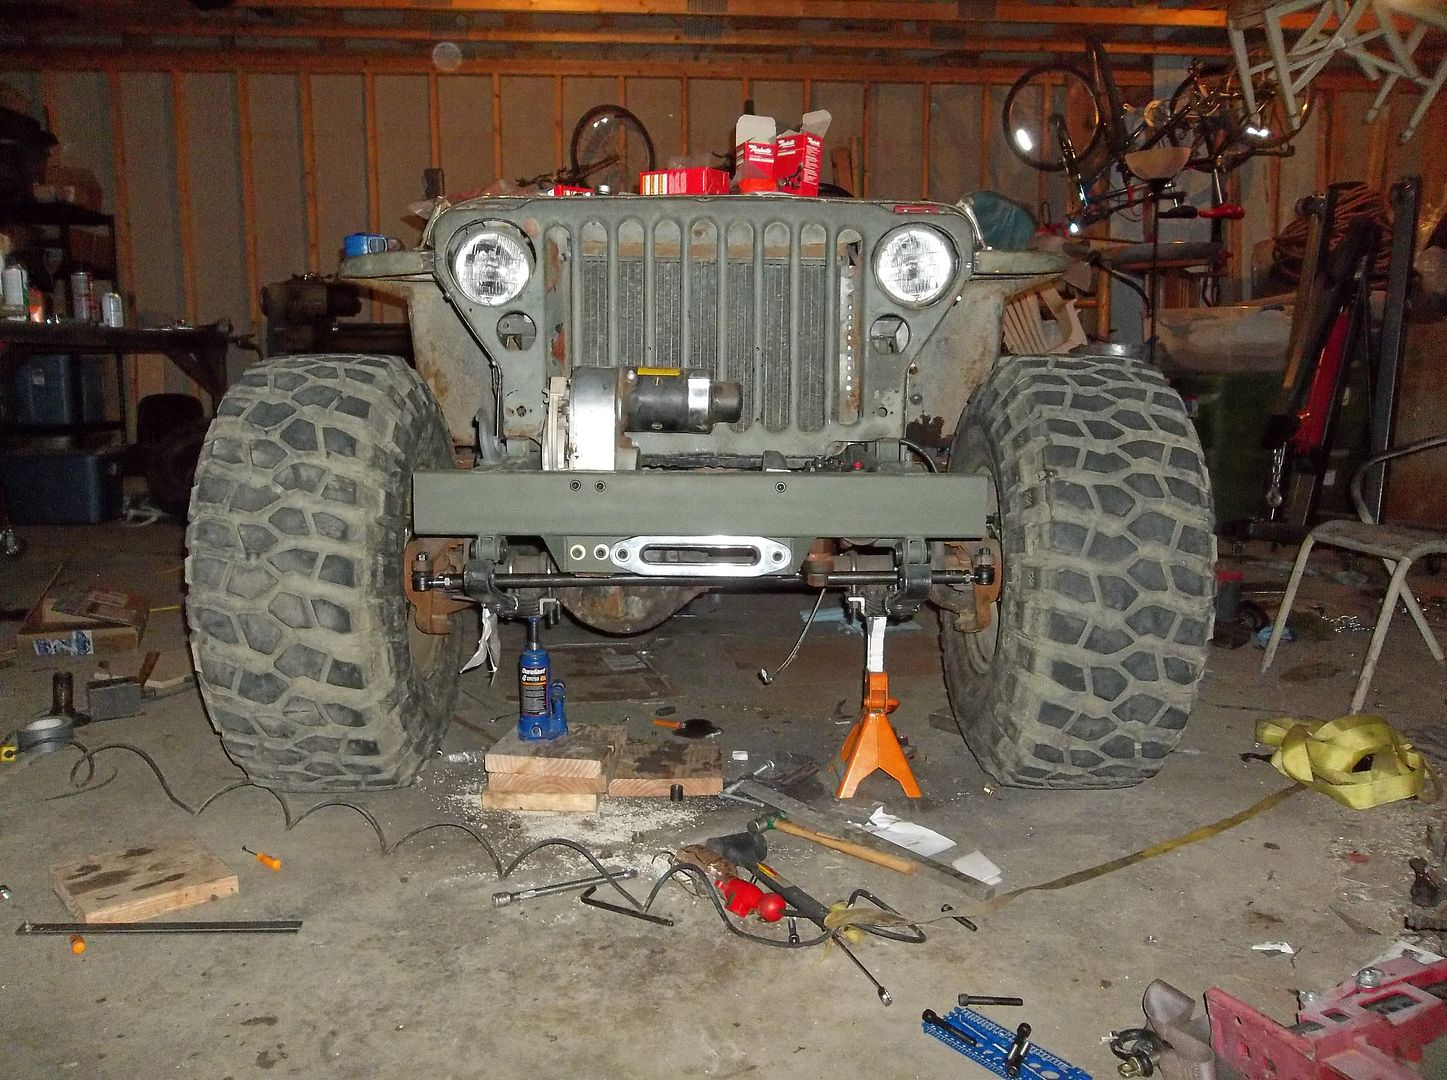
100_0995.jpg


I spent about 20 minutes trying to find the aluminum hawse. You know you have to much junk in the shop when you can't find new parts!
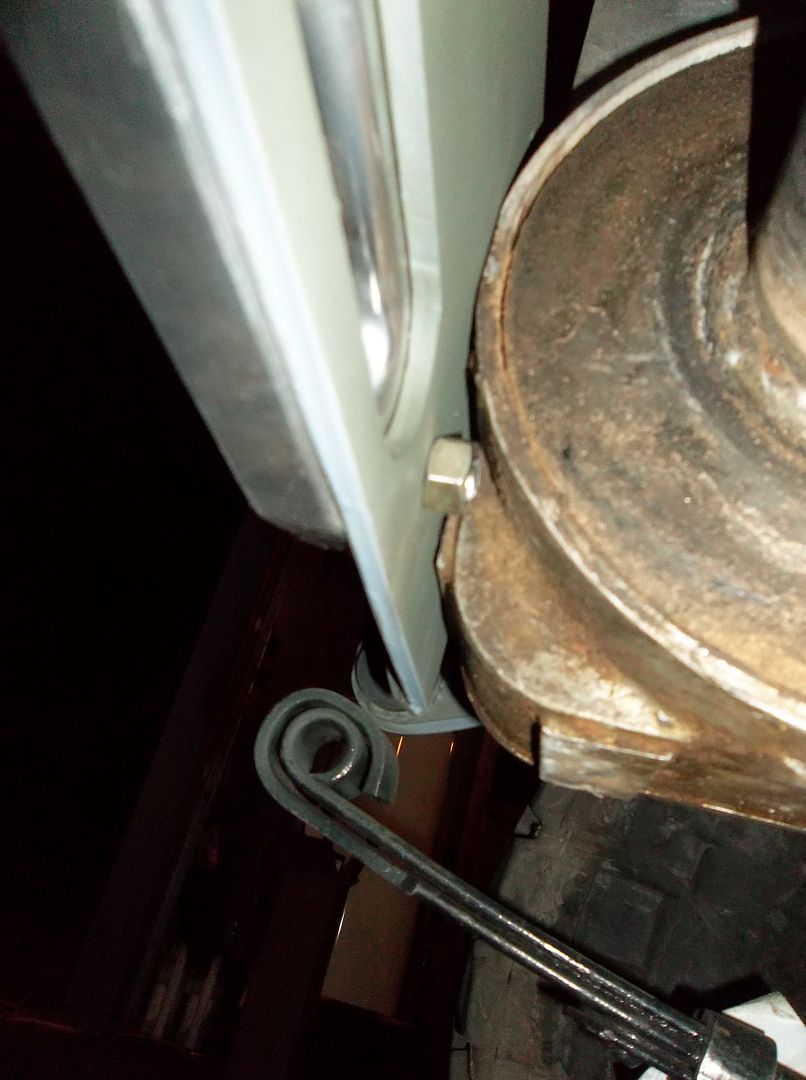
100_0997.jpg


A note on the belleview winch. In order to get a standard 10" wide hawse on it you need to sneak a short bolt into the winch frame. I had tapped the winch frame ( 1/4" plate ) directly for the 7/16-14 hardware but I think the double nut on the back is a little extra insurance....

I also hung all the shocks up and fogged them in OD paint just before I left the shop. I didn't want to get huffed out on paint fumes while I worked.

I did some rough mockup on the front 2pc driveshaft again. I will be working on that tonight along with a bunch of other stuff....
 

MrBeast

Explorer
I really like how it is turning out. one thing I was thinking might look good on the front bumper is on the ends cutting the bottom 2/3 at each end at about a 60 degree angle which would make it have a similar line to the grille/fenders

100_0995.jpg
 

MrBeast

Explorer
You don't get in....you put it on :sombrero:

Getting in and out is a bit of a chore. Not as bad as most tube frame buggies though.....

LOL you got that right!

It is still a bit interesting getting in my CJ simply because it is tall, when I can add the frame that is going to help a ton because I will be able to put grab handles on it, I don't like using the steering wheel to get in and out, specially when it is a tilt column.
 

Metcalf

Expedition Leader
That same angle is on the ends of the winch mount where it hangs below the bumper ;) I was trying to get the frame to look kinda stock, but kinda not, hopefully it gets a double take or two.

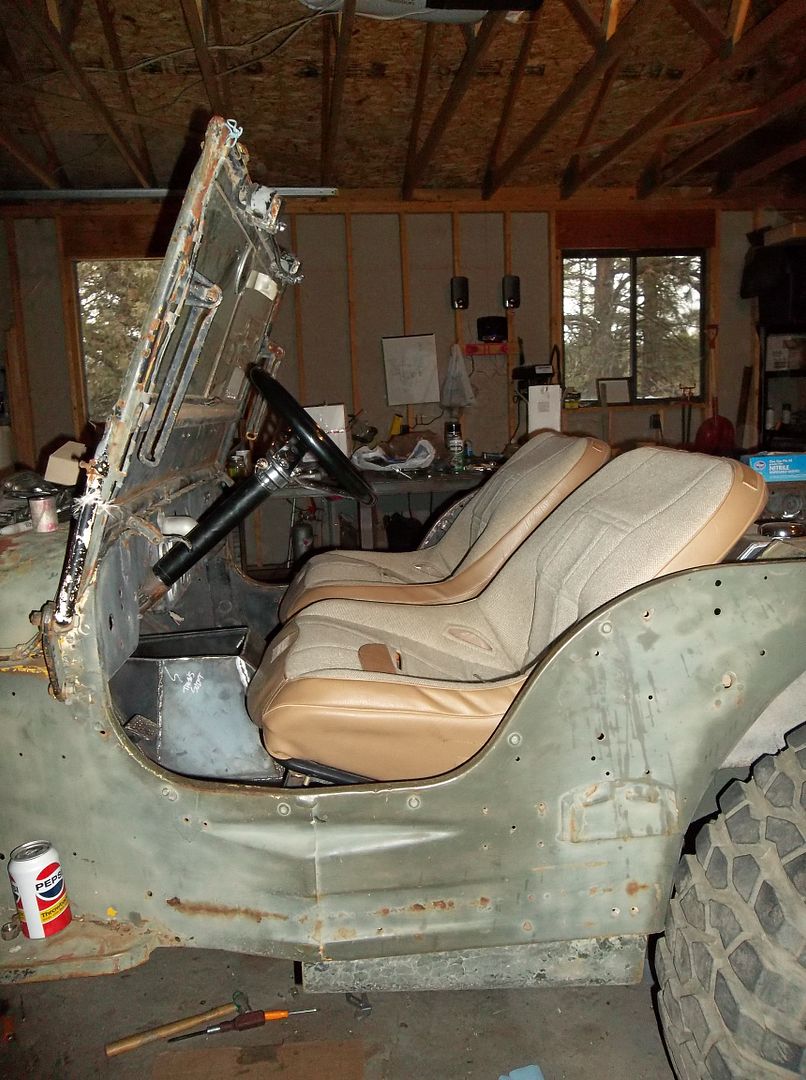
I don't have to get up into mine, it's LOW. Getting over the door opening is the biggest oddity. I can't decide if that is going to get easier or harder with the cage in place. The steering wheel also pops on and off to make getting in and out easier. This thing is SMALL. Most side by sides have about the same amount of interior room.
 

MrBeast

Explorer
That same angle is on the ends of the winch mount where it hangs below the bumper ;) I was trying to get the frame to look kinda stock, but kinda not, hopefully it gets a double take or two.

I don't have to get up into mine, it's LOW. Getting over the door opening is the biggest oddity. I can't decide if that is going to get easier or harder with the cage in place. The steering wheel also pops on and off to make getting in and out easier. This thing is SMALL. Most side by sides have about the same amount of interior room.

I do seem to recall before they had side by sides didn't people just get an old jeep? ;)
 

Metcalf

Expedition Leader
Yes, yes they did! I wish there where more old flat fenders kicking around instead of side by sides.....

That was one of the reasons I posted the build....side by side competition. With the frame I designed I think just about anyone could build a 'new' flat fender now. You can buy the body tubs easy enough. You can use just about any combination of parts you can imagine including some odd throw away stuff like dana 30's, 4cyl and V6 engines, etc.....
 

Metcalf

Expedition Leader
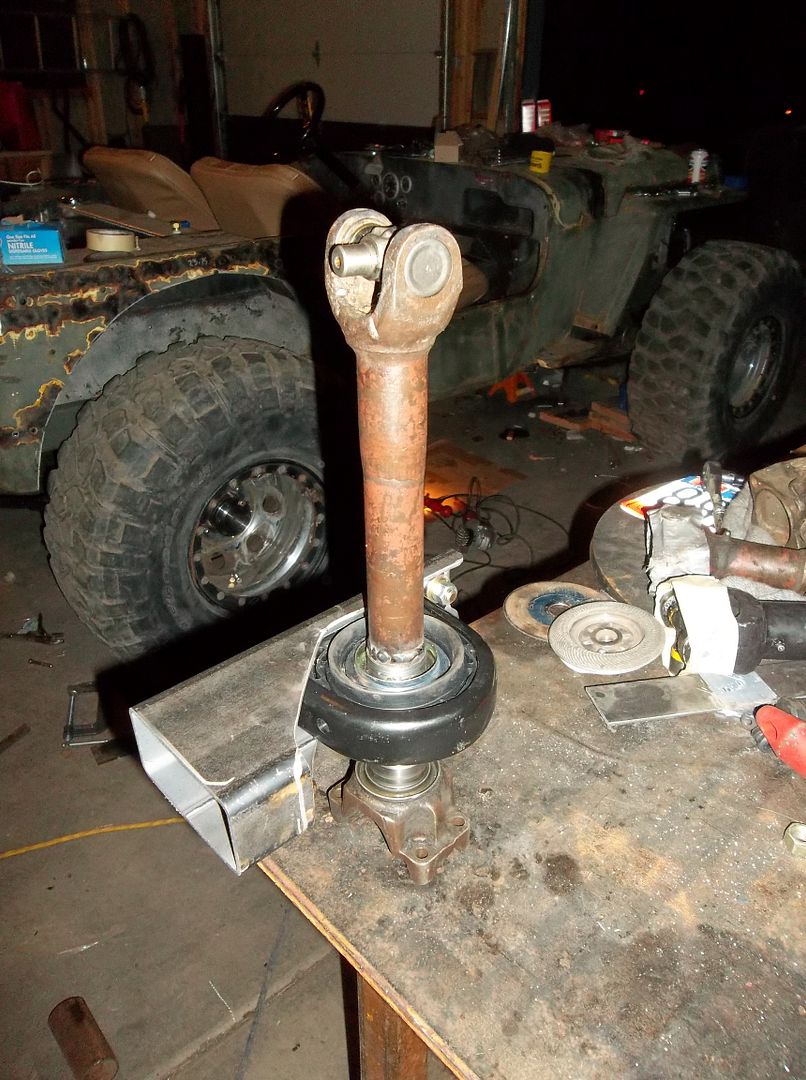
Tonight I built this. I am not a driveshaft shop, but I did stay at a Holiday Inn once....

100_1000.jpg


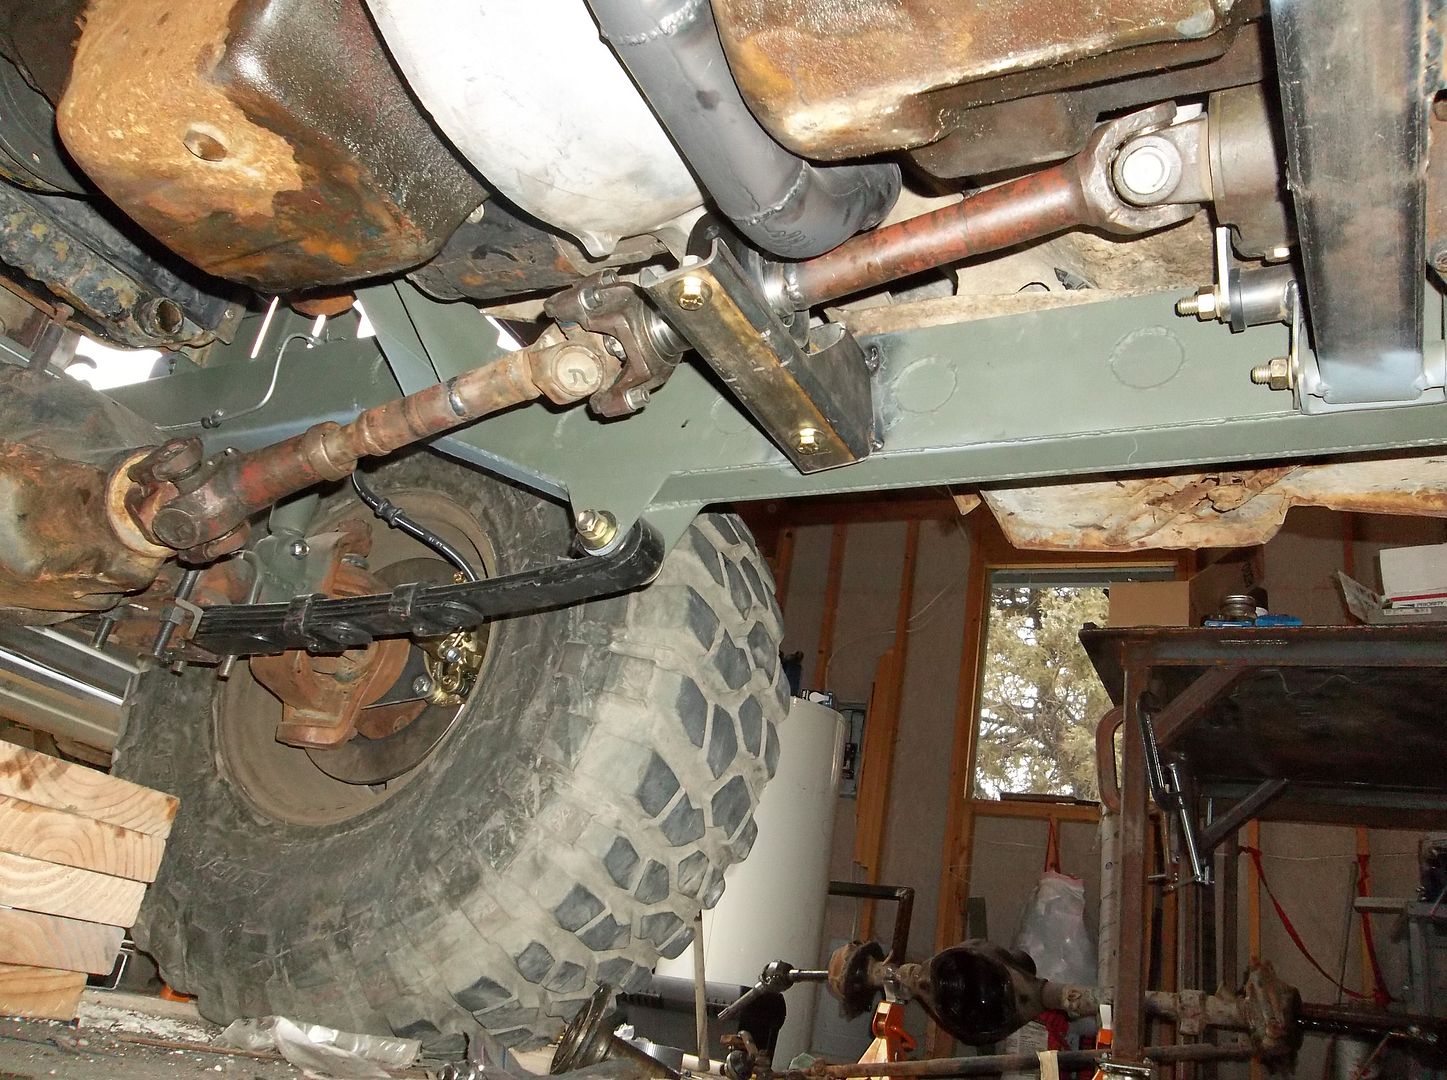
This is the small 2pc shaft for the front end. It lets me use my mini u-joint front output thing. The carrier bearing is your standard GM part from a 1980 pickup. The shaft is made front my old front driveshaft chopped off and welded to an old D20 front output shaft I had laying around. The D20 output was turned down in a lathe, then welded to the old driveshaft fixed yoke. I had to make a small sleeve for the driveline that was a swearing press fit over the turned down section of the old pinion. The sleeve was then a light press fit into the carrier bearing. Then top it all off with an old 10 spline 1310 U-bolt yoke I had floating around the shop.

The bracket for the carrier bearing welds to the frame. It only needs to sit about 3/4-1" below the frame and is near the front spring hanger so it shouldn't be too much of a rock magnet.

Now I just need to cut down my old rear shaft for the front. I think it ends up being something like 13-14" long.

This weekend is cage time I think.....
 

Metcalf

Expedition Leader
Yeah, it's a good thing I work alone in the shop. I must have been a sailor in a past life....

I should have a pretty good update late tonight. I did about 3-4 hours in the shop this morning, took a lunch brake and parts run to town. Now back at it again....
 

Metcalf

Expedition Leader
Today was fun.....LLLLLOOOONNNGGGG day.

This morning's shift....

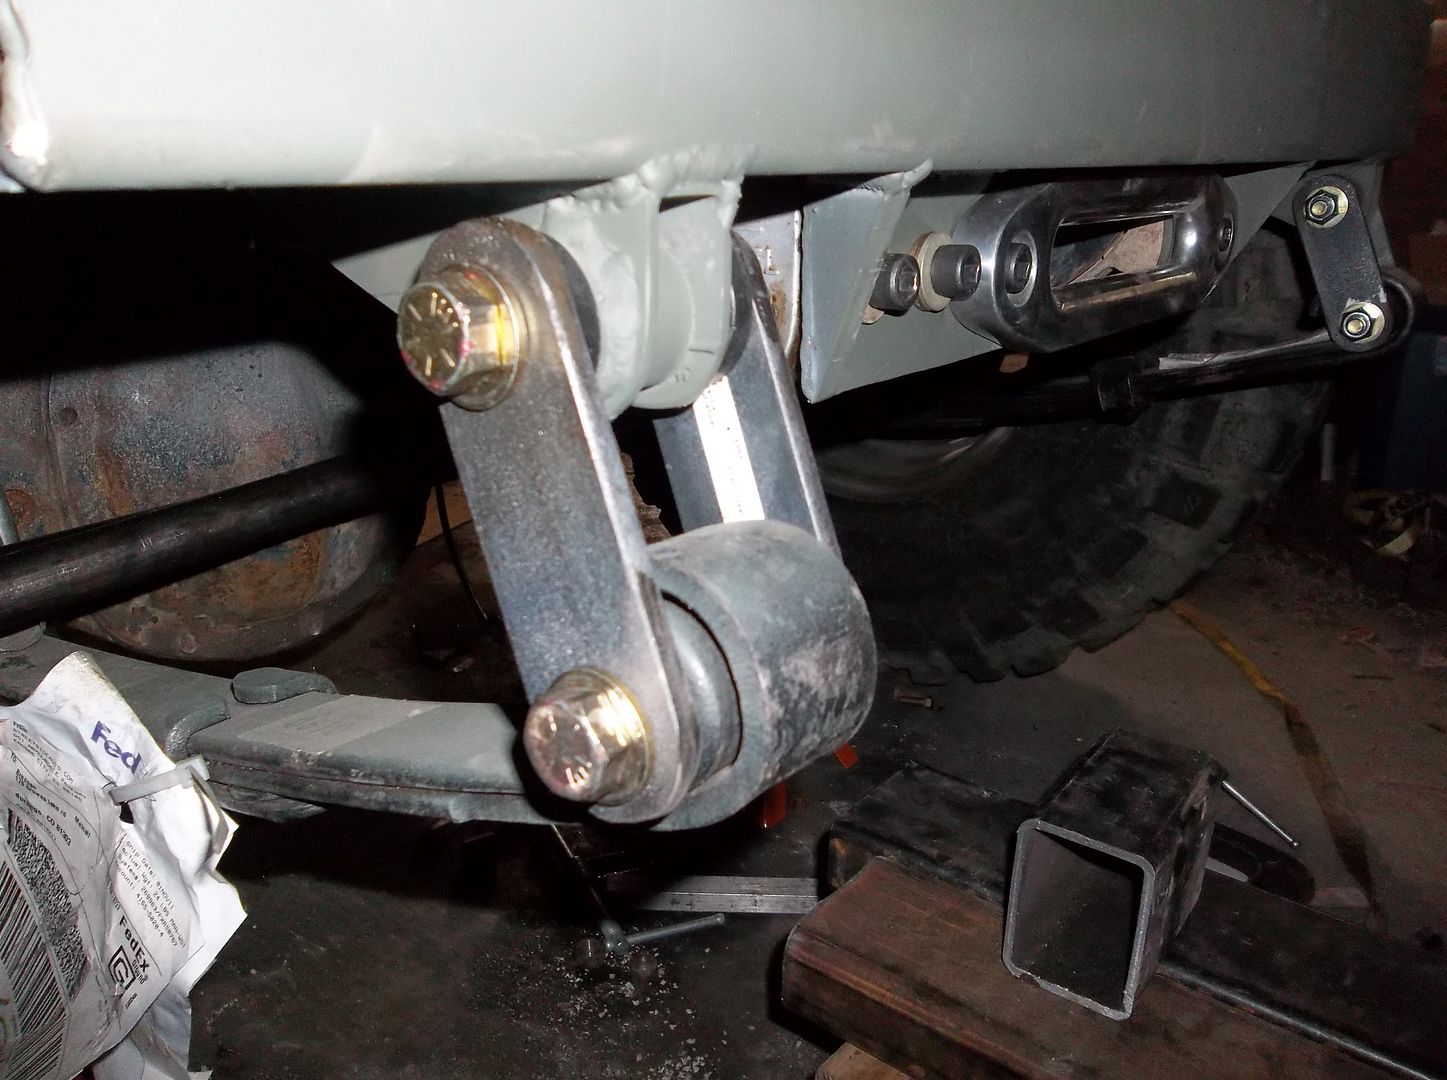
-Installed the shocks at all 4 corners
-Installed the front shackles.
-Gave the front a tape measure alignment, approx 1/8" toe in.
-Set the front end on the ground with weight on everything.
-Climbed on the bumper and bounced up and down.....yup, everything
moves, not super stiff?
-Pulled the drivers fender off to get at stuff, primered and painted
the new area while it was off
-pulled the power steering hoses, alt belt, and carb soft line for a
lunch time parts run.
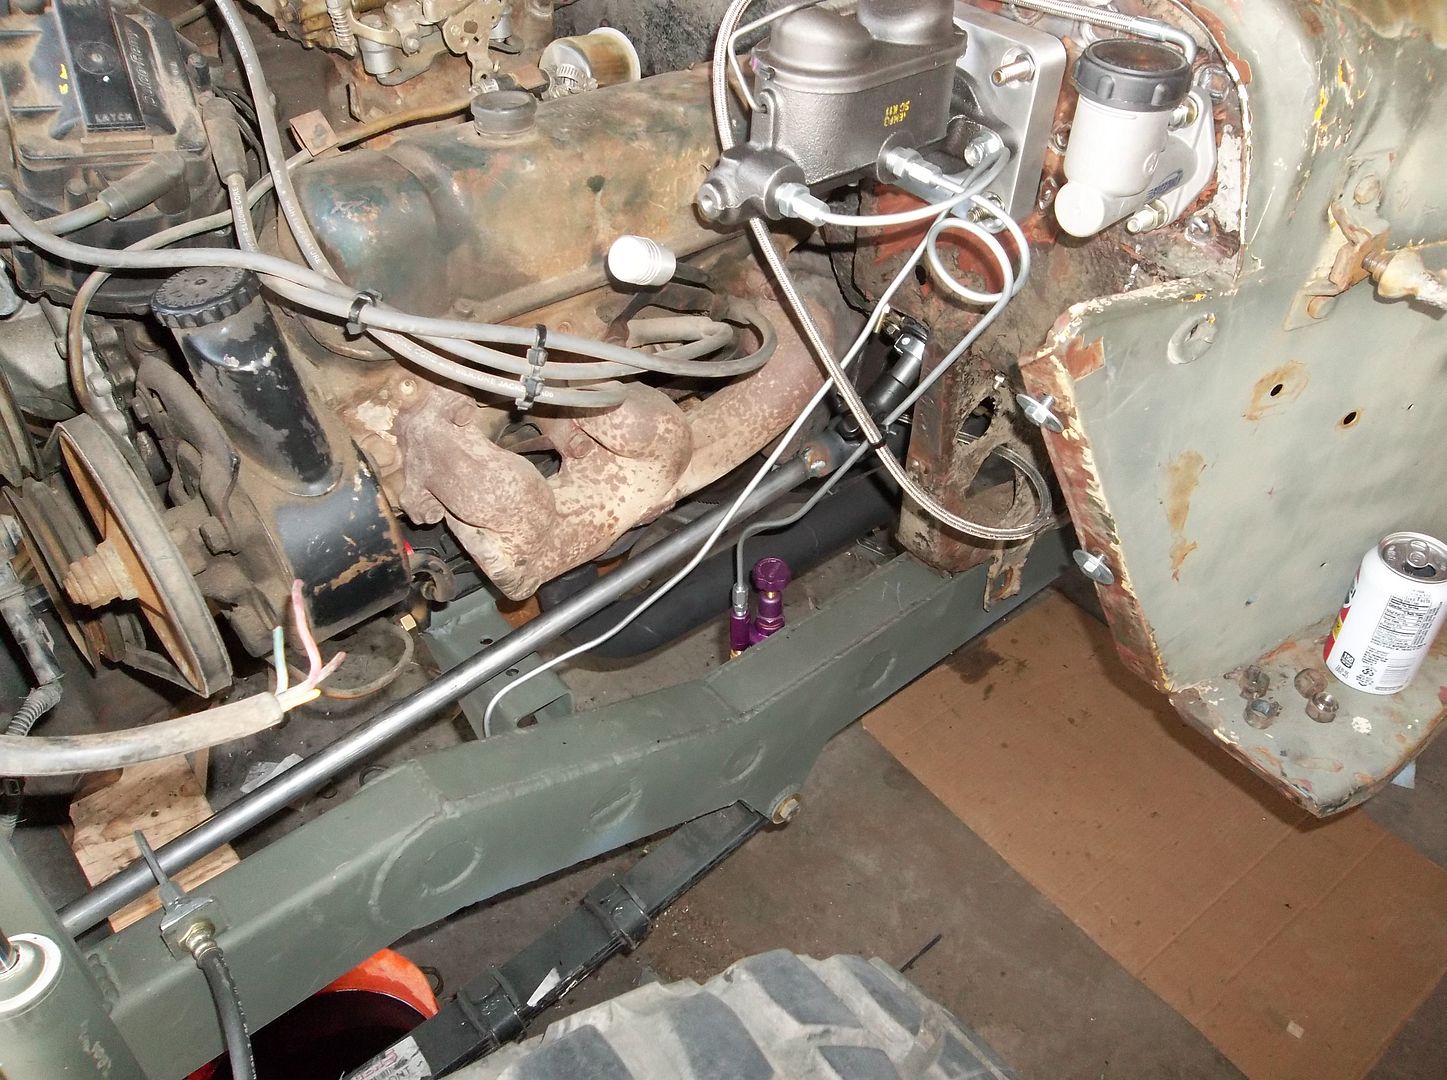
-rebent the front hardline from the master cylinder and re-installed it

This afternoon/evening shift..

-Installed the 2pc shaft and carrier bearing
-Tack welded the carrier bearing bracket in place
-Built the 2nd front driveline....only 13" long!
-Installed the 2nd front driveline
-Installed the new alt belt
-Pulled the grill/radiator to drill a few holes in the fan mounts
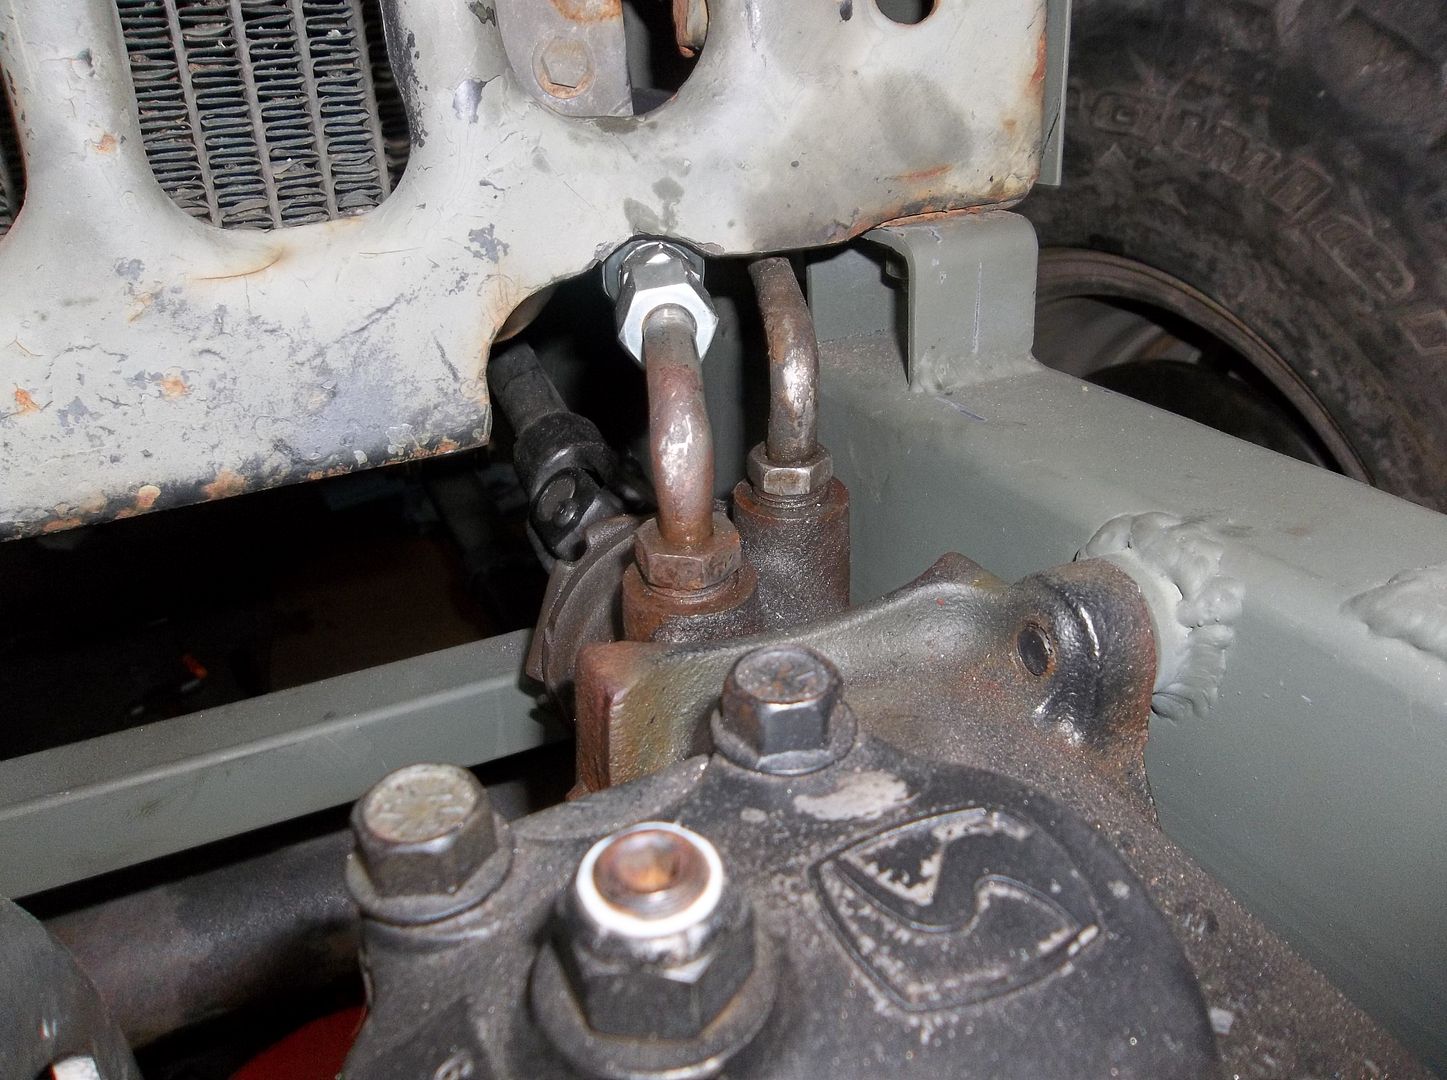
-Installed the new power steering hoses
-Trimmed the grill slightly for the new power steering hose fitting
-Re-installed the grill, radiator, fan assembly
-Found the plug for the power line to the fan and stuck it in place so
I wouldn't loose it.
-Reinstalled the drivers fender
-Stuck the windshield back on and played with the up down a little bit.
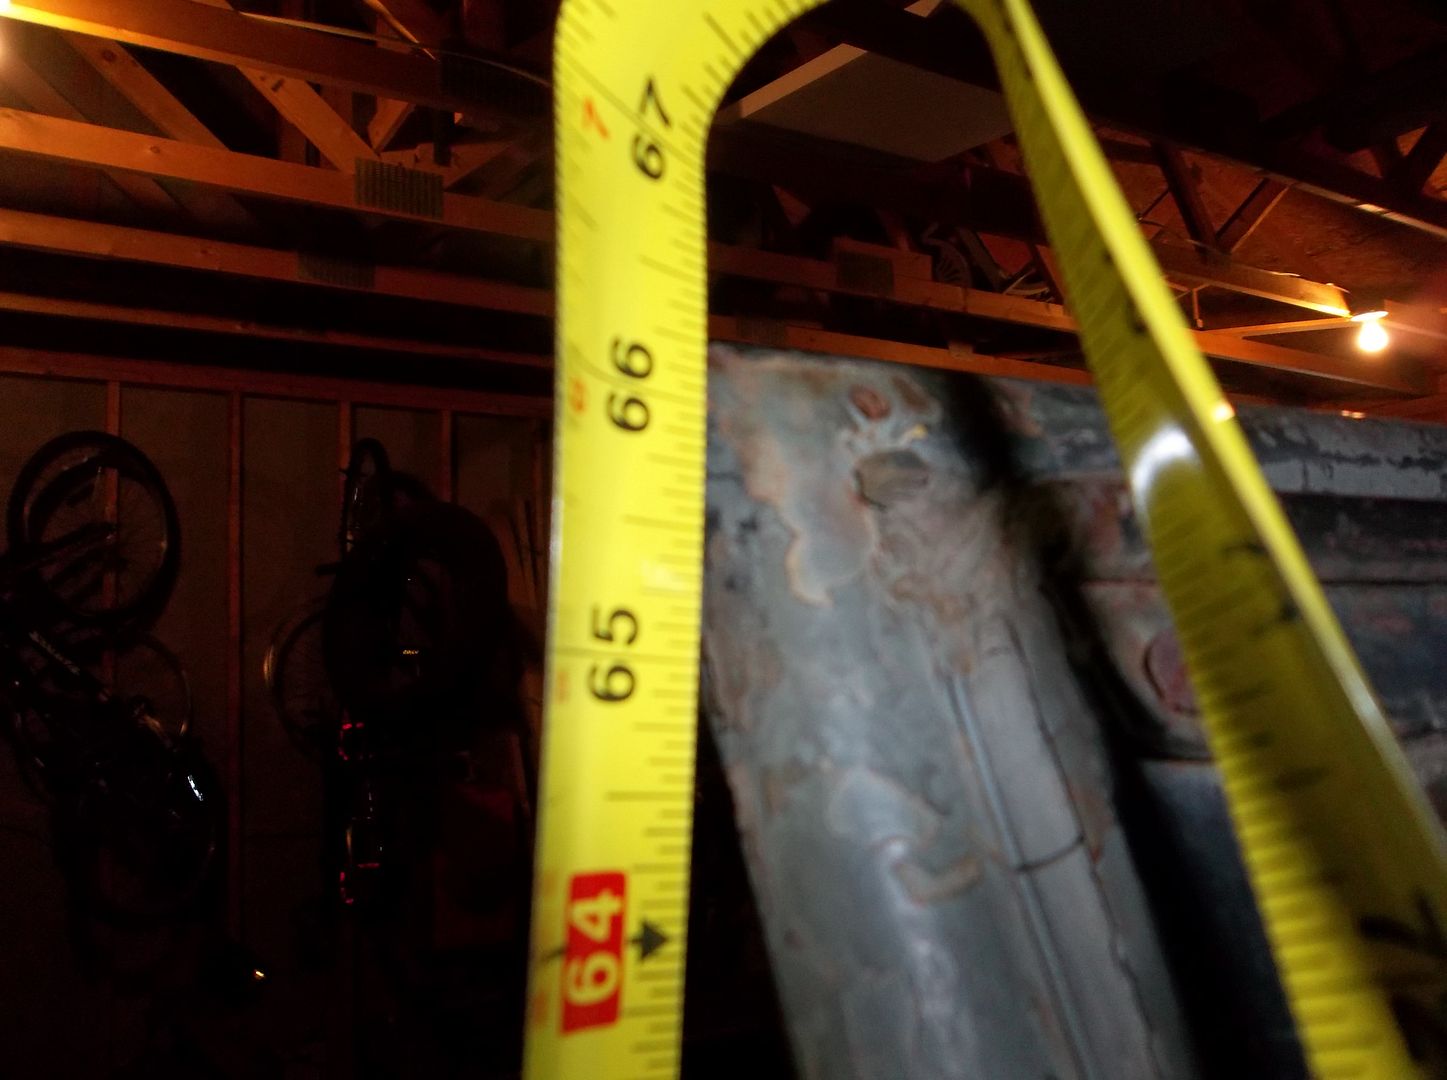
-Measured to the top of the cage now that the front end is at its
pretty much final height.....65.5-66" :) To the hood in front is less
than 46" I think.

A few pics.....

100_1001.jpg


100_1002.jpg


100_1003.jpg


100_1004.jpg


100_1005.jpg


100_1011.jpg


100_1010.jpg
 

MrBeast

Explorer
It has to feel good to see it all coming together like that.

Are you going to paint the body or just leave it all weathered?
 

Metcalf

Expedition Leader
I'll keep fogging it in OD paint when I modify something, but in general I am going for the southwest patina thing....
 

Metcalf

Expedition Leader
Thanks. It was a learning process. I had a few little bugs that didn't make me too happy. The windshield angle ended up a little too upright. I will need to rebend the windshield mounting frame a little bit to get the angle right. The one bonus to that is that with a slight bend to the frame I think the frame will now clear the carb plenum that sticks up through the hood a bit on 'normal' hood blocks.....

Here was the other pic I took.....

100_1012.jpg


It shows the cage feet in the rear. The b-pillar pads will be tied to the frame on the inside of the tub eventually and the C-pillar ties together both wheel tubs and then goes down to the floor and frame.
 

Forum statistics

Threads
188,285
Messages
2,904,872
Members
229,961
Latest member
bdpkauai
Top