So- first of all, thanks to Sal(Delatorre), Mike(Dyogim), Jose(Toyotech), and my buddy Taylor for helping me bench press this thing up and into place. I'll do a quick half-assed writeup of how I did it in case anyone is looking to do the same in the future.
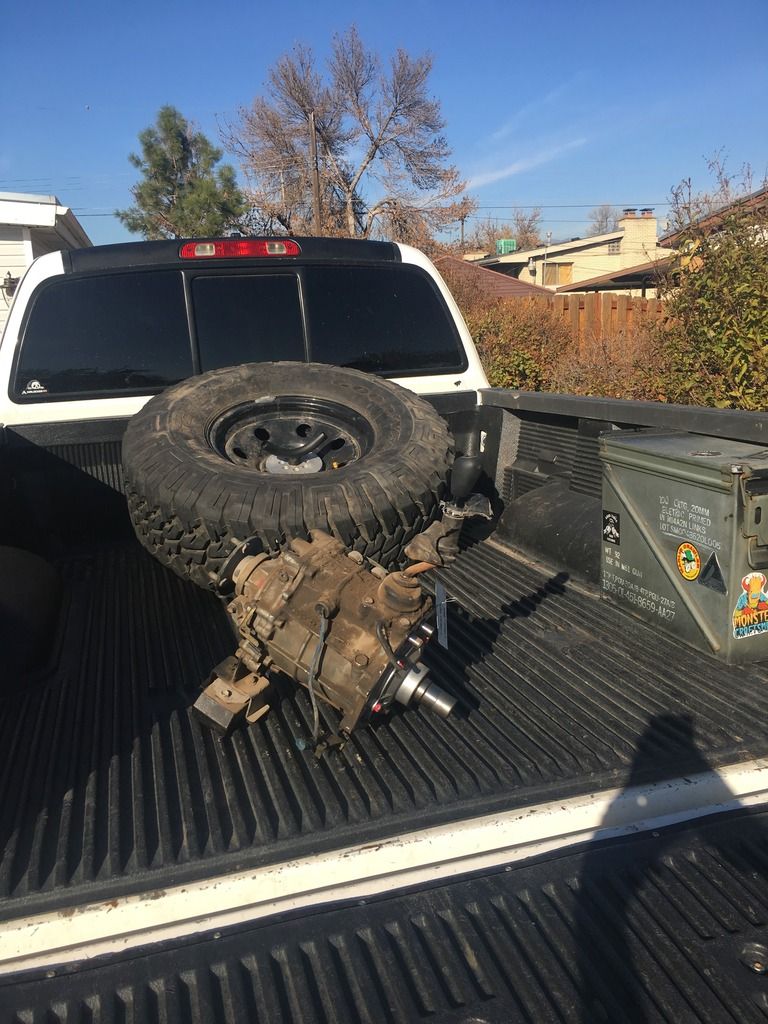
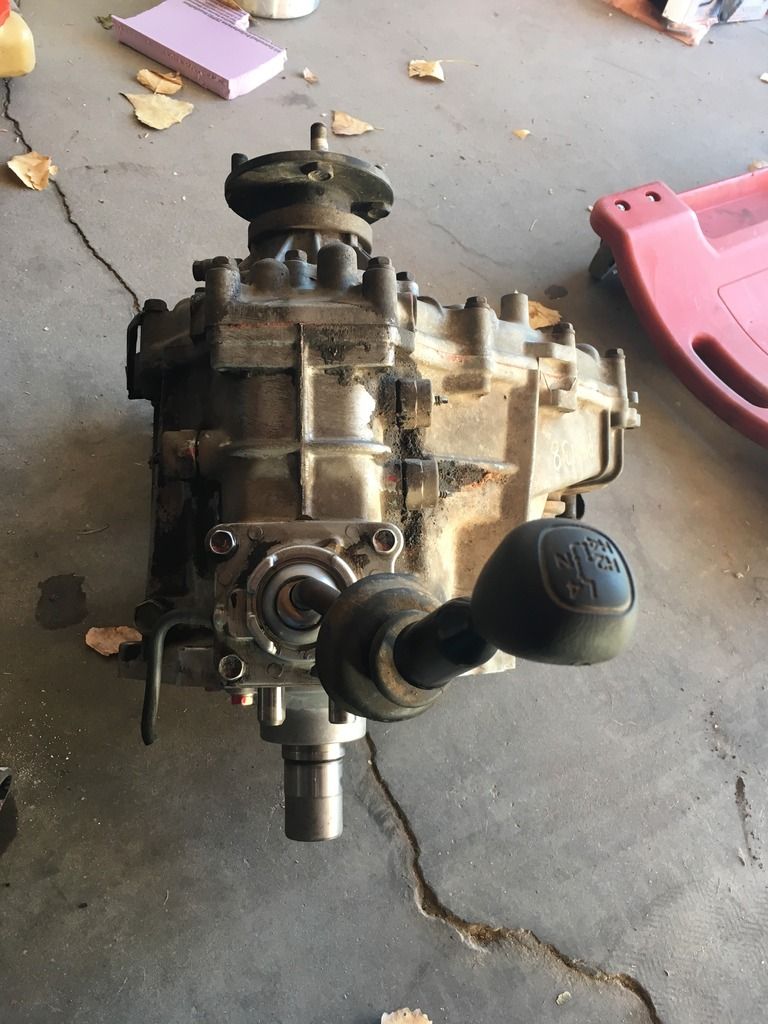
The 4 runner case is the way to go. Specifically a 96-99 V6 auto SR5 J-shift transfer case. One without any electronic buttons on the side, and with a 23 spline coupler. This is what the 23 spline coupler looks like, with two "missing teeth".

To get the old transfer case out, drain the oil and unhook the electronics. Three plugs on the actuator, unbolt the one 12mm bolt and remove the entire speed sensor on the right rear of the case as you look at it from the back, and the brackets for wiring harnesses on both sides. Unbolt the drivelines from the transfer case and get them out of the way. The transmission needs to be supported with a jack so the crossmember can be removed. Annoyingly it only needs to be removed to get one bolt in and out of the transfer case, but that's the way it goes. There are 8 bolts that hold the transfer case to the adapter at the back of the transmission. After they are out my transfer case was still solidly attached. I gave it a few whaps with a hammer on the lip on the backside and was able to slide it off. The rear seal at the back of my transmission had a nick in it which let fluid come through that turned into a dry, white powdery dust.

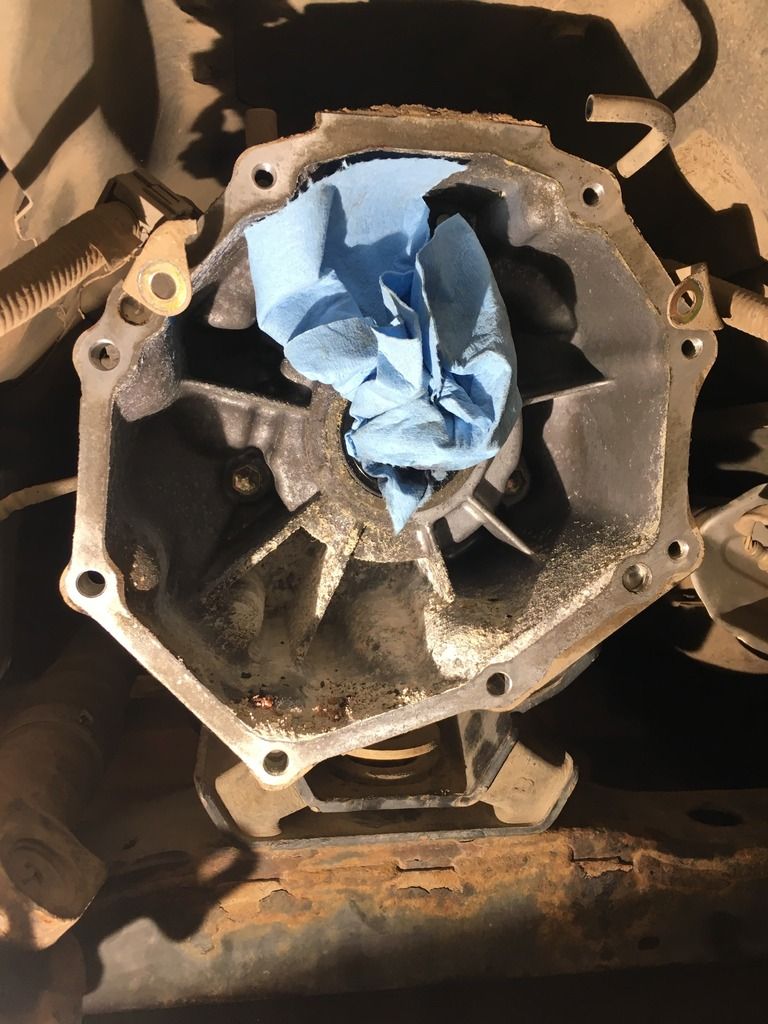
I replaced the seal. Part number is 9031140007 if anyone needs it in the future.
I got a 2.5" holesaw to make the hole for the shifter. I think this is the absolute smallest size you can make this hole and still be able to get the shift lever snap ring in. I just measured off the back of the adapter to figure out where to put it.

I removed the shifter instead of the entire top plate. It is held in place with a snap ring.
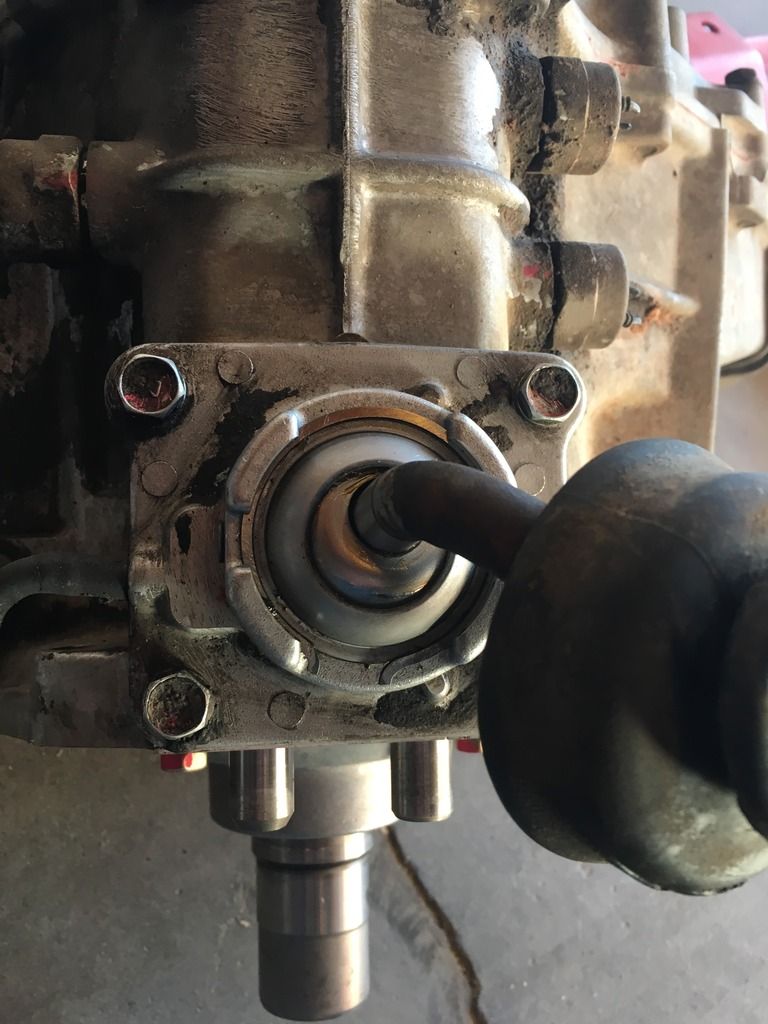
I pulled my 4wd fuse in the cab to keep my 4hi and 4lo lights from flashing and clipped the wires coming out of the three positioning sensors on the manual t-case for 2hi, 4hi and 4 lo. Put a little grease on the coupler splines of the new transfer case and manipulate the output on the back of the transfer case to get it lined up. Make sure you don't hit the seal while it's going in. All while laying on your back and bench pressing it up and into place! The jack I had wouldn't go high enough to get it up to where it needed to be, but it was actually easier to get it in than it was to get it off. Reinstall everything you took apart earlier. There is a cap on the 4runner case where the speed sensor goes. Remove the cap and throw your speed sensor in from your old case. Throw some electrical tape around the three plugs for your old actuator that is no longer there and tuck them up and out of the way above the t-case. Take your old actuator out back and shoot it with 9mm hollowpoints and then finish the rest of what you can find with a 12 gauge. Refill the case with oil.
It's kind of a PITA to get the snap ring back in, but after a dozen tries with a second set of hands we got it in place.

Now on to the front diff. It would be possible to wire up a switch to operate the front actuator, but I wanted to get rid of the electronics in the 4wd system completely. There is a shift fork in the front actuator that slides a sleeve over a gear for 4wd or slides the sleeve off of the gear for 2wd. The shift fork can be locked in place to keep the front in 4wd. With an open front diff and the transfer case in 2wd, this does NOT cause any binding on pavement! Once 4wd is engaged in the transfer case, you will get binding in the front end on pavement as usual. The only con I see to the locked actuator is drag since the front driveshaft is now constantly spinning which I guess could reduce your MPG by a hair.
To lock the shift fork, drain the oil in your front diff and remove the front actuator. Slide the shift fork all the way to the DRIVER side. Install a 3/8" hose clamp and clip the extra length. Do not make it so tight that the shift fork has no play up and down or it will give you a hell of a time getting back in.

Slide the locking sleeve in the housing over the gear. You can confirm that it is in the right position by spinning a tire and seeing the front driveshaft spin. The sleeve will be to the DRIVERS side to line up with the locked shift fork. Replace the word "passenger" with "driver" in this photo-
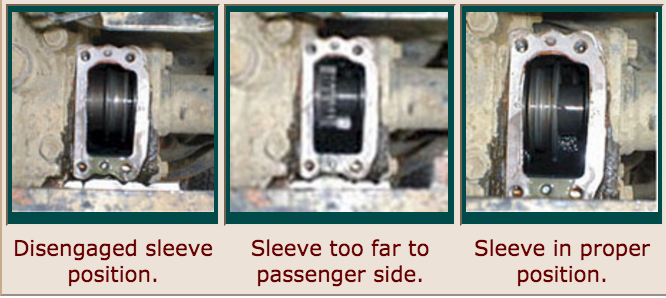
Add gasket maker to the clean actuator and slide the locked shift fork over the locking sleeve. Confirm that it is locked after installed by spining a tire and looking for the front driveshaft to spin. Install your bolts and refill the front diff. This website explains defeating the ADD in detail, but with passenger and driver sides opposite of what we have going on in our trucks and it should be the same with a 3rd gen 4runner and 1st gen Taco.
http://www.4x4wire.com/toyota/tech/add/
Now, do whatever it takes to make it work on the inside of the cab. I cut up my doublecab center console and temporarily threw a goggle bag over the shifter to keep junk from falling in my new hole. I ordered a rubber shift boot with bezel today that I am going to install against the floor to keep the elements of of my carpet. I also ordered a fake leather universal shift boot to make something nice between the shift knob and the console itself.
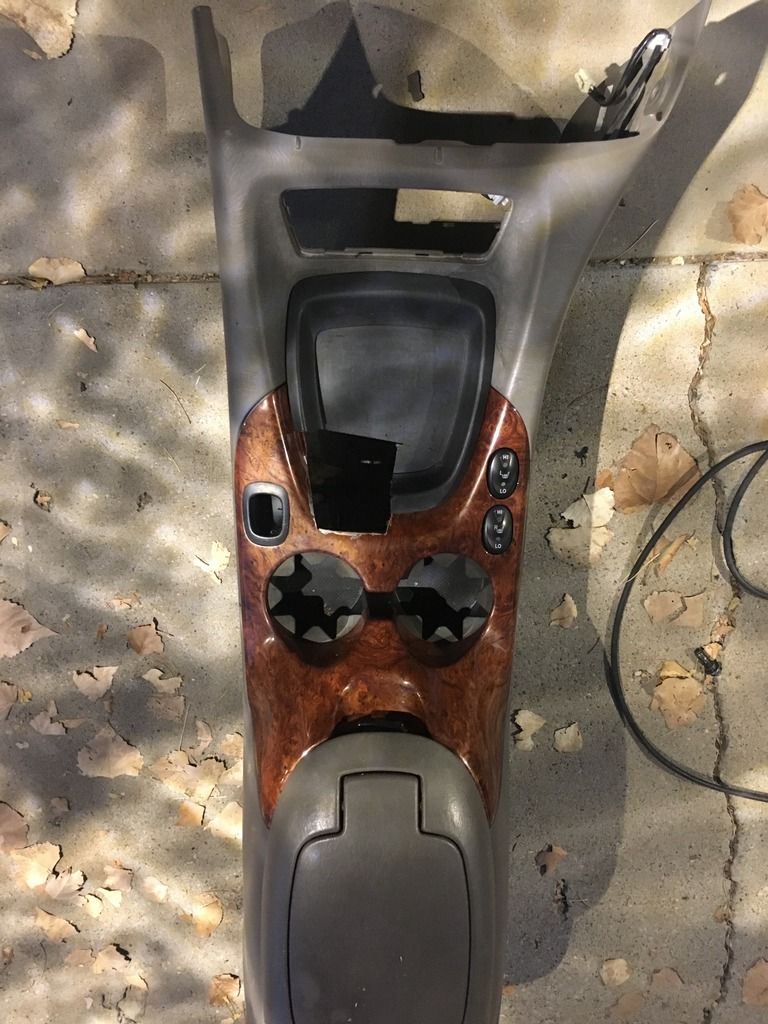

Everything works as it should! You still have to be in neutral to shift into 4lo, but you can still shift from 2hi to 4hi on the fly. I am not sure yet if there is a top speed to that, but I have tested it up to 20mph and it works.


